Hi Tombow friends, this is Jennie Garcia with an easy way to stay in touch with friends! In this post, I’m going to teach you an easy way to create many cards in minutes. We are going to keep it simple and use an assembly line process.
Supplies:
- Tombow MONO Air Adhesive Touch
- Patterned paper
- Tombow Foam Tape
- Cardstock
- Tombow MONO Multi XL Liquid Glue
- Die cutting machine or punches (optional)
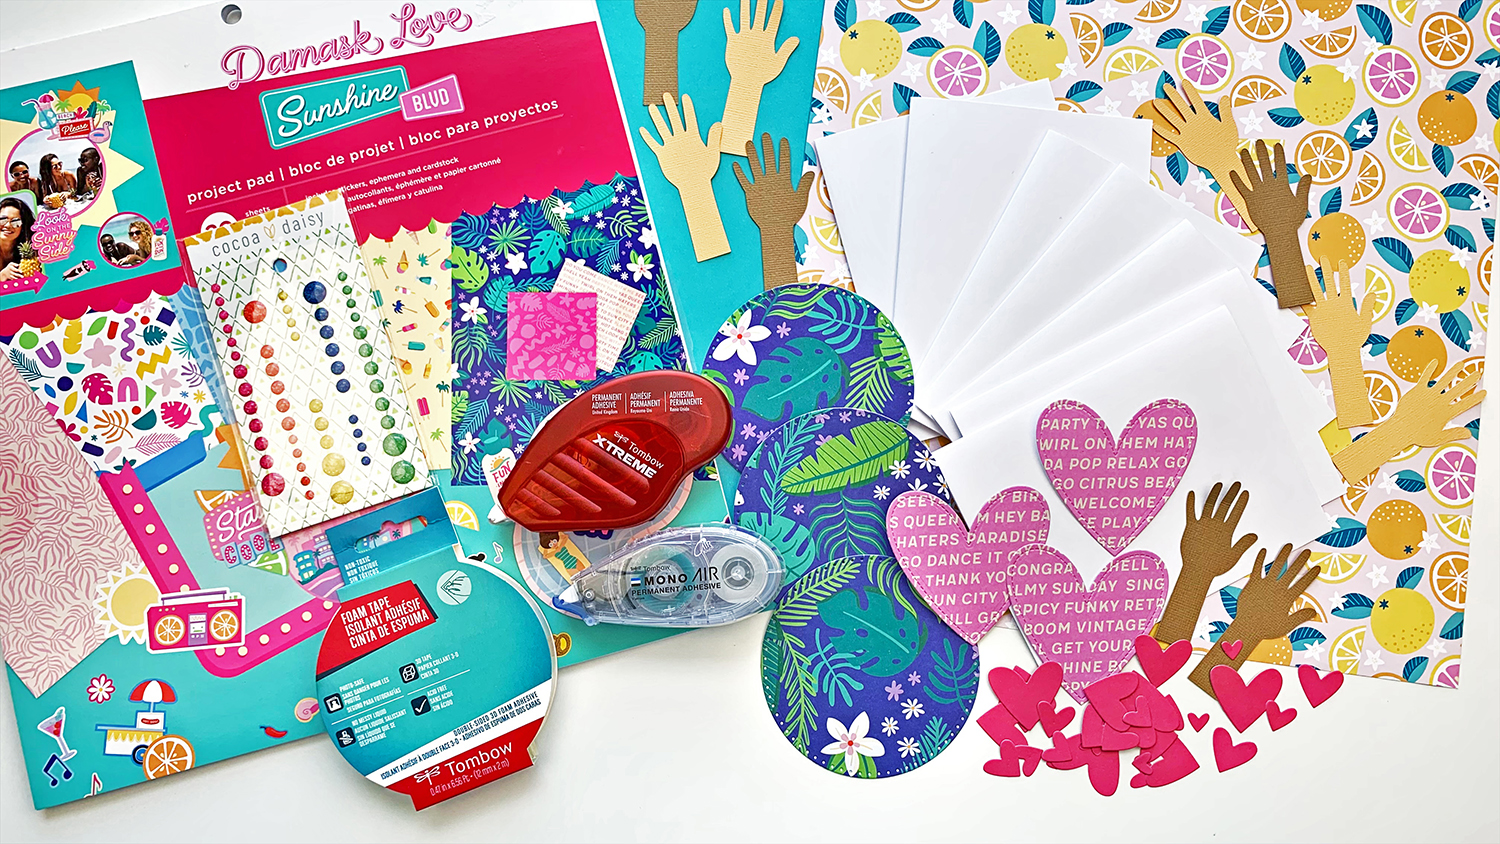
Step One: Cut the elements of the card.
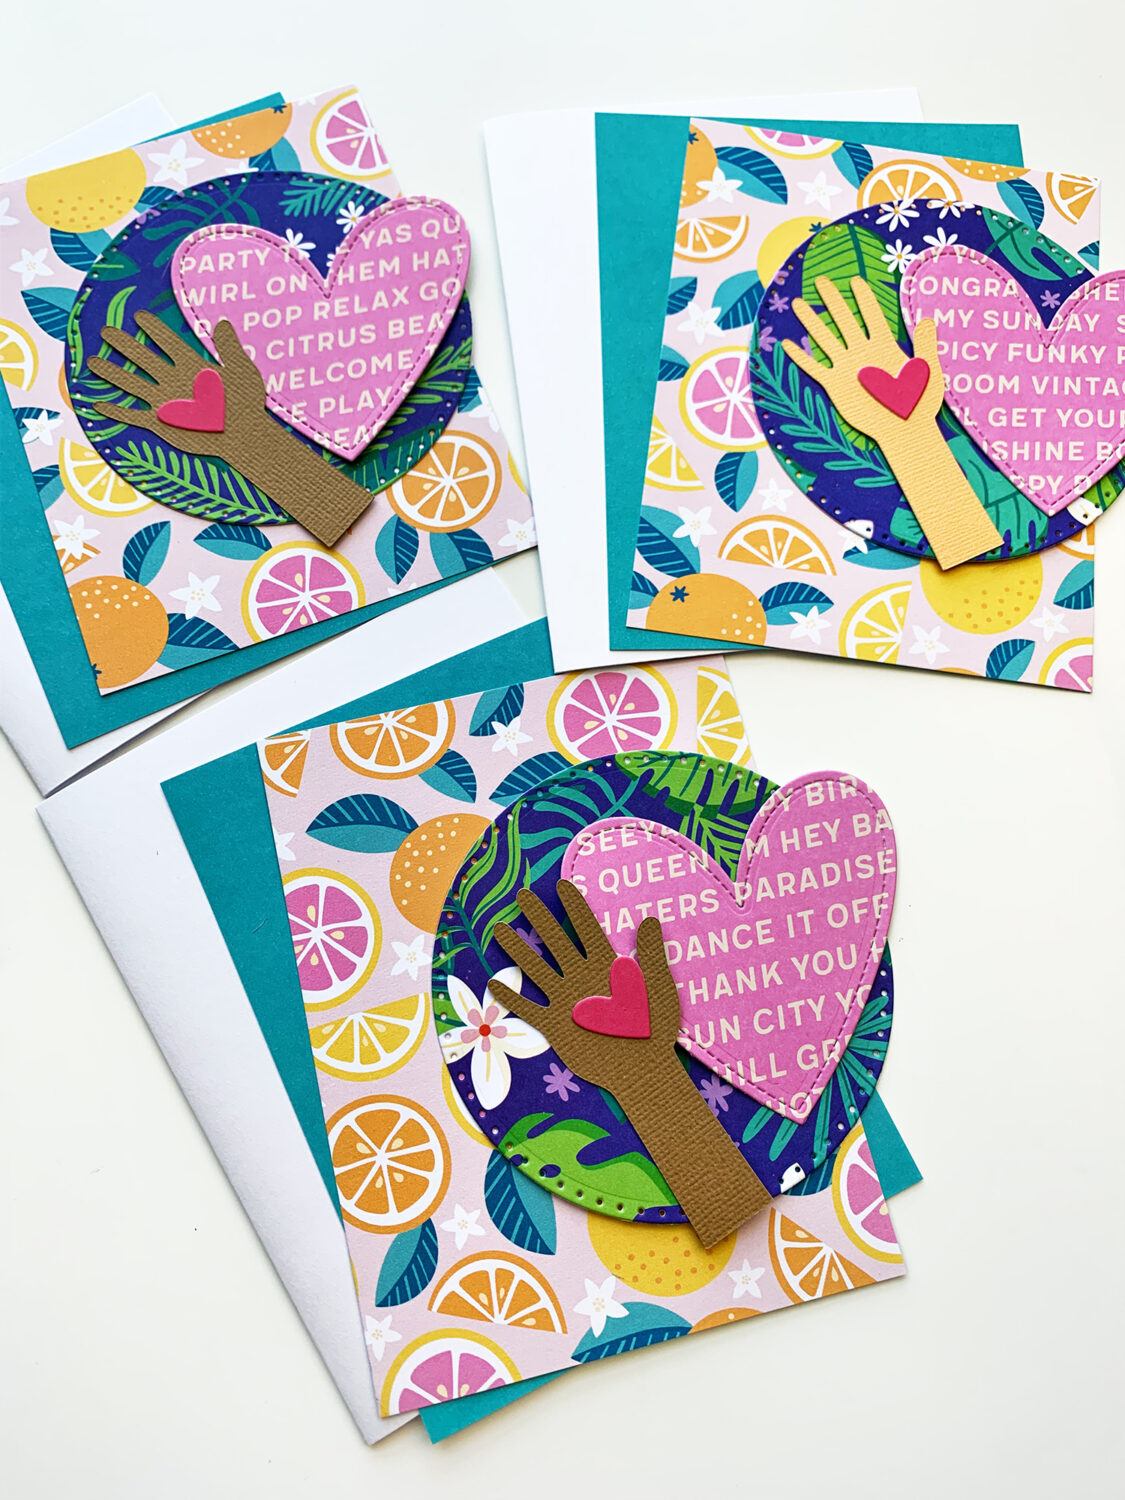
One of the easiest ways to create many cards in minutes is to repeat the designs. Pick an easy design, like this one. The design of this card has a rectangle, and at the center is a circle, a heart, and a hand. I recommend using pattern paper for at least 2 of the elements, so the card looks more elaborate.
Use a die-cutting machine or a punch to create many die cuts of the same shape. Companies usually don’t have duplicates of the die cuts, but they have similar die cuts that can be used instead of the ones made by die-cutting machines. To cut the circle and heart, I used a die-cutting machine with dies, and for the hands, I used an electronic die-cutting machine.
Step Two: Glue the base.
The base of the card is the background for the elements. I like to use a light or a simple pattern. Use a solid color cardstock mat to ground the base. Use the Tombow MONO Air Touch Adhesive to glue the mat and base together. Then, glue them to the card made with plain cardstock. The Tombow MONO Air Touch Adhesive is very strong. When you send cards in the mail, they need to have a strong, sturdy adhesive to survive the trip.
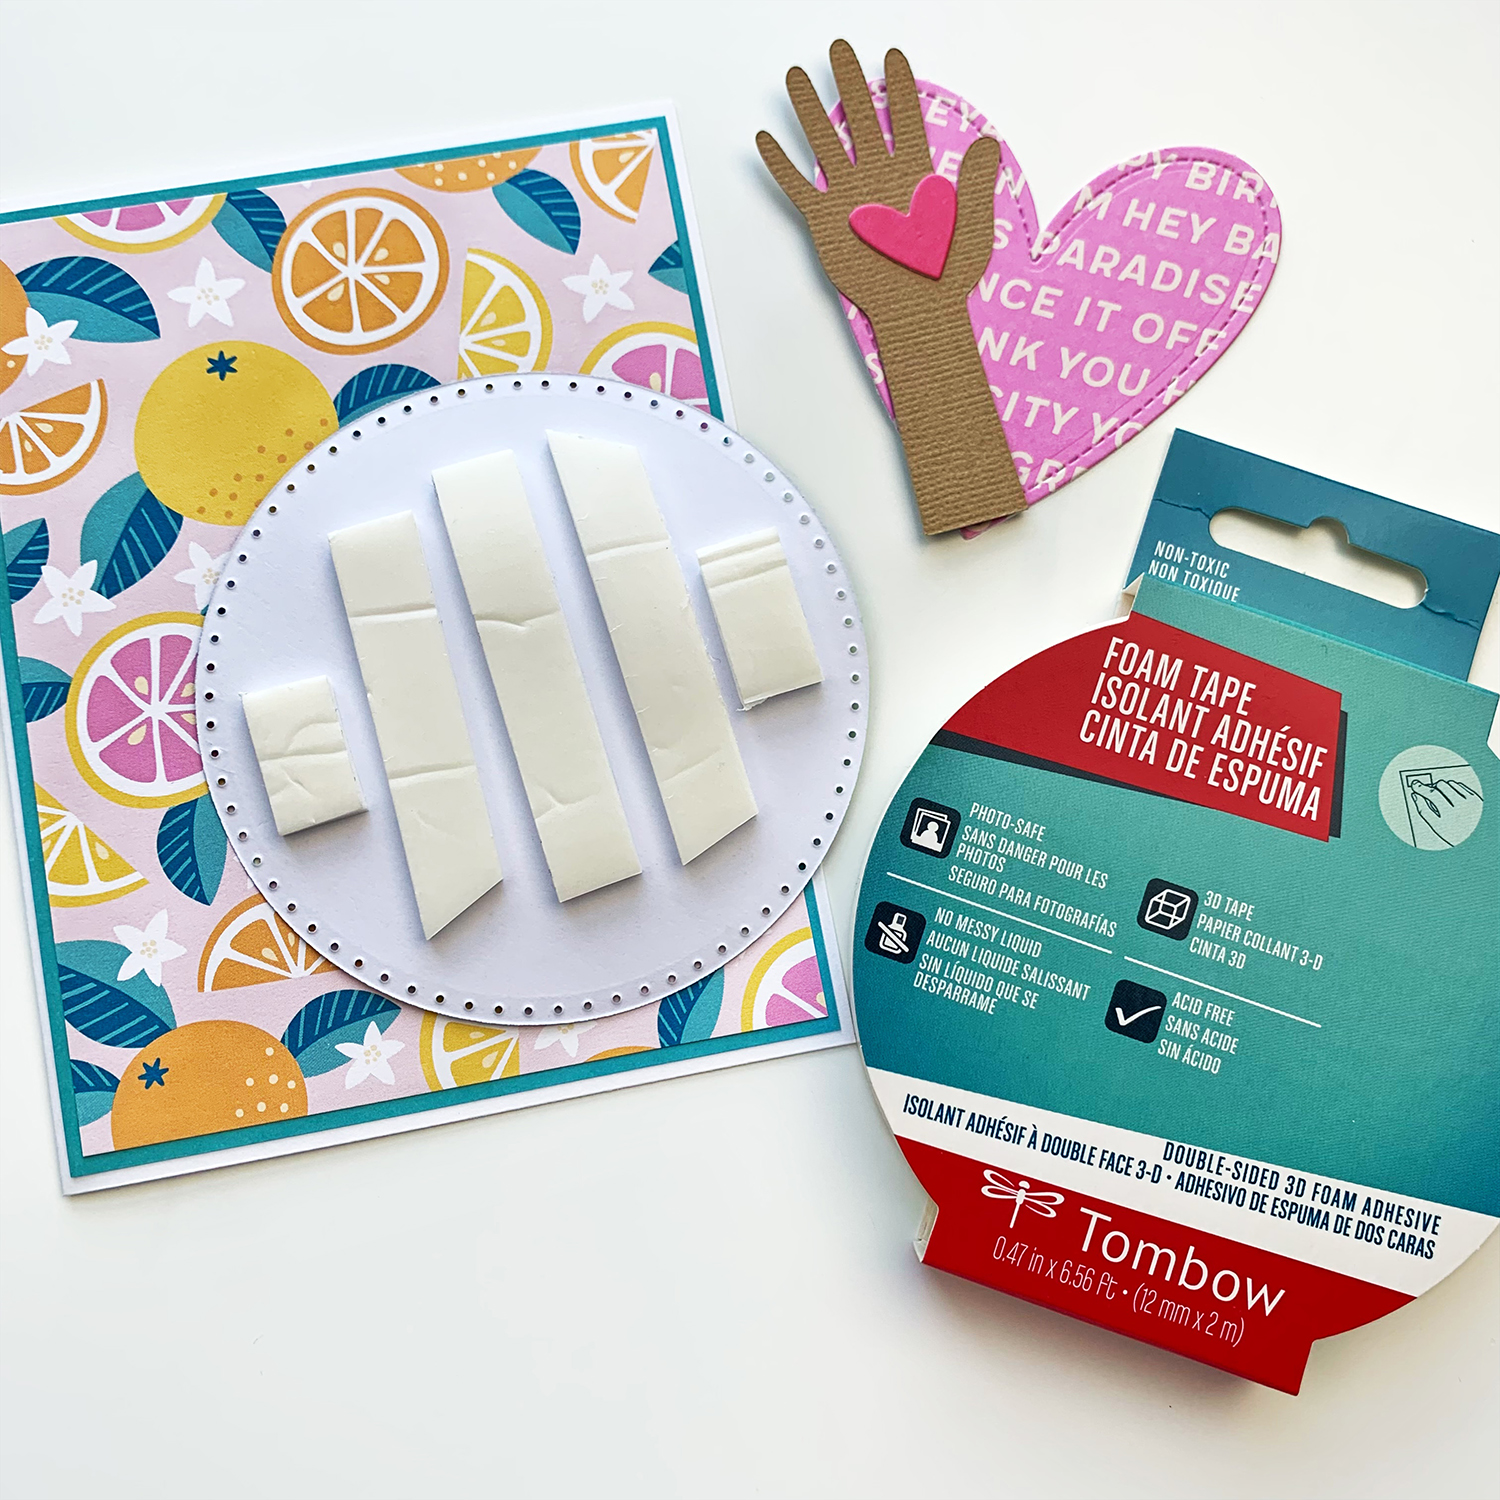
Step Three: Add Volume
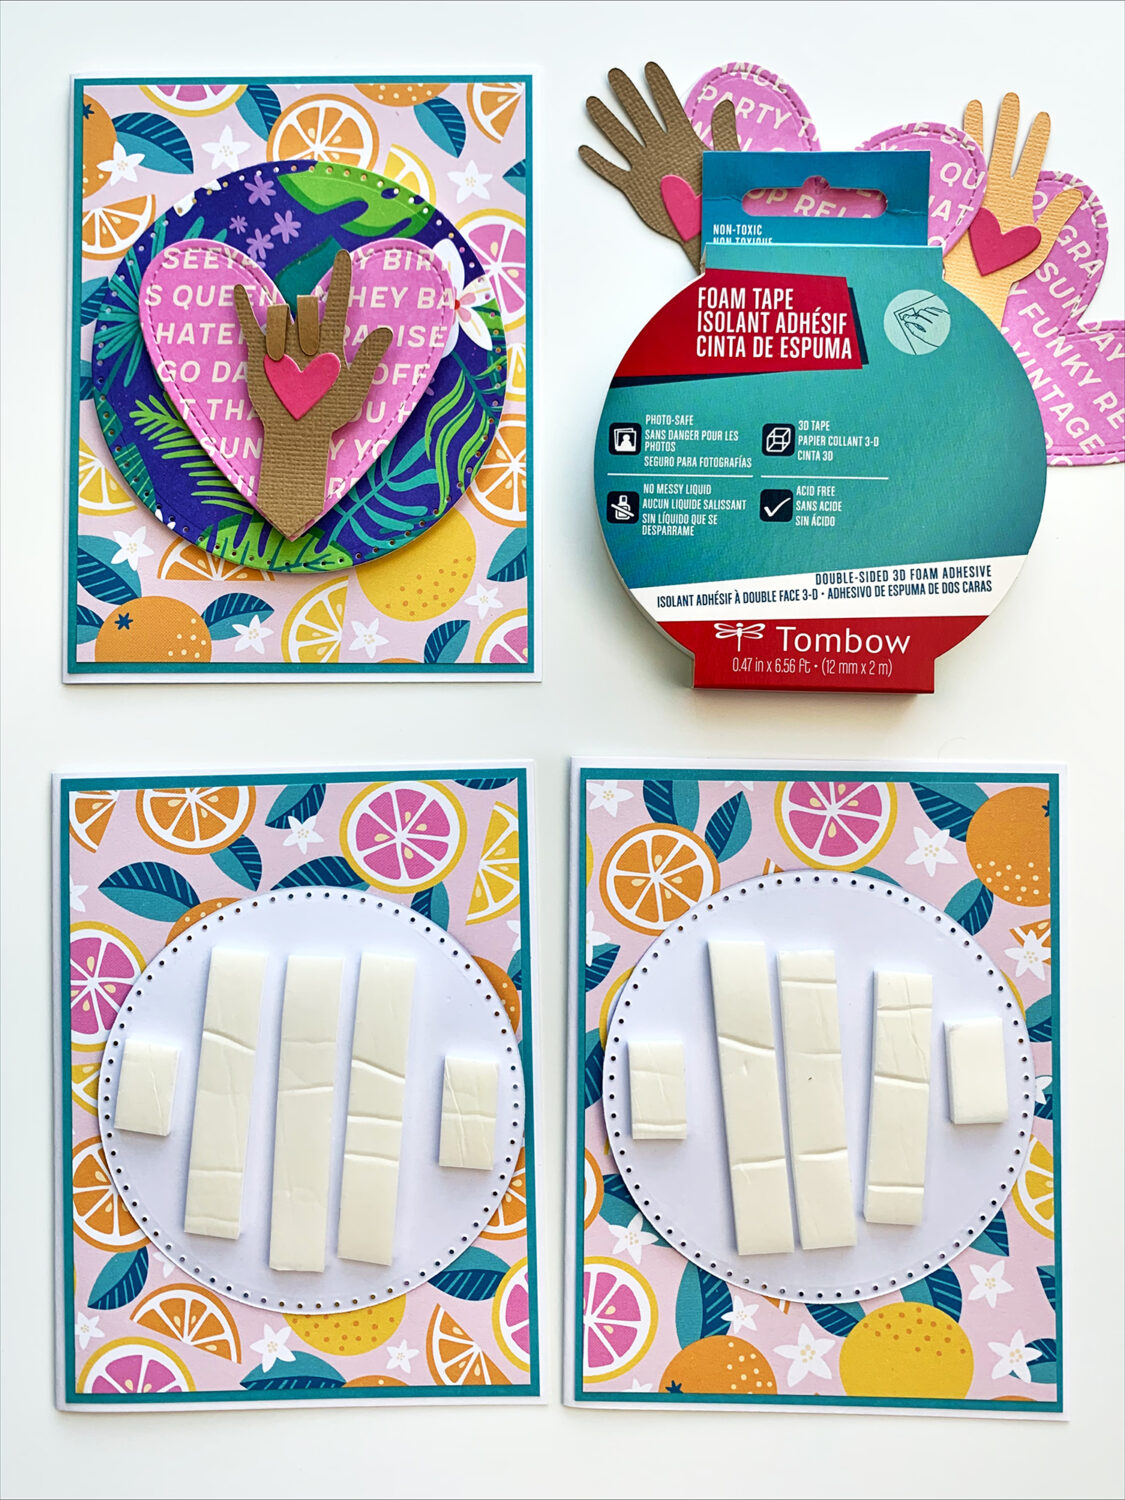
My favorite adhesive to use on cards is the Tombow Foam Tape! The volume makes the card look more professional. I used it on the circle, the heart, and the hand.
Step Four: Smaller details
I folded two fingers to create the “I Love You” in American Sign Language. I used the Tombow MONO Multi XL Liquid Glue to glue the fingers and the heart.
Instead of using my time sewing or piercing the die cuts, I used dies that already have texture. This saves a lot of time!
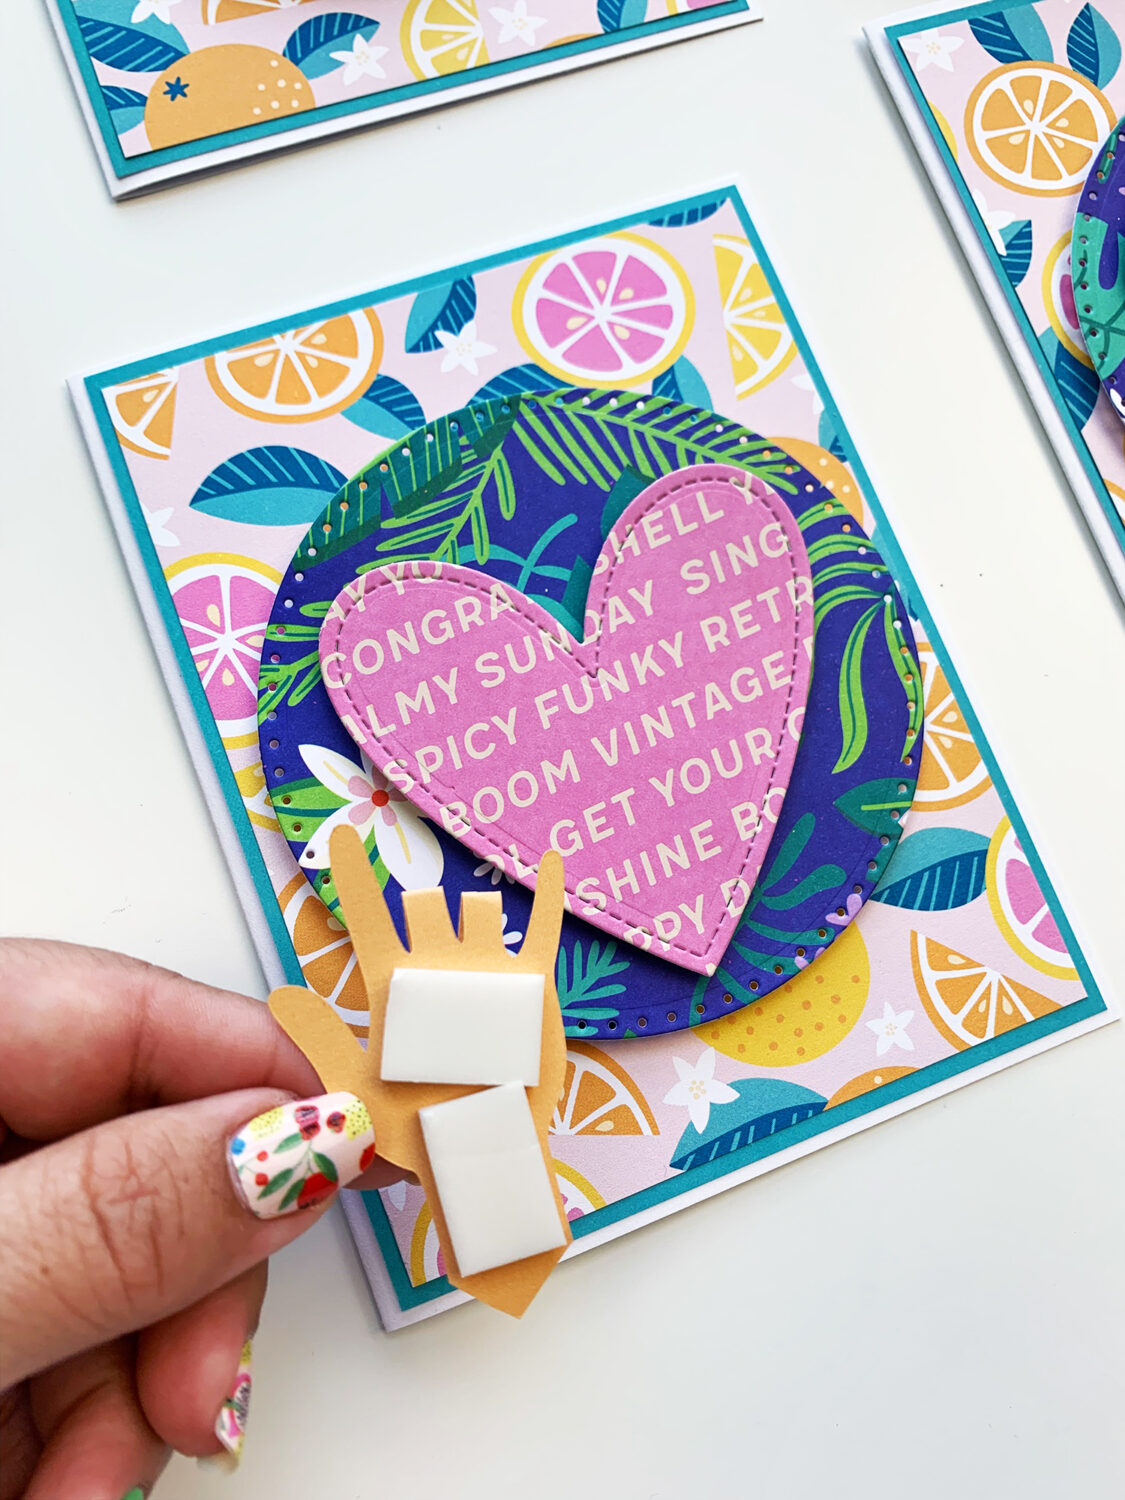
I used the Tombow MONO Removable Adhesive to temporarily put the hand on top of the heart while I cut the bottom of the arm to match the heart. Then, I removed it to glue it with the Tombow Foam Tape.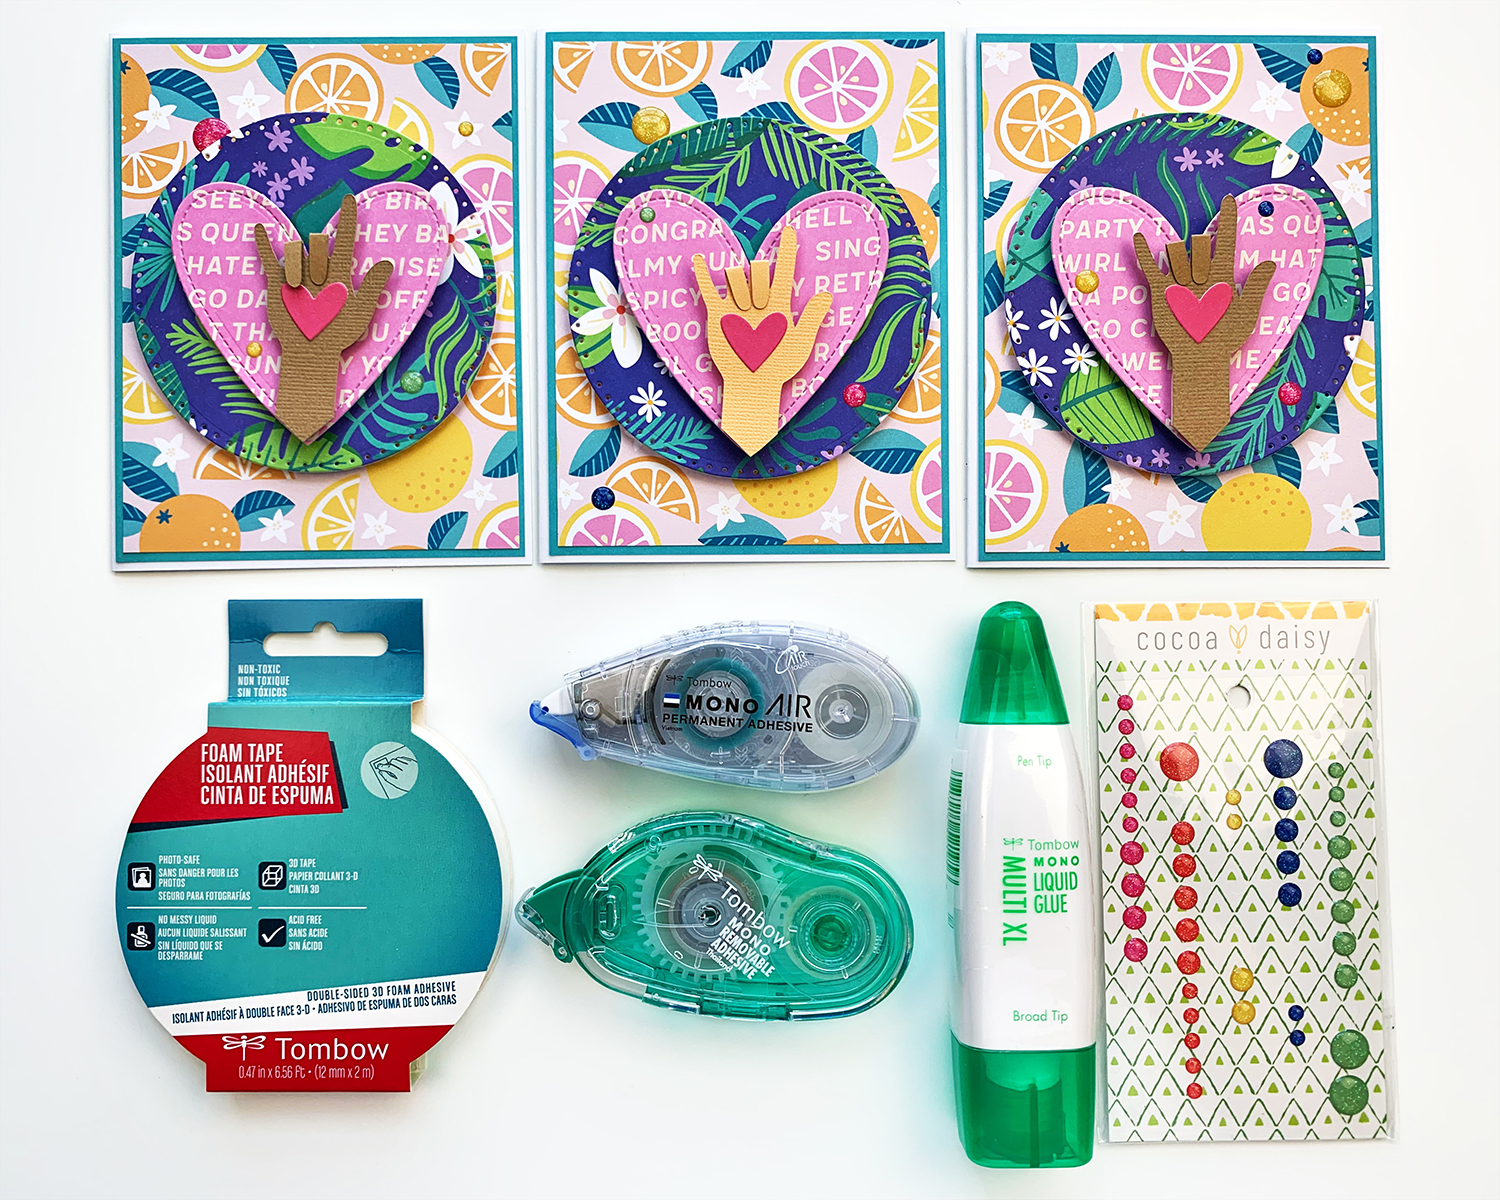
Step Four: Add sprinkles.
Add little details, like these enamel dots. You can also use other items, like sequins or buttons.
Using these three pattern papers instead of plain cardstock gives the card dimension. Imagine this card without any patterns. It would be pretty, but it would look flat.
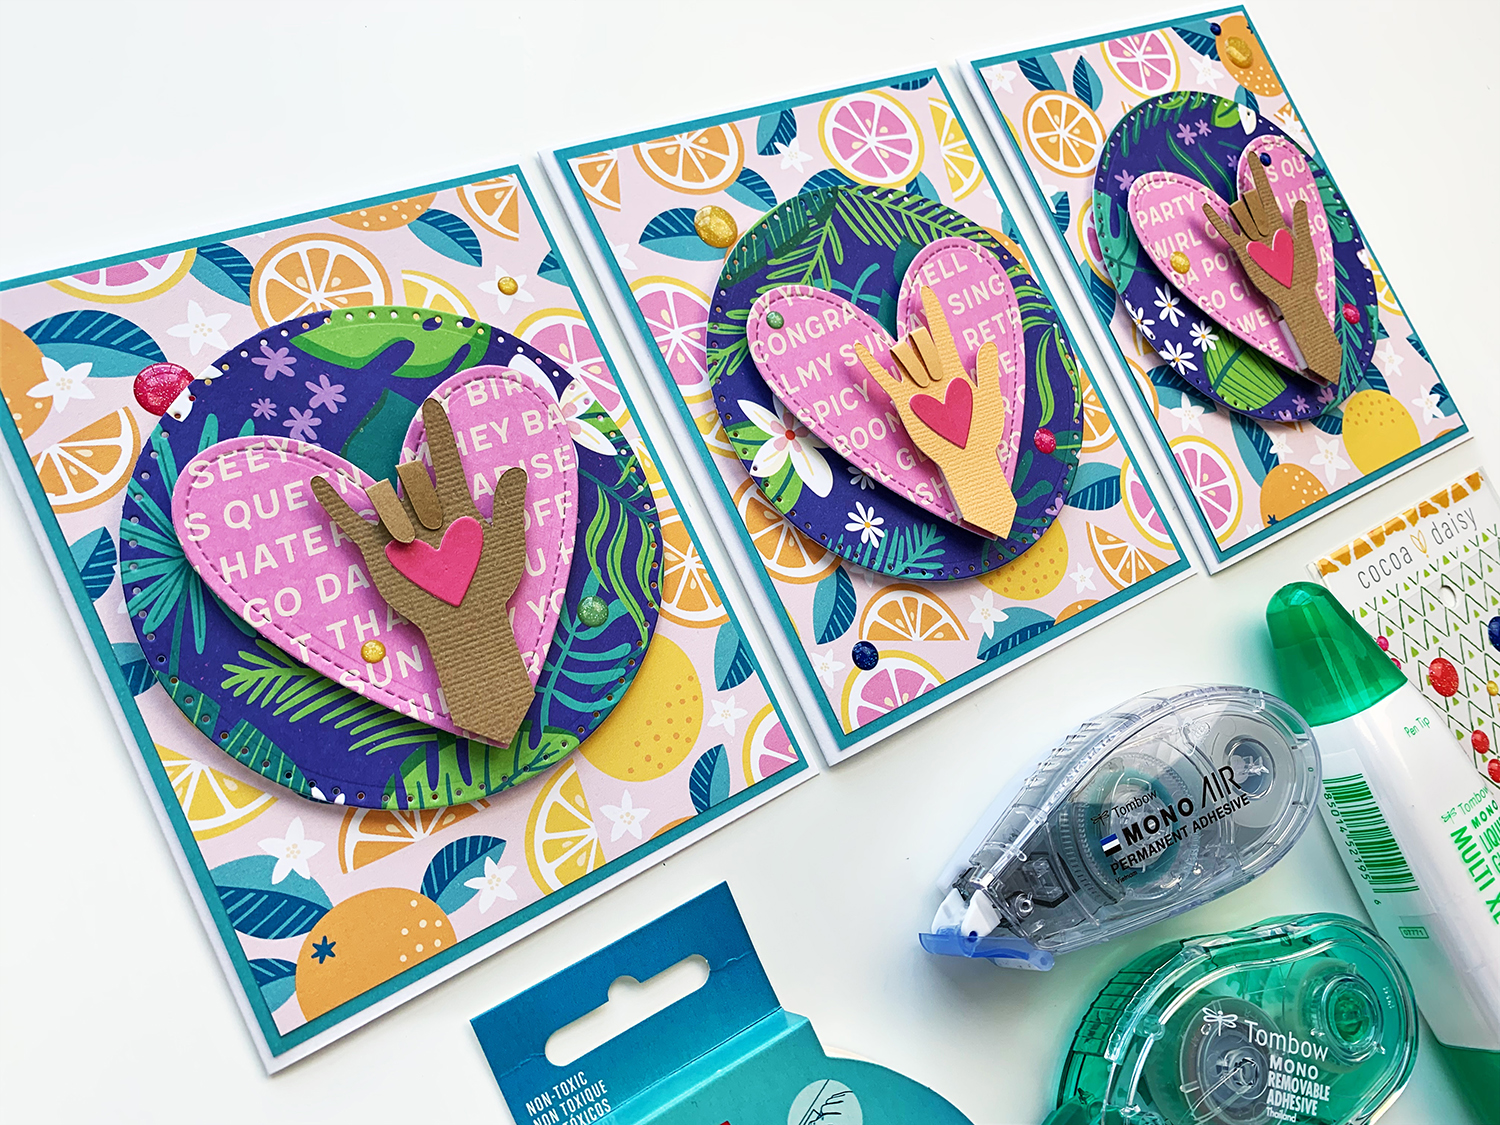
These cards in minutes are an easy way to get creative when your creativity is running low. Make sure you keep these handy, so you can mail them to your friends! Share your card with us using the hashtag #tombowusa!
I hope you enjoyed these tips!
I’m looking for the best SVG cut file, can you help me?
I like this! You folded two fingers to create the “I Love You” in American Sign Language ^^
All of the information I’ve gleaned from it basically has been quite useful, and I’d for the most part want to generally commend you on really your abilities, actually contrary to popular belief.
I adore that you informed me about this article since I think it’s amazing. That is exactly what I was hoping to discover, and I sincerely hope you will continue to share such excellent stuff in the years to come.
Love Your Post