Hi Tombow Friends! This is Jennie with a delicious idea to create your own postcard!
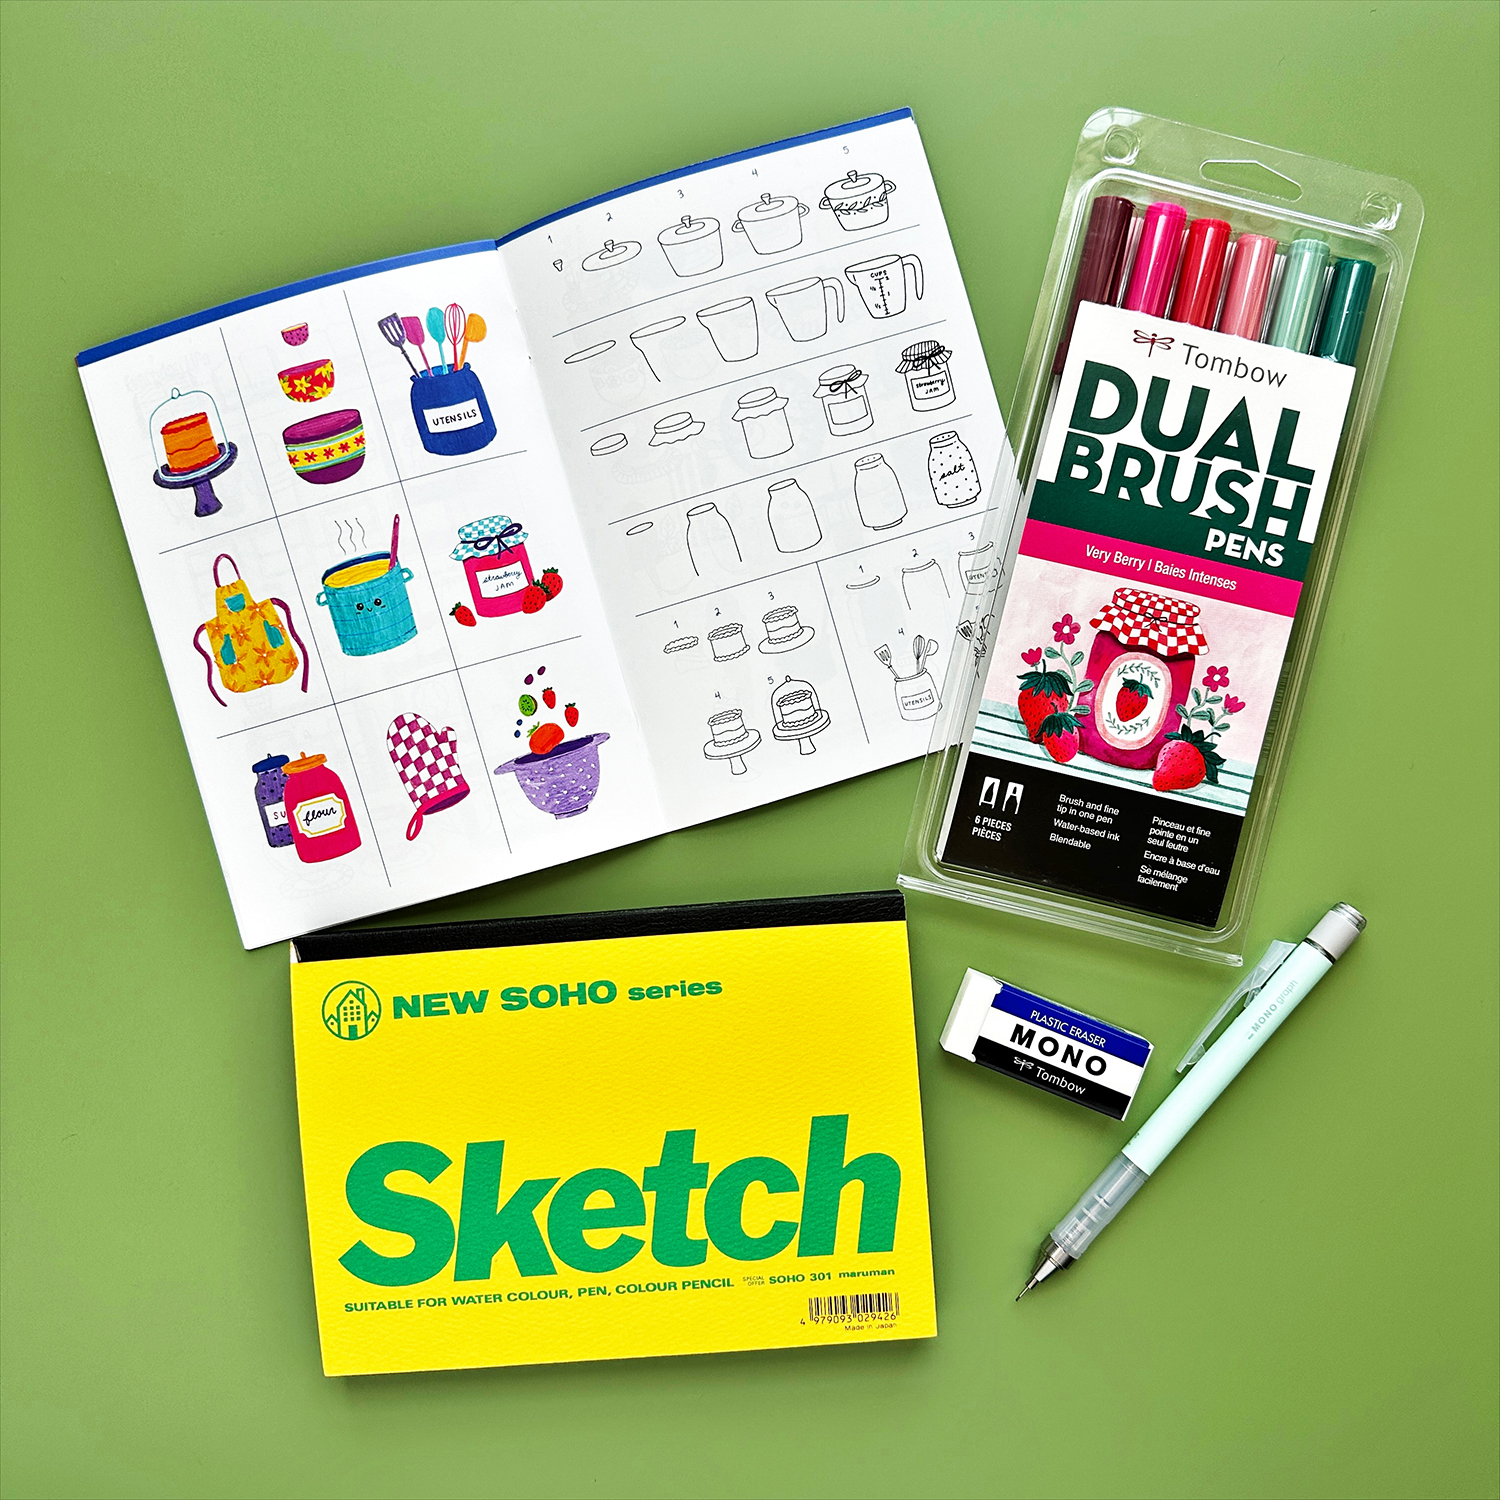
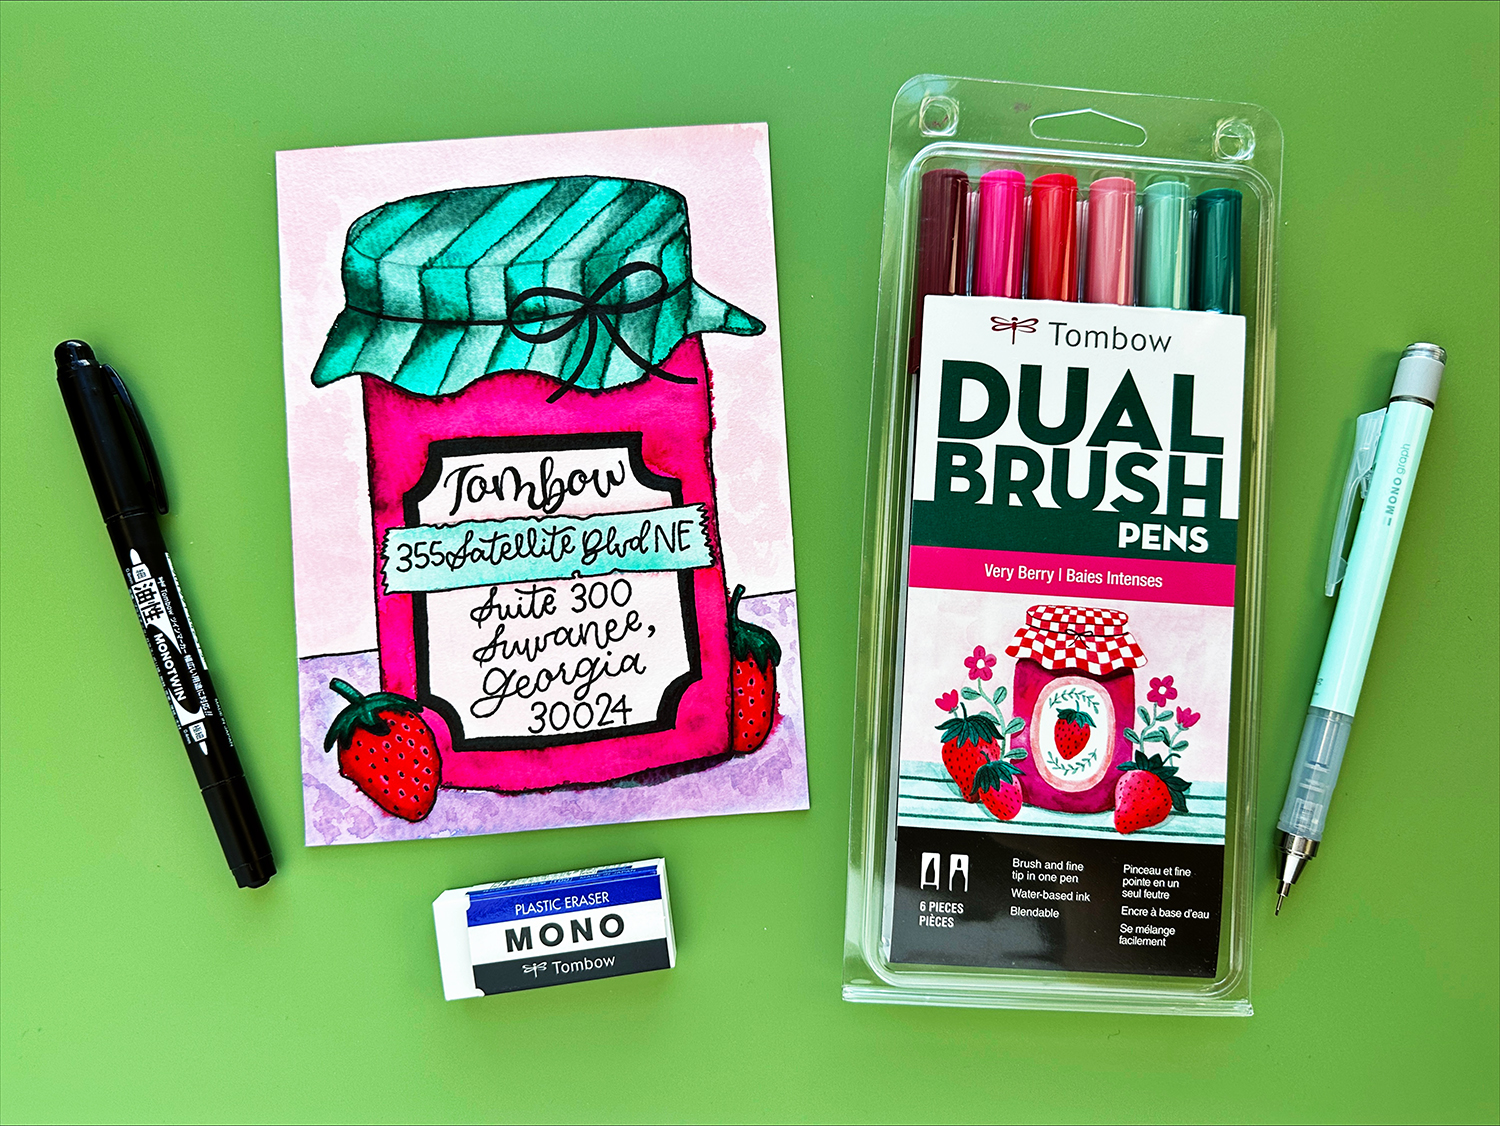
Supplies:
- Maruman New Soho Series Sketchbook, B6
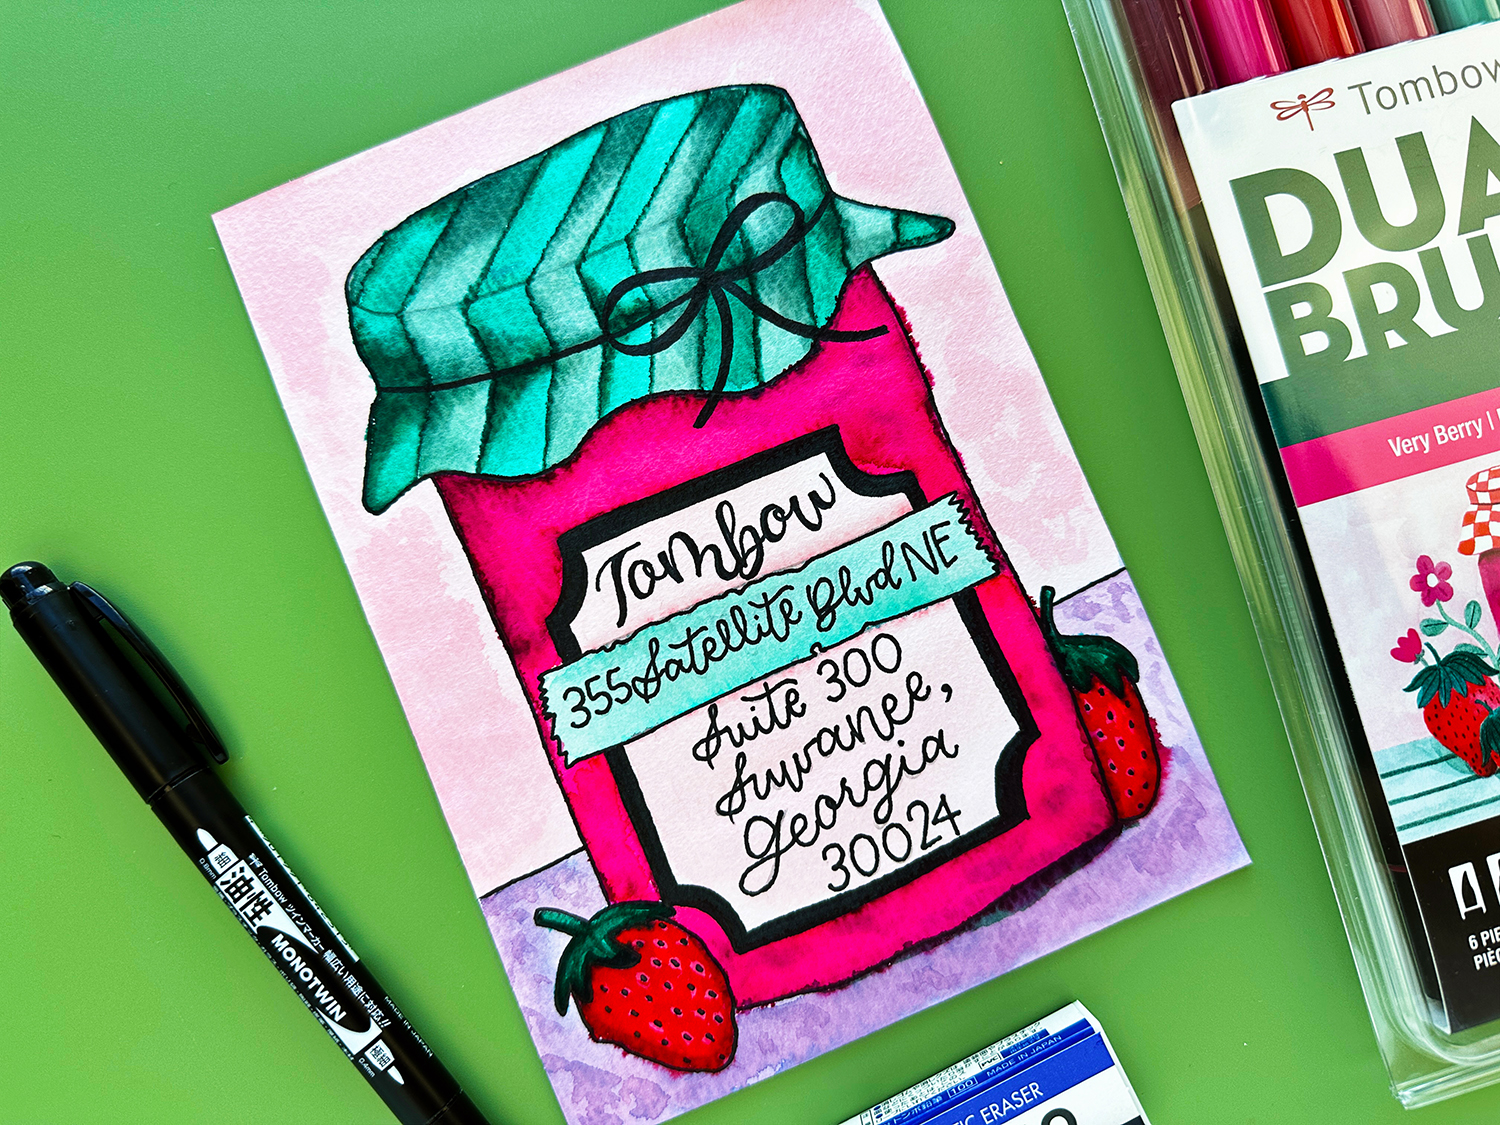
- Tombow Dual Brush Pens
- Watercolor Postcard Base
- Tombow Learn To Doodle Kit
- Watercolor Brush
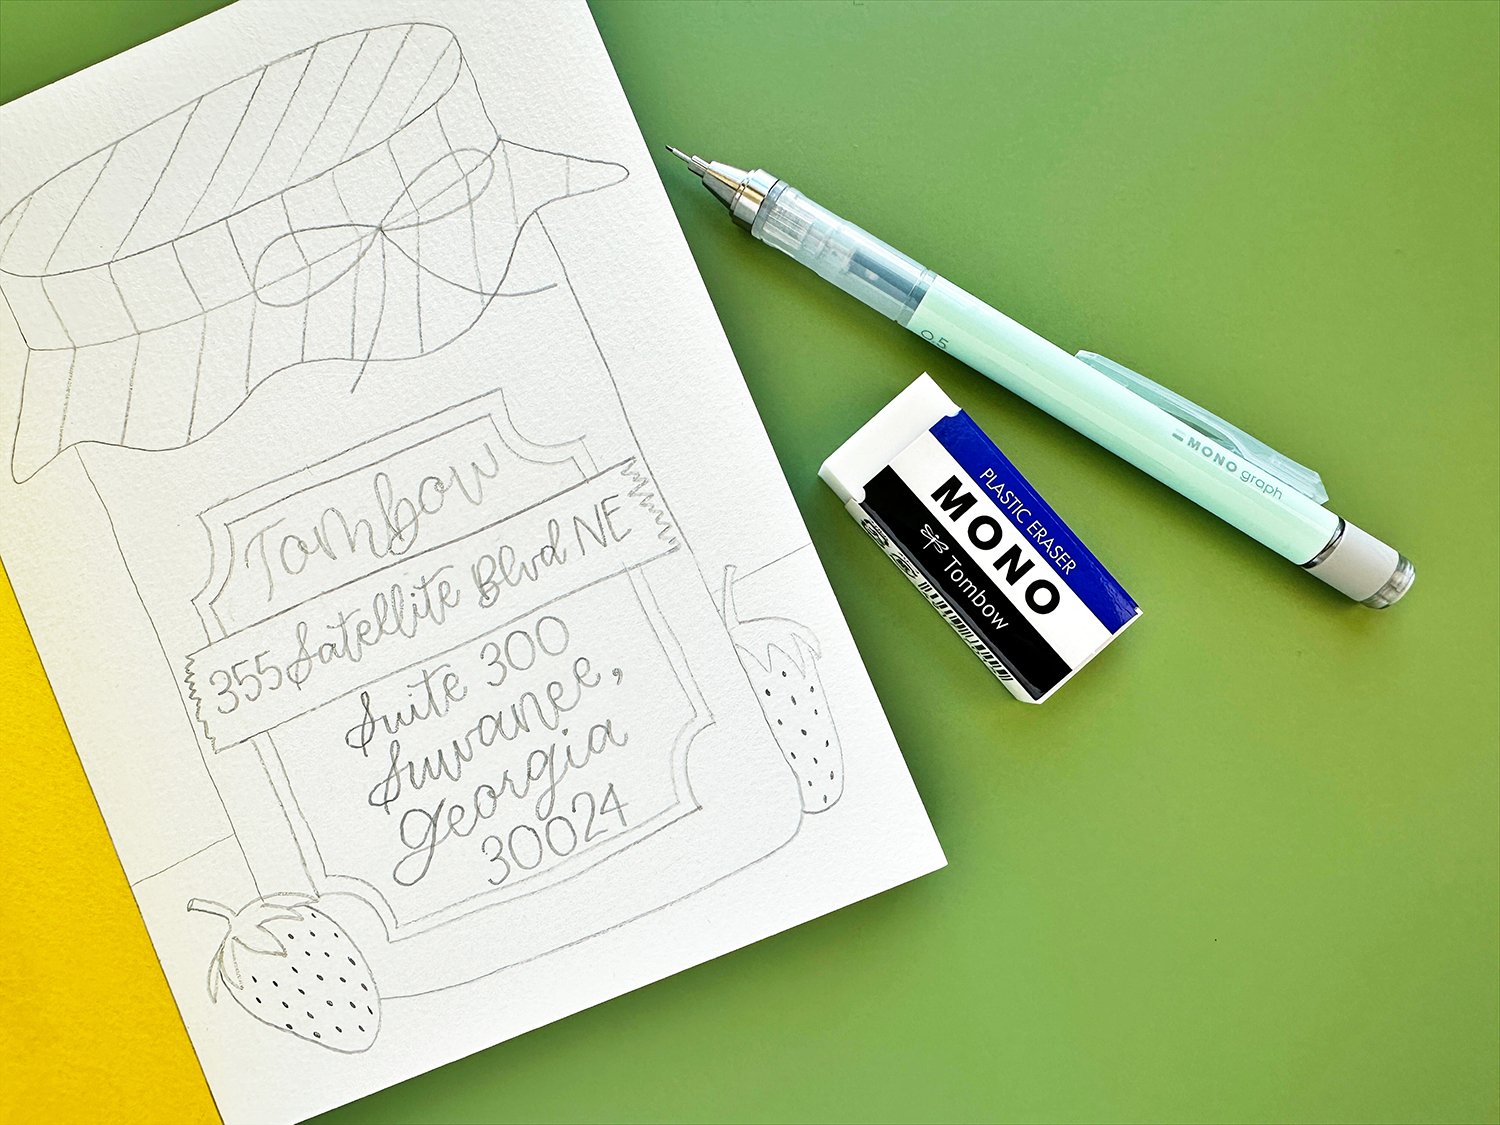
- Tombow MONO Graph Mechanical Pencil
- Eraser – I used the Tombow MONO Eraser
- Tombow Blending Palette
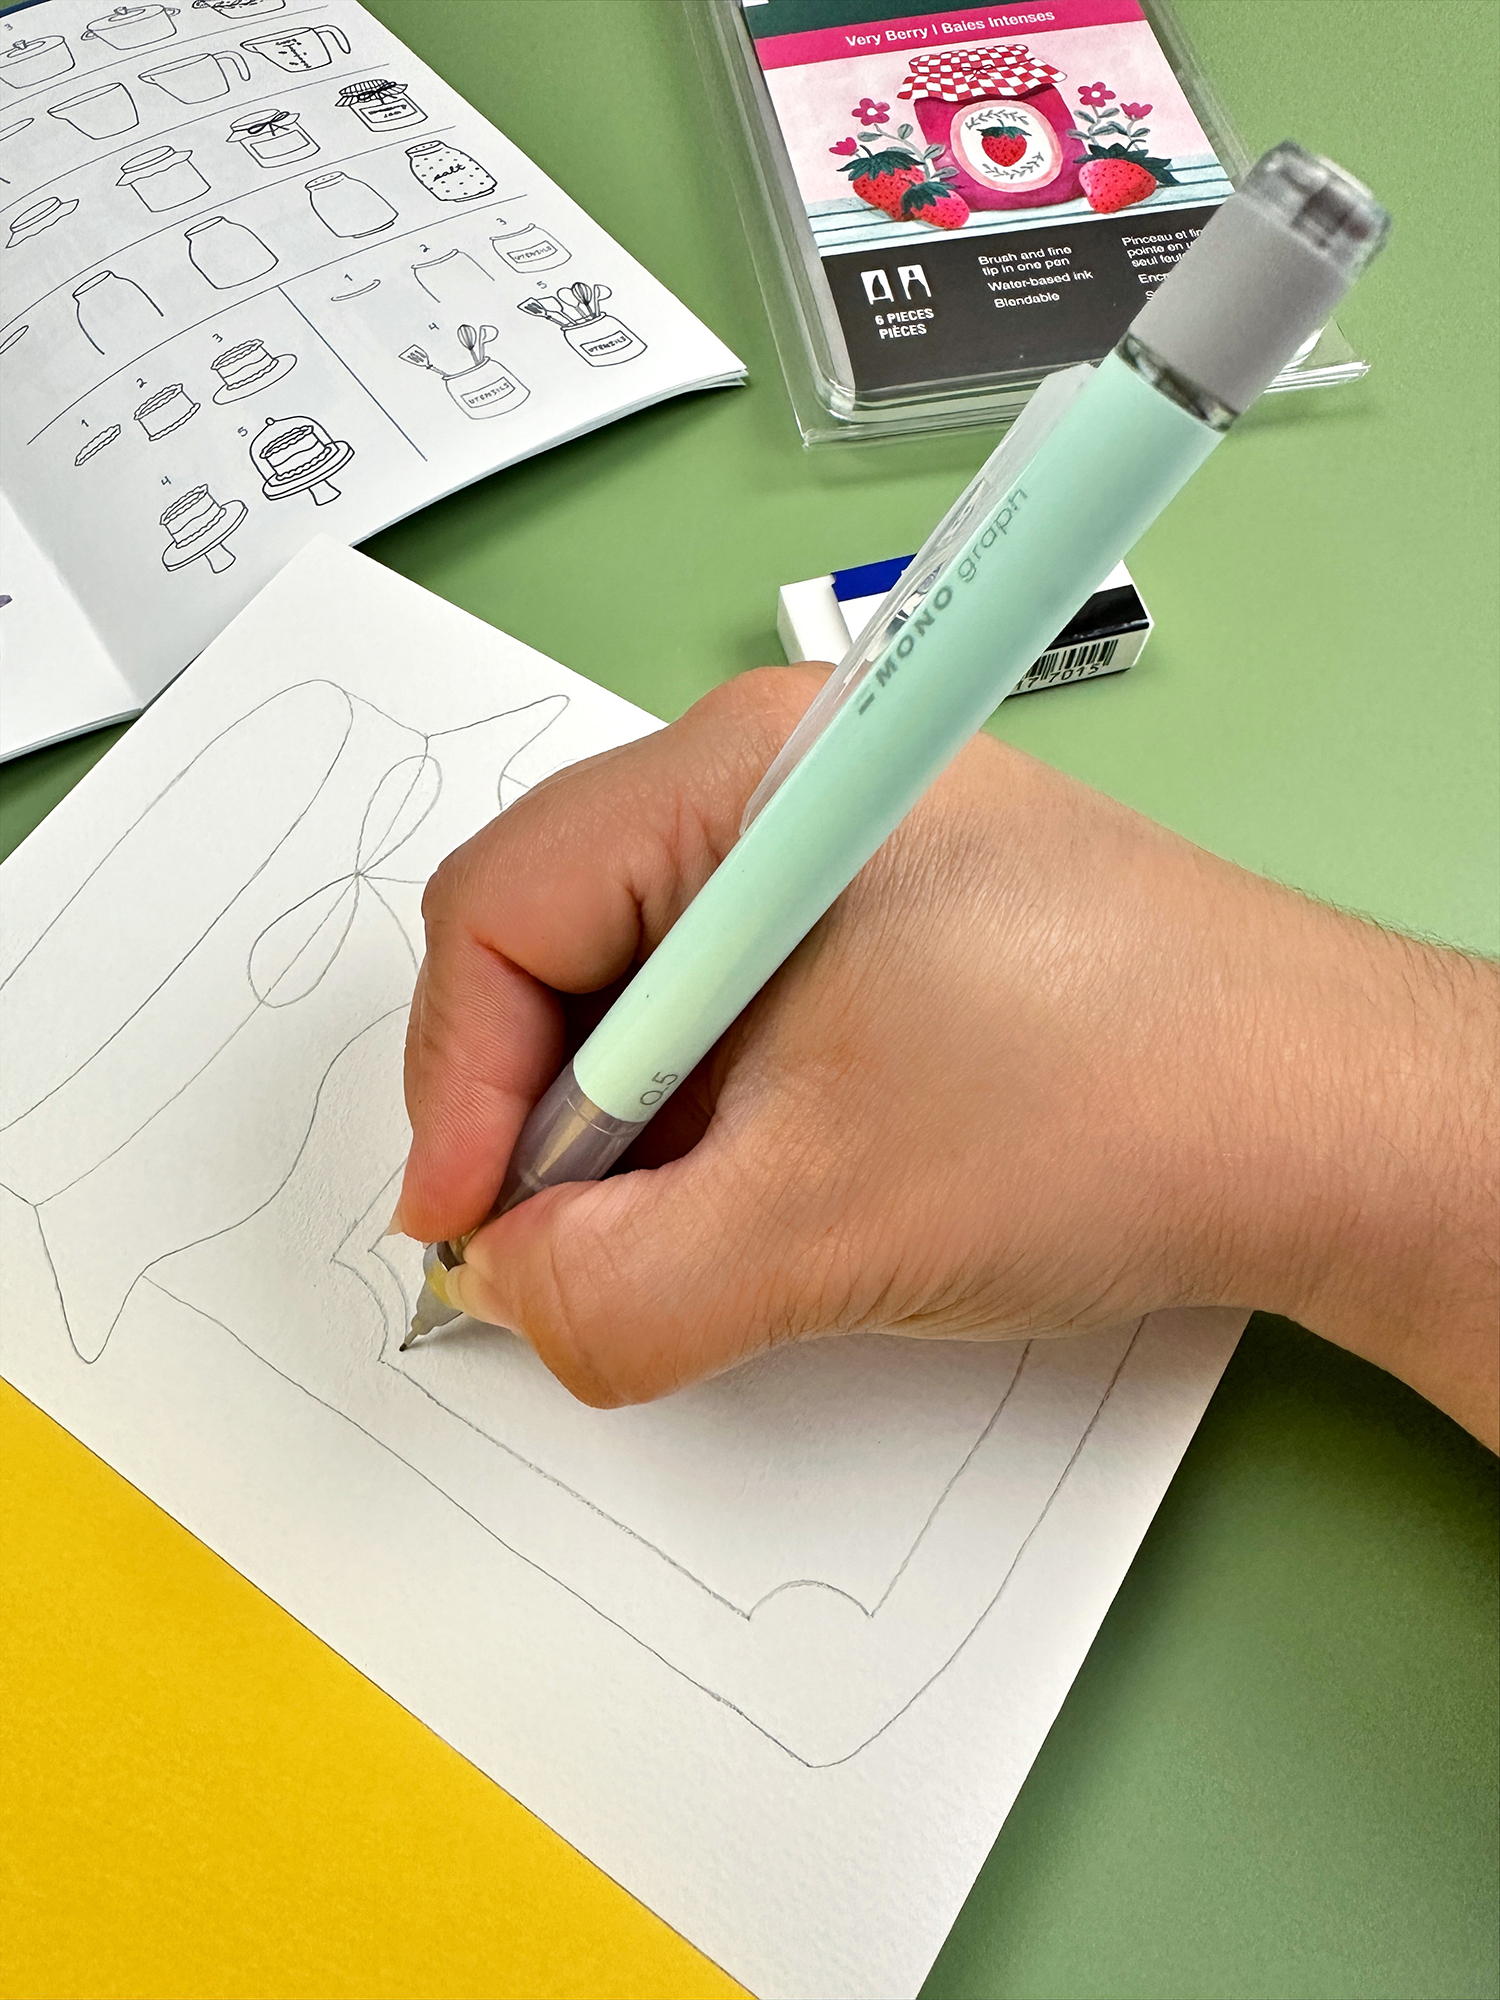
Step One: Sketch the jar!
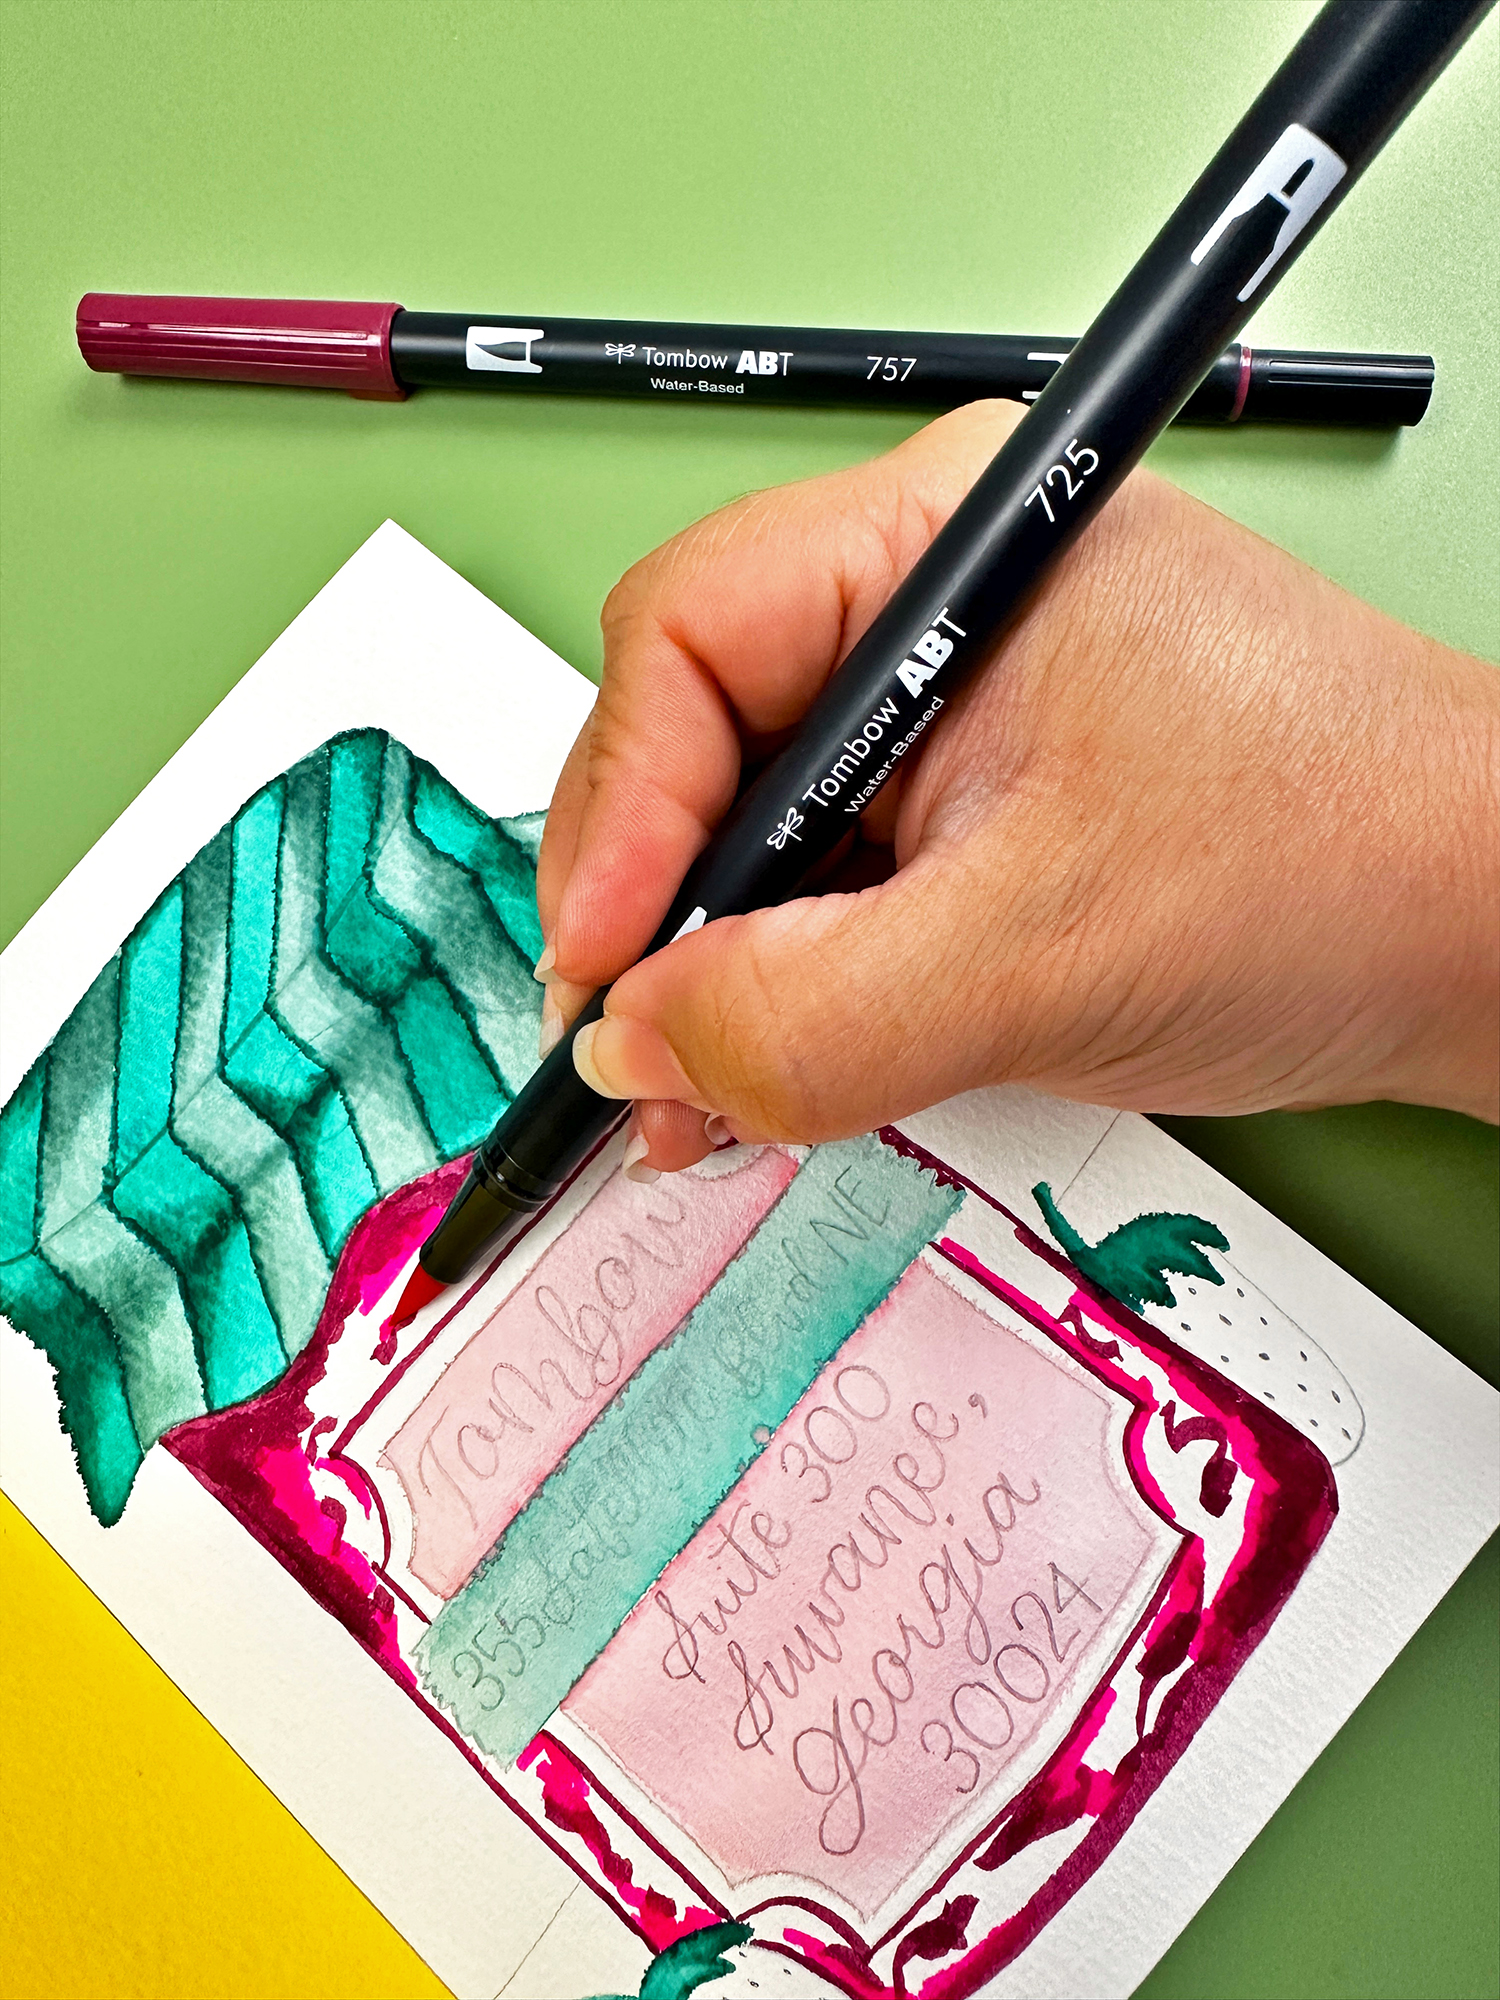
The Tombow Learn To Doodle Kit has an instructional booklet with hundreds of doodles, including many step by step tutorials. I used the jar tutorial to draw this jam jar with the Tombow MONO Graph Mechanical Pencil. I changed little details like the shape of the label.
One line of this address was too long to fit in the label, so I added a tape to have more space for the address. I also added two strawberries.
Step Two: Color the jar!
Watercolor the postcard with the Tombow Dual Brush Pens. Apply color directly to the paper in areas that will be darker. To apply the color in lighter shades, scribble the color on the Tombow Blending Palette and pick up it with water and a watercolor brush. Use lighter colors to blend the darker shade on the paper.
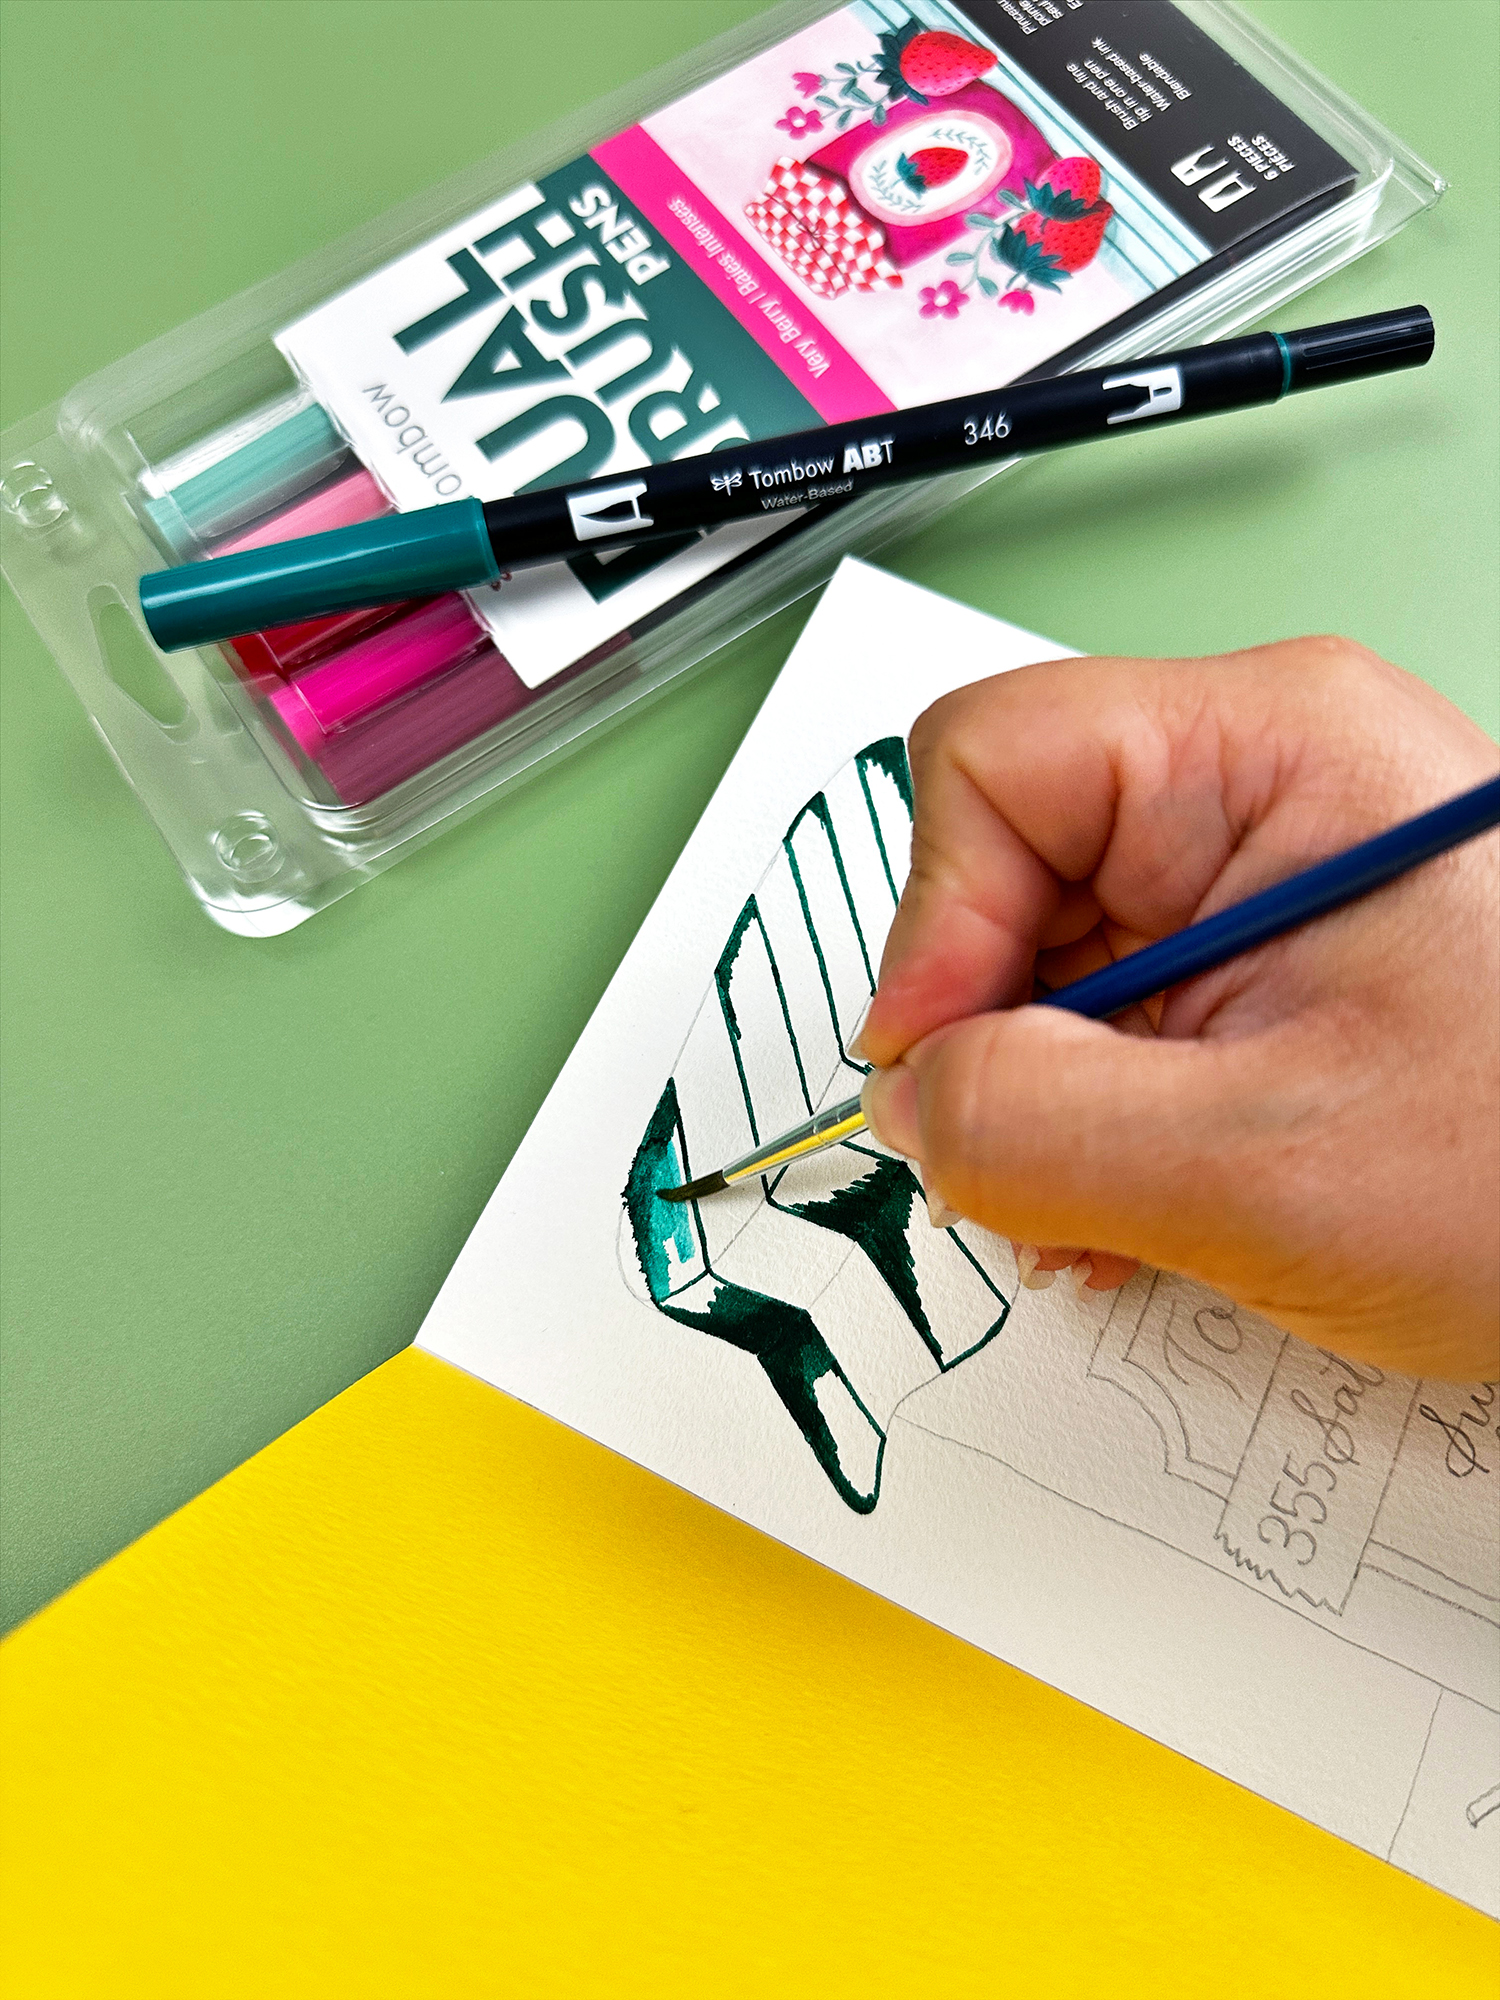
I used the Tombow Dual Brush Pen 757-Port Red as my darkest color, 725-Rhodamine Red as my medium color, and 835 Persimmon from the Tombow Blending Palette with water as my lightest color for the jam.
Pick up the color from a Tombow Blending Palette for the label and the background to keep it light. I made the purple surface with the 346-Sea Green and 757-Port Red. Usually when you mix red and green the result is brown, but Sea Green has a blue undertone that turns this into purple. 
Step Three: Outline the illustration.
The surface of the postcard paper is textured, and the edges of the images are not perfect or clean. To help clean them up I used the Tombow MONO Twin Permanent to outline the illustration and letter the address.
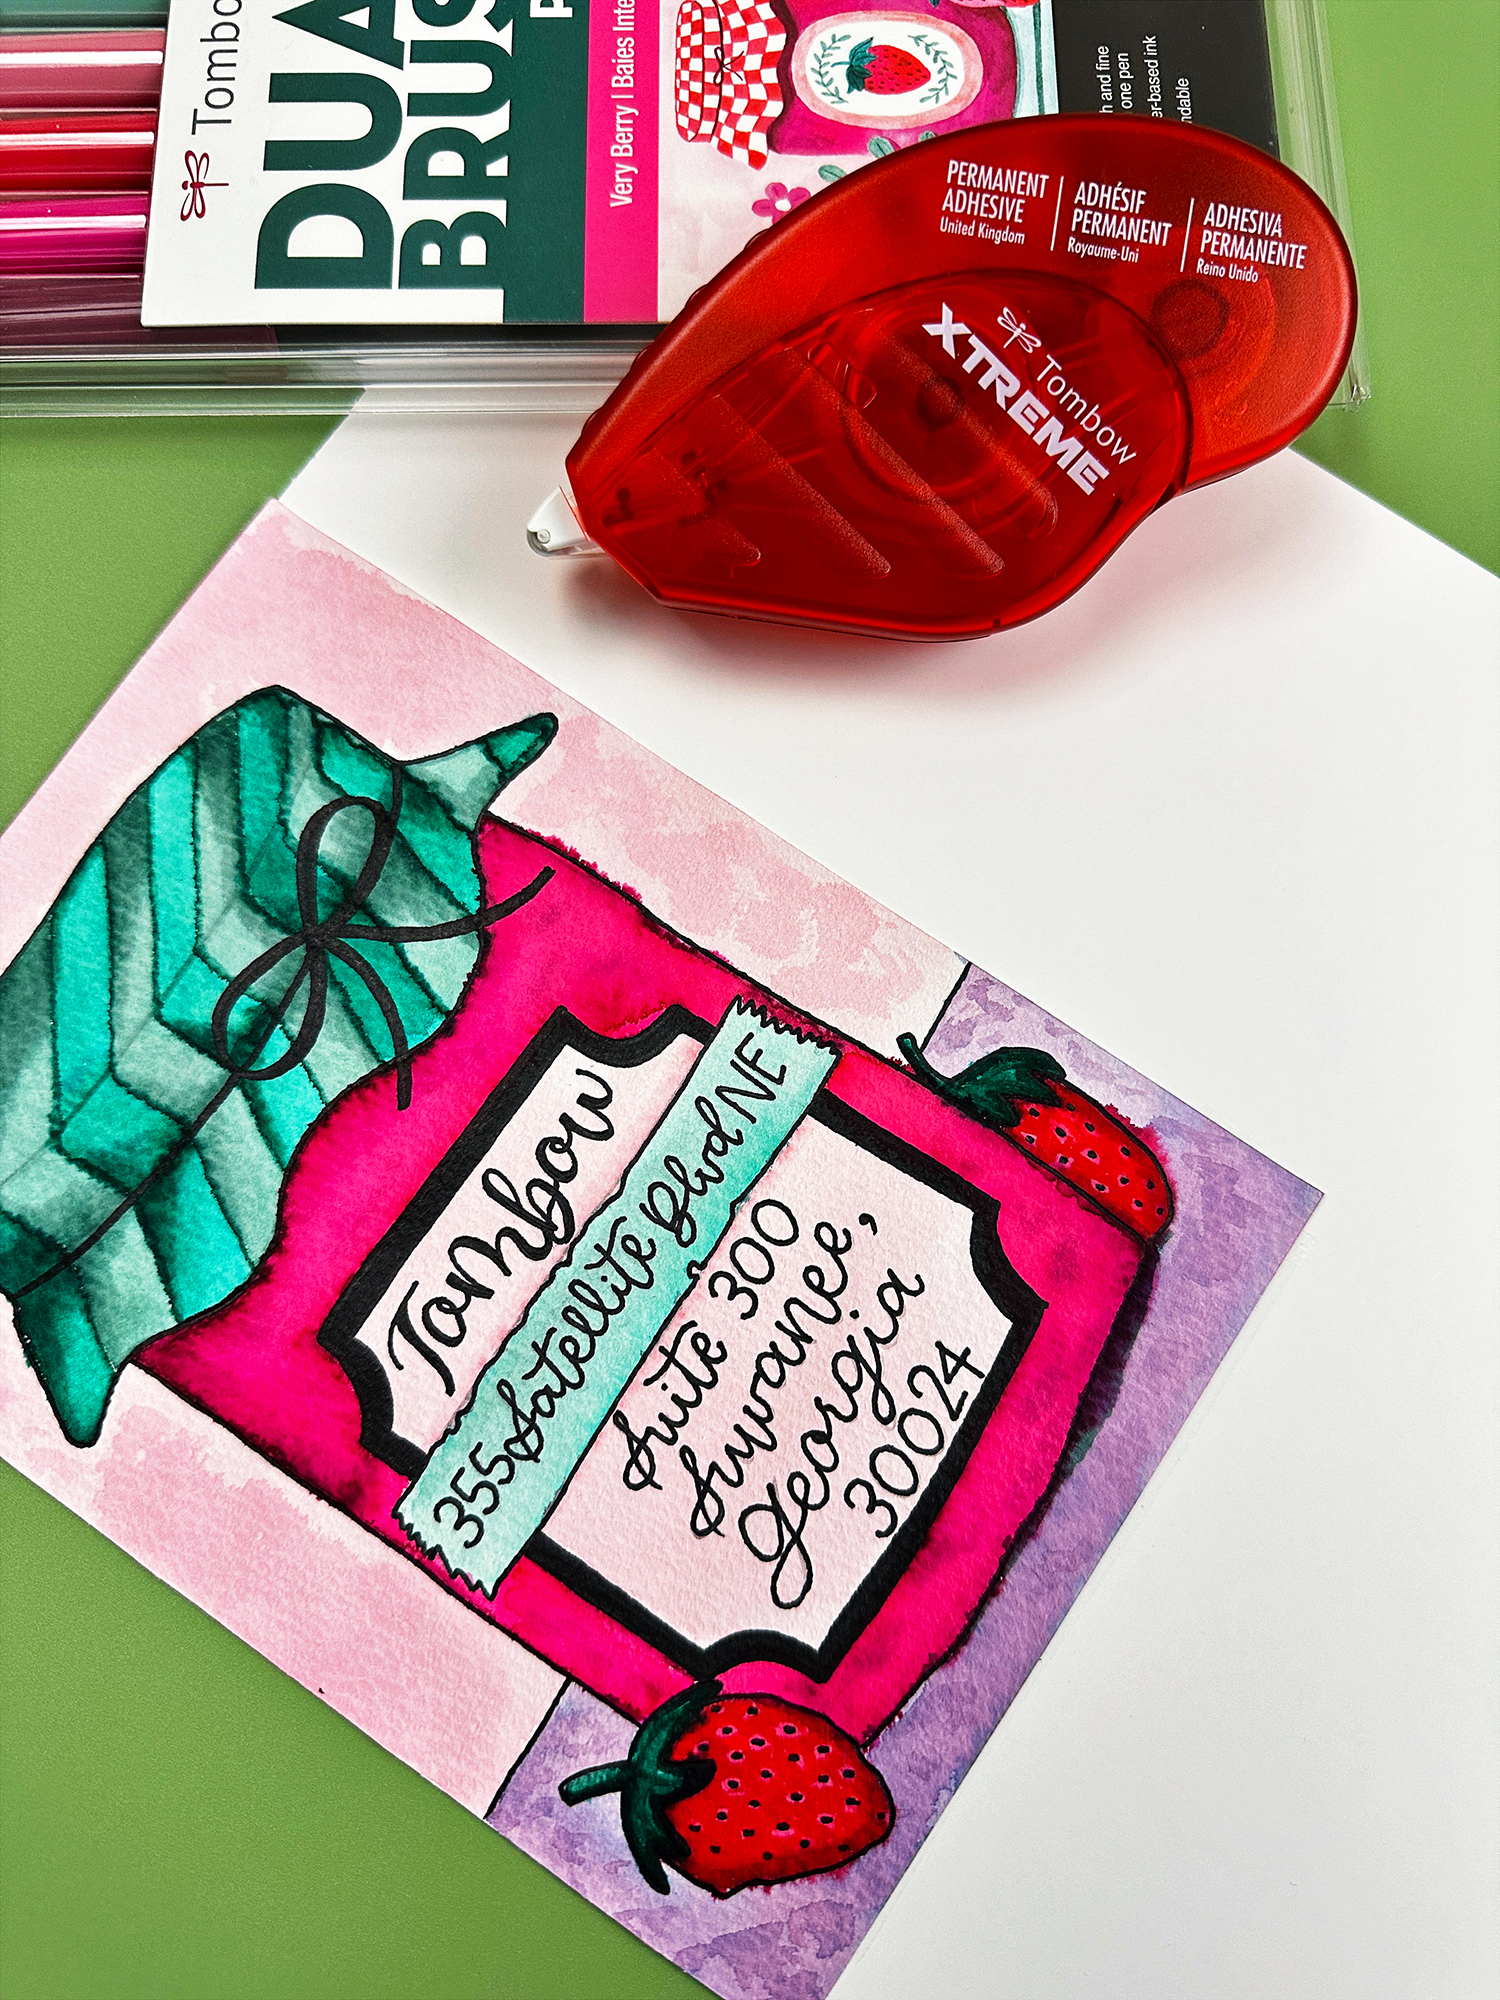
Step Four: Make the postcard sturdy.
The postcard paper was too thin to send through the mail, so I added a thin cardboard paper on the back. The Tombow Xtreme Adhesive is strong enough to go through the mail system.
Now my postcard is ready to mail! All I need to do is add a nice message on the back, and a stamp!
You could also add a sentiment on the jar and send it inside an envelope as a greeting card.
Do you want to try out a more adventurous Happy Mail project? Check out this Cassette Happy Mail Project!
Make your own postcards with Tombow products and share them with us using the hashtag #tombowusa or tag us @tombowusa. Have a great happy mail day friends!