Today is day two of our Tombow USA Design Team Holiday Card Week here on the blog!
Now, I am not a traditional paper crafter, but when I do make cards I like to add lots of bright colors and unexpected elements for dimension.
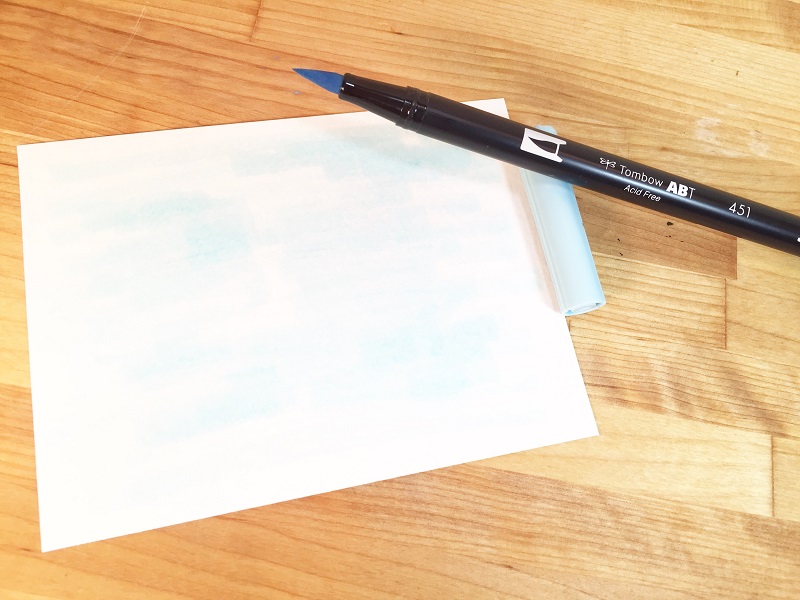
Start out with a 5 1/2″ by 4 1/4″ Kraft Card and envelope. Measure and cut a piece of 90 lb. watercolor paper 5″ by 3 3/4″. Randomly scribble on the watercolor paper with Tombow Dual Brush Pen # 451 Sky Blue. Leave space around the edges and overlapping in some areas to create depth. Add clean water with a large paint brush, removing all of the pen strokes, then set aside to dry.
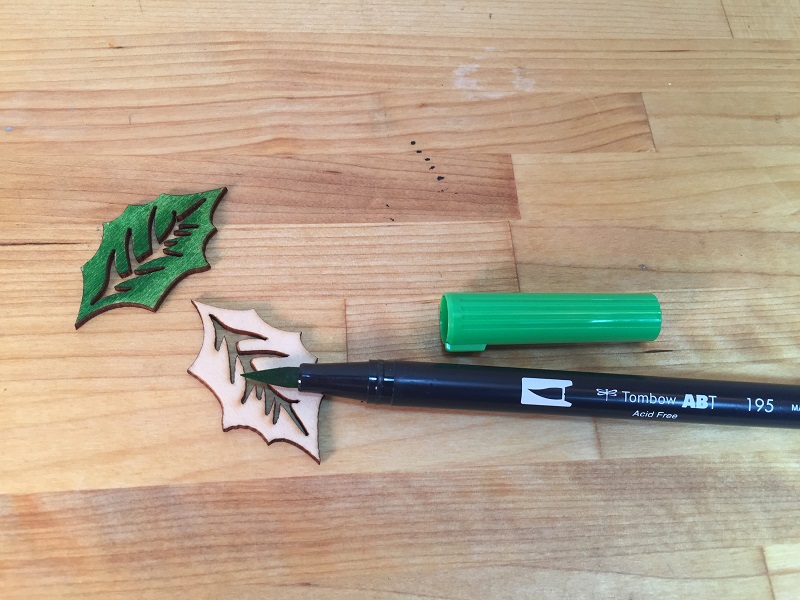
Color wooden holly leaves with Tombow Dual Brush Pen #195 Light Green, applying extra strokes near the center of the leaves to create depth and dimension.
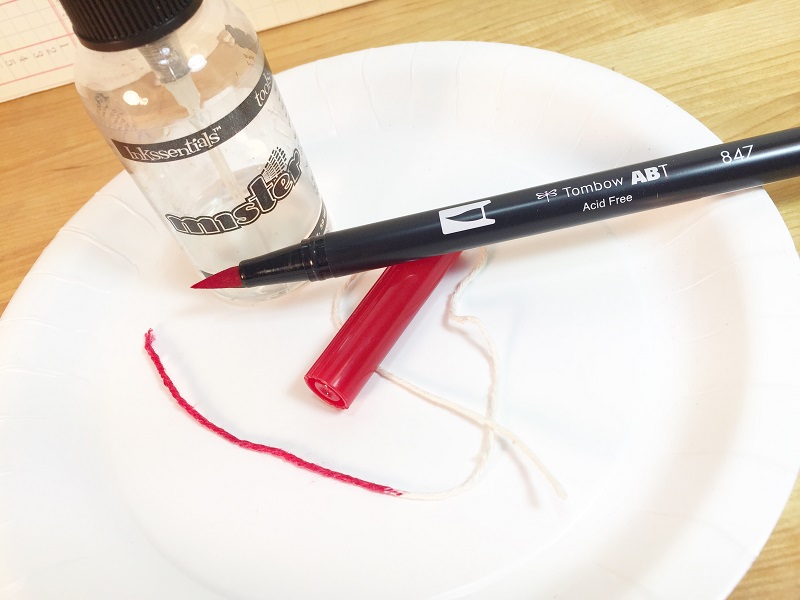
Tombow Dual Brush Pens are very versatile and can easily color many surfaces. I originally wanted a tone on tone look with the string and button being red, but then when I went to put the card together, I realized that I needed a contrast, so I changed it up to black string threaded through the button. Cut string, mist with water, then color with Tombow Dual Brush Pen #N15 Black, set aside to dry. Once dry, thread through button holes, tie in a bow and trim ends.
Apply Tombow Mini Power Tape to back of watercolor paper and center on front of Kraft card. The Mini Power Tape is strong, compact and exclusively available at Michael’s Art & Craft Stores!

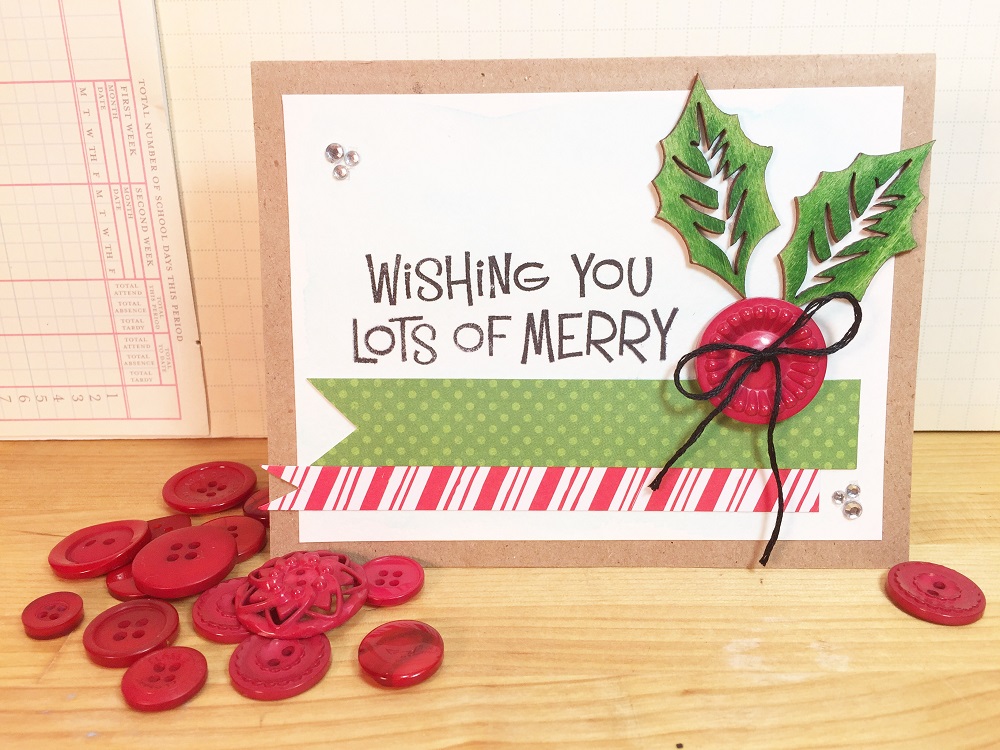
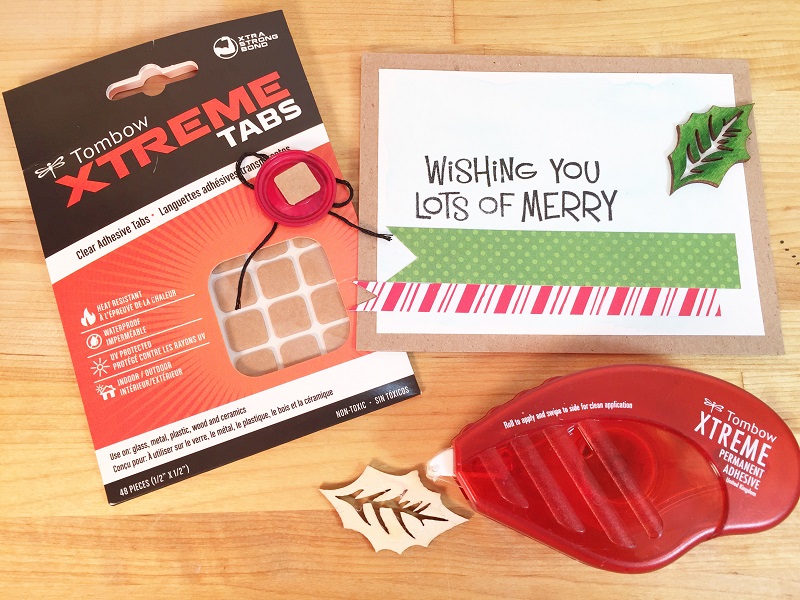
Measure and cut red and white striped paper 1/2″ by 4 1/2″. Measure and cut green polka dot paper 3/4″ by 4 1/2″. Dovetail both ends with scissors and attach to card front with Tombow Mini Power Tape. Stamp sentiment on front of card just above patterned paper strips. Attach wooden leaves with Tombow Xtreme Adhesive and button over top of leaves with Tombow Xtreme Tabs. Tombow Xtreme Adhesive is 5 times stronger than regular tape runners, so it can adhere those bulky embellishments! Simply roll to apply, then swipe to the side to obtain a clean application. The very last step is adding a bit of bling with some clear rhinestones!
I have just enough of the wooden leaves to create six of these cards for some special people this Holiday Season. I hope you have been inspired by my card today to get started (or finish) your Holiday cards! Experiment and use some embellishments that you might not initially think to put on a card and don’t forget how versatile Tombow’s Dual Brush Pens and Adhesives are! Post your Holiday Cards and use the hashtag #TombowUSA

Thanks for stopping by and check out the Tombow USA Instagram for more inspiration! -Beth
Pingback: Happy Holly-days Card by Beth Watson | Charlotte George – Colouring
Pingback: 5 ways to use Tombow Xtreme Tabs by Beth Watson - Tombow USA Blog