Happy Friday! Let me freak you out for a second… One week until Christmas… There, there. It’s okay. I’m here to help you wrap gifts. If there is someone in your list that refuses to adult? I got you covered! Step 1: Get in your pajamas and build a fort. Step 2: Go back in time and get a Spirograph. Step 3: Get your Tombow Dual Brush Pens! Now, you are ready!
Before I start working on the white wrapping paper I do a little cheat sheet to see which pattern I like best or which one fits a certain space. I put the number of the wheel and the hole next to the pattern. It’s also a good time to experiment with colors.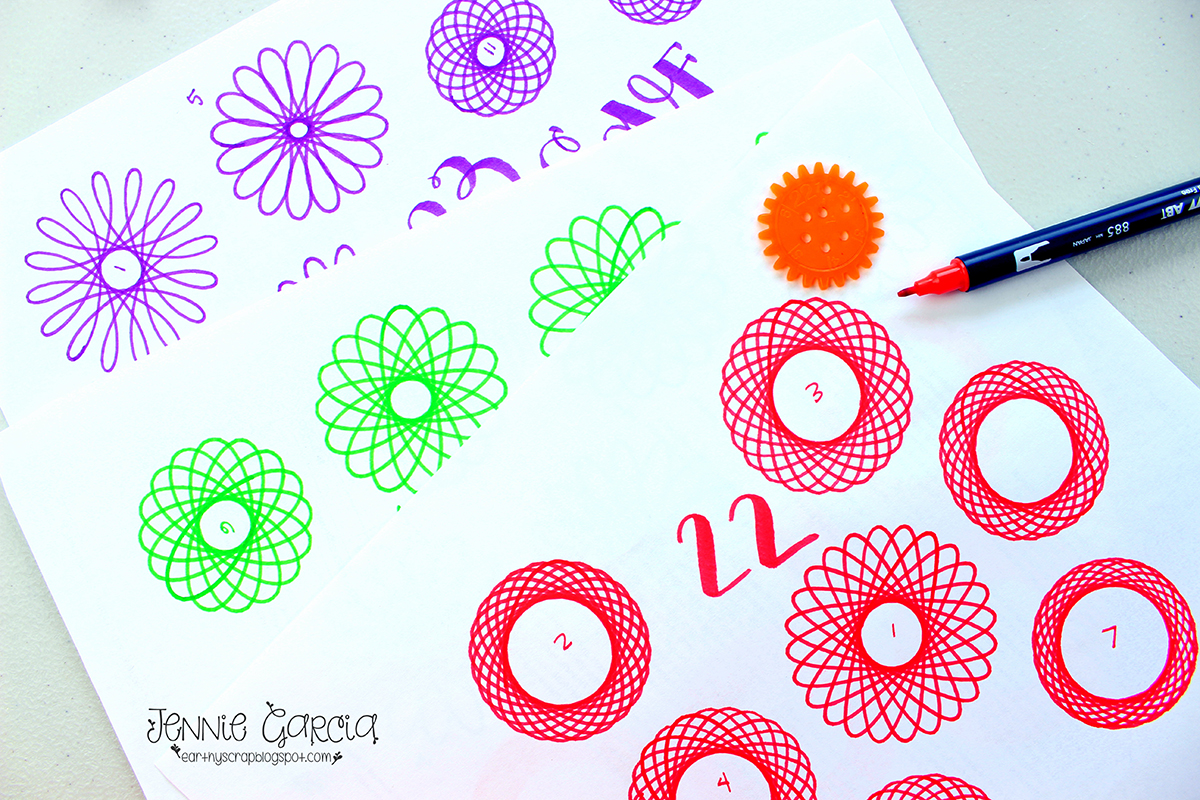
The fine tip of the Tombow Dual Brush Pens fits perfectly in the Spirograph wheels! I picked one pattern and I draw it around the paper leaving lots of spaces for more patterns.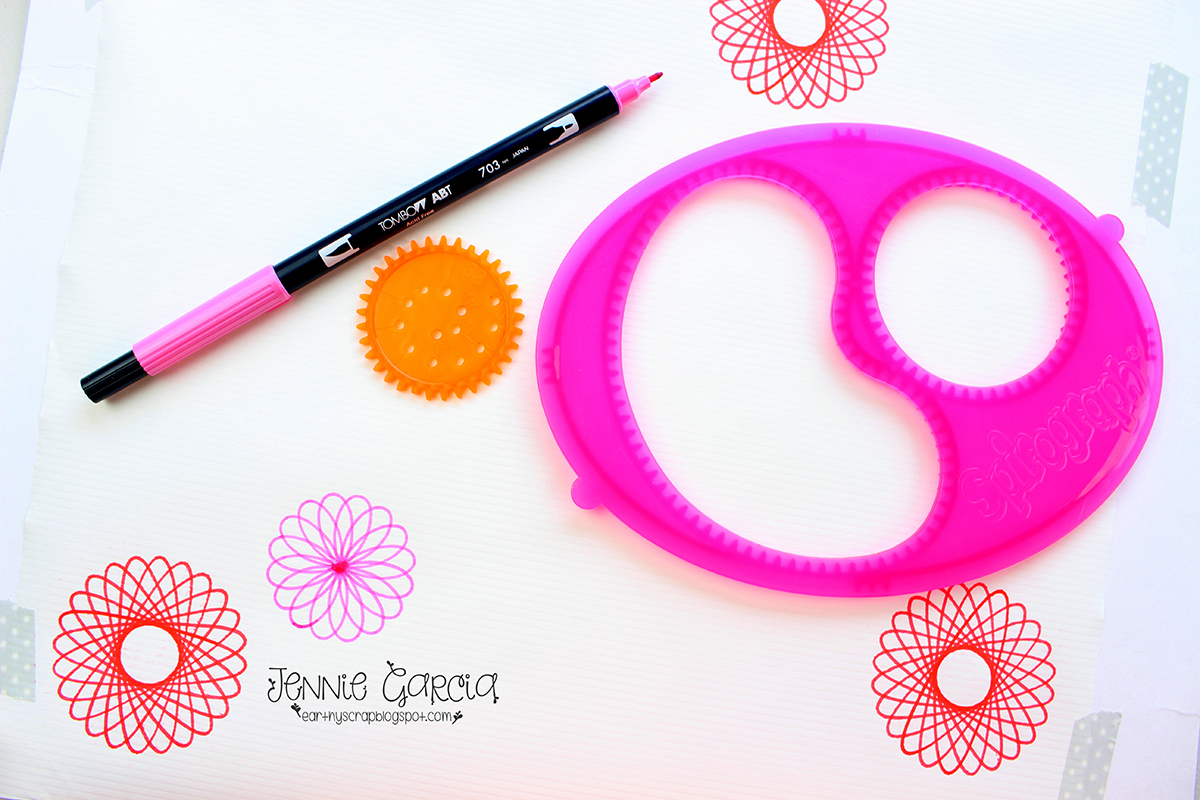
I originally planned to use just Christmas Colors but, I can’t help it! I love all the colors, the brighter the better! My favorite Tombow Dual Brush Pen set is the Bright Set!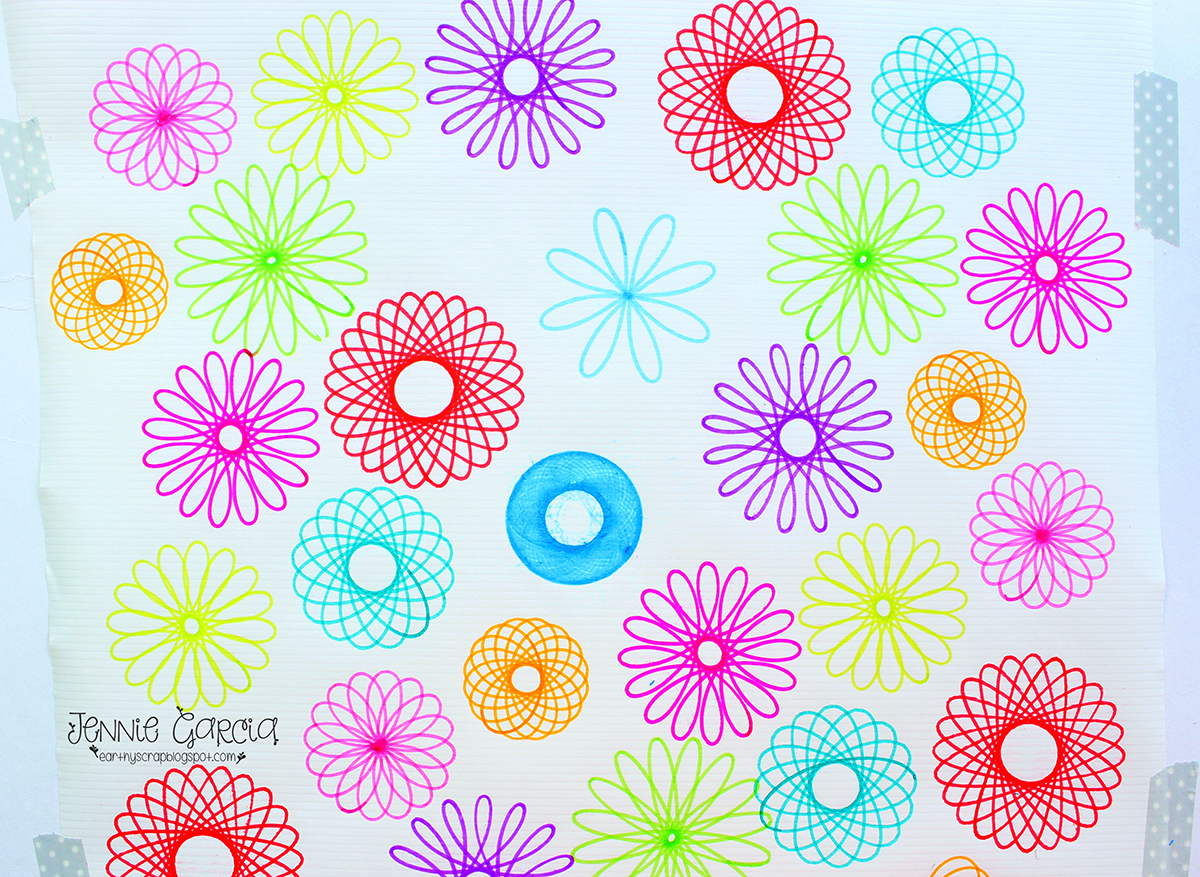
Love this close up! 
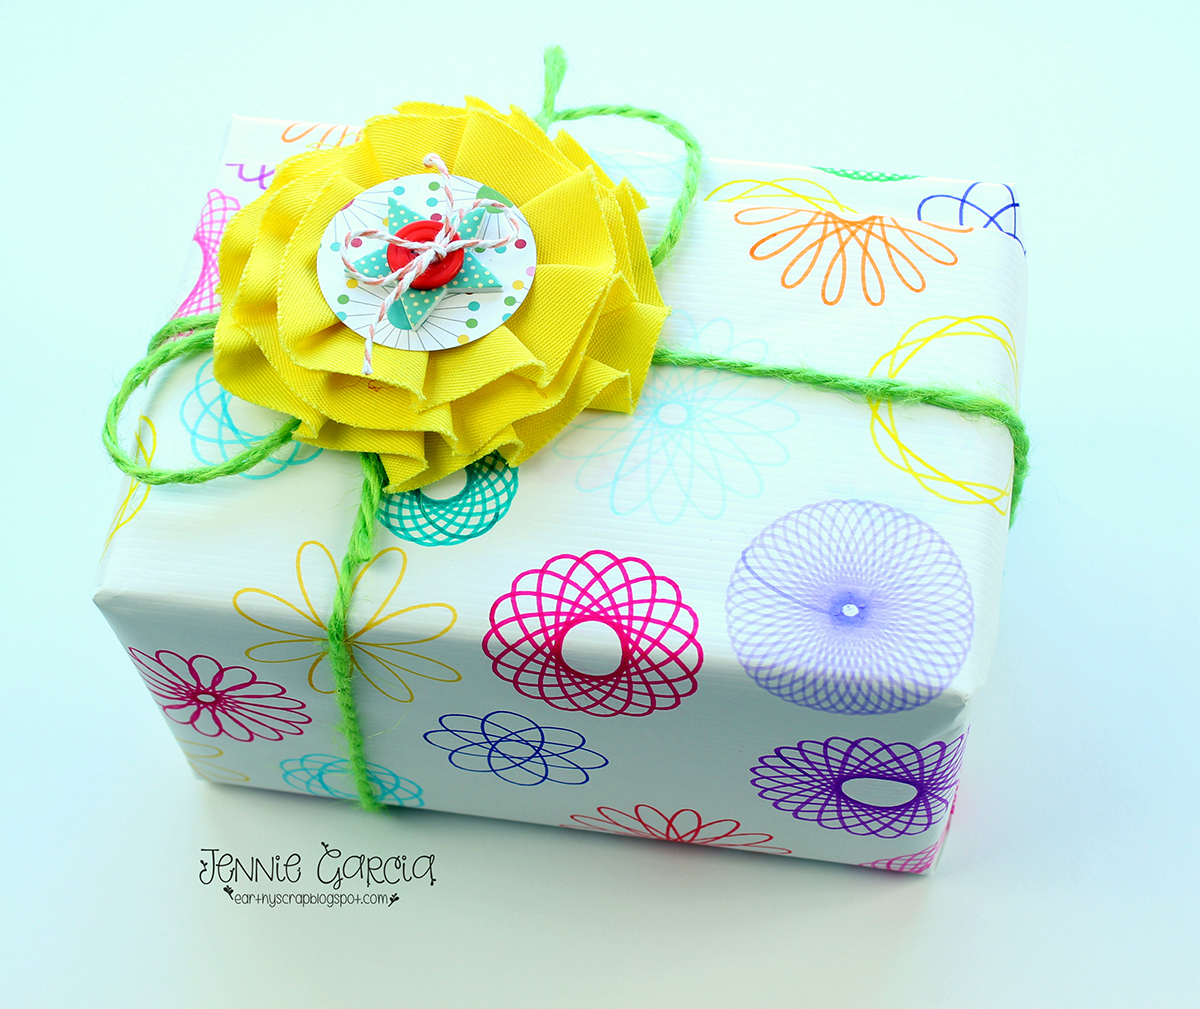
I have to finish it up with something pretty like this Canvas Corp Flower and Jillibean Soup embellishments! I glued the flower with the Tombow Mono Multi Liquid Glue and the embellishments with the Tombow Xtreme Adhesive Tabs.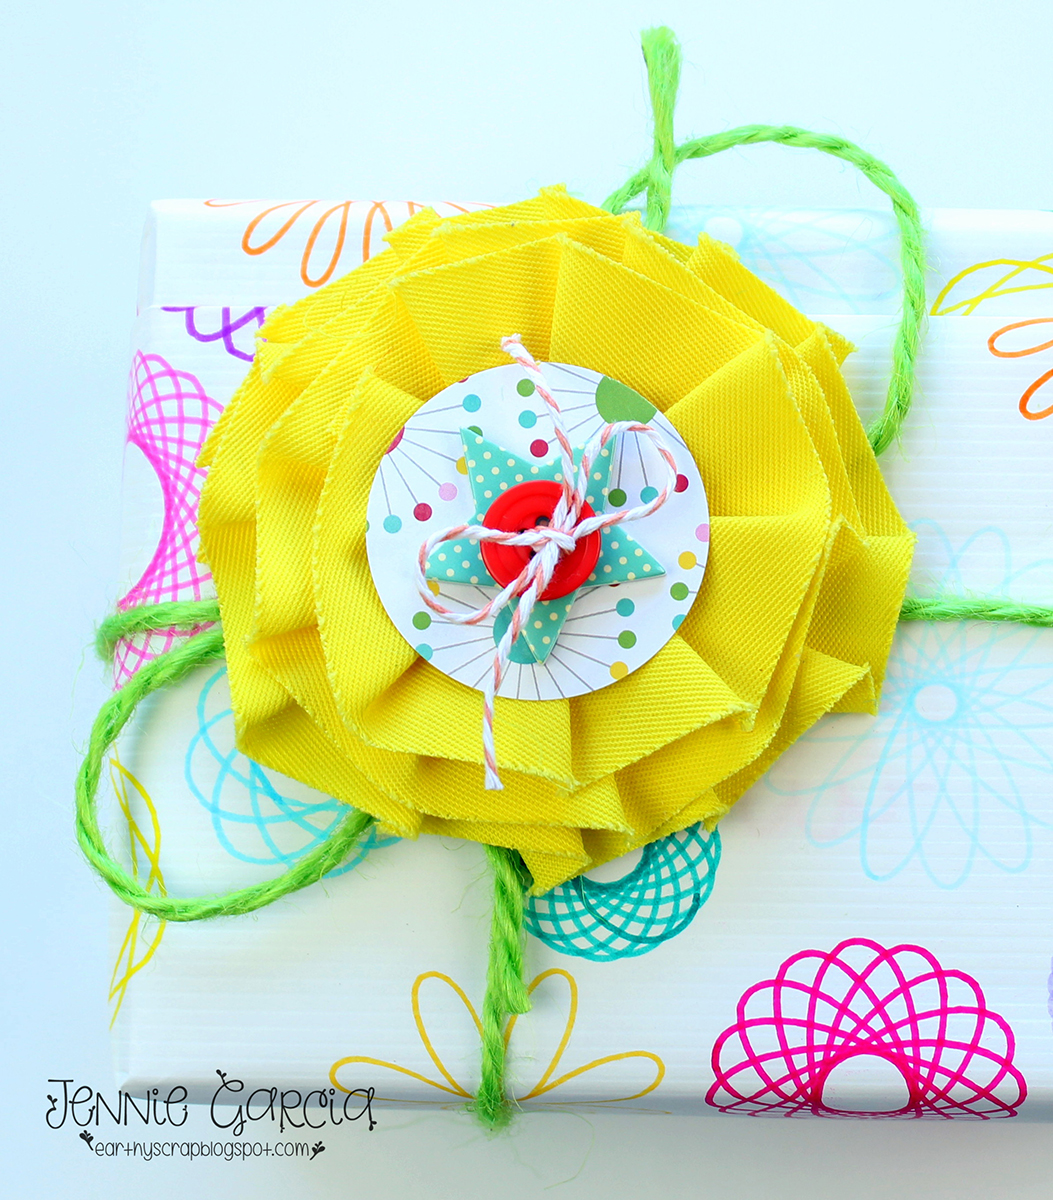
I had enough for another little present!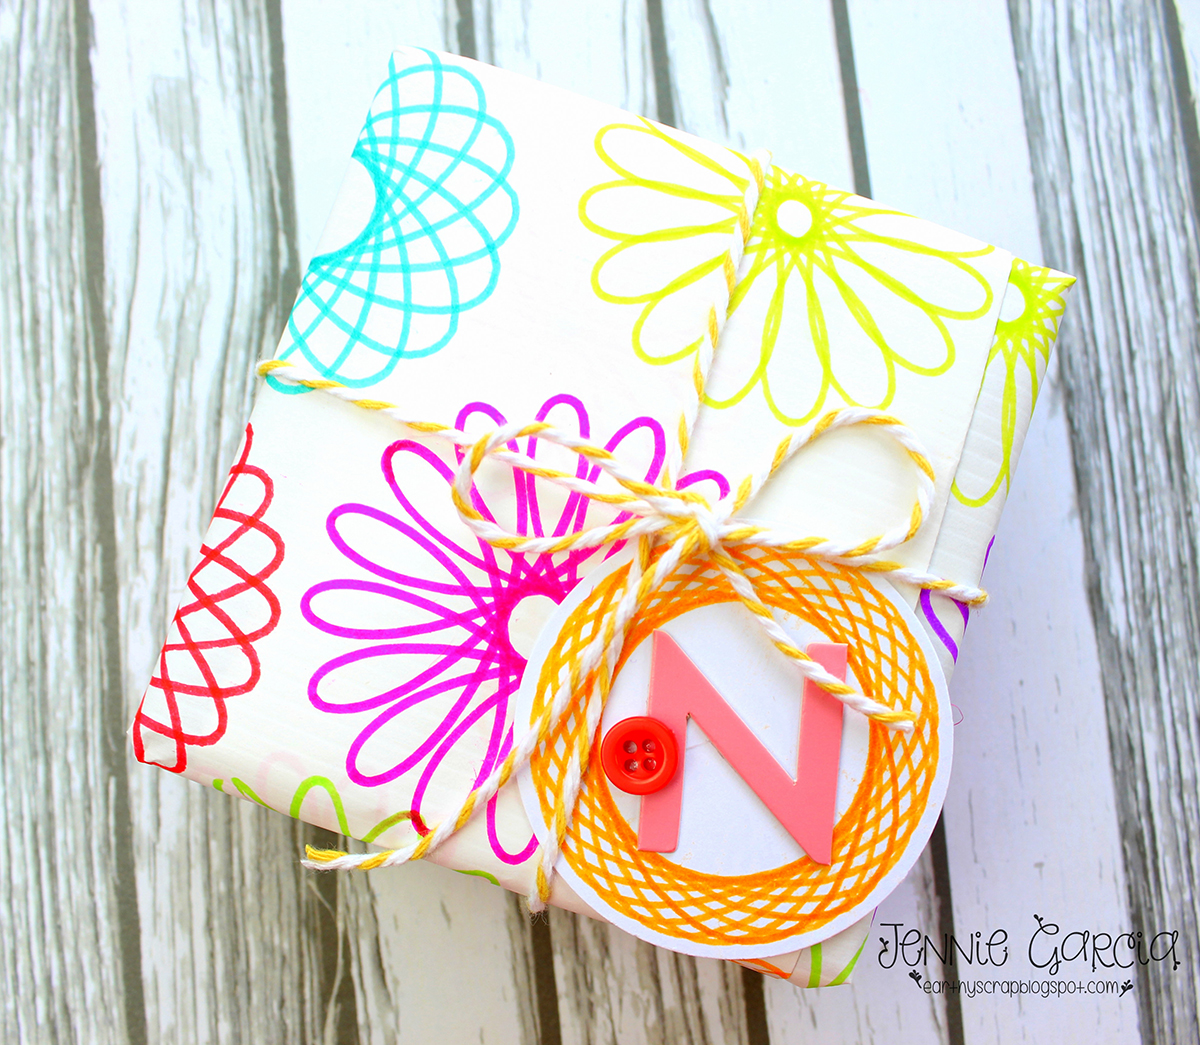
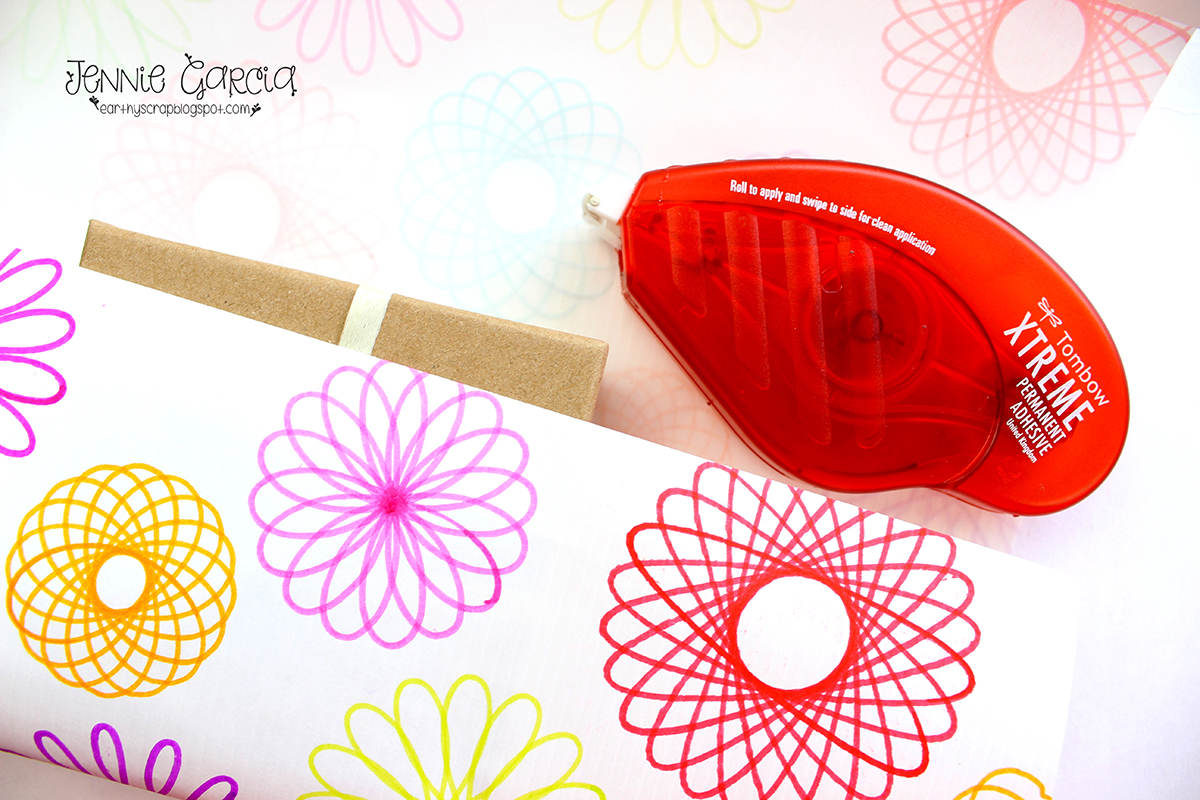
Instead of using tape, I used the Tombow Xtreme Permanent Adhesive. It looks so polished without the tape!
For the tag I made another circle with a space in the center and using the Tombow Mono Multi Liquid Glue I glued the alpha die cut.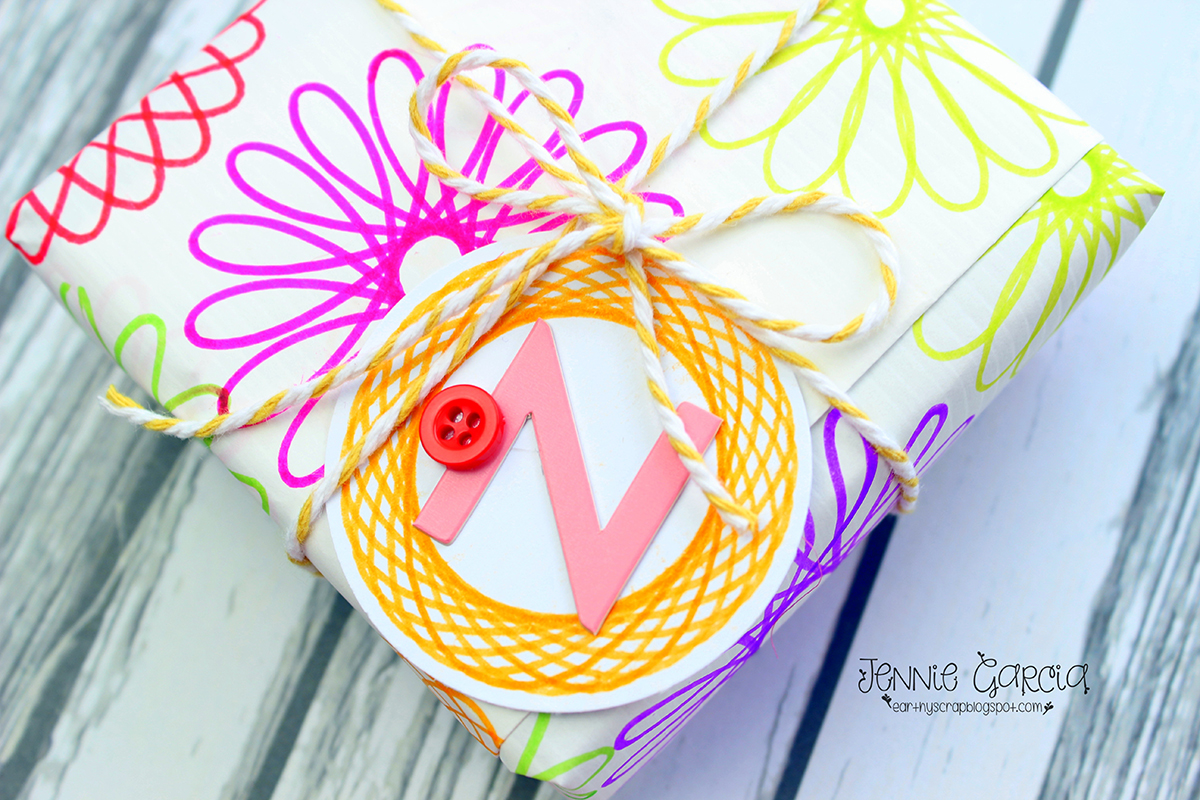
There you go. Easy, fun, the kids can help and it’s perfect for your creative fort building loved one!
I had so much with this gift! I hope you enjoy this tutorial!
Jennie
This is the coolest!!!!!?