Hello Tombow Fans! This is Jennie and this week we’ll be hanging out with Sweet Stamp Shop! We will be doing projects using their awesome stamps! Today I’ll show you 3 ways to make backgrounds with Tombow Dual Brush Pens. Make sure you read all the way to end so you can see these three techniques in action! 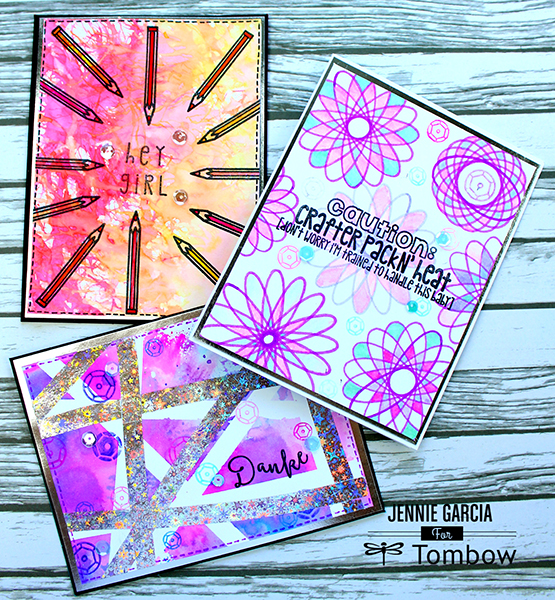
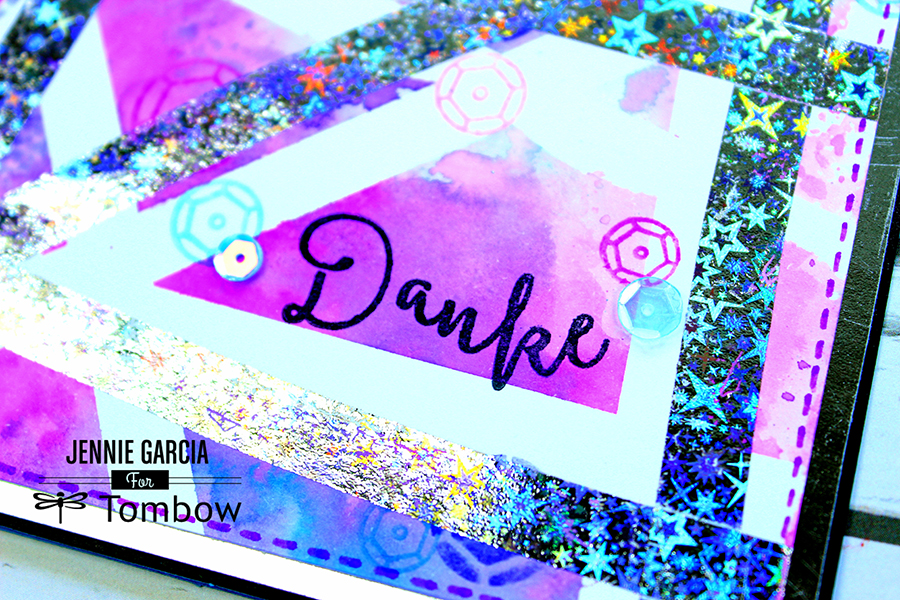
For the first card we will be using the Tombow Mono Removable as a resist.

Step 1: Use the Tombow Mono Removable Adhesive to make random lines on a piece of cardstock.
Step 2: Scribble on the Tombow Blending Palette using the Tombow Dual Brush Pens.
Step 3: Spray water on the palette using the Tombow Blending Mister.
Step 4: Place palette on the paper to transfer the color.
Step 5: Let it dry.
Step 6: Remove the adhesive using your finger.
Step 7: Stamp the sequins from the Craft Night Stamp Set.
Step 8: Stamp the sentiment using the “Danke” from the Gnome Stamp Set.
Step 9: Use the Tombow Mini Power Tape on the paper and then place the foils on top of it and smooth with your finger to make the foil transfers well.
Step 10: Put the card together using the Tombow Mini Power Tape.
Step 11: Using the fine tip of the Tombow Dual Brush Pens to faux stitch around the card.
Step 12: Add sequins using the Tombow Mono Aqua Liquid Glue.
 In this second background I got help from a little tool.
 In this second background I got help from a little tool.
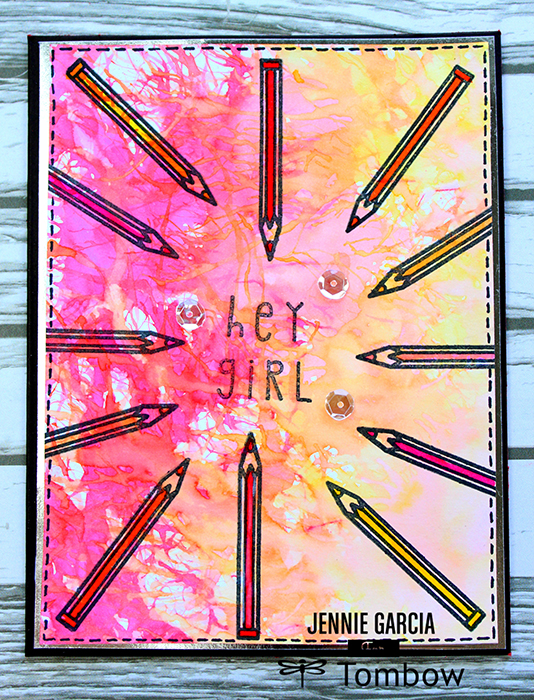
Step 1: Scribble in the corner of the Tombow Blending Palette using the Tombow Dual Brush Pens.
Step 2: Spray water on the palette using the Tombow Blending Mister and drip the color on the cardstock.
Step 3: Use the eBrush from Craftwell to move the color around the cardstock. You can also use a straw to blow the color away.
Step 4: Let it dry.
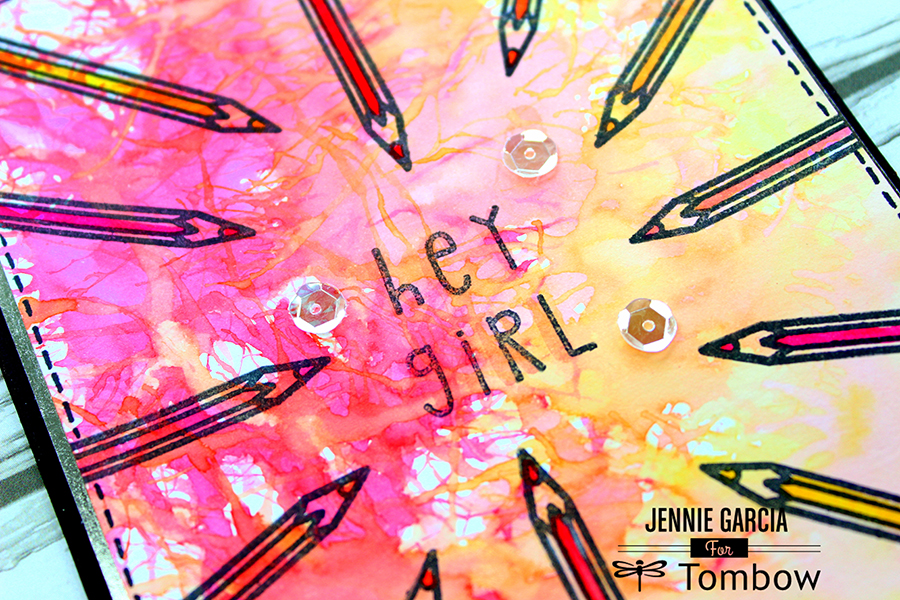
Step 5: Stamp the pencils from the Art Collection Stamp Set. To stamp the sentiment I used the Mixed Alpha Stamp Set.
Step 6: Color the pencils using the Tombow Dual Brush Pens.
Step 7: Doodle the faux stitching using the Tombow Mono Twin Permanent Marker.
Step 8: Glue the pieces to make the card.
This third background is a throwback! Who wants to play?!
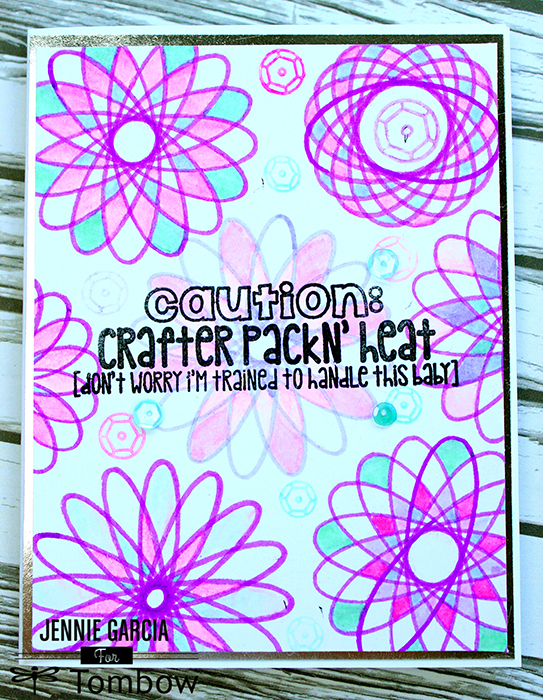
Step 1: Get a time machine a go back to your childhood! Bring your Spirograph! You can also get it from Amazon, it’s more convenient but boring.
Step 2: Try out a few shapes before you start working on your cardstock.
Step 3: Place the circle at the center using a lighter color (since you will be stamping your sentiment there) make your first shape. Choose a darker color and work around the one you made first.
Step 4: Color inside the spaces using the Tombow Dual Brush Pens.
Step 5: Stamp sequins on the empty spaces in the background.
Step 6: Stamp the sentiment from the Craft Night Stamp Set on the center.
Step 7: Put you card together using your favorite Tombow Adhesive Runner.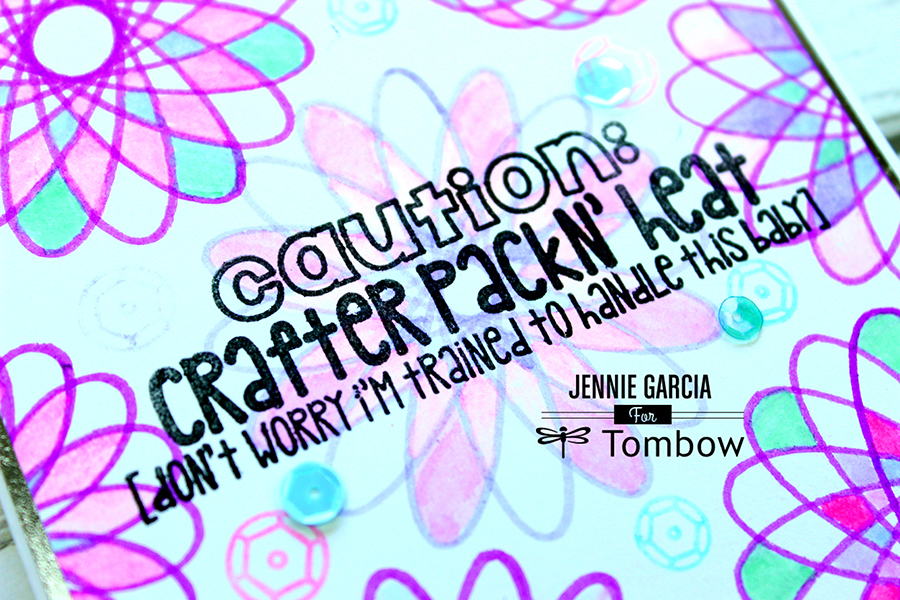 Watch the video to see all these backgrounds with Tombow Dual Brush Pens!
Let me know which one of the background with Tombow Dual Brush Pens was your favorite! I hope you enjoyed this post! Have a sweet week!