Watercolor Halloween Tags By Serena Bee
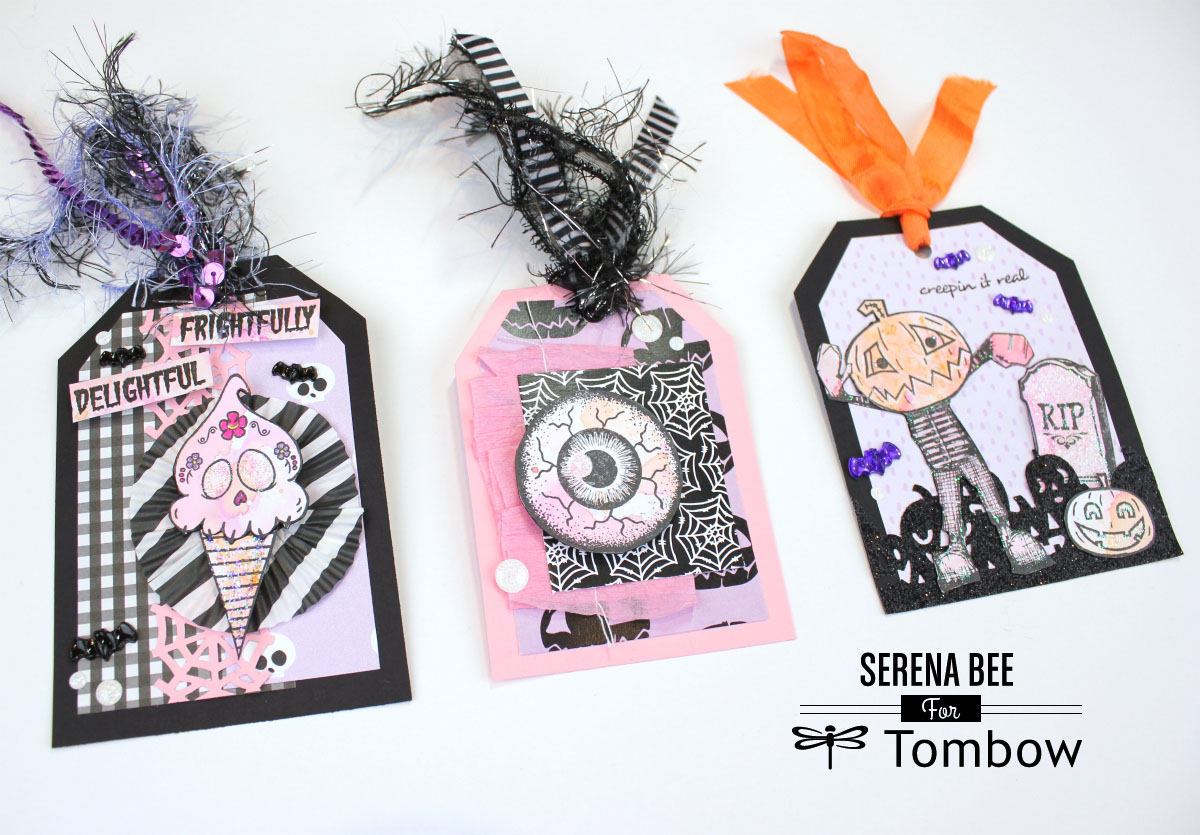
Happy Wednesday and happy October! It’s my favorite time of the year and today I have a watercolor Halloween tags tutorial with a twist! I’m going to show you a simple trick to watercolor images without any actual coloring! Let’s Get Started!
Step 1
For this technique you will need:
- Tombow Dual Brush Pens
- Blending kit– use the blending palette and mister
- watercolor paper or white cardstock
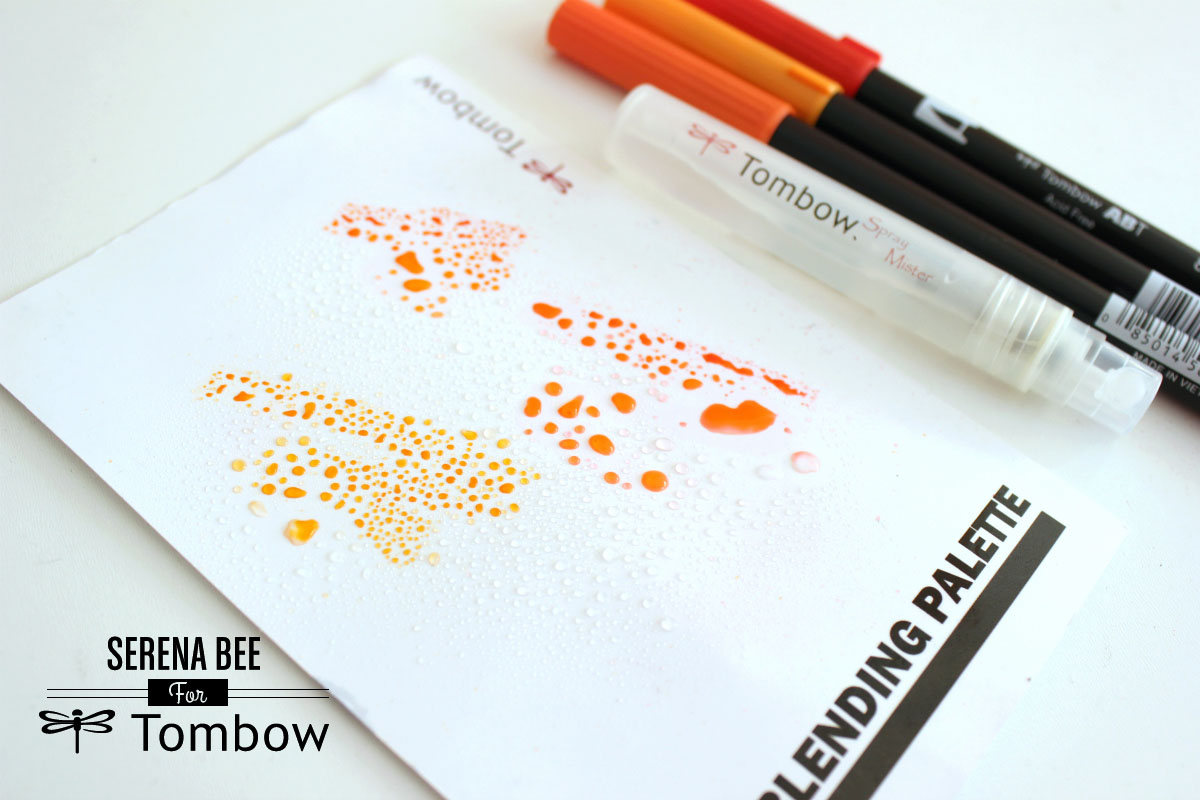
Begin by scribbling color on the Tombow Blending Palette and then spray some water with the spray mister.
I used oranges and greys to create my backgrounds. I went back and added some pinks and purple color too with the Tombow Dual Brush Pens.
Step 2
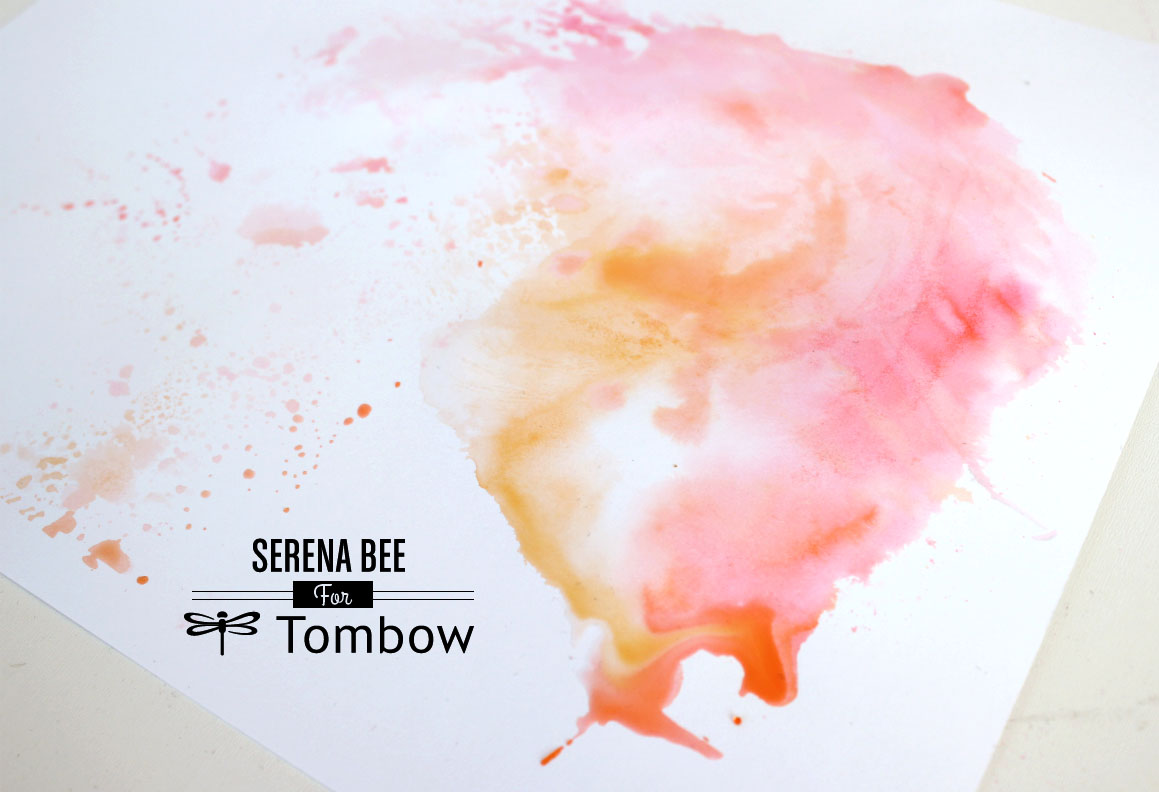
Next smush the palette on to your watercolor paper. If you don’t have watercolor paper, you can also use white cardstock. That’s what I used. If you decide to use white cardstock keep in mind your paper will buckle and warp when dry but for this project this is no problem.
You’ll create unique watercolor blends every time! For more color let your first layer dry and then repeat the same steps and smush more color right on top. Continue adding color all over your page.
Step 3
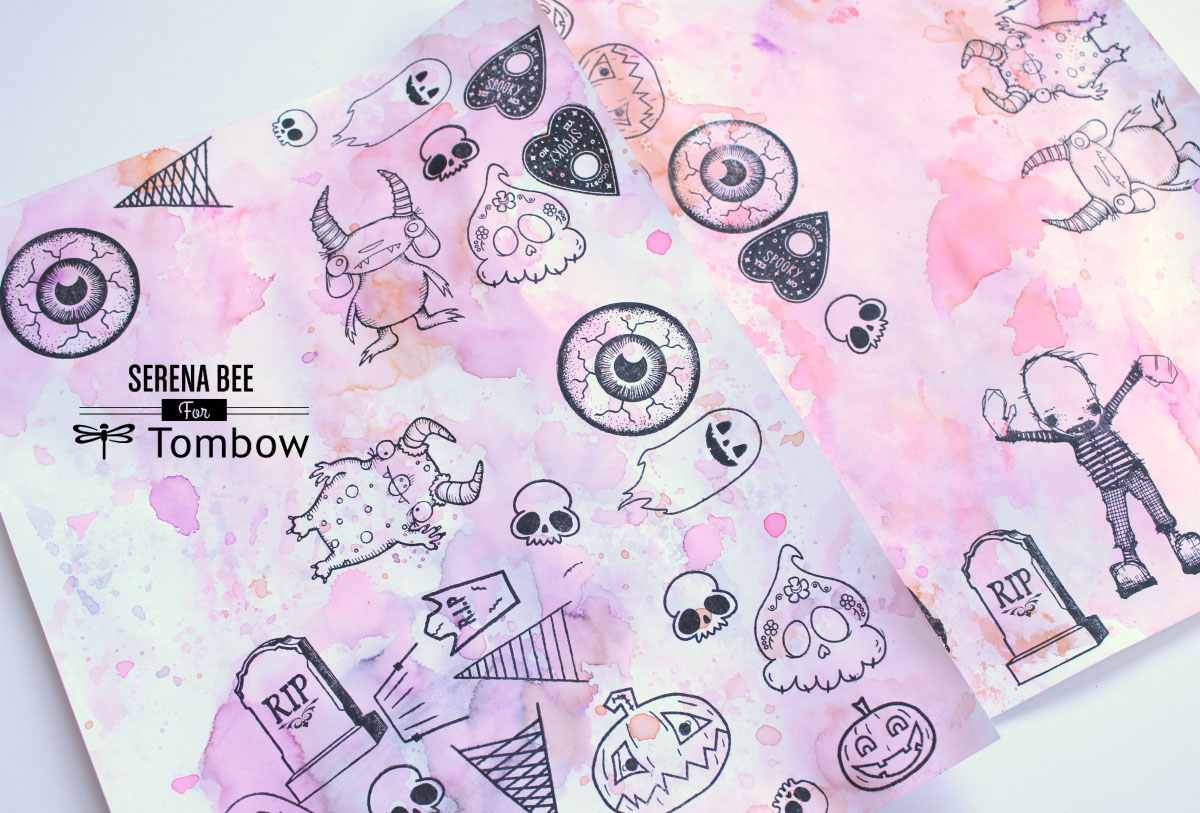
Once your papers are dry the next step is to stamp out some images. I used different Halloween stamps as well as my very own stamp sets for Papercakes by Serena Bee: Monster Bash, Spooky October, and Deadly Desserts (releasing in November). You can pick and choose what watercolor pattern you want for each stamp!
Step 4
Next it’s time to cut out your stamped images. Once you have them cut I like to line the edges with a black marker. I like to use the Tombow Mono Twin Permanent Marker.
Step 5
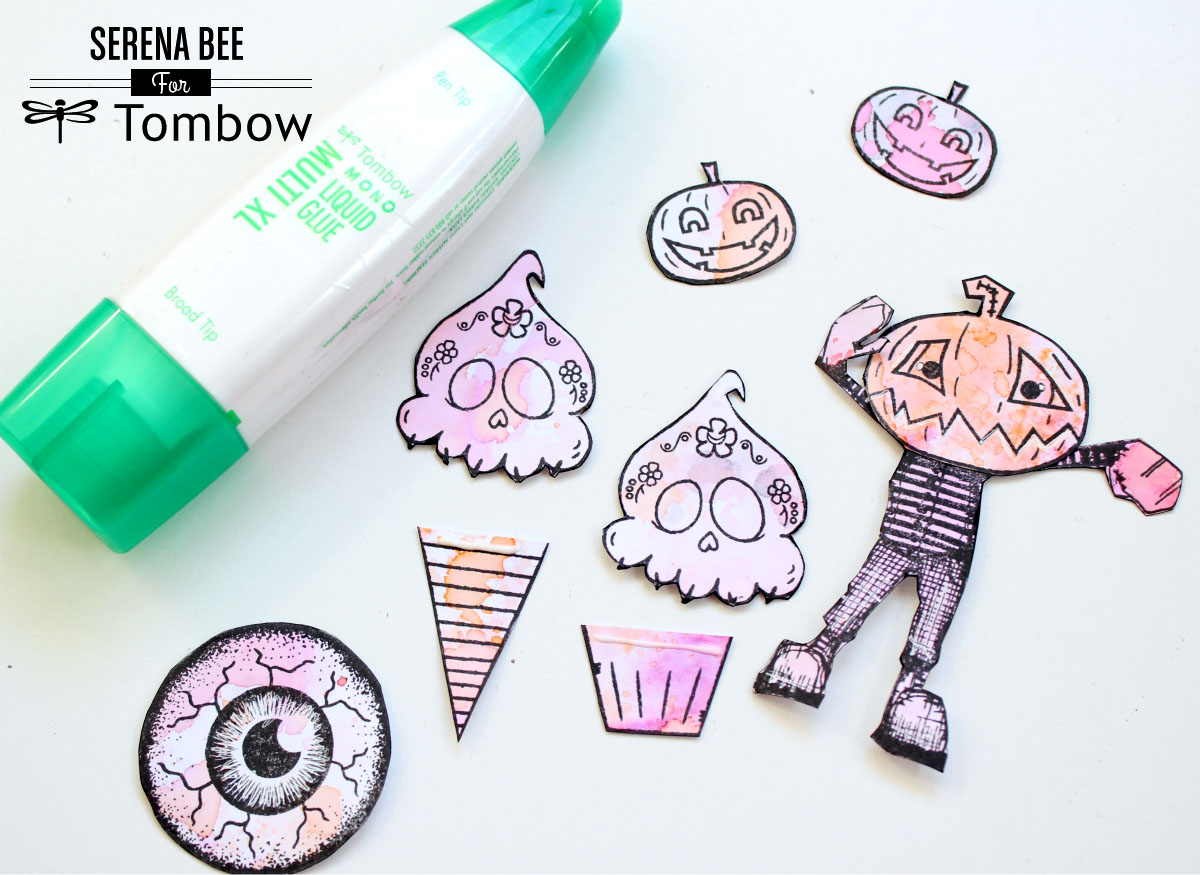
The next step is to assemble your stamps. I’m using my Deadly Desserts set to build a cupcake and ice cream cone. I also did some frankenstein-ing on the little boy by adding my pumpkin from the Monster Bash set as his head. In this picture you can really see the cool watercolored effect of these stamped images!
Adhere using the new Tombow Mono Multi XL Liquid Glue. This much loved adhesive now comes in a bigger bottle which means double the product!! This is my favorite wet adhesive for adhering papers together. In fact, I only used this glue for assembling all 3 tags and also on the enamel dots and shapes!
Step 6
Now we are ready to start assembling our tags, Begin by gathering papers, embellishments and other supplies you want to use. I’m using my Spooky Pastel and Jeepers Creepers Digital collections. I just LOVE how all these colors and patterns look together! This year, I introduced a twist on Halloween by creating a collection with just pastel colors! I’m also incorporating this pastel halloween look into my home decor. I have a decor tutorial on my channel if you’re interested. Click here to watch!
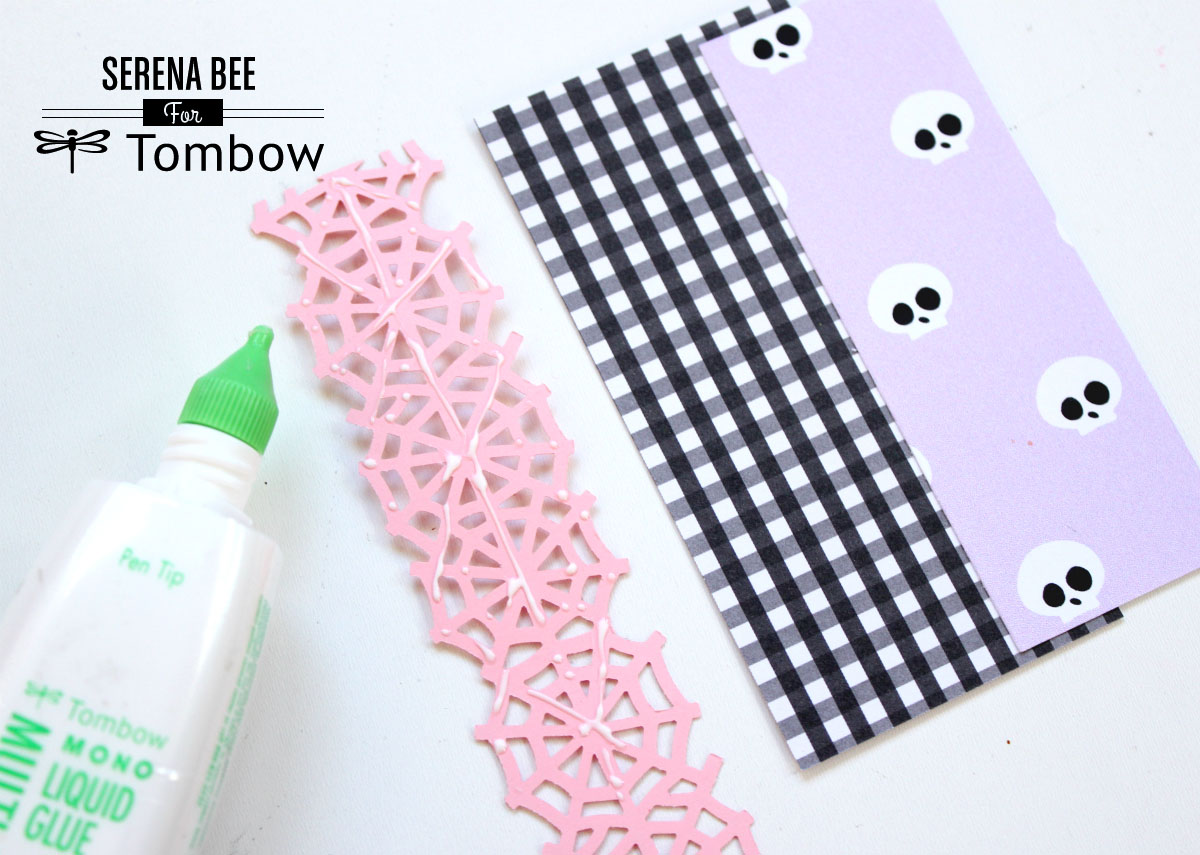
The Pen tip on the Tombow Mono Multi XL Liquid Glue is perfect for gluing intricate dies like this spider web.
TIP: when gluing, apply the tip of the Mono Multi XL Liquid Glue directly to the paper before gently squeezing the bottle. This way you get a thin coat of glue, trust me less is more.
Final Steps
You can use any items you have in your stash to assemble you tags.
To finish off, punch a hole at the top of your tags and add some of your favorite trims and ribbons.
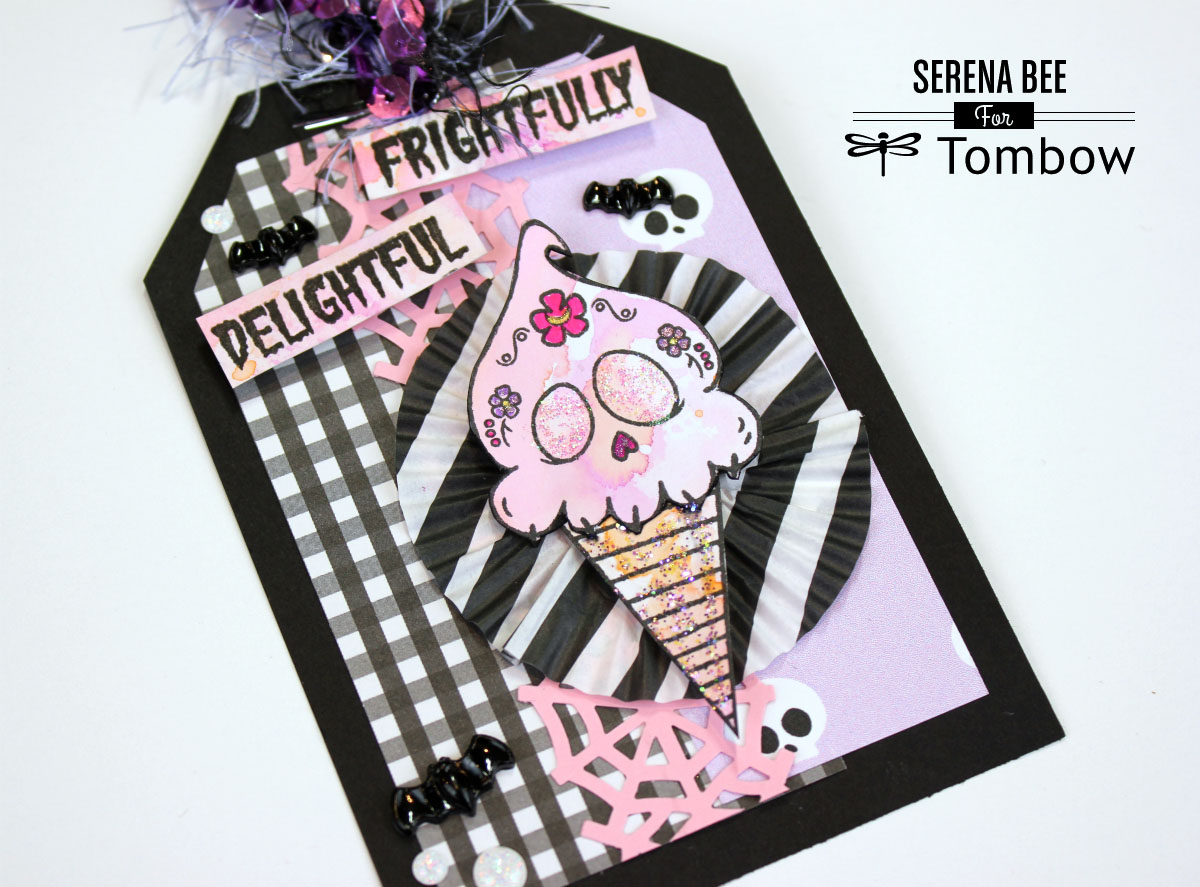
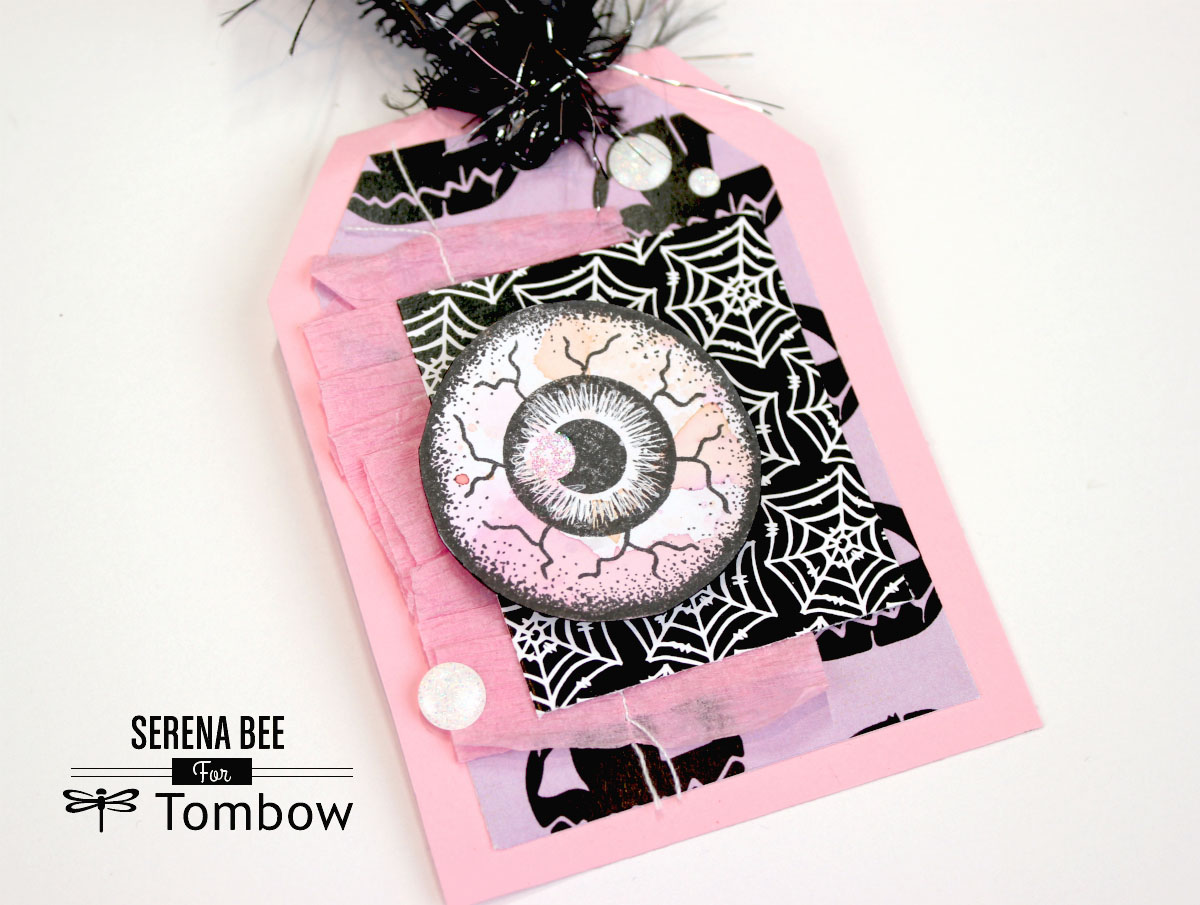
Here is a closer look at the 3 watercolor halloween tags I made.
Frightfully Delightful!
I must say, this eyeball tag is my favorite!
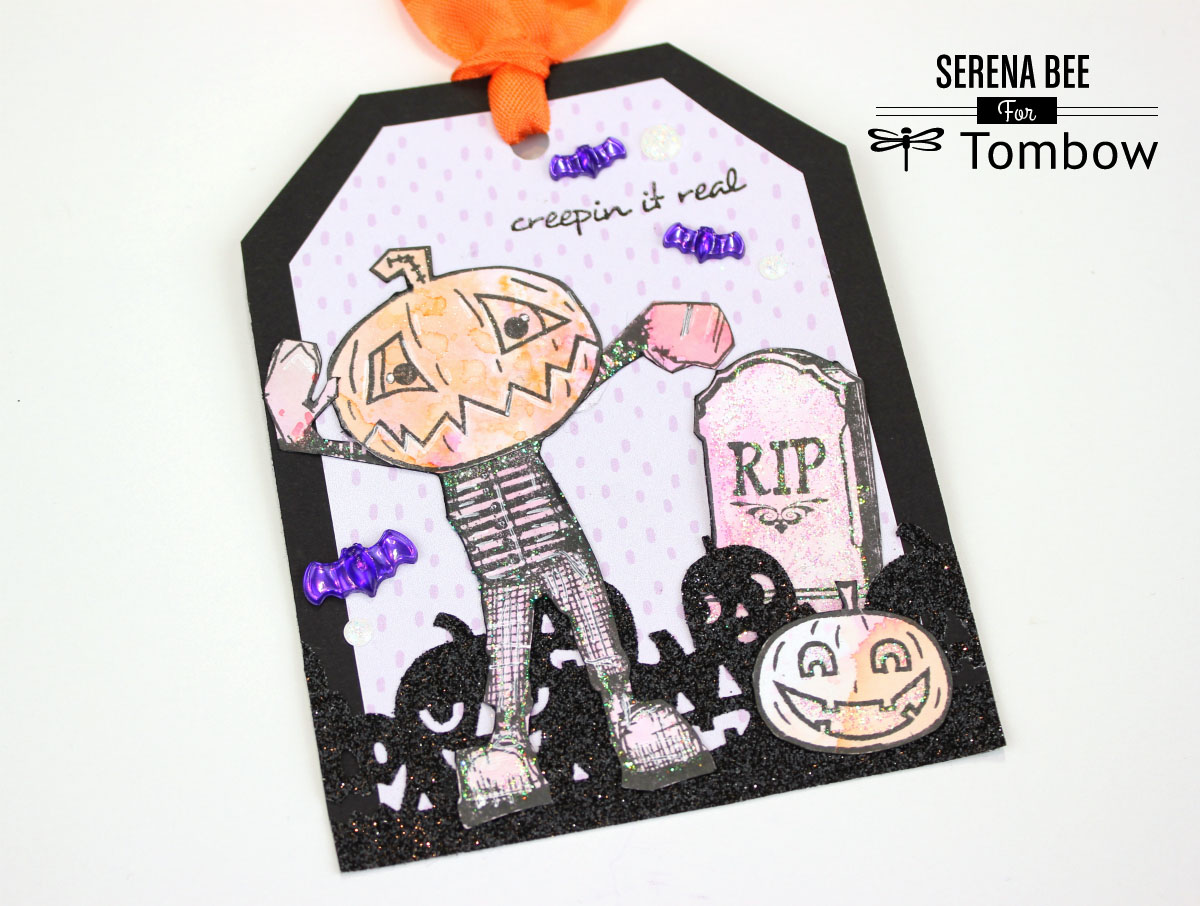
Creepin in real!
Thanks for stopping by today! I hope you enjoyed my watercolor halloween tags. Let me know in the comments which tag is your favorite! And if you decide to recreate this watercolor technique, tag me on instagram @seresbee and @papercakes_ so I can see!
Stay spooky!

Pingback: How to Make an Explosion Gift Box - Tombow USA Blog
Pingback: Halloween Trinket Box - Tombow USA Blog