Hey Everyone! This is Jennie! Have you heard that Tombow recently released two NEW Dual Brush Pens Sets: Pastel and Galaxy?! They are both amazing! For this project I’ll be using the Galaxy Dual Brush Pen Set to make a Galaxy Shaker Card! 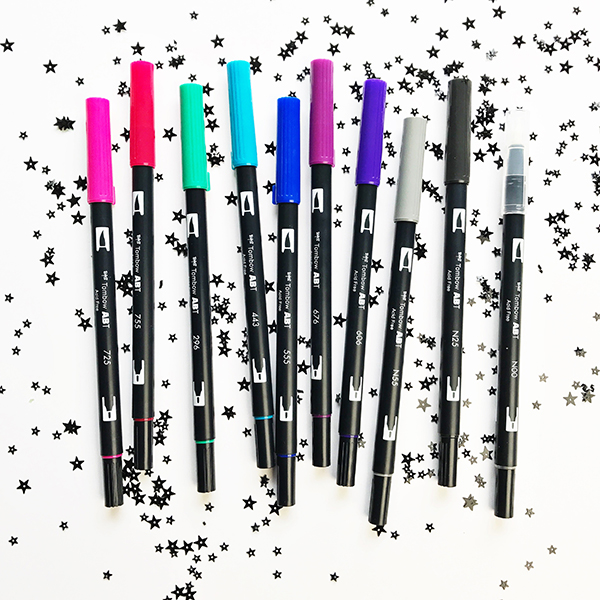
For these cards, I started with a simple splash background using photo paper. On the top paper, I made lines in an spiral pattern alternating the colors. At the bottom, I used the Tombow MONO Glue Pen to draw stars and let them dry before making the splash technique with the Tombow Blending Palette. 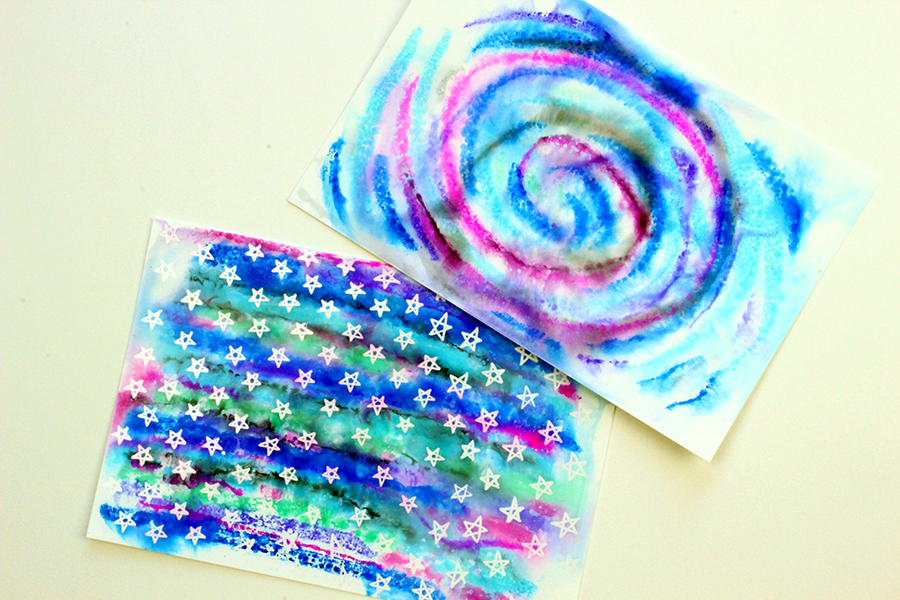
On the paper where I didn’t used the Tombow MONO Glue Pen I stamped stars following the spiral pattern. Both patterns are very cool but I decided to use this one for my cards. 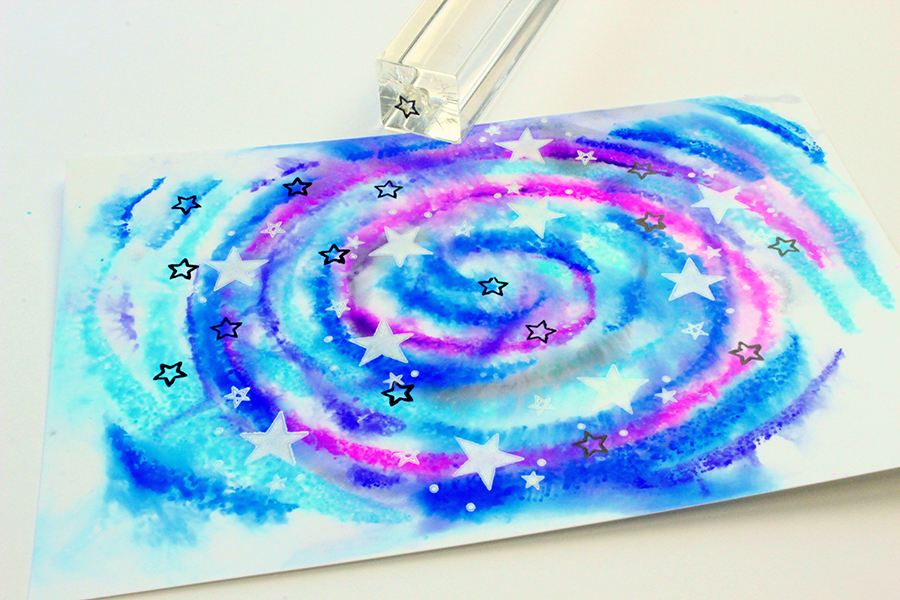
To work on my sentiments I started by making very small splatters on paper. Instead of using a toothbrush for this technique I used an acrylic paintbrush. I scribbled on the Blending Palette and sprayed water. Then I picked it up with the brush to splatter on the paper.
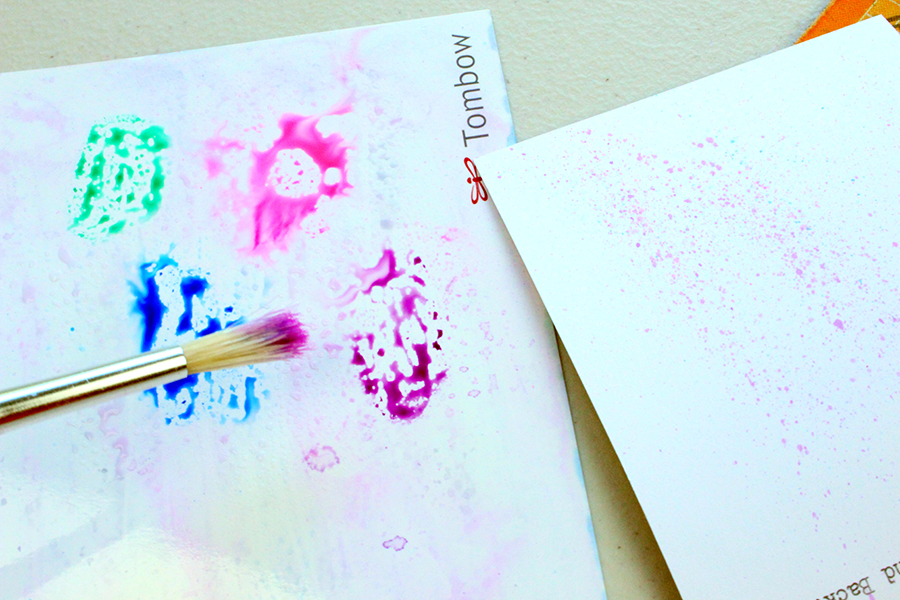
To stamp the sentiments I used alpha rubber stamps. I used the Tombow Dual Brush Pens to color the alphas. Then I blew on them to give it a little bit of moisture. I used all colors to keep the galaxy effect. 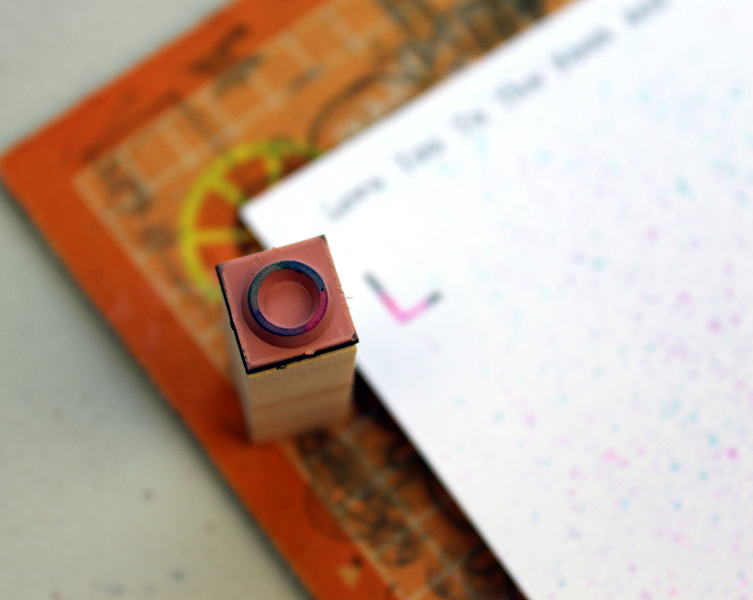
I also added colors to the edges of the words. To be honest, I wasn’t that sure about this 296-Green in the Galaxy Set but I think that now this one is my favorites! Here you can appreciate the effect of the multi-color letters.
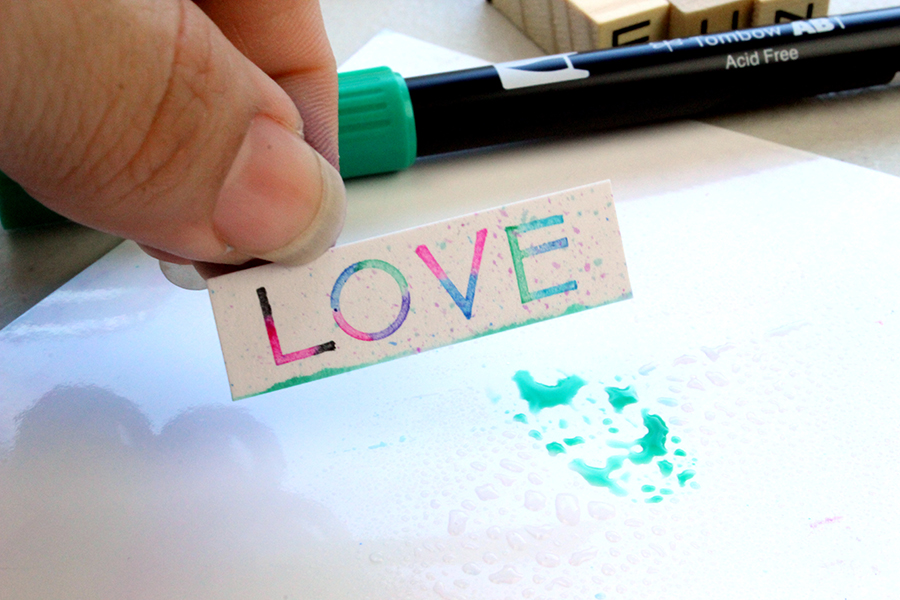
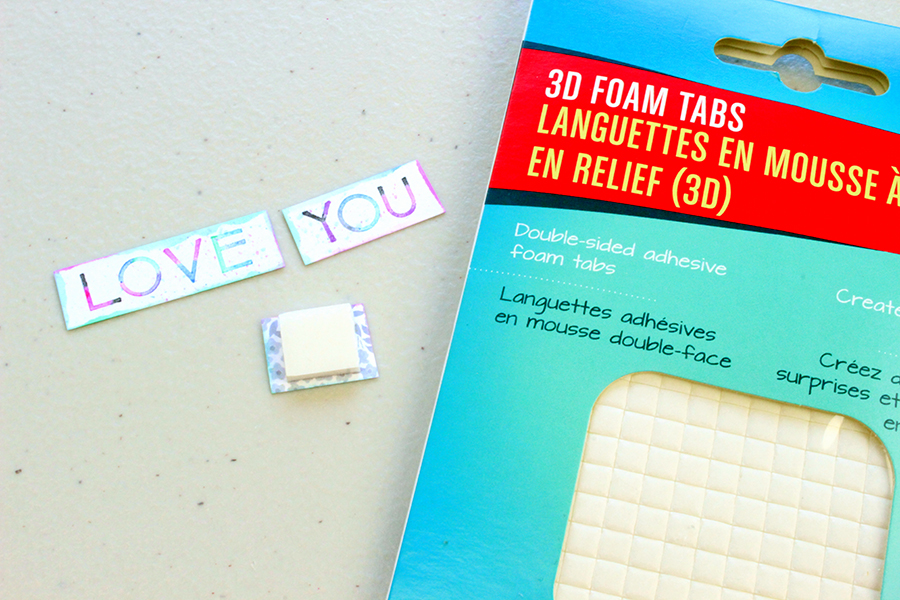
To add the words to the cards I used the Tombow Foam Tabs.
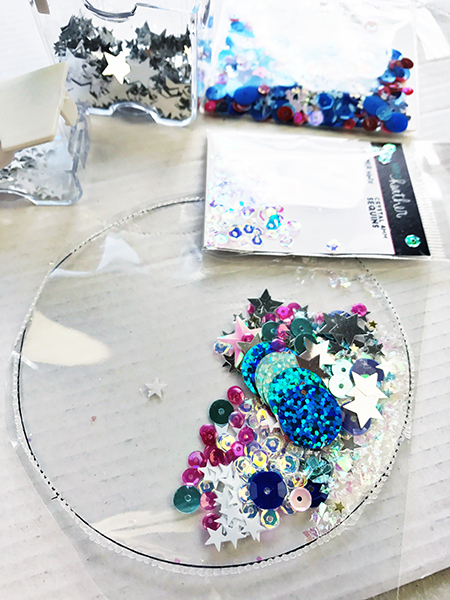
It wouldn’t be a galaxy shaker card without sequins! I traced around my die and fused around it with the Fuse Tool. Make sure you leave some space around the shaker pocket so you can glue it to the base of the card.
I cut a window on the paper using a Lawn Fawn Die. Then I glued the shaker pocket to the back of the patterned paper. To glue plastic items like page protectors I love to use the Tombow Xtreme Adhesive. Then I added the photo paper to the back. Finally I added the whole thing to the card base.
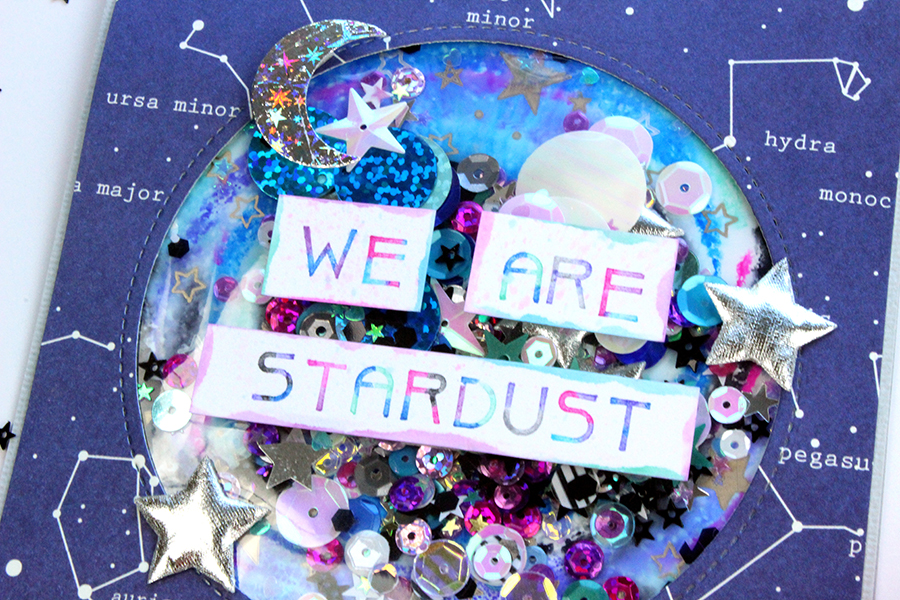
Inside of the shaker pockets I added these puffy stars. I also added the stars outside using the Tombow Xtreme Adhesive.
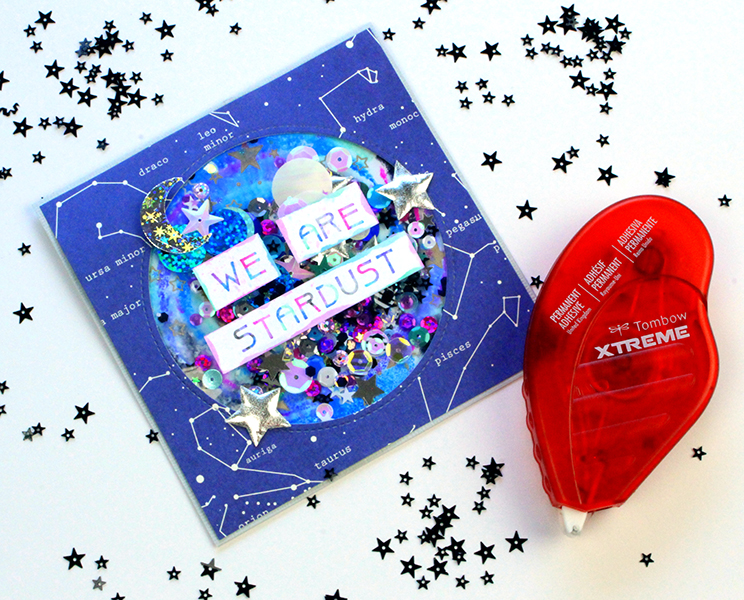
You can see the galaxy behind the sequins!
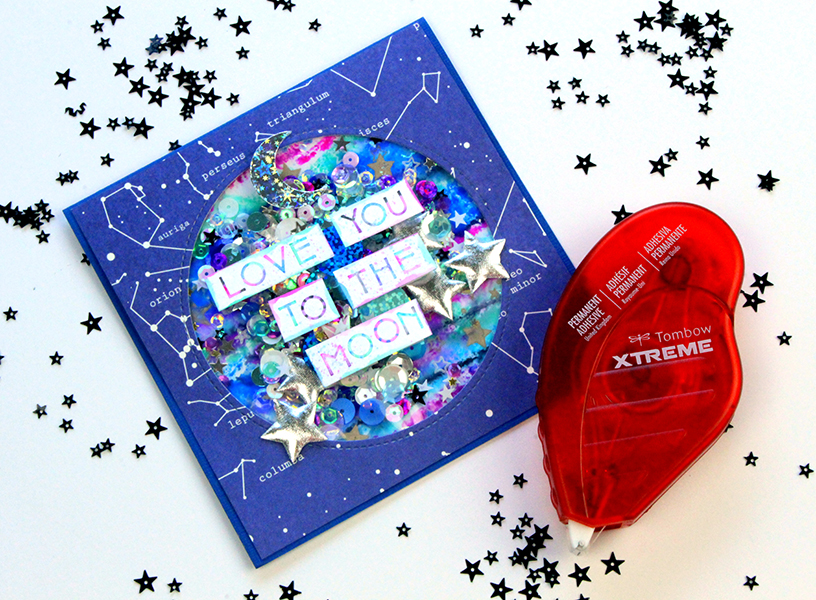
I hope you enjoyed this galaxy shaker card! Let us know how much you love the new sets! If you give this a try tag me on Instagram @jenniegarcian.

Pingback: How to Color a Galaxy Card using ABT PRO Markers - Tombow USA Blog