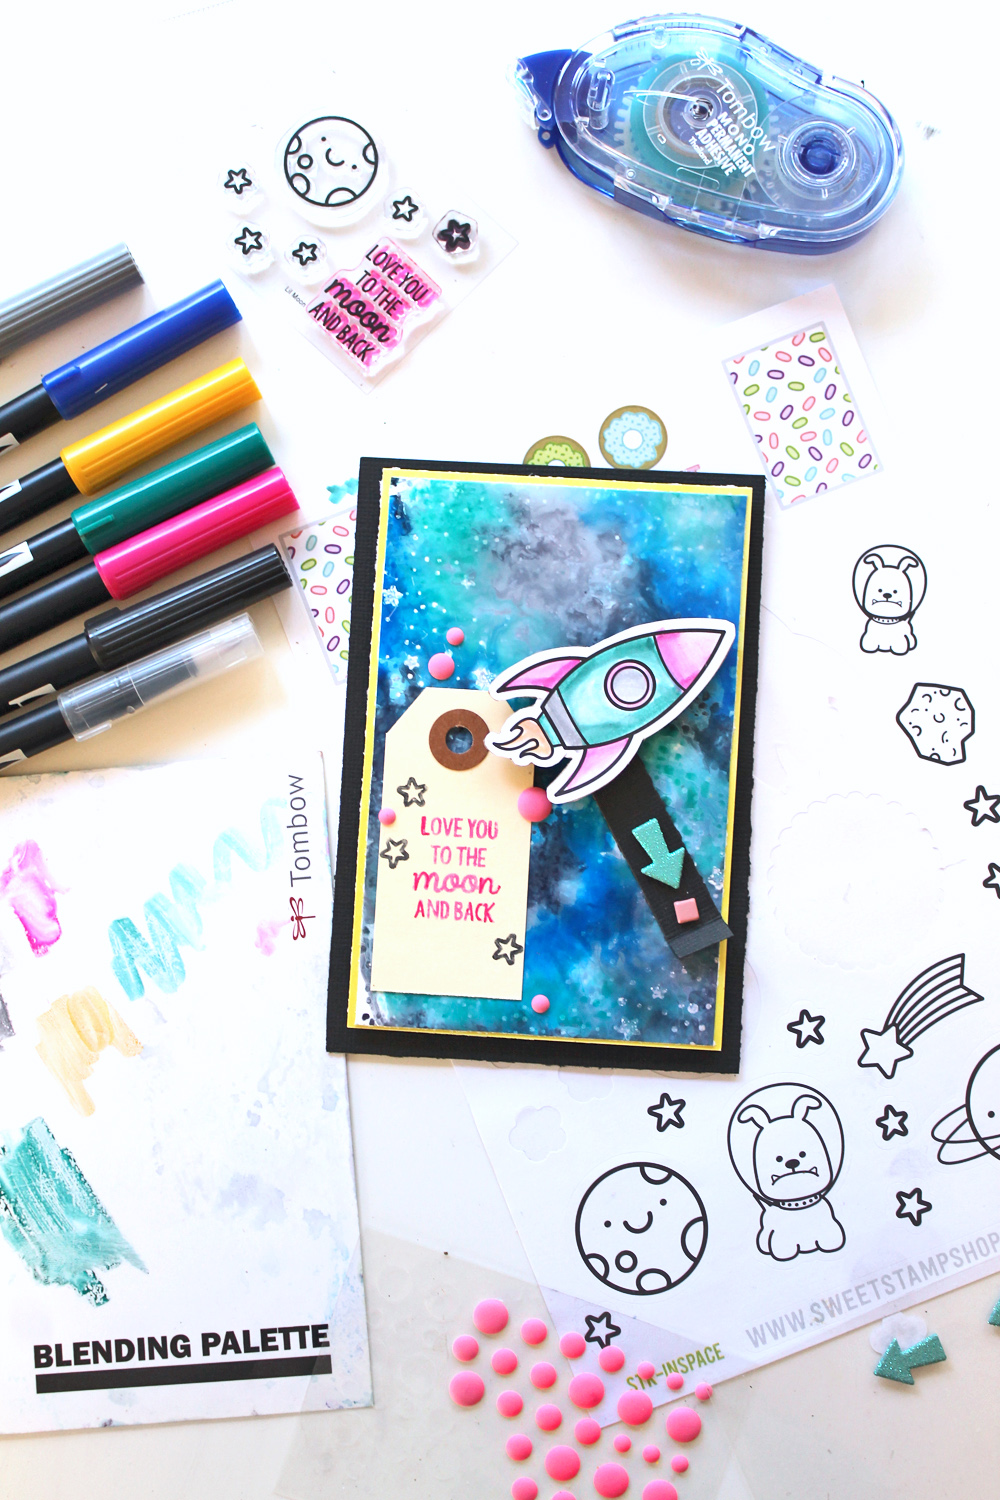
Hello everyone, it’s Katie here and today I am showing y’all how to create an interactive card! I had so much fun making today’s project.
Before I get to the tutorial, I want to say a huge thank you to the folks at Sweet Stamp Shop for sending the Tombow design team some of their product to work with. I think their stamps are the cutest!
Now, when I say “interactive card,” I mean just that. It has an element that you (and the card recipient) can interact with. I’m showing you start to finish how I created this card below.
How to create interactive paper elements:
Supplies:
- Dual Brush Pens Galaxy 10-Pack Set
- Blending Kit
- MONO Adhesive Permanent
- Foam Tabs
- Glossy Photo Paper
- White Embossing Powder
- Heat Gun
- Acrylic Stamping Block
- Cardstock
- Brads
- Scrapbook Embellishments
- Sweet Stamp Shop- In Space Stickers
- Sweet Stamp Shop- Lil Moon Stamp
- Sweet Stamp Shop- Starry Night Stamp
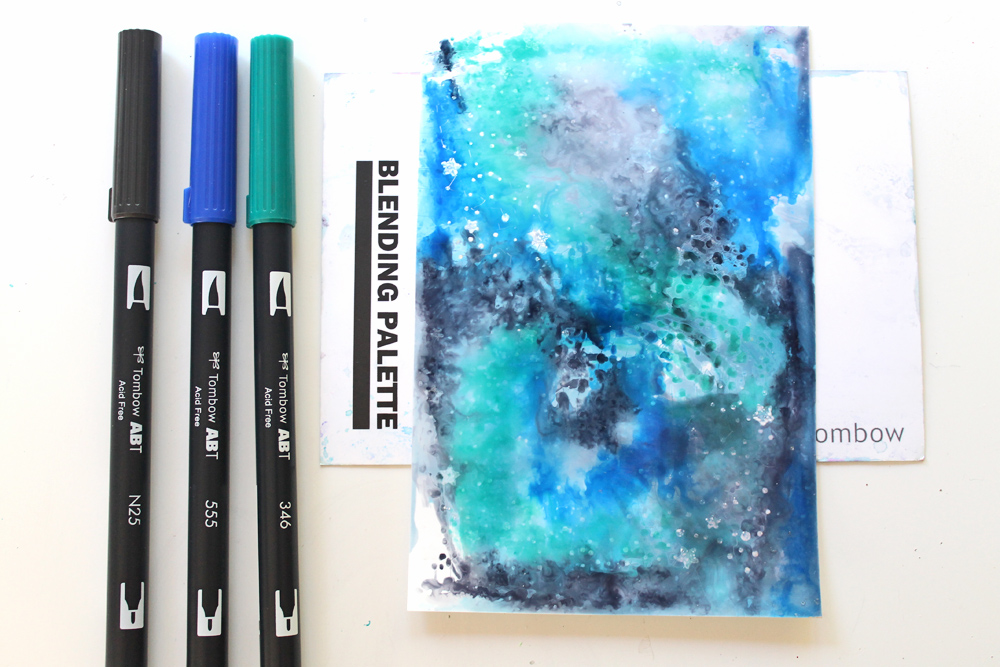
Step one:
Heat emboss the Starry Night stamp onto a piece of glossy photo paper and create a galaxy over top using the Blending Kit and Dual Brush Pens N25, 555, and 346 from the Galaxy Set.
Learn how to create a Splash Technique galaxy here + find 10 Galaxy color combos you can make with Dual Brush Pens!
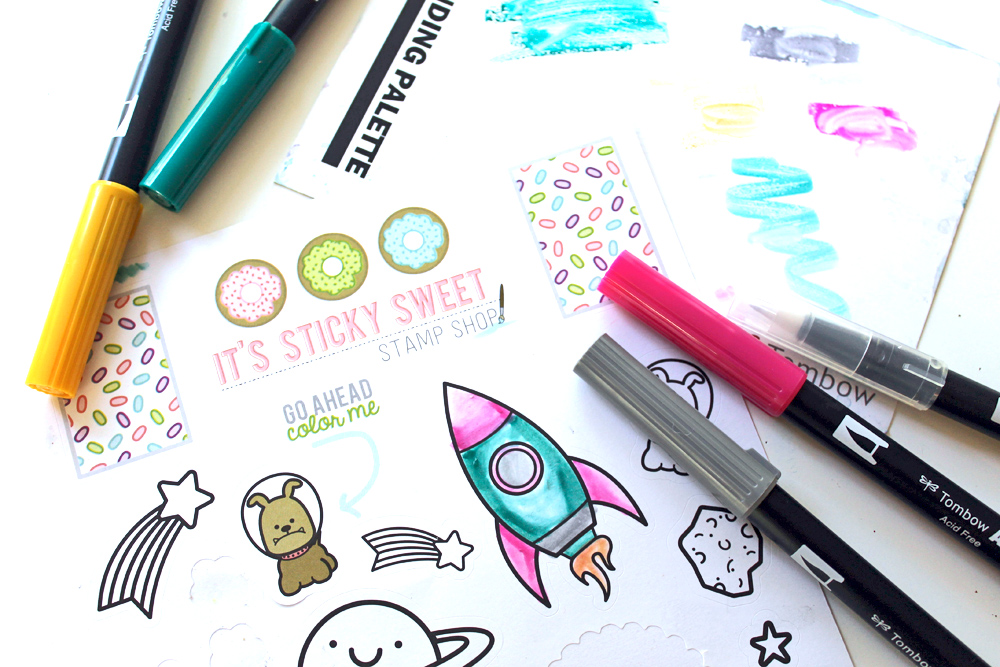
Step two:
Color the sticker or stamp design that you want to make interactive by brushing the Dual Brush Pen ink onto the blending palette, and picking up the color with the Blending Pen. (Learn tricks for this coloring technique here.)
I colored the rocket ship on the In Space stickers.
Step three:
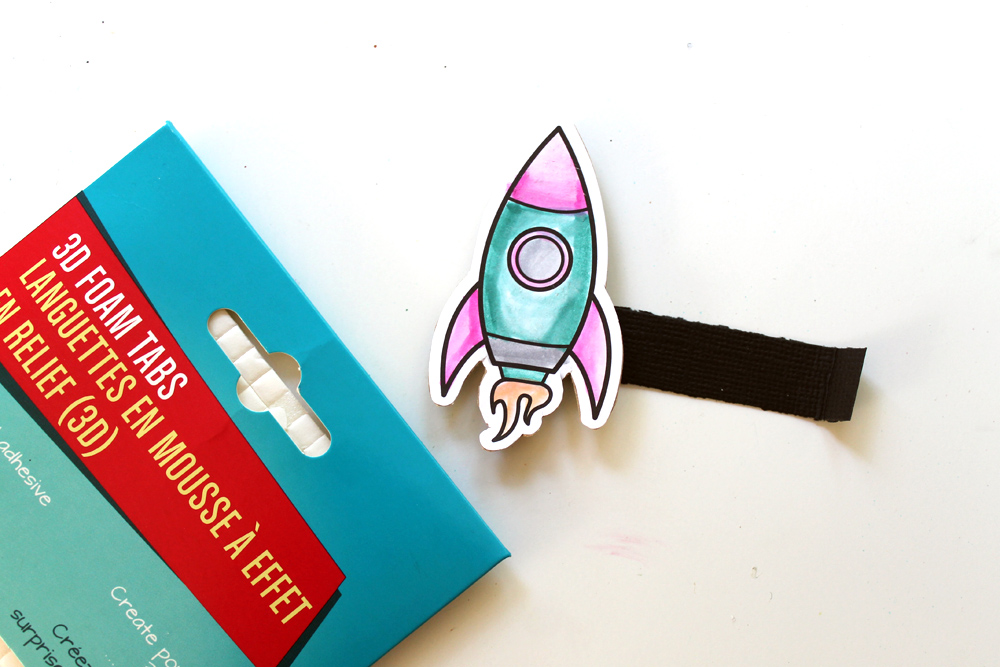
Place your sticker onto a piece of cardstock, cut around the design and use 3D Foam Tabs to attach it to a .5″x3″ strip of black cardstock. I love that the foam tabs make it stand out! bend the opposite end of the cardstock strip up- this will be a tab you use to move your design.
Step four:
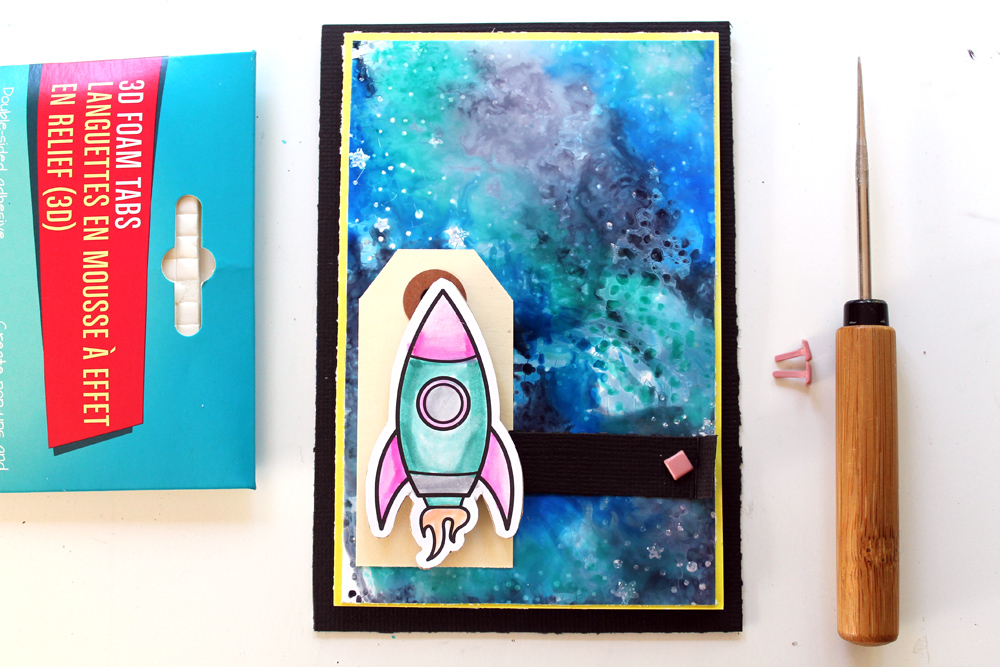
Attach your design to your galaxy background by stabbing a brad through the end of the black paper strip, as shown below.
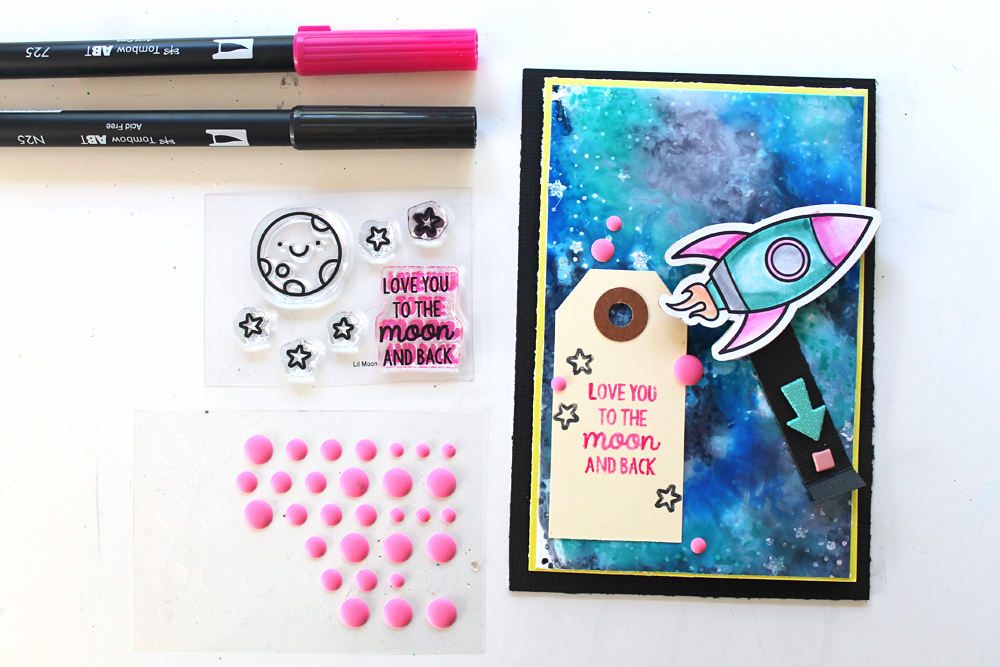
Use MONO Adhesive Permanent to adhere the galaxy background to your card base, and embellish your card! I stamped the saying from the Lil Moon stamp set onto a paper tag and adhered it behind the rocket sticker, so that it only shows up when you interact with the rocket.
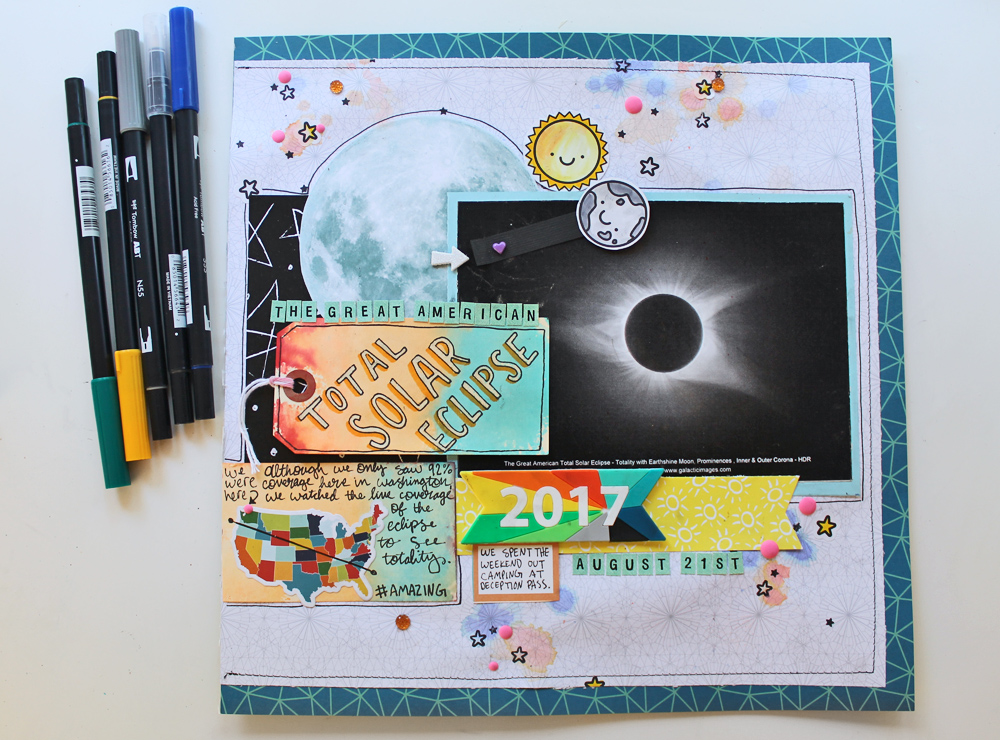
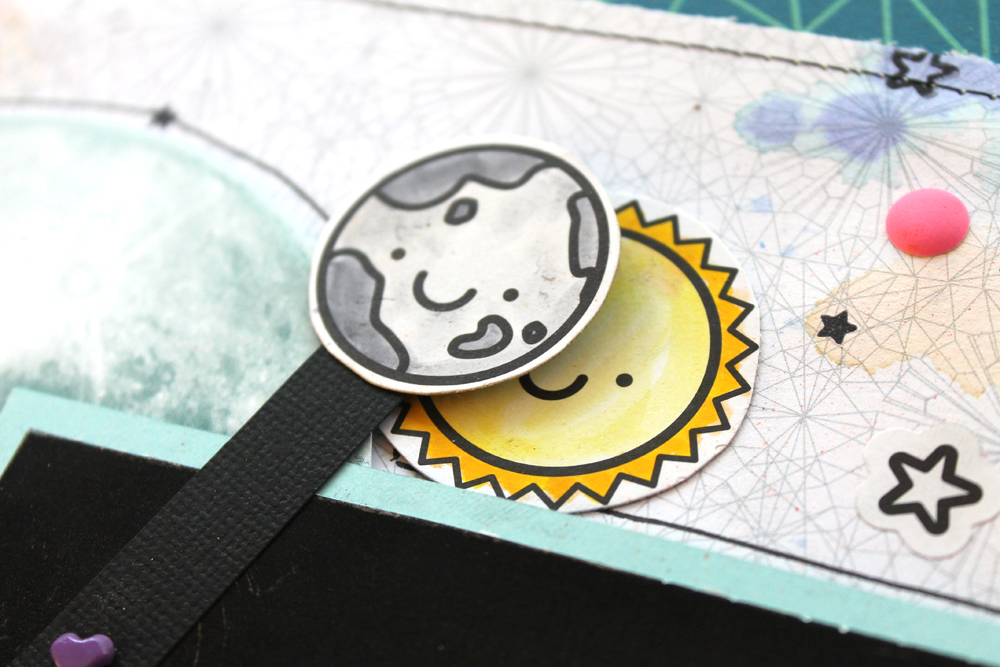
I also created a scrapbook layout using the same interactive technique! I used a photo from the Solar Eclipse last month and used more of the stickers by Sweet Stamp Shop to create an interactive eclipse right on my layout! I love their smiling little faces!
Have you made any interactive cards? We would love to see! Tag us on Instagram @tombowusa!

Such a fun card AND layout, Katie!!! I’m such a huge fan of interactive cards (they seriously add that extra something). These both look like you had so much creating them. <3
Thank y so much for this nice post full of tips.