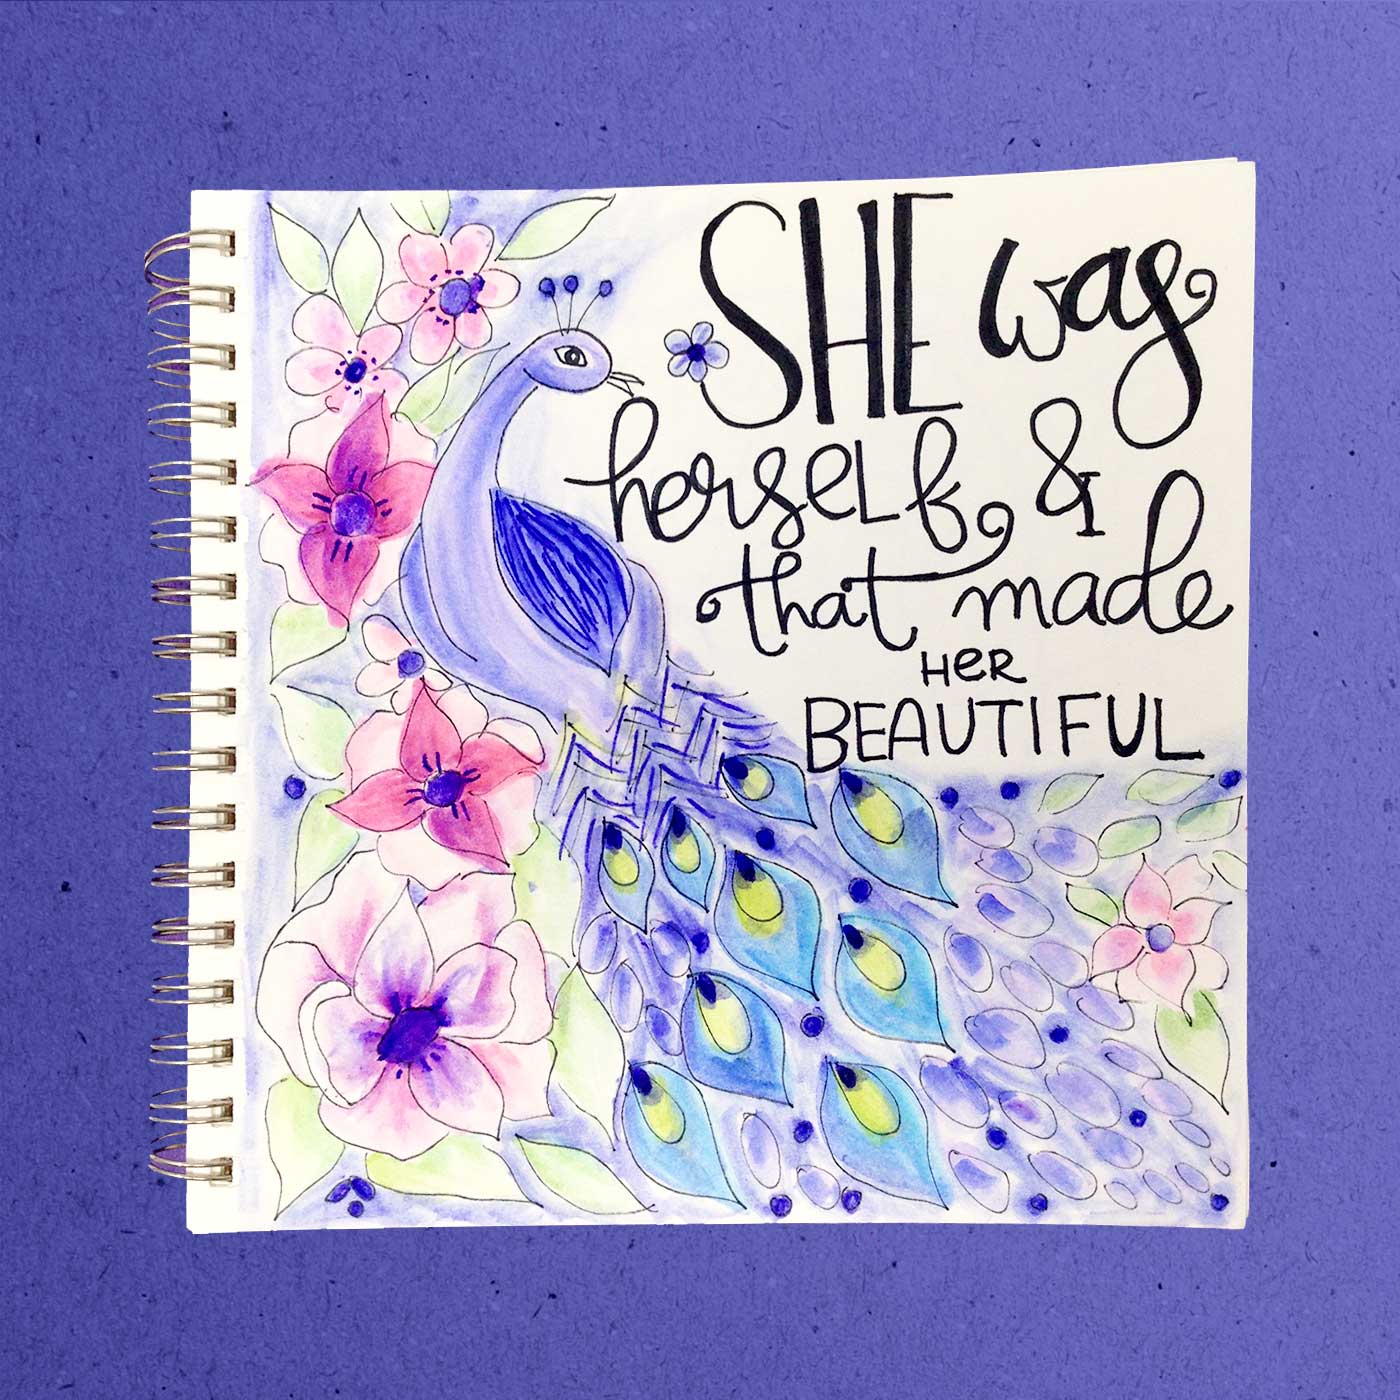
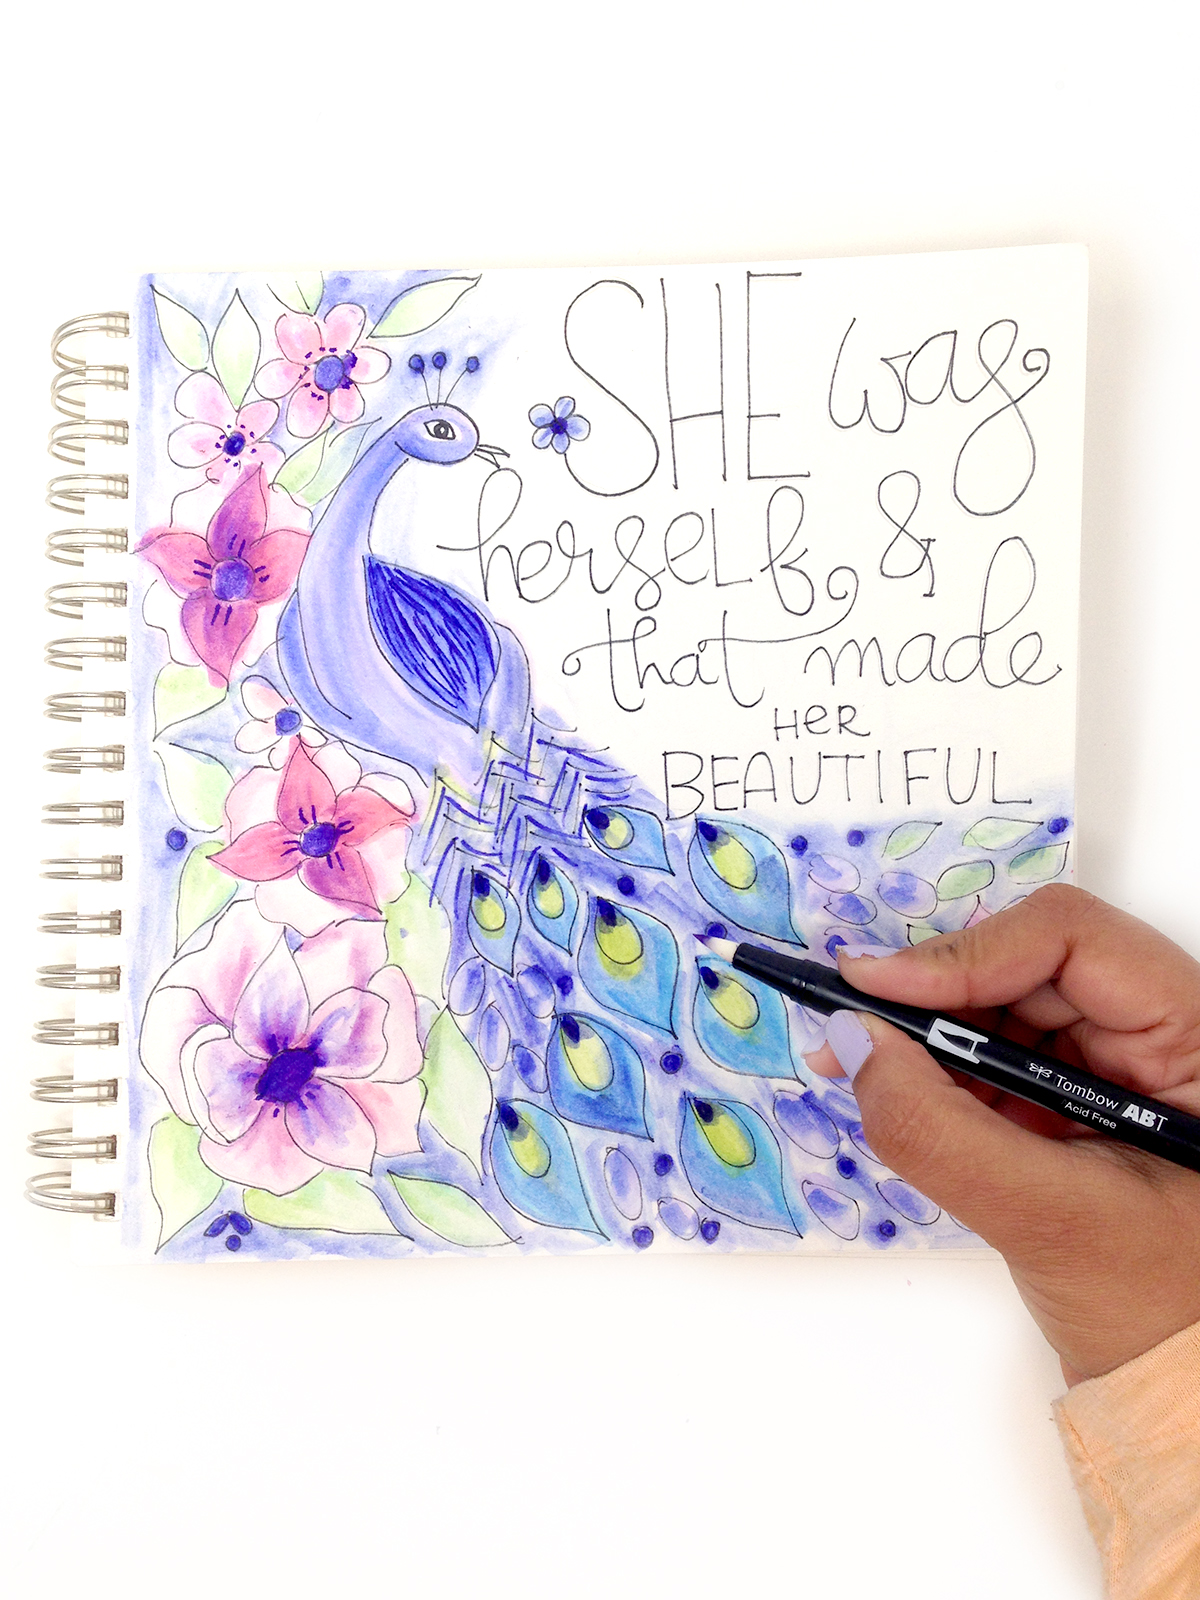
Hello friends, it’s Smitha here with a new blog post with my favorite Dual Brush Pen art technique! I’m using the Pantone’s Color of the Year and creating a peacock illustration today.
I love drawing illustrations in my sketchbook and today I am coloring it in with my favorite Dual Brush Pen art technique.
Material list:
- Tombow Dual Brush Pens
- MONO Twin Permanent Marker
- Blending Palette
- Mixed media sketchbook
WATCH the VIDEO TUTORIAL:
Click the video box below to see this illustration come alive from start to finish or click here to watch it on YouTube
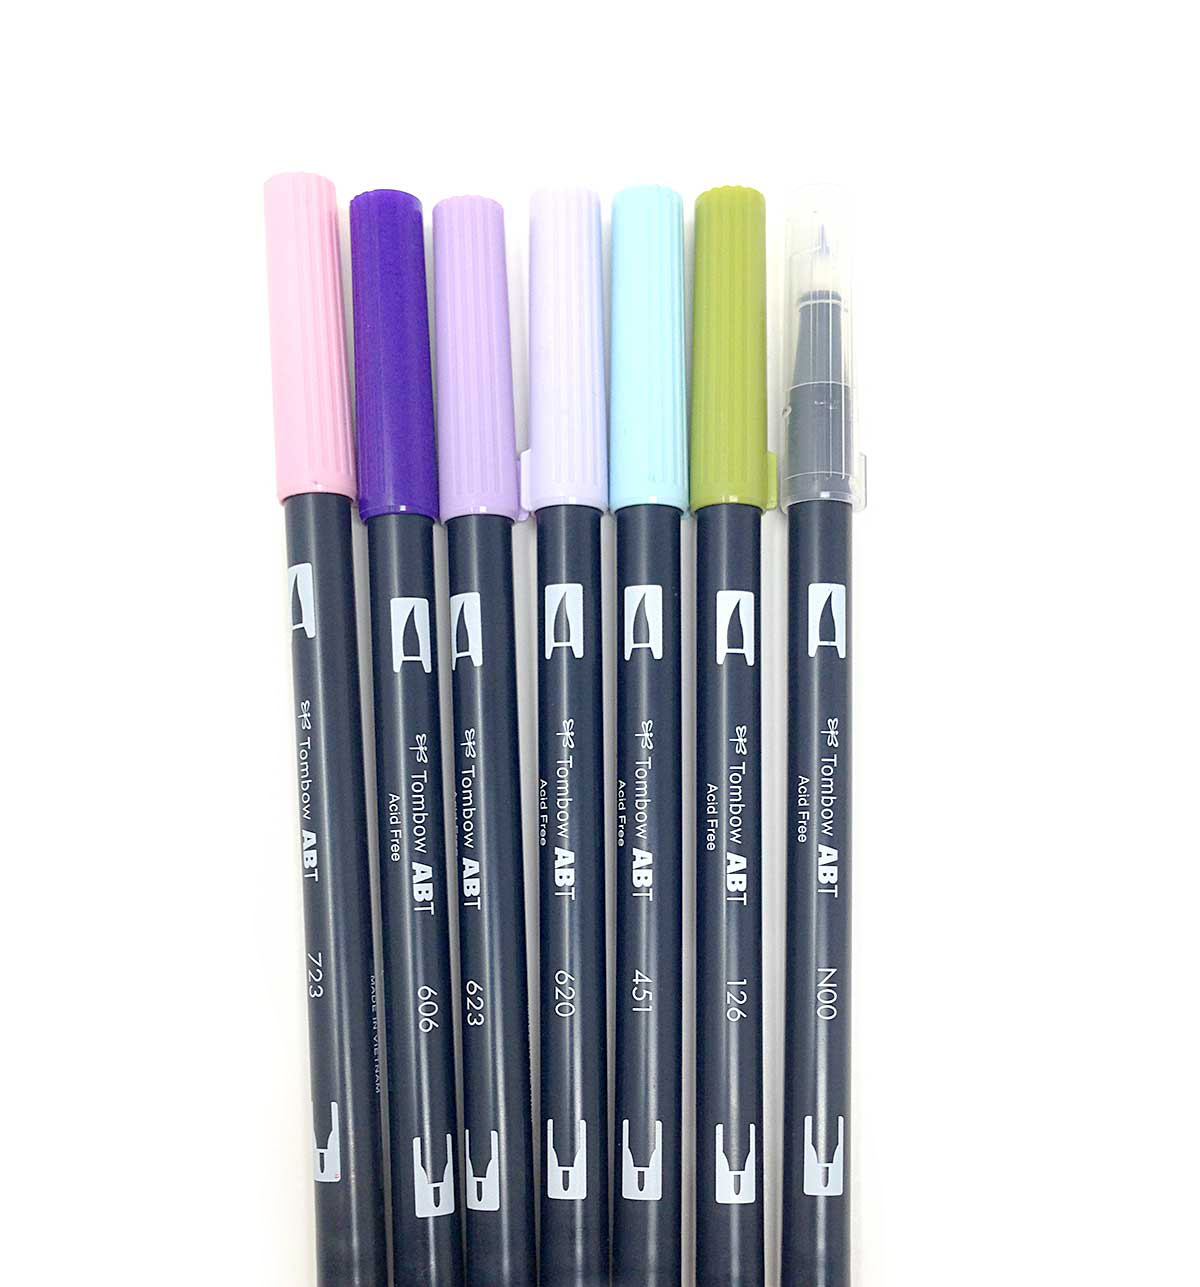
Step 1:
Choose your color palette. I started with the darker Tombow Dual Brush Pen #606, which corresponds to the Pantone 2018 Color of the Year. I then chose the rest of my colors to complement that accordingly. For my illustration – a pink for the flowers, a blue for the peacock feathers and a green for the leaves.
I have a previous post in which I talk about this topic in detail: How to choose colorful combinations with your Tombows.
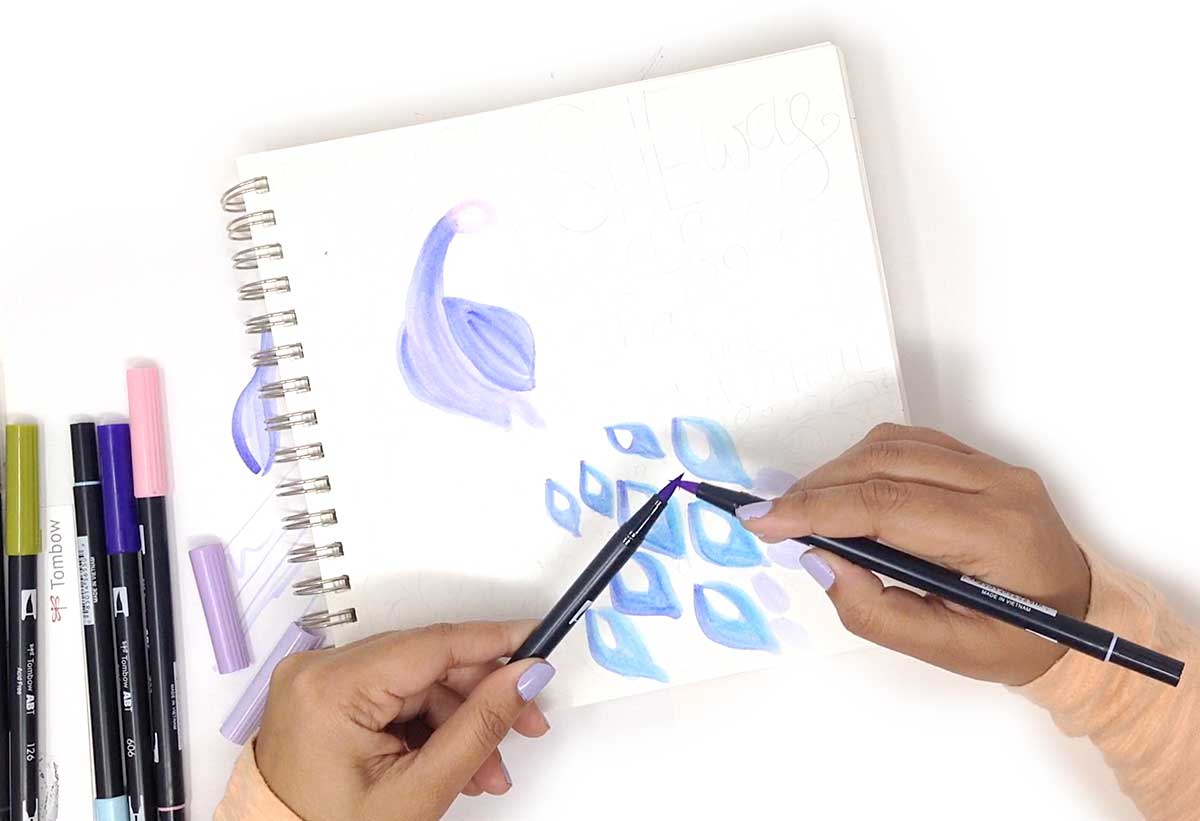
Step 2:
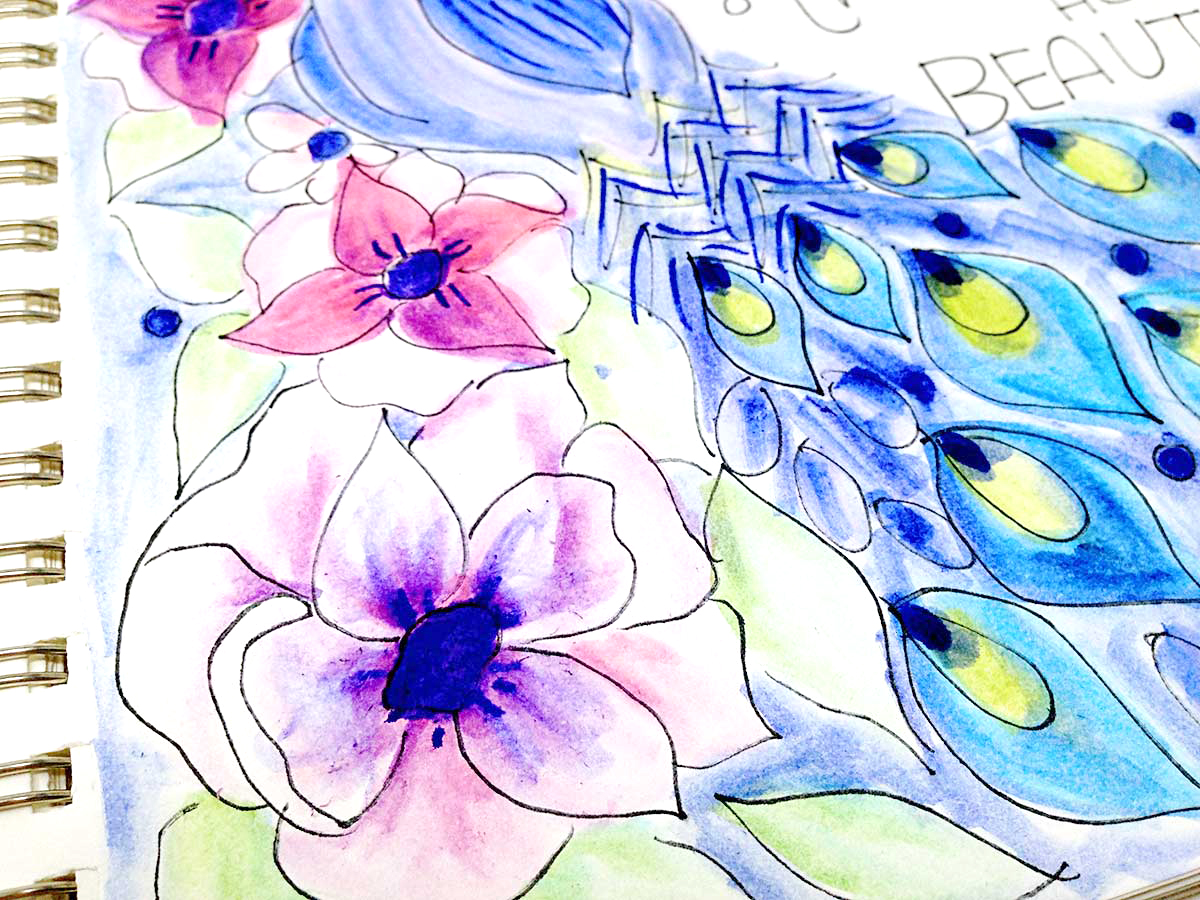
To color in my illustration, I used a tip to tip blending method. This is such an easy technique and you can easily create multiple in-between shades of color by just using two pens. What you do is you touch the tip of a lighter colored pen to the brush tip of a darker colored pen. The darker color gets transferred a bit onto the lighter pen and when you color using the lighter pen you will create soft blended colors.
Two things to remember – the color variation will be more dramatic if the two color pens you choose have a bit of contrast between them. Coloring using this tip to tip method does not harm your pen’s original color at all.
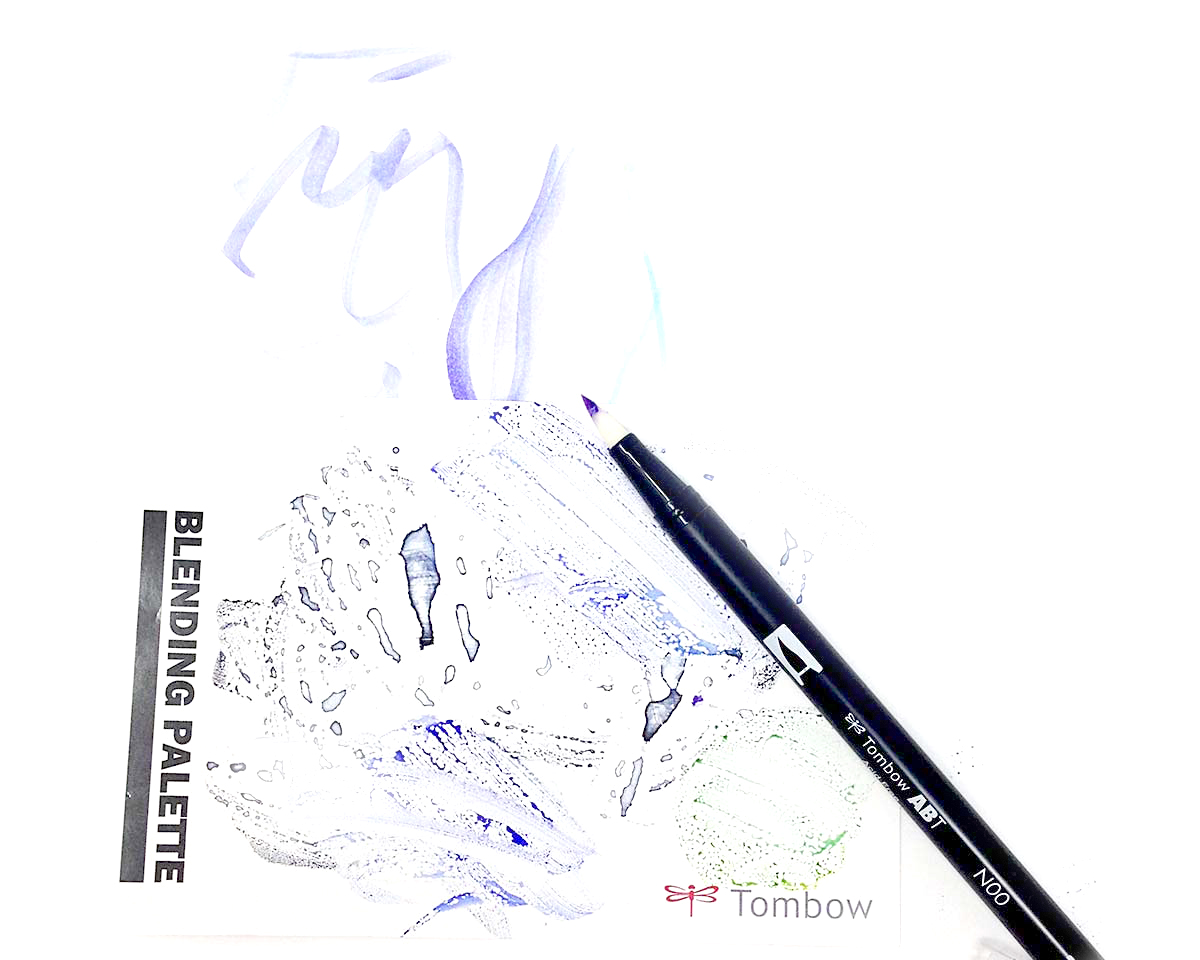
Step 3:
After coloring, you need to clean off your lighter pen by simply scribbling onto a scrap sheet of paper until the pen writes in its original color. This cleans off the brush tips and your pen will be ready to use the next time you need it.
If you use the Colorless Blender Pen N00 for this technique, the tip will most likely get stained with the color. BUT this does not affect its blending capabilities at all. Even though the tip is stained you can scribble till it writes clear and use it again and again!
Step 4:
After I mixed and matched my pen colors to color in my illustration, I went ahead and added a black outline to bring some extra detailing to my sketch. For this I use the MONO Twin Permanent Marker – my favorite permanent black pen.
Step 5:
The final step is to add a quote or phrase to go along with your illustration. This is of course optional, but I love having inspirational words in my sketchbook along with my illustrations. I used my MONO Twin Permanent Marker itself for my lettering today.
And there you have it! My technique for coloring in your hand drawn illustrations. Hope you find this brush pen art idea useful and enjoy creating something yourself!
Happy Crafting!
Smitha