Hello friends, it’s Smitha here with a new blog post! Who is in the mood to create a rainbow of their own? Let’s pull out those colored pencils shall we?
Material list:
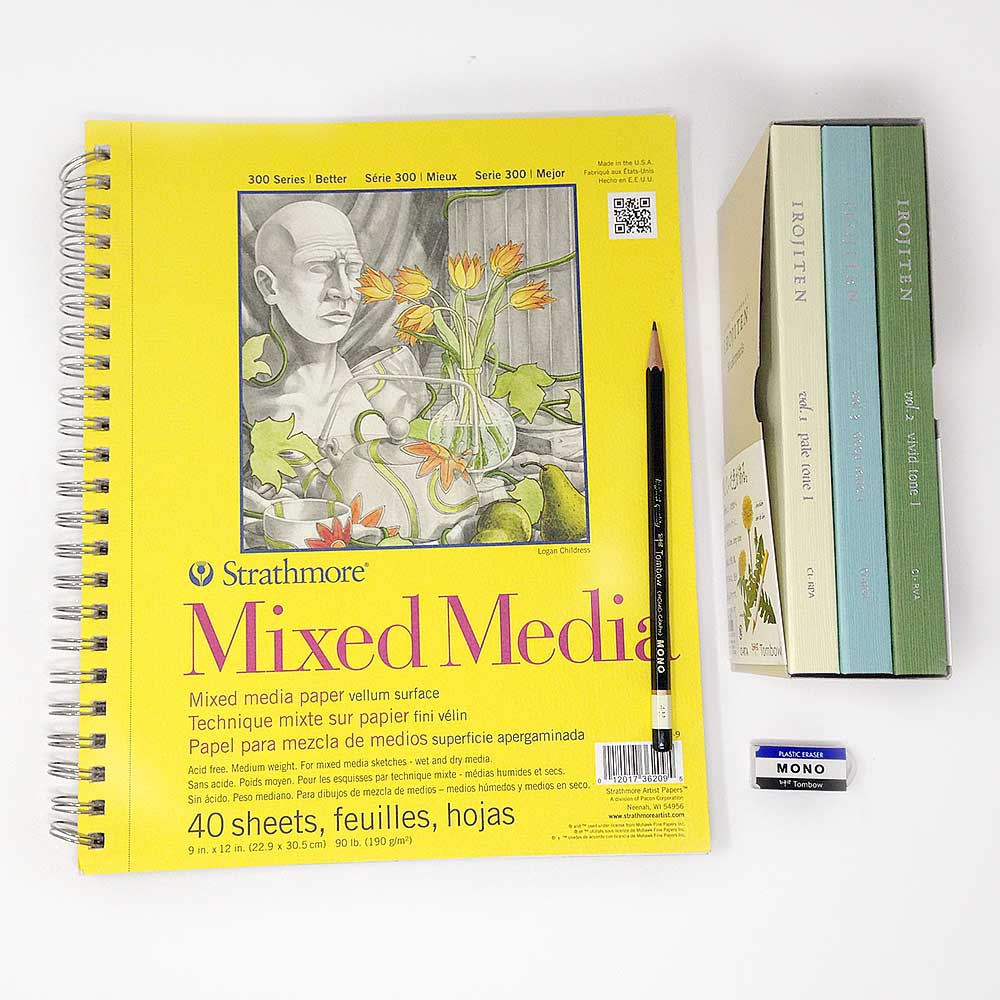
- Irojiten Color Dictionary, Rainforest Palette
- MONO Drawing Pencil, 4H
- MONO Eraser
- Sketchbook, mixed media or any drawing quality
Step 1:
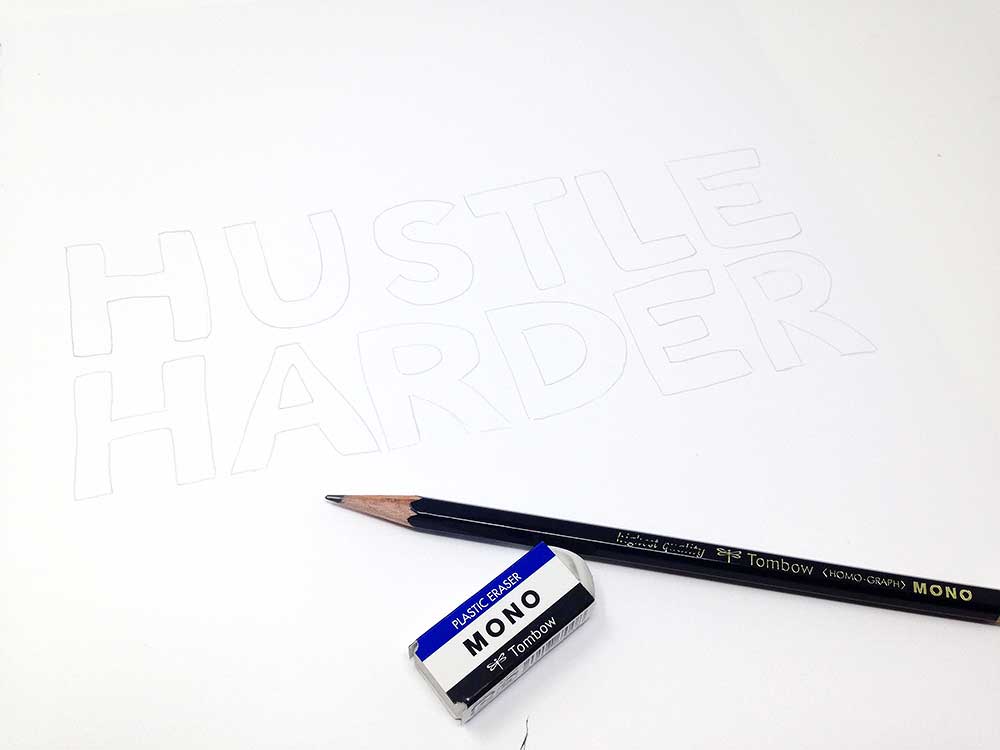
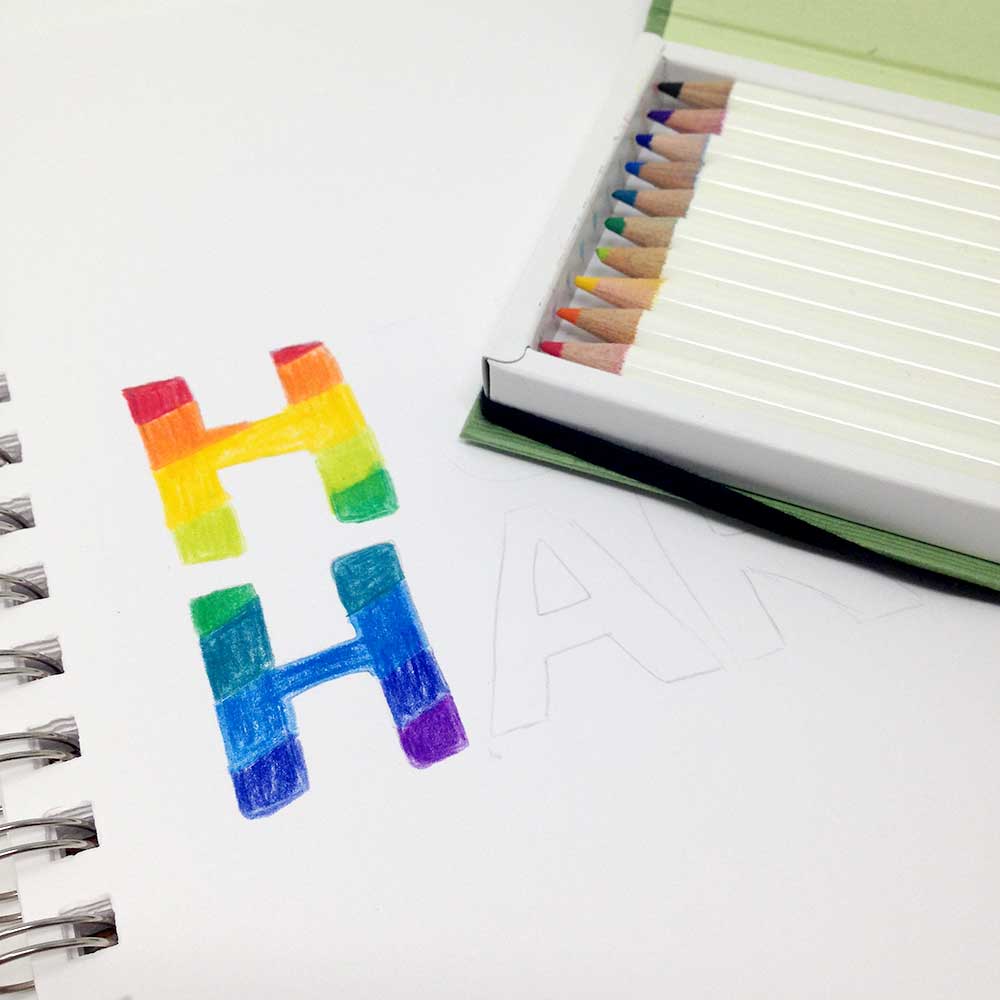
Begin with a rough pencil sketch of your letters using a light pencil that is easy to erase. I like the 4H pencil for this. If you are not comfortable free handing the letters, you can also trace a print out.
Step 2:
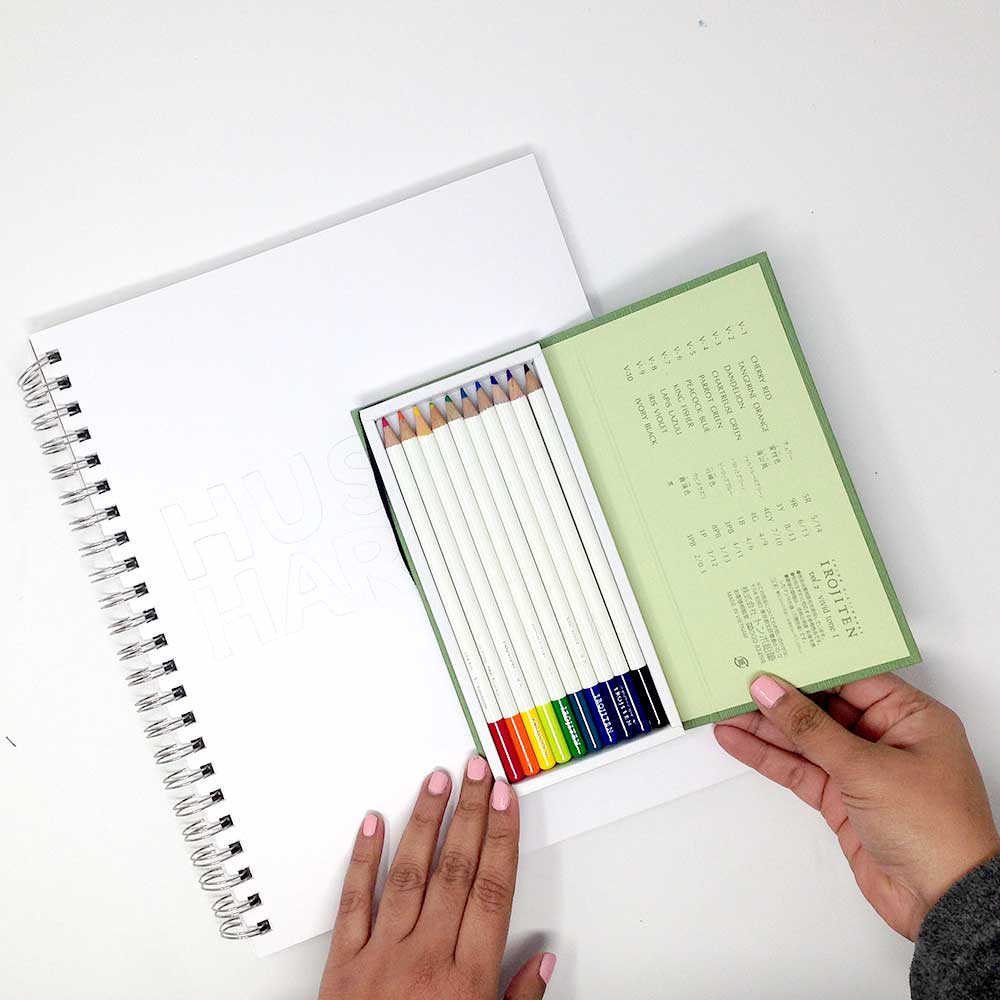
The best way to create rainbow letters is to use a pre-selected dictionary of colors. I love this Vivid set of colors from the Rainforest set. There are a total of 9 color dictionaries available so pick the colors that make you happy.
Step 3:
The fun begins!
Erase your initial pencil guide lines lightly before adding your colors. Start by coloring the top corner of the first letter in a diagonal angle. I used a white typing paper to create the diagonal line but please use a ruler. After that I just repeated that step till I had distributed all the colors. Slightly overlap your colors as you go to create a smooth even color transition.
Step 4:
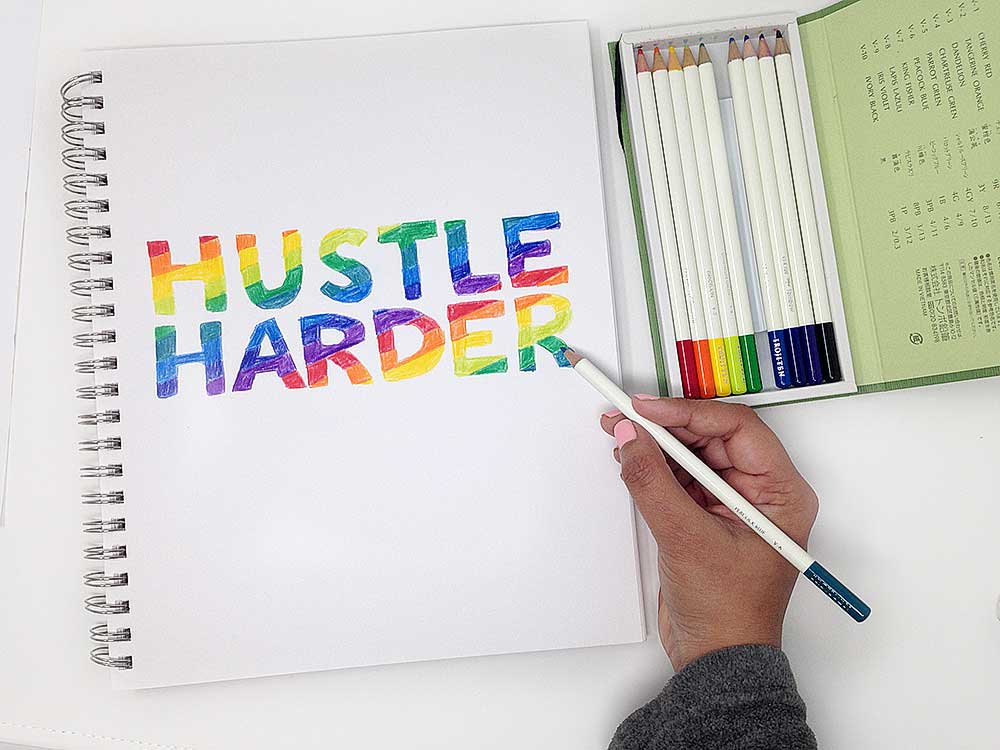
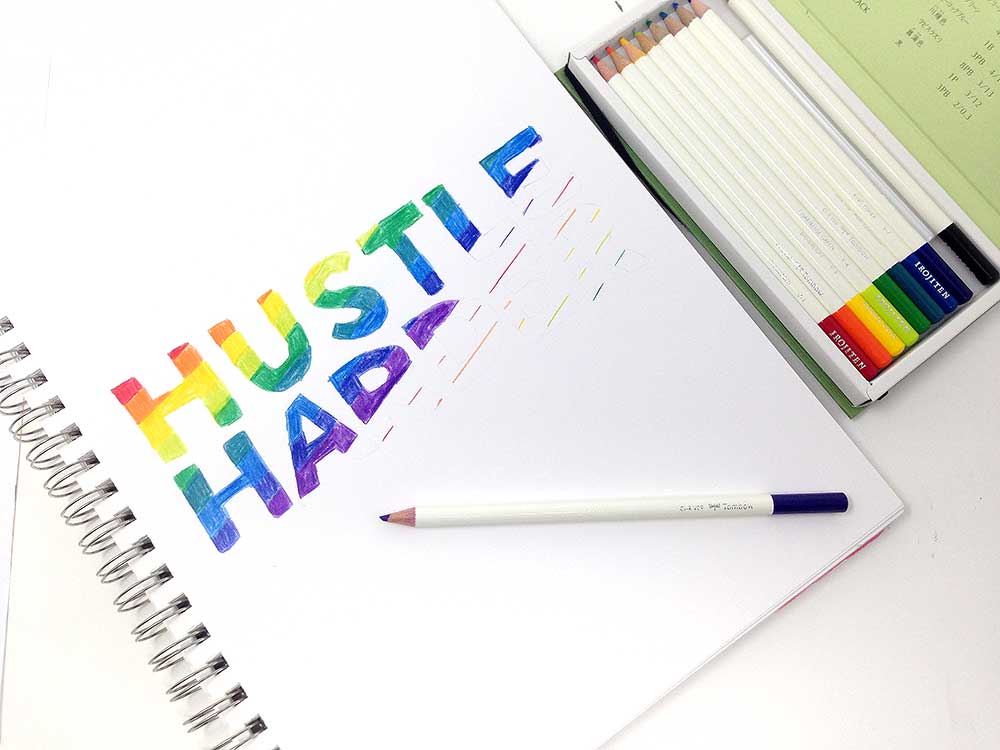
Proceed in this manner coloring in stripe after stripe of color. This is actually very relaxing once you get in the groove. For the bottom half, I got smarter and drew in marks of all my colors at once and then sat down and enjoyed my coloring all at once.
And I love how colorful these rainbow letters turned out! My one big tip to you is to not have your pencils super sharp. If the tip is slightly blunt I find it easier to blend and color in larger areas. Let me know in the comments below what you think of this idea!
Happy Lettering!
Smitha
Wow! looks very beautiful, and the drawing technique is very interesting. I love such creative ideas. Thanks to the author for publishing this article. Tell me please, maybe something knows, what are the ways to make a gradient beautiful using colored pencils?
Pingback: DIY Rainbow Butterfly Wreath - Tombow USA Blog