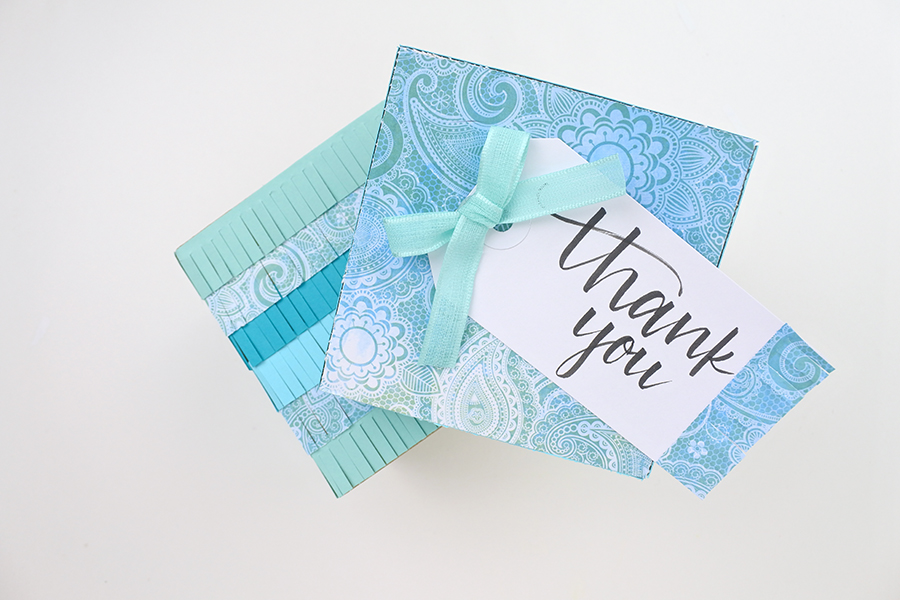
Hello, Renee from thediyday here to share an easy way to decorate gifts with fringe! Sometimes I don’t have the right gift wrap or gift bags on hand, so instead of making a pit stop to the store, I will often upcycle materials around the house. This is where my papercrafting skills come to good use. See how I transform a plain and ordinary gift box, into a decorative one with fringe!
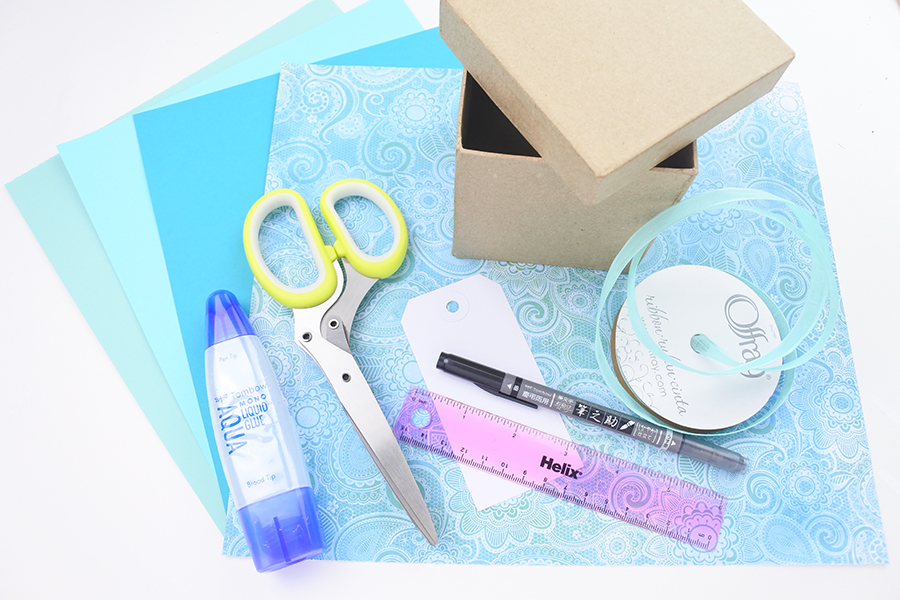
Supplies
- Box
- Decorative Paper
- Tombow MONO Aqua Liquid Glue
- Scissors
- Tombow Fudenosuke Brush Pen
- Gift Tag
- Ribbon
Step One
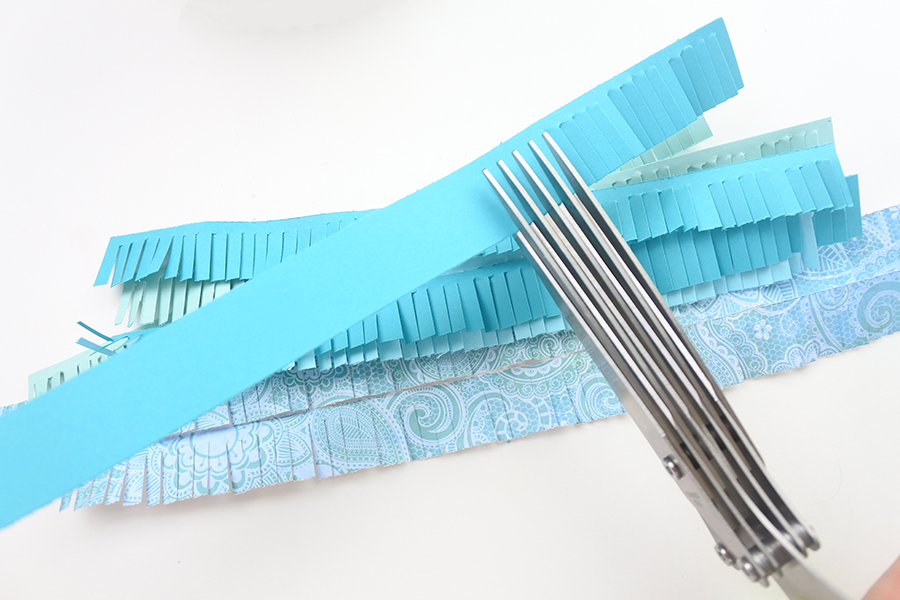
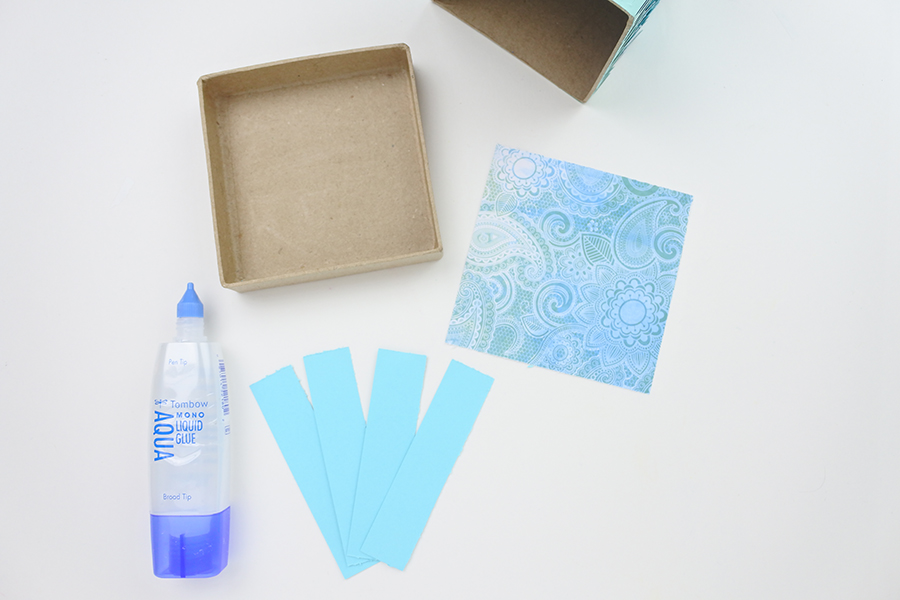
First, trim the decorative paper into strips, 0.75″ wide. If the area needs a large amount of fringe, consider making the paper strips wider. Then, with fringe scissors or regular scissors, cut approximately 3/4 up the pieces of paper from end to end.
Step Two
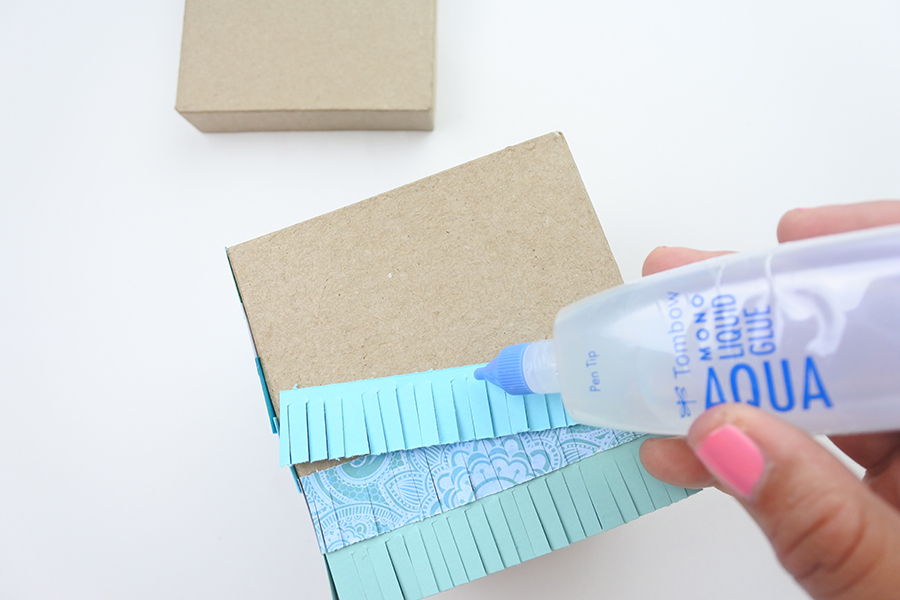
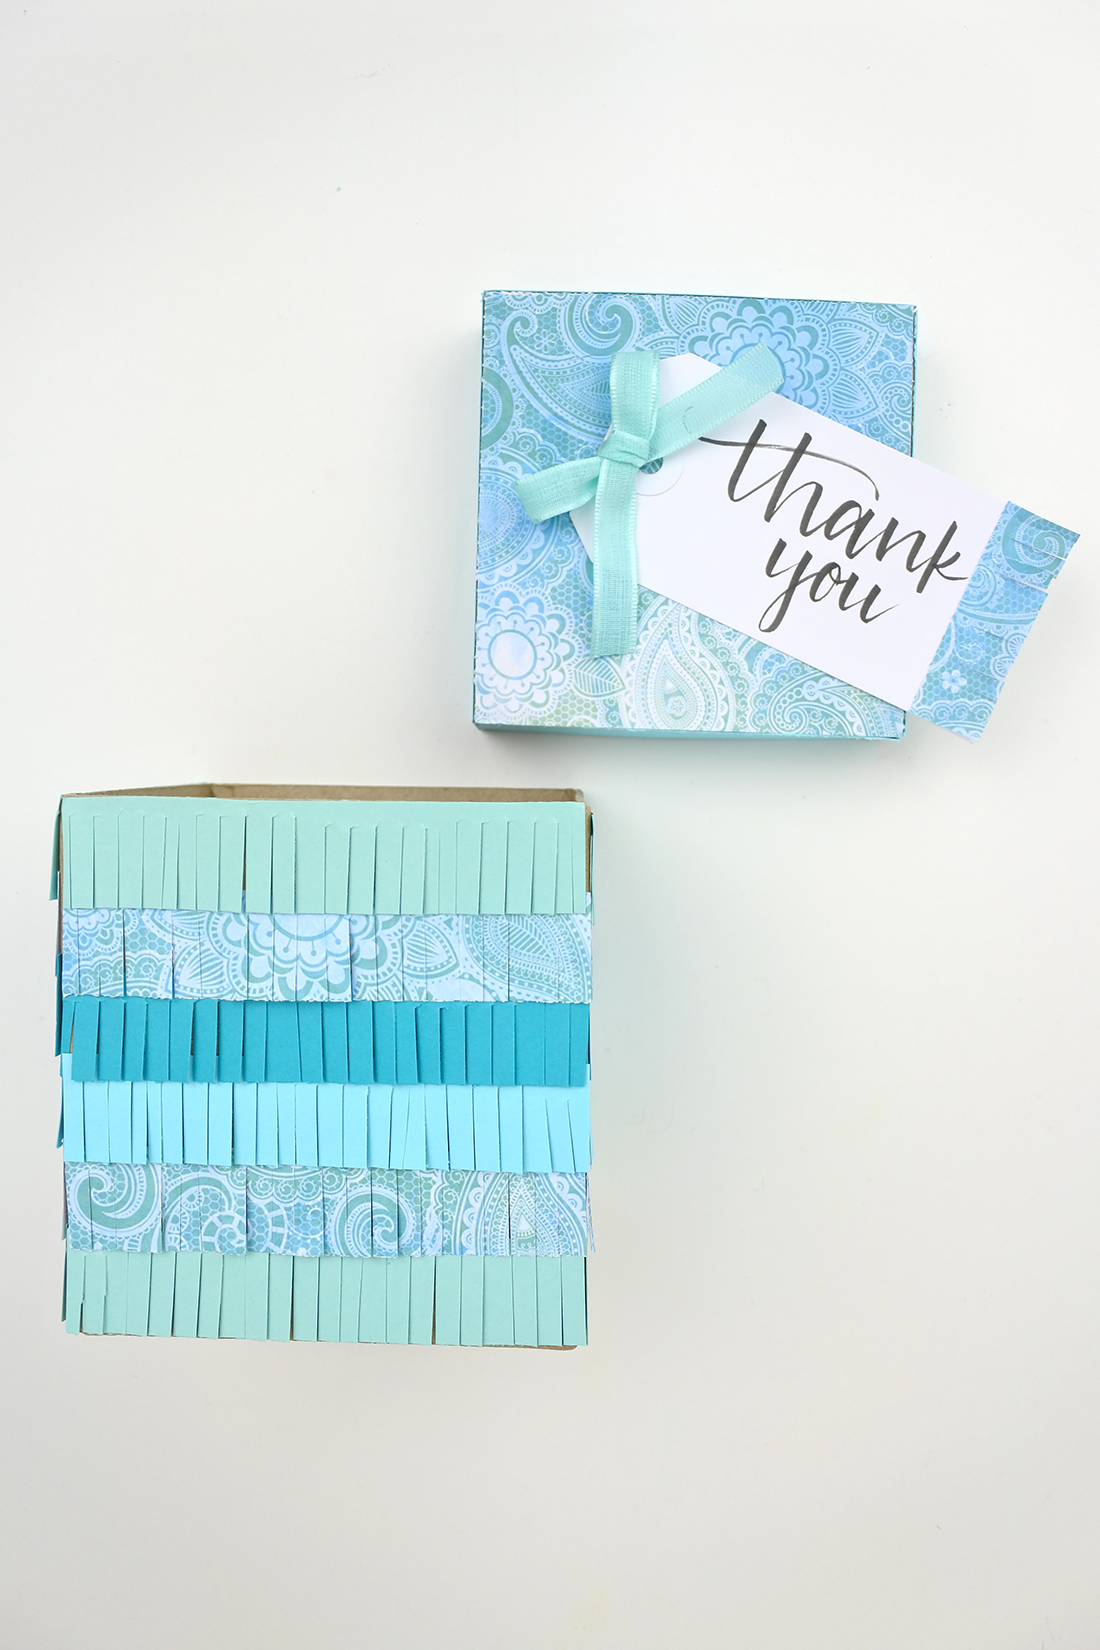
Second, trim the strips to the size needed to cover the box. Then, glue the strips, starting at the bottom and working to the top. I am using the MONO Aqua Liquid Glue because the pen tip is great for fine areas but also because it’s permanent and dries clear – perfect for embellishments.
Step Three
Since the base of the box is complete, it’s time to work on the lid. I decided to leave the lid fairly basic. I cut and glued leftover pieces of the decorative paper for the top and sides of the box.
Step Four
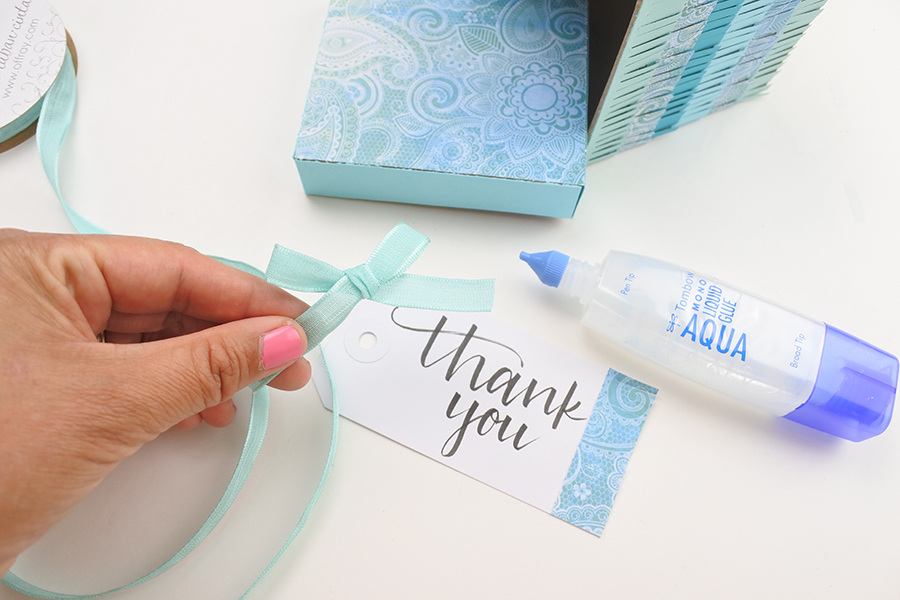
Next, with my Fudenosuke Brush Pen I lettered ‘thank you’ onto the gift tag. I noticed the gift tag was a bit too plain. So, I added a piece of leftover fringe.

Step Five
Last, with my ribbon I made a basic shoelace bow and glued it onto the tag. I was debating whether or not I should fan out the fringe to give it added dimension or leave it as is, I chose to leave it.
It’s so fun to decorate gifts with fringe. Next, I will try this technique on a gift bag! What else should be fringe-dazzled?
Thank you!
Renee