With Earth Day coming up I thought I’d show you how to draw one of my favorite flowers, the anemone. They’re super simple to draw, come in a rainbow of colors and look great on cards, in your planner, or as wall art!
Here’s what you’ll need to get started.
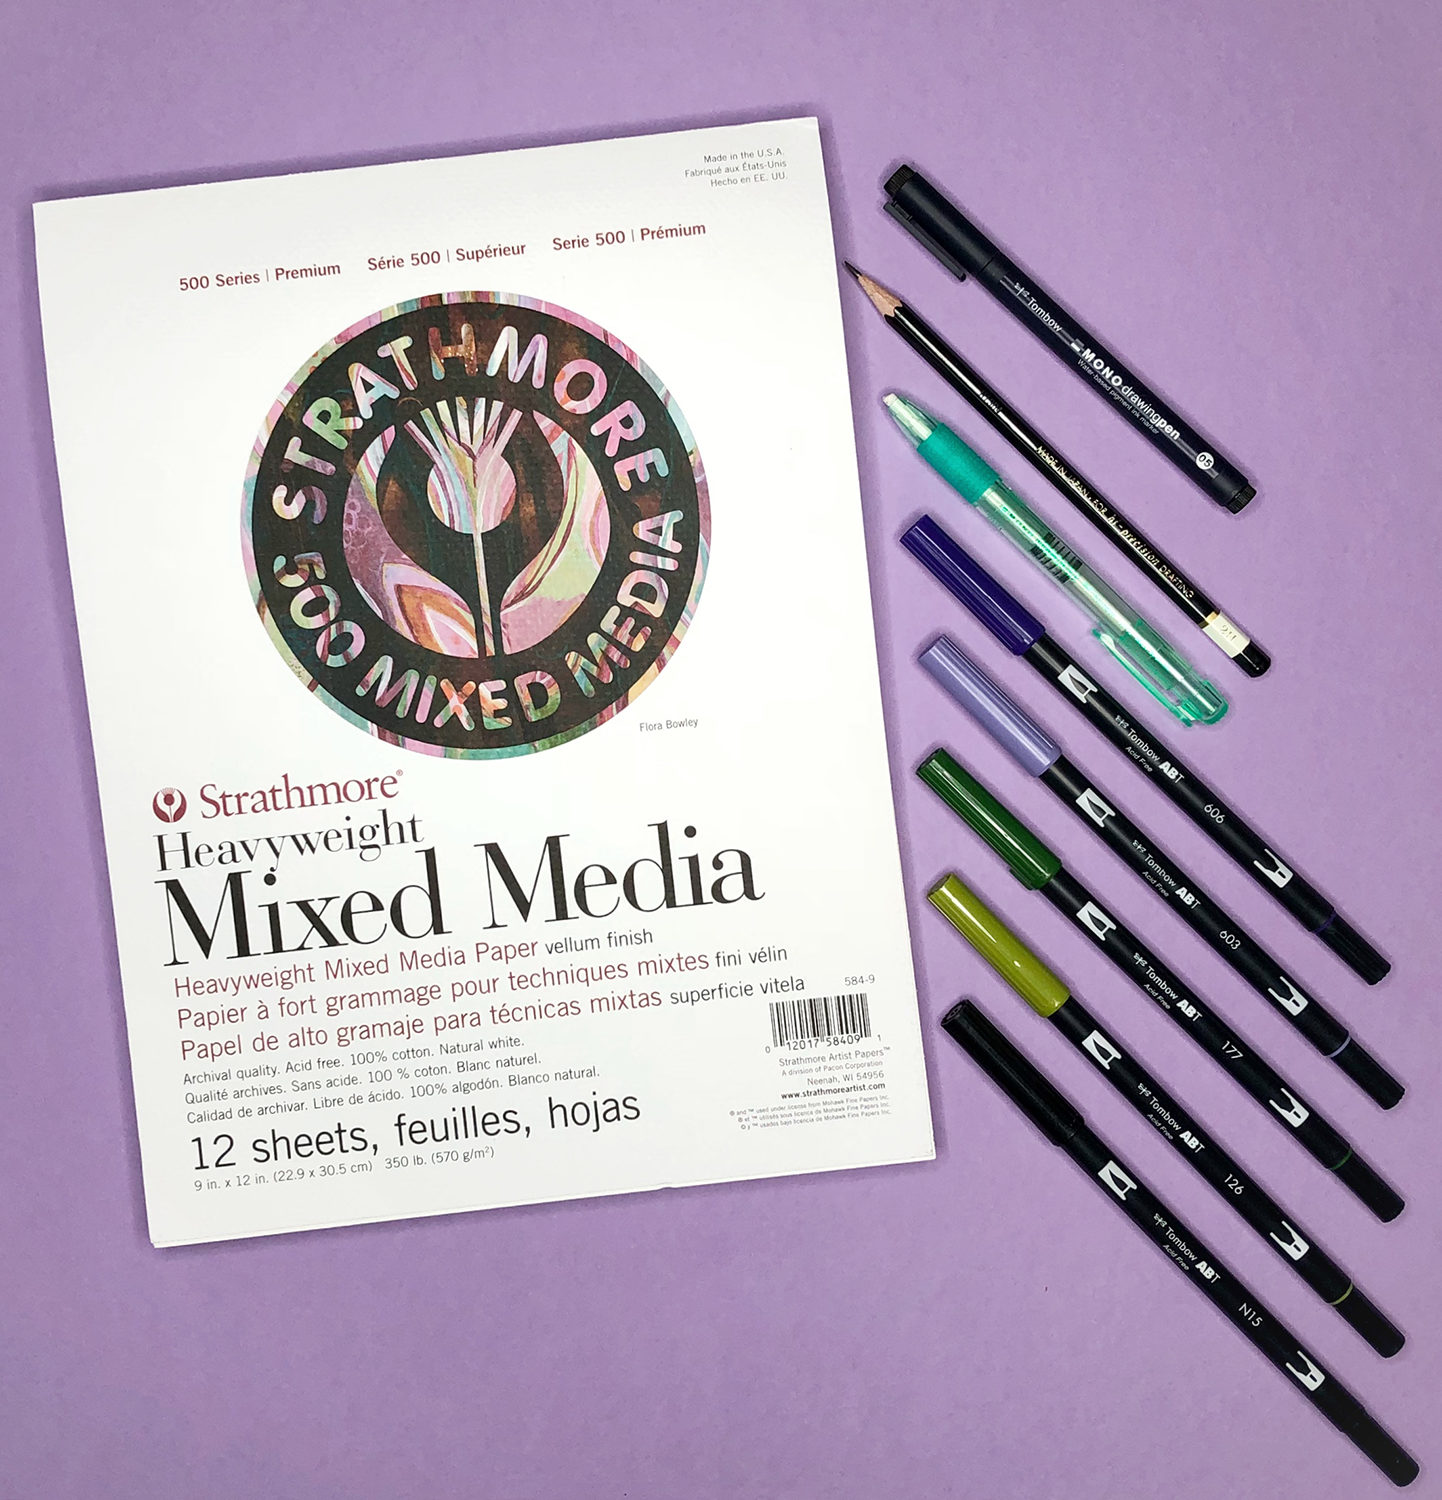
Supplies:
- Pencil (My favorite is the Tombow MONO Drawing Pencil)
- Tombow MONO Knock Eraser
- Tombow Dual Brush Pens
- Paper (I’m using Strathmore Heavyweight Mixed Media paper)
- Tombow Blending Palette
- Paintbrush
- Tombow MONO Drawing Pen (optional: for line work)
Step 1: Drawing the Anemone Shape
There are really only four simple steps for drawing an anemone flower. Start with a circle, then leaving a gap, draw small oval shapes and connect them to the center circle with thin lines. This will be the flower’s stamen. Next work your way around the center, drawing the petals. It helps to move the paper as you go, so the petal you’re drawing is always right in front of you. Don’t worry if the shapes are a little wonky, real flower petals are never exactly the same!
I’m drawing mine in ink so you can see the lines, but I recommend drawing your initial flower shape using light pencil lines.

Step 2: Adding Color to Your Anemone
I love using the Tombow Dual Brush Pens as watercolor, especially when adding color to flowers. A great way to do this is by using the Blending Palette. Draw some ink directly onto the blending palette then use a wet paintbrush to transfer the ink to your paper.
Anemones come in so many different colors that you can really have fun with this step. Try creating a rainbow bouquet, or perhaps a line of them in different shades of the same color.

If you use anemones in your own project we’d love to see! Tag @TombowUSA #TombowUSA and @BrownPaperBunny on social media.
These are beautiful, Jessica!
Pingback: How to Color a Lily with ABT PRO Markers - Tombow USA Blog
Pingback: What Colors Do Anemone Flowers Come In | Living Room Tips & Guide