Hi everyone! This is Jennie – have you noticed this Spring has been very summery? Since Mother Nature is about to skip Spring, this week we are going to share some Summer trends before we melt. Speaking of melting, today I’m going to show you how to create ice cream lettering.
Supplies:
- Tombow Dual Brush Pens
- Tombow TwinTone Dual Tip Markers
- Mixed Media Paper Pad
Step One:
To create the base of this piece I used the 942- Tan Tombow Dual Brush Pen. Mixed Media paper is perfect for lettering because it’s smooth and it helps the brush pen glide across the page. Remember to go very slowly when you letter. 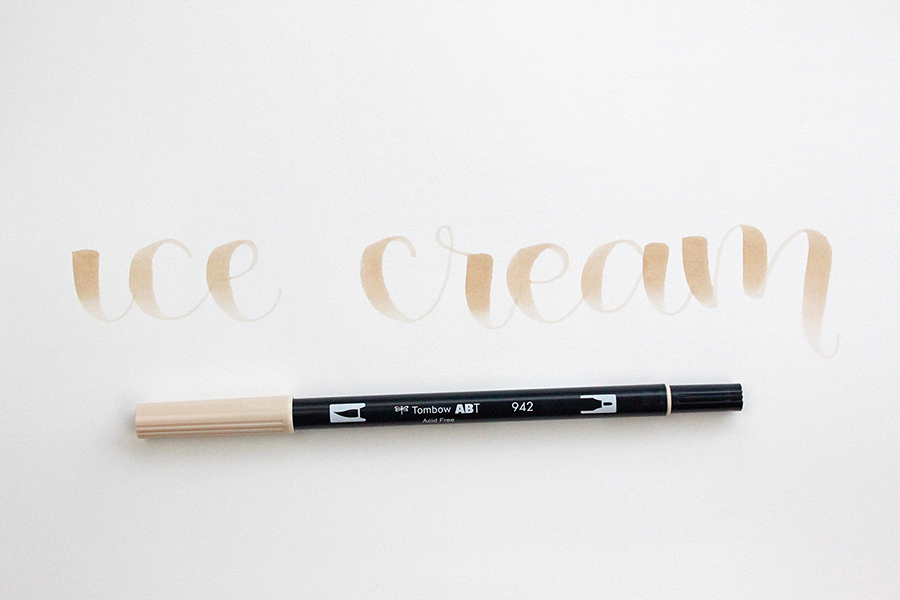
Step Two:
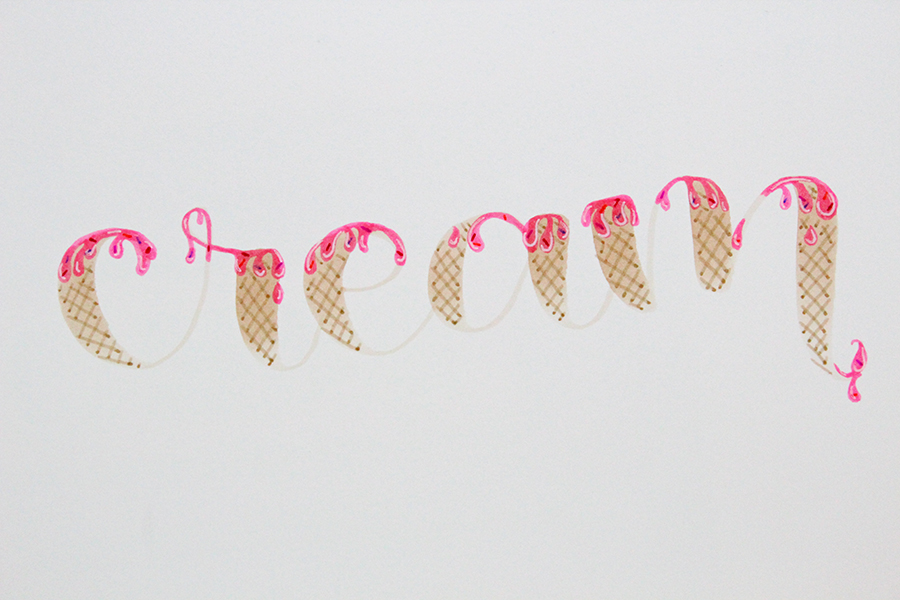
On top of the “i” draw a scoop of ice cream. Add the melted ice cream on top of the letters. I used the 723-Pink Tombow Dual Brush Pen. Cover the top with pink and draw dripping ice cream.
Step Three:
Using the Tombow TwinTone Dual Tip Markers draw a little cherry on top of the scoop.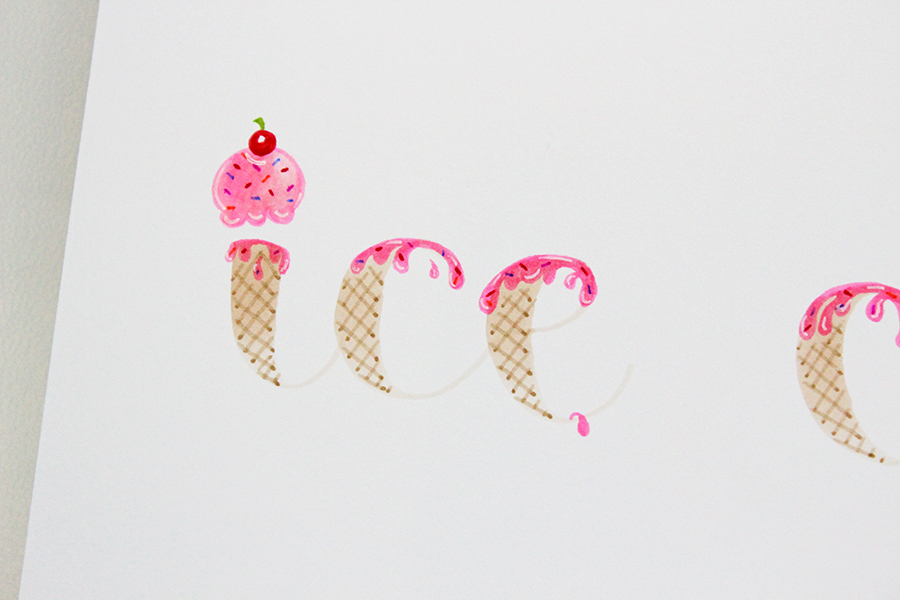
Step Four:
Use the fine tip of the Tombow TwinTone Dual Tip Markers draw sprinkles on the ice cream. You can also use the fine tip of the Tombow Dual Brush Pens but it might be a little big.
Step Five:
To draw the “cone” lines at the bottom of the word I used the 992-Sand Tombow Dual Brush Pen. You just need to use a color a little bit darker than the base but not too dark. You don’t need to go all the way to the border.
Ice Cream Lettering in 5 easy and fun steps! Don’t be afraid to try new “flavors”. You could try outlining the word but use something very small like the Tombow MONO Drawing Pen 01. 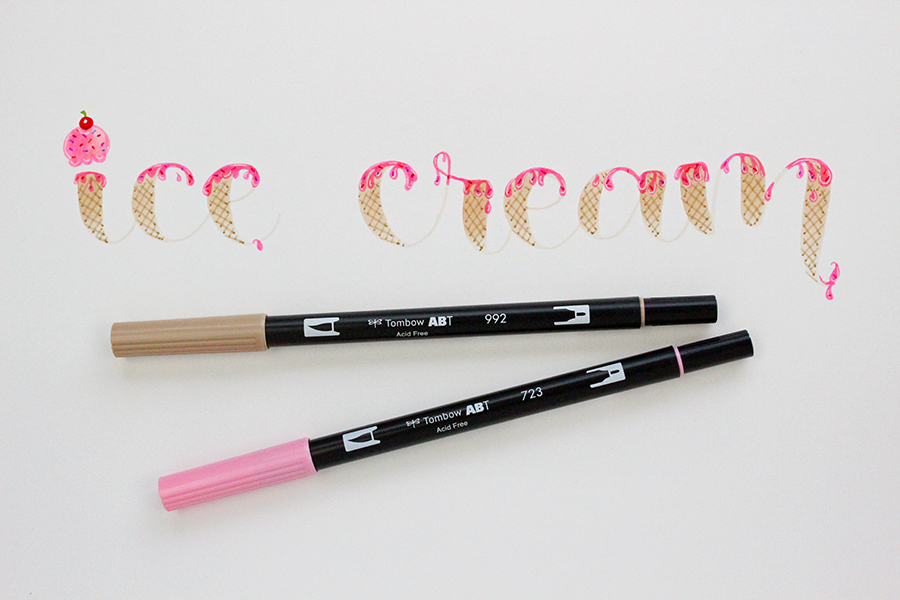
This was super fun to create! I hope you give it a try! Take Care!

this looks good enough to eat!
Thank you for the tutorial. It was fun to try something different. I like the detailing you did to give the effect of the cones.
Although mine turned out no where nearly as nice as yours, it was great to play with my markers. 🙂
Pingback: Cookbook Inspired Recipe Art - Tombow USA Blog
Want to make your writing look cool and fun? Try Ice Cream Lettering! It’s a fun and easy way to write words that look like they’re made of ice cream. You can use different colors and styles to make your words stand out. It’s a great way to decorate cards, posters, or just doodle for fun. Give it a try and make your writing sweeter.
Discover the fun of making cool ice cream-themed lettering! It’s easy and enjoyable to create letters that look like tasty scoops of ice cream. With colorful pens or markers, draw letters that resemble swirls and curves of your favorite frozen treat. Add sprinkles or waffle cone details for extra flair. Whether you’re writing a note, making a poster, or just doodling for fun, ice cream lettering is a sweet way to express yourself.