Hi friends, it’s Renee from @thediyday and today I am revealing a tiny little secret. I am a big fan of designing stationery. Whether it’s a greeting card, note cards, gift tags, or envelopes, I have a penchant for creating my own. Depending on my mood, I will draw little doodles or watercolor a flower, or sometimes I might use colored pencils. But this time around, I am designing stationery and combining several types of media together.
Supplies
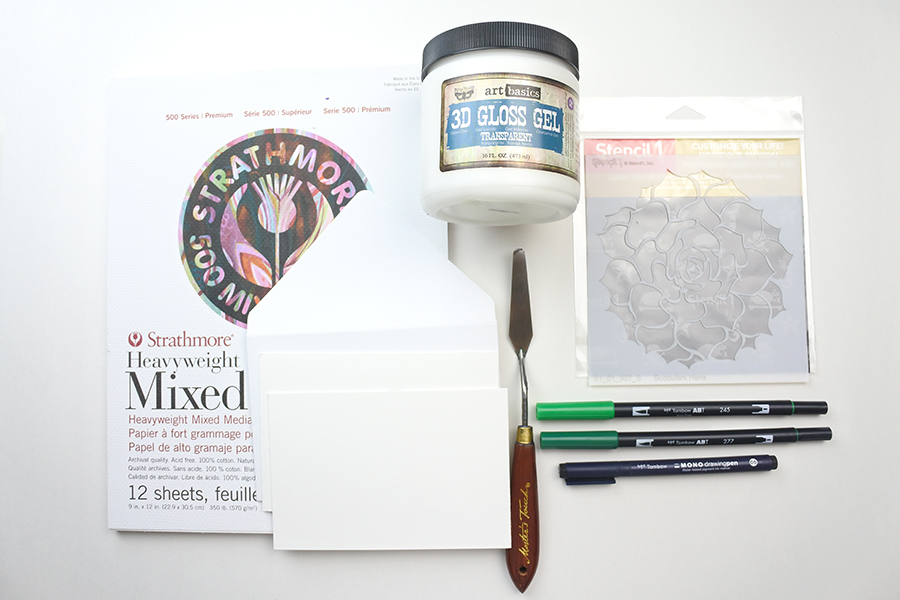
- Strathmore Heavyweight Mixed Media Paper (500 Series) (4×6)
- 3D Gloss Gel
- Succulent Stencil
- Tombow Dual Brush Pens (277 and 245)
- Tombow 1500 Series Colored Pencils
- Tombow Fudenosuke Brush Pen
- Envelope
- Tombow MONO Drawing Pen
- Tombow Blending Palette or sandwich bag
- Palette Knife (or craft stick)
Step One
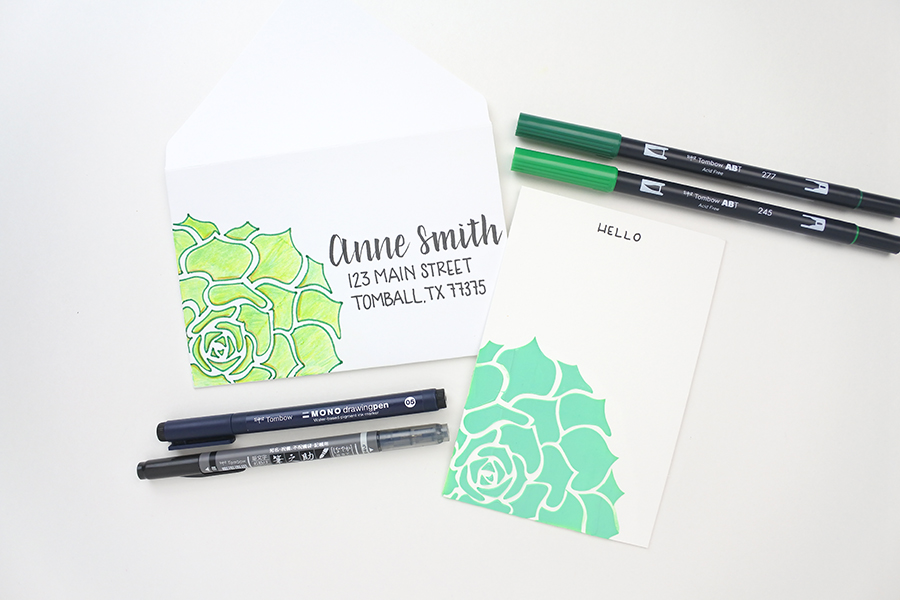
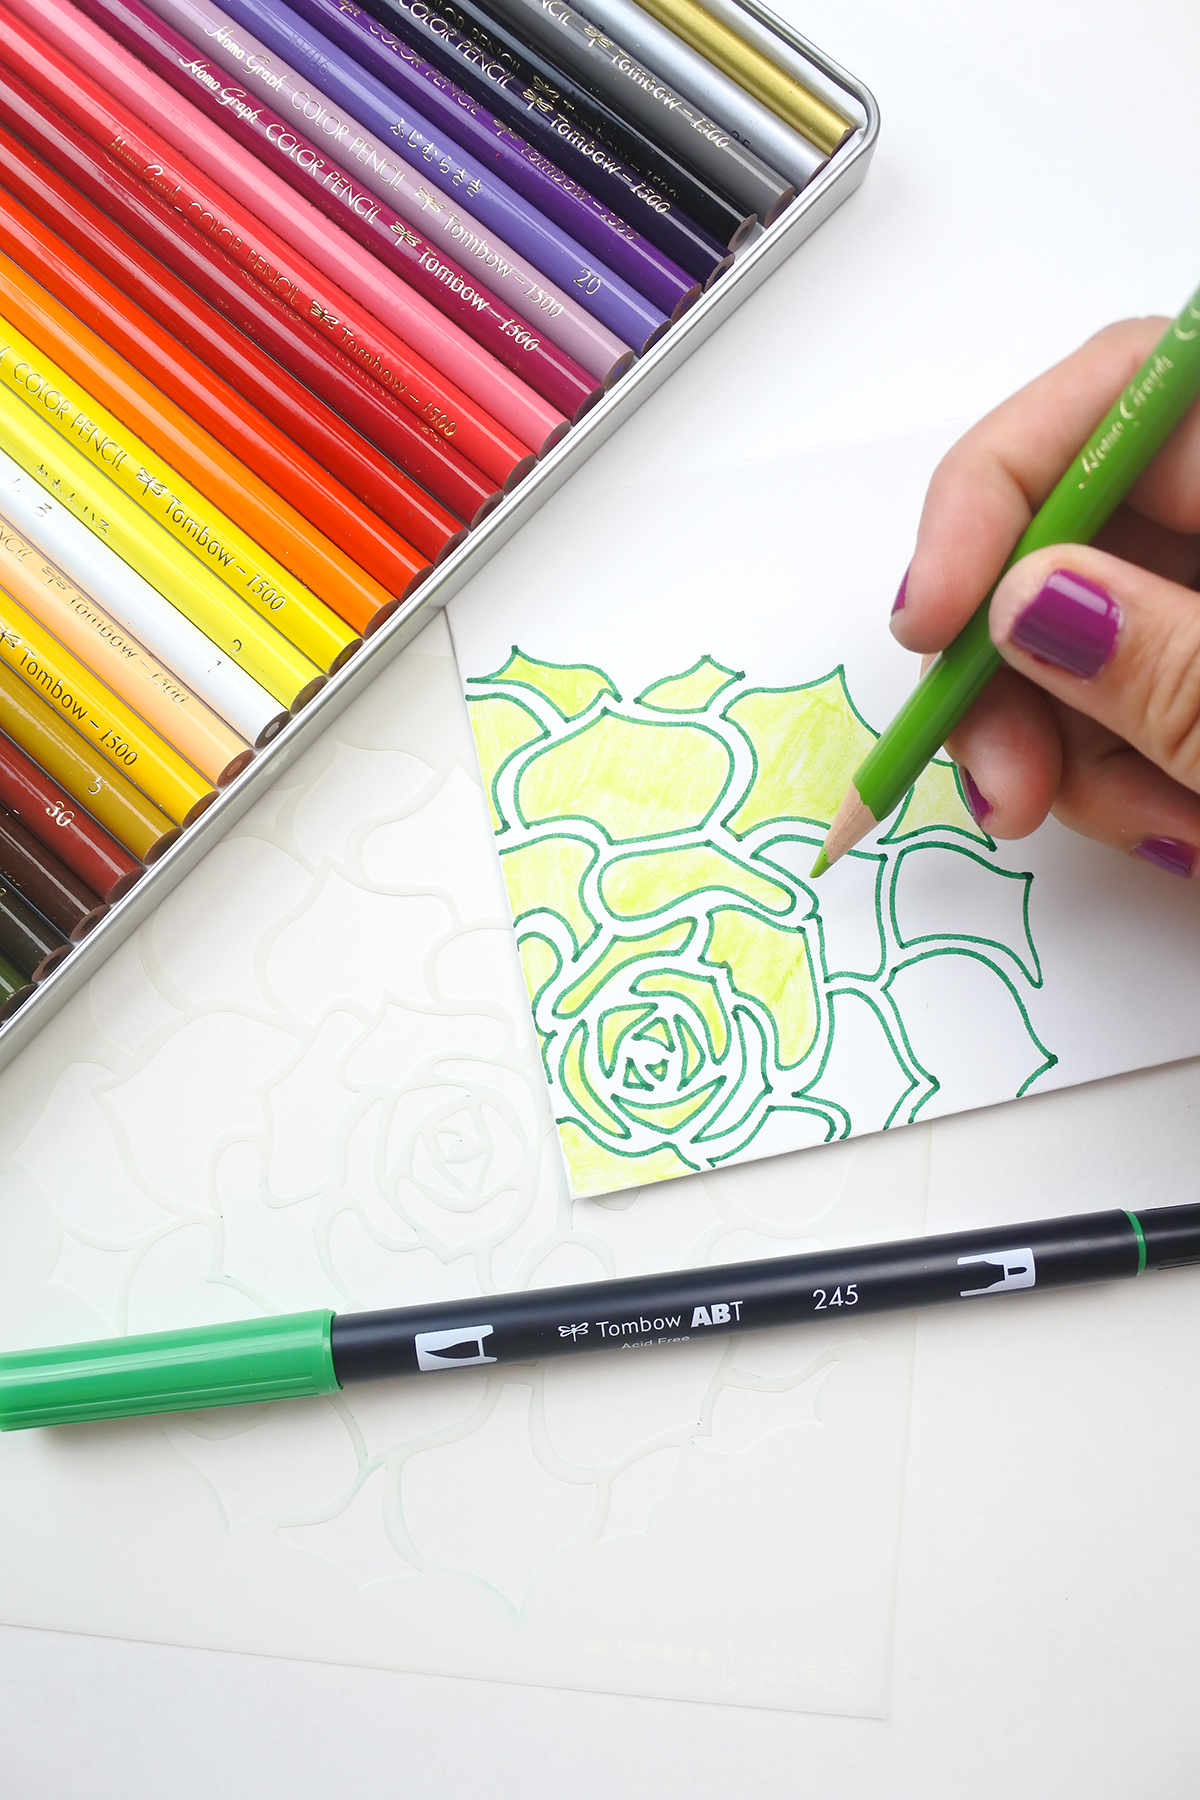
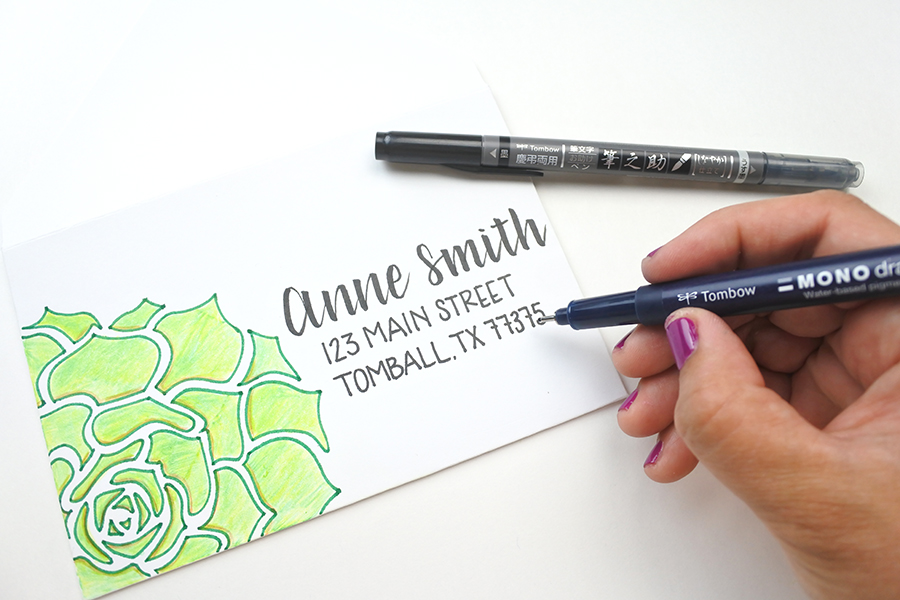
One of the easiest ways to spruce up stationery is to decorate an envelope. Even simple doodles like stars, polka dots, or stripes, can really transform a boring white envelope. For this go, I decided to use a stencil. First, I outlined my succulent stencil with a green brush pen (277). Then, I colored it in with various greens from the 1500 Series Colored Pencil set. Last, I used a Fudenosuke Brush Pen to letter the recipients name and a MONO Drawing Pen (05) for the address (the address is fake). Now it’s time to decorate the note card.
Step Two
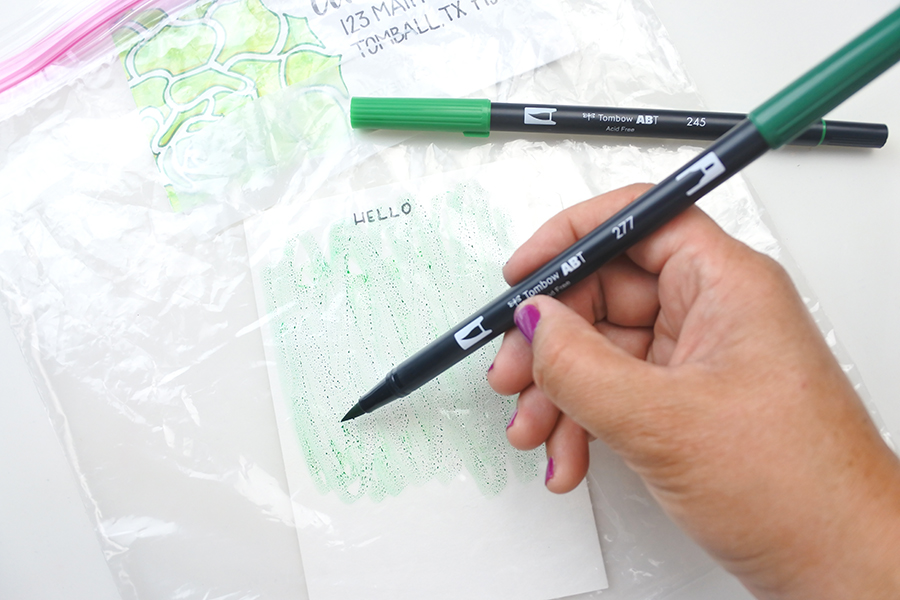
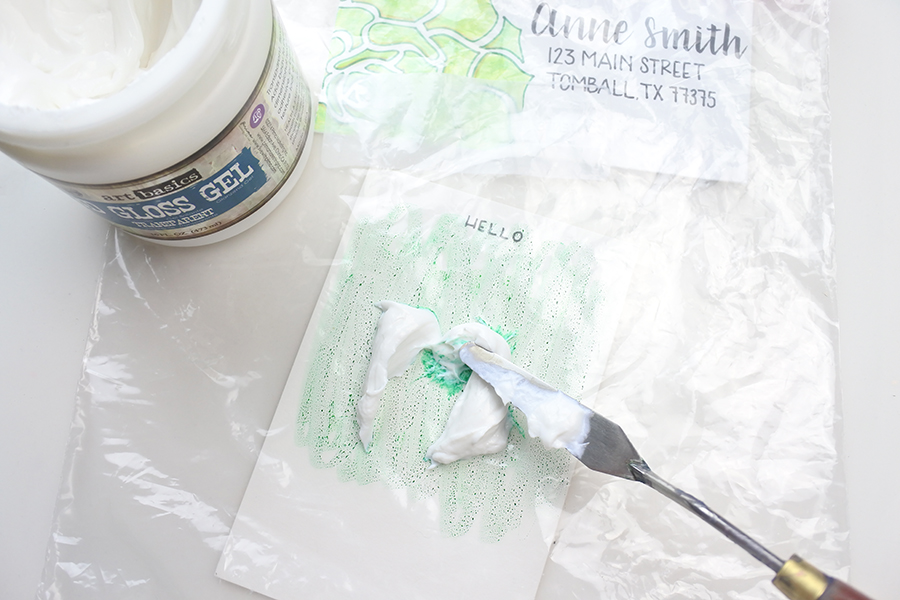
When designing stationery, I think it’s fun when the parts match. I wanted the note card to match the envelope but I really wanted to take it up a notch. That is when I decided to incorporate some mixed media. This technique is way easy. First, with Tombow Brush Pens (277 and 245) I colored right onto a plastic sandwich bag. Next, with a palette knife (a craft stick works too), add some of the 3D Gloss Gel. Mix well, until all of the gel is green.
Step Three
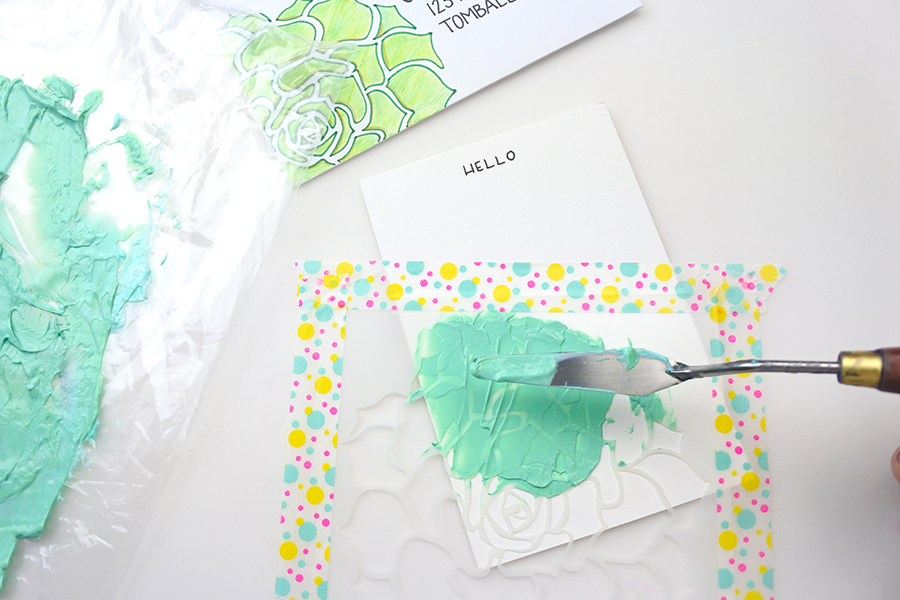
Next, place the succulent stencil on top of the Mixed Media Paper (I cut mine to 4×6). Be sure the paper is thick/durable, otherwise it will curl. Then, with the palette knife, apply the colorful green gloss gel right on top of the stencil. The gel layer should be flush with the stencil and smooth (even out the bumps). Gently remove the stencil and allow the note card to dry. Dry time ranges depending on the thickness of the gel (approximately one hour). Also, the gel will stay bright and shiny.
Designing this stationery set was so much fun! What will your summer stationery look like?
Thank you!
Renee