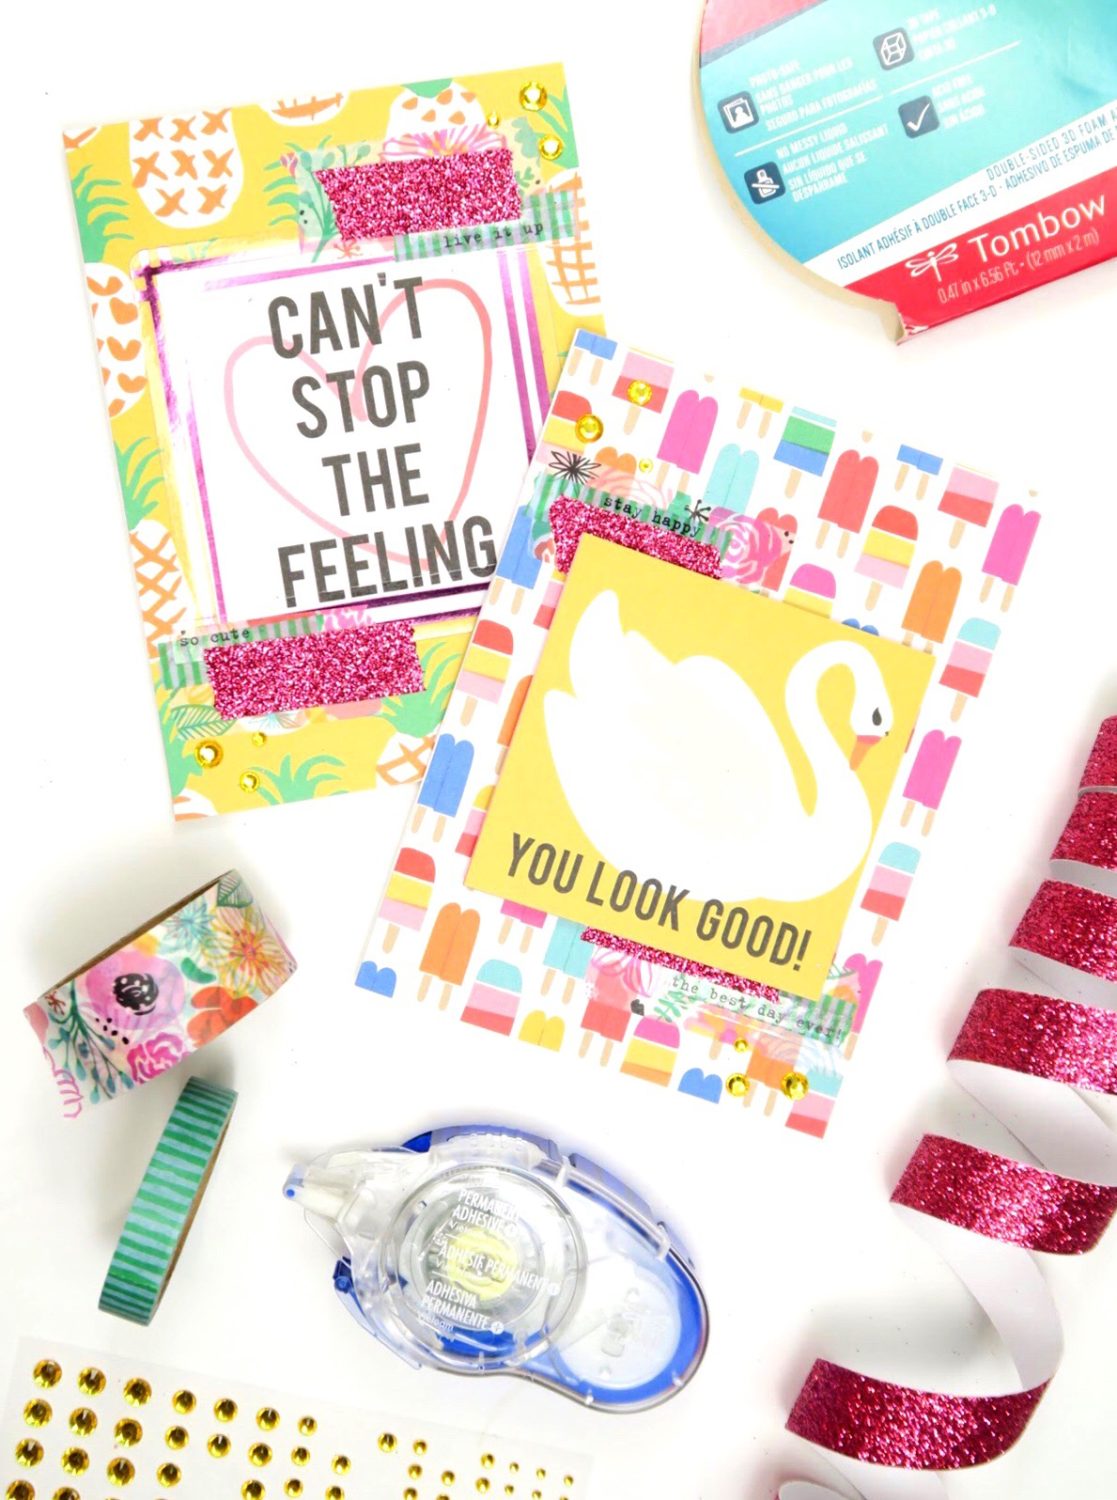
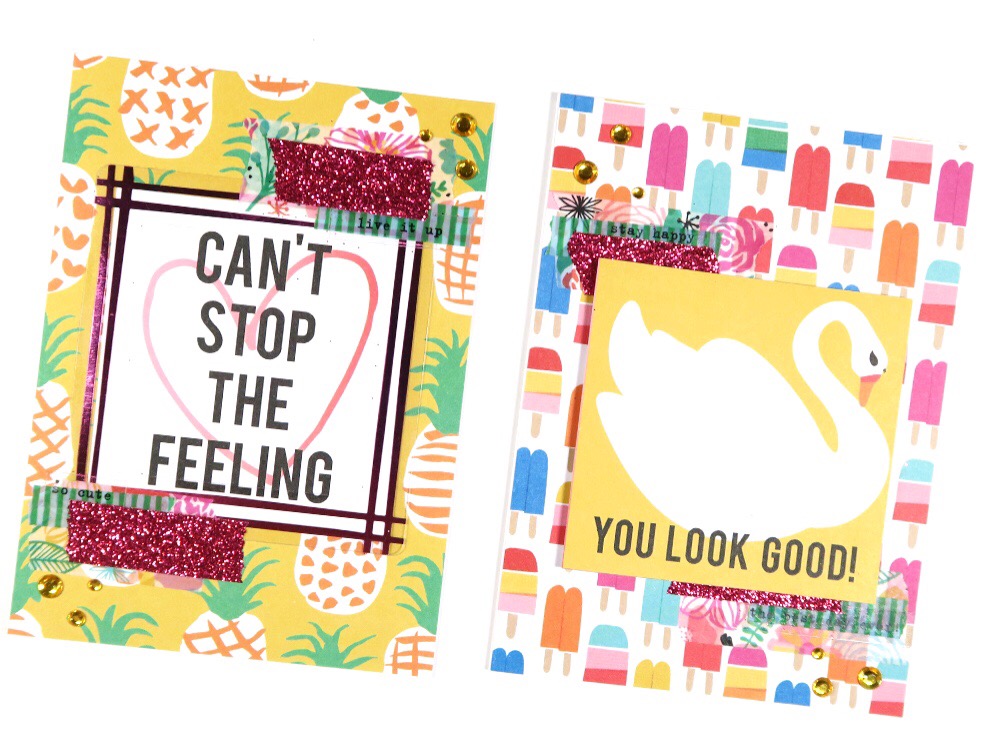
Hi friends! Dani from @popfizzpaper here today sharing two yellow cards for Tombow’s Rainbow Week! These handmade cards come together really quickly, thanks to a couple of my favorite Tombow adhesives. Make sure to check out the video at the end of this post to see the process of creating my yellow cards. Let’s get started!
SUPPLIES:
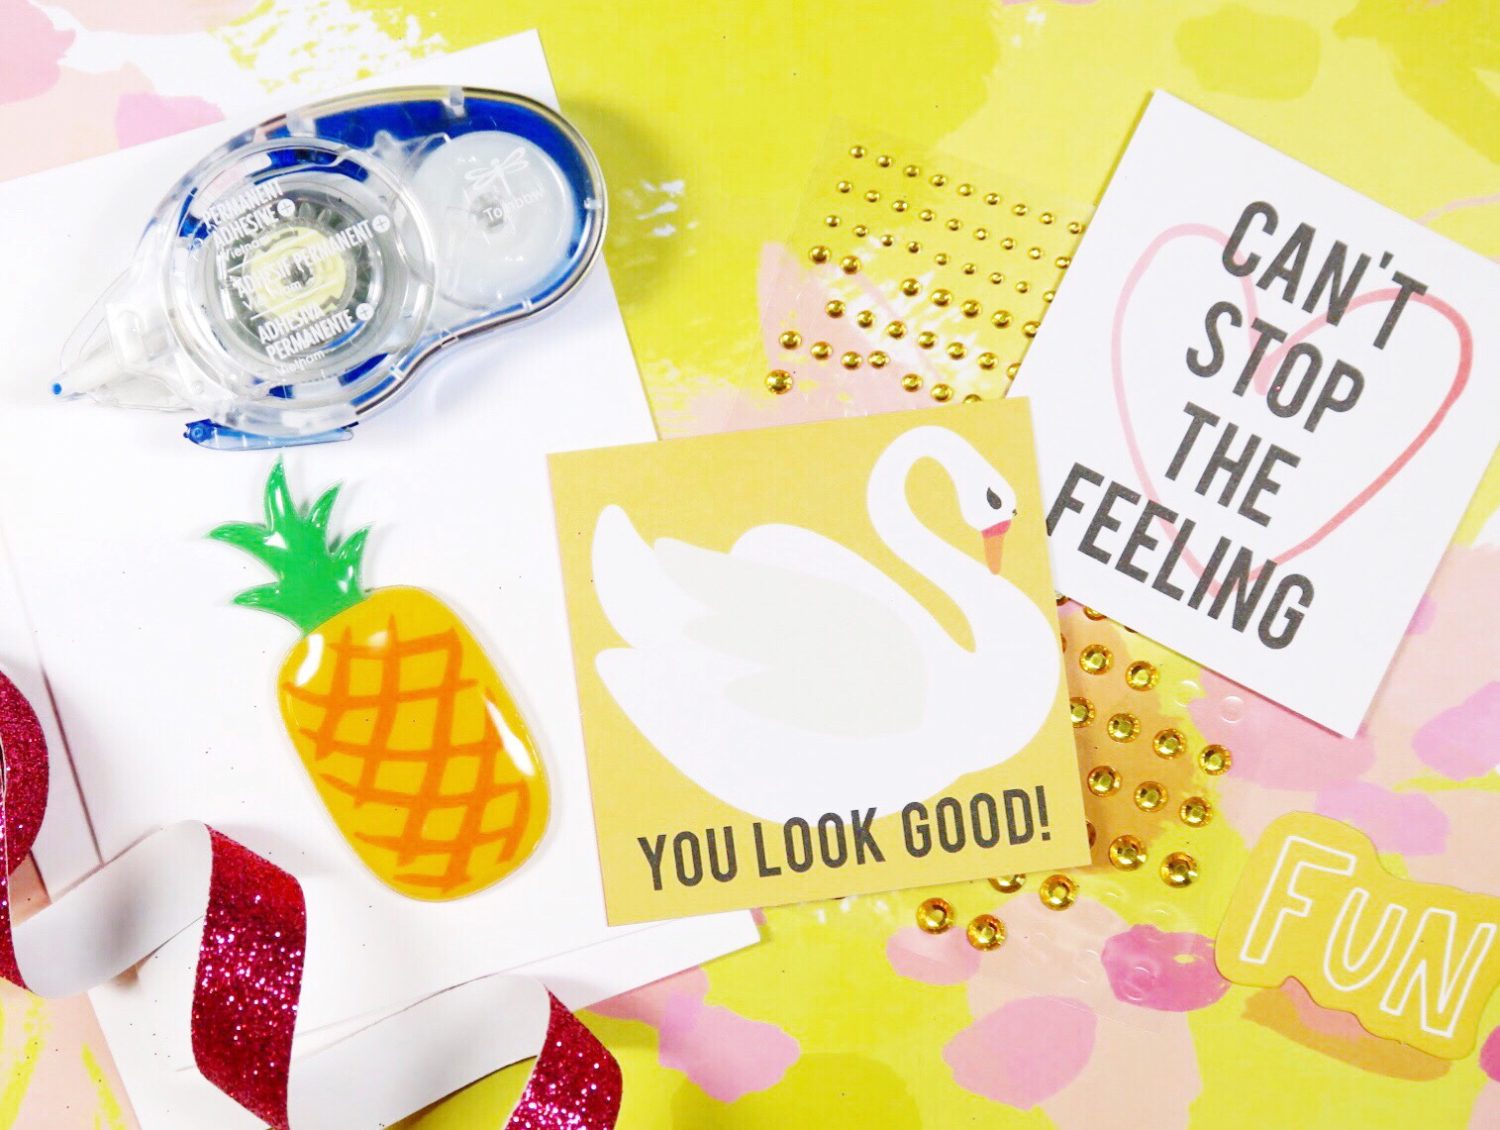
- Tombow MONO Adhesive+ Permanent
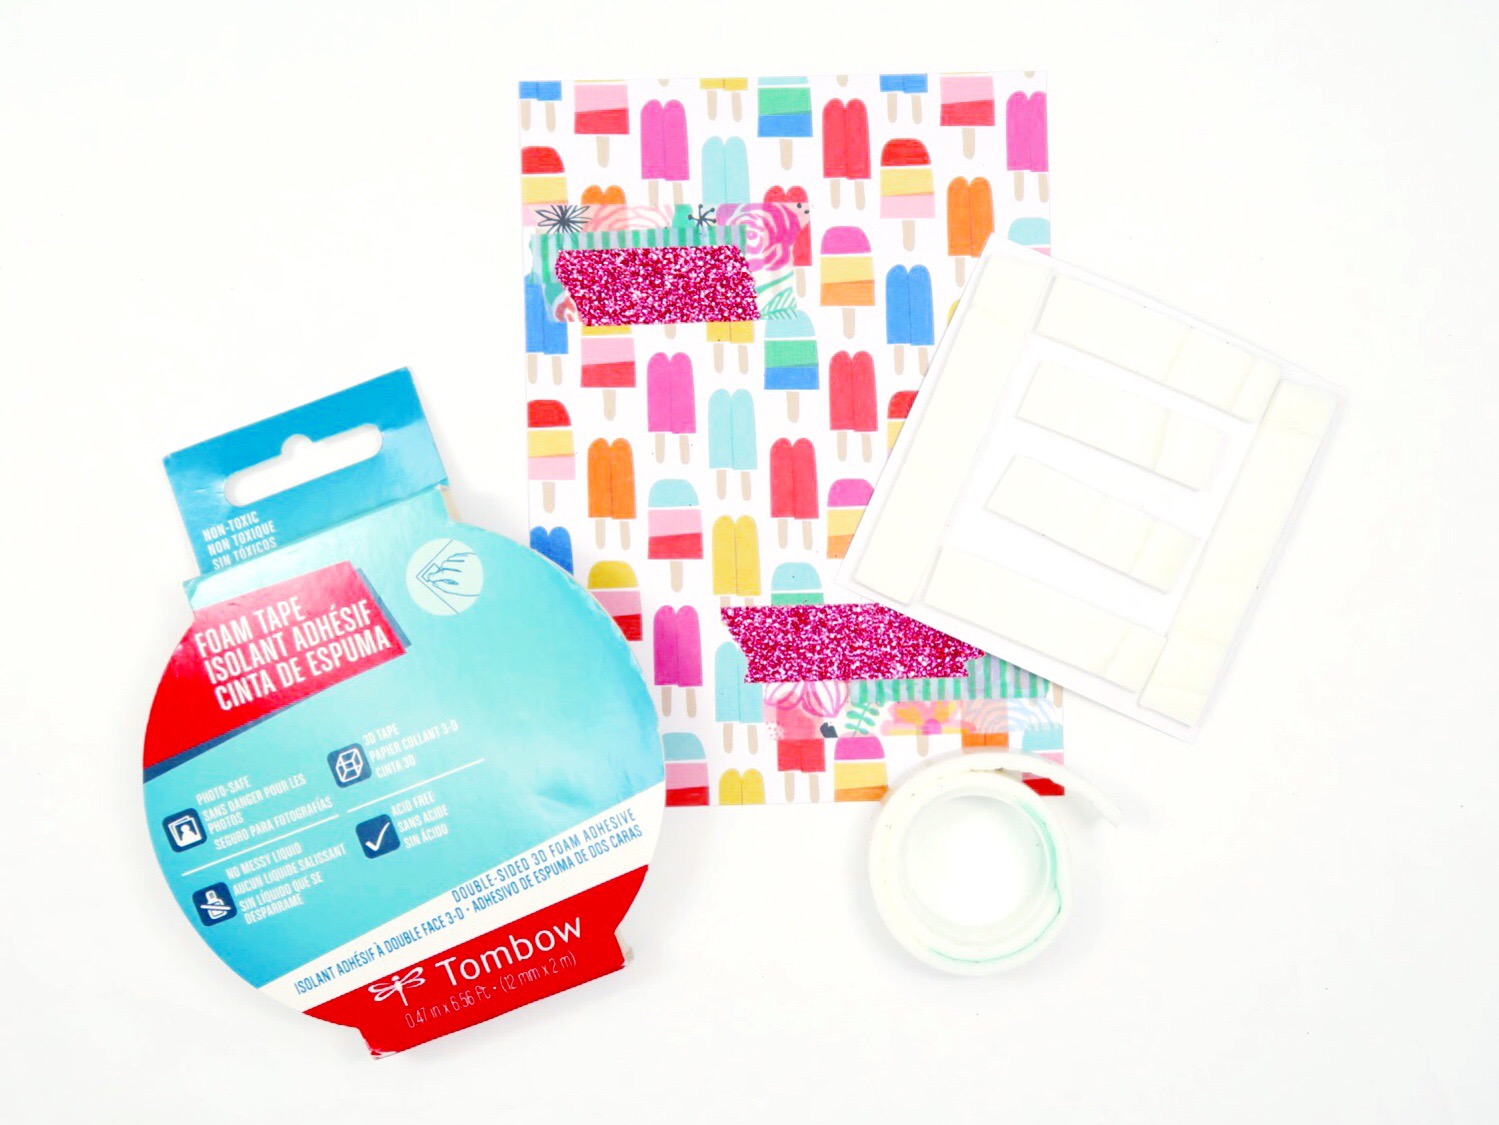
- Tombow Foam Tape
- Yellow scrapbook paper
- White cardstock
- Paper trimmer
- Embellishments with yellow, like diecuts, washi tape, gems, stickers, etc (coordinating colors are ok too!)

CREATE THE BASE
First, cut down two pieces of white cardstock to 8″x6″, then fold in half along the long edge and set aside. This will give you card bases that are 4″ wide and 6″ tall. Next, cut down two pieces of scrapbook paper to 4″x6″. These will be the front panels of the yellow cards. For the first front panel, layer on pieces of washi tape, then use the Tombow MONO Adhesive + Permanent to adhere a diecut on top. For the second card, add more washi tape, but use Tombow Foam Tape on the back of your diecut for more dimension, then place on the panel.

DECORATIVE DETAILS
Next, finish decorating the front panel. I used gem stickers and clear phrase stickers on mine, but feel free to add whatever decorative details you like to your card. It’s ok if you choose coordinating colors for interest.

ASSEMBLE YOUR CARD
Once you are done decorating your panel, apply more Tombow MONO Adhesive+ Permanent to the back, then attach to the white cardstock base you created earlier. And that’s it! Super quick and super easy.
Thank you so much for following along with my tutorial for yellow cards today. For more card making inspiration, check out my tips for the best adhesives for card making, then learn Smitha’s techniques for adding decorative details with foil, glitter, and sequins. See you next time!