Hi, Jessica from BrownPaperBunny here to show you an easy way to make DIY Halloween decorations for your windows! These spooky bat silhouettes are easy to make but have a big impact once it’s dark. Here’s what you’ll need to get started.
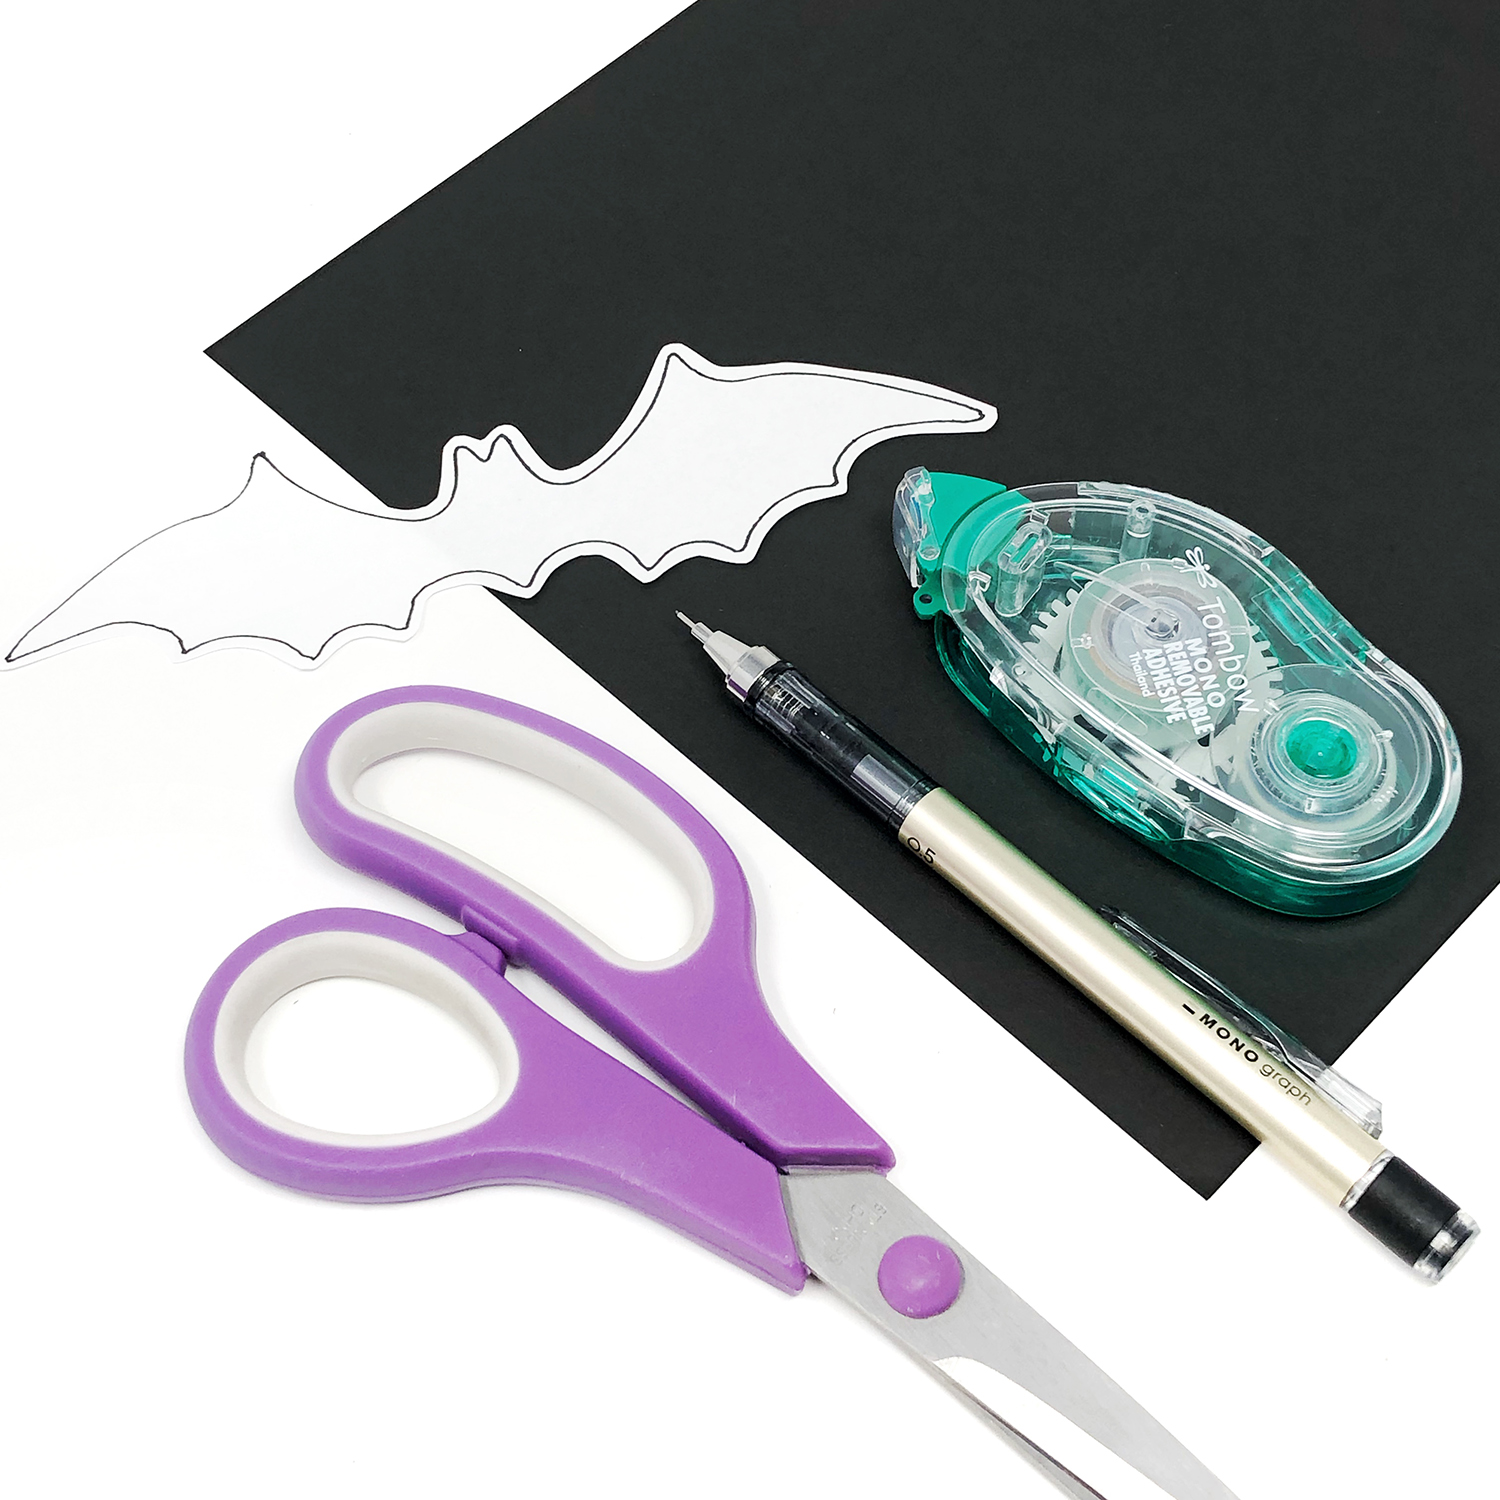
Supplies:
- Tombow MONO Adhesive Removable
- Black paper
- Scissors
- Tombow MONO Graph Mechanical Pencil
- Bat template (optional)
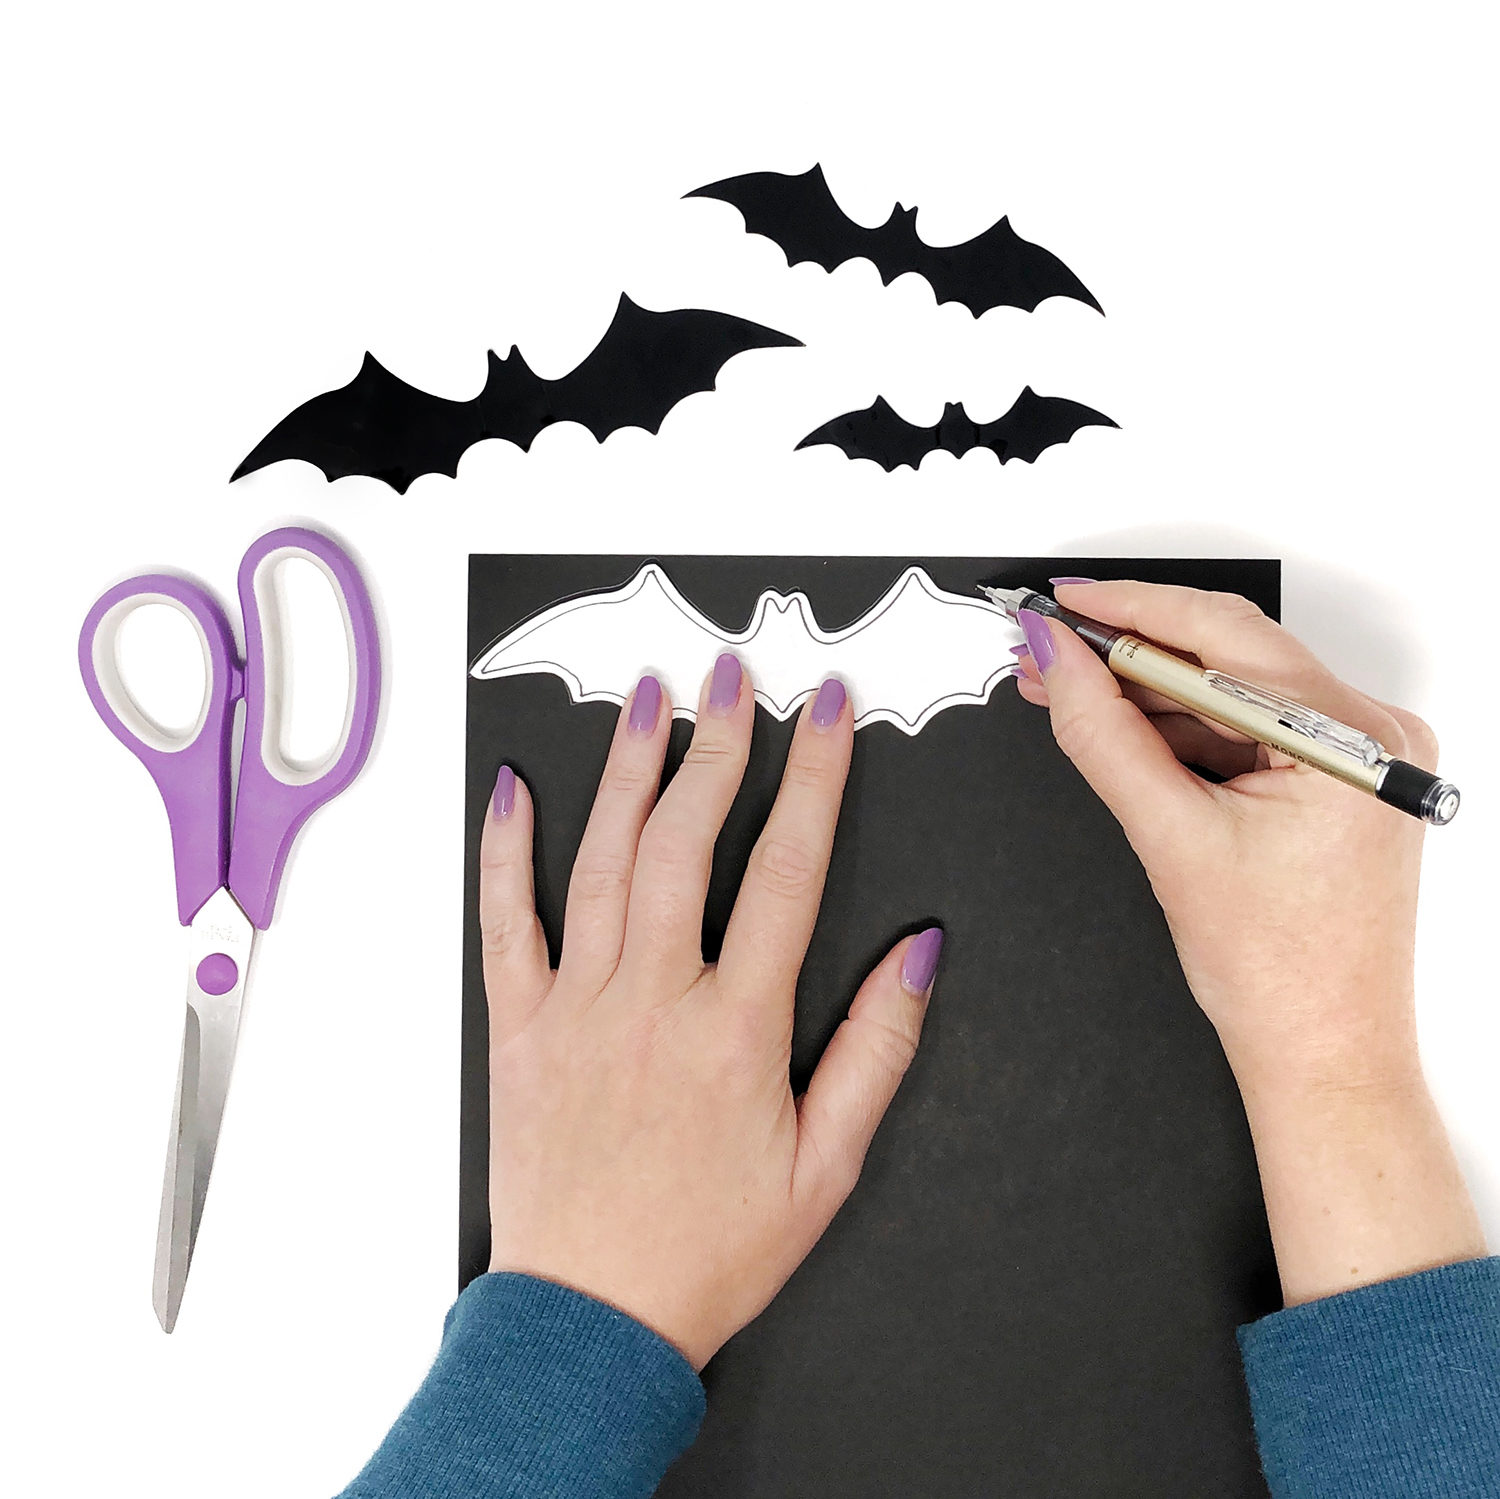
Step 1: Draw Bats Onto Your Paper
Using your MONO Graph Mechanical Pencil, either trace around your bat template or draw bats freehand until you’ve filled up your sheet of black paper. If you’re drawing them freehand you could vary the size and shape of your bats.
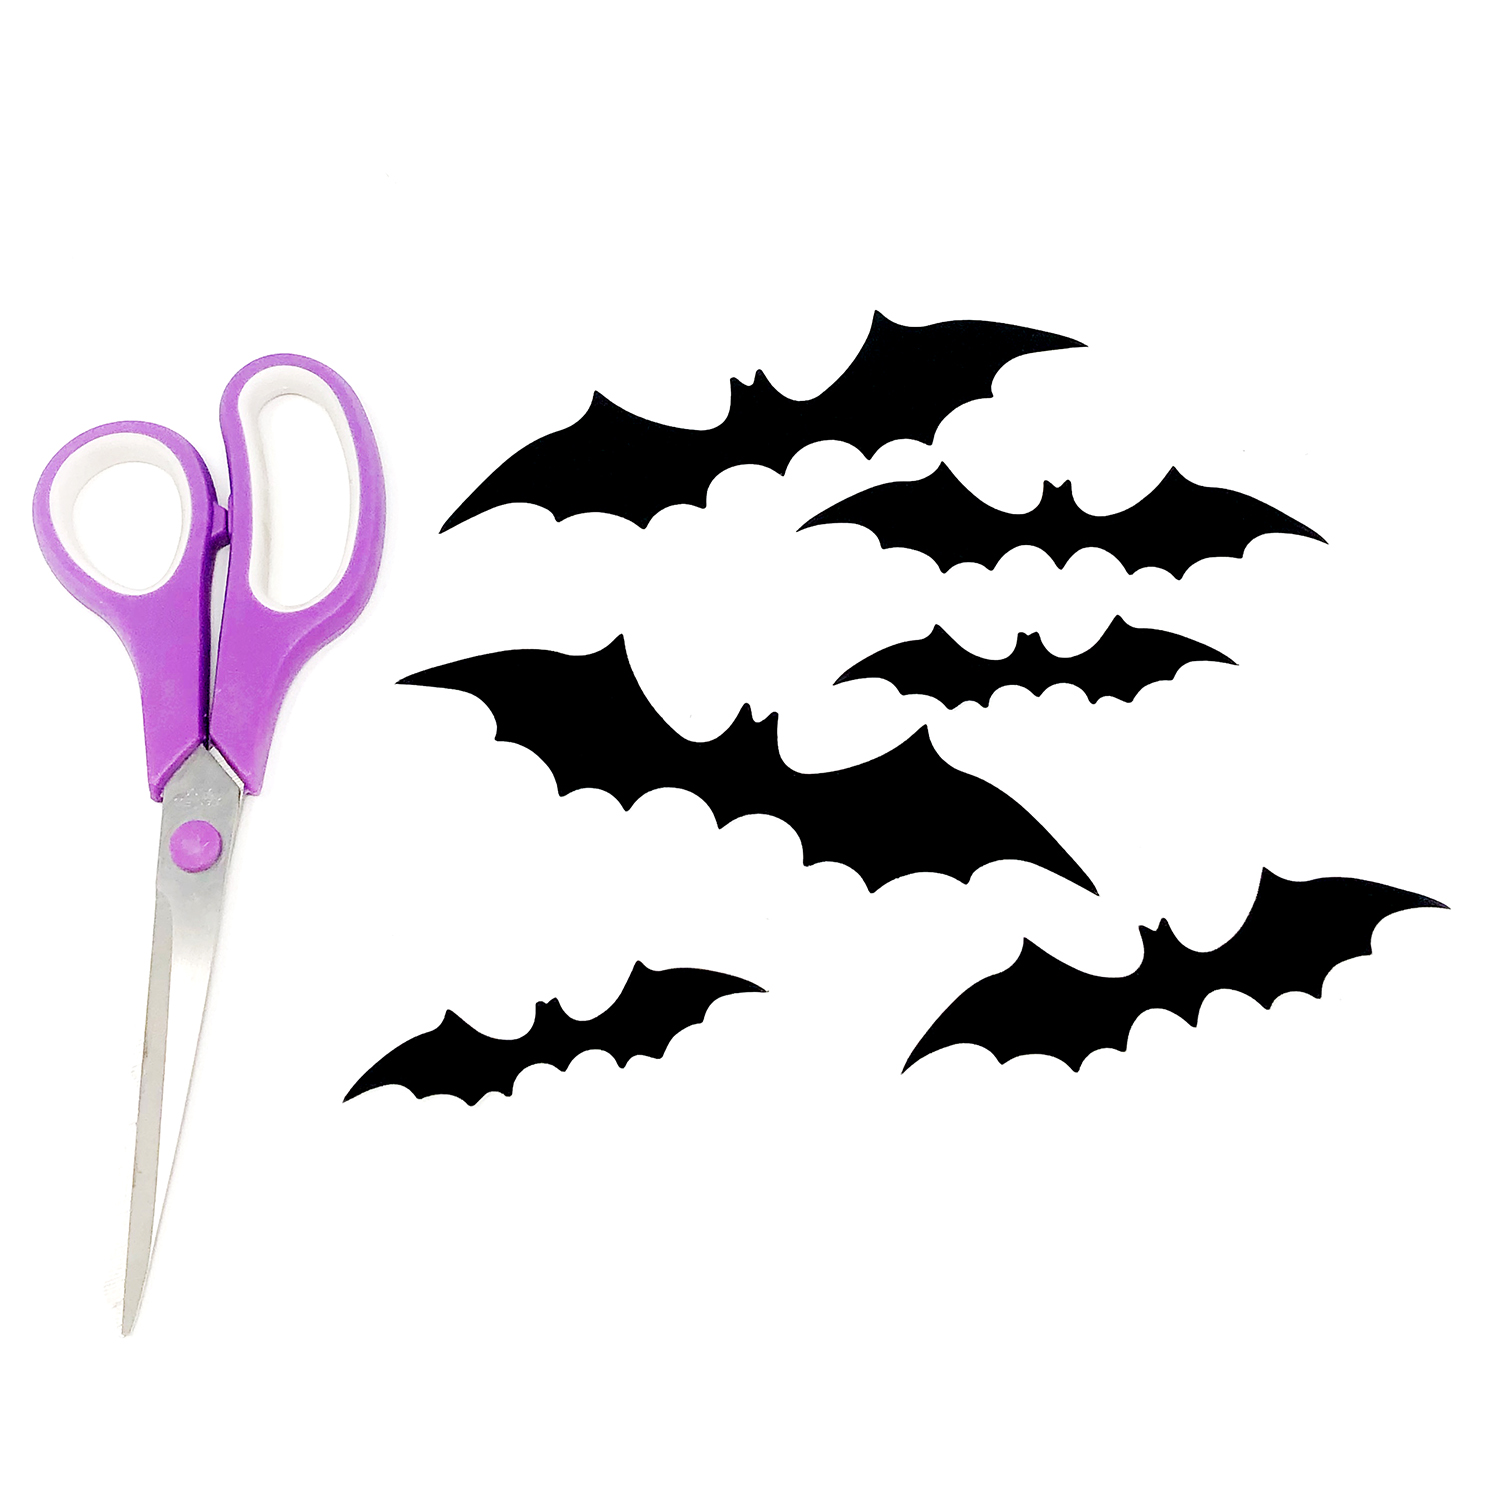
Step 2: Cut Out Your Bats
Use your scissors to cut out enough bats to decorate the window you have in mind.
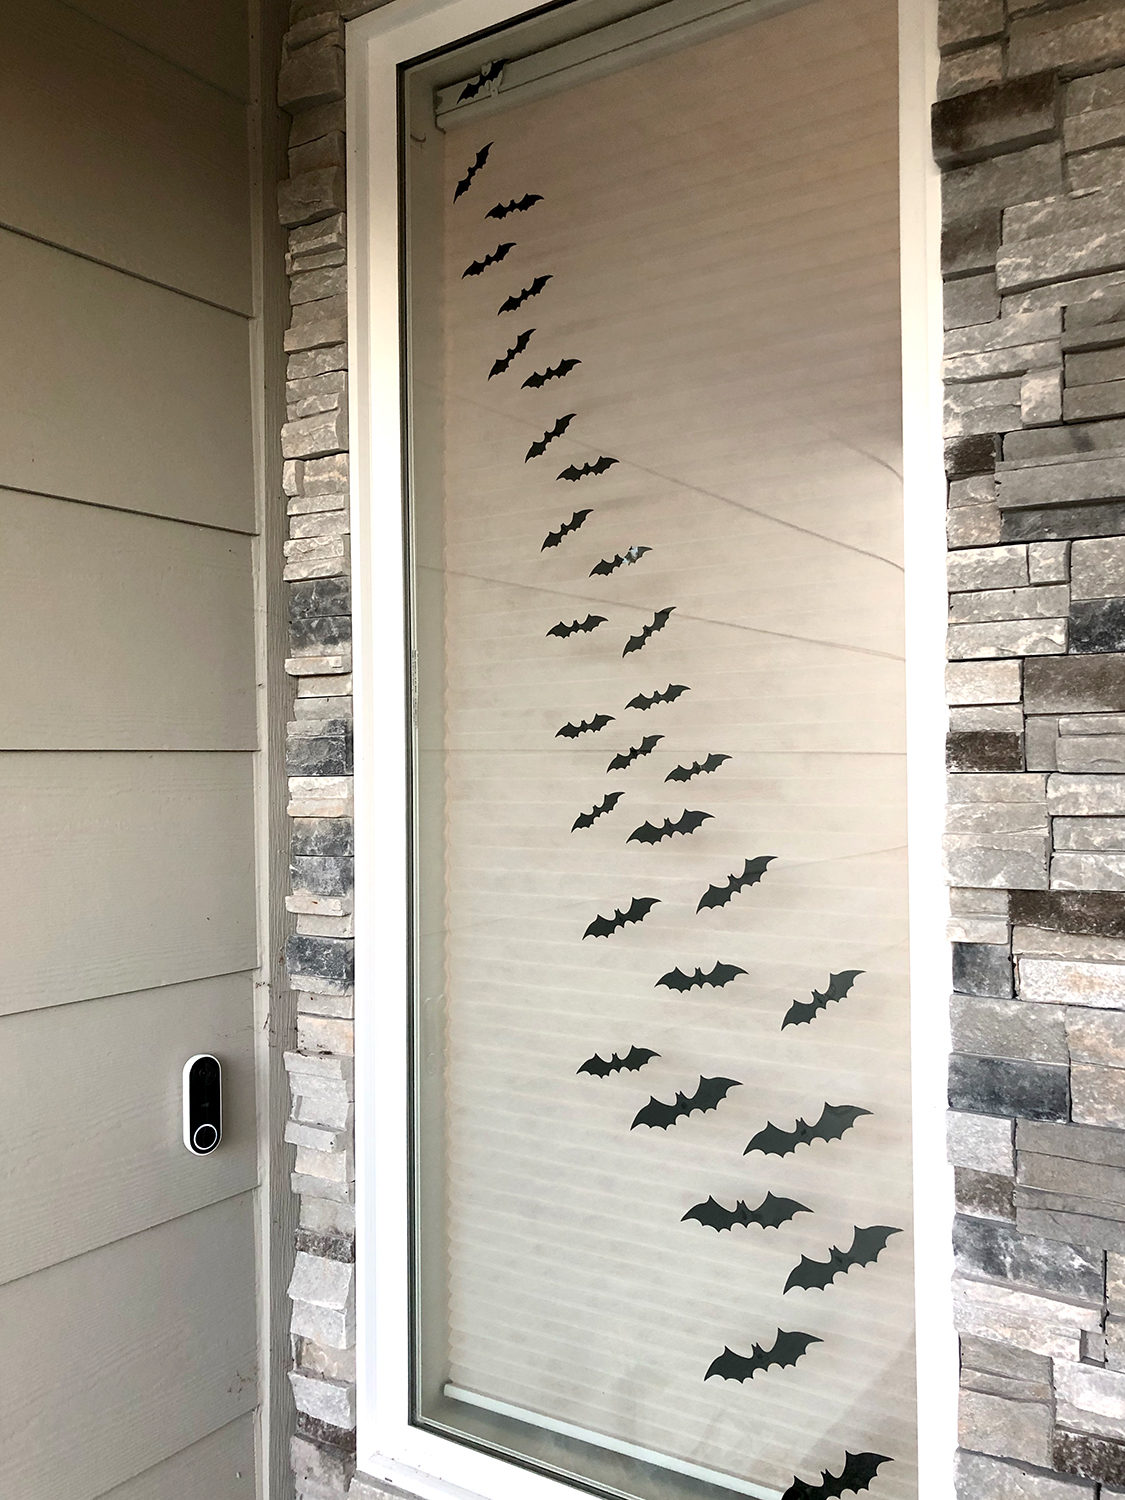
Step 3: Stick Up Your Bats
Use your MONO Adhesive Removable roller to apply adhesive to the body of your bats and the tips of each wing. Then, stick them to the inside of your window.
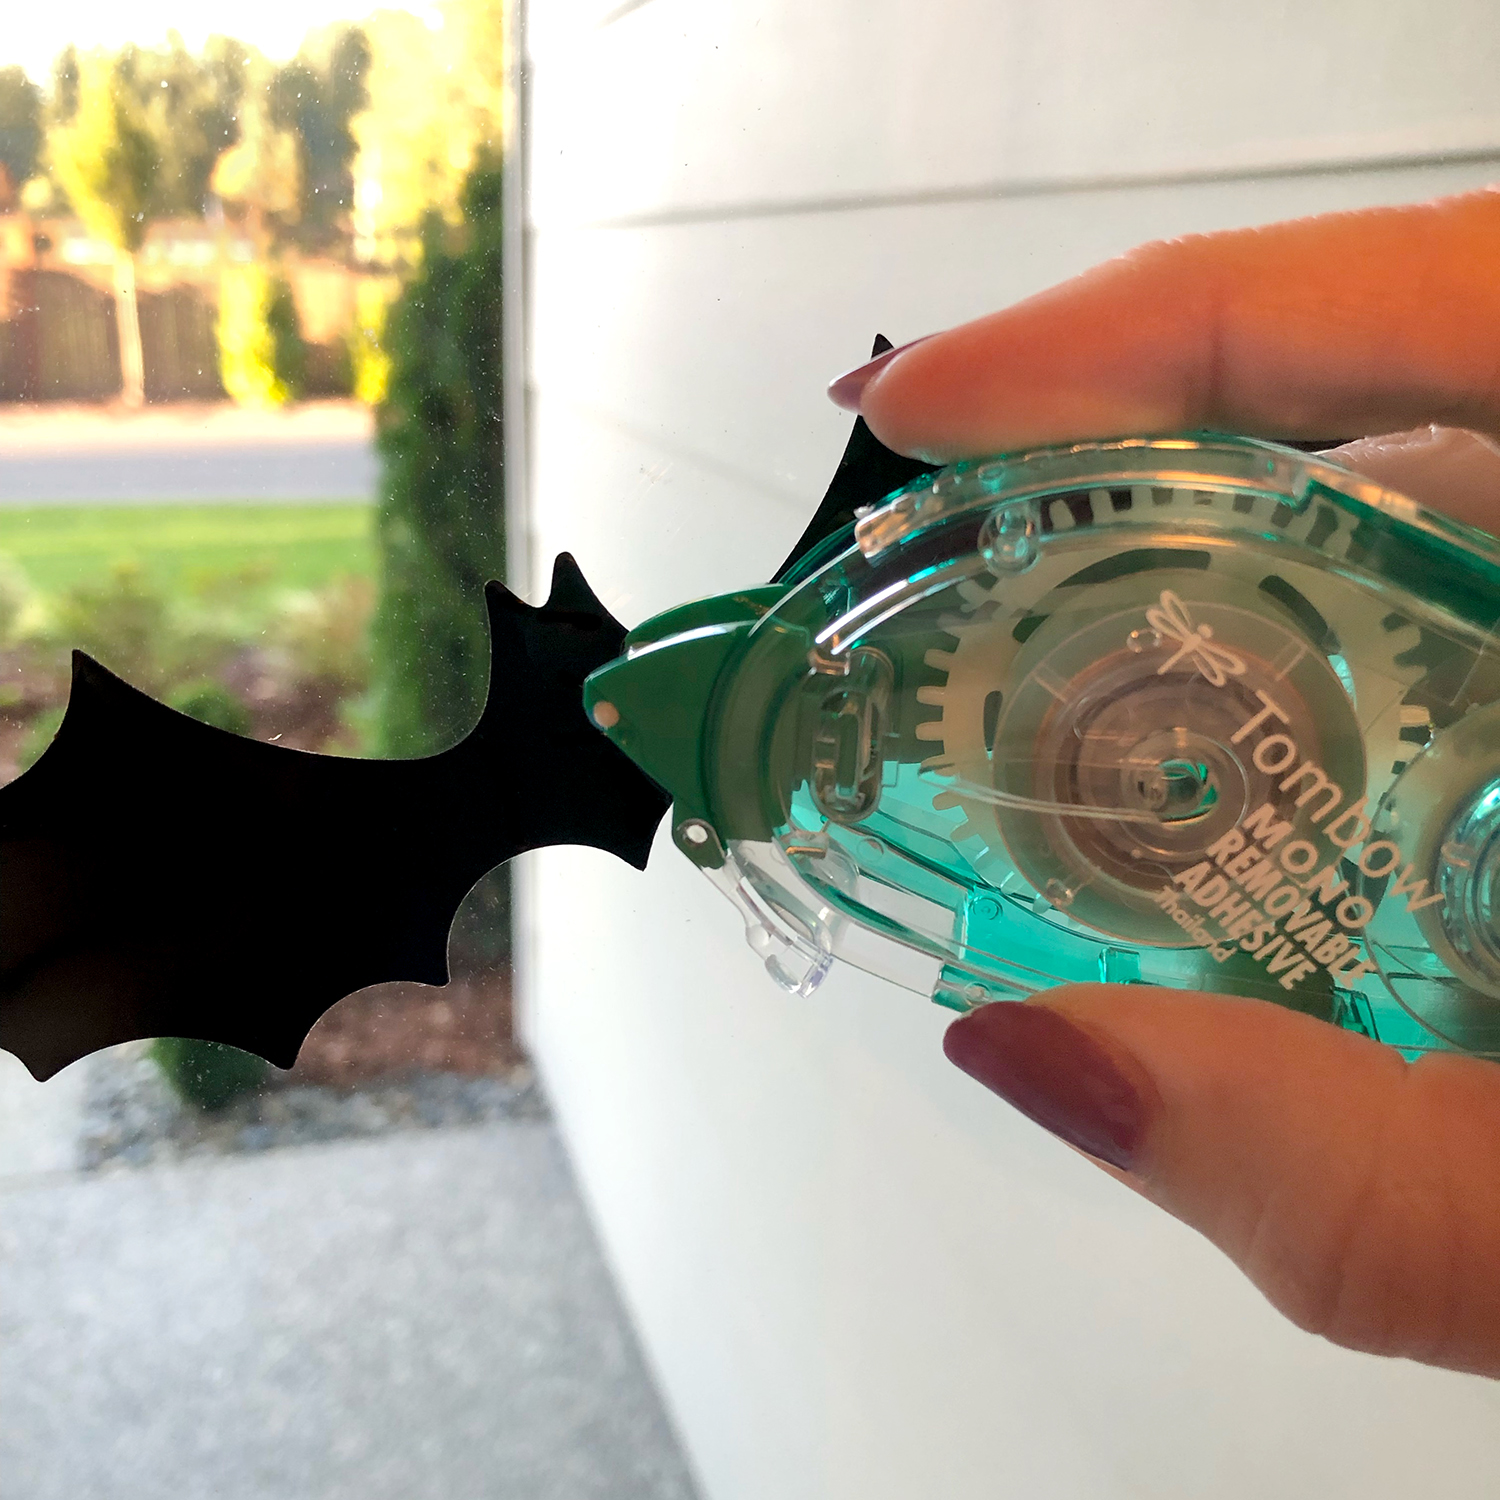
Then, once it gets dark the bats will be silhouetted against the lights on inside the house. I’m sure you’ll agree that these DIY Halloween decorations are a scream! 😉
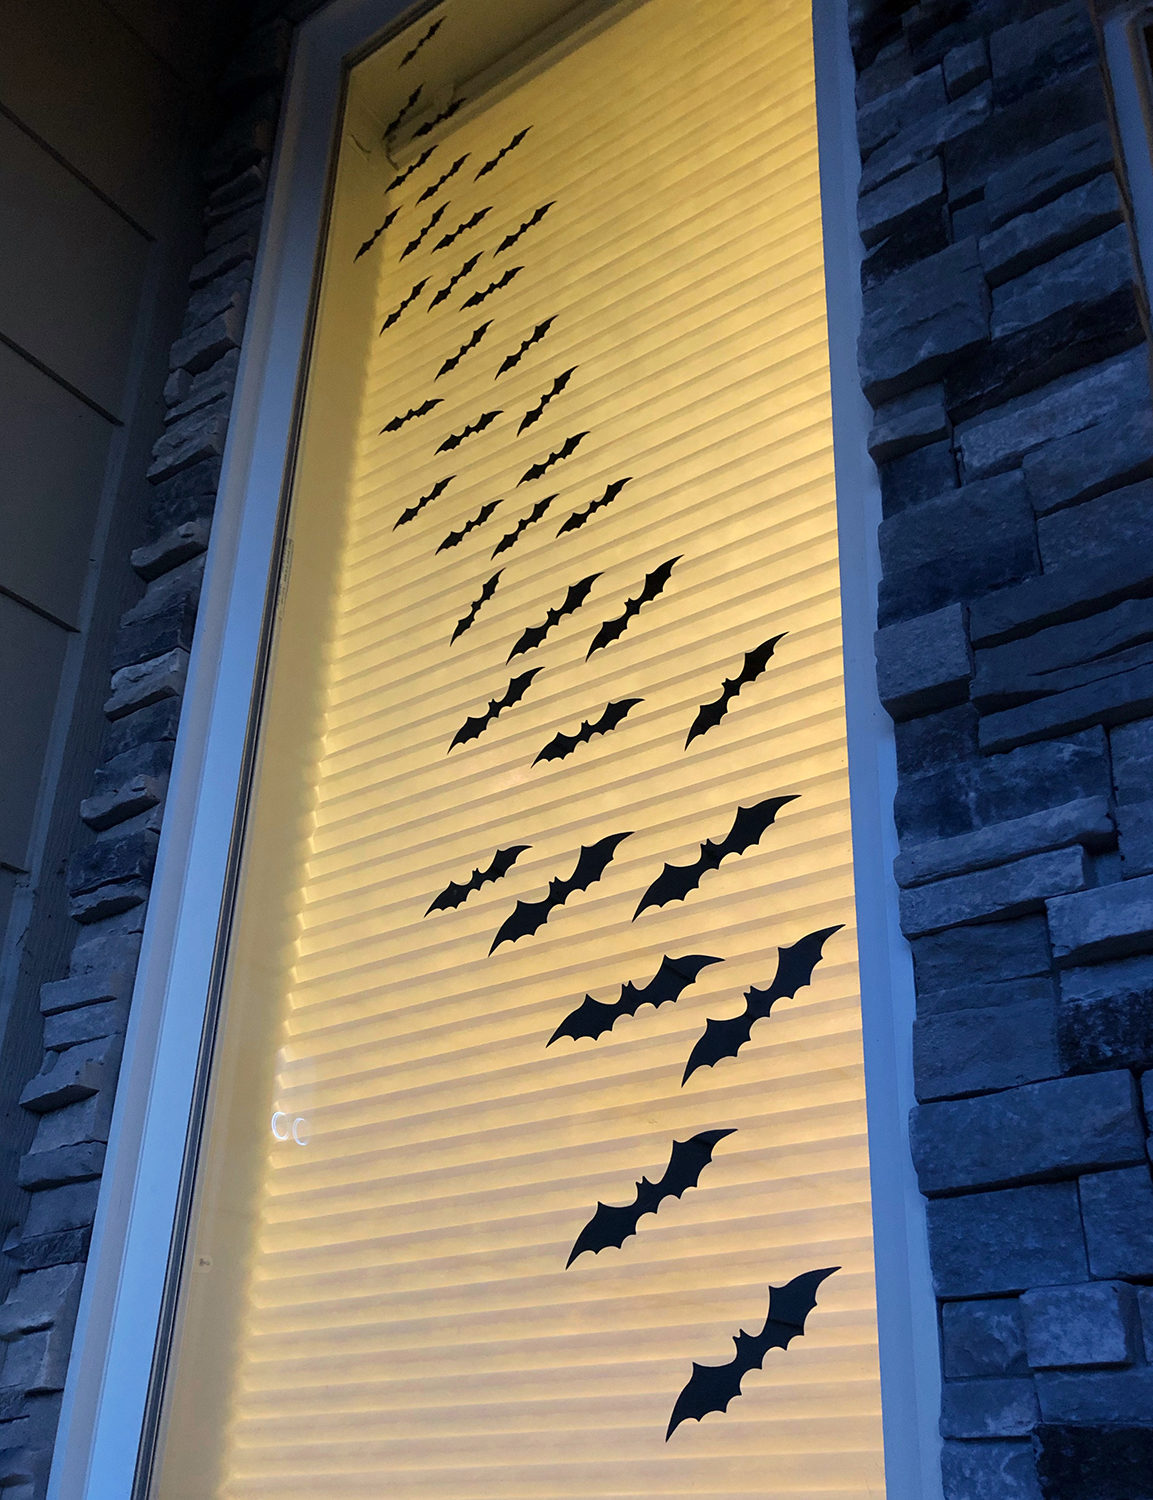
The great thing about the MONO Removable Adhesive is that it’s strong enough to hold the paper bats up, but easy enough to remove once Halloween is over. It also doesn’t leave any residue on the glass. You could also stick these bats across mirrors or smooth tiles as well!
We’d love to see your Halloween decor, so tag @TombowUSA and @BrownPaperBunny on social media.
Looking for more DIY Halloween Decorations? Check out this fun Floral Halloween ‘Boo’ Banner or this Black and White Halloween Banner.
Pingback: DIY Halloween Allergy-Friendly Trick-or-Treat Sign - Tombow USA Blog
Pingback: No-Carve Jack-O’-Lantern With Tombow ABT PRO Markers - Tombow USA Blog
Pingback: Seven on Saturday 10/30/21 - Perfecting Places