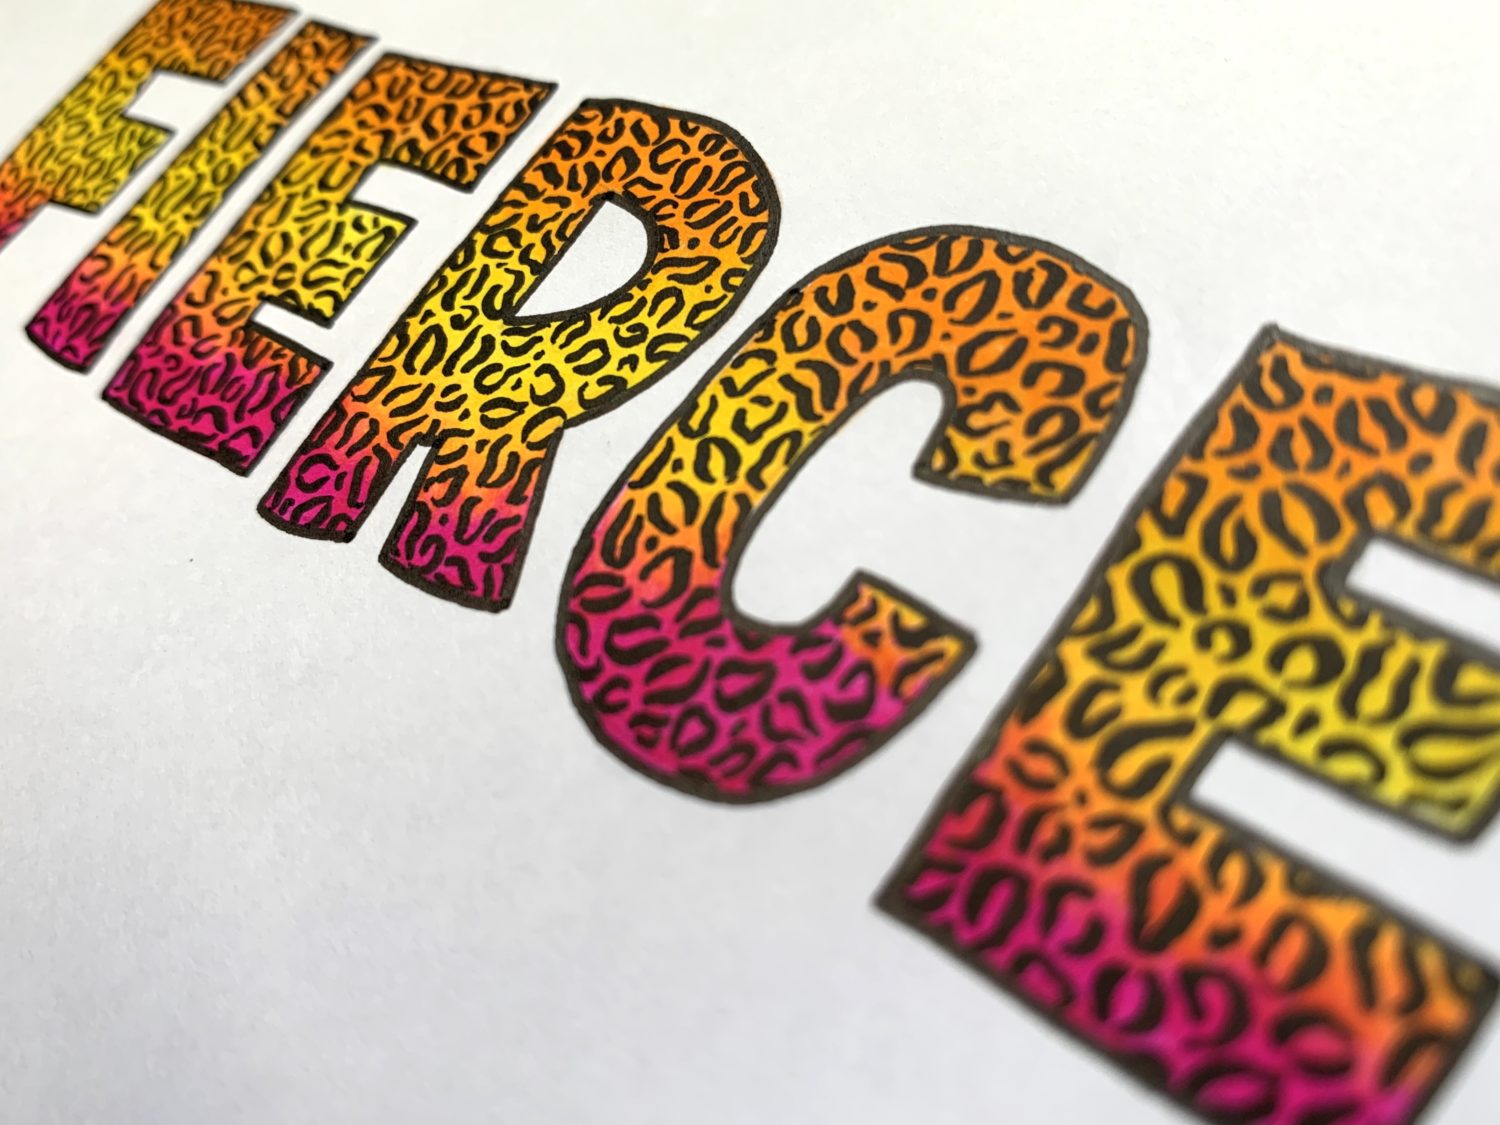
Hey everyone, It’s Ali LePere here! I’m beyond excited to be joining the Tombow Design Team for 2020! Making blended lettering pieces that pop off the page is my absolute favorite thing to do, so that’s where I want to start on the blog! Today, I’m going to be walking you through how I combine blending and lettering with a wild twist! Let’s make some animal print lettering!
Supplies
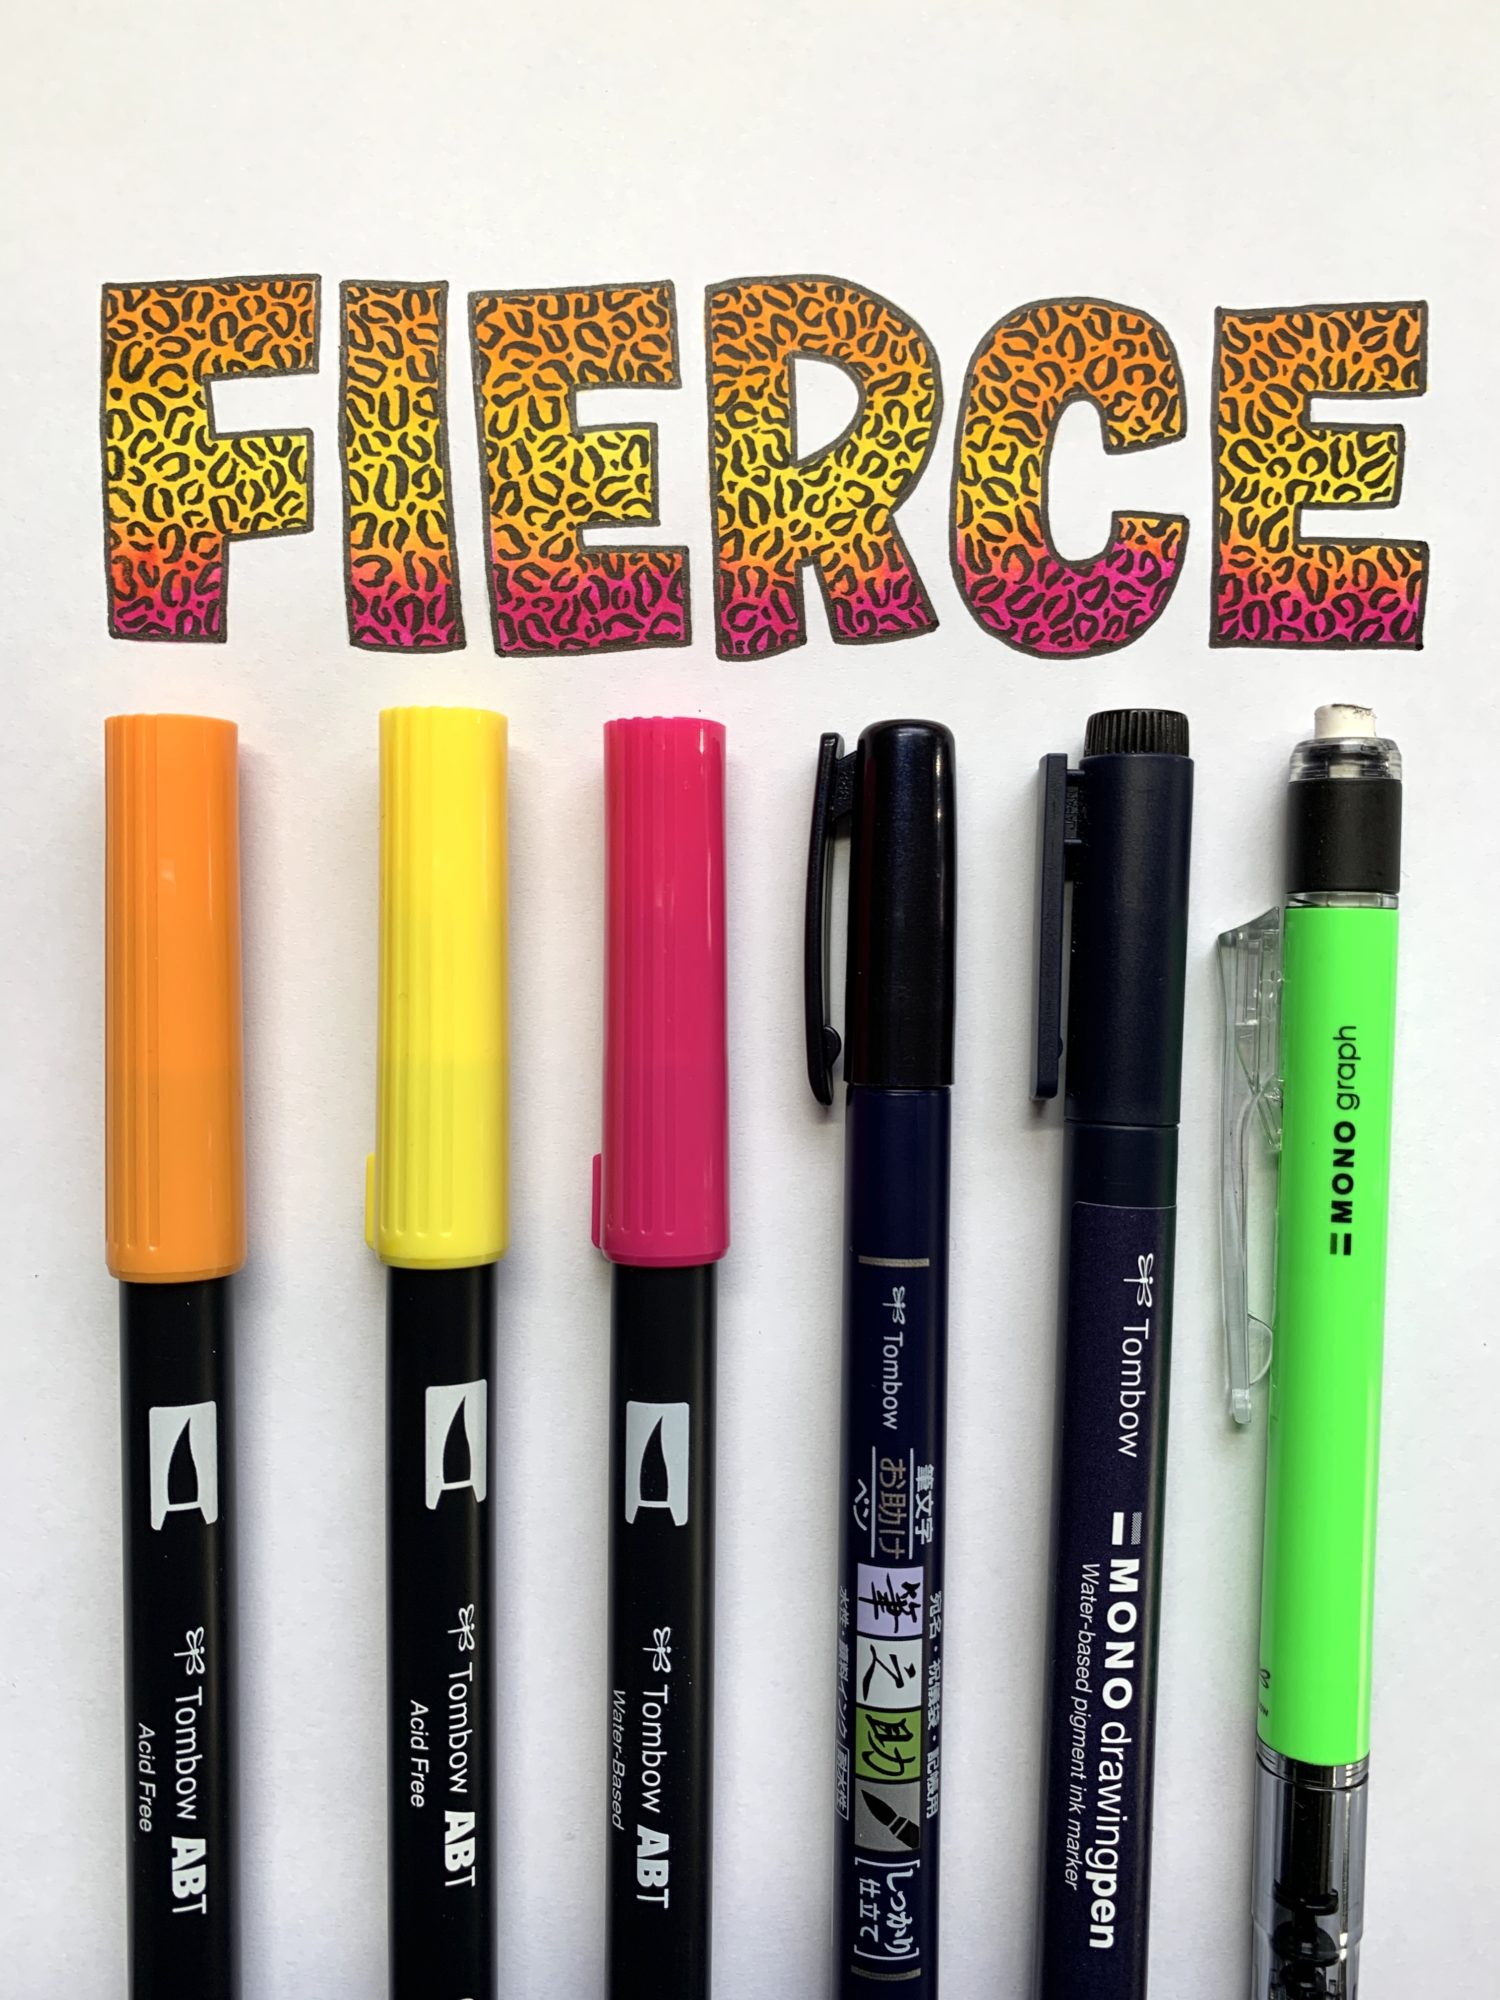
- Tombow MONO Graph Grip Mechanical Pencil
- Tombow Dual Brush Pens ( 933, 725, 055, and N00 )
- Tombow Hard Tip Fudenosuke Brush Pen
- Tombow MONO Drawing Pen – Size 8
- Canson XL marker paper or the smoothest paper you have (have a piece for your project and a scratch piece for excess ink while you’re blending)

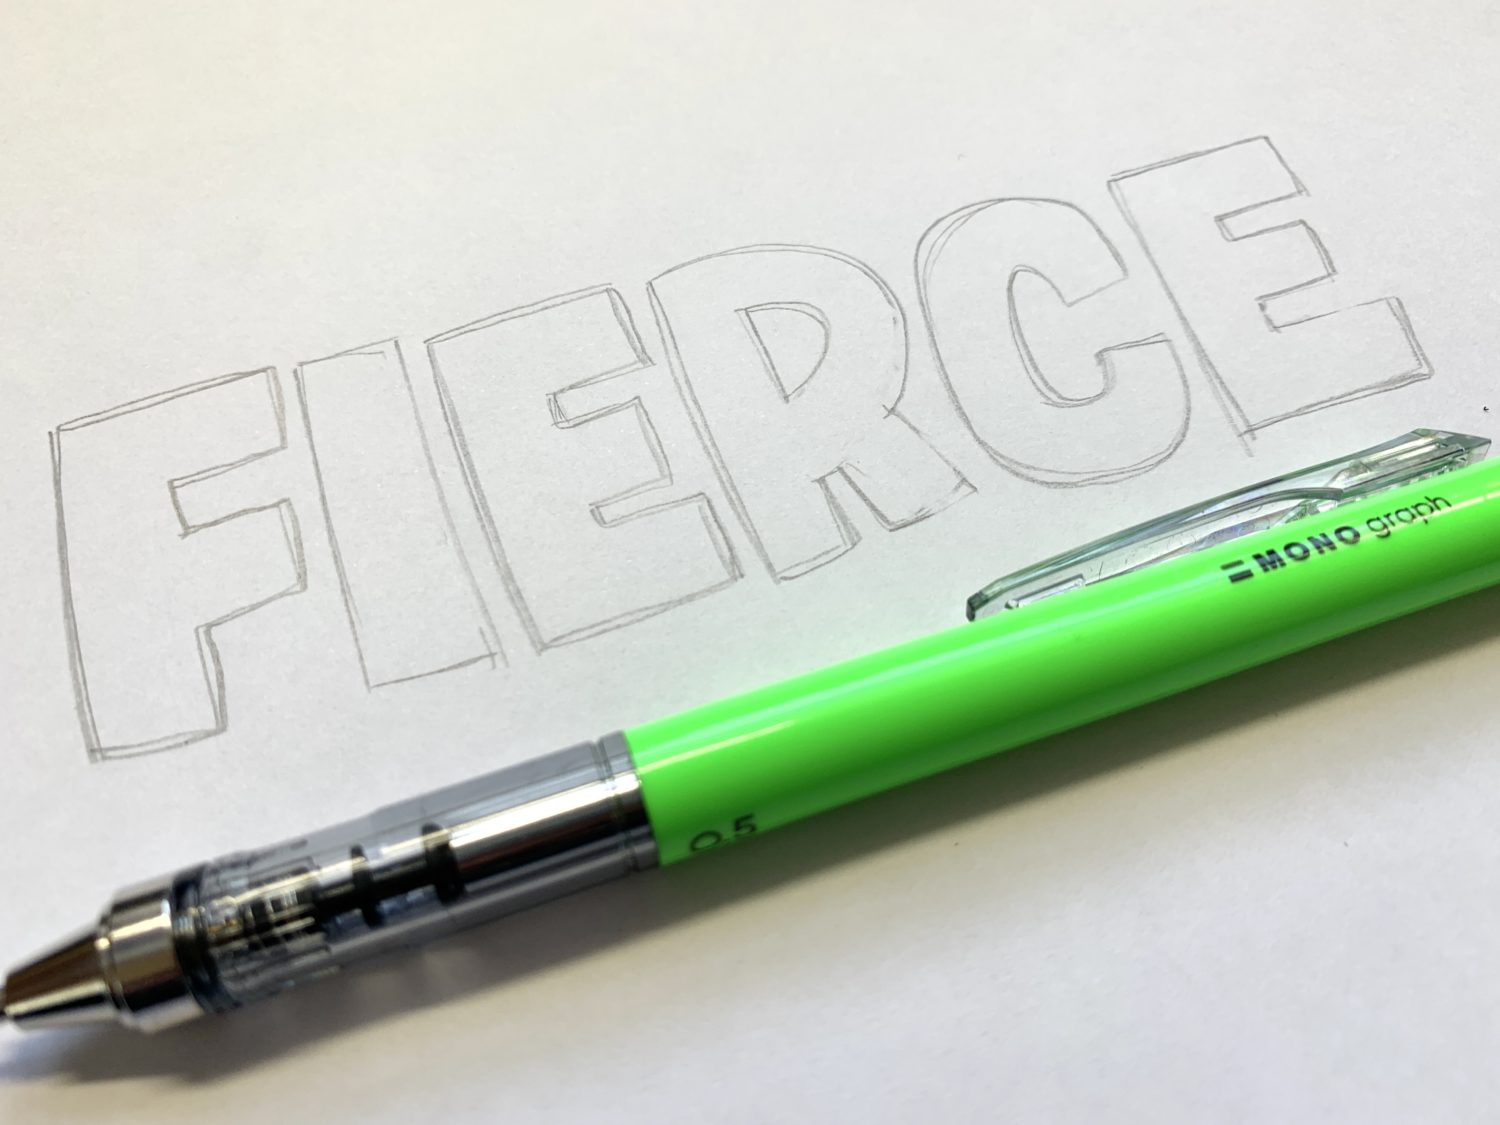
Step 1
Sketch out your letters using the MONO Graph Grip Mechanical Pencil. I’m using big and blocky letters, so I have plenty of room to add my animal print for later.
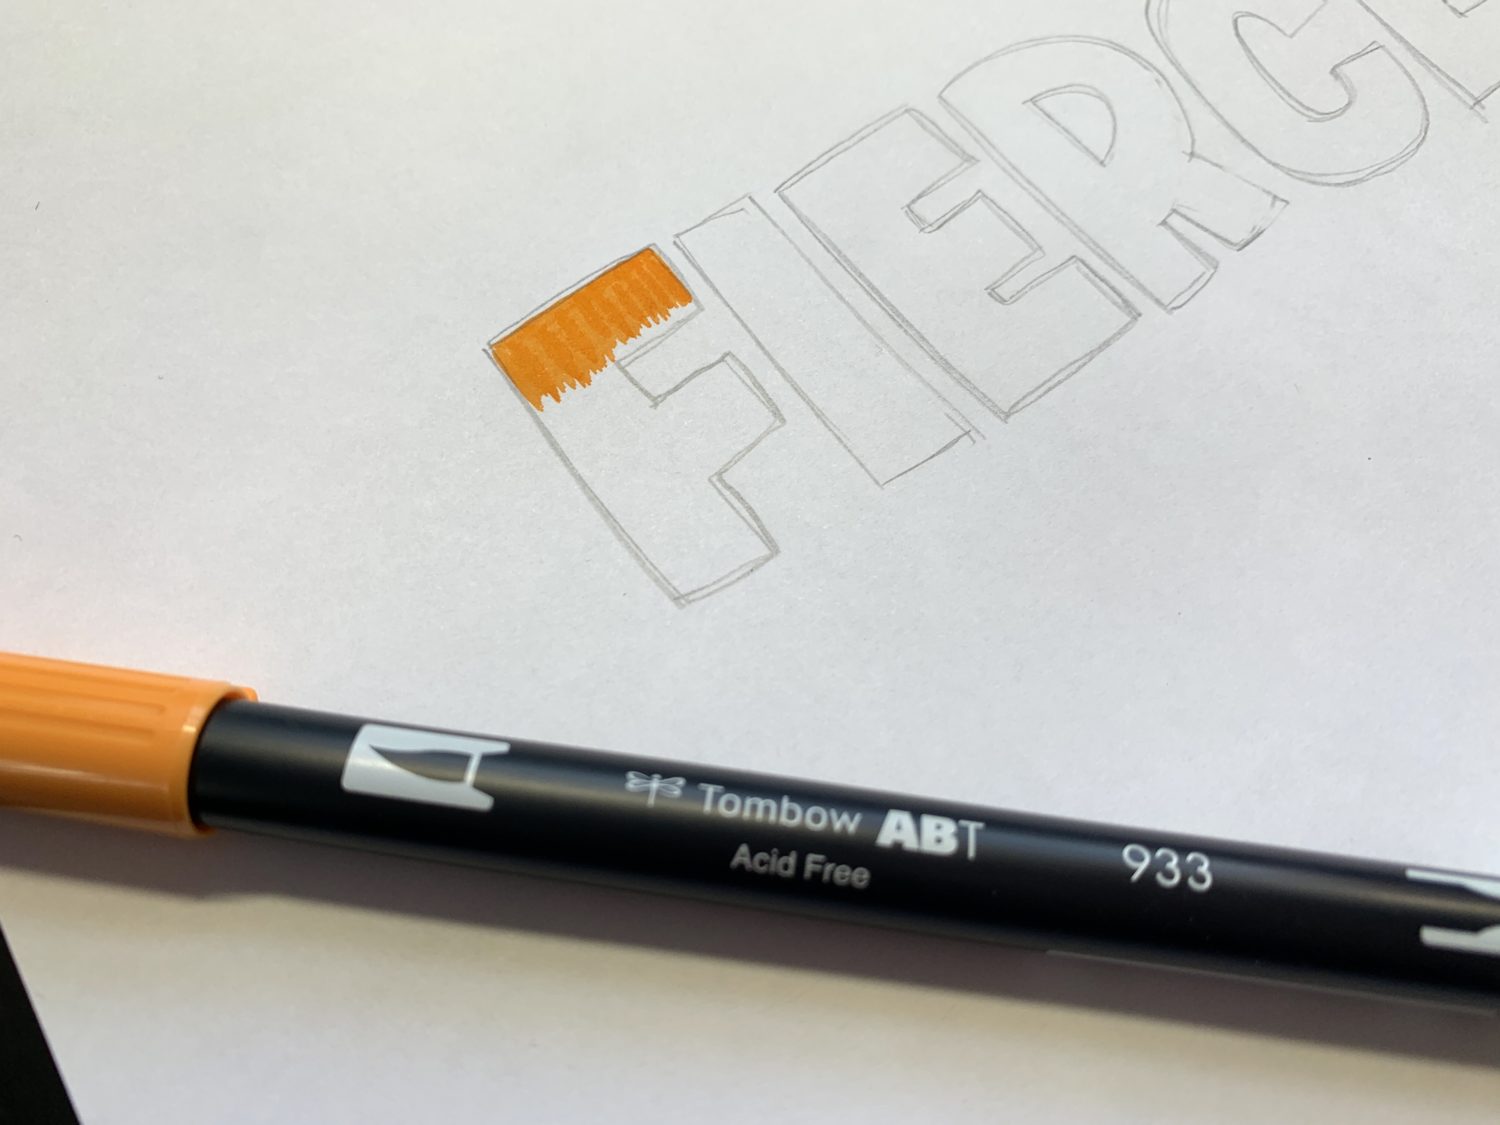
Step 2
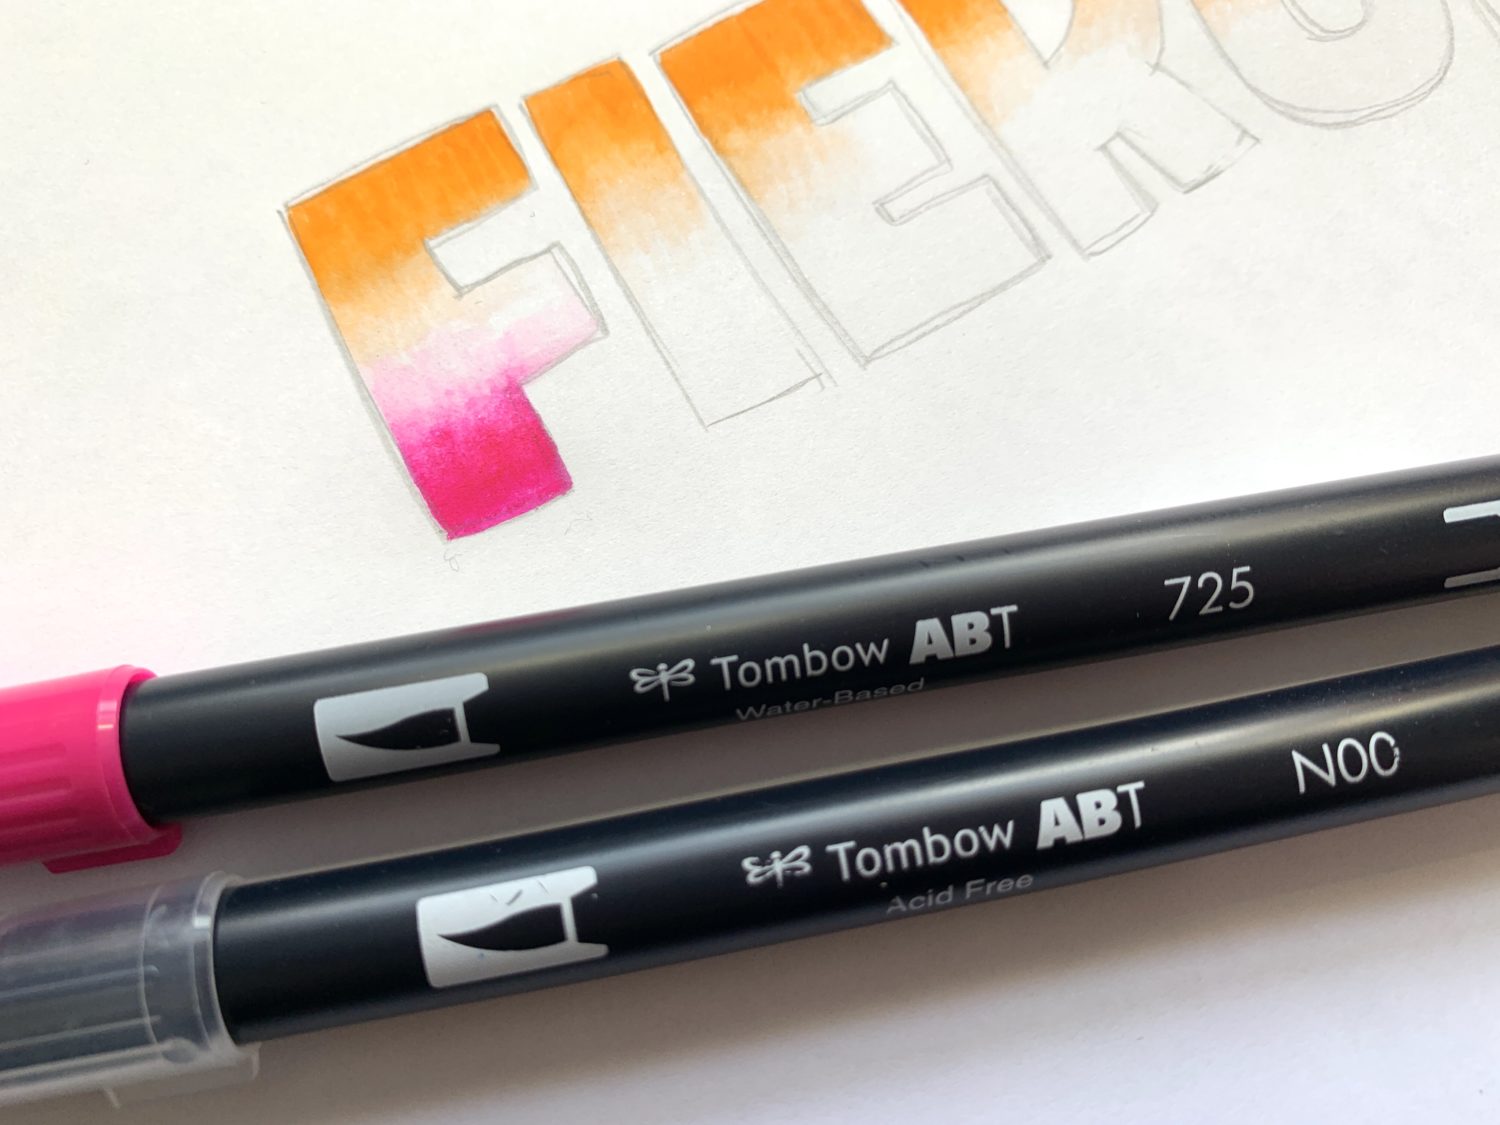
Take Dual Brush Pen 933 and lightly fill in the top fifth of the first letter. Use light and feathery downstrokes to avoid over saturating you paper with ink.
Step 3
Take the Colorless Blender Pen (N00) and lightly blend the orange ink downward. Again, use light and feathery downstrokes. Do this until you reach about halfway down the letter. The goal is to blend out your orange ink until it’s clear. If you reach halfway down the letter and your Colorless Blender Pen is still pushing down a lot of orange ink, use your scratch piece of marker paper to get any excess ink off of your Colorless Blender. Continue repeating steps 2 and 3 until you have done all of your letters.

A helpful tip: Blending each letter individually will help keep the ink from drying before you can move it around with the Colorless Blender Pen.
Step 4
Use Dual Brush Pen 725 to lightly fill in the bottom fifth of the first letter. Use light and feathery upstrokes. Again, keep things light to avoid saturating your paper with ink!
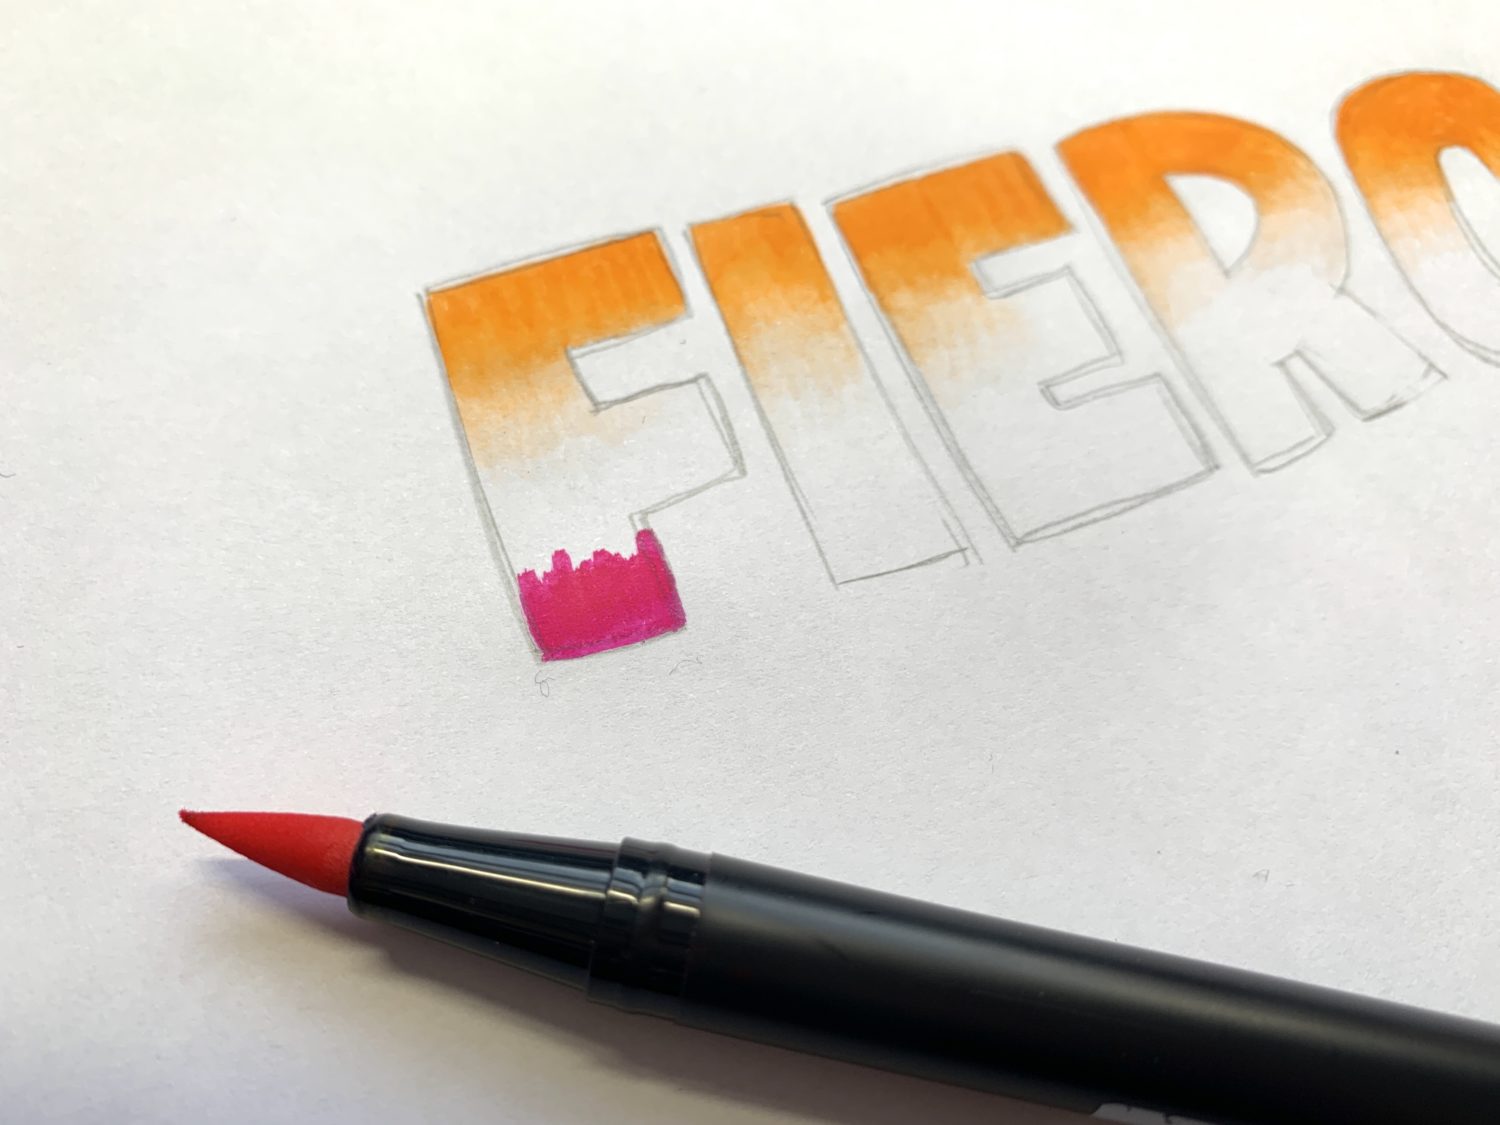
Step 5
Take the Colorless Blender Pen and blend the pink ink upward using very light upstrokes. You will want to blend out the pink ink halfway up the letter until the Colorless Blender pen is running clear. Remember to use your scratch paper if you have excess ink on your Colorless Blender Pen. Continue repeating steps 4 and 5 on each letter with this color.
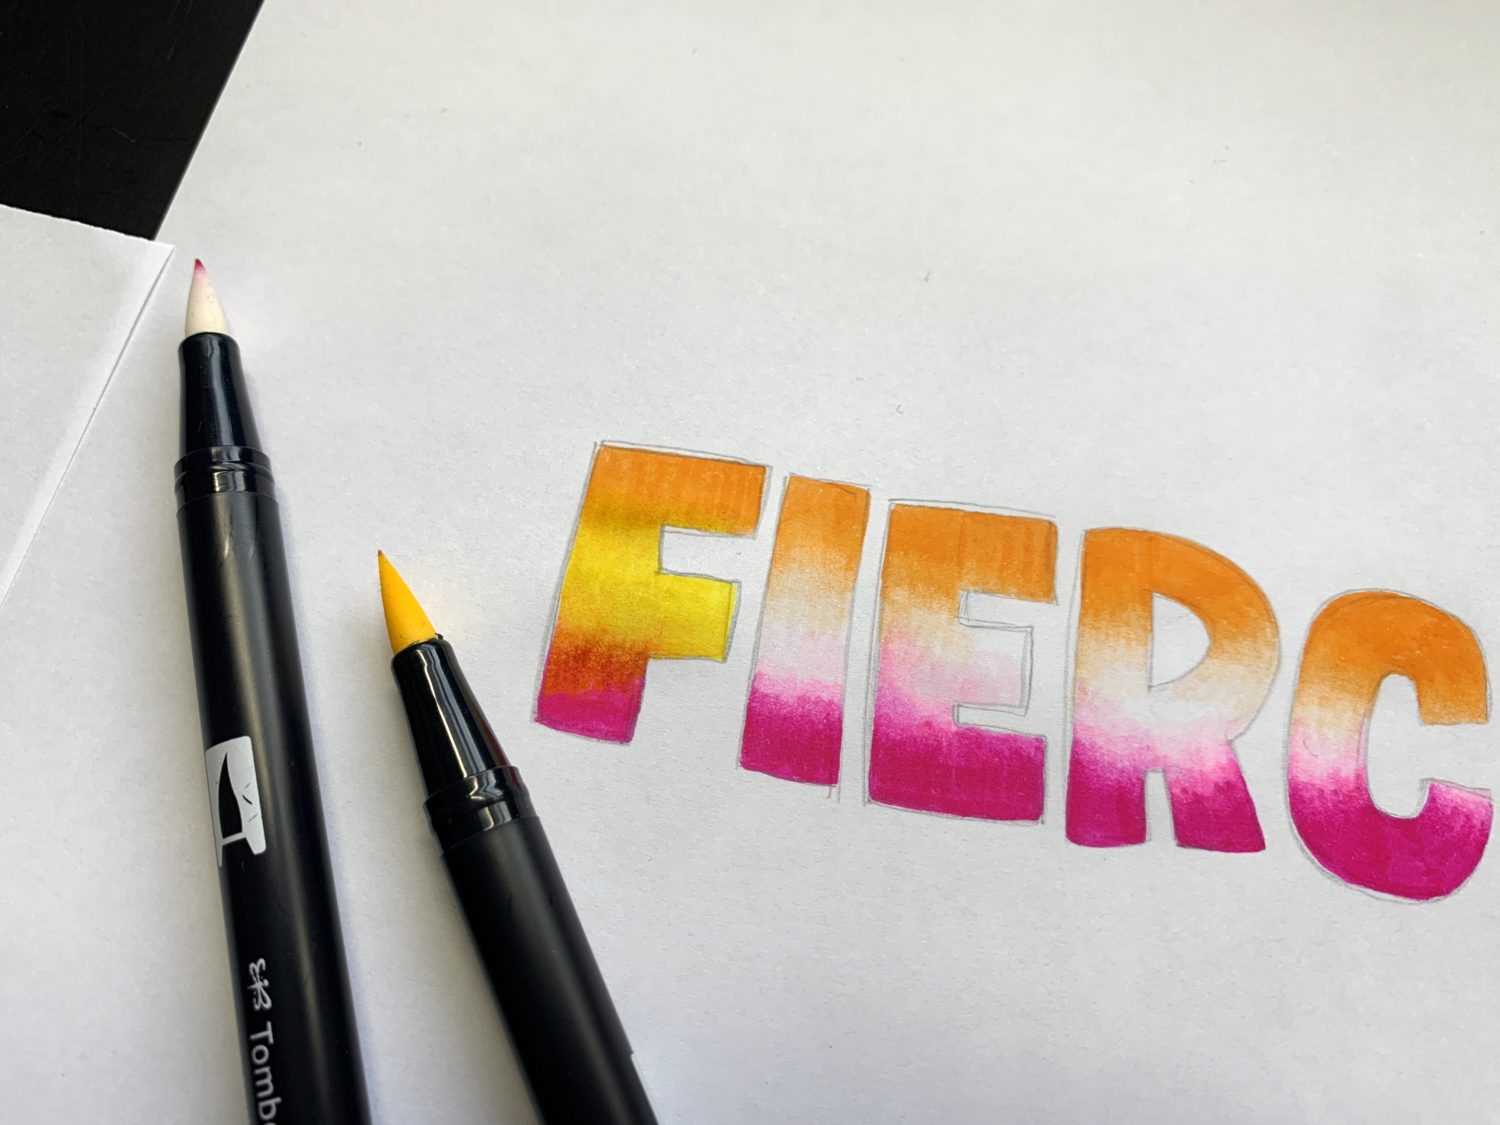
Step 6
Now take Dual Brush Pen 055 and start filling in the remainder of the letter. Start from half way up the first letter and use light upstrokes. Move up into the orange ink and use light downstrokes moving down into the pink ink. Some ink may get on the tip of your Dual Brush Pen, so use the scratch paper to remove any extra ink.

Step 7
After the yellow ink is down on your first letter, take your Colorless Blender and lightly blend the area where the yellow and orange ink appear to meet. Get the excess ink off of you Colorless Blender on the scratch paper and then do the same light blending where the pink and yellow inks meet. Follow steps 6 and 7 throughout the word!
Step 8
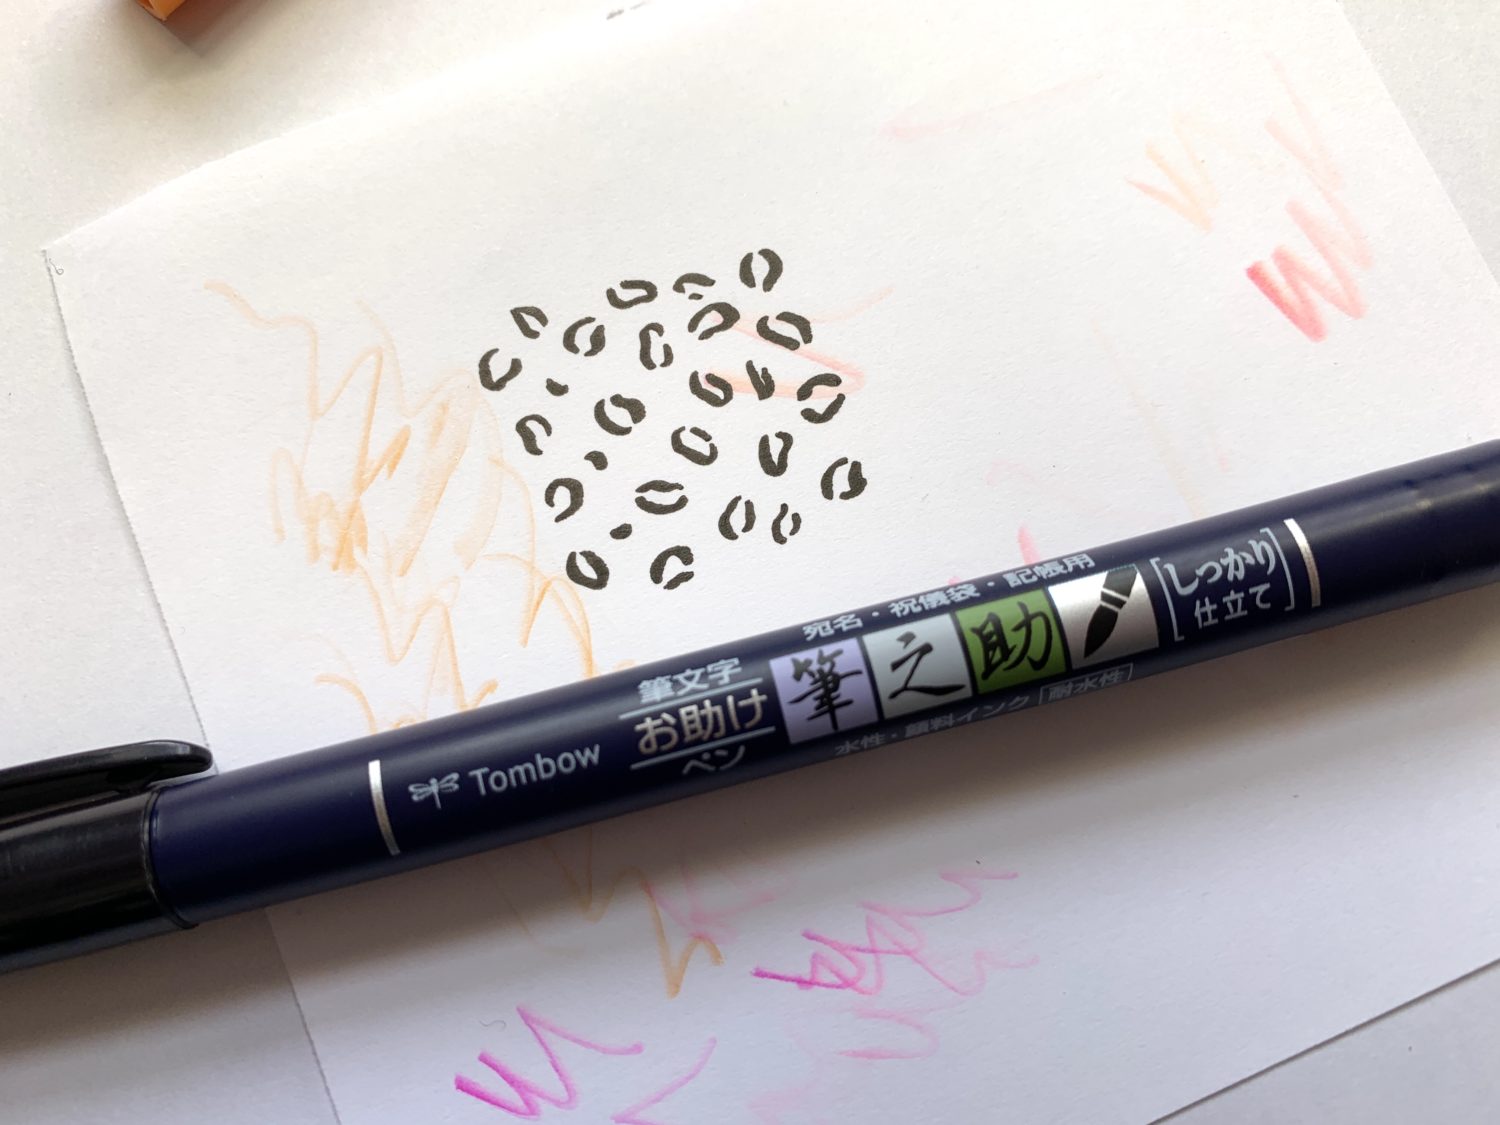
If you’re super confident with your animal print drawing skills, you can skip this step. However, I recommend taking a few minutes to practice the animal print you want to use on your scratch paper. Pick whichever animal print you like! I chose to use a leopard print for mine because it’s so simple. All you have to do is make some wobbly and broken up ovals! The Fudenosuke Brush Pen is fantastic for this pattern because you can vary the thickness of your lines so easily.
Step 9
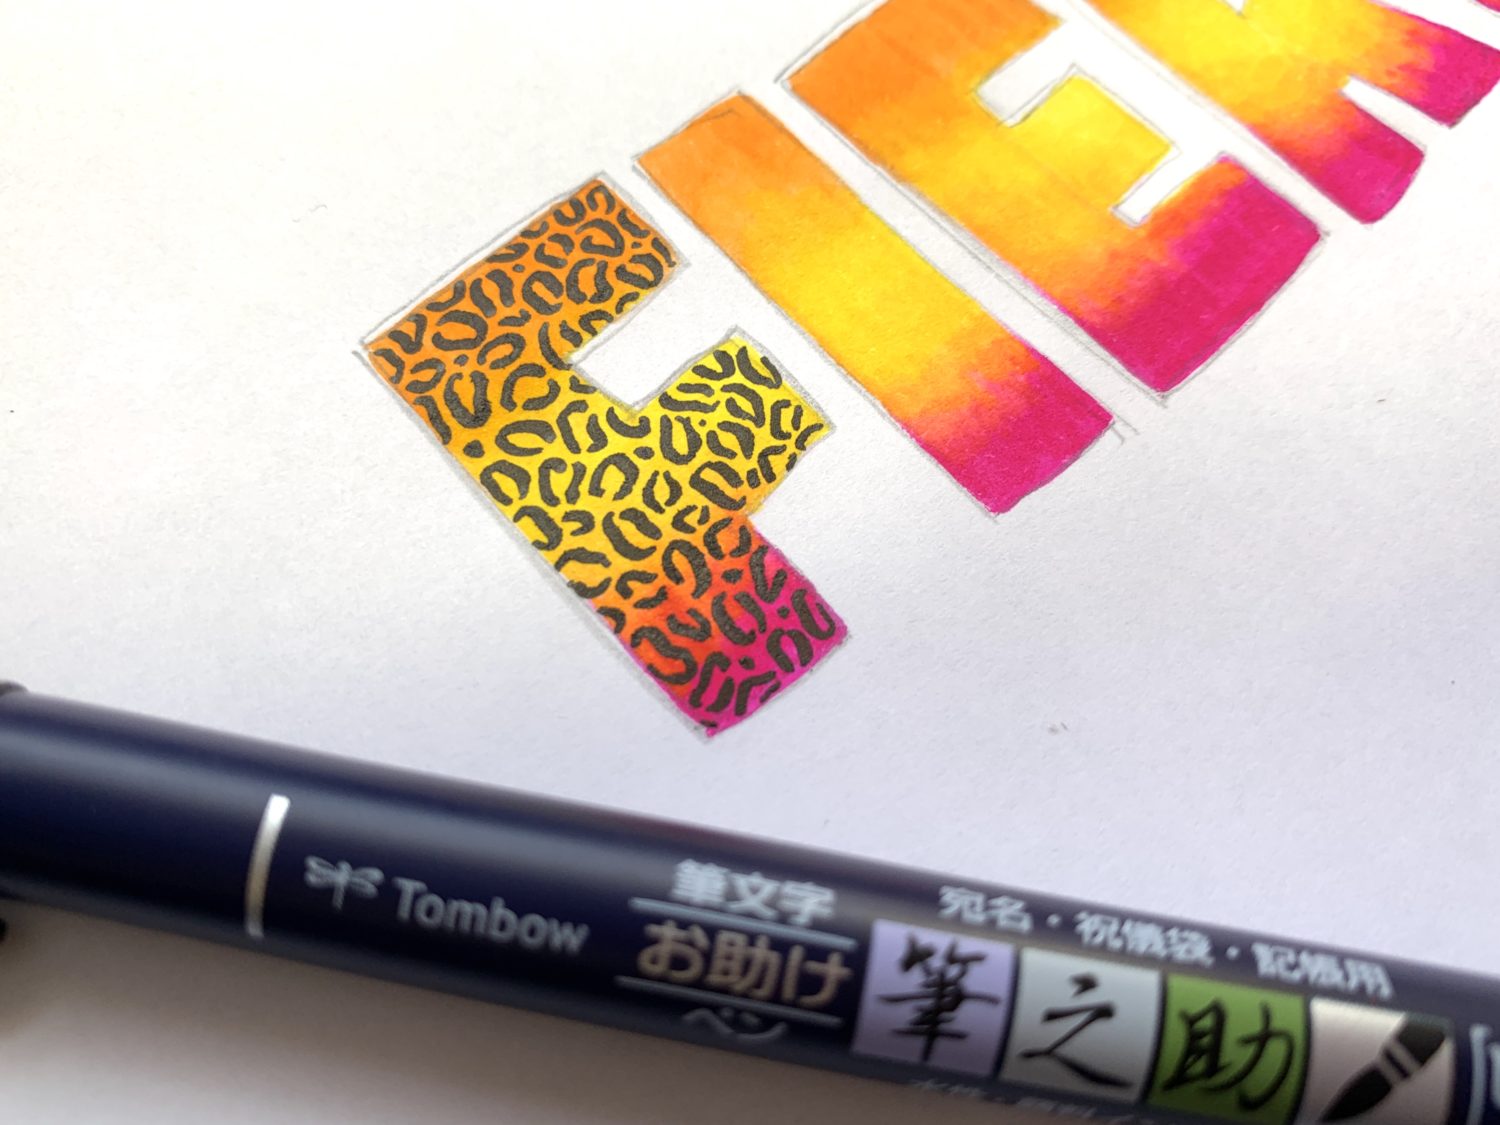
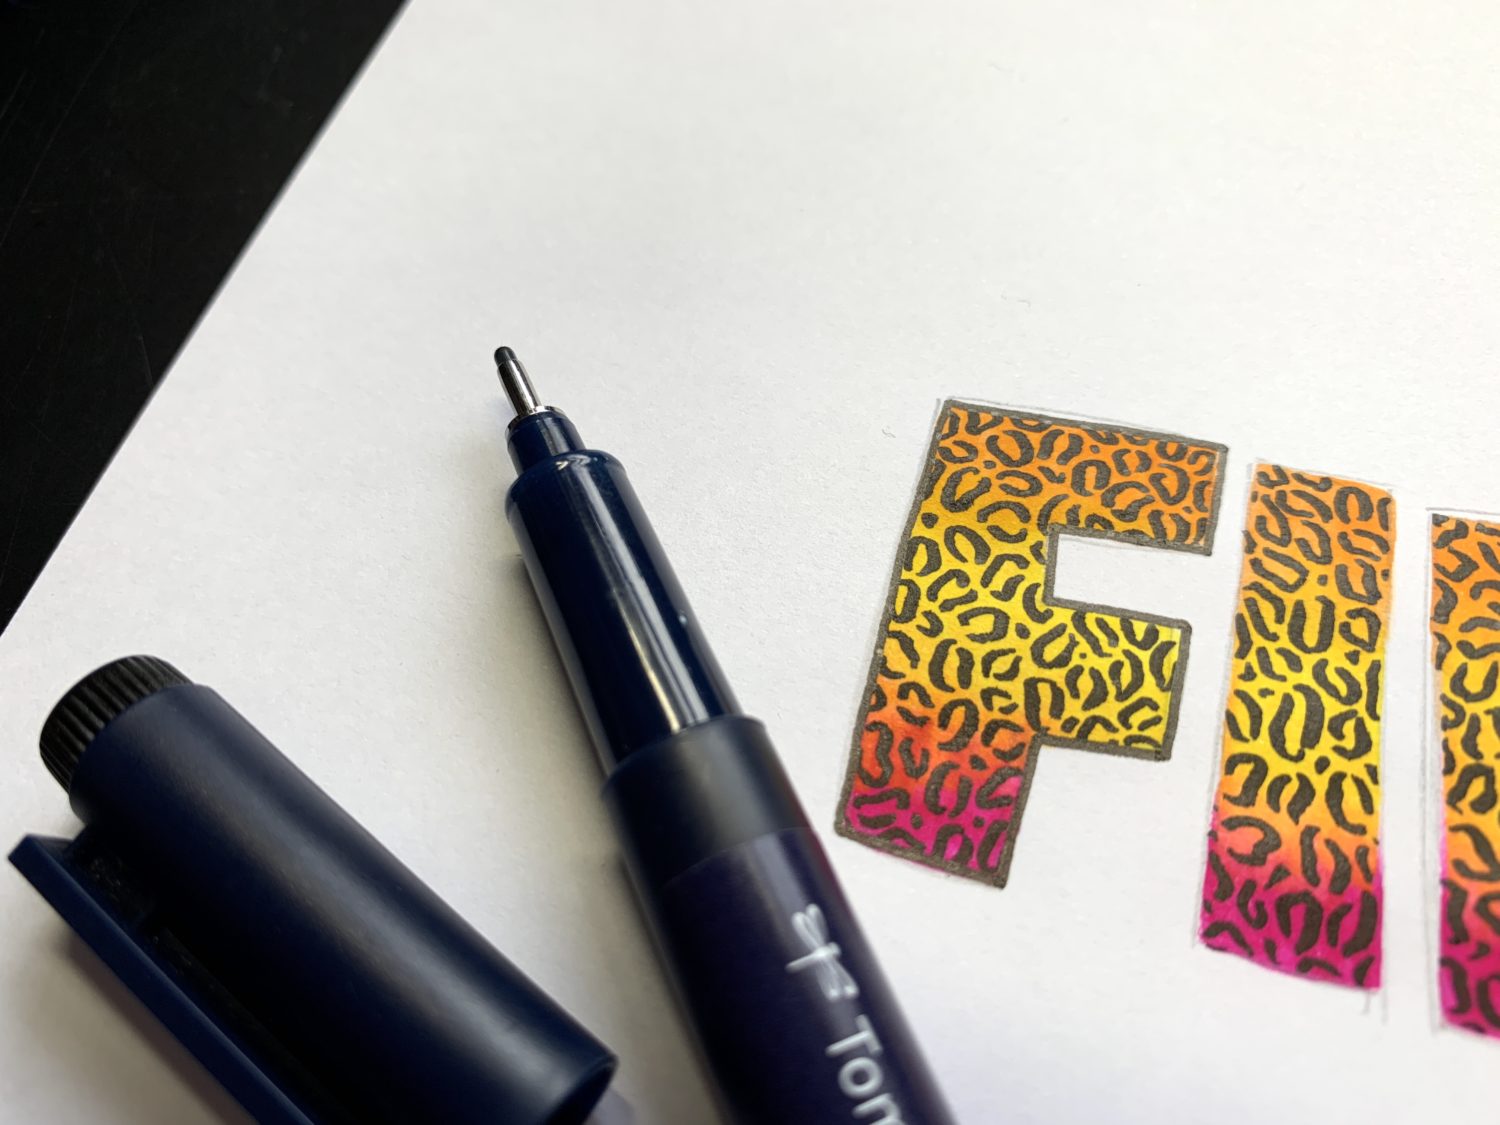
Draw your animal print directly onto your blended letters using your Fudenosuke Brush Pen!
Step 10
Once you’ve filled in your letters with the animal print, outline your letters using the MONO Drawing Pen. I’m using the size 8 pen because a thicker outline will help the blend and the animal print really pop off the paper! The outline will also help cover up any rough edges from your blending.
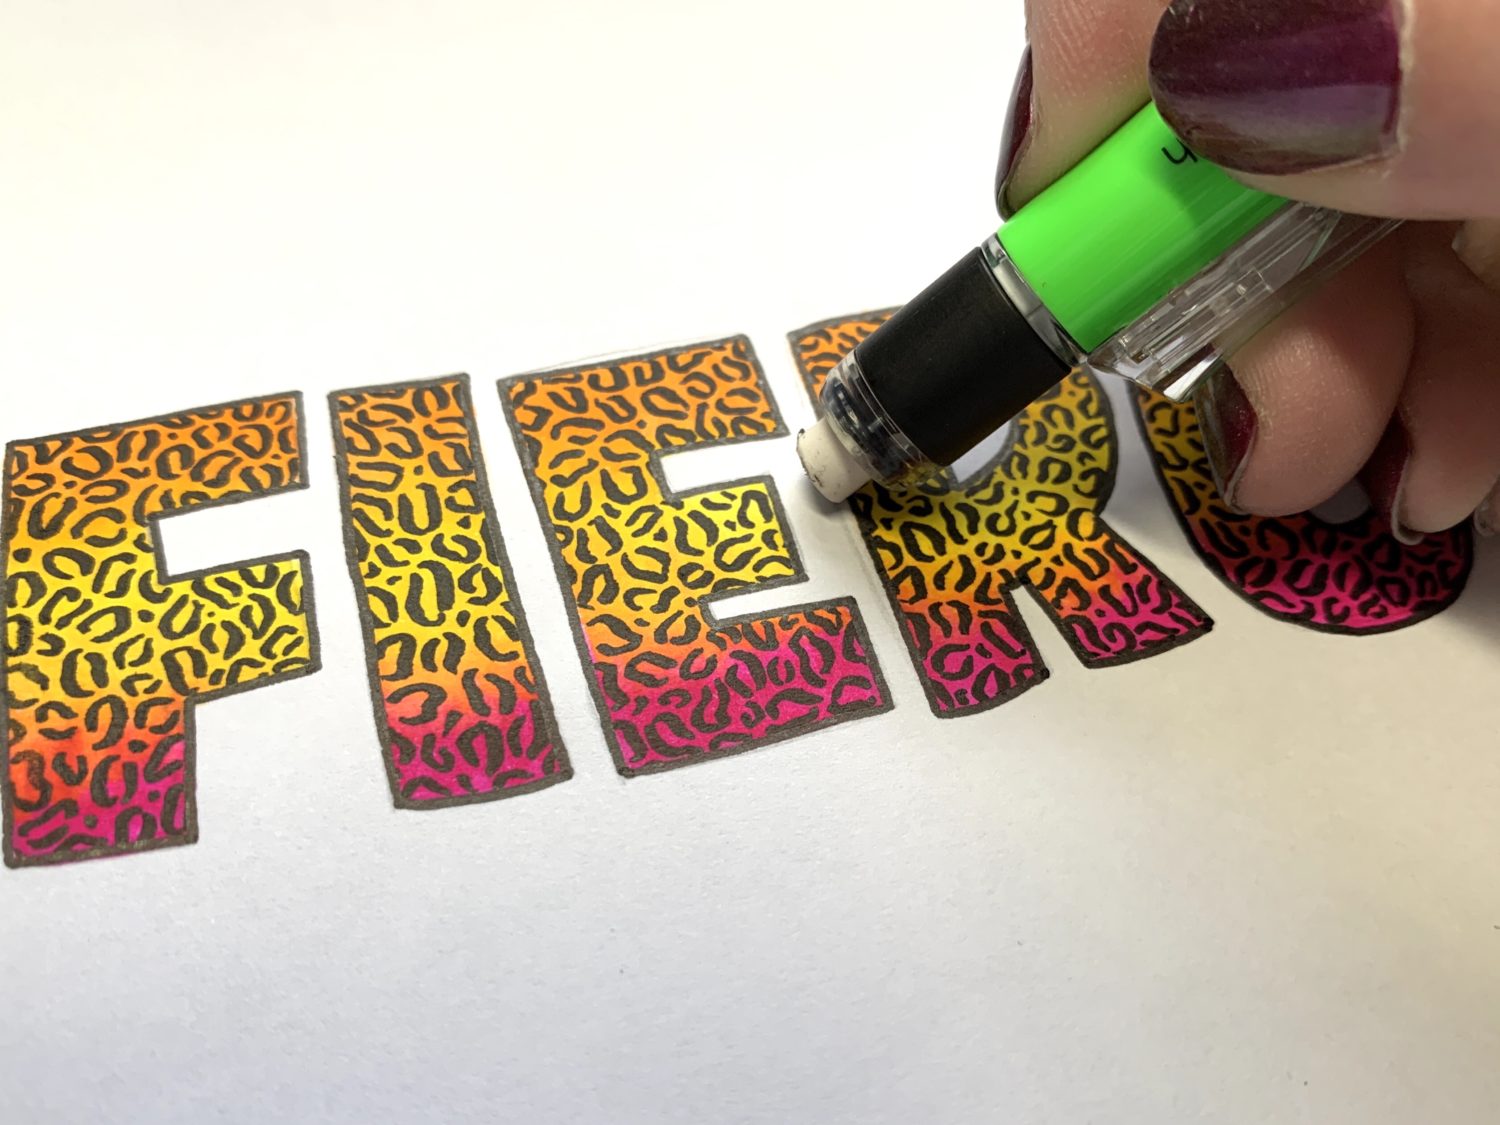
Step 11
Finally, use your MONO Graph Mechanical Pencil eraser to erase any pencil lines that you can still see.
That’s it! I hope you’re inspired to make your own wild lettering and that these instructions help you out! If you follow this tutorial, I’d love to see your results! Tag @alilepere and @tombowusa so we can see your beautiful work! If you want some more blending inspiration, check out these posts: Blending and Shadowing Techniques for Hand Lettering by Mandy Faucher and Blended Lettering With Colored Pencils by Adrienne Castleton!
This is a fantastic pattern on your lettering, you make it look so easy! Thanks for the inspiration.
This was the best presentation I’ve seen in a while! I’m hungry for more! ???
Pingback: Everything You Need to Know About Dual Brush Pens - Tombow USA Blog
Pingback: Blended Lettering With Dual Brush Pens - Tombow USA Blog
Pingback: Watercolor a Bright and Colorful Galaxy - Tombow USA Blog
Pingback: Tiger Stripe Rainbow Heart Tutorial - Tombow USA Blog
Pingback: How to Decorate a Face Mask With Tombow ABT PRO Markers - Tombow USA Blog