Hey everyone, it’s Ali LePere! This week on the blog, the Tombow Design Team is using our favorite movies as inspiration to make some cool projects! I love movies, so picking a single one was hard! I settled on the stylish, romantic, and clever heist film, The Brothers Bloom! Rian Johnson made this little known gem of a movie before he went on to direct the slightly bigger film, Star Wars: The Last Jedi and Knives Out. The queen of hearts card pops up several times throughout the movie, so today I’m going to show you how I designed my own version of the playing card!
Materials
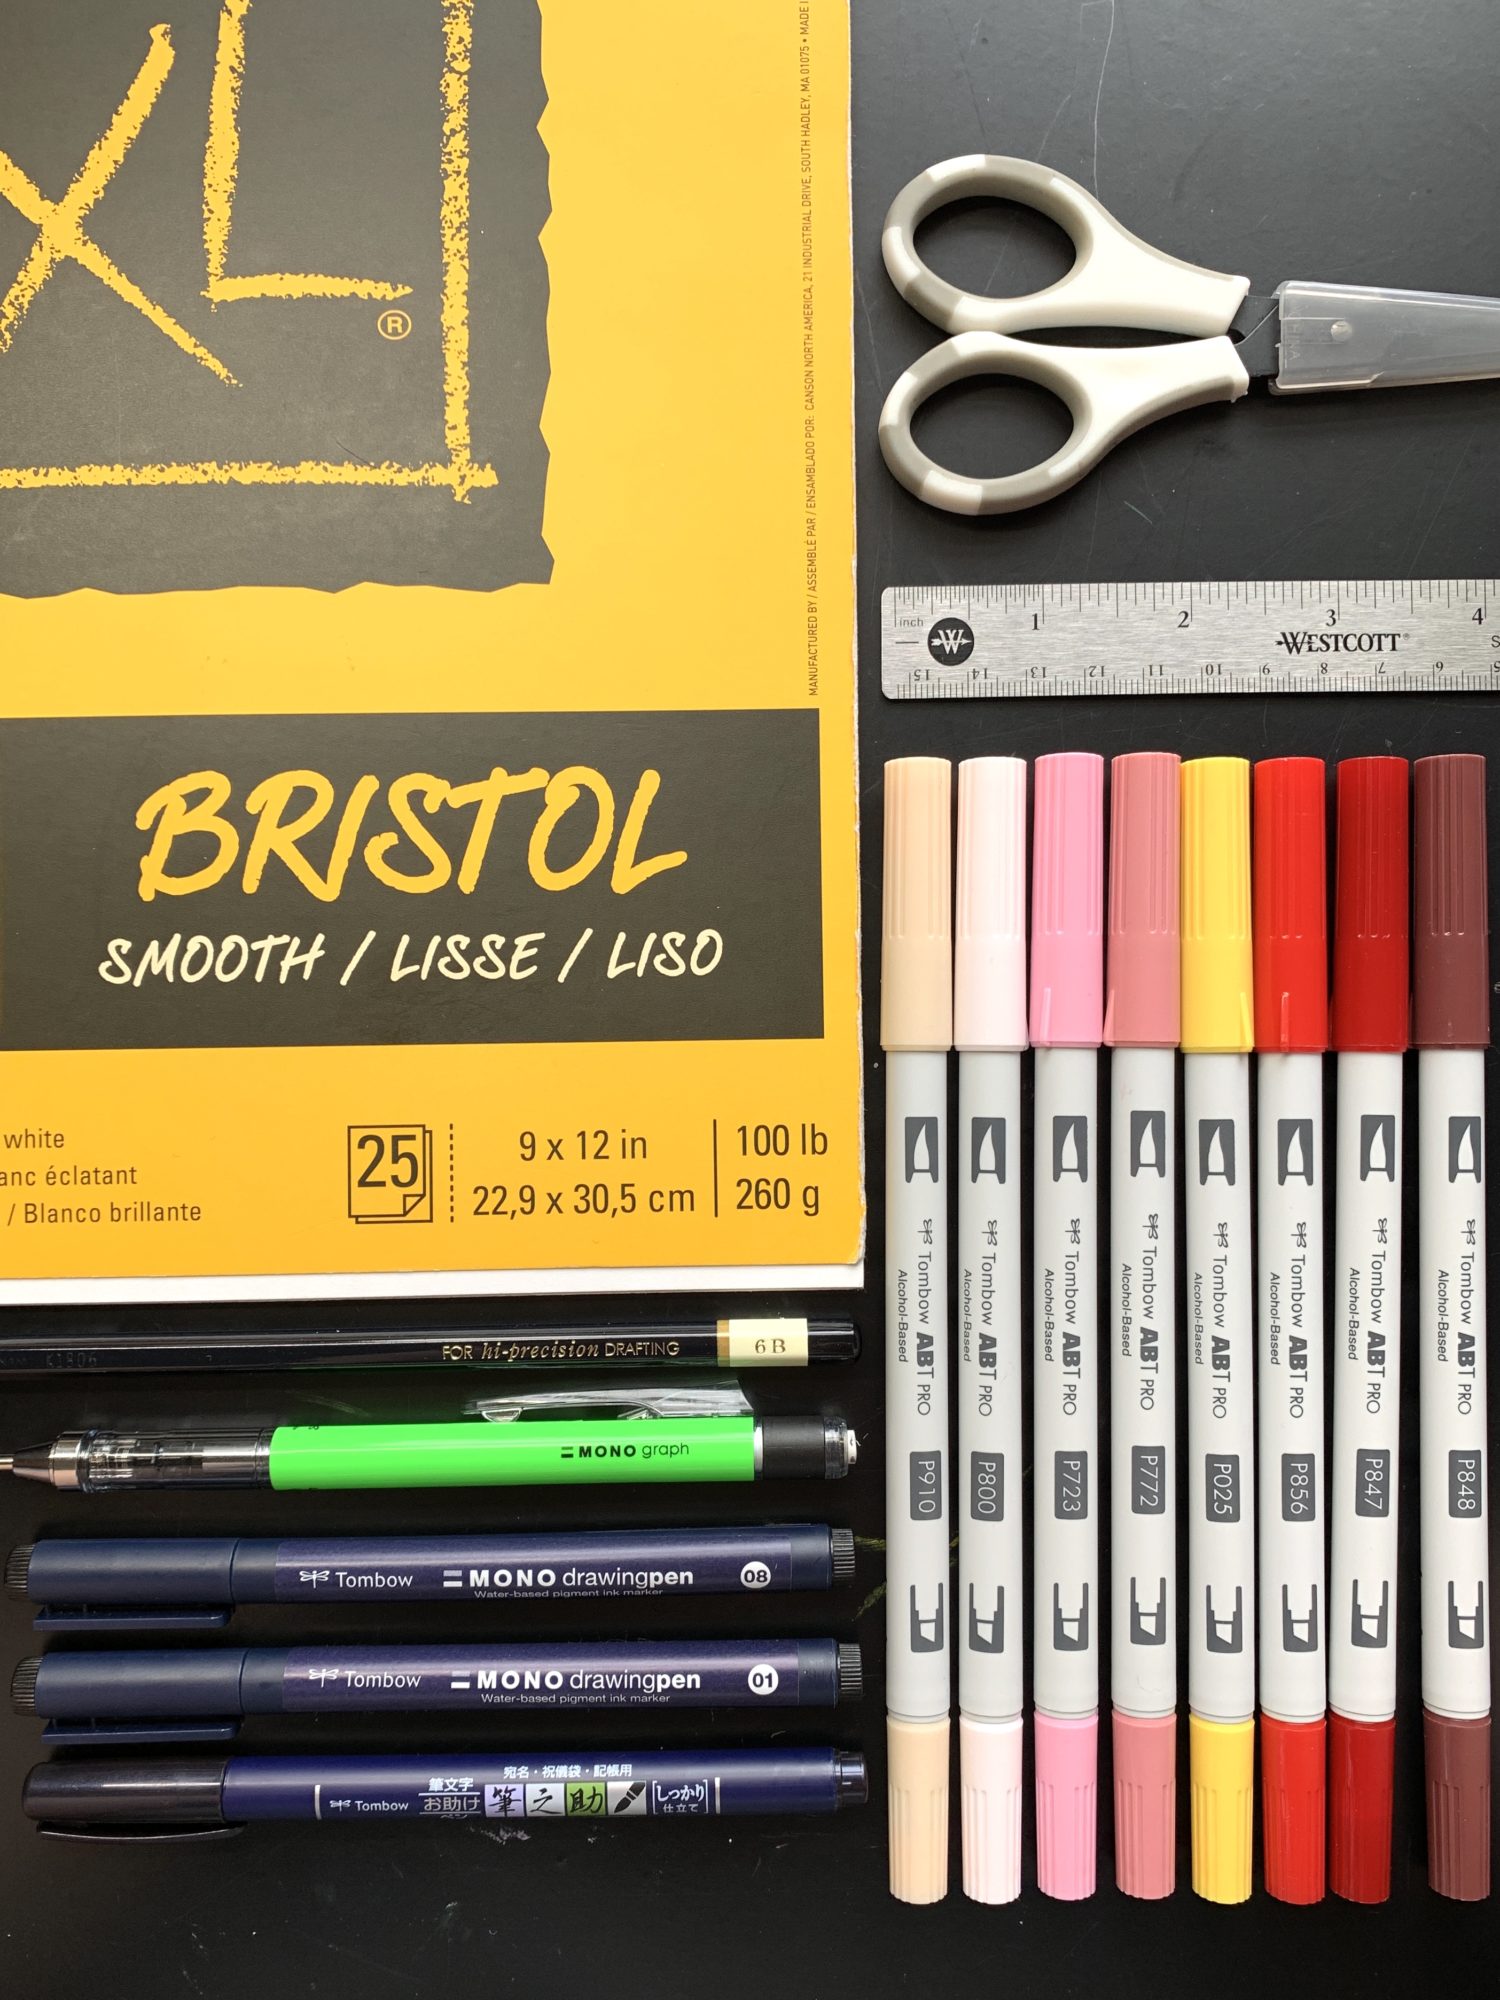
- White cardstock or bristol paper
- A couple pieces of plain printer paper (for sketching)
- Ruler
- Scissors
- Tombow MONO Graph Mechanical Pencil
- Tombow MONO Drawing Pencil in 6B
- Variety of Tombow ABT PRO Alcohol-Based Markers (P025, P723, P772, P800, P847, P848, P856, and P910)
- Tombow MONO Drawing Pens in sizes 01 and 08
- Hard Tip Fudenosuke Brush Pen
Step 1
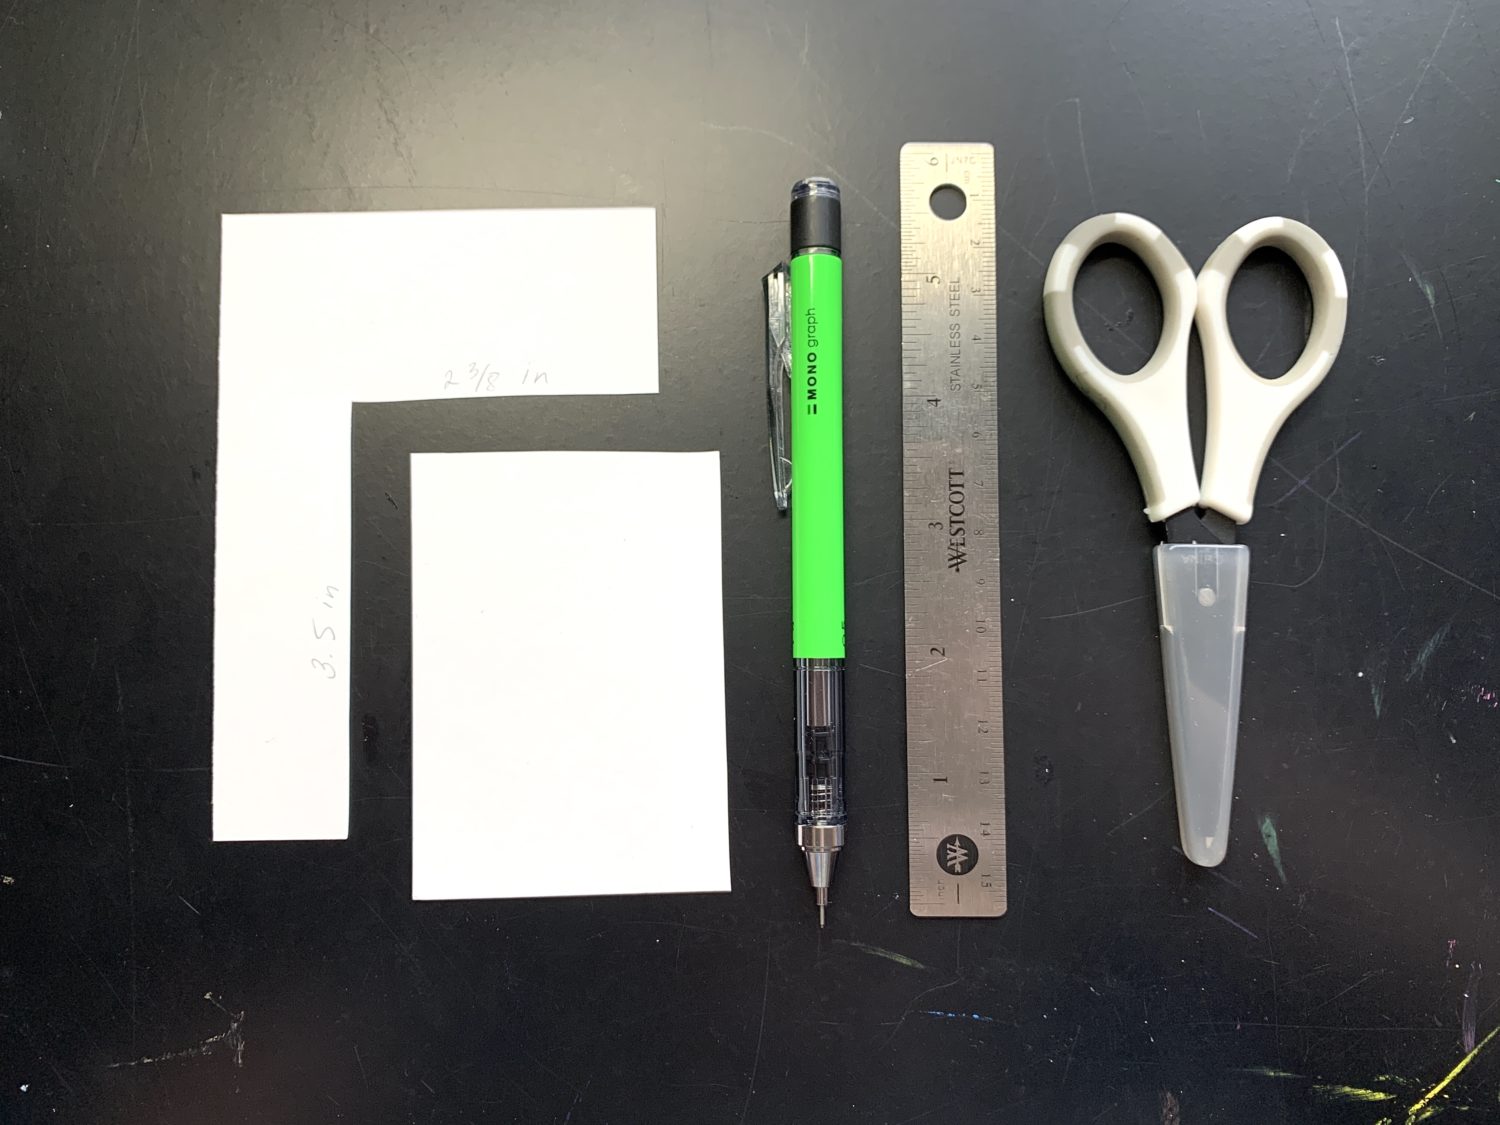
I used my MONO Graph Mechanical Pencil and ruler to measure out a rectangle on my paper. The dimensions of a regular playing card is roughly 3 ½ by 2 ⅜ inches, so that’s what I went with for my project. However, you can make your card whatever size you would like best! Once you’ve measured your card size, use your scissors to cut it out.
Step 2
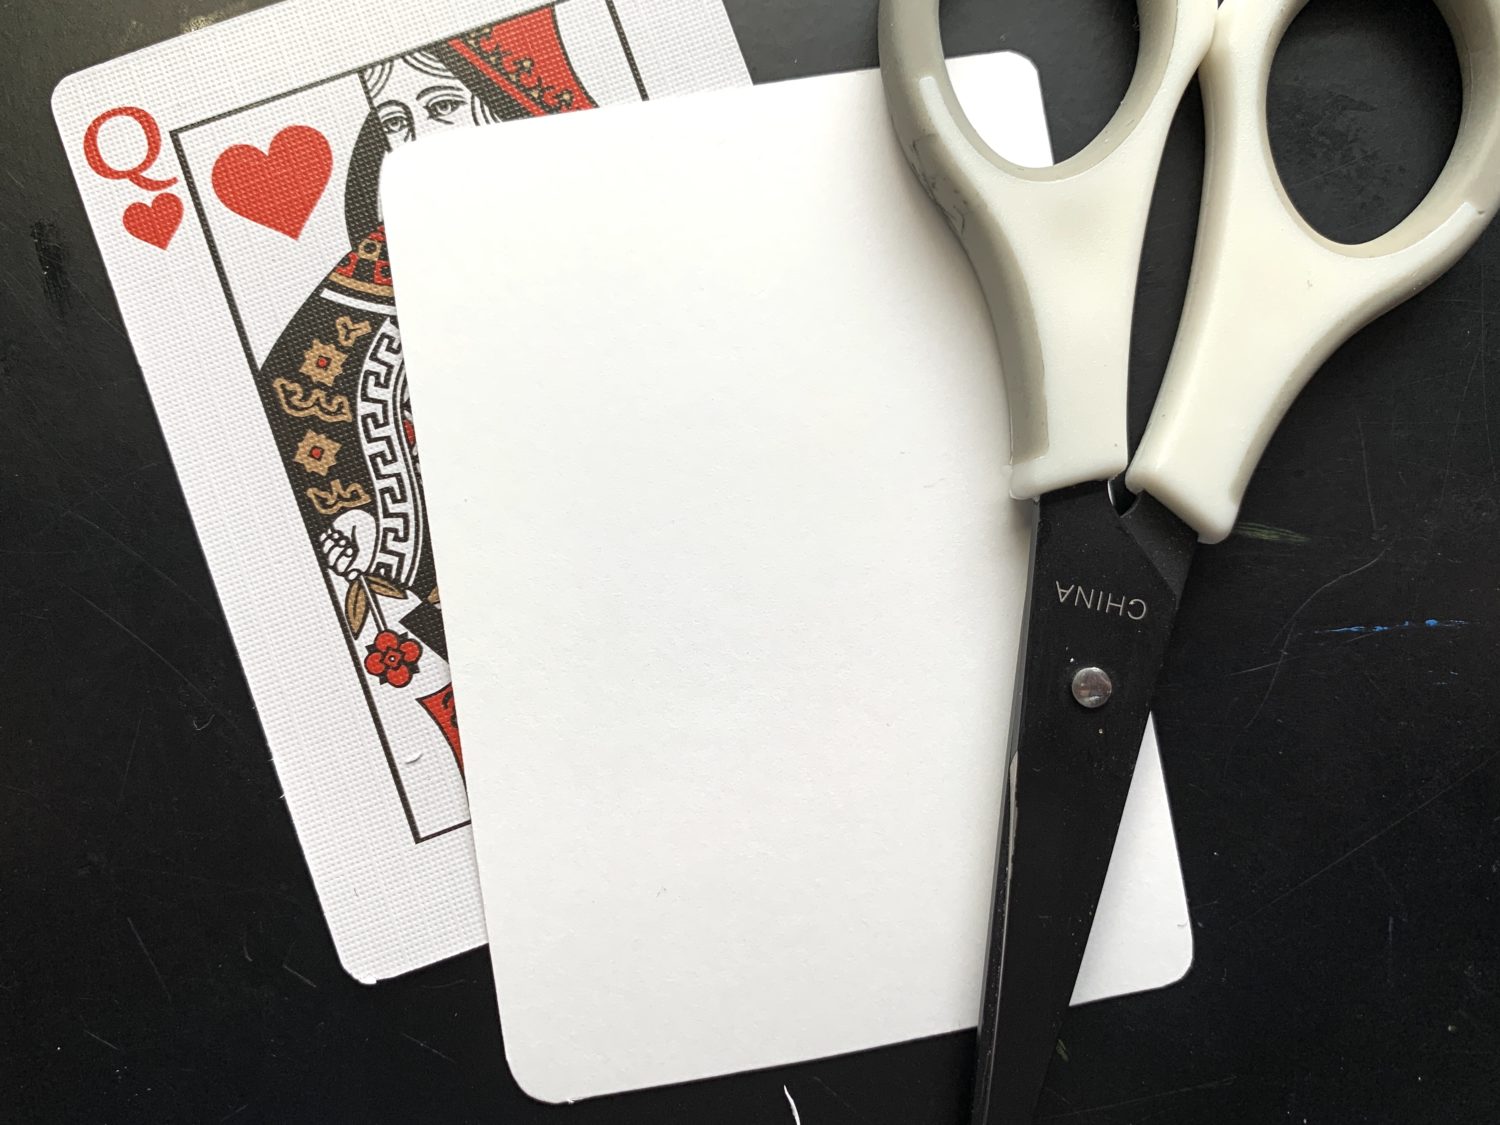
Next, I rounded the corners of my playing card with my scissors. I had a real playing card out as a reference and it came in handy for this step. It showed me that the corners are rounded only slightly. Remember that as you’re rounding the corners of your own project!
Step 3
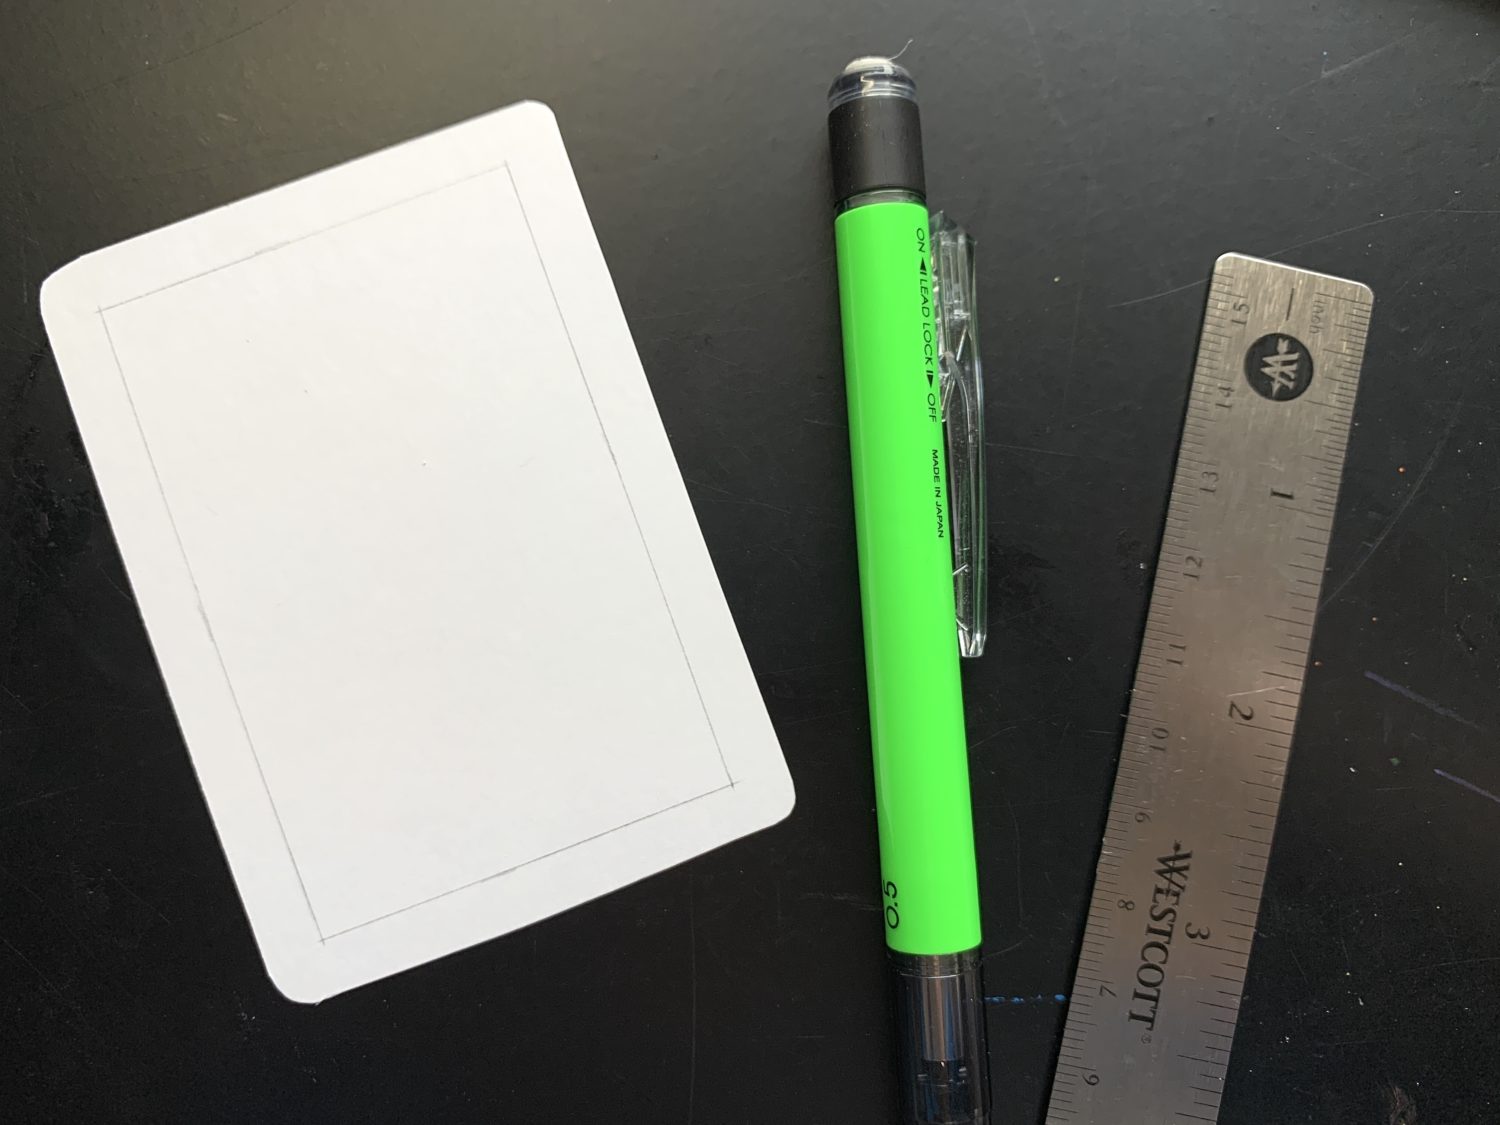
After I had my card shape figured out, I penciled in a rectangle around the inside of the card. I tried to get about a quarter of an inch away from the edge of the card on each side.
Step 4
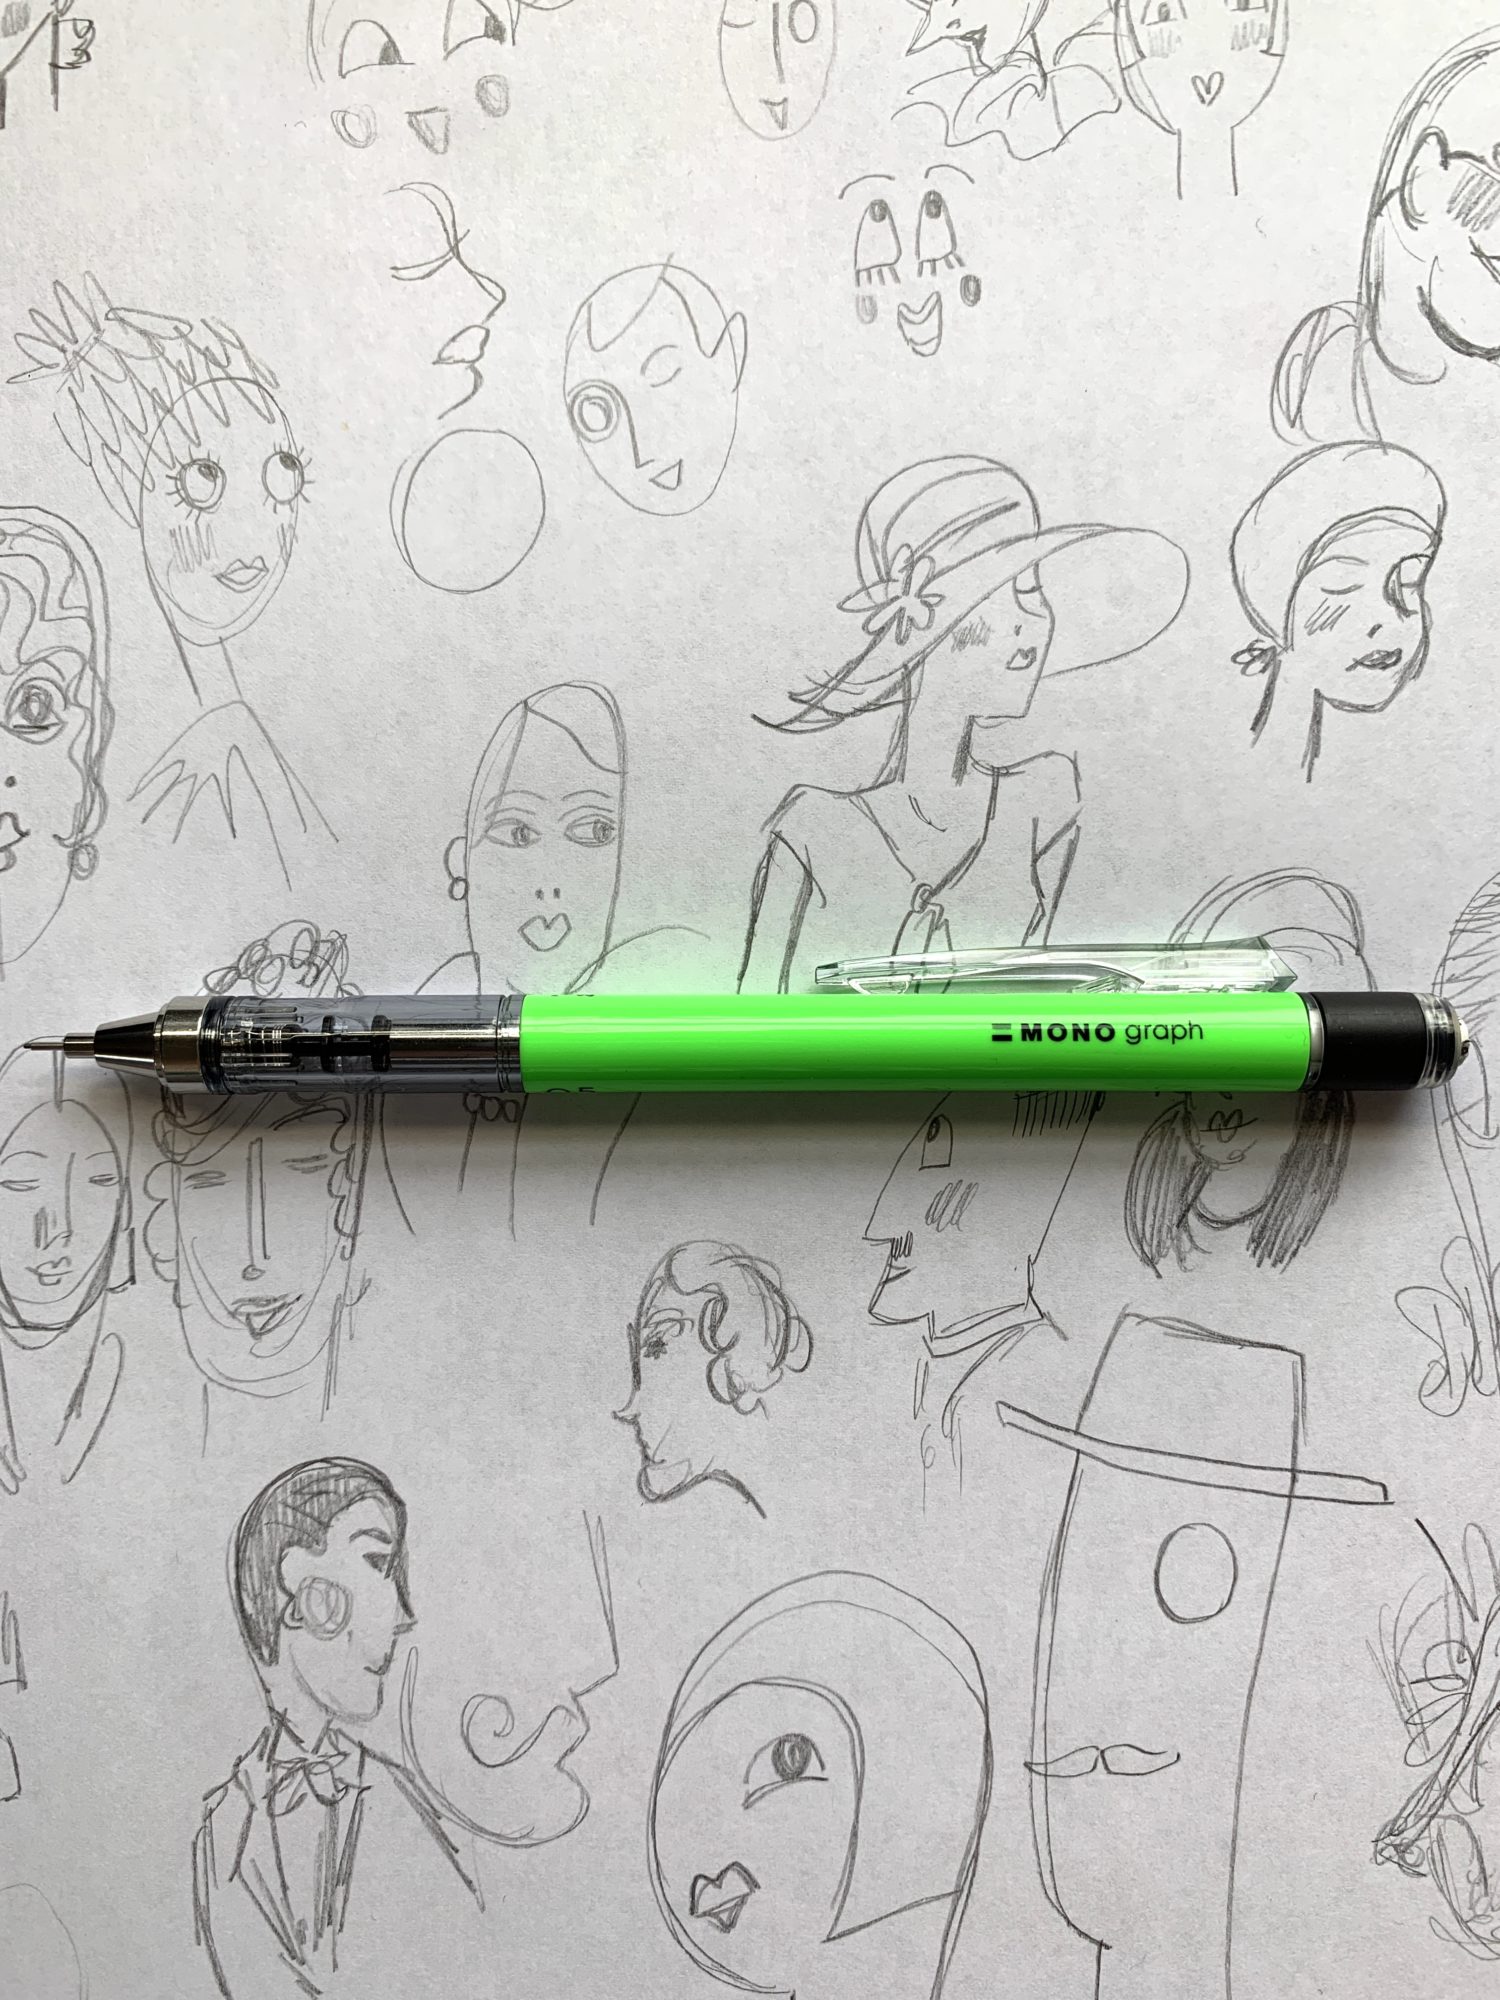
My card was ready to go at this point. However, I didn’t know exactly what I was drawing yet! For this step, I used my mechanical pencil to sketch out some ideas for how I wanted my queen of hearts to look. For inspiration, I looked up old magazine covers from the 1920s. Back then, publications like Vanity Fair and Vogue were years away from using real models and celebrities on their covers. They were all illustrated!
You can see my sketch paper to get an idea of how varied illustration styles were in the 1920s. No two covers were the same! If you’re ever feeling uninspired, look back to art styles of the previous generations. They still have a lot to teach us!
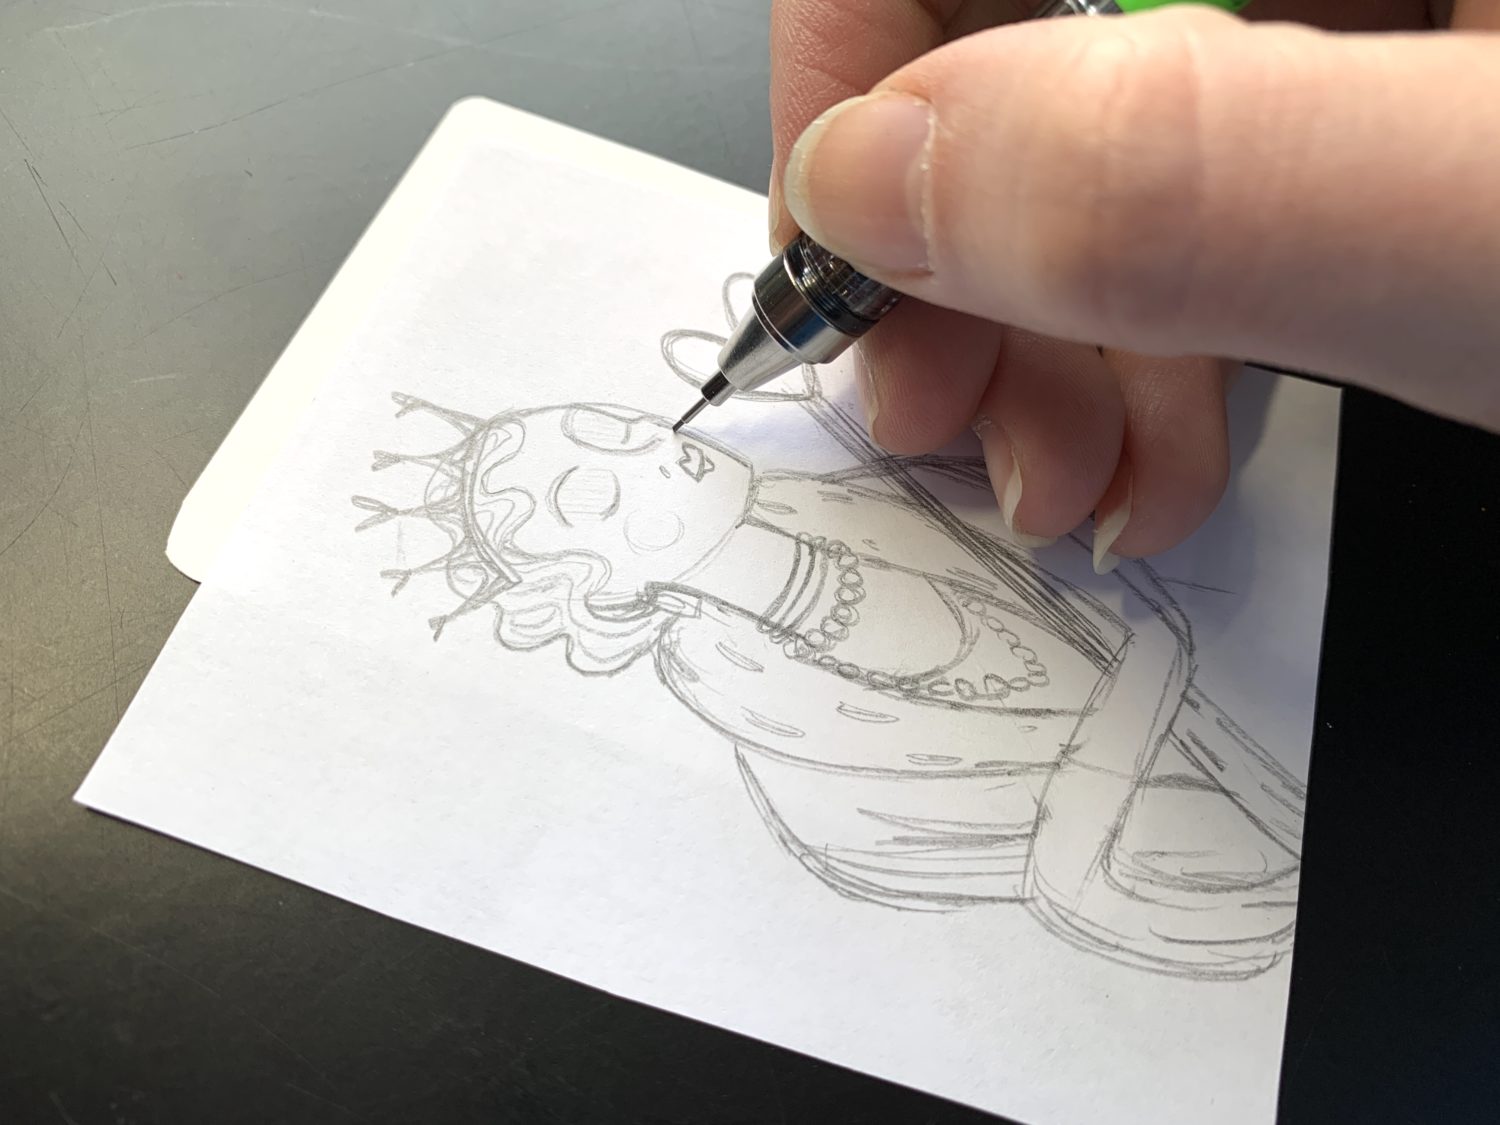
Step 5
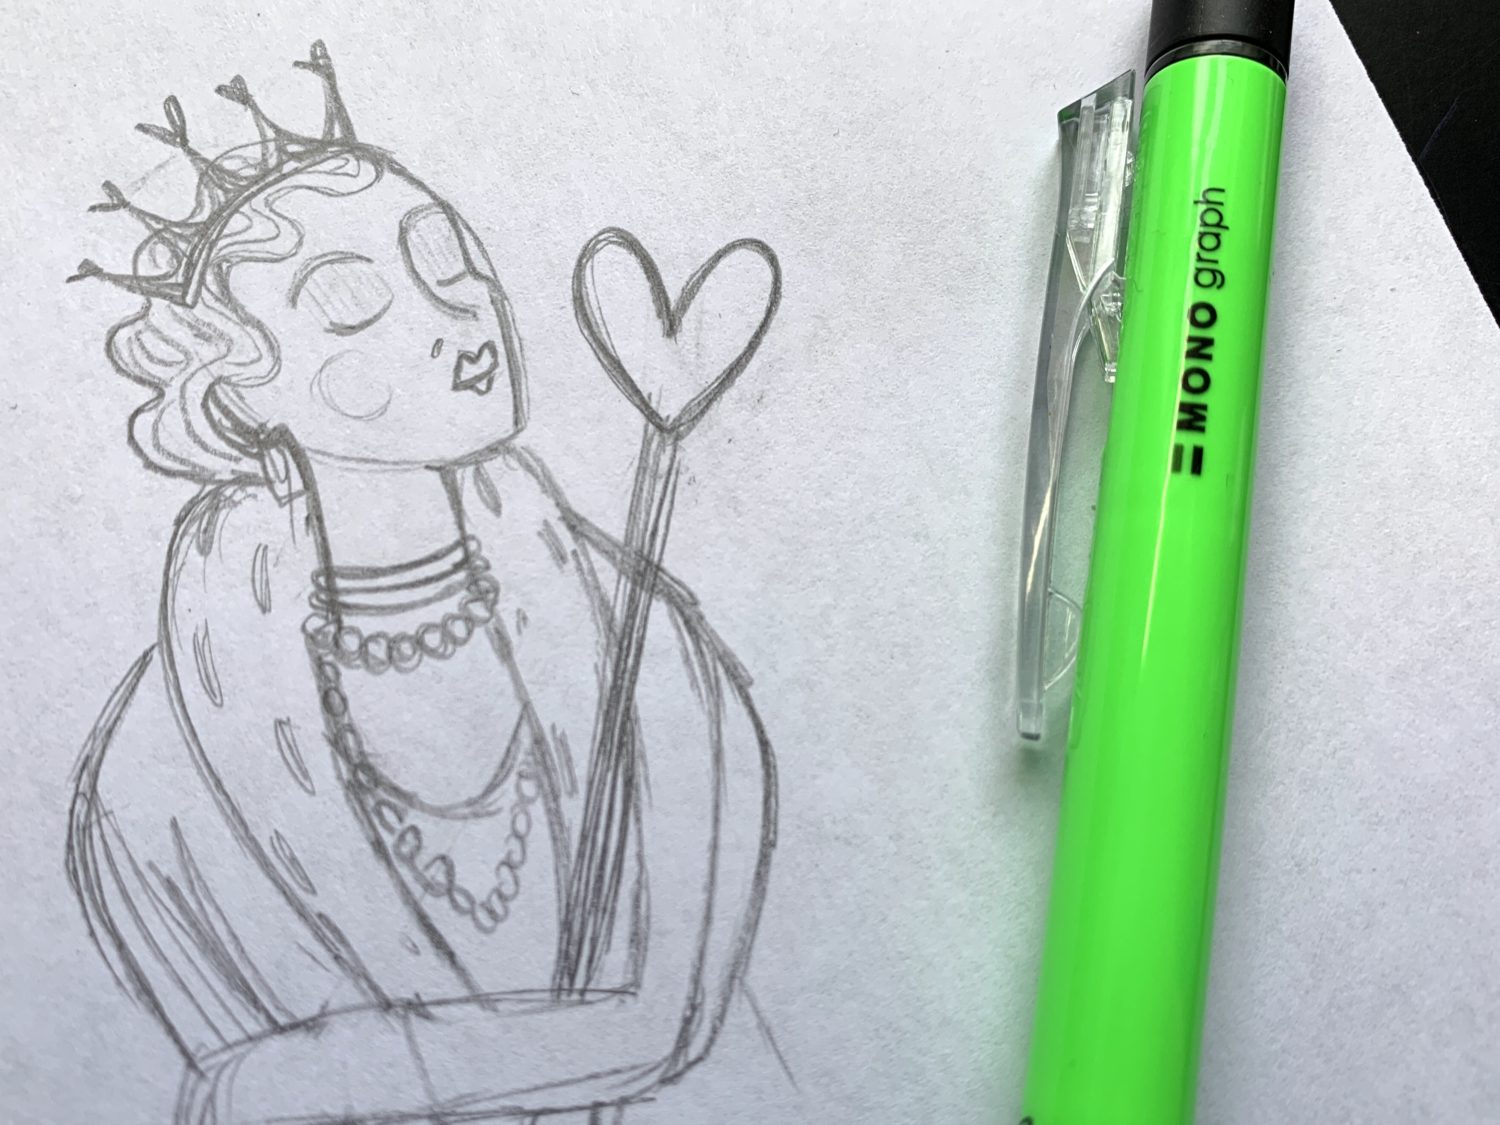
Once I came up with how I wanted my illustration to look, I sketched her out with my MONO Graph Mechanical Pencil on a normal sheet of printer paper. I made sure the drawing wasn’t going to be to big or small by putting my cut out card nearby. I used my MONO Graph Mechanical Pencil because the lines are light. Plus, it erases really well when I need to make changes.
Step 6
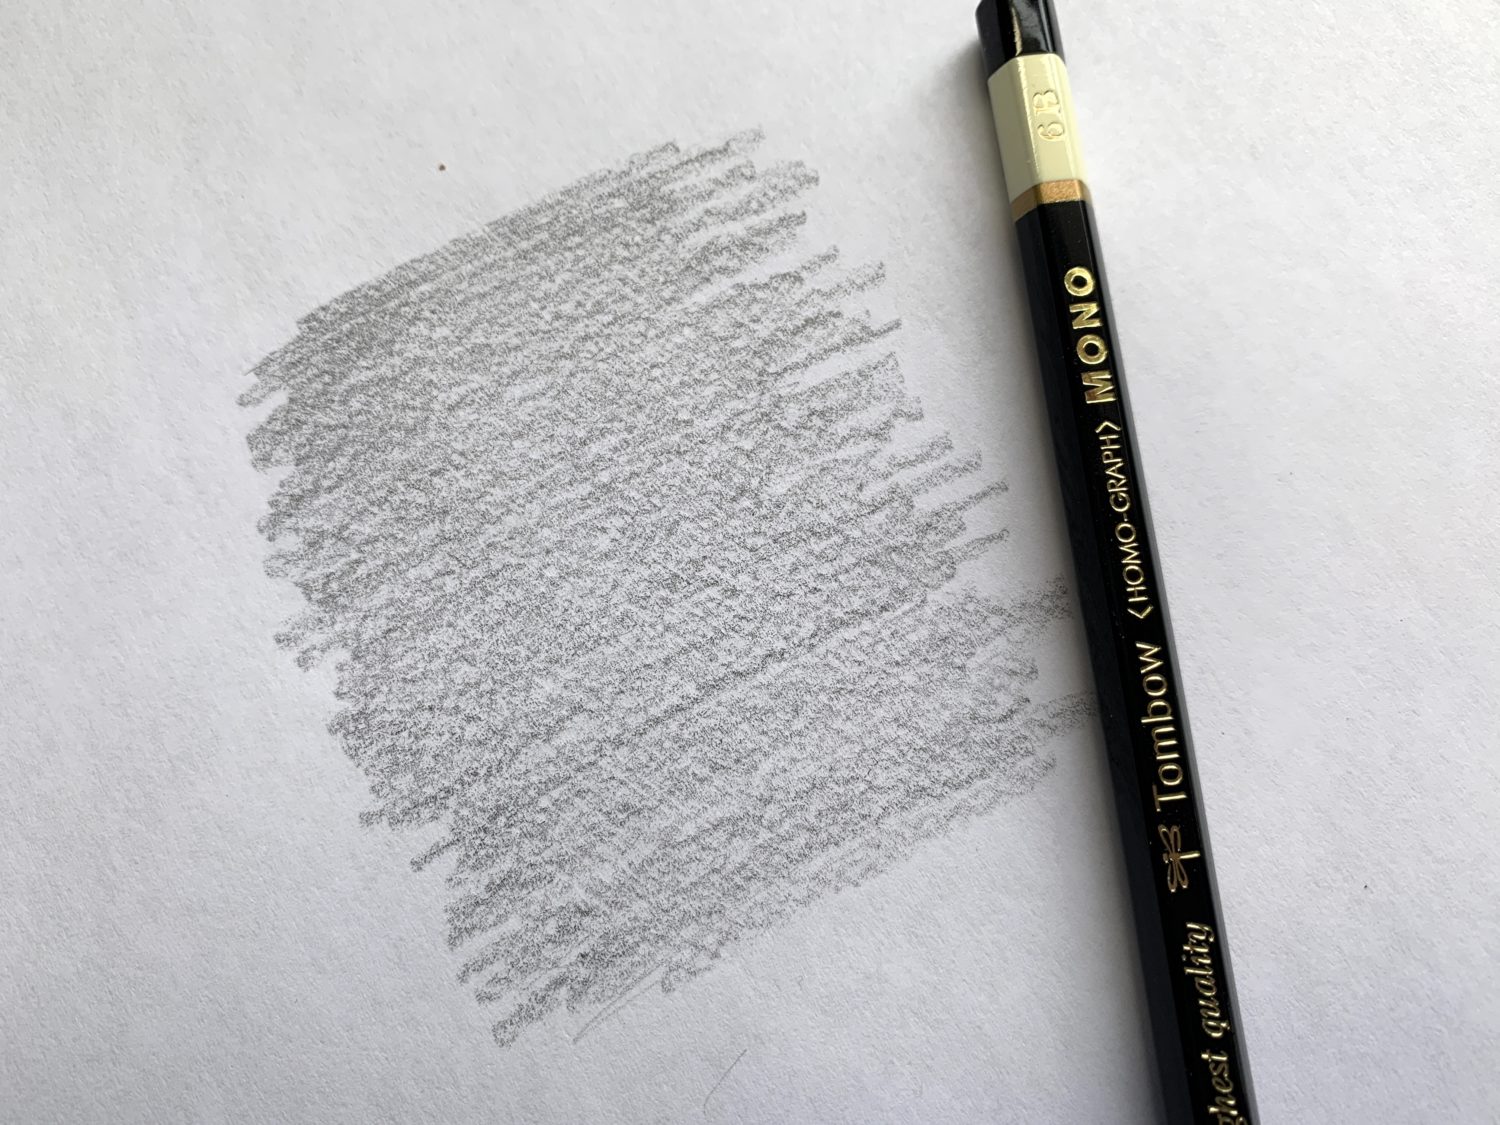
For this step, I start prepping my illustration for transfer! I switched from the MONO Graph Mechanical Pencil to my Tombow 6B MONO Drawing Pencil. This pencil is great for thick and bold line drawing. It’s made with a softer graphite. It’s also great for this little transfer trick!
To start, I flipped my paper over and used the drawing pencil to put a layer of graphite down directly on the back of my sketch.
Step 7
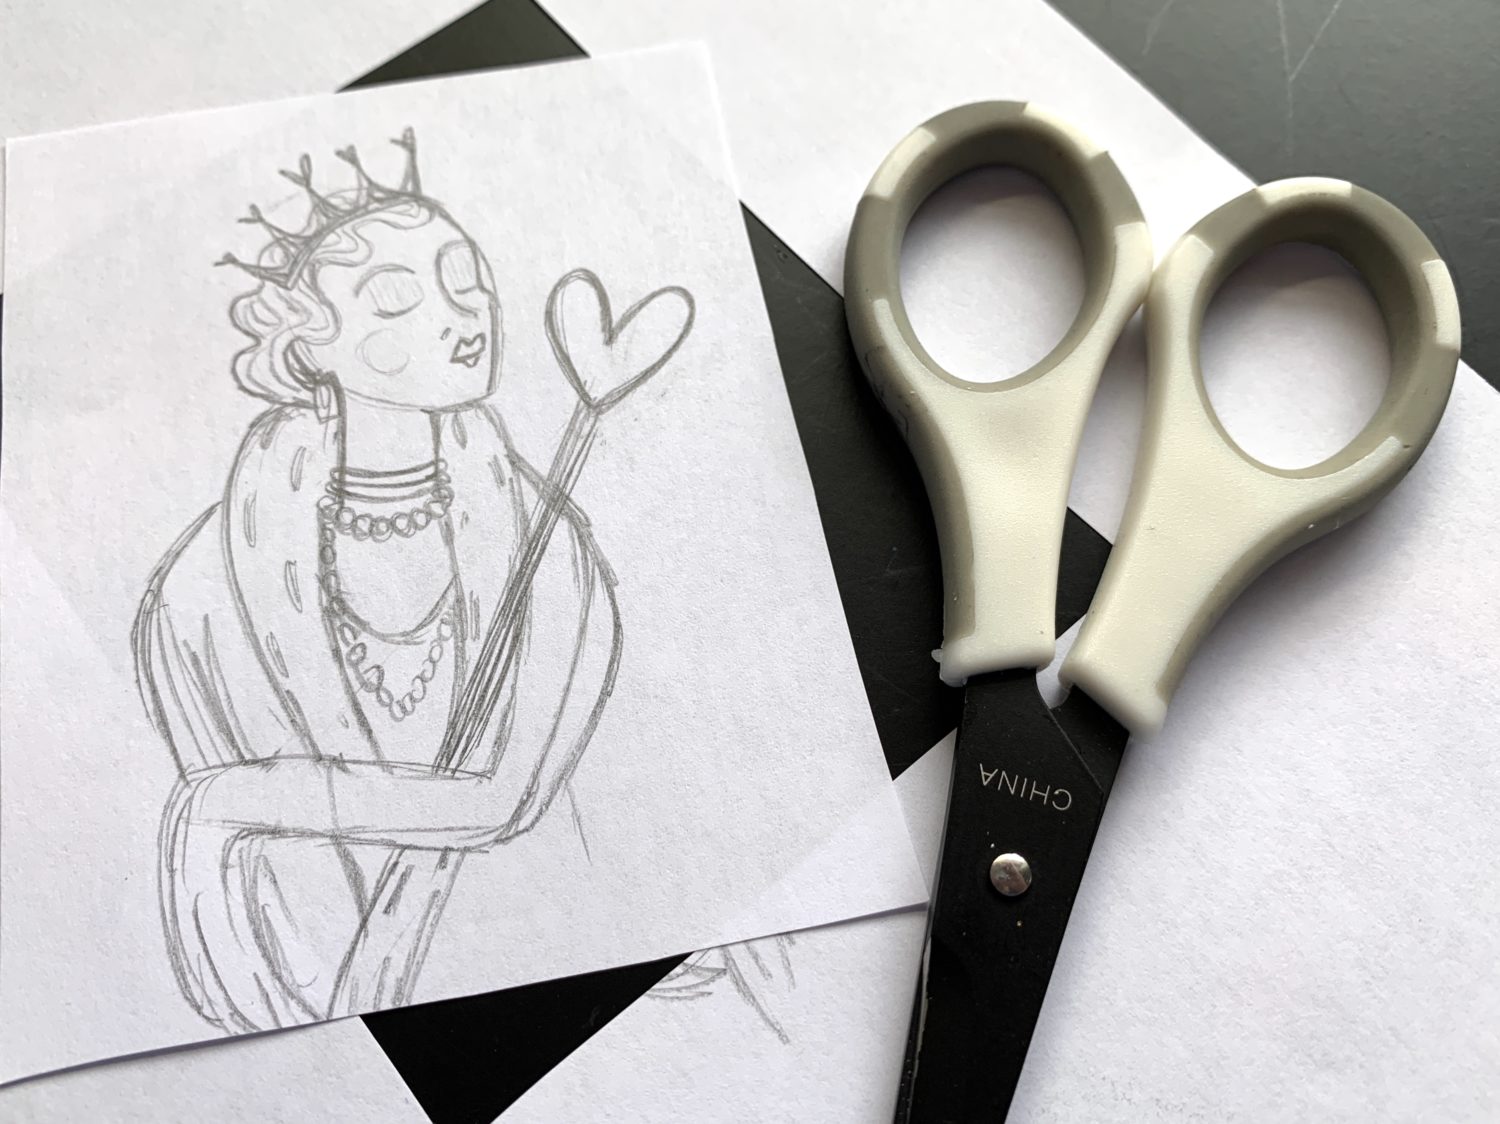
To make it easier to transfer my work to the card, I cut out the illustration with my scissors. Doing this will help me line up where I want my drawing on the card.
Step 8
Next, I set the illustration paper directly onto the card. The illustration side should be facing up and the graphite side should be on top of the card. I used my MONO Graph Mechanical Pencil to draw over the lines of my illustration. By doing so, I’m pushing the graphite layer I added in step five directly onto the card without having to draw it all over again! Remember, if you’re trying this transfer method, the harder you push down on the top sheet of paper, the darker your lines will be! I tried to keep mine extra light so I wouldn’t have to do much erasing.
Step 9
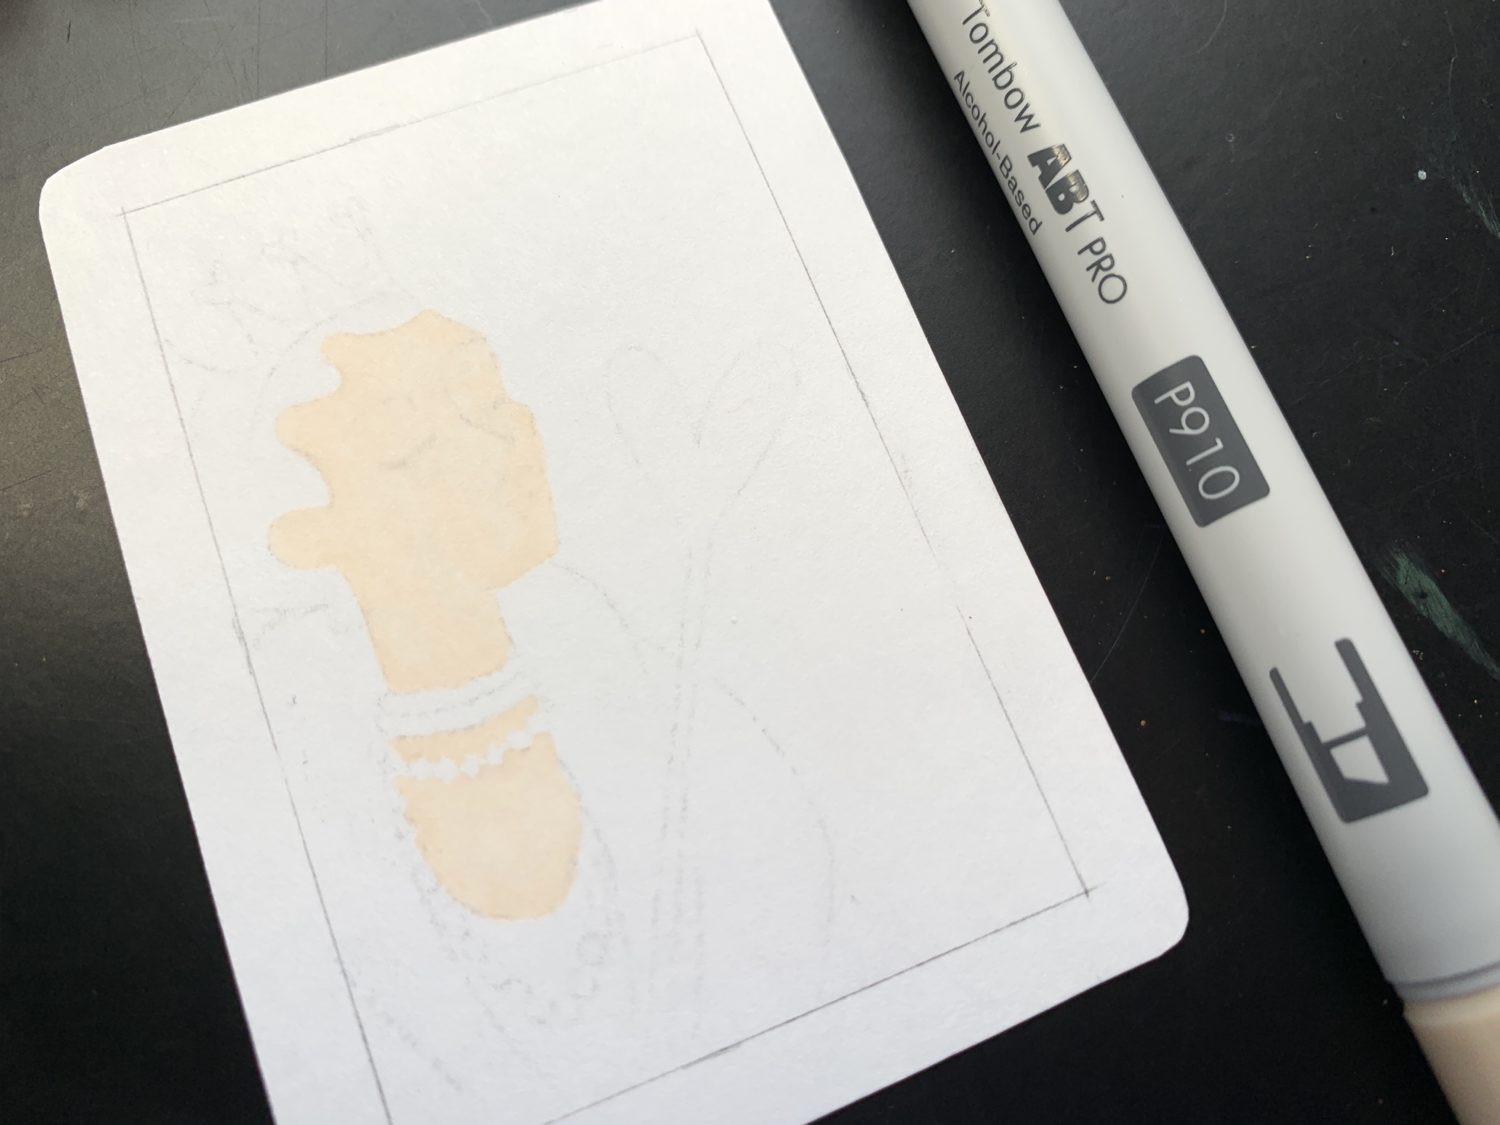
Now that my drawing has been transferred onto my card, I start coloring in the illustration! I’m using an assortment of my ABT PRO Alcohol-Based Markers. I’m still not over how much I love these things! The color payoff is fantastic and they handle better than any alcohol marker I’ve ever tried. They come in over 100 colors. Plus, they’re great for both illustration and lettering!
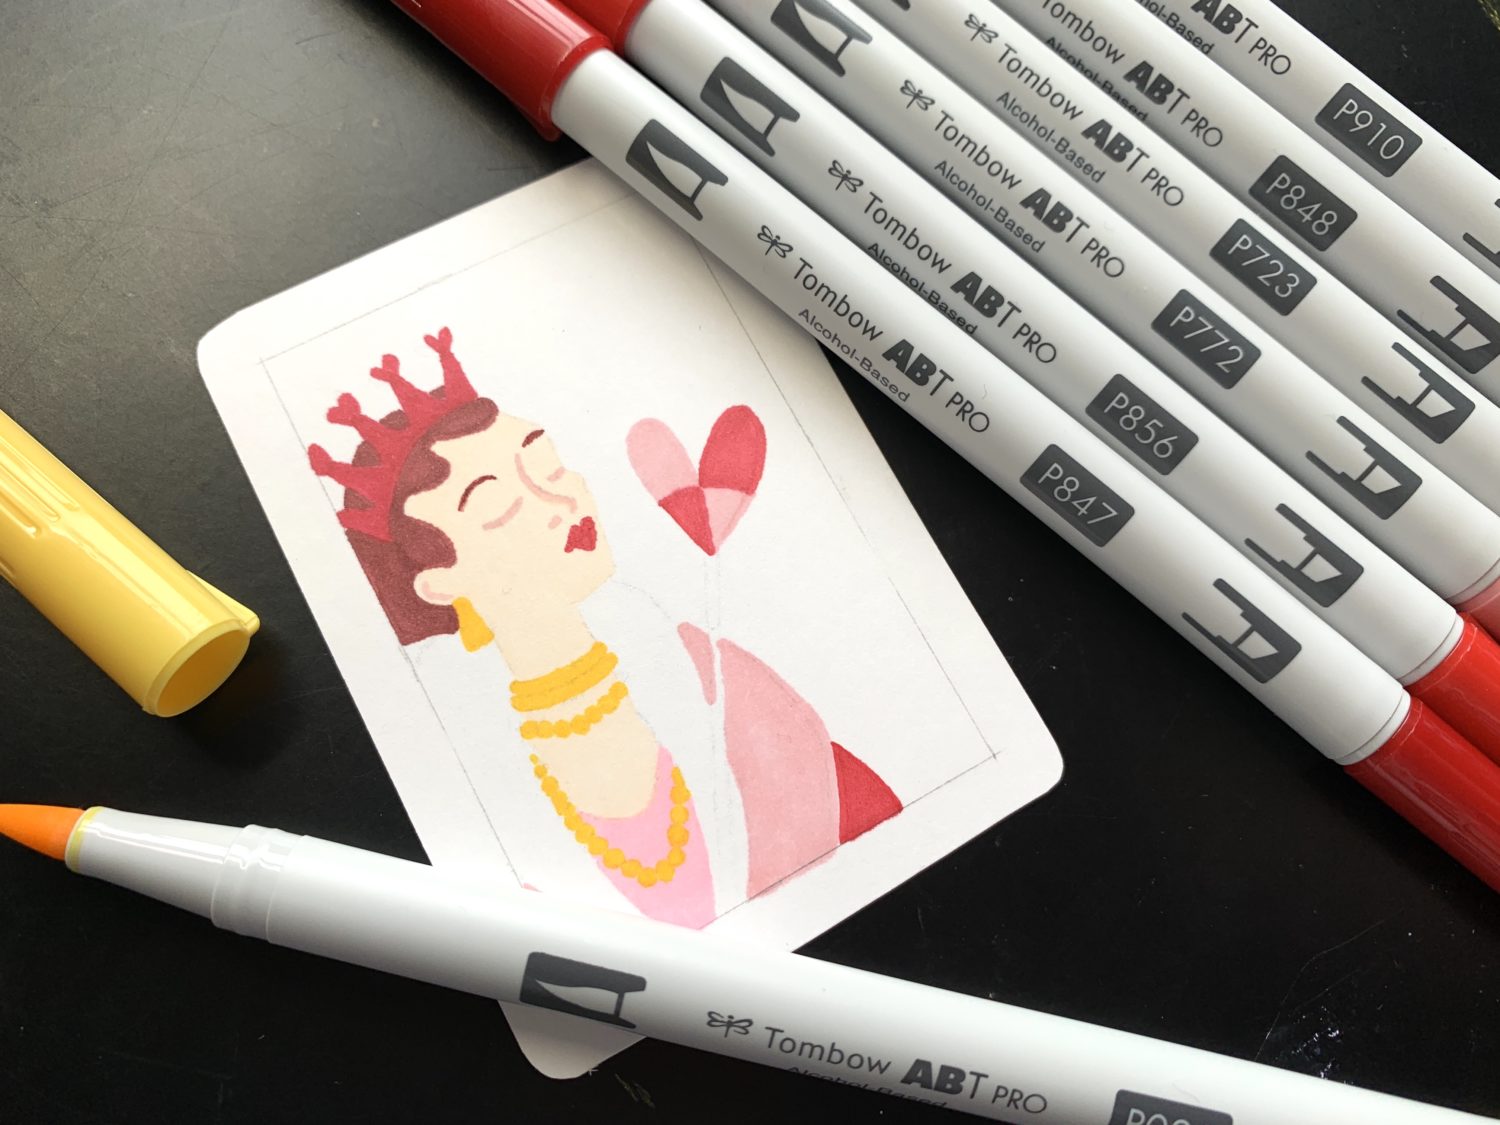
I decided on a slightly more feminine color scheme than most playing cards. I went with adding in a few shades of pink (P723 and P772). I also kept the red and gold accents to call back to the more traditional playing card art (P025, P847, and P856). I used P910 for the skin tone, P874 for her facial features and P848 for the hair.
Step 10
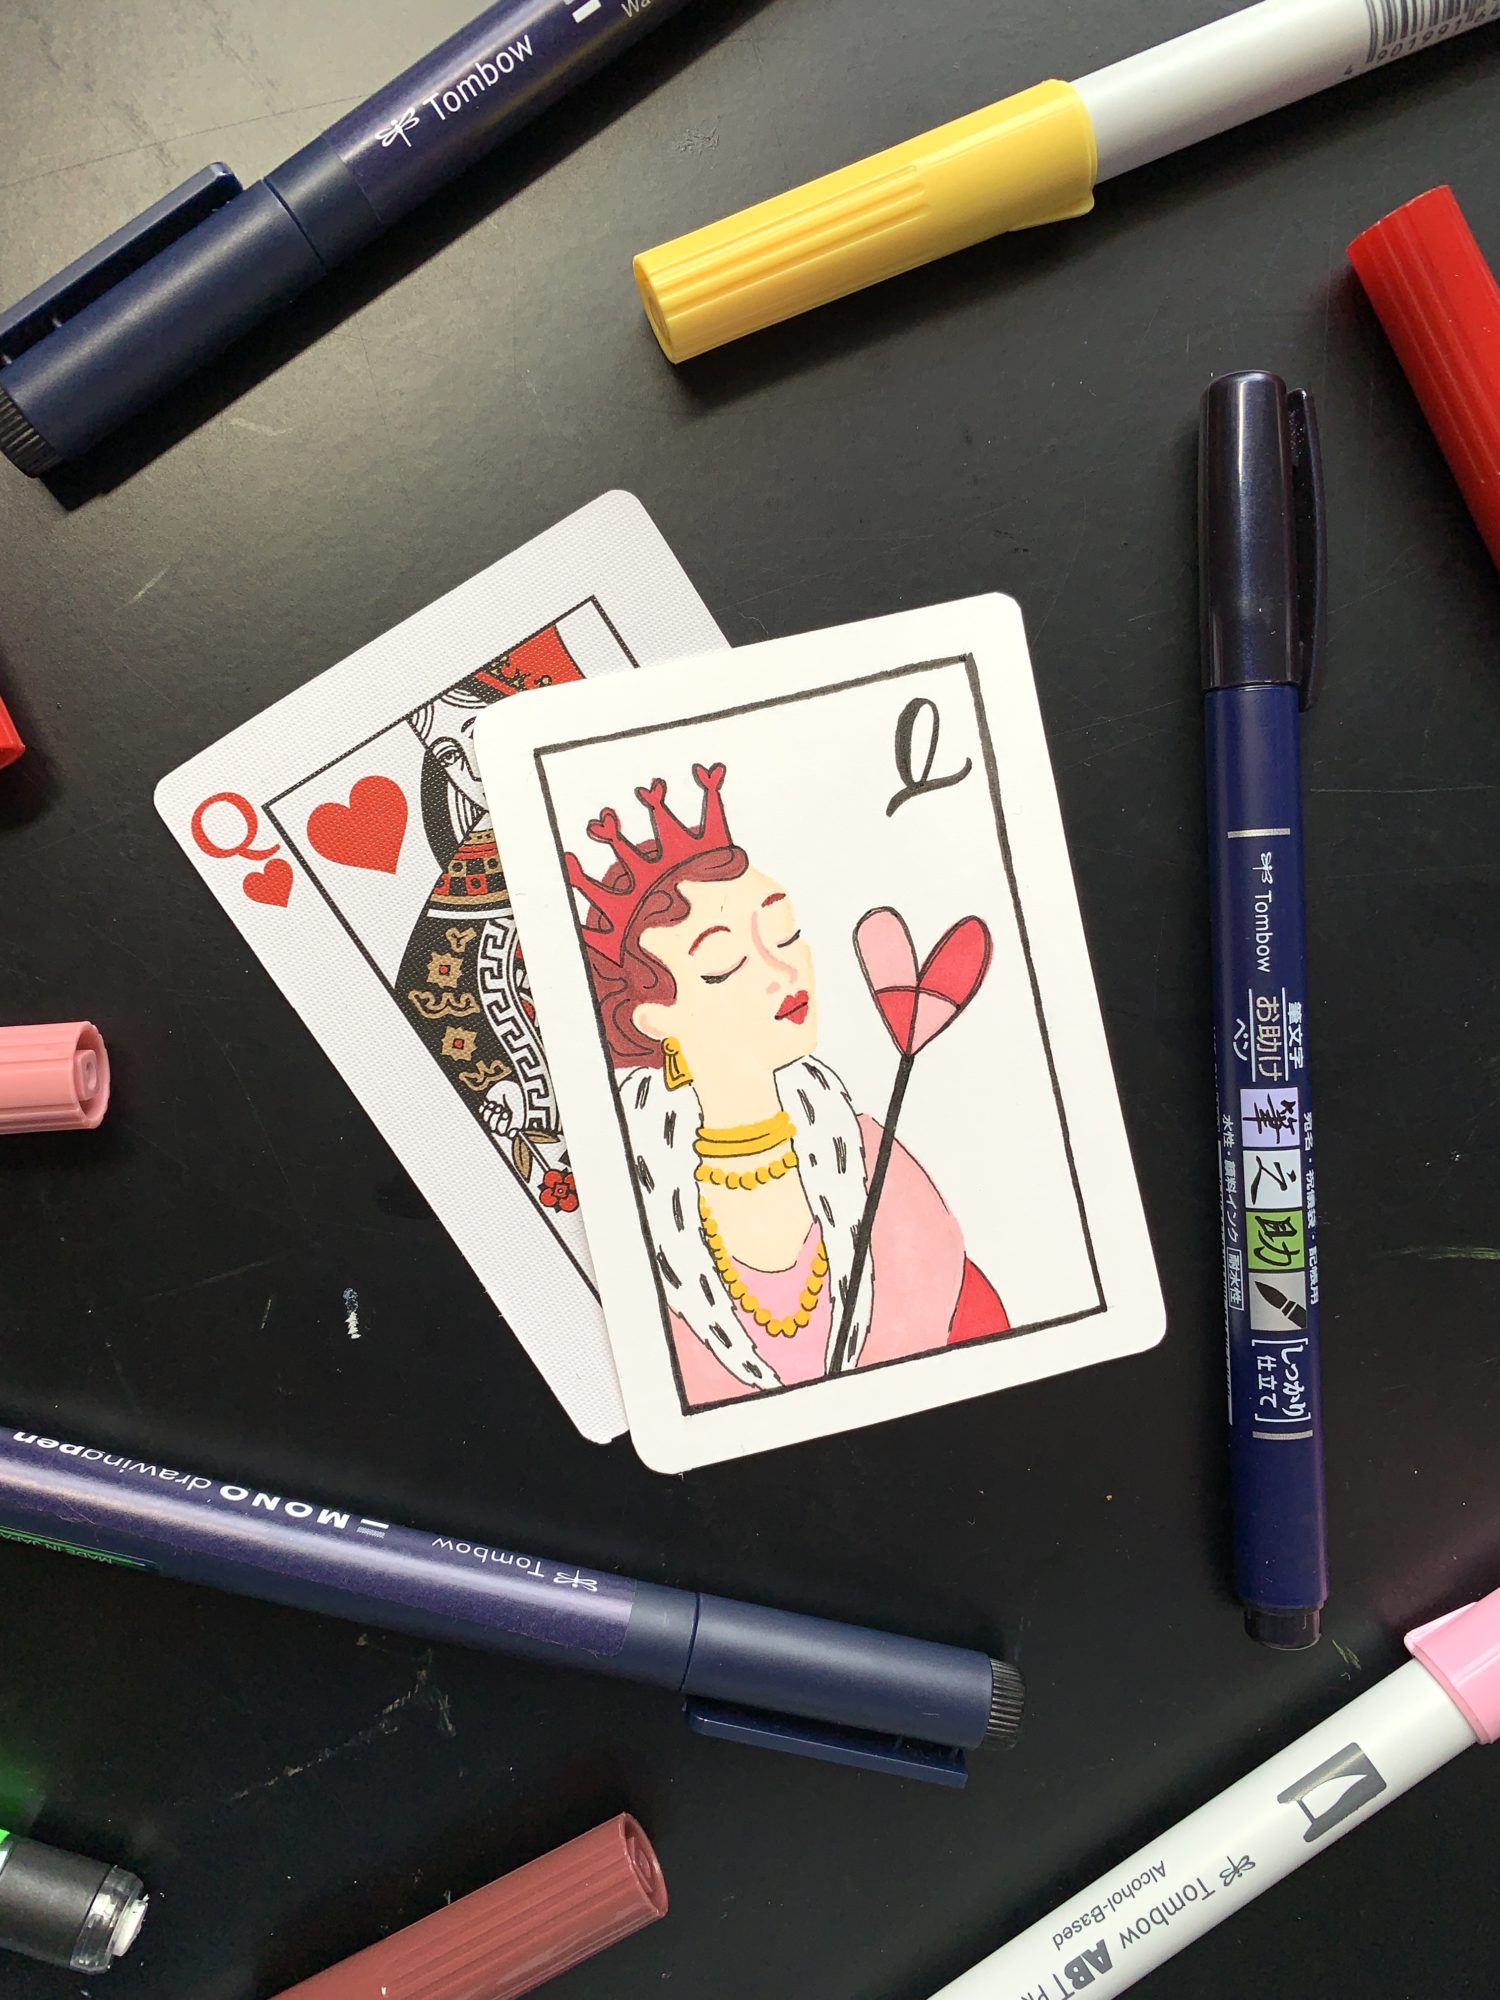
Finally, I used the MONO Drawing Pens in sizes 01 and 08 and a Hard Tip Fudenosuke Brush Pen to do some fine lining and finishing touches! I used MONO Drawing Pen 08 to draw over the rectangle border and MONO Drawing Pen 01 to add some details and definition to the illustration. I used the Hard Tip Fudenosuke Brush Pen to letter a simple Q in the corner. That’s all there is to it!
Thanks for following along with this tutorial! If you decide to recreate my card, make your own card or use your favorite movie as inspiration for an art project, tag Tombow and me to share it with us!
For more tips on how to use the new ABT PRO Alcohol-Based Markers, check out Six Tips for Coloring Skin Tones with the ABT PRO Alcohol-Based Markers by Katie Smith and Blending with the Tombow ABT PRO Alcohol-Based Markers by Jennie Garcia!
Lastly, don’t forget to check out Tombow’s new #SharingArtMatters movement! Click here to find out how to join in and start celebrating the art that YOU make!
I LOVE this! Your card is gorgeous.
This is fabulous! I can’t wait to try my hands at this.