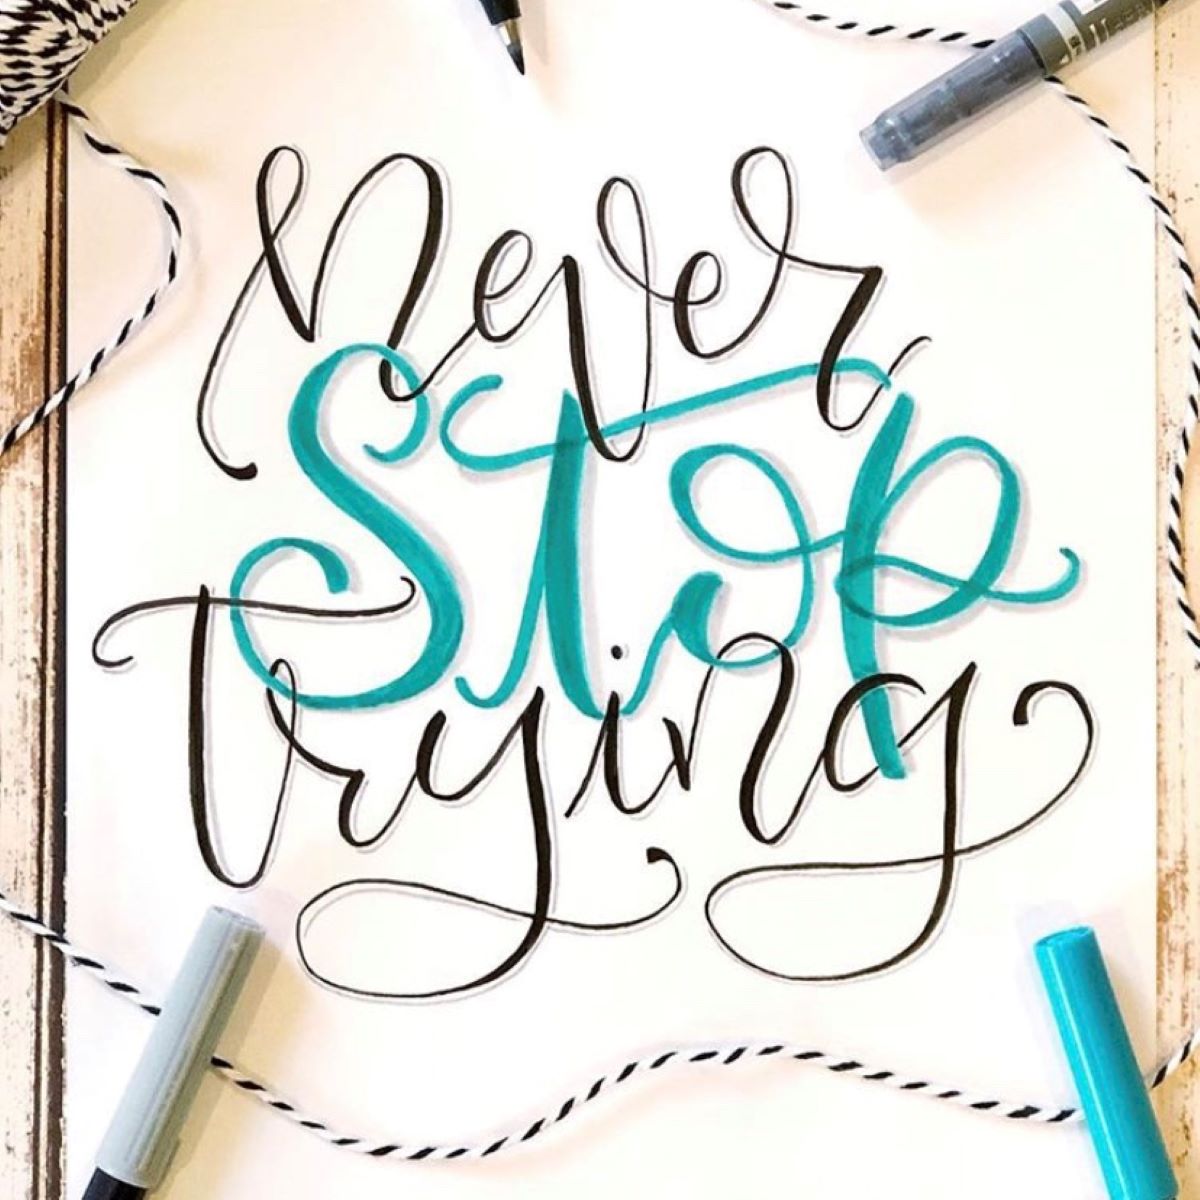
Hi Tombow fans, it’s Mandy from @a_heartened_calling here to show you how to create blended bubble letters! This week the Tombow Design Team is recreating a project from over a year ago to see the progress we’ve made since then. Practice always makes progress! I chose this piece I did a year and a half ago to redo.
When trying to decide on how to recreate it, I opted to sketch a handful of thumbnail designs in a notebook using my MONO Graph Mechanical Pencil. Drawing thumbnails of your designs can be helpful visually in determining which design you like best.
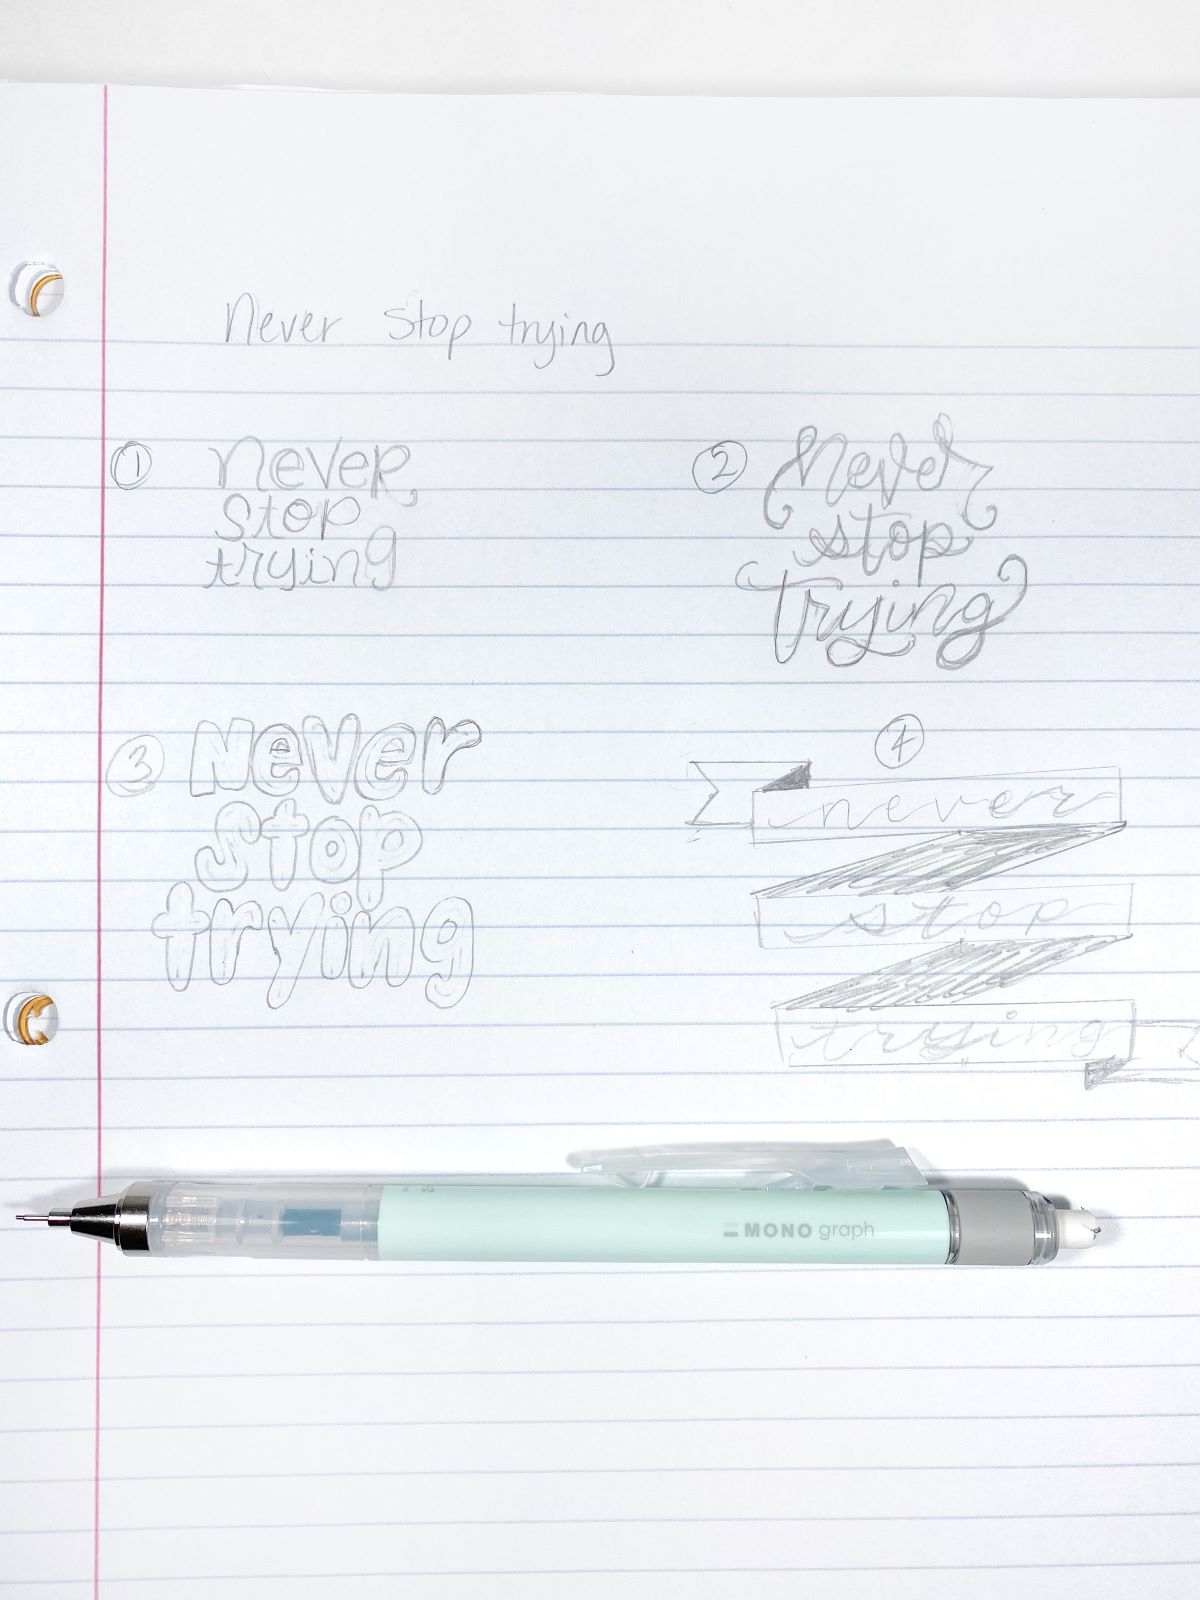
I actually liked all four of these sketches. Since I haven’t really done bubble letters much before, I decided to stretch myself out of my comfort zone and go with sketch #3. To create bubble letters is actually fairly easy with a simple trick. Let’s gather our supplies and get started!
MATERIALS
- Tombow MONO Graph Mechanical Pencil
- Mixed media paper
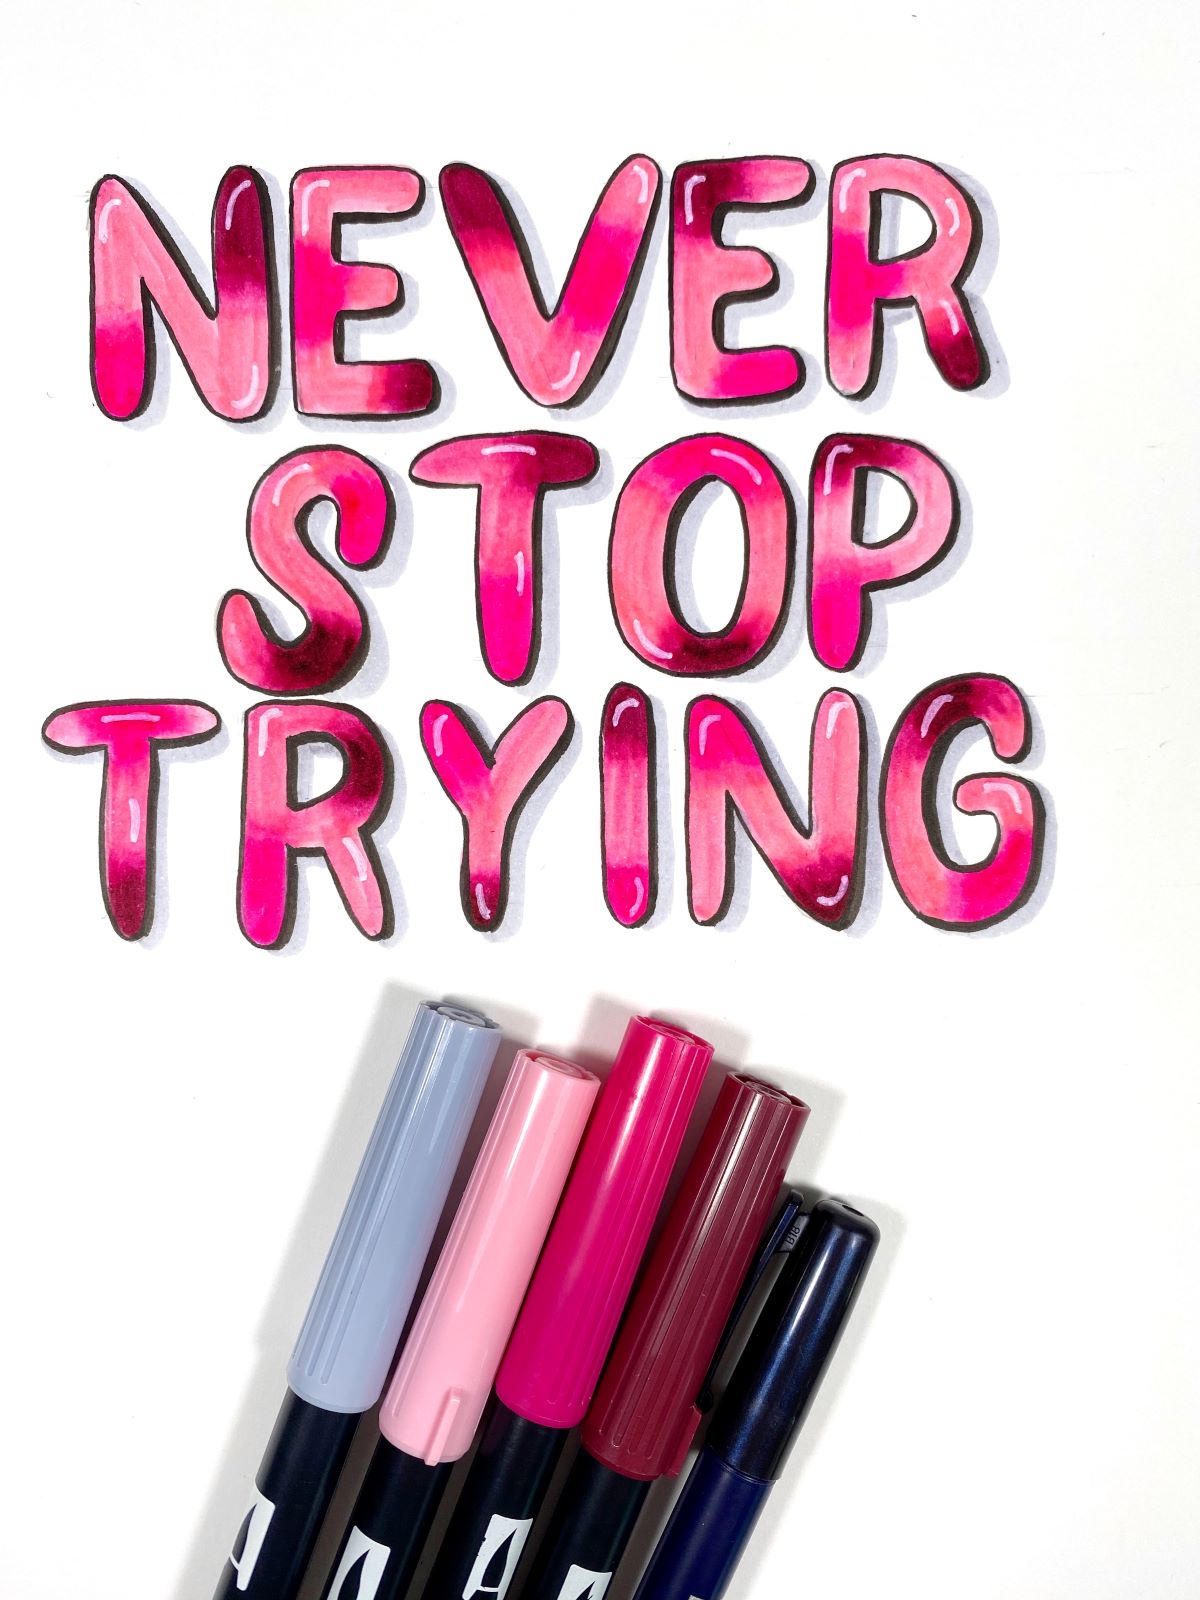
- Tombow Dual Brush Pens 723, 725, 757, N60 and N00
- Tombow Fudenosuke Hard Tip Brush Pen
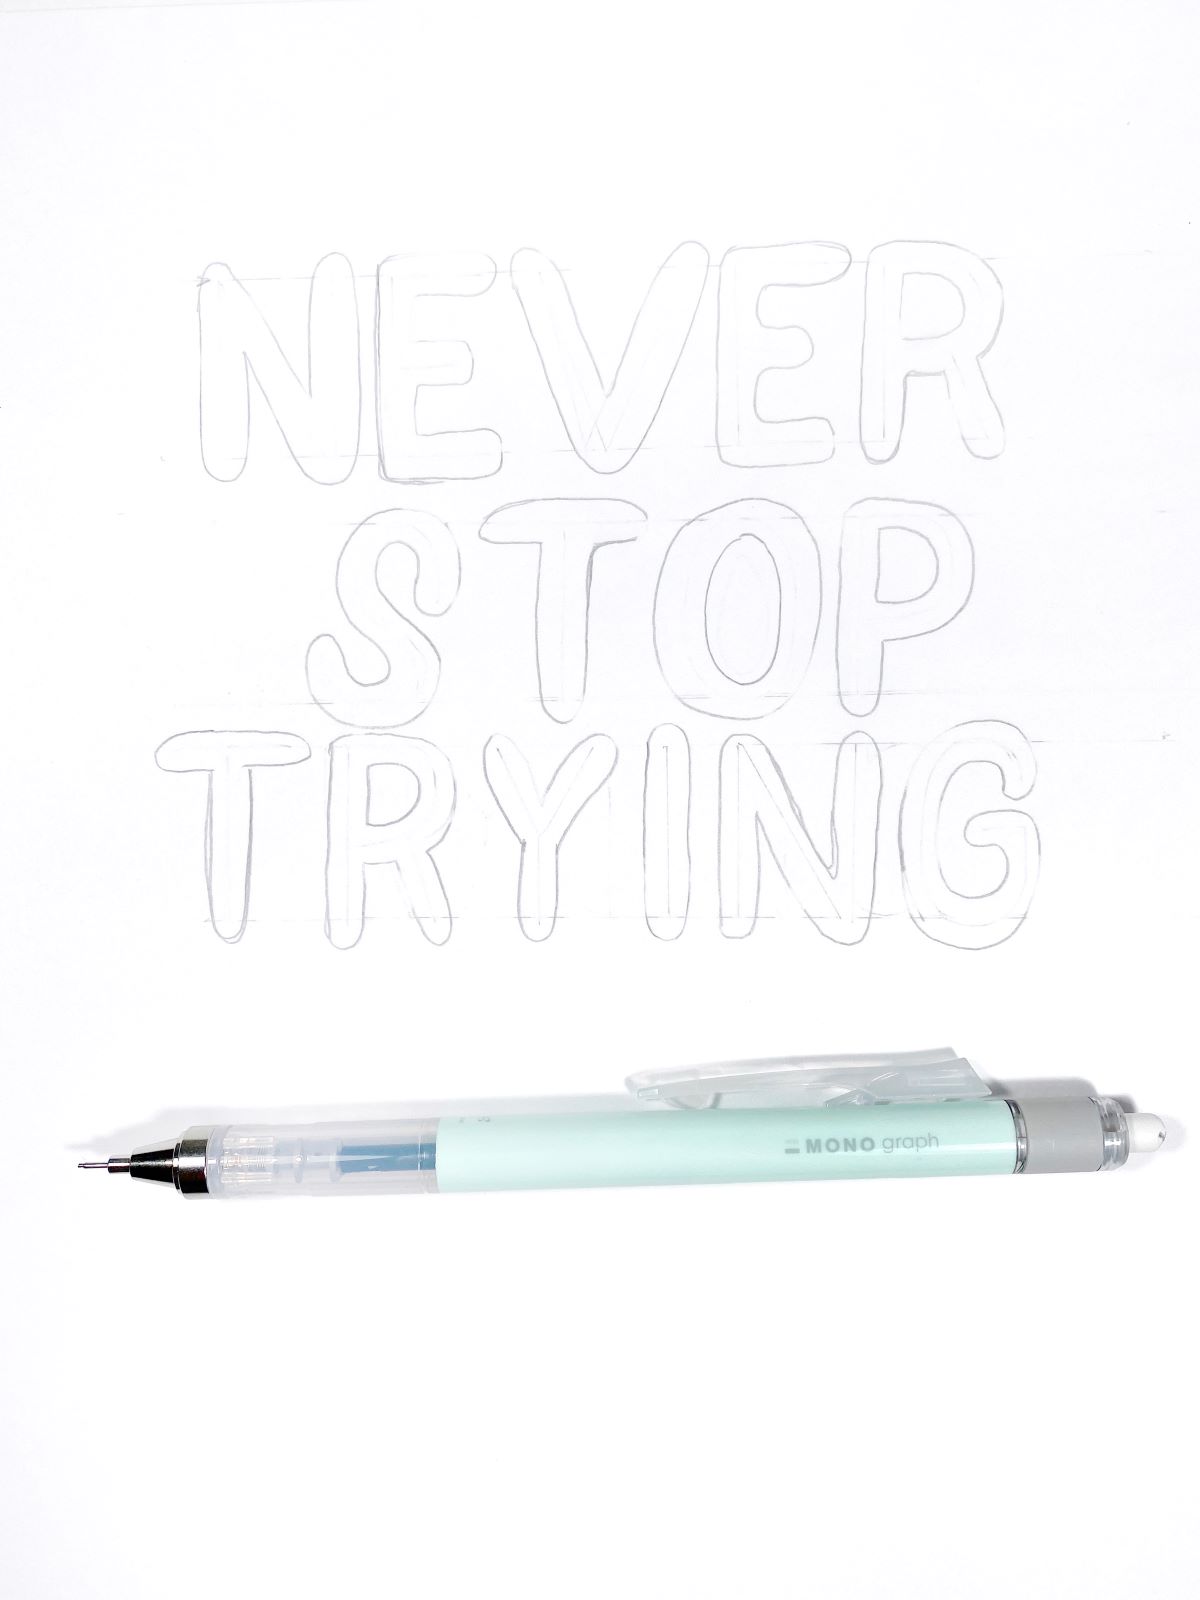
STEP 1 – Sketch The Design
Since this phrase is only three words, I used the MONO Graph Mechanical Pencil to draw two guidelines that were an inch apart for each word on individual rows. Then, I sketched out the letters as capitals leaving space in between each letter.

Next, trace around each letter in a bubble shape.

Use the eraser to erase the inside lines in each letter and to erase the guidelines.
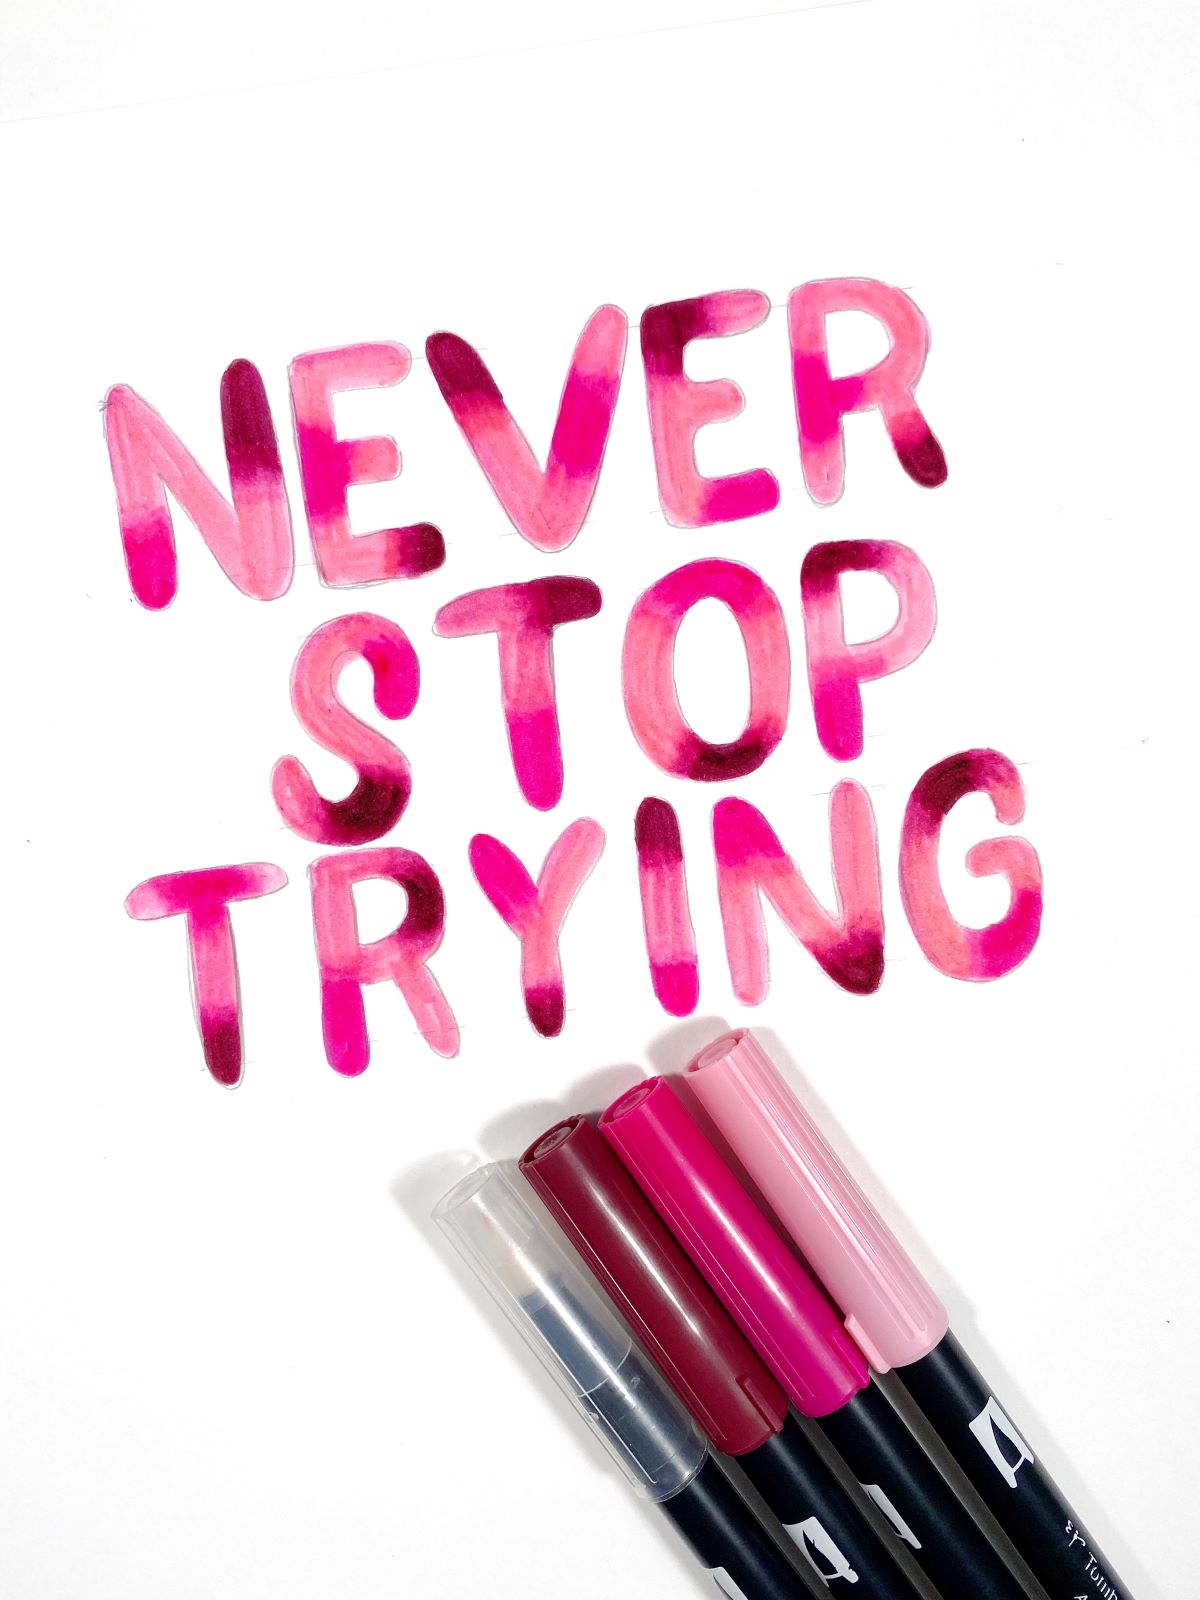
STEP 2 – Add Color
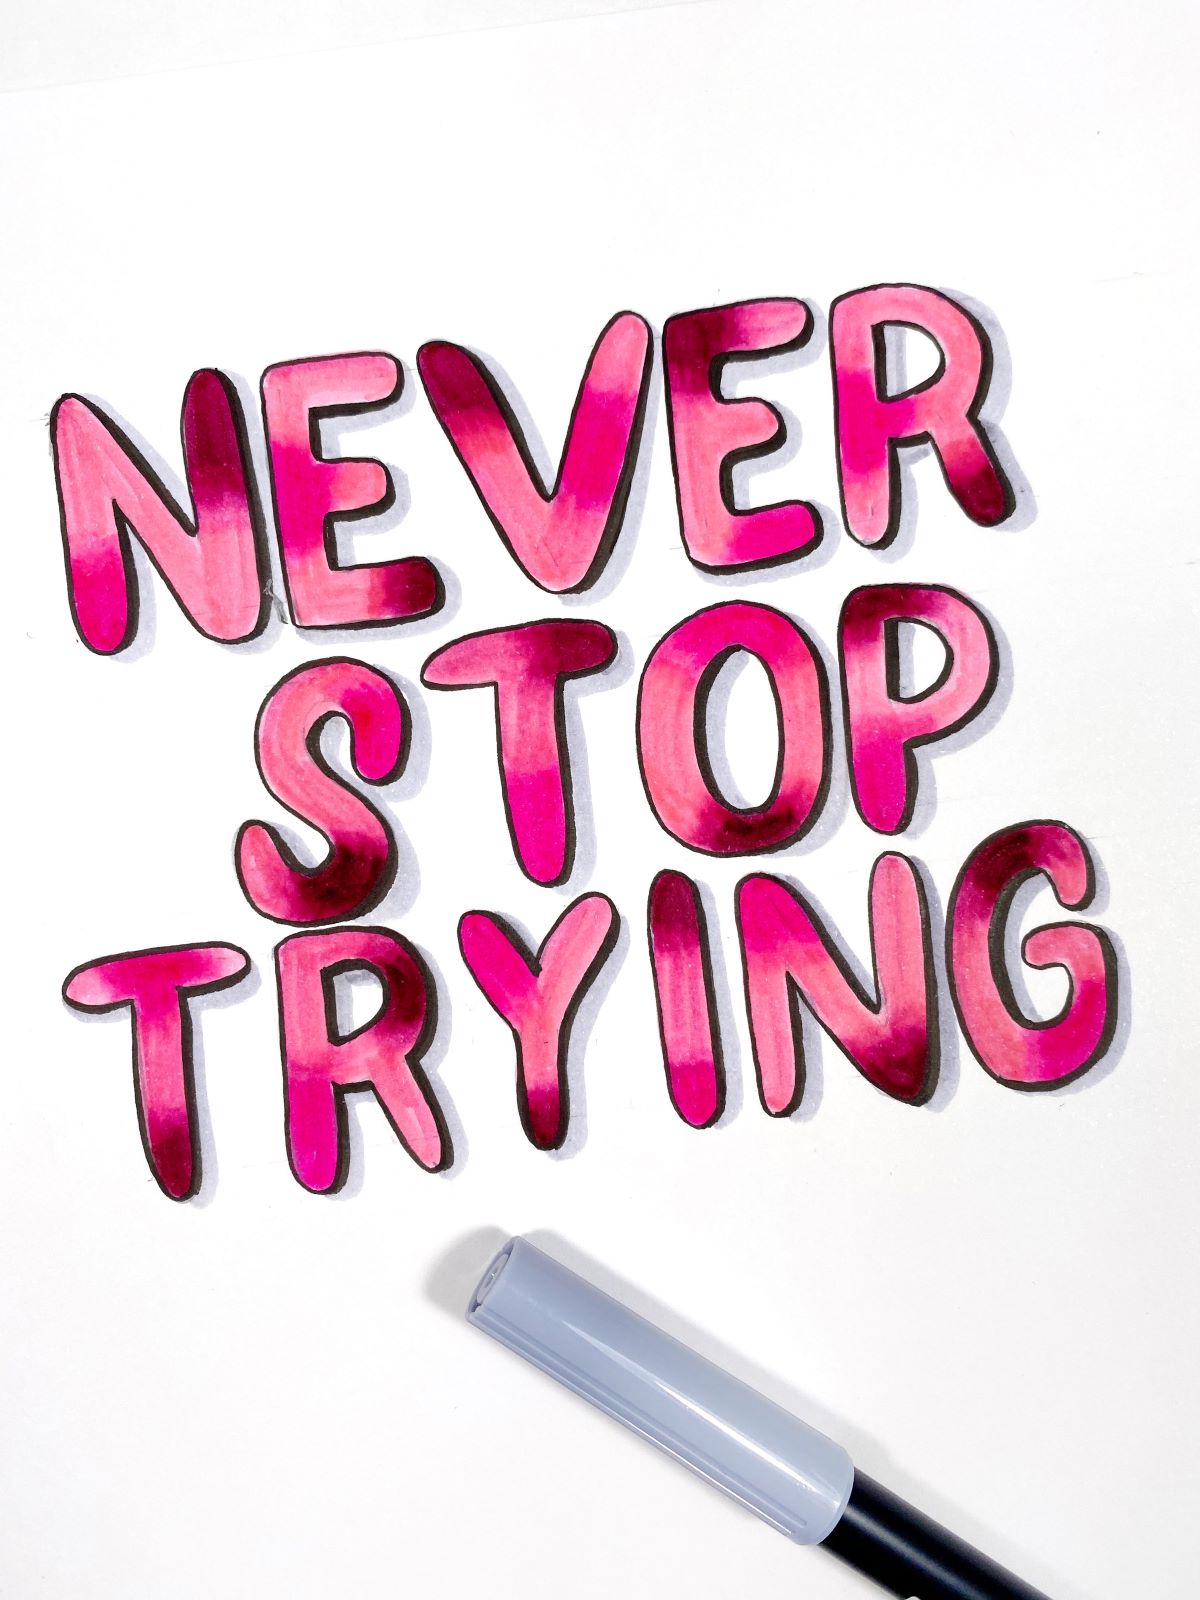
Using Dual Brush Pen 723 as a base, fill in an entire letter.

Using Dual Brush Pen 725, add color to just one little area of the letter. Use Dual Brush Pen 723 to blend the color up just a little bit. Then use the Colorless Blender to blend it more seamlessly into the letter. Next, repeat all these steps using Dual Brush Pen 757 and add color to a random place in the letter and blend in. Repeat for the rest of the piece.


STEP 3 – Add Details
Using the Tombow Fudenosuke Hard Tip Brush Pen, trace over each letter then add a thicker down stroke to one side of all your letters.
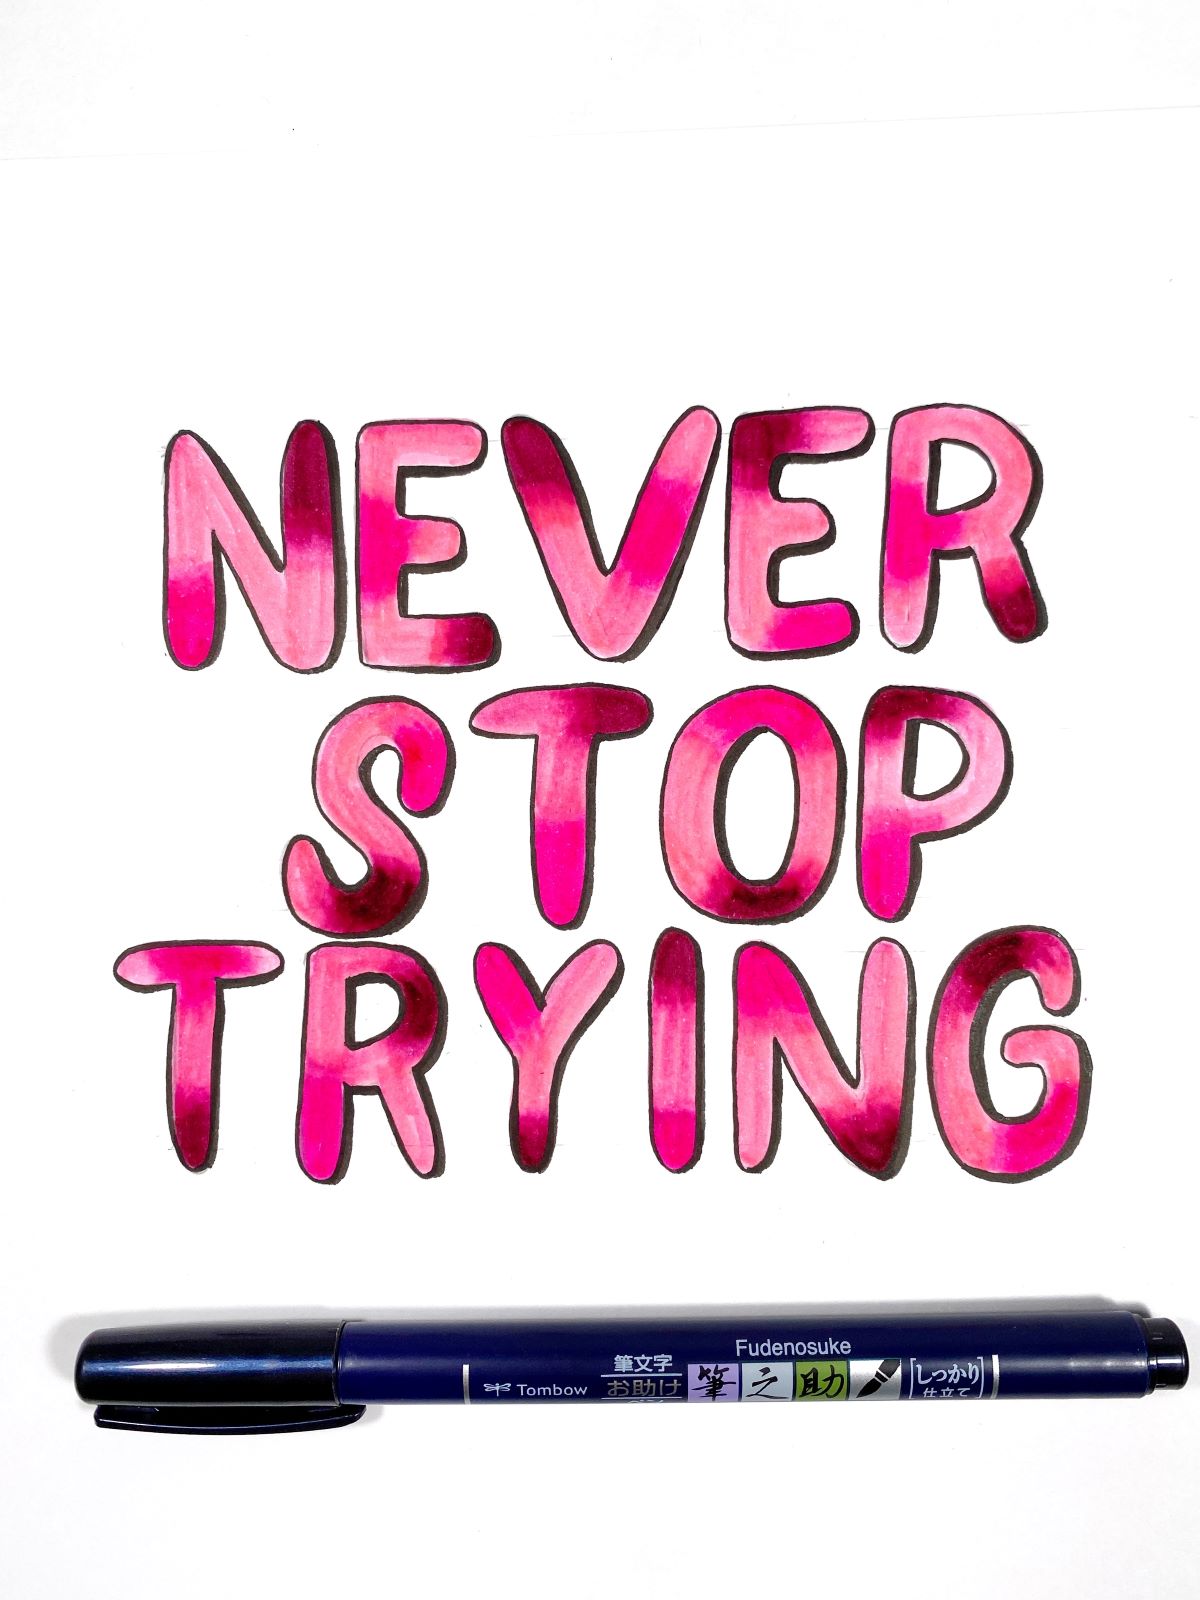
Next, use Dual Brush Pen N60 to add a shadow line following the same thick lines you added with the Fudenosuke Hard Tip Brush Pen.
Use either a white gel pen or a white paint pen and add little highlights to each letter.
Lastly, use the Fudenosuke Hard Tip Brush Pen to draw bubbles around the composition. Use Dual Brush Pens 723 to color them in and Dual Brush Pen 725 to add dots as well.
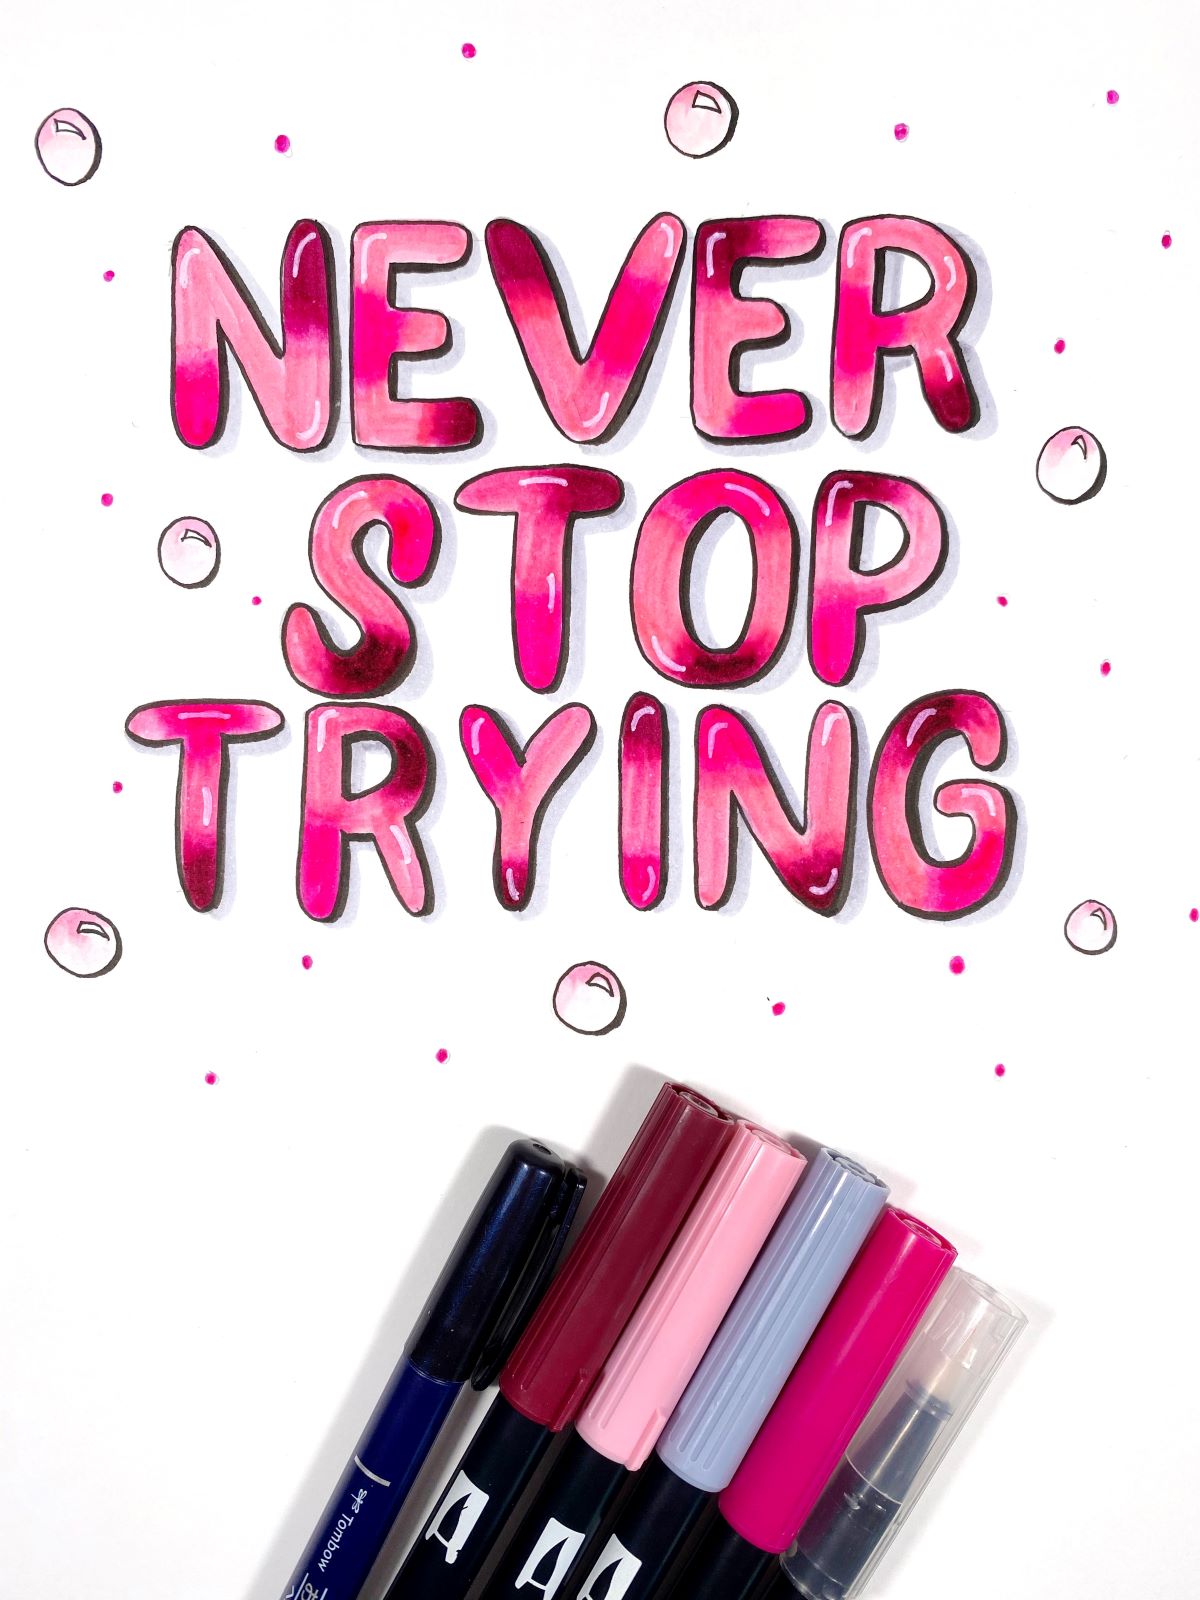
Your blended bubble letters are done! If you give this project a try, be sure to tag @tombowusa and @a_heartened_calling so we can see your awesome work!
For more inspiration, check out these posts!
- Watercolor Quilt Tutorial with Dual Brush Pens with Ali
- Create Custom Color Palettes Using Dual Brush Pens with Grace
- DIY Tissue Paper Dahlia With Dual Brush Pens with Adrienne
Thanks for following along today, see you next time!
Mandy