Hi friends, Adrienne from @studio80design here to show you a tutorial on how you can create a mandala using a stamp set! Stamps are great tools, but I wanted to use them in a different way! I’ll be using stamps from Dare 2B Artzy to create this mandala!
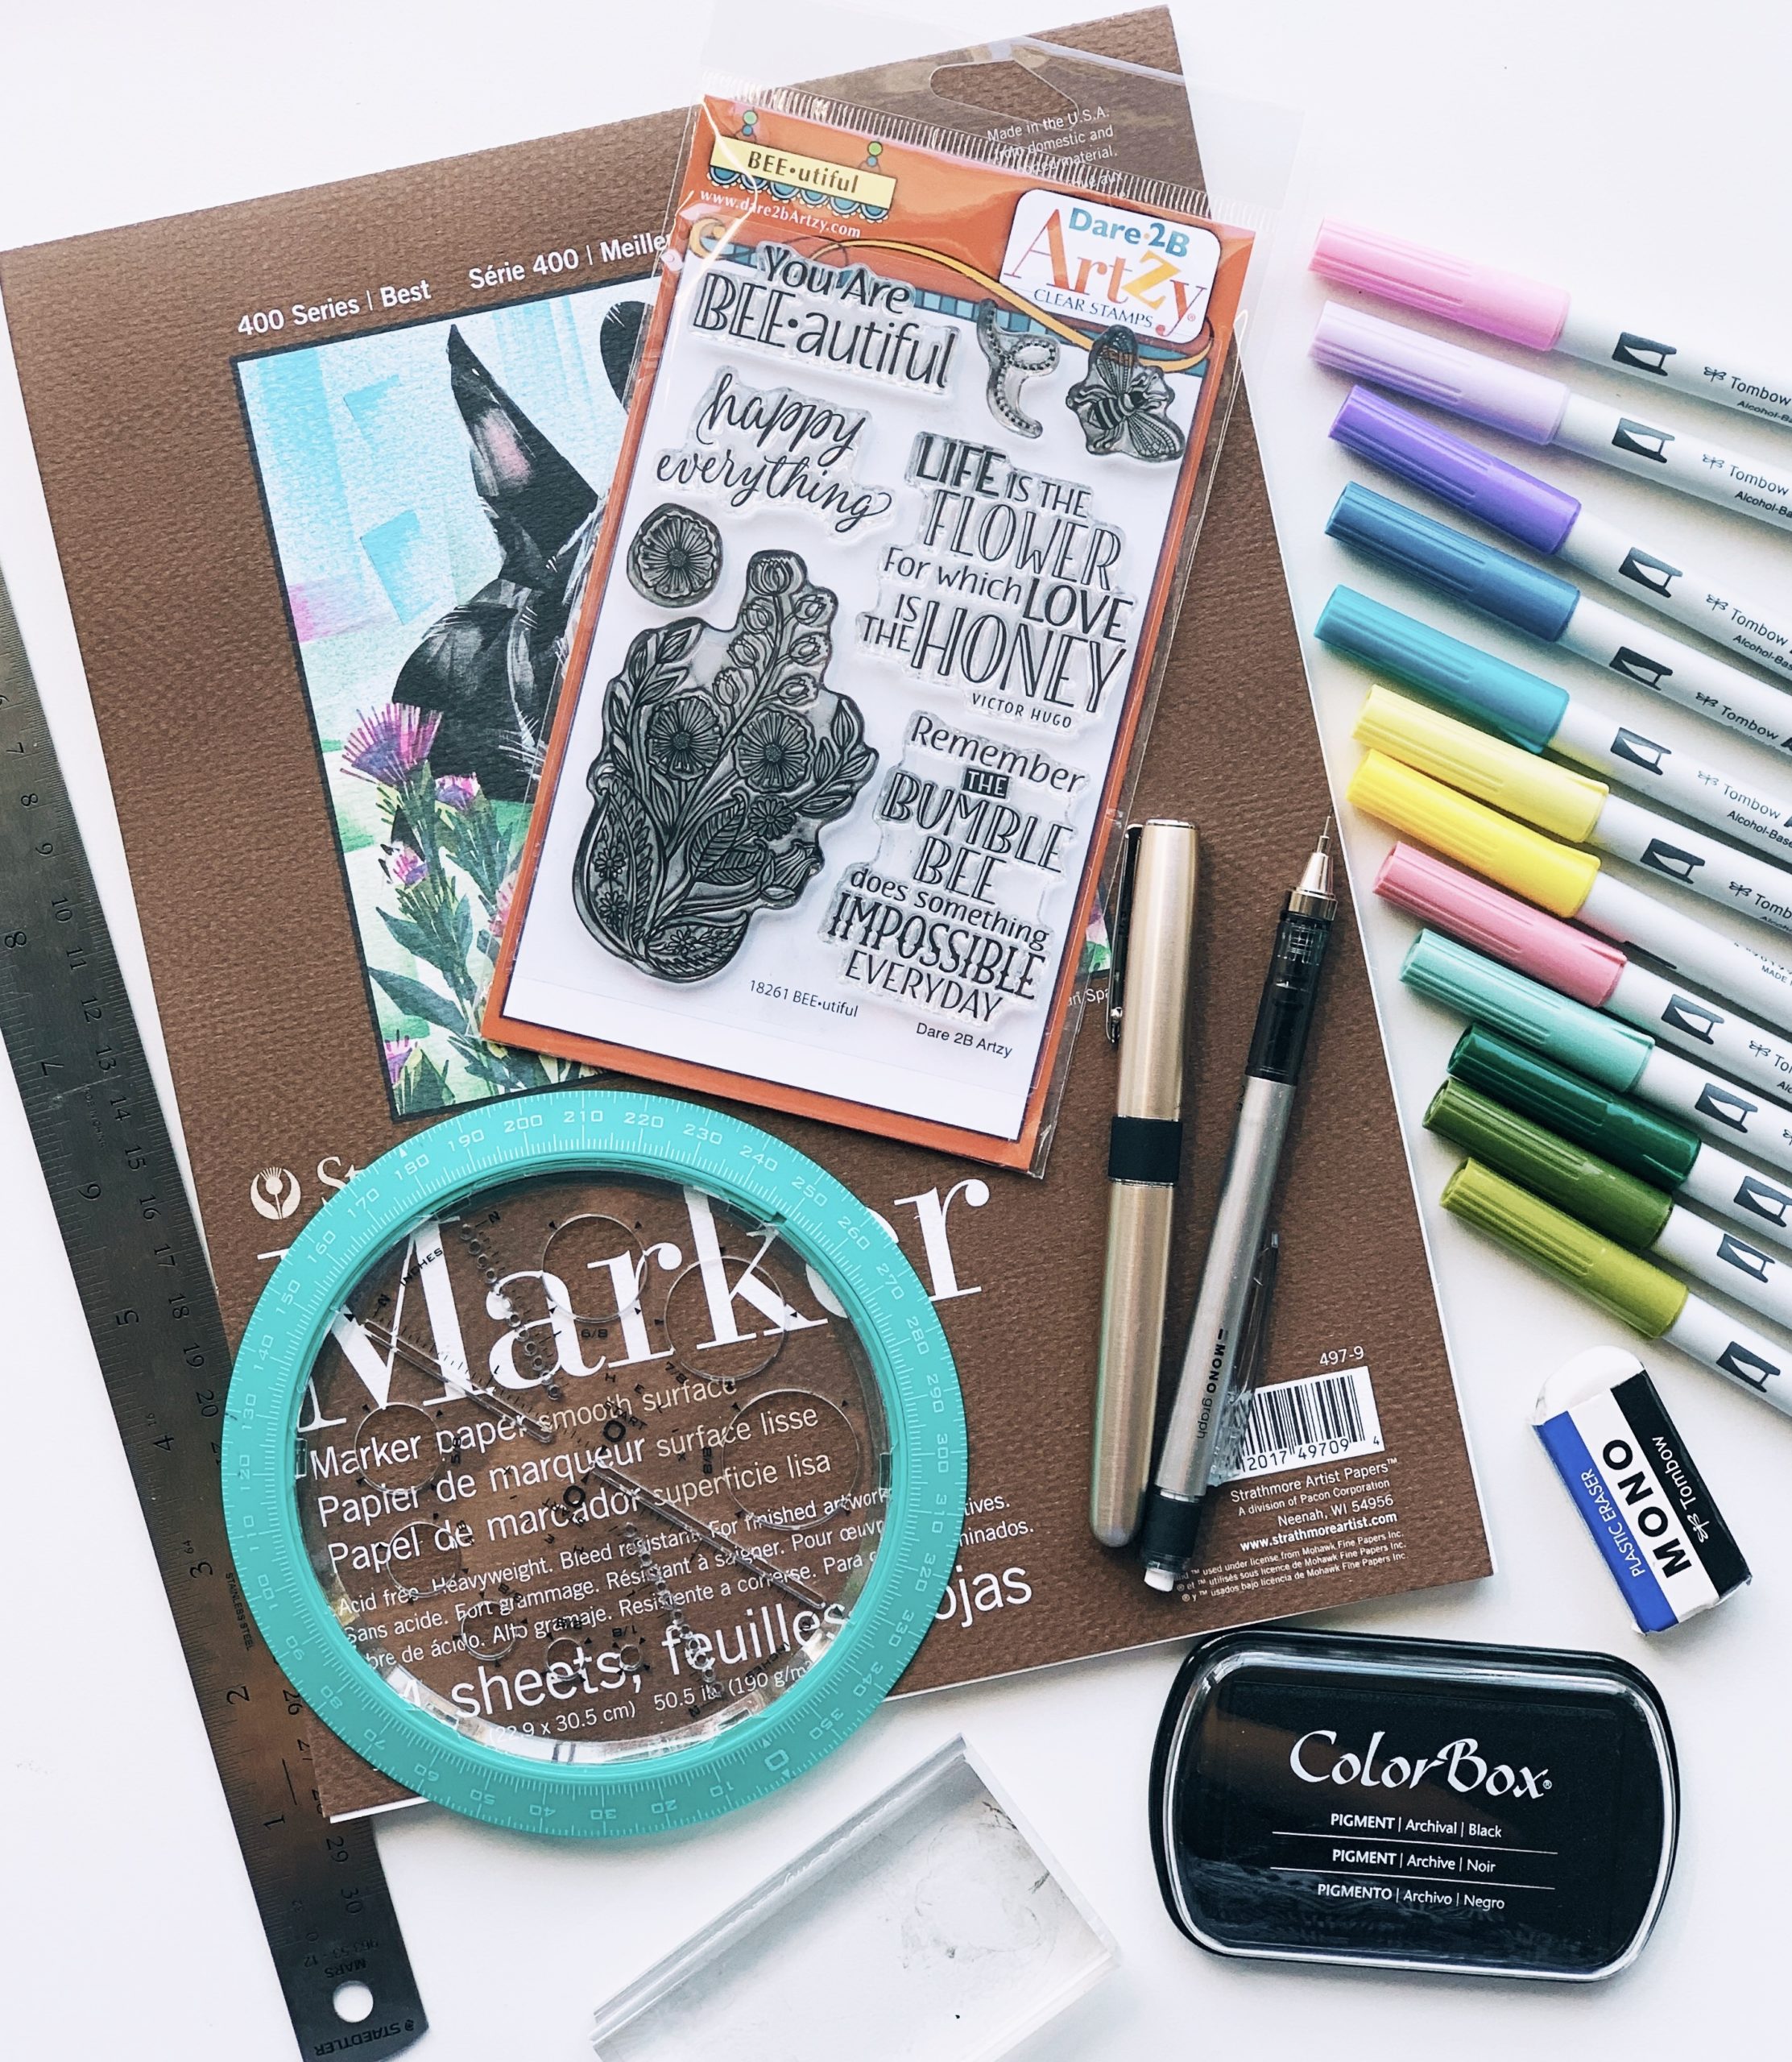
Materials you’ll need:
- Dare 2B Artzy BEE.Utiful Stamp Set
- Black ink stamp pad (dye ink)
- Strathmore 400 series marker paper
- Tombow ABT PRO Alcohol-Based Art Markers
- Helix 360 degree angle and circle maker
- Tombow MONO Graph Mechanical Pencil
- Tombow MONO Eraser
Step 1
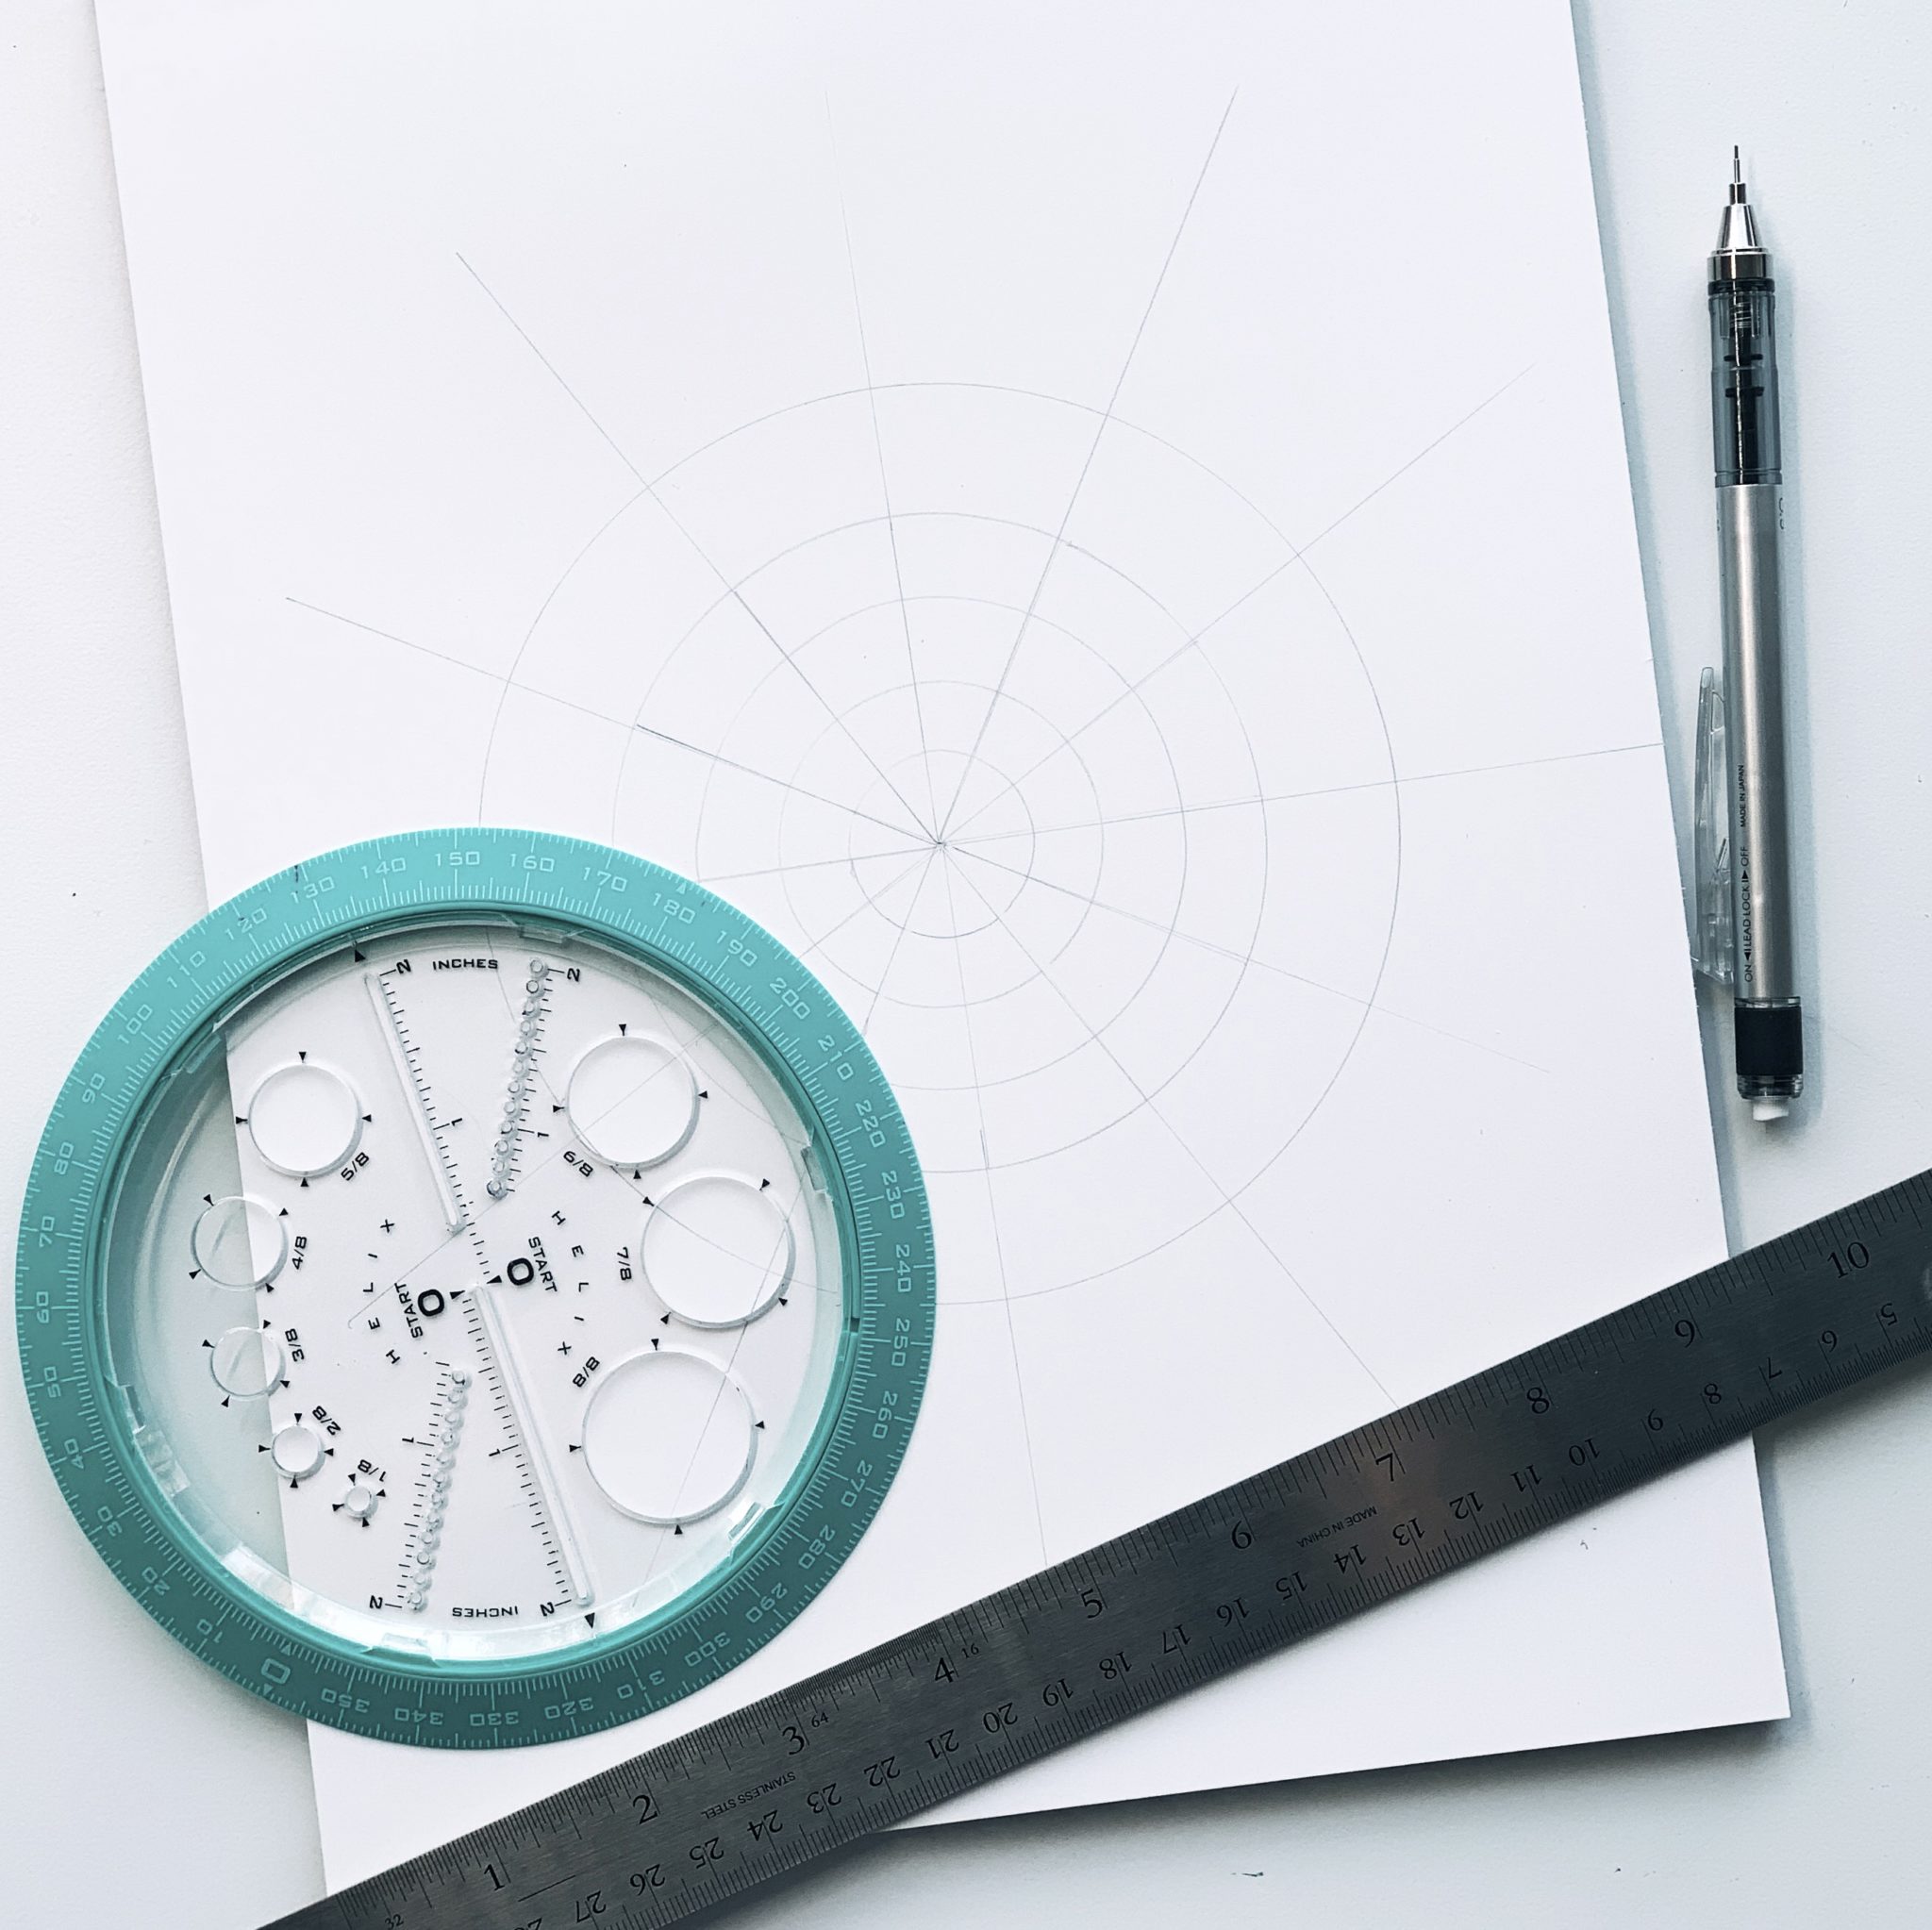
The first step is to create a guide on your paper using the helix 360 degree angle and circle maker and MONO Graph Mechanical Pencil.
Step 2
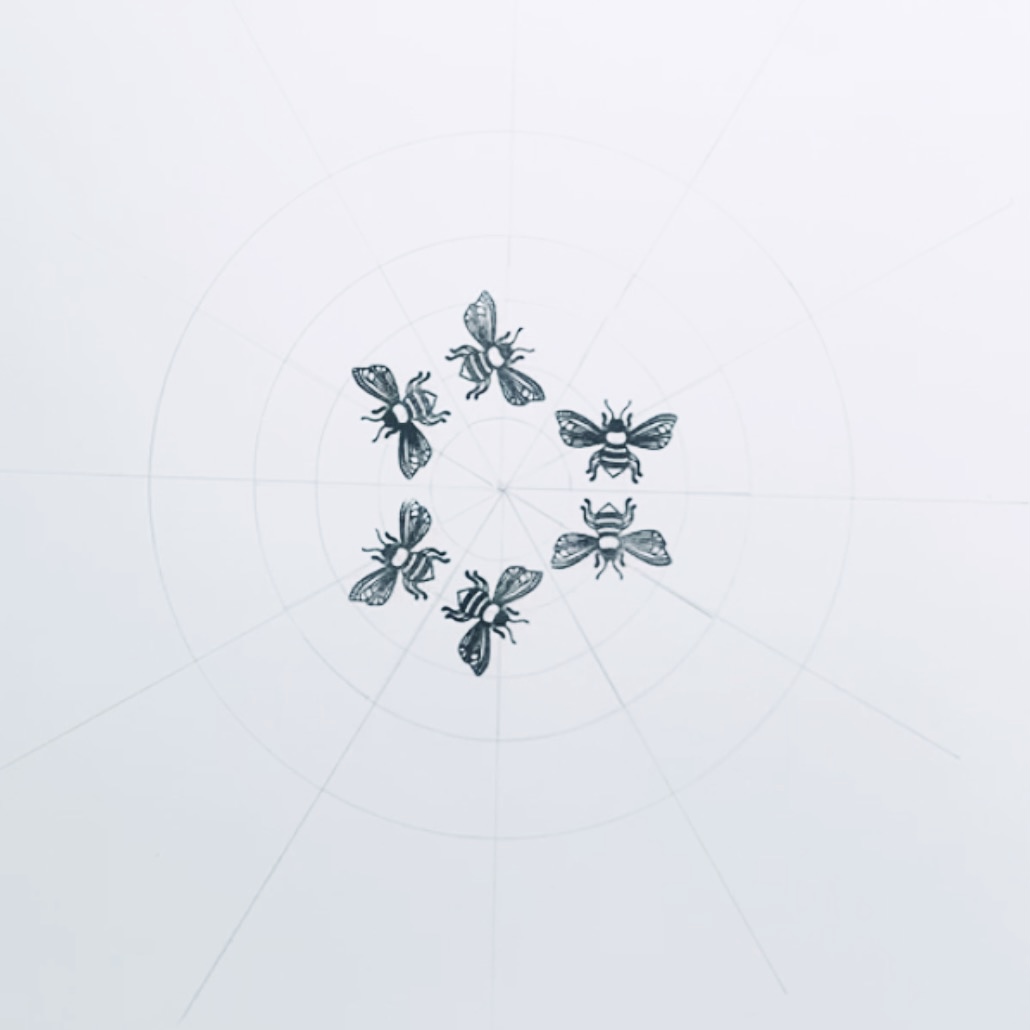
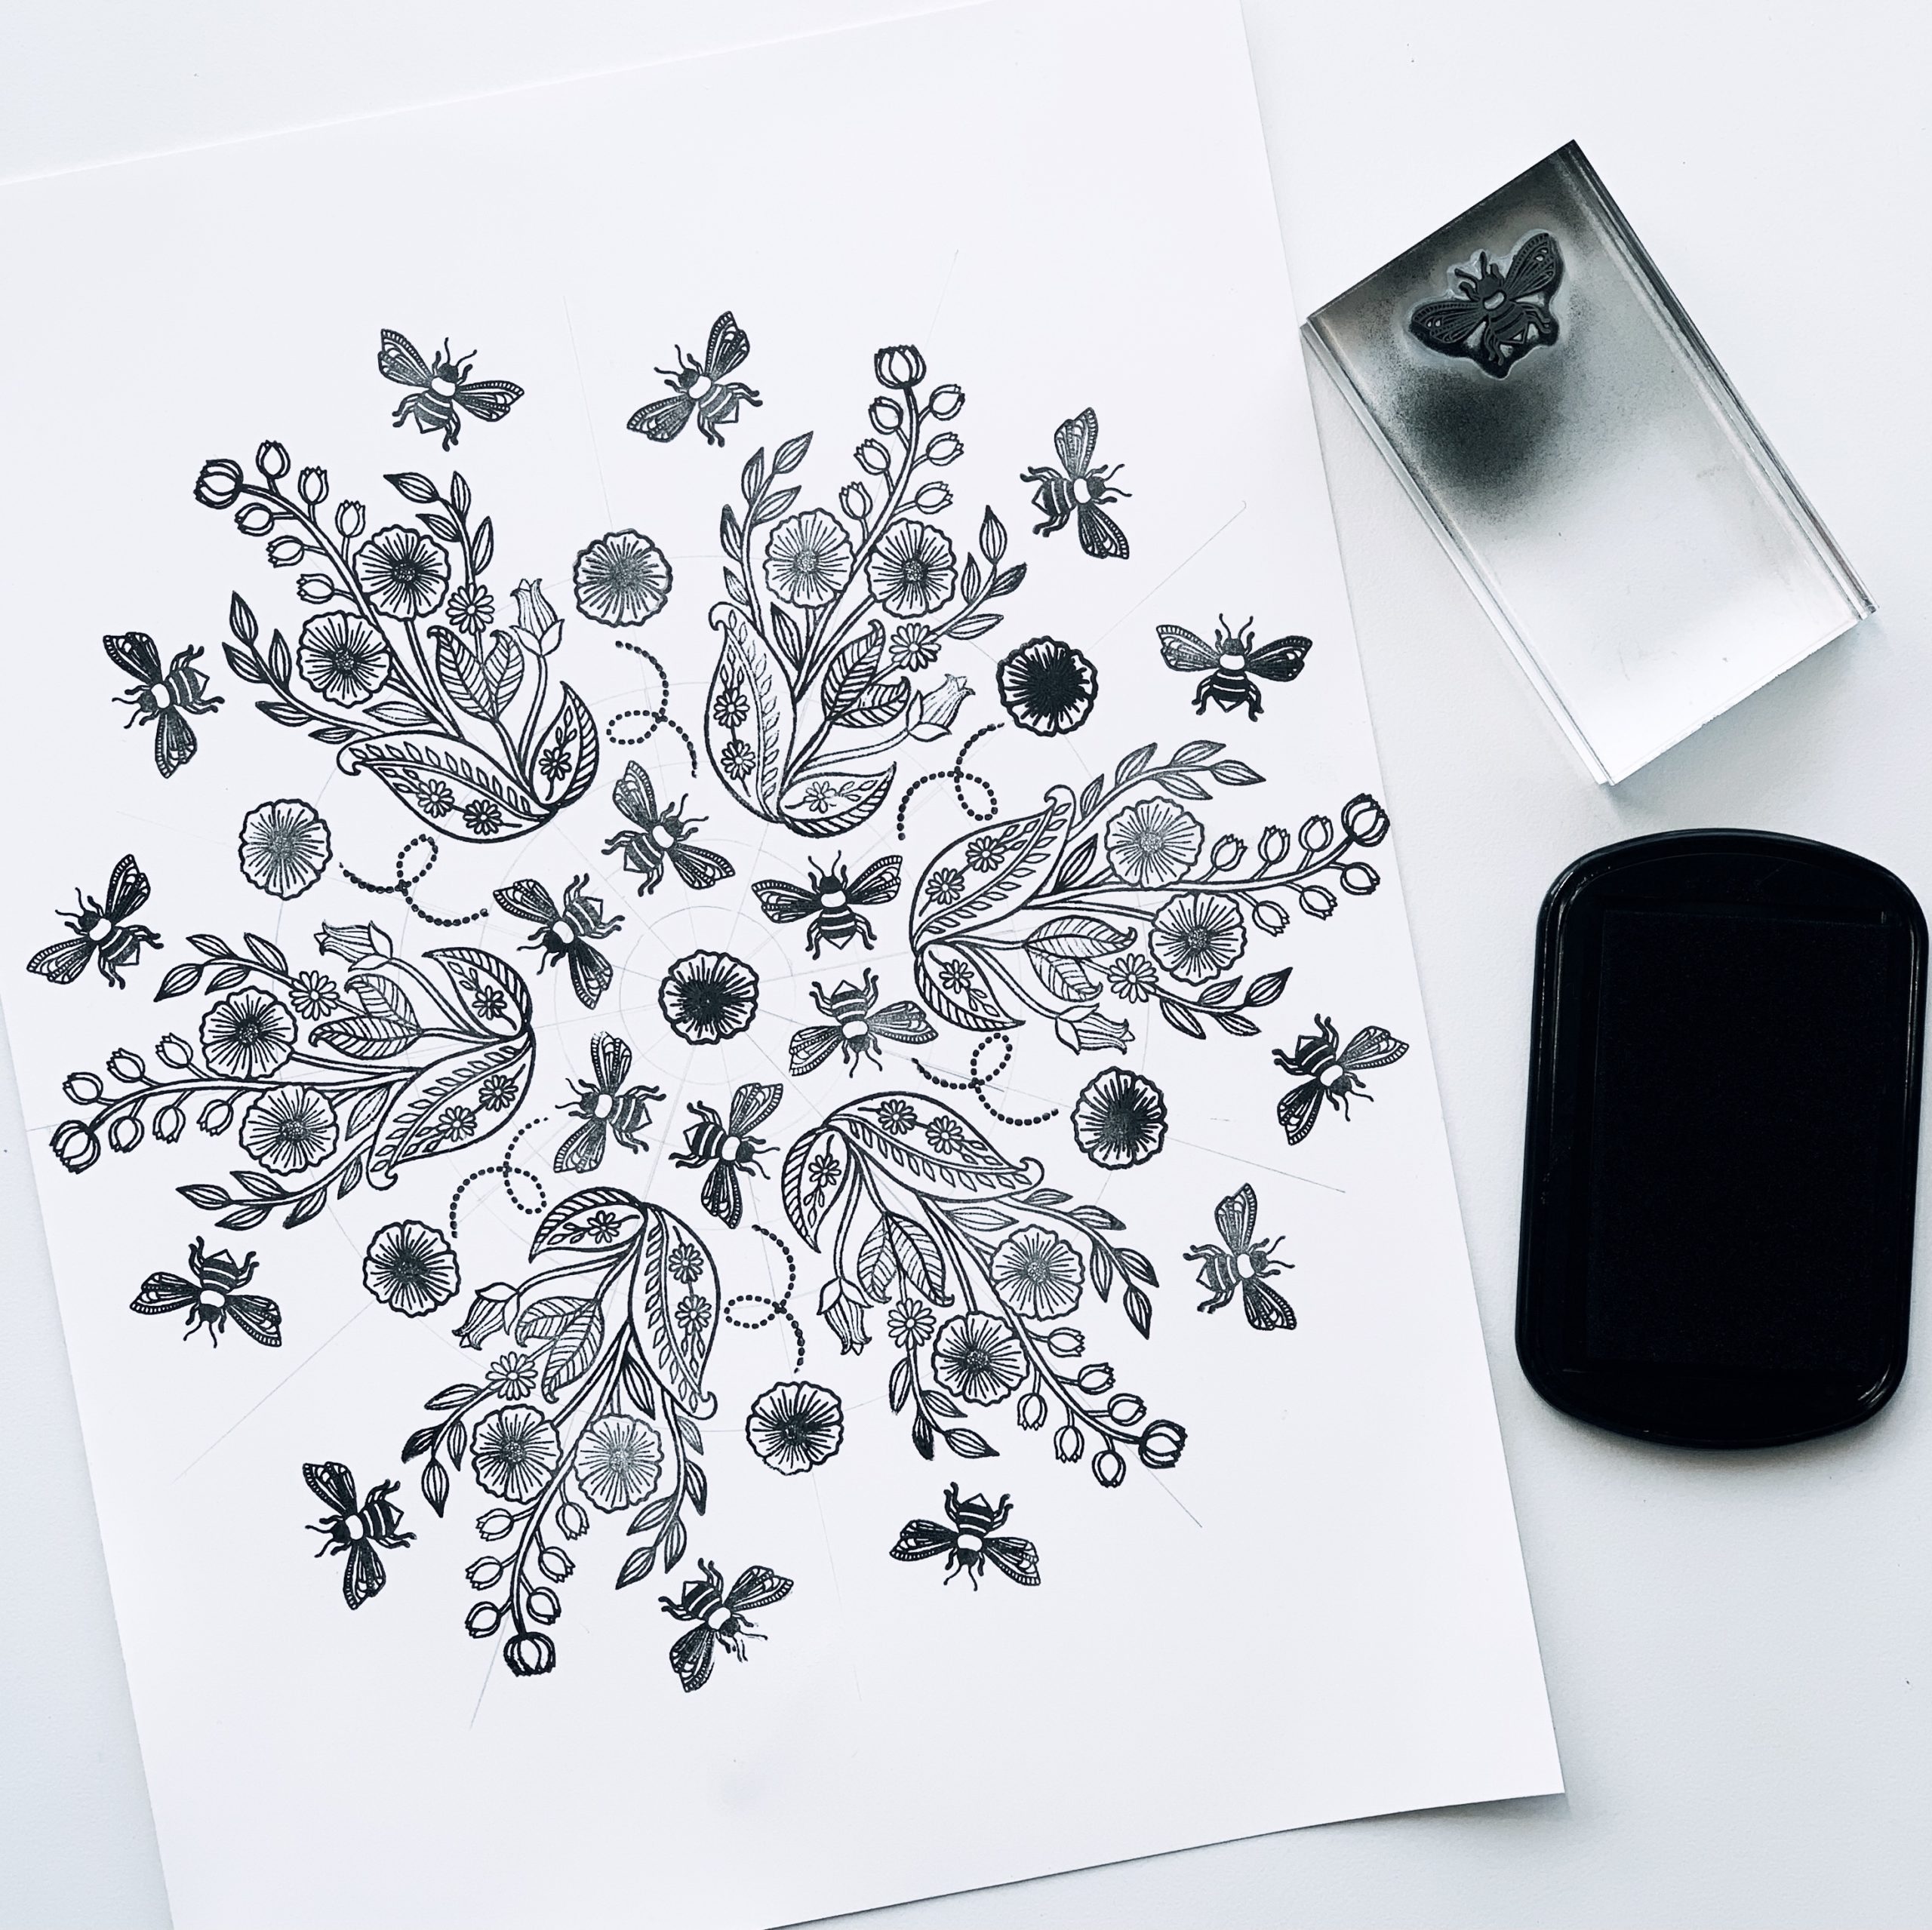
Pick the small bee clear stamp from the BEE•Utiful Stamp Set and the black ink pad. Stamp the flower on the 30 degree marks. Then, stamp a single flower in the middle. I recommend using a dye ink pad for stamping rather than a pigment ink pad, so it will dry quickly!
Step 3
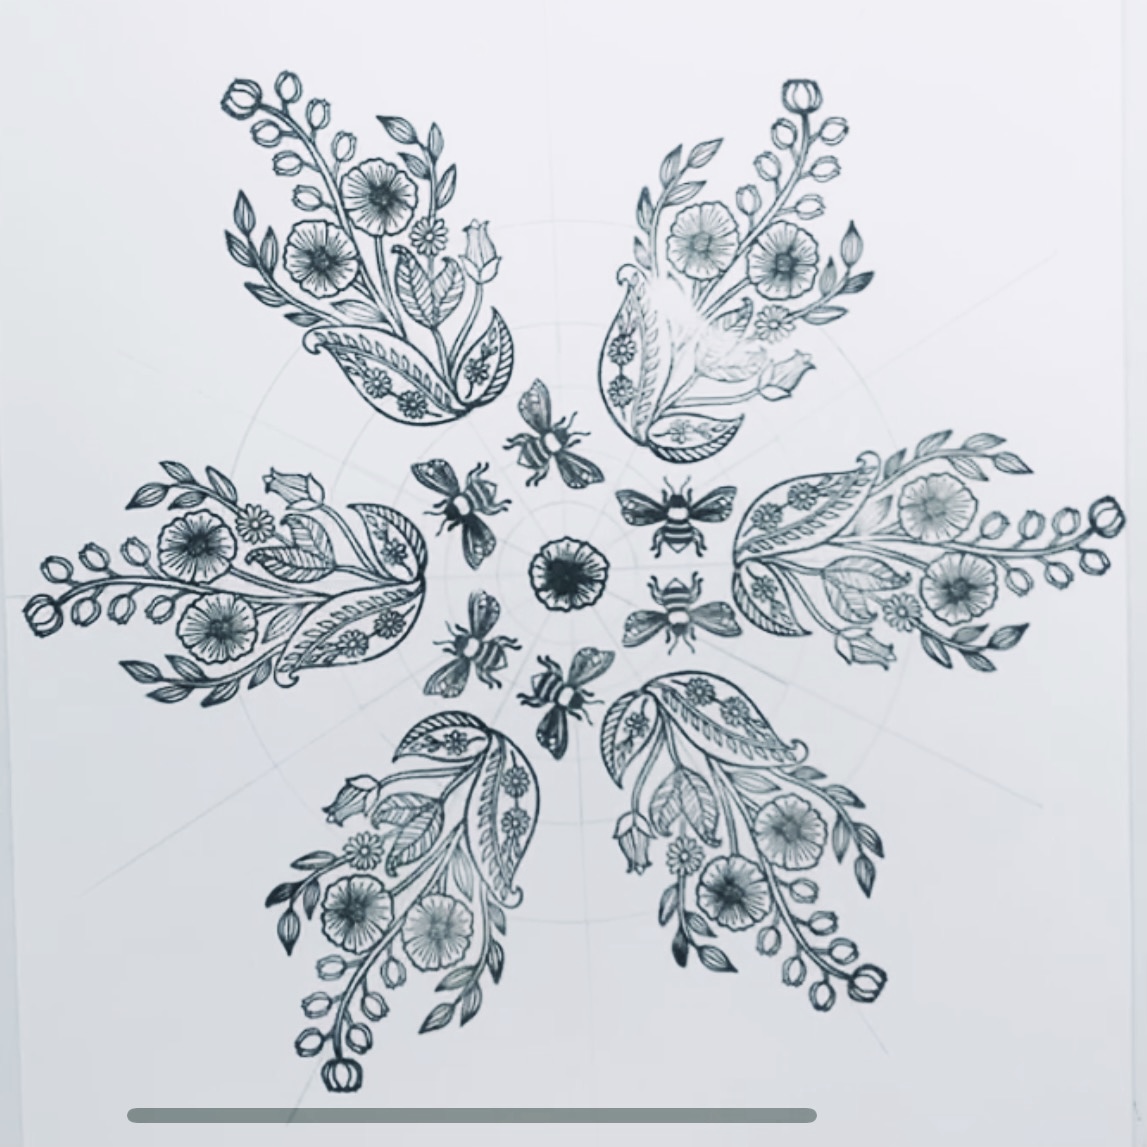
Next, use the flower bouquet stamp and stamp it around your guide.
Step 4
Continue to use the stamps to stamp around your page at equal intervals to build your mandala. Once you’re happy with how your mandala looks, let your image FULLY dry!
Step 5
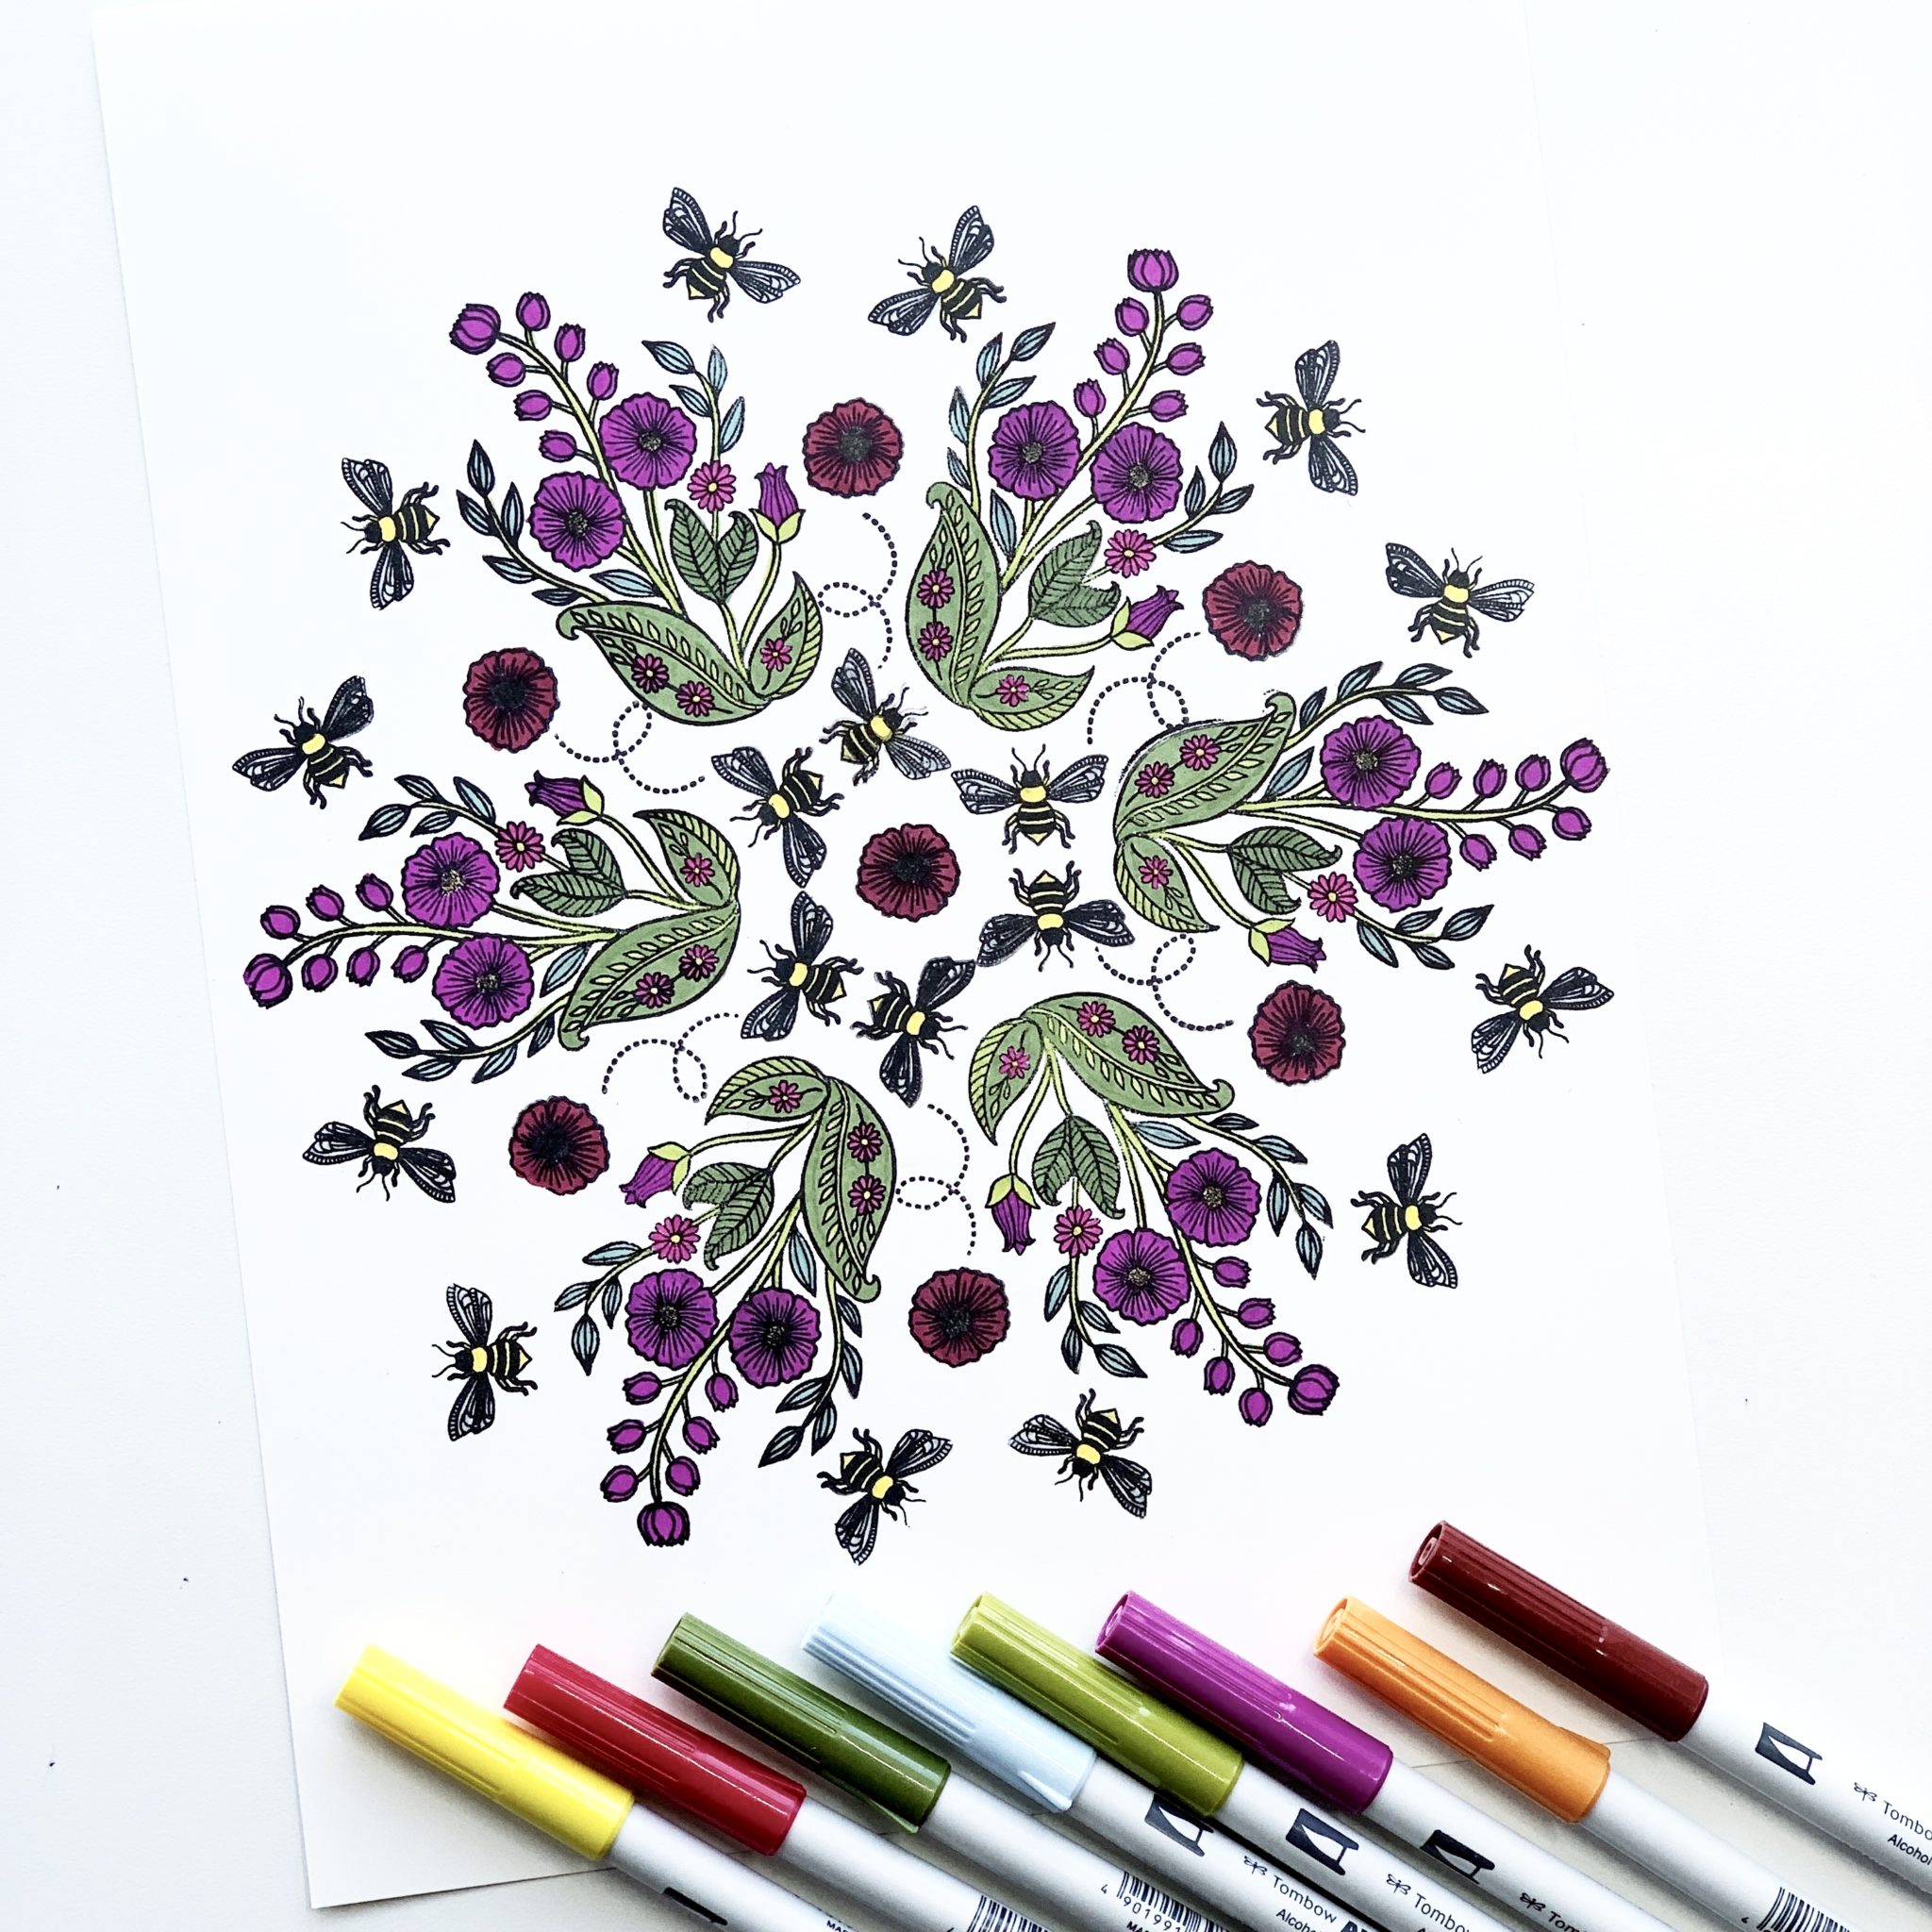
Now, it’s time to color! Once your mandala is dry, use the MONO Eraser to erase the pencil guidelines. Use the Tombow ABT PRO Alcohol-Based Art Markers to color in your mandala! Coloring is super relaxing for me, so this is my favorite part! Once it’s colored in, you’re done!
Thank you so much for visiting! I hope you found this tutorial helpful and you give it a try! Make sure to follow @studio80design for more inspiration!
For more ideas on how to use stamps, check out these posts:
- Two Ways to Embellish a Clear Stamp
- Three Fun Ways to Use Waffle Flower Stamps
- Floral Stamp Card Tutorial