Hi Tombow fans, it’s Mandy from @a_heartened_calling here to show you three fun ways to use Waffle Flower Stamps and Tombow products! Stamps aren’t just for card making. There are so many ways to use stamps in your art. For example, bookmarks, prints and envelope mail. Let’s take a look at three projects I created using stamps from Waffle Flower!
PROJECT 1 – Floral Border Art Print
MATERIALS
- Waffle Flower Magnolia Stamp
- Tombow Irojiten Colored Pencils, Woodlands Set
- Piece of mixed media paper
- Archival ink pad
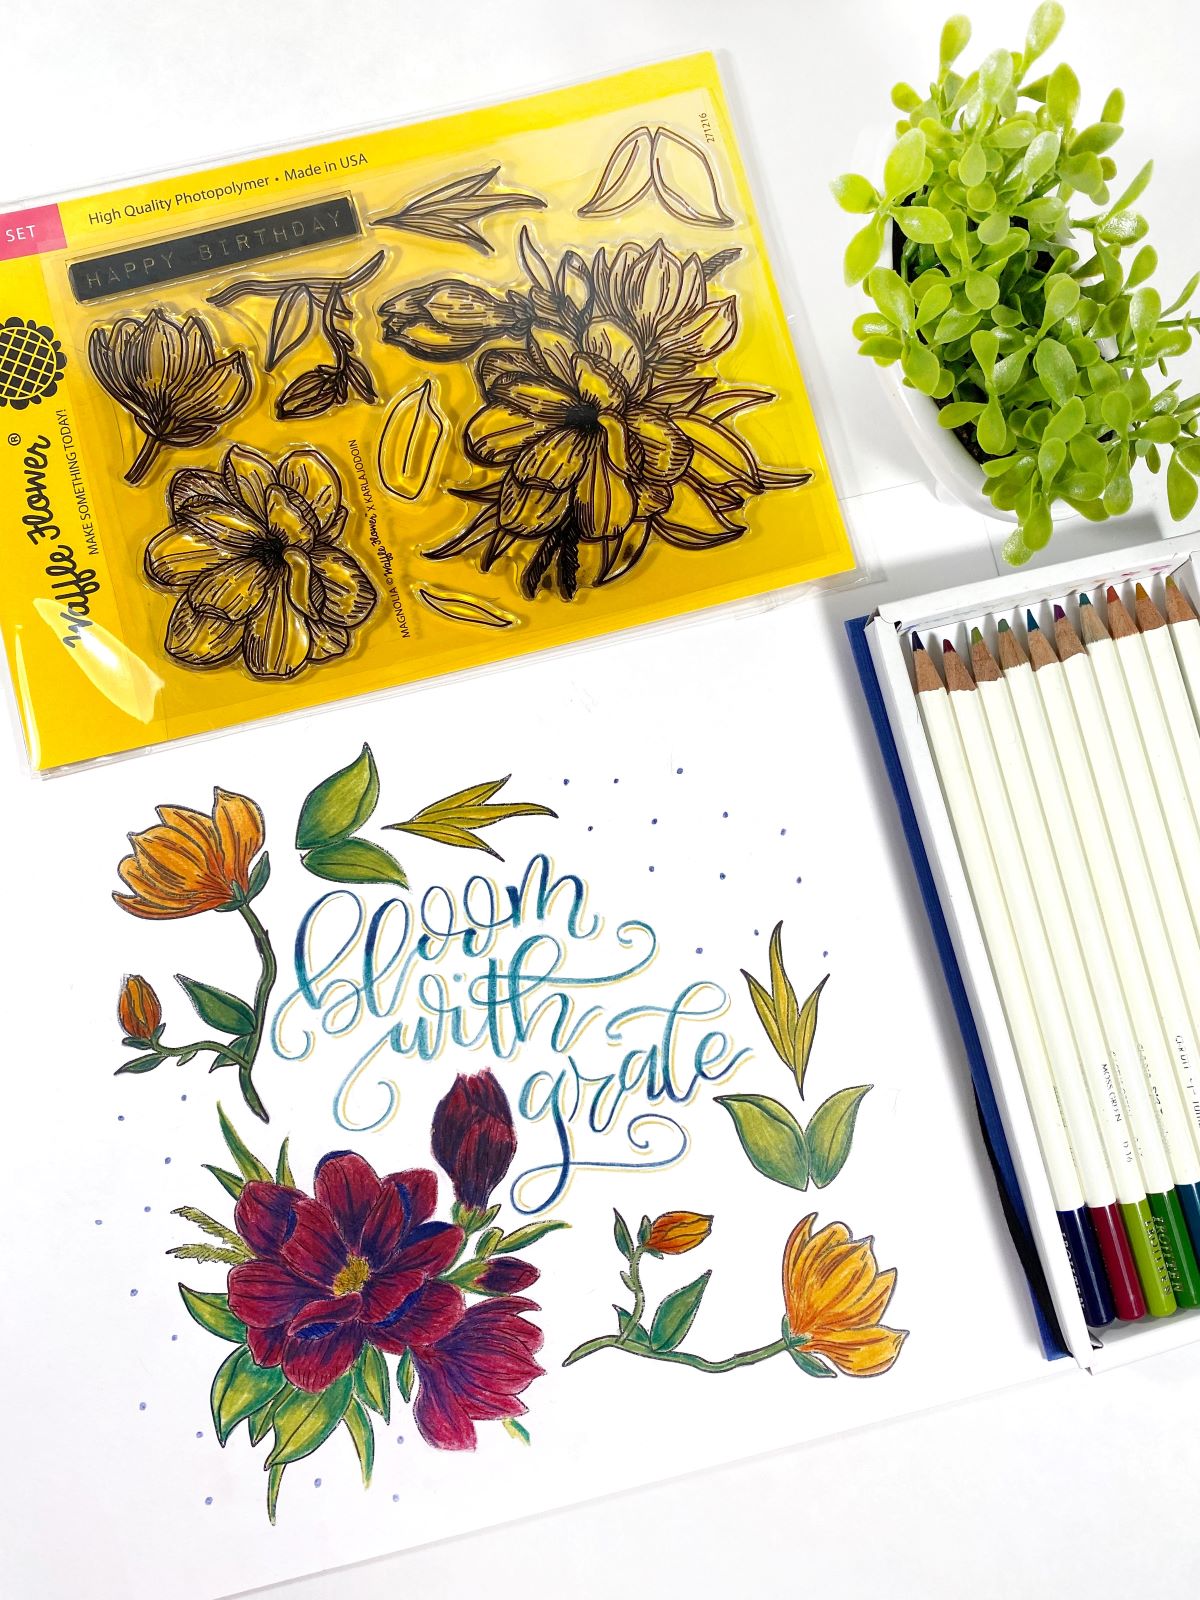
For this project, use the Magnolia Stamp Set from Waffle Flowers. Place the stamp on a stamp block and add ink from your archival ink pad. Then stamp the image onto your mixed media paper. Use different stamps from the set to create a square border. Be sure to leave enough room inside for a lettering quote.
TIP: It may be beneficial to use a foam pad underneath your paper to achieve a clear stamped image. You can find these at your local craft stores.
Next, use Volume 5 of the Irojiten Colored Pencil Woodlands Dictionary Set to color in all the images. Use lighter colors as a base. Then, use darker colors to add depth and contrast. Then, letter out a quote inside using a colored pencil and a contrasting color for the shadow.
PROJECT 2 – Fill A Page
MATERIALS
- Waffle Flower Bouquet Builder 3 Stamp Set
- Tombow Dual Brush Pens 603, 493, 025, 401, 685, and 703
- A piece of watercolor paper
- Tombow Blending Kit
- Archival ink pad
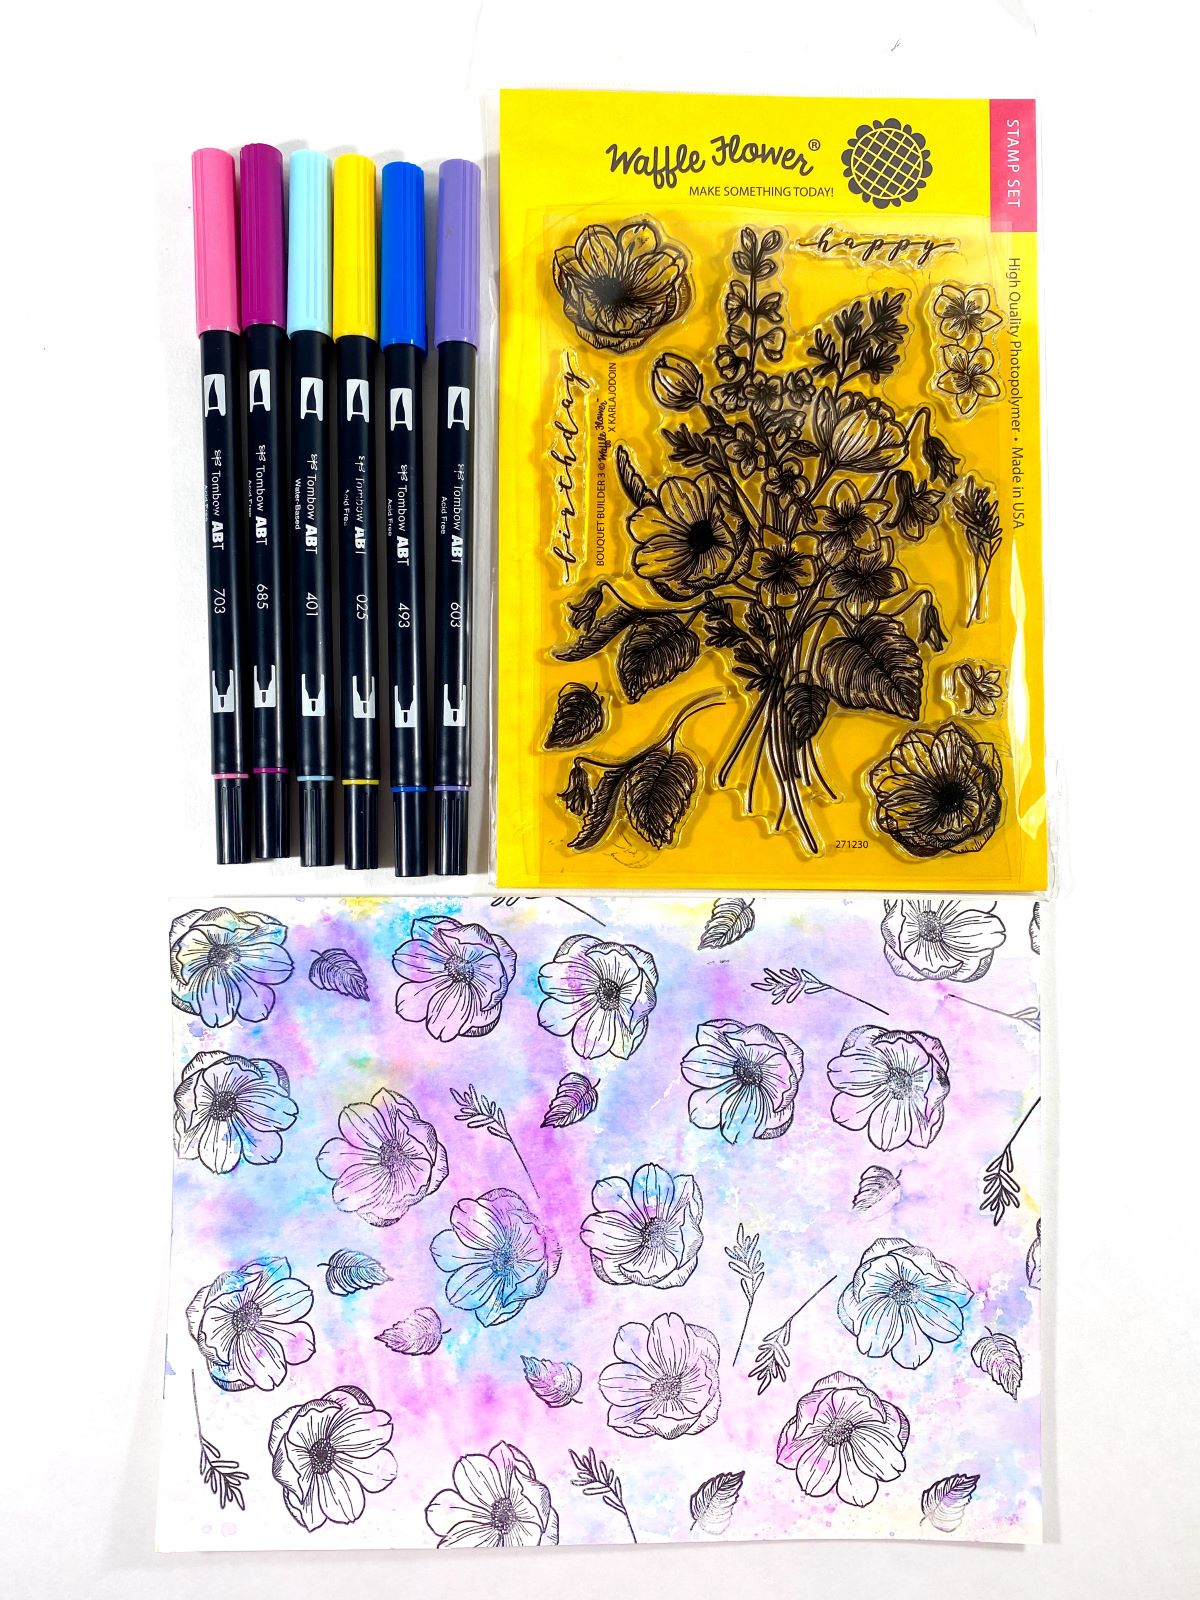
For this project, use the Waffle Flower Bouquet Builder 3 Stamp Set. Place individual stamps onto a stamping block, add archival ink and stamp the images onto the watercolor paper. Repeat until your page is filled. Next use Dual Brush Pens 603, 493, 025, 401, 685 and 703 to add ink to the Blending Palette. Use the Spray Mister to spray water on the Blending Palette. Then, flip it over and smoosh it onto your paper. Repeat until the whole page is filled with color. Then let everything dry.
PROJECT 3 – Child’s Affirmation Board
MATERIALS
- Waffle Flower Flower Girl Stamp Set
- Archival ink pad
- Chalkboard
- Craft paper
- Tombow ABT PRO Fashion Palette
- Tombow Xtreme Adhesive
- Tombow Foam Tape
- Tombow MONO Removable Adhesive
- Tombow MONO Adhesive Dots
- Bristol paper
- Circle paper punch
- Clip
- Floral bunch
- Tombow Dual Brush Pens 703 and 685
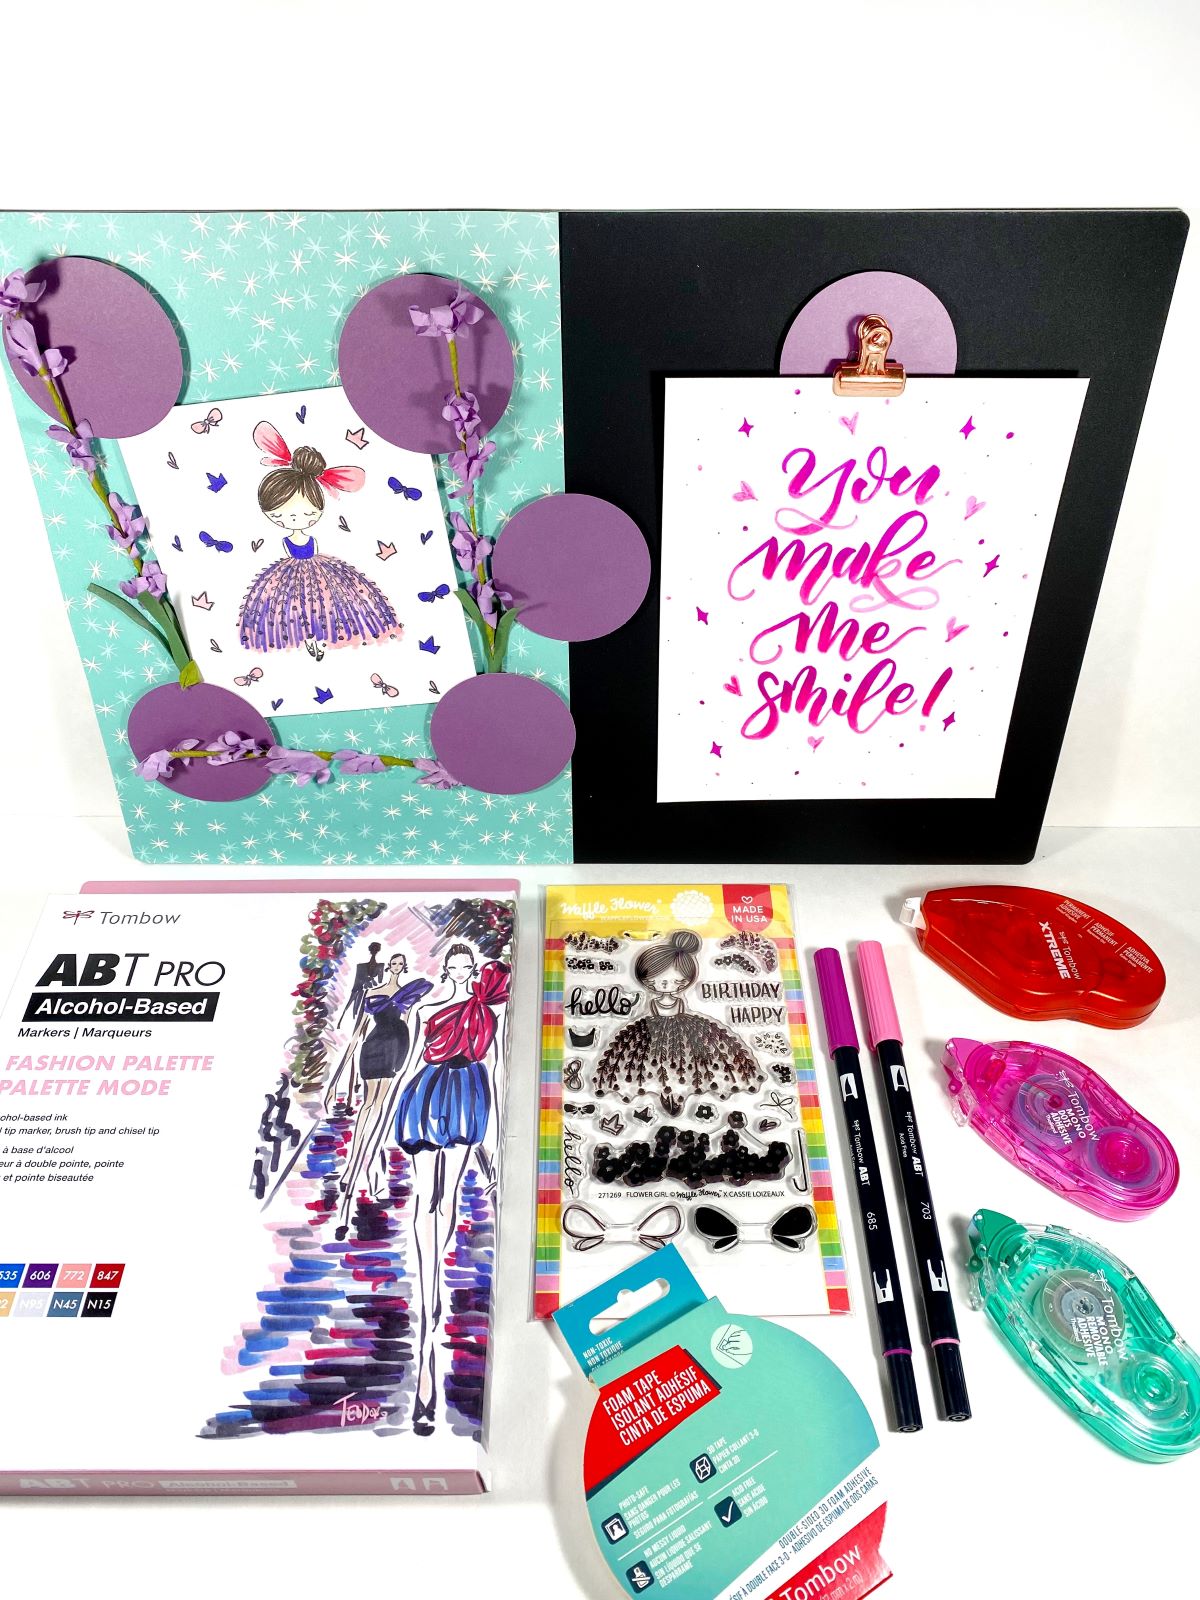
To start this project, grab a blank chalkboard. On the left side, add a piece of patterned craft paper by adding the MONO Adhesive Removable to the back of it. This adhesive is perfect if you ever want to change the paper out down the road since the glue is not permanent. Next, stamp the Flower Girl image onto bristol paper using an archival ink pad. Then use the ABT PRO Alcohol-Based Marker Fashion Palette to color in your image. Cut the image down to size and glue it to the patterned paper using a piece of Foam Tape. Using a circle paper punch, punch out six circles of coordinating craft paper and attach them to the board in random spots using Foam Tape. Add one circle to the right hand side of the board. Add a paper clip to that circle using Tombow Xtreme Adhesive.
Next, letter out an affirmation onto another piece of bristol paper using Dual Brush Pen 703 as your base. Add Dual Brush Pen 685 to the tops of all your letters and blend it downward using Dual Brush Pen 703. Cut it down to size and insert it into the paper clip. Lastly, insert small floral branches behind the circles and use a run of MONO Adhesive Dots to secure the branches to the paper. Here’s a closeup of how it looks:
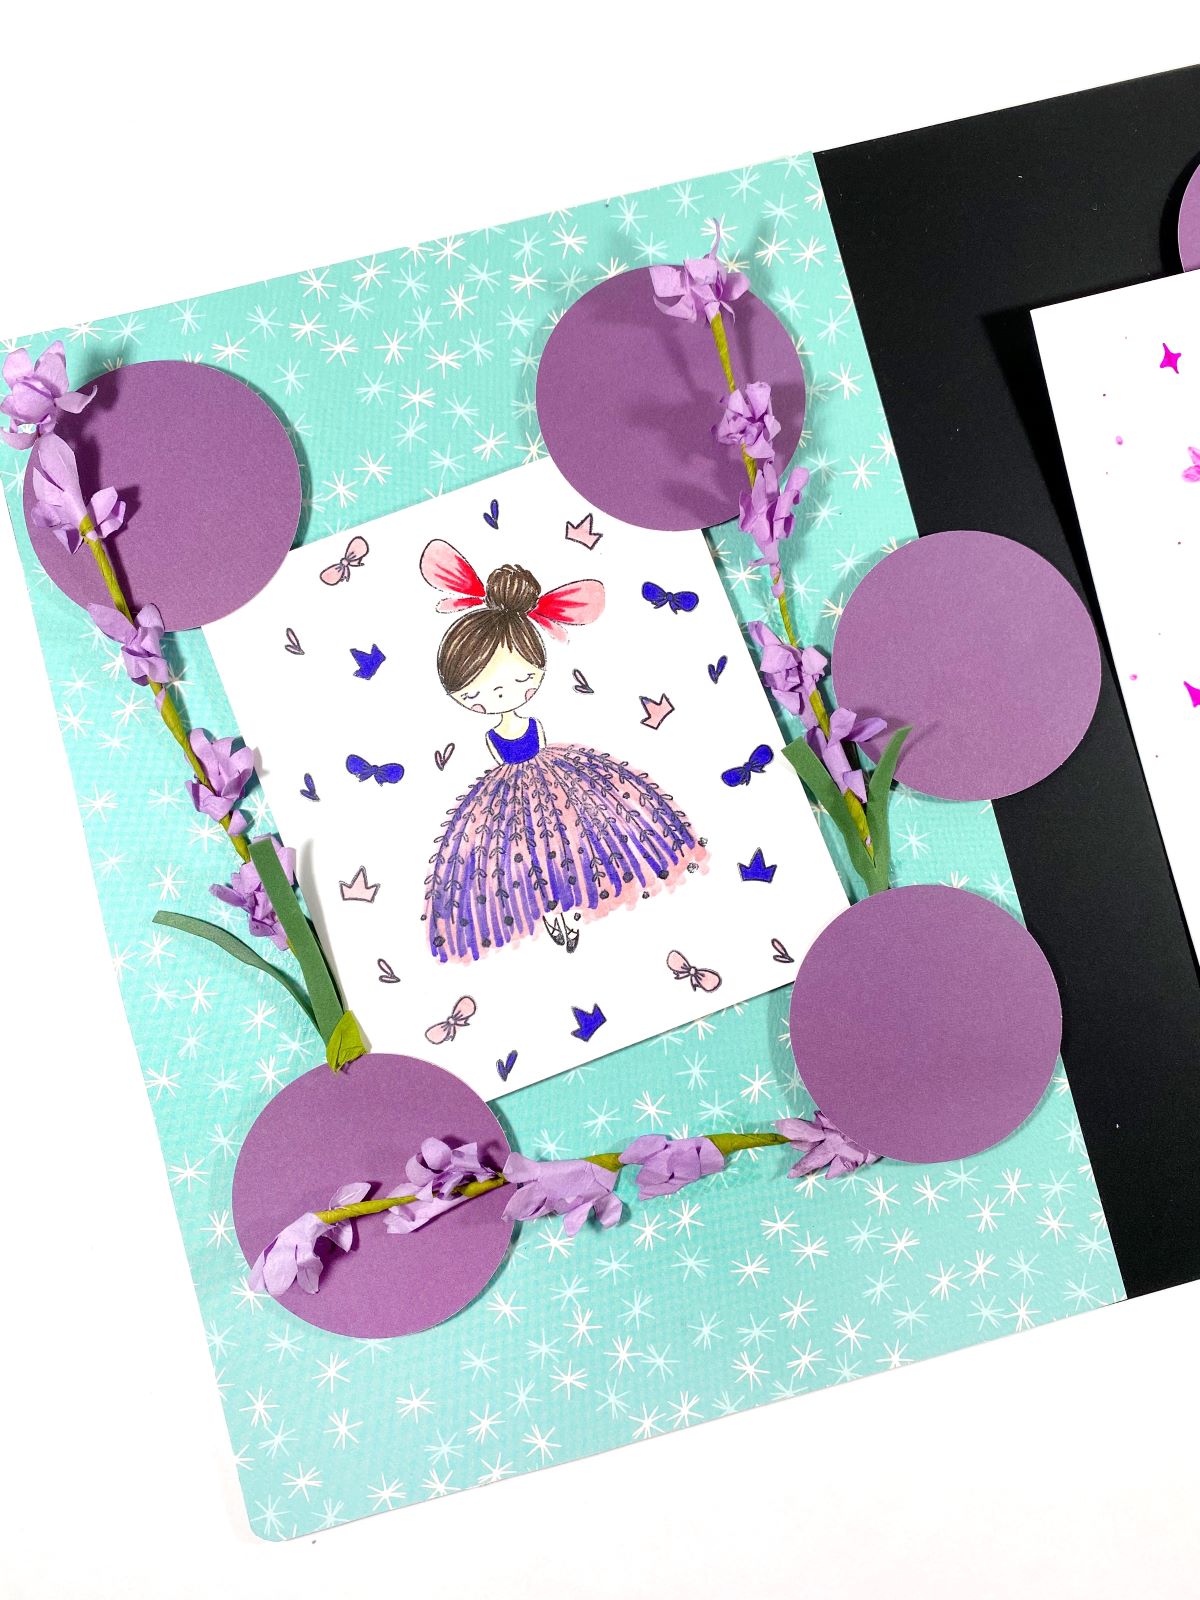
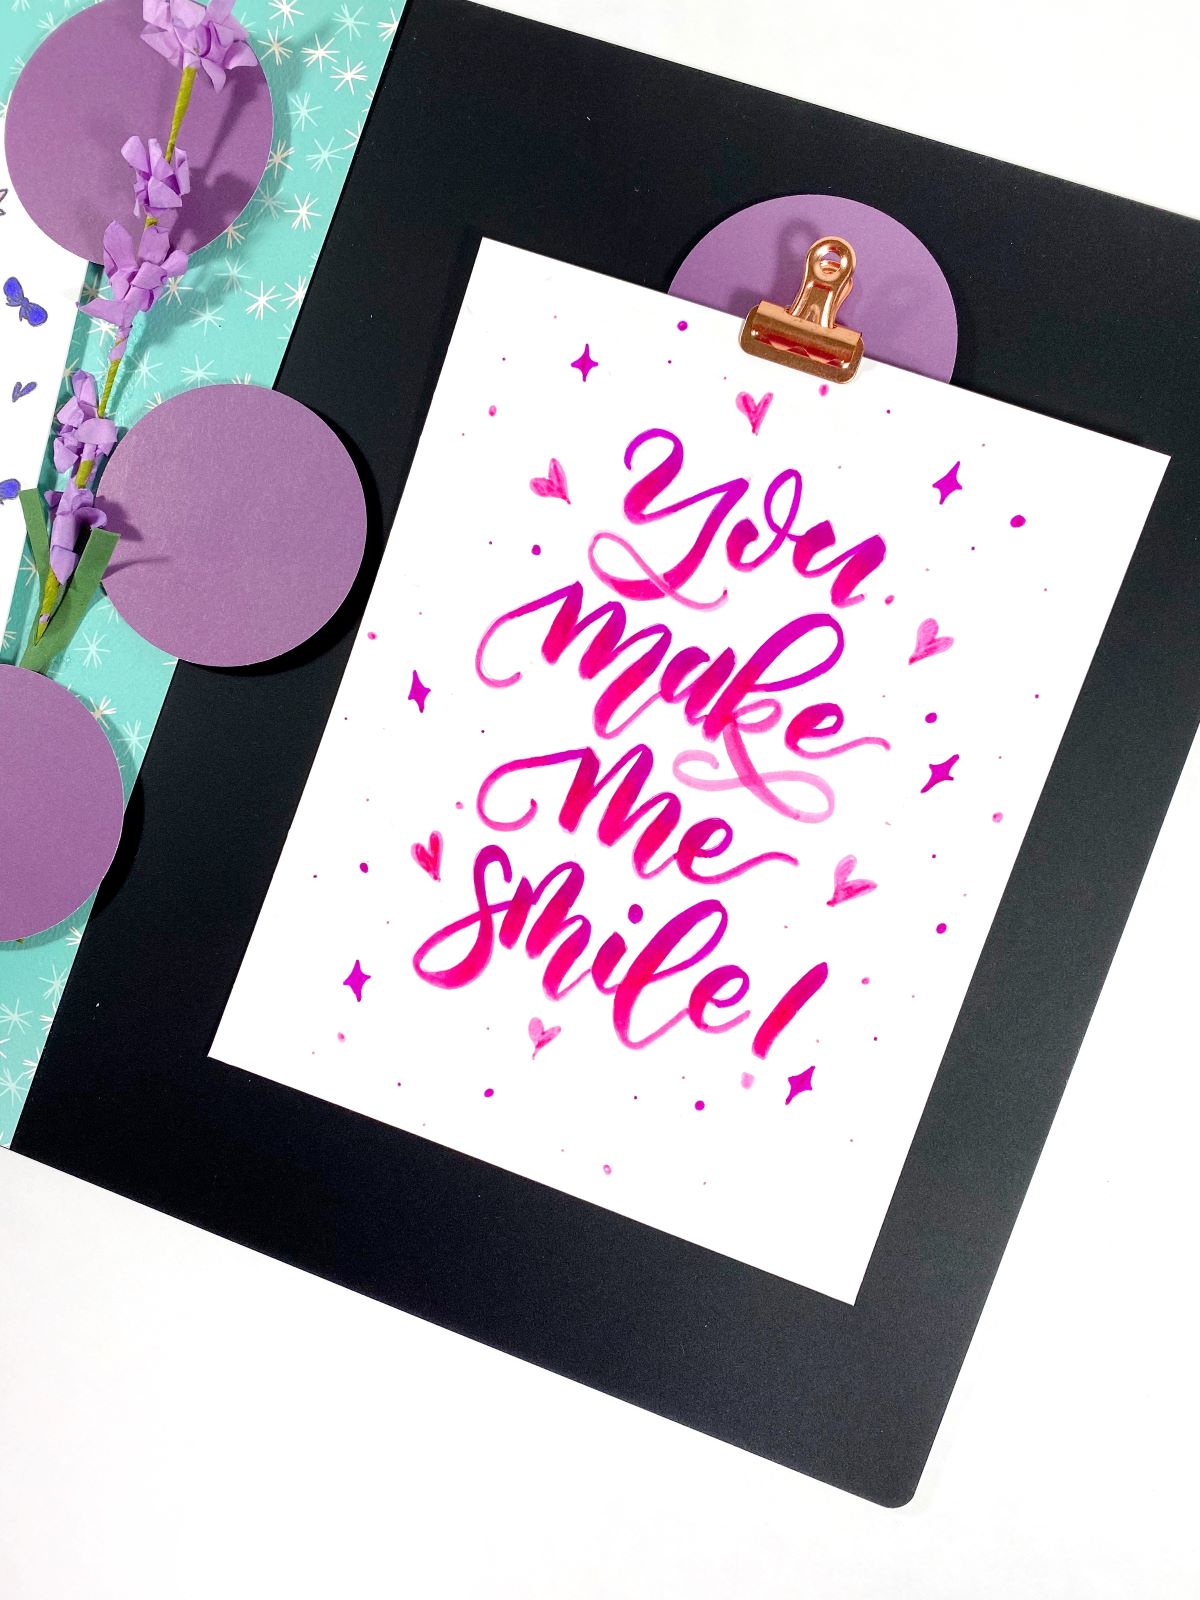
Since you’re using a clip to hold your affirmation, you can change it out each week with something new!
I hope you enjoyed these three ways to use Waffle Flower Stamps and Tombow products! For more stamp inspiration, check out these posts!
- How to use leaves as stamps with Smitha
- DIY Birthday Stamp Tutorial with Natalie
- Stamped and Watercolored Canvas Inspired by Renee with Beth
Be sure to tag us at @waffleflowercrafts , @tombowusa and @a_heartened_calling so we can see your amazing artwork!
Have fun stamping and see you next time!
Pingback: Stamp Mandala With Dare 2B Artzy Stamps - Tombow USA Blog