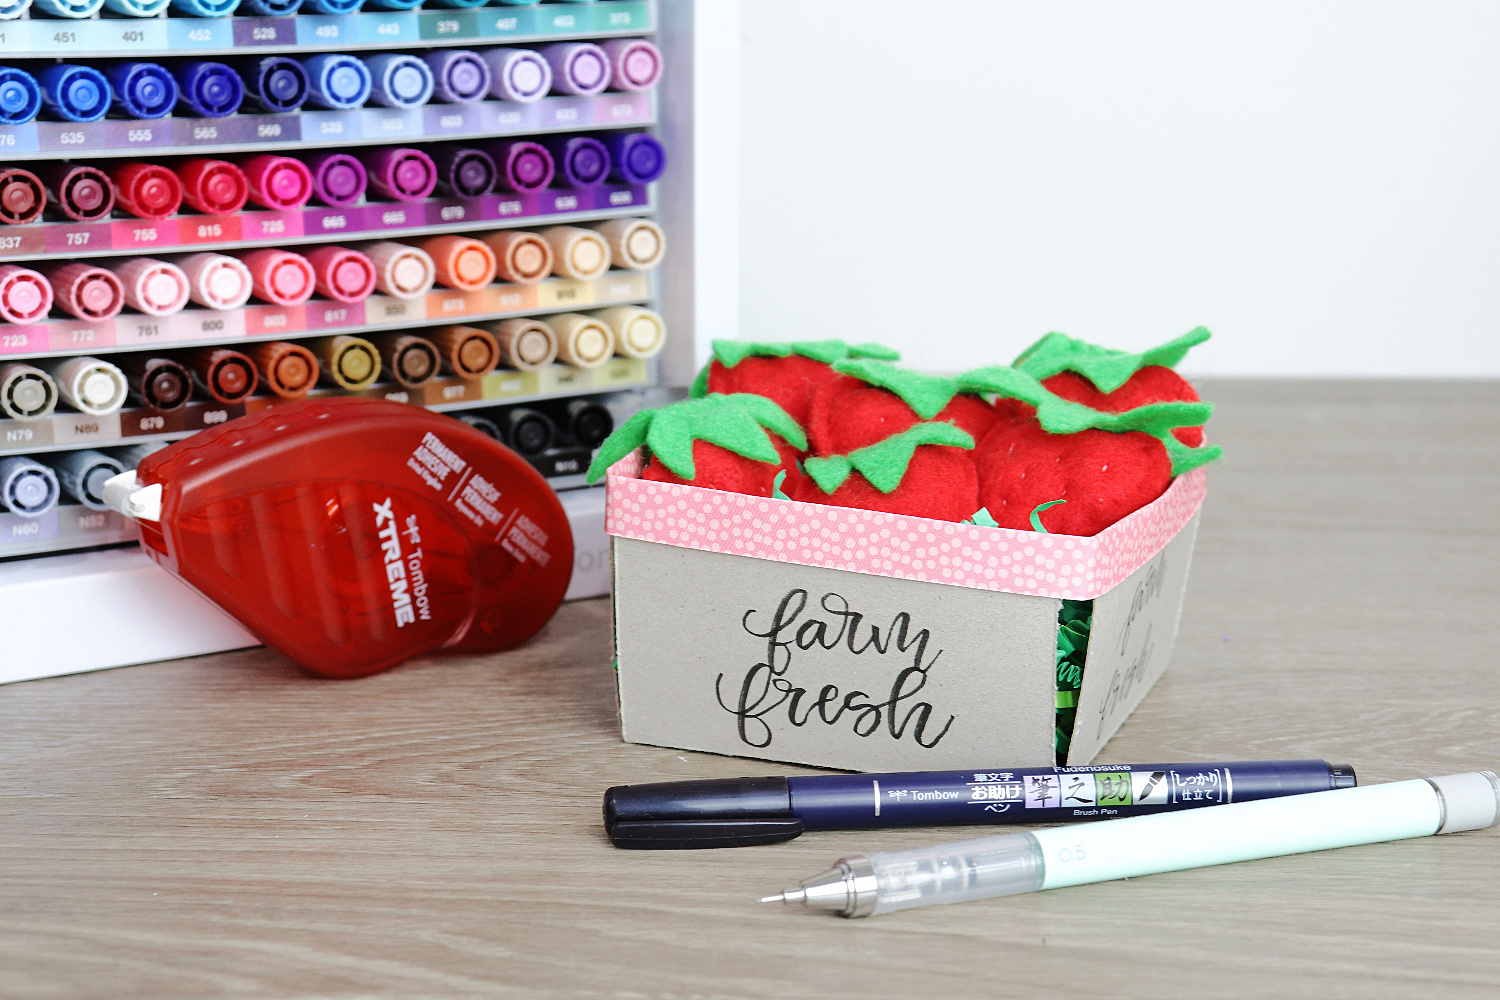
It’s the time of year for outdoor events, like enjoying fresh flowers and produce from the local farmer’s market! I’m Amy, from Amy Latta Creations, and today I want to share a fun and very easy little project that will bring a touch of the market to your home; a chipboard berry basket! You can use it to hold anything you like, including real or faux produce, sweet treats, or even some favorite art supplies. Let’s get started!
How to Make a Chipboard Berry Basket
Materials
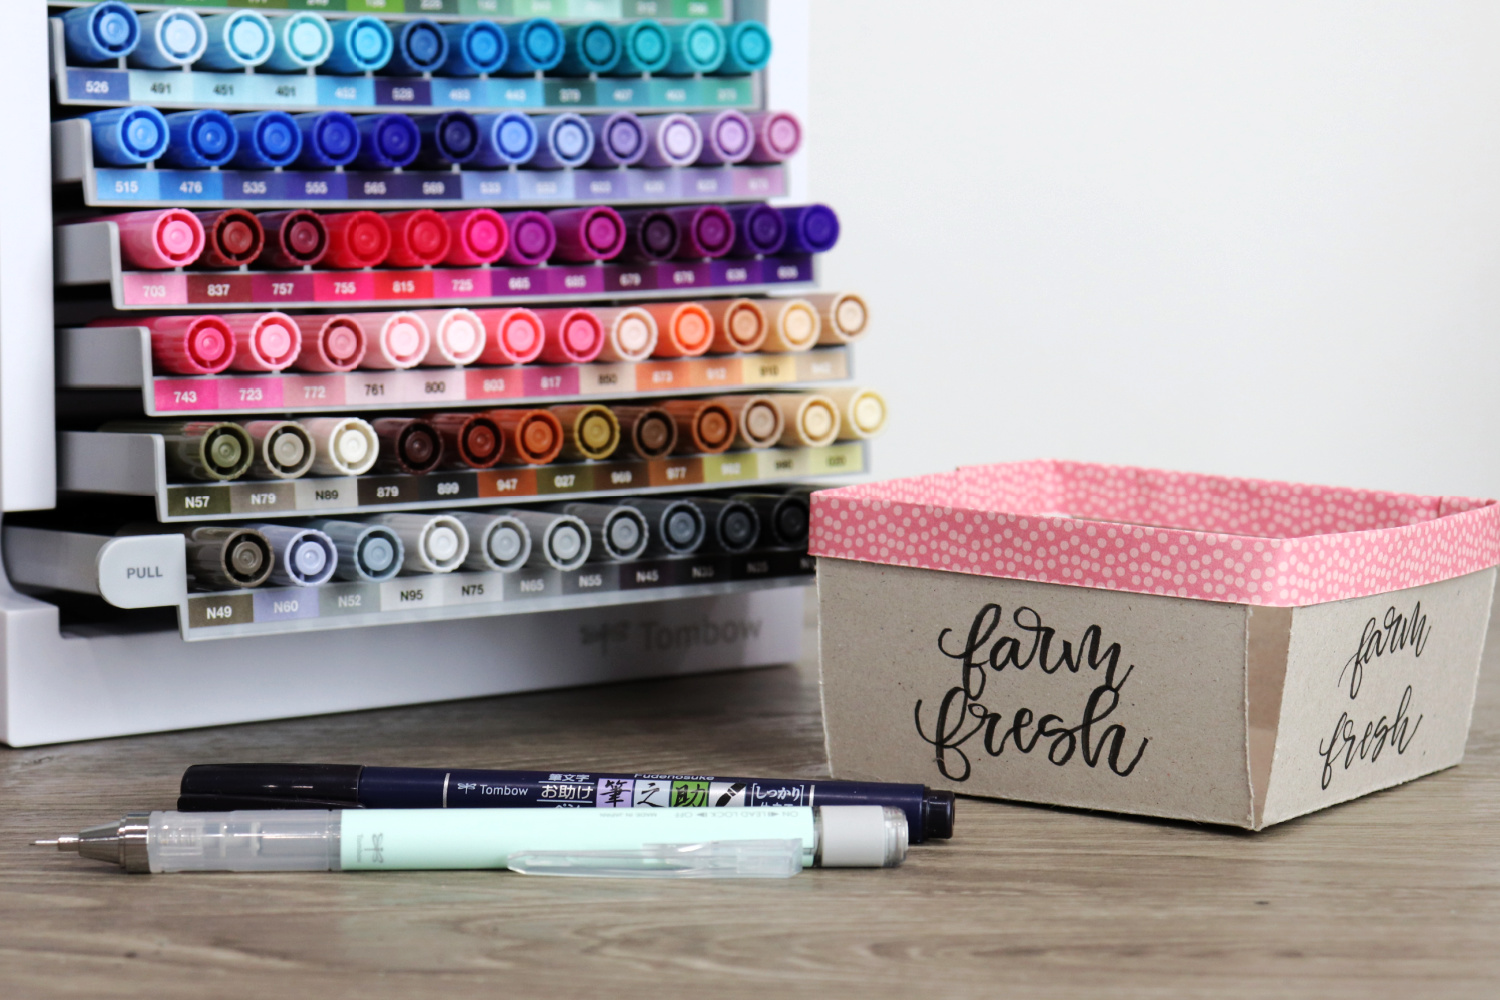
- Tombow MONO Graph Mechanical Pencil
- Tombow MONO Eraser
- Tombow Fudenosuke Brush Pen, black
- Tombow Xtreme Adhesive Tape Runner, permanent
- Chipboard
- 12″x12” piece of Scrapbook paper (your choice of color/pattern)
- Ruler
- Scissors or paper cutter
Instructions
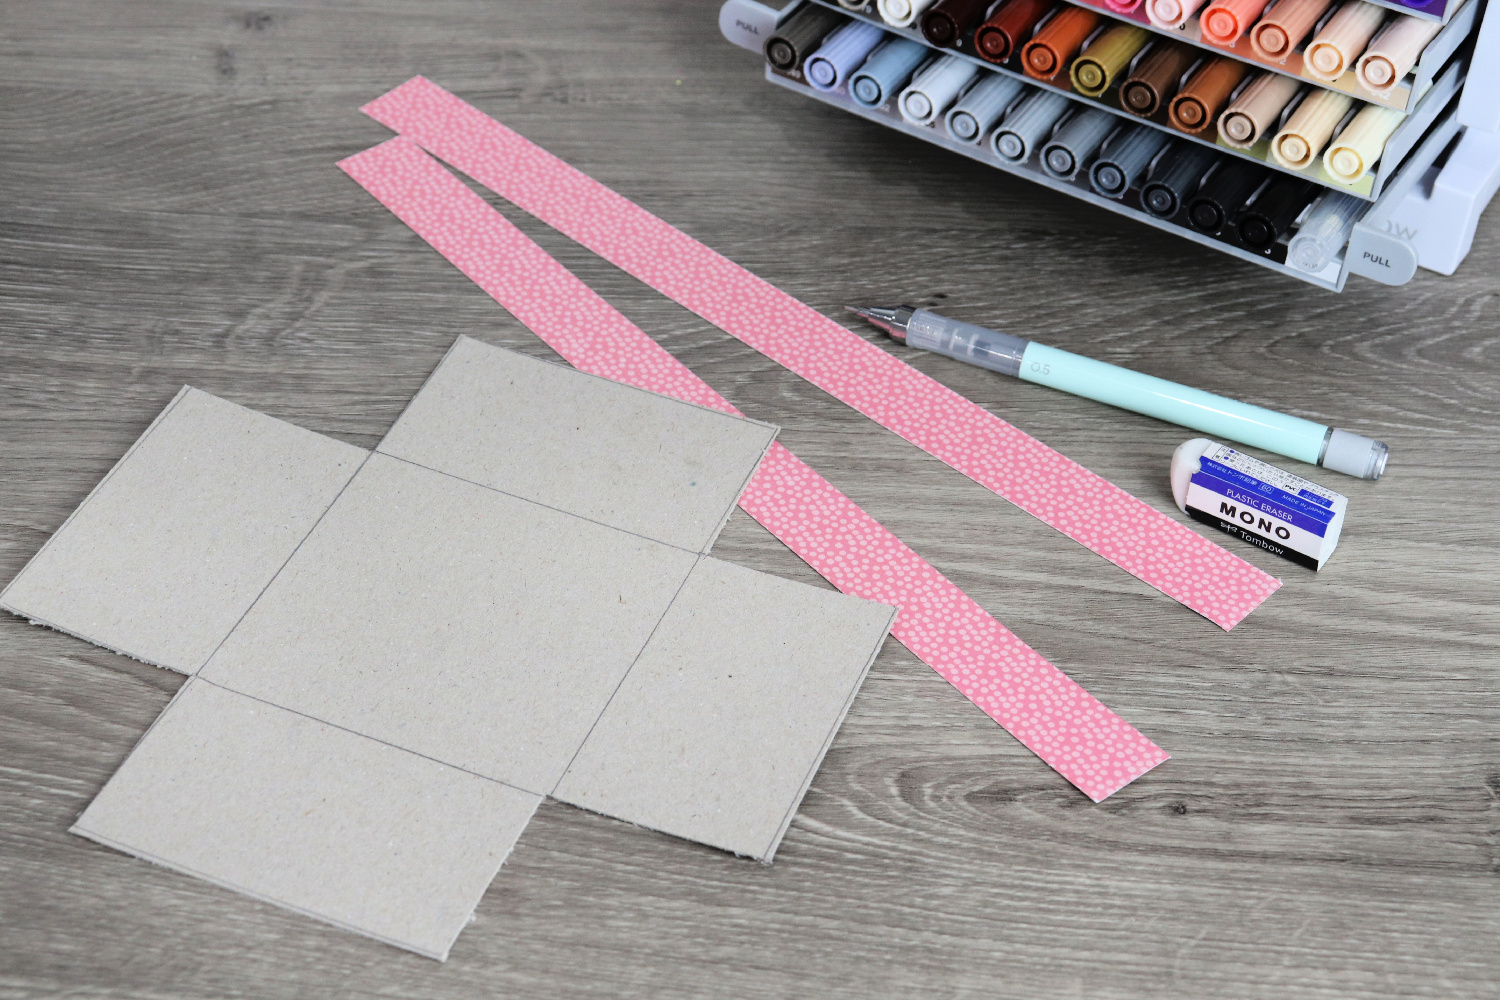
Step 1: Use a ruler and the mono graph pencil to mark the cut and fold lines on your chipboard.
DIMENSIONS:
Large basket – 7 3/4” square with 2” square cutouts in all four corners
Small basket – 6” square with 1 1/2” square cutouts in all four corners
Step 2: Cut your chipboard and scrapbook paper.
Cut out the chipboard square you drew, and remove the square from each corner. This will give you a shape that resembles a plus sign, as shown below. Then, cut two 1” wide strips from the piece of scrapbook paper for the large basket, or two 3/4” wide strips for the small basket.
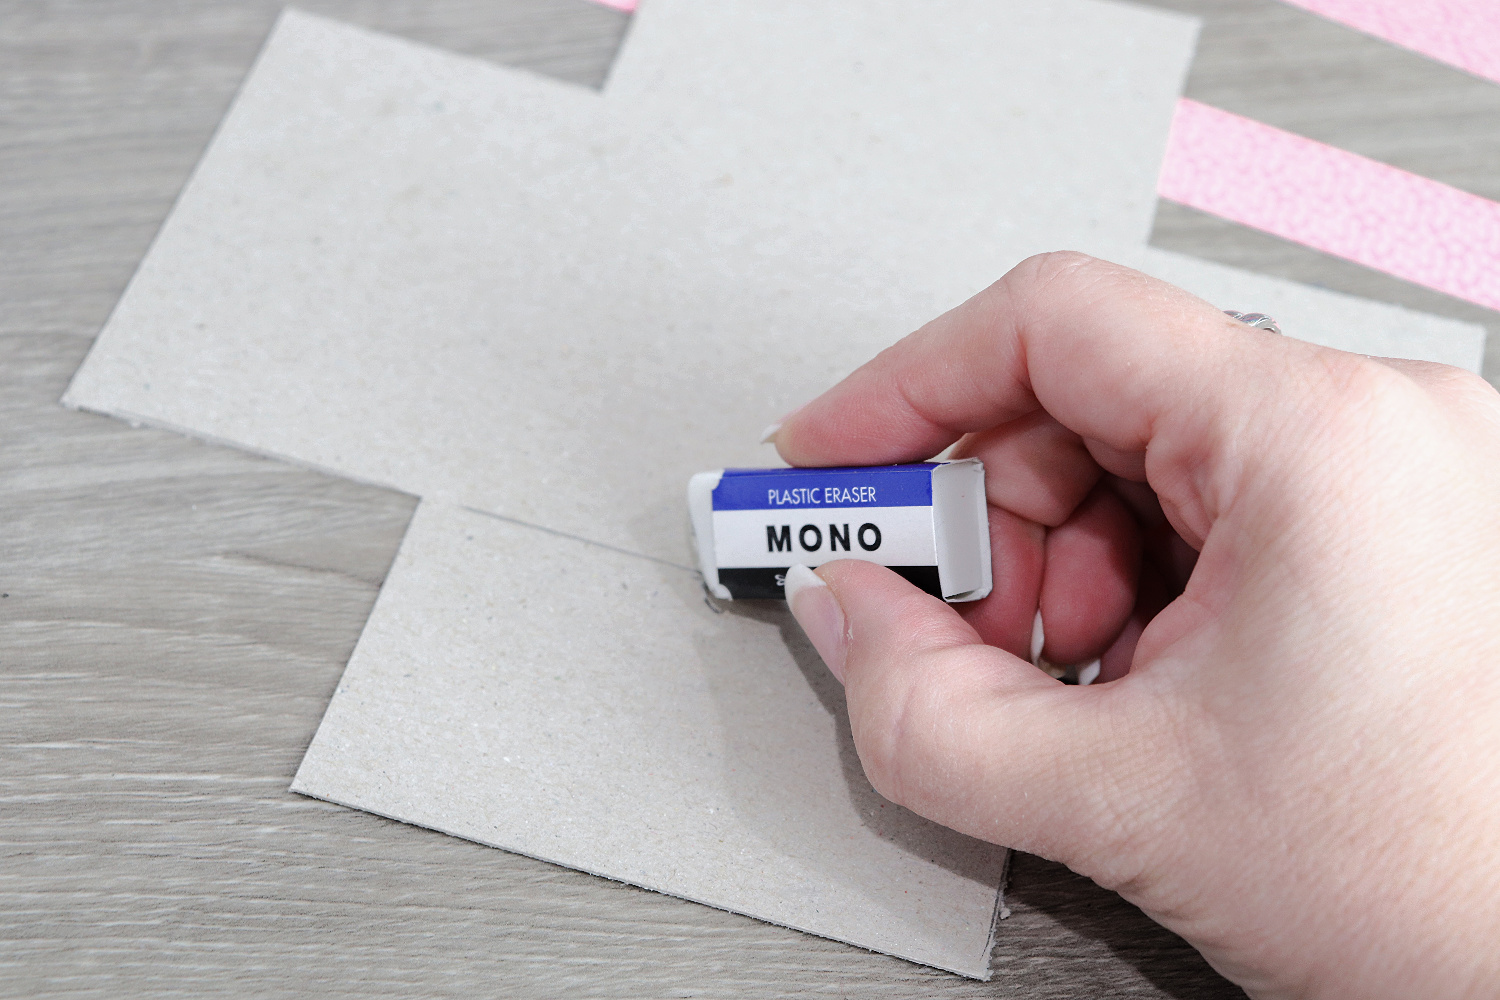
Step 3: Erase any visible pencil lines.
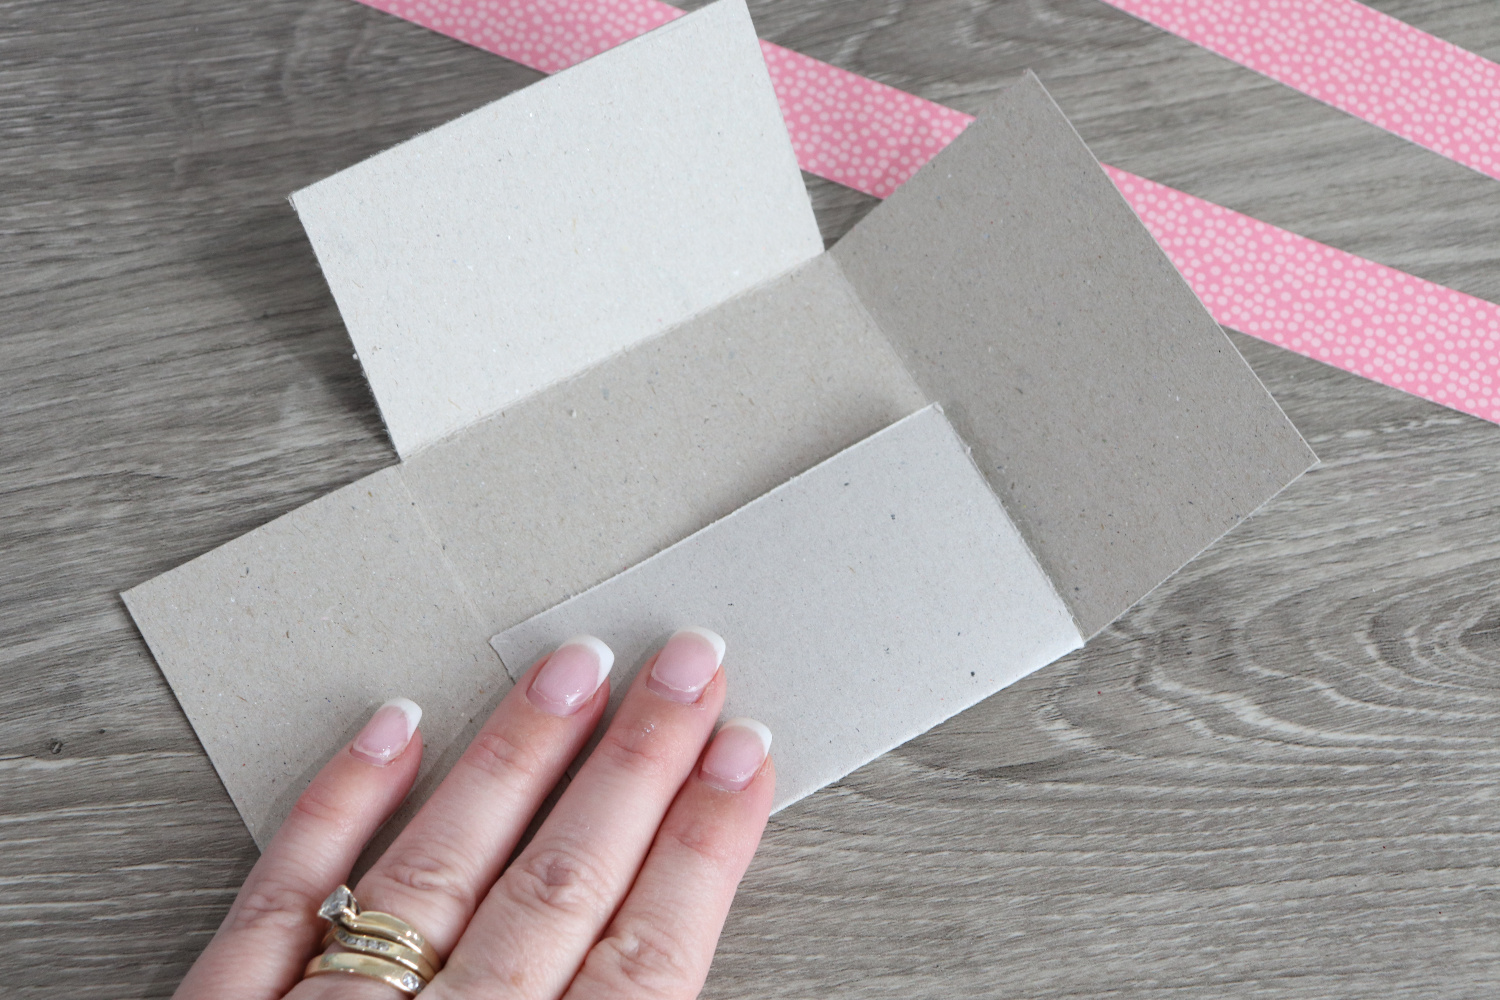
Step 4: Fold all four sides of the box in toward the center and crease them.
You can use a bone folder for this step if you like.
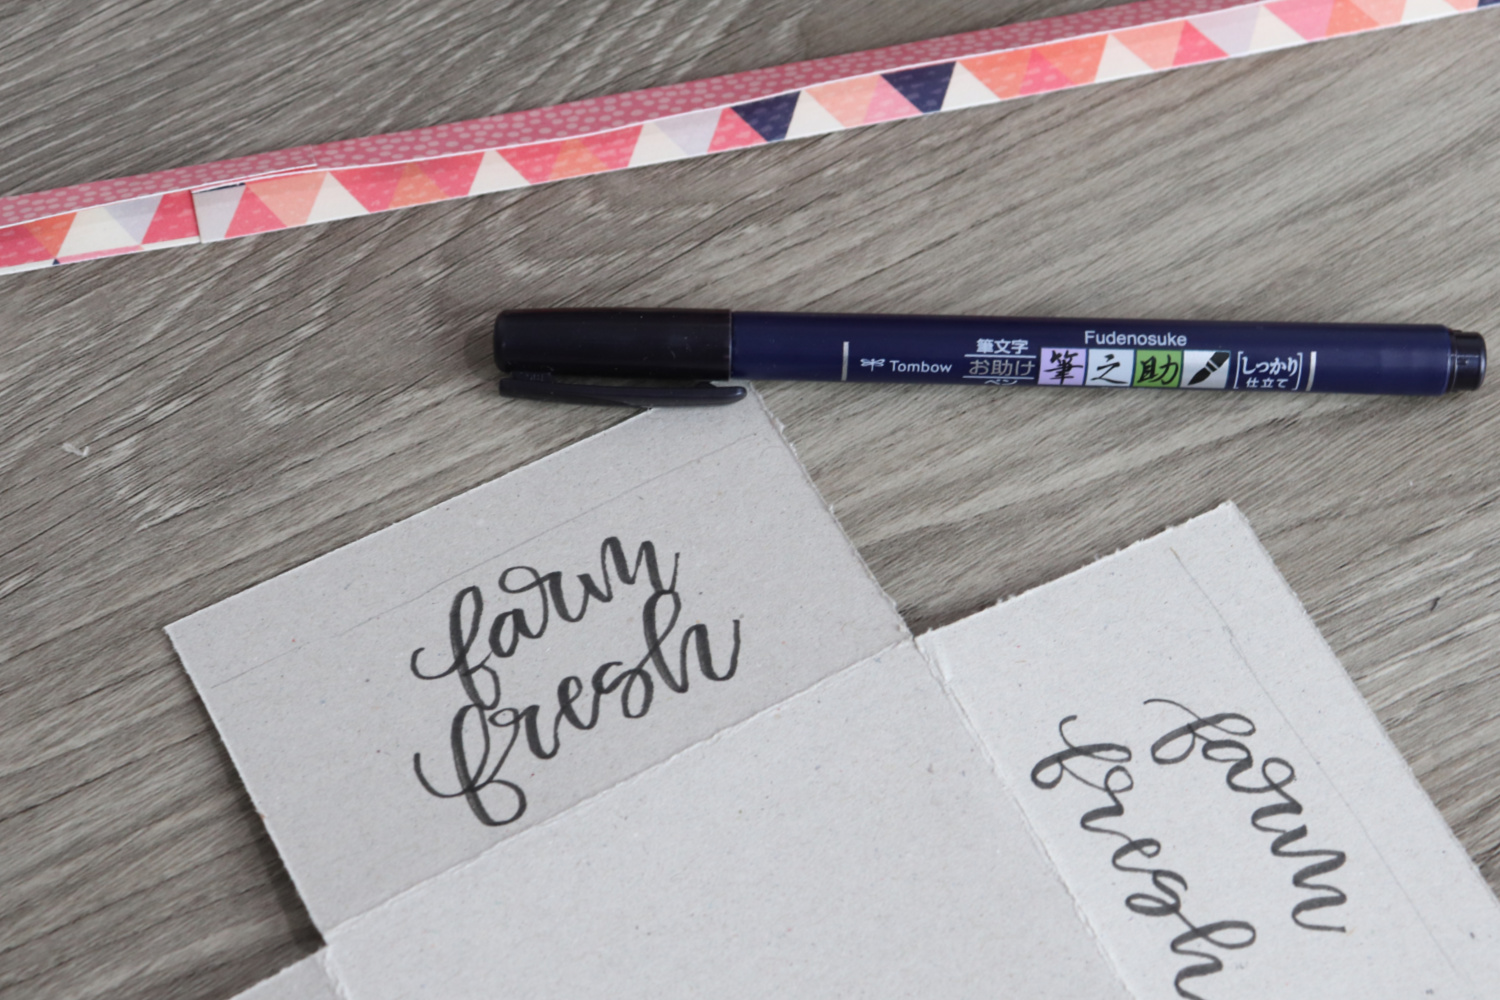
Step 5: Optional – Hand letter on the flaps.
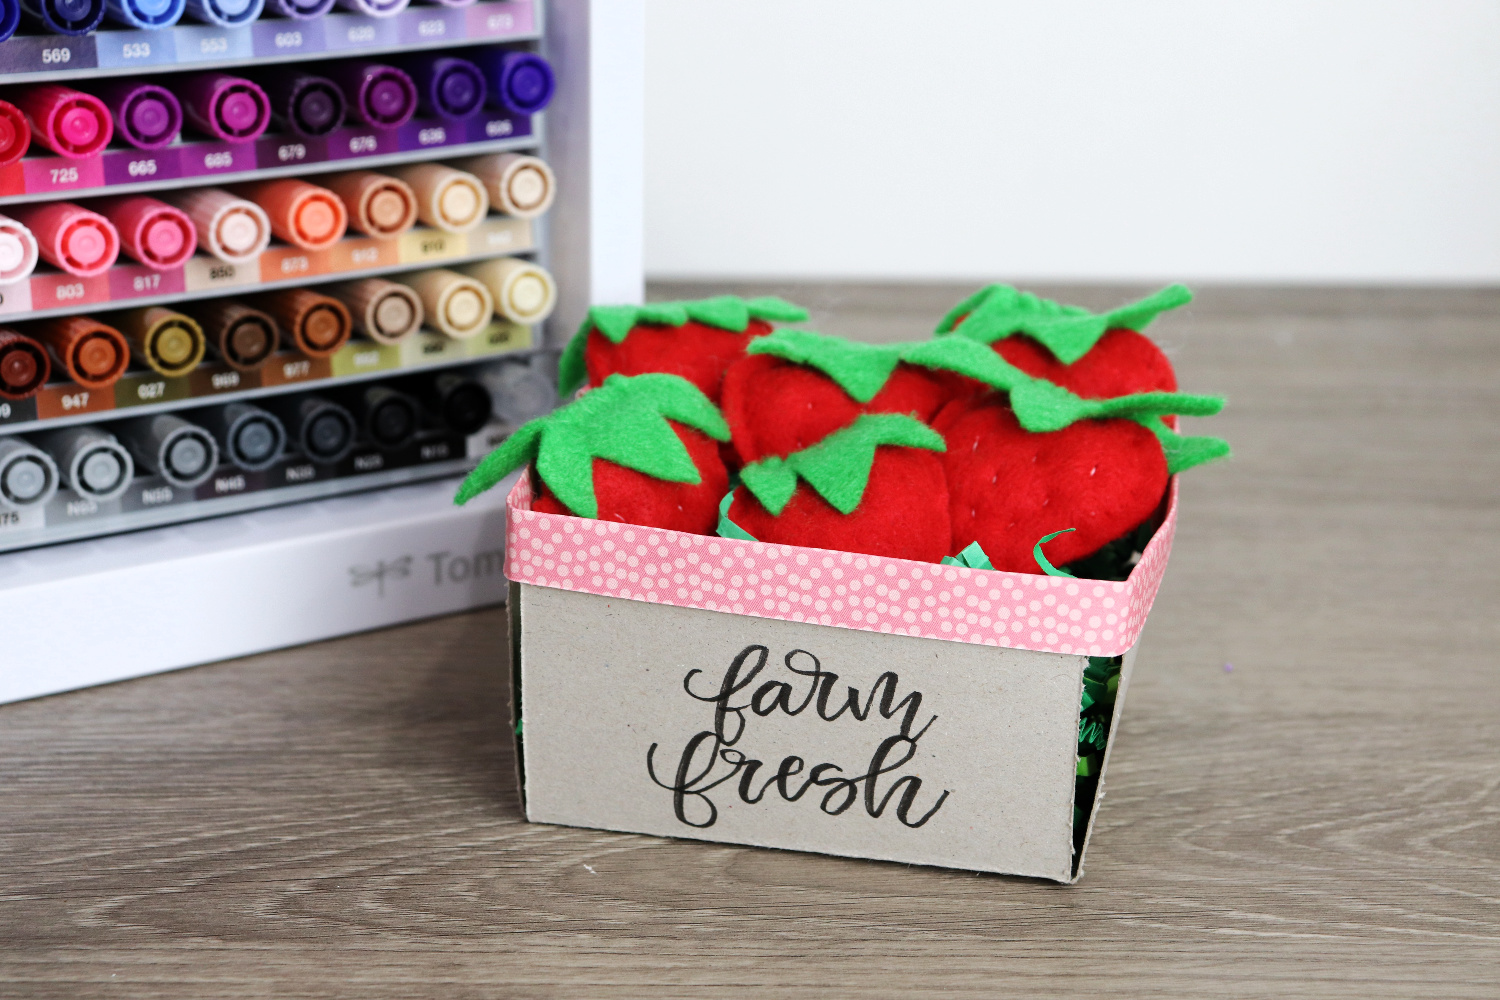
I decided to write the message, “farm fresh,” on my basket using brush script. You can write anything you like, or nothing at all. I used the Tombow Fudenosuke, my favorite brush pen, for the lettering.
Step 6: Attach the two 1” strips together to form one long strip.
Tombow Xtreme Permanent Adhesive is a perfect choice for this berry basket project because it has an instant bond, and is 5x stronger than other tape runners. It makes the basket easy to assemble and also means our project won’t fall apart. Plus, when you eventually run out of this adhesive, you can simply purchase a refill cartridge instead of a whole new runner.
Step 7: Fold the strip in half lengthwise.
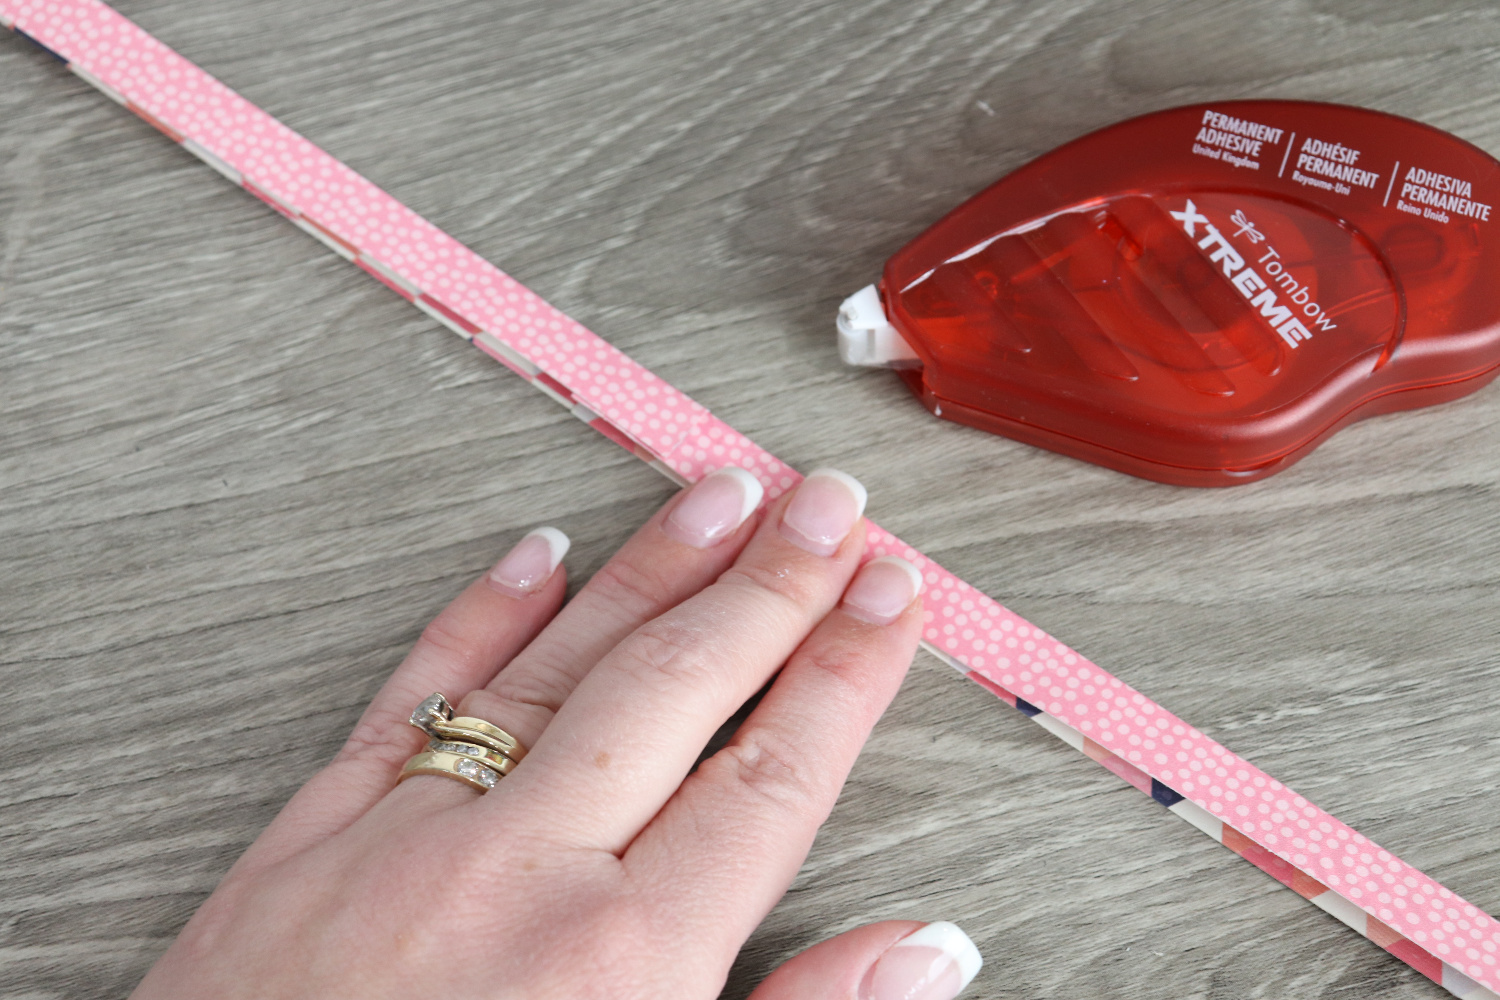
Step 8: Apply adhesive to the inside of the folded strip.
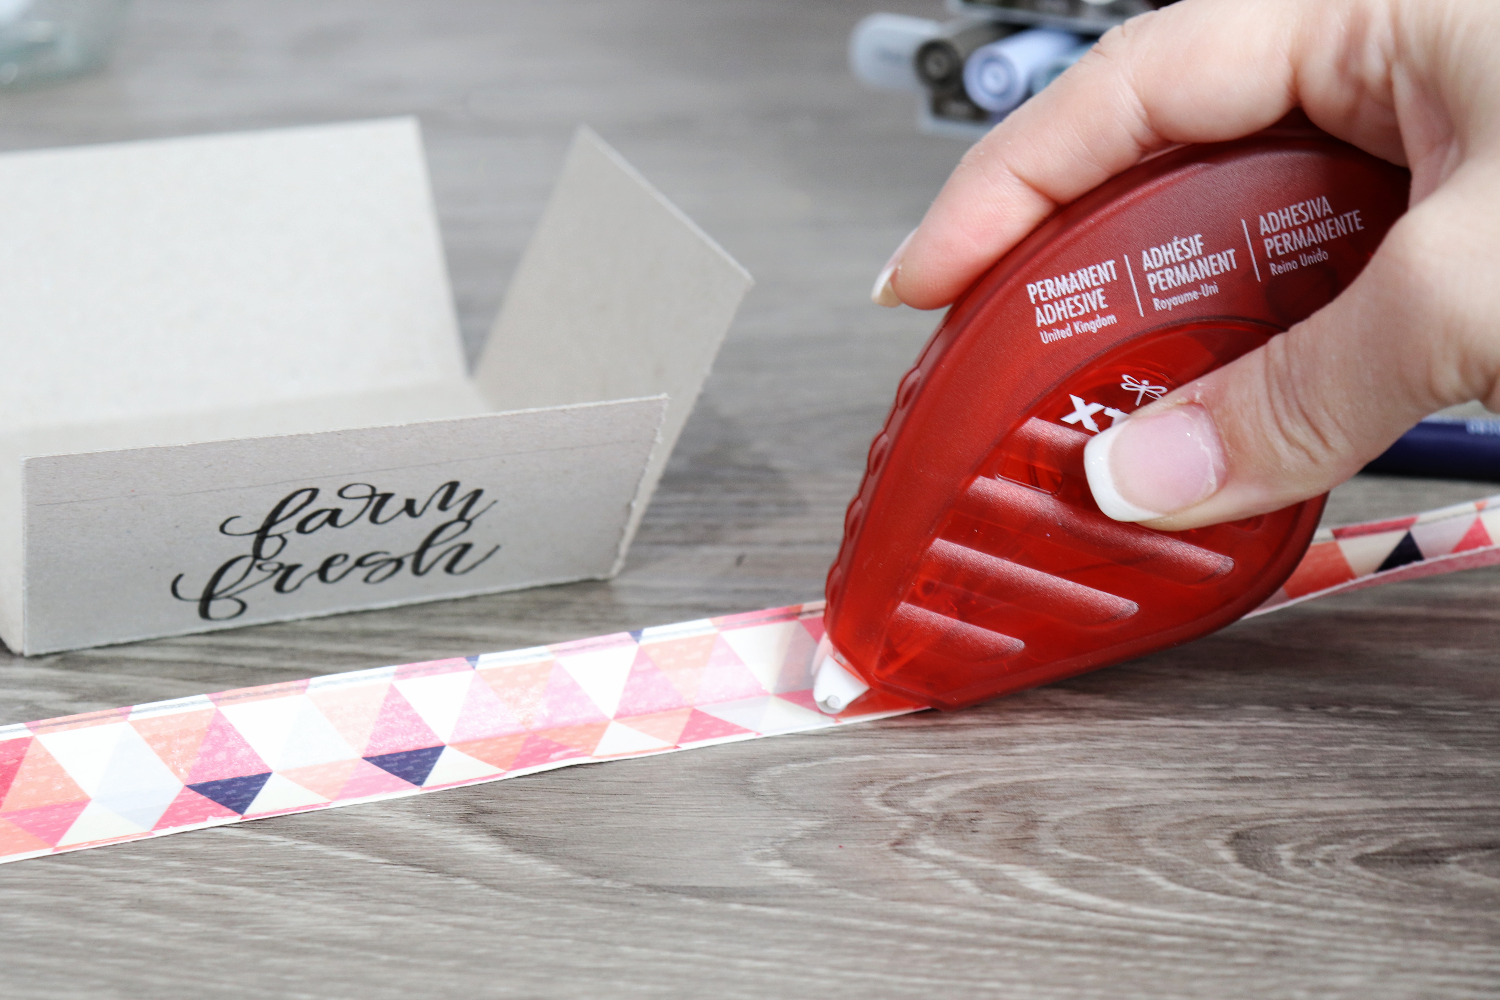
Step 9: Starting in the back, slide the folded strip down on top of your box sides.
At each corner, gently bend the strip about 90 degrees to form the shape of the box.
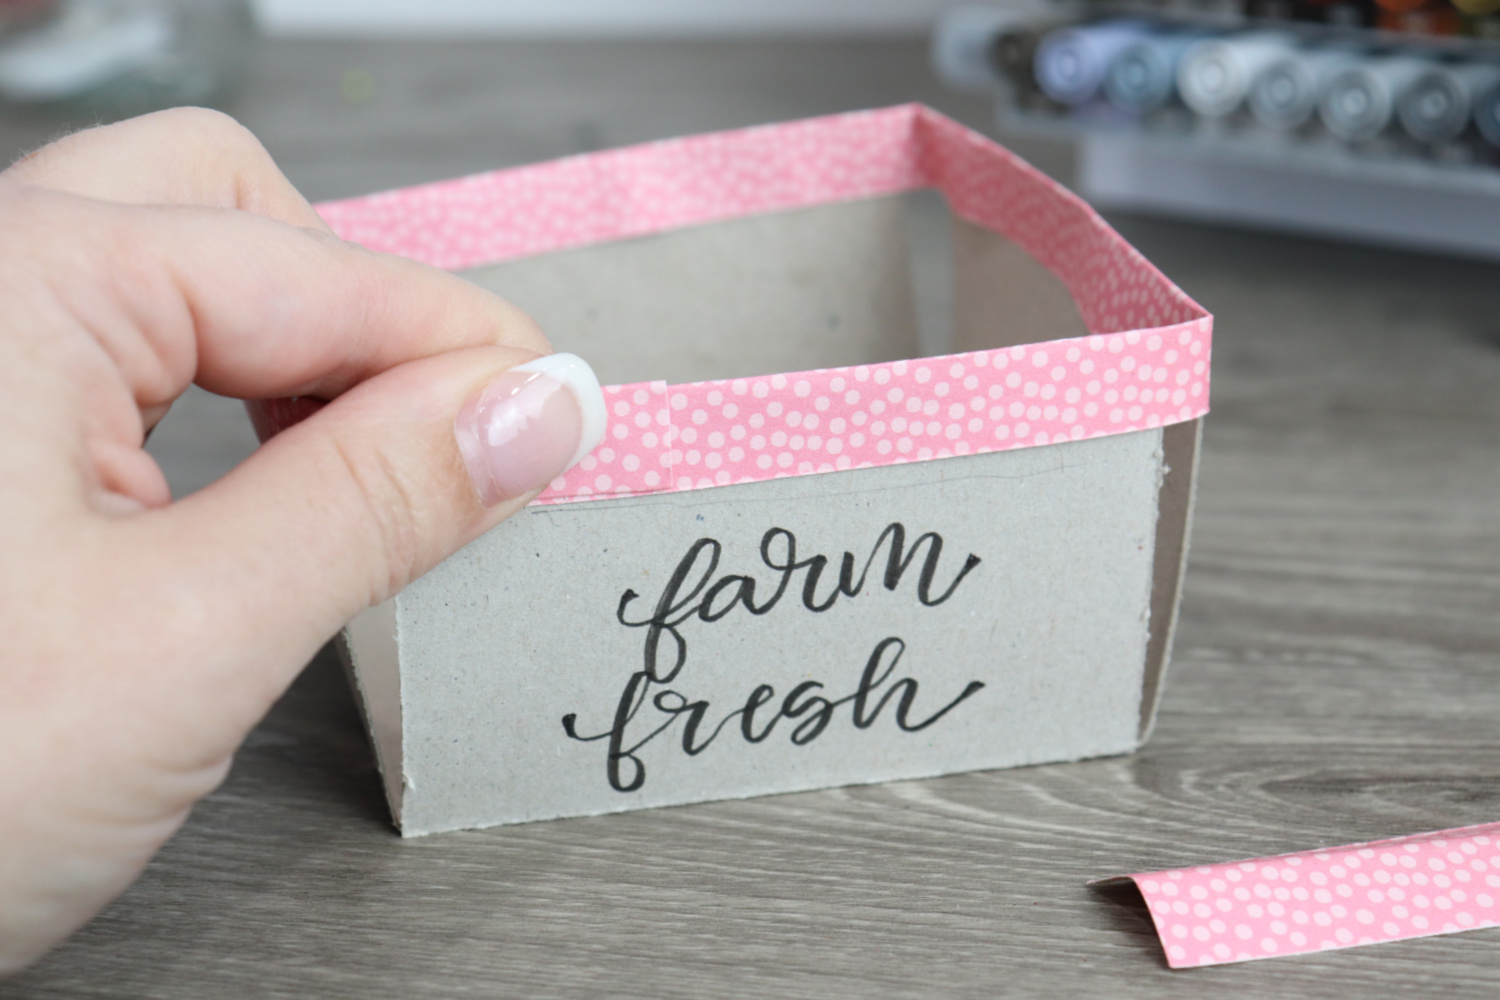
Overlap the ends of the strip in the back, pressing to adhere them in place with the Xtreme Adhesive.
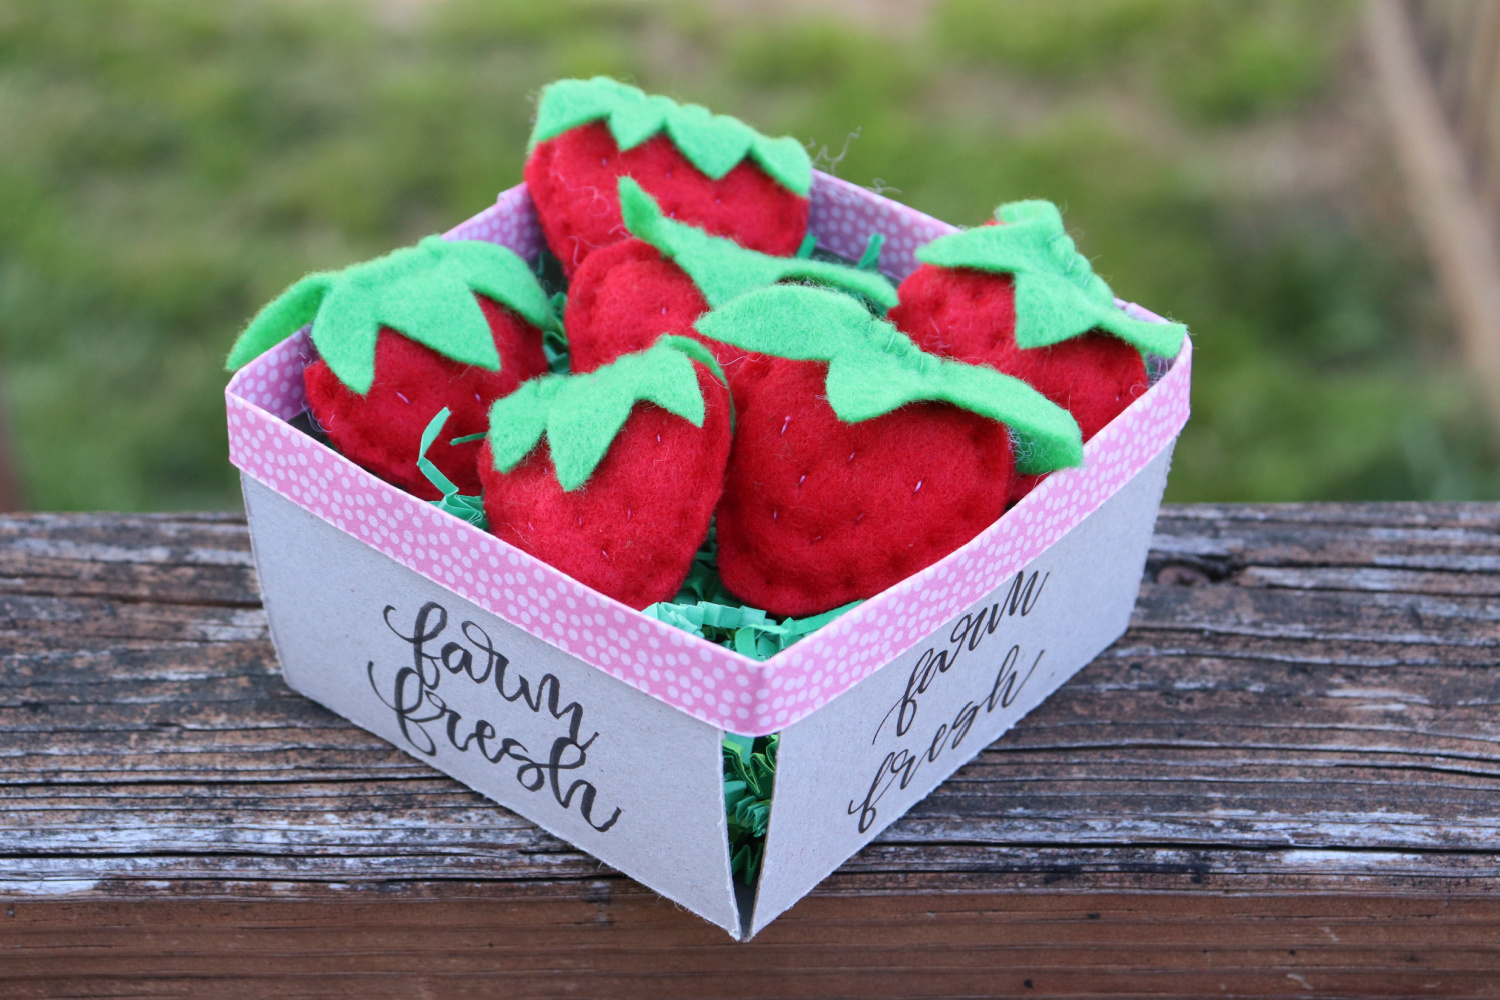
Now, all that’s left to do is fill your berry basket with something fun! I decided to use felt strawberries, but you could also use real fruits and vegetables, or a sweet treat like candy or cookies. Another option is to use the basket to store your favorite Tombow adhesives.
No matter where or how you choose to display it, this little basket will be an adorable accent! If you create your own Chipboard Berry Basket, make sure to tag @amylattacreations and @tombowusa in your social shares so we can see and celebrate your creativity!
Looking for more paper crafting ideas? Be sure to check out these other posts.
DIY Paper Flowers
Paper Bows
Paper Roll Snowflakes
Happy creating!
Pingback: Chipboard Berry Basket - Amy Latta Creations