Happy Tuesday from Beth!
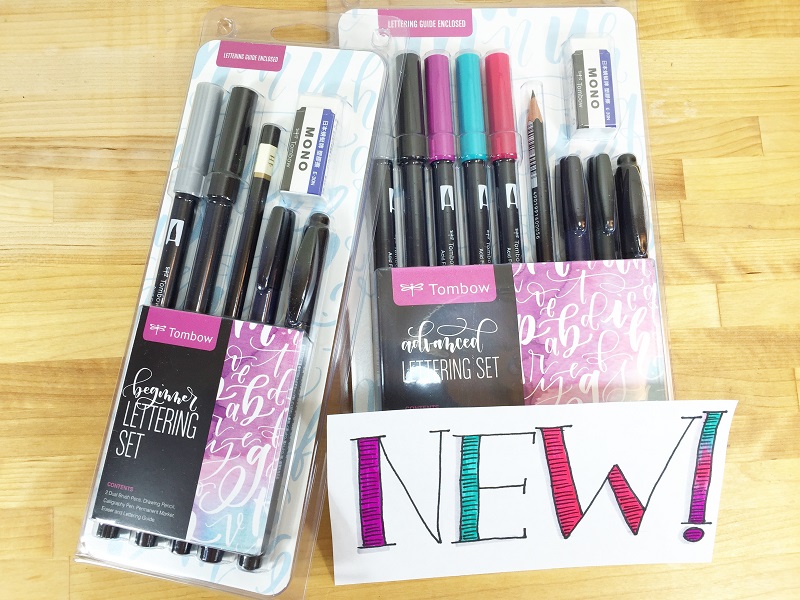
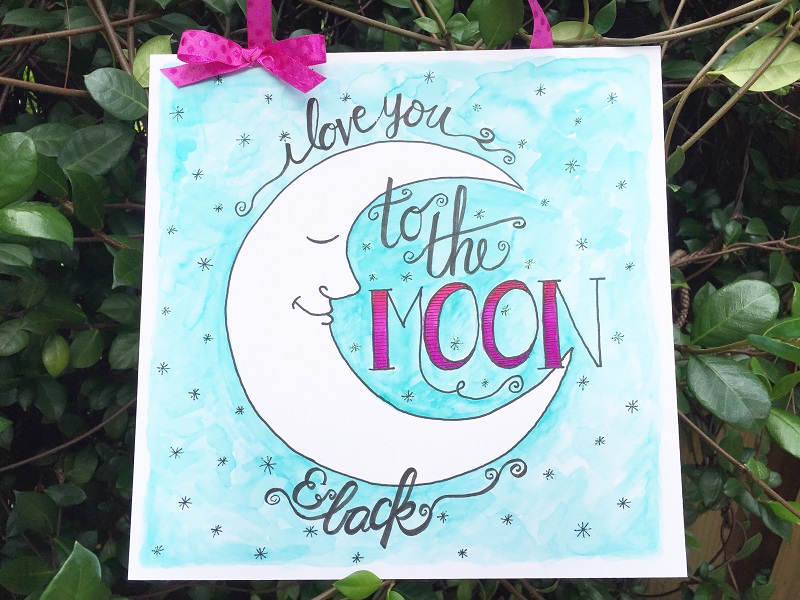
The NEW Tombow Lettering Sets are A-MAZ-ING! Everyone loved them so much that they are Out Of Stock! If you want to be notified when they are back in stock AND get a coupon make sure you join the waitlist. The Lettering Kits Party already started on Instagram. This week the Design Team is bringing the lettering party to the blog! I LOVE this new lettering craze, so I created a gift for my friend’s new baby using the Advanced Lettering Set and one of my all time favorite quotes!
STEP ONE:
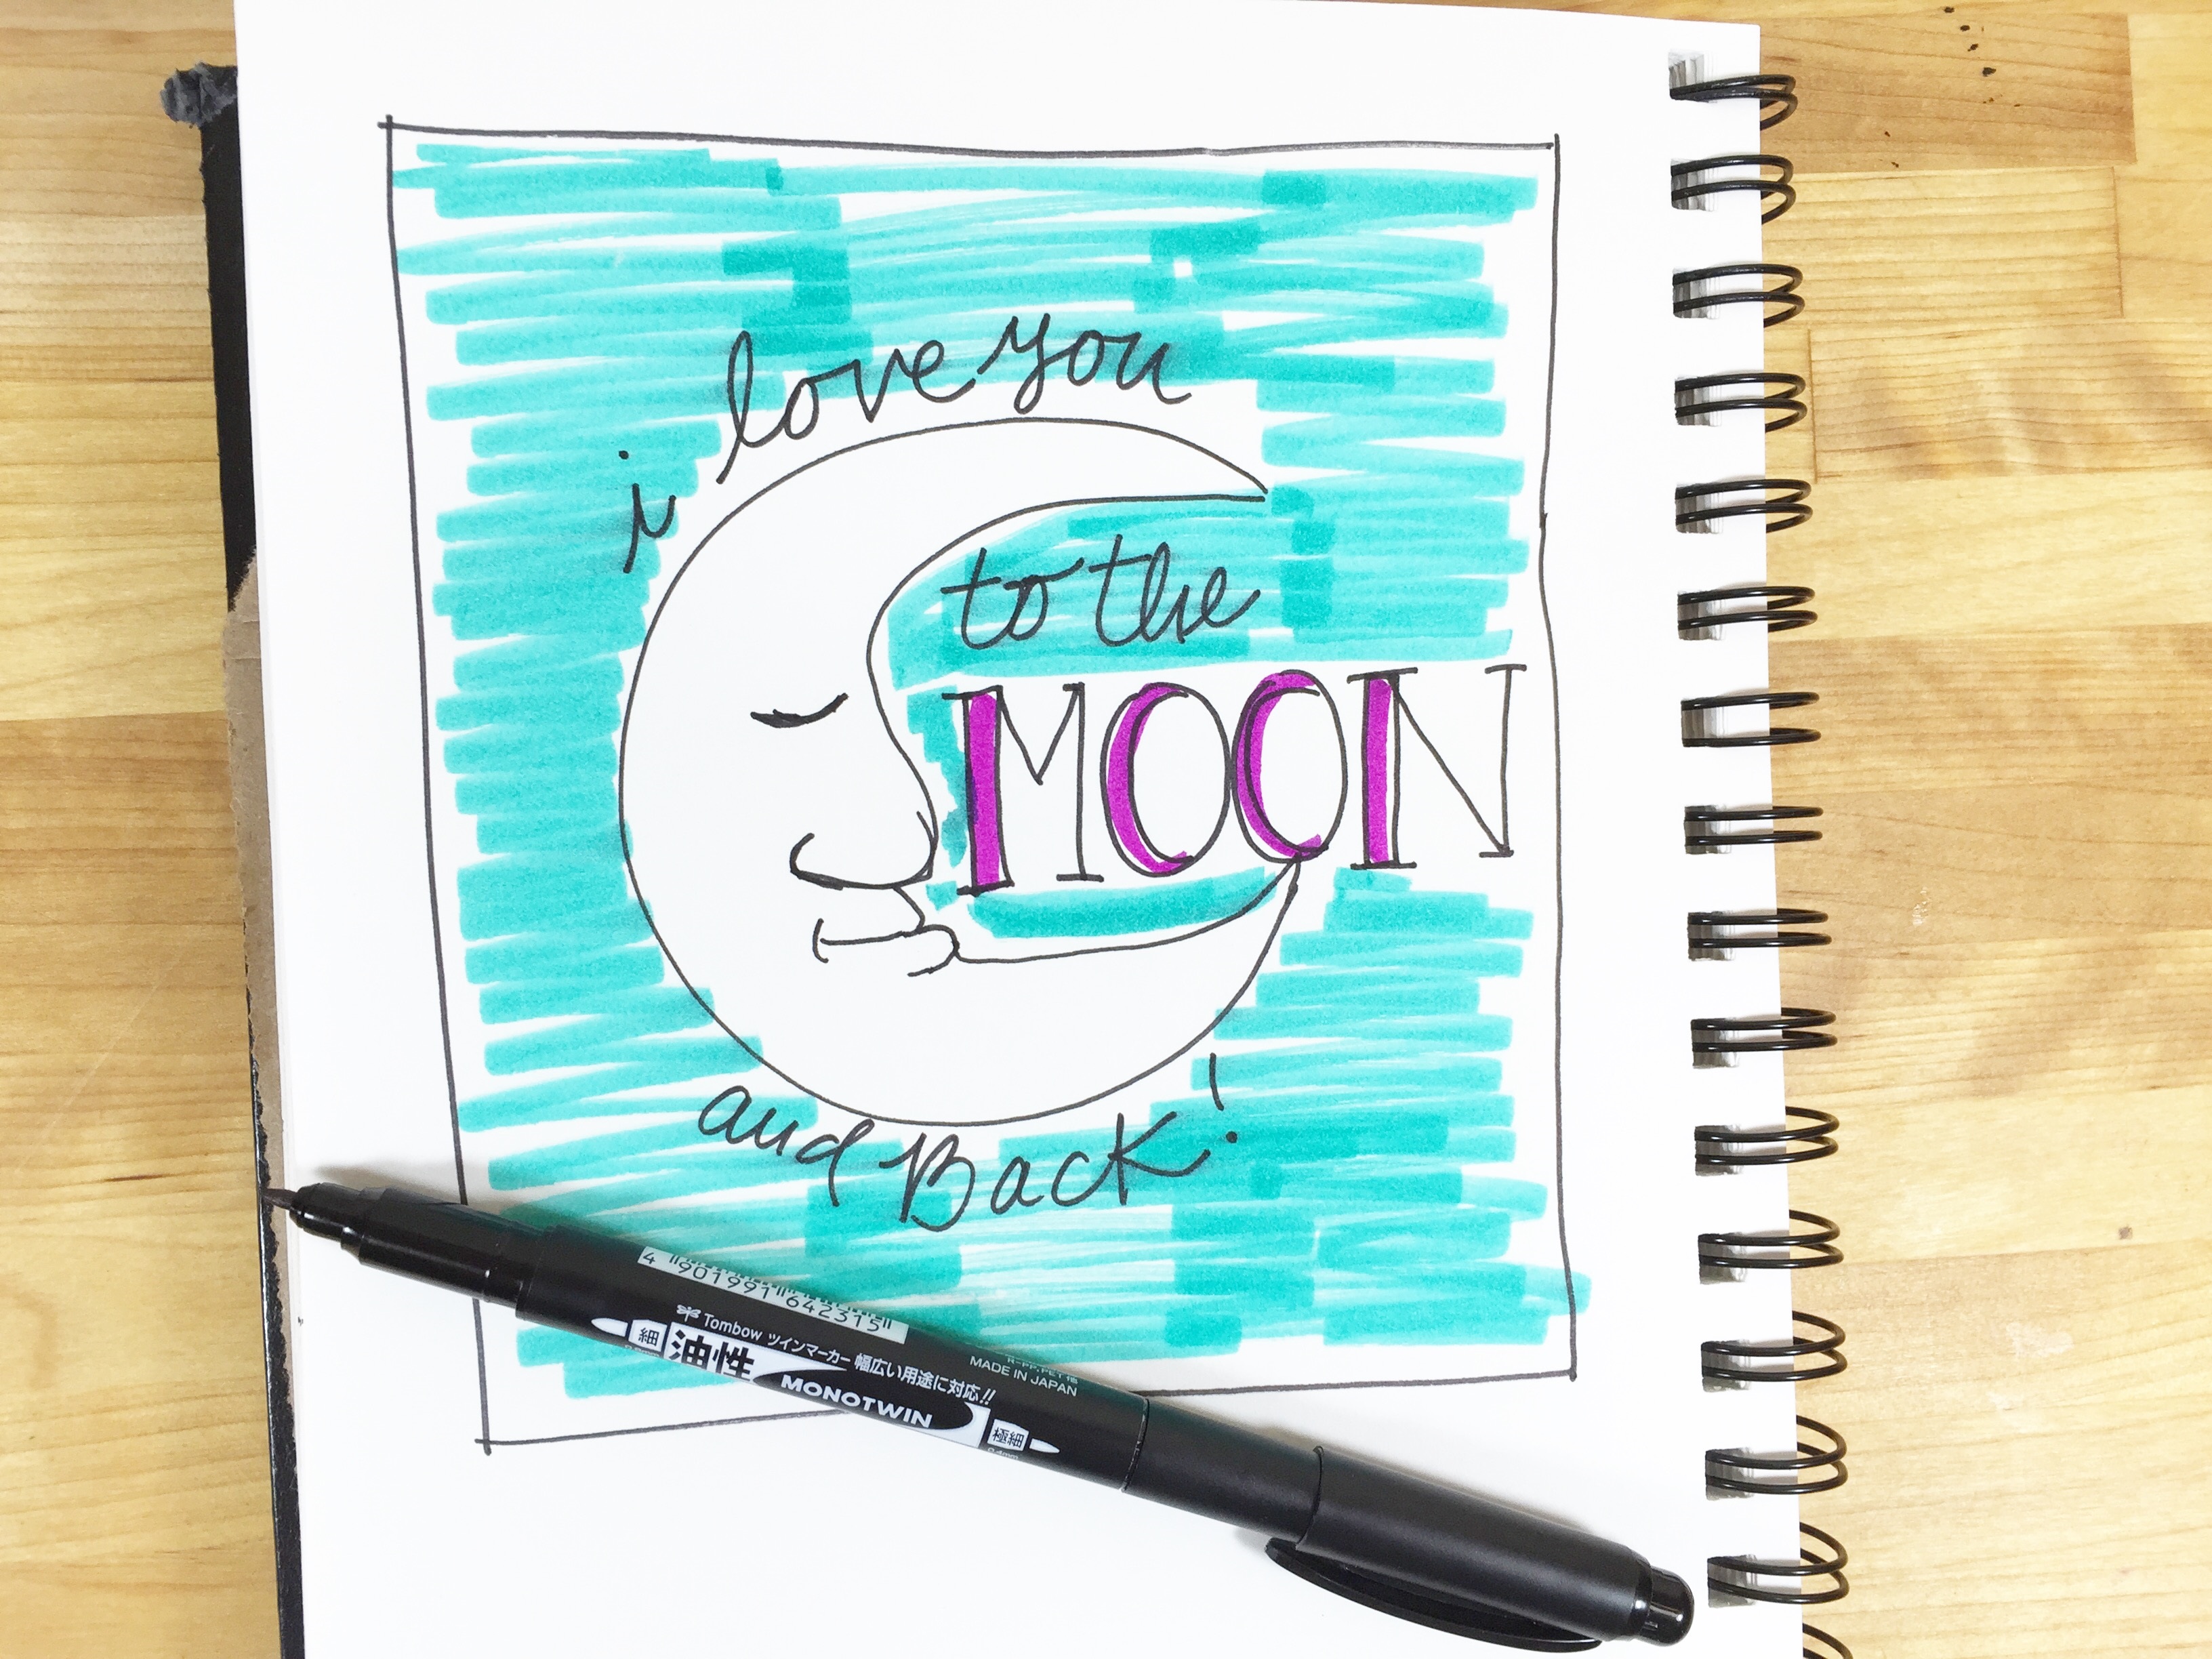
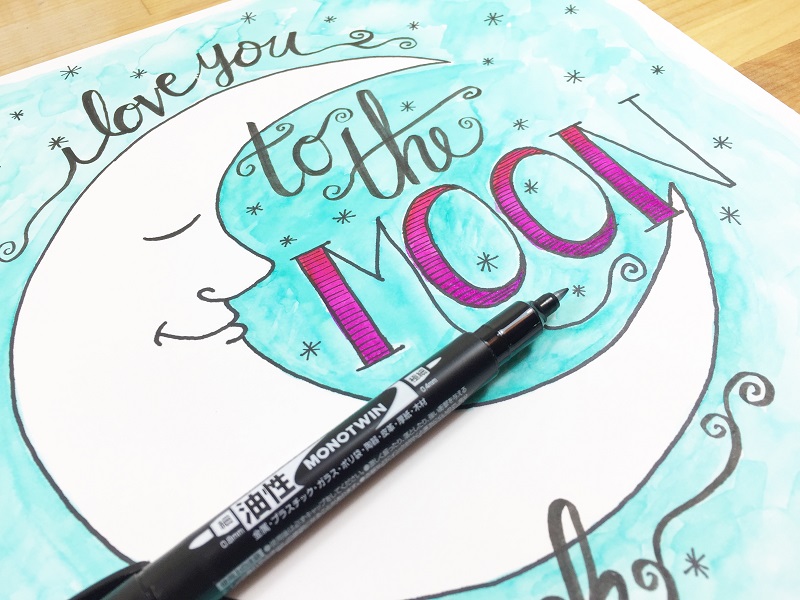
I always start out a new project with a sketch. It allows me to work out the details of a project, add color and make sure that everything will fit and is spelled correctly! These sketches might not be works of art, but they are an important fort step for me. I LOVE using my Tombow MONO Twin Permanent Marker. The larger bullet tip is what I sketch with and the fine tip allows me to add details.
STEP TWO:
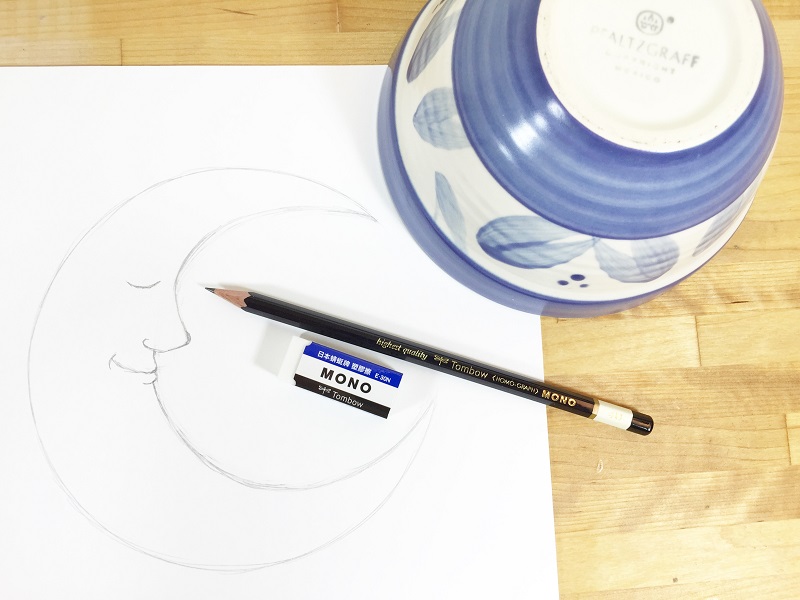
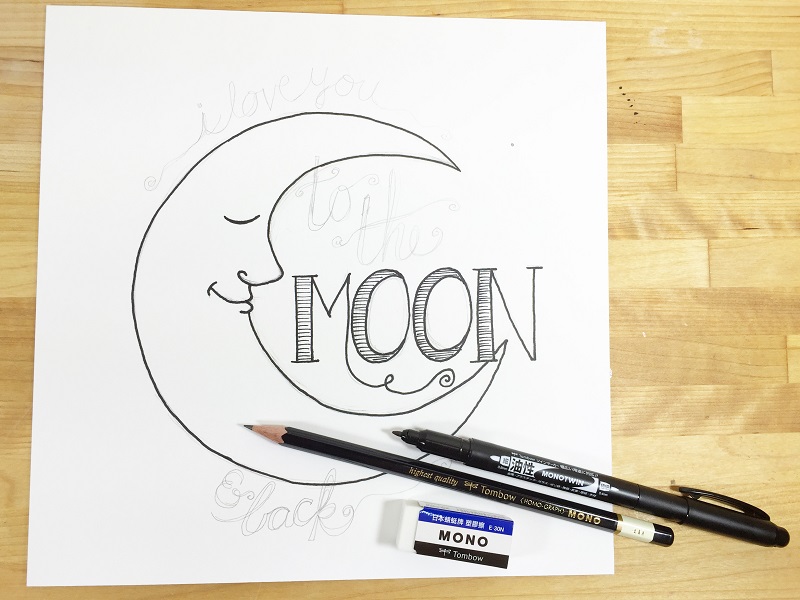
Using the Tombow MONO Drawing Pencil 4H and a cereal bowl, I draw a circle on a 9″ by 9″ piece of Canson Illustration Board. I hand drew the man in the moon.
STEP THREE:
Sketch in the quote: “I love you to the moon and back” and then ink in the moon illustration and word with the Tombow MONO Twin Permanent Marker.
STEP FOUR:
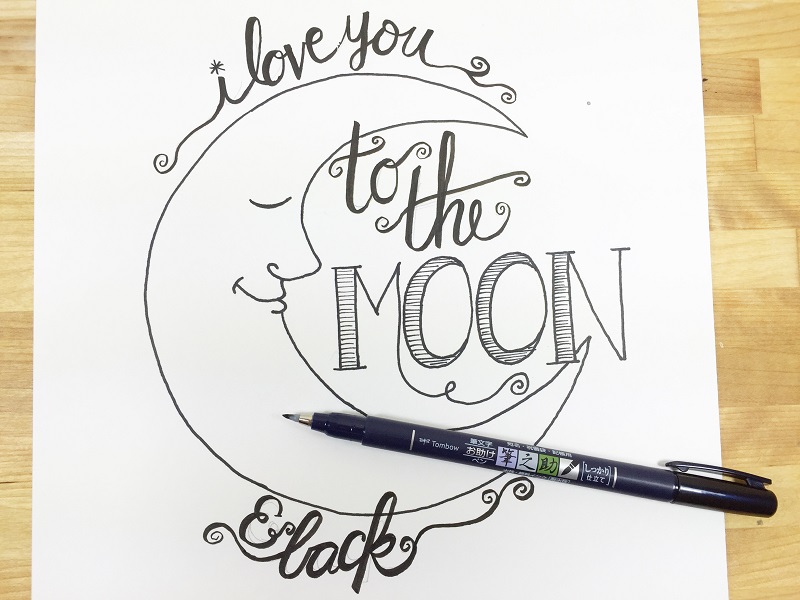
Ink in the remaining parts of the quote with Tombow Fudenosuke Brush Pen Hard Tip, Black. I went back over my letters making the down strokes bolder and filling in the swirls. Use the Tombow MONO Eraser to remove all of your pencil lines.
STEP FIVE:
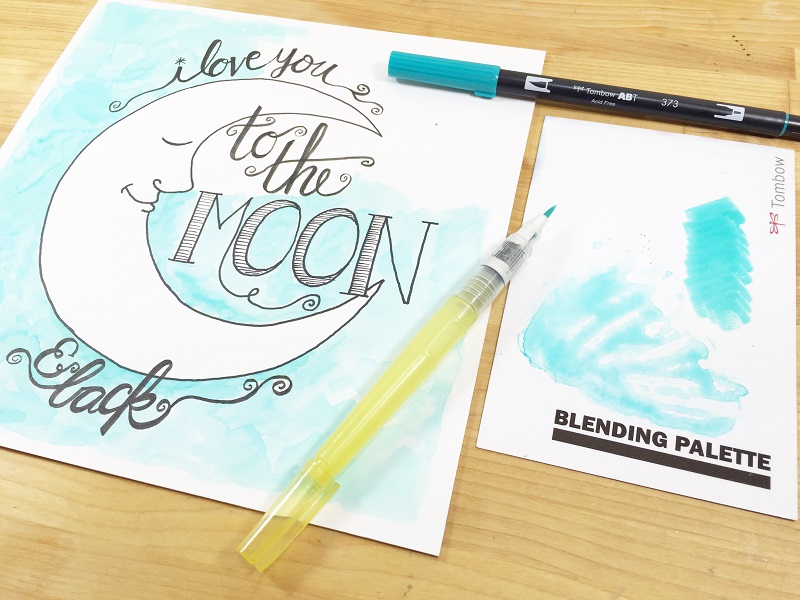
Watercolor the background with the Tombow Dual Brush Pen 373 from the Advanced Lettering Set using a water brush and the Tombow Blending Palette. This coloring step is so relaxing after a long day!
STEP SIX:
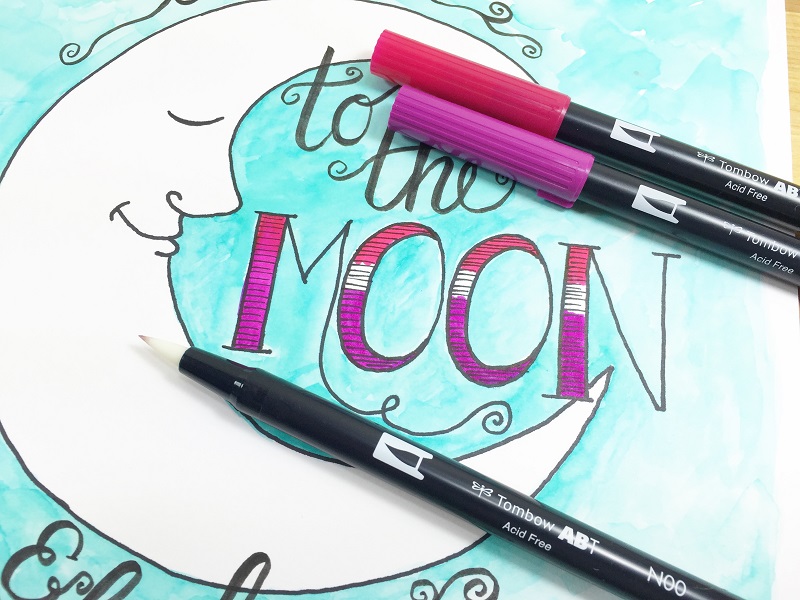
Bold accents are a favorite of mine, so I colored in the word MOON with the other two Tombow Dual Brush Pens 685 and 815 from the Advanced Lettering Kit and then blending the two colors together with the Tombow Dual Brush Pen N00 Blender.
STEP SEVEN:
Add stars to the sky with Tombow MONO Twin Permanent Marker.
STEP EIGHT:
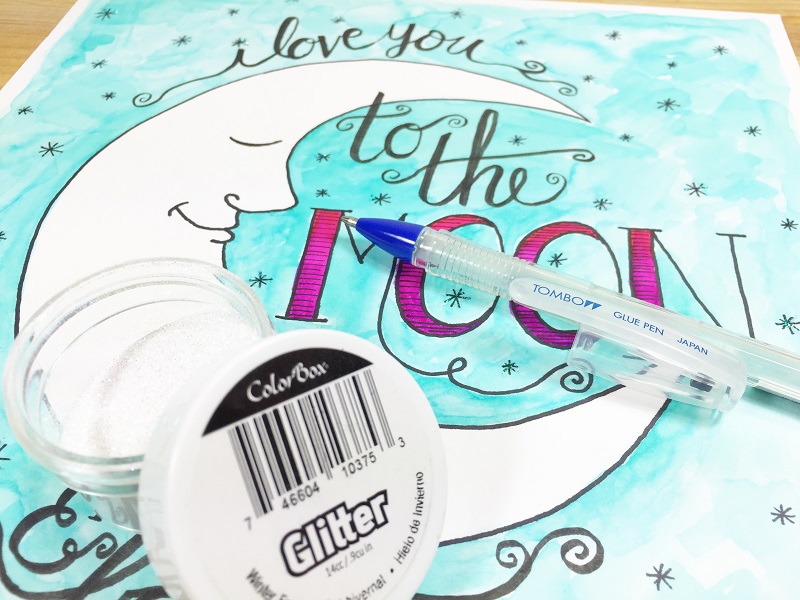
Add some sparkle to that sky with Tombow MONO Glue Pen and ColorBox Micro Fine Glitter.
STEP NINE:
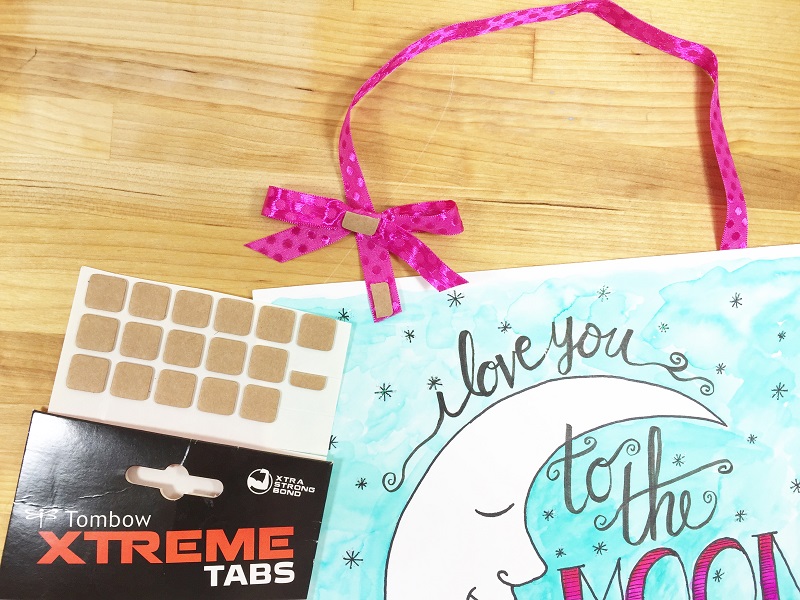
Add a ribbon hanger and bow to the top of the quote with Tombow Xtreme Tabs.
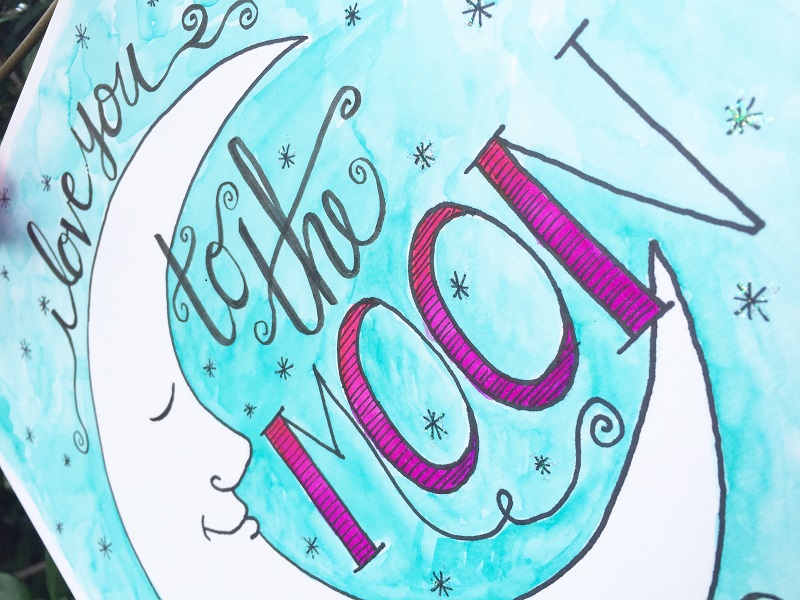
Here’s a close up of the sparkle – LOVE IT – and I know my friends will too!
Did you get your Lettering Set yet? If you did, please share your kit with us on social media and tag @TombowUSA! Share your recent lettering projects and make sure to tag me @Beth3167 on Instagram. Stop back by tomorrow to see what Serena Bee makes with these amazing kits!
I know I can’t wait to see what everyone creates!
Thanks for stopping by!

So cute. Thanks for sharing.
Pingback: 5 Ways to use MONO Air Correction Tape in your Mixed Media - Tombow USA Blog
Pingback: How to Watercolor and Doodle a Dragonfly - Tombow USA Blog