Have you ever wanted to create your very own lettering style? Hi, everyone! It’s Lauren and I am so excited to share with you about how to use a little inspiration and Tombow USA goodness to make a unique hand lettering style that is all your own.
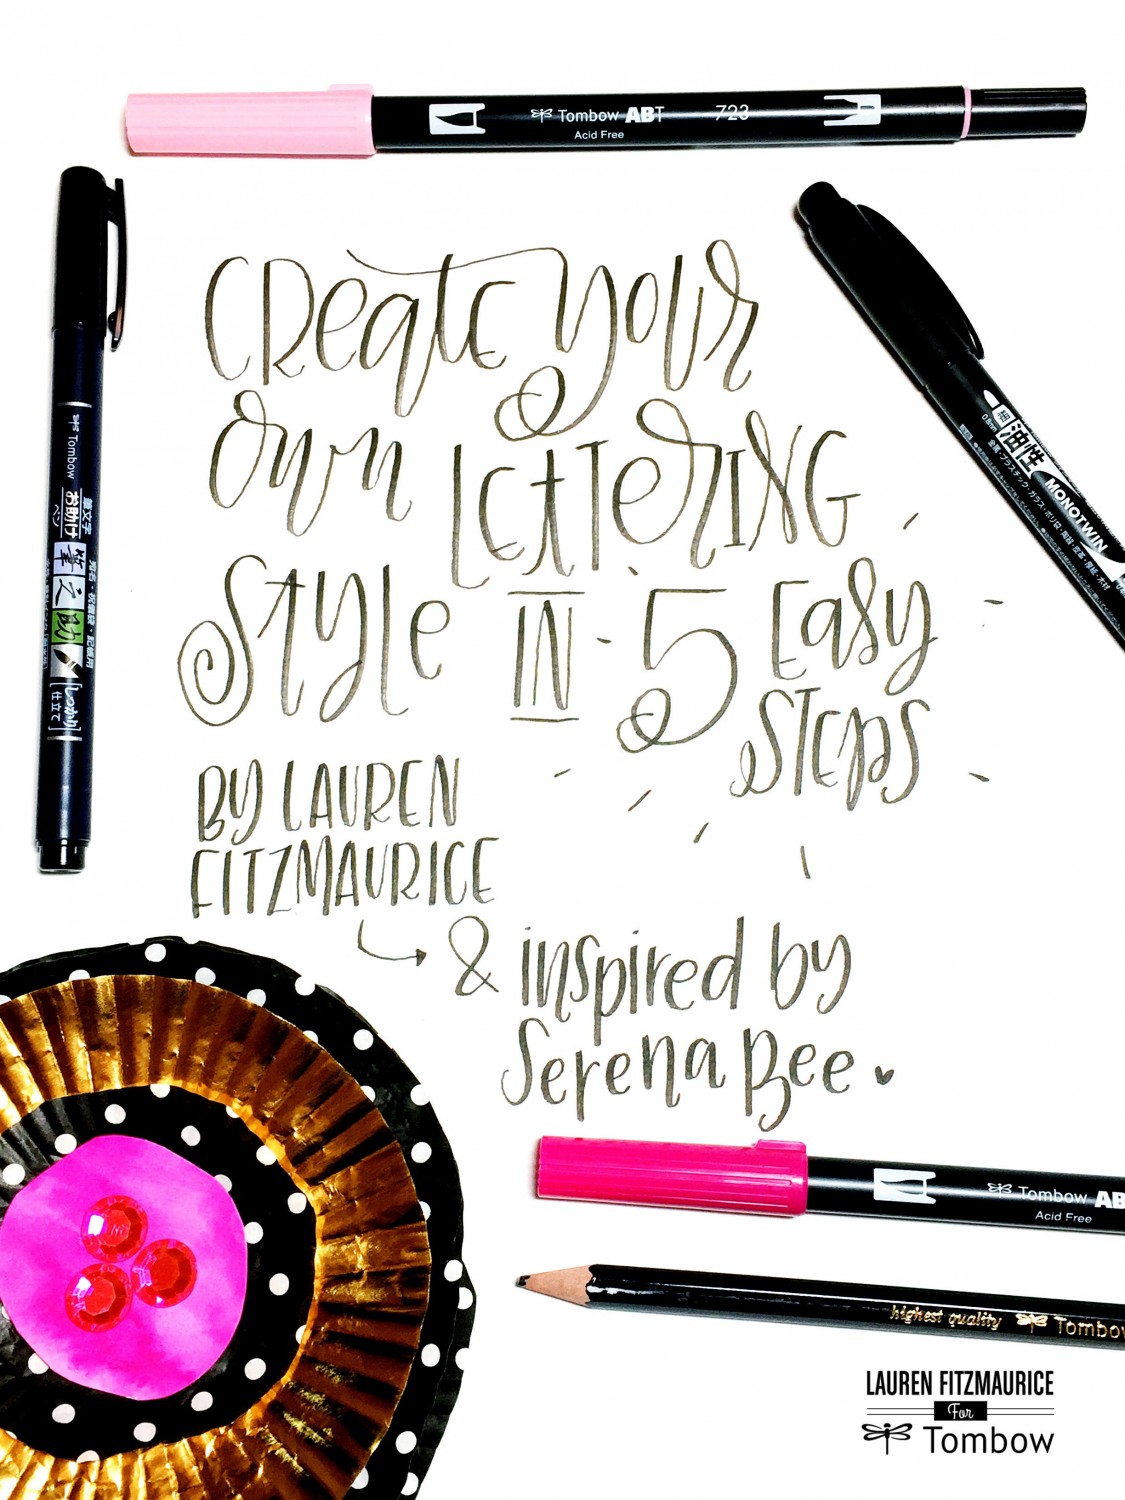
Right now, it’s a hand lettering world and we are all living in it… and I’m loving it, of course! In this tutorial, I will be sharing 5 easy steps to help guide you through creating your own letter forms. Throughout the post, I will be making a style inspired by my dear friend, Serena Bee. Her style is super creative, colorful, unique, a little quirky, and so amazing! Serena has created so many amazing projects, including fun cupcake liner embellishments. While making a few embellishments for myself, I was inspired to create a super fun lettering style just for her!
To create your own lettering style, you will need:
- Tombow MONO Drawing Pencil
- Tombow Monotwin Permanent Marker
- Tombow Fudenosuke Hard Tip Brush Pen (optional)
- Tombow Dual Brush Pens (I use 723, 725, and N00) (optional)
- Canson Mix Media Paper
- a little inspiration
- a whole lot of patience (with yourself)
1. Understand What it Means to Create a Style
What exactly does it mean to create a style? One thing it doesn’t mean is to copy some one else’s. Don’t get me wrong, in the beginning, it is totally normal and acceptable to learn lettering through a style created by someone else. Styles can certainly be learned and copied with practice, but the best lettering styles are those that come about naturally from the letterer. To create a style, you must have plenty of patience and a willingness to experience the process of forming each letter with lots of trial and error. Styles come in so many different sizes and shapes with their own pops of personality. As a letterer, I have seen my style emerge slowly. It’s still a total work in progress. The more I practice, the more growth and consistency I see in my letters. I didn’t sit and copy my style, I created it over time with a little help from inspiration and a whole lot of guts to be myself and trust the process. So put your creative pants on, grab a piece of paper, and get ready to be inspired!
2. Get Inspired
The lettering community of instagram is growing rapidly with amazing and uplifting letterers who possess a wide range of styles. It is super easy to get really interested in the work of certain letterers and this is ok. We all have our #calligracrushes who have a style that we absolutely love and covet. It’s totally fine to follow and observe these styles. However, when forming your own style, it’s important to expose yourself to a variety of lettering styles and sources of inspiration so that you produce something that is naturally you. When you follow one person you are more likely to copy their style. When you learn from a variety of people, you are inspired by different parts of every style you observe and eventually can produce all of these features in your very own way.
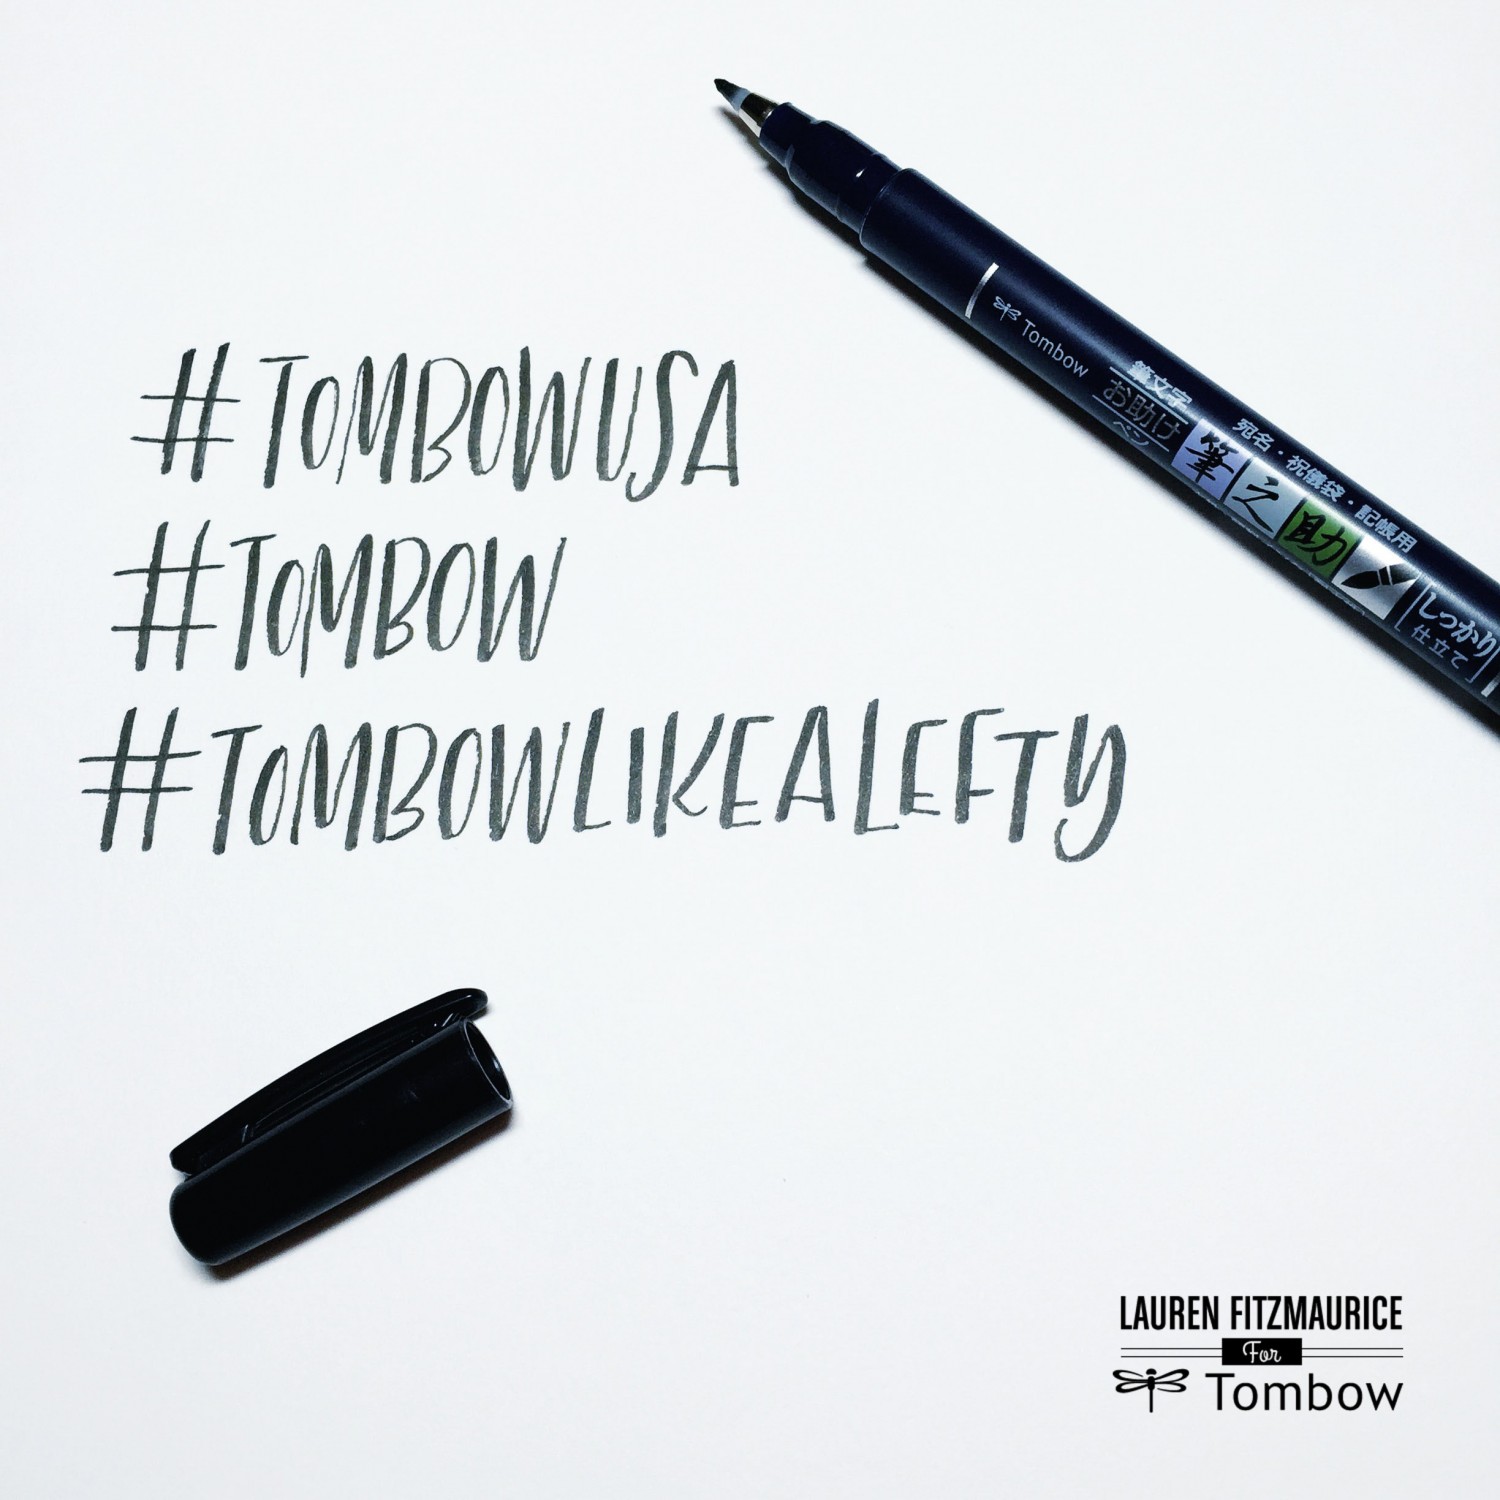
Another great way to be inspired, is to search hashtags. Hashtags are a great tool to see a collection of works by a variety of lettering artists who all have their own styles. A few of my favorite hashtags to search for style inspiration when using my brush pens are #tombowusa , #tombow , and #tombowlikealefty. These hashtags are frequently used and are a great resource to turn to for a little inspiration.
I also really like to look at pictures or color palettes for inspiration. To get inspired for the style in this tutorial, I looked at Serena’s fun instagram account. I wanted to create a simple style that was a little girly and a little unique. I decided to try to create some different letter forms that were a little curvy and imperfect.
3. Put Pencil to Paper
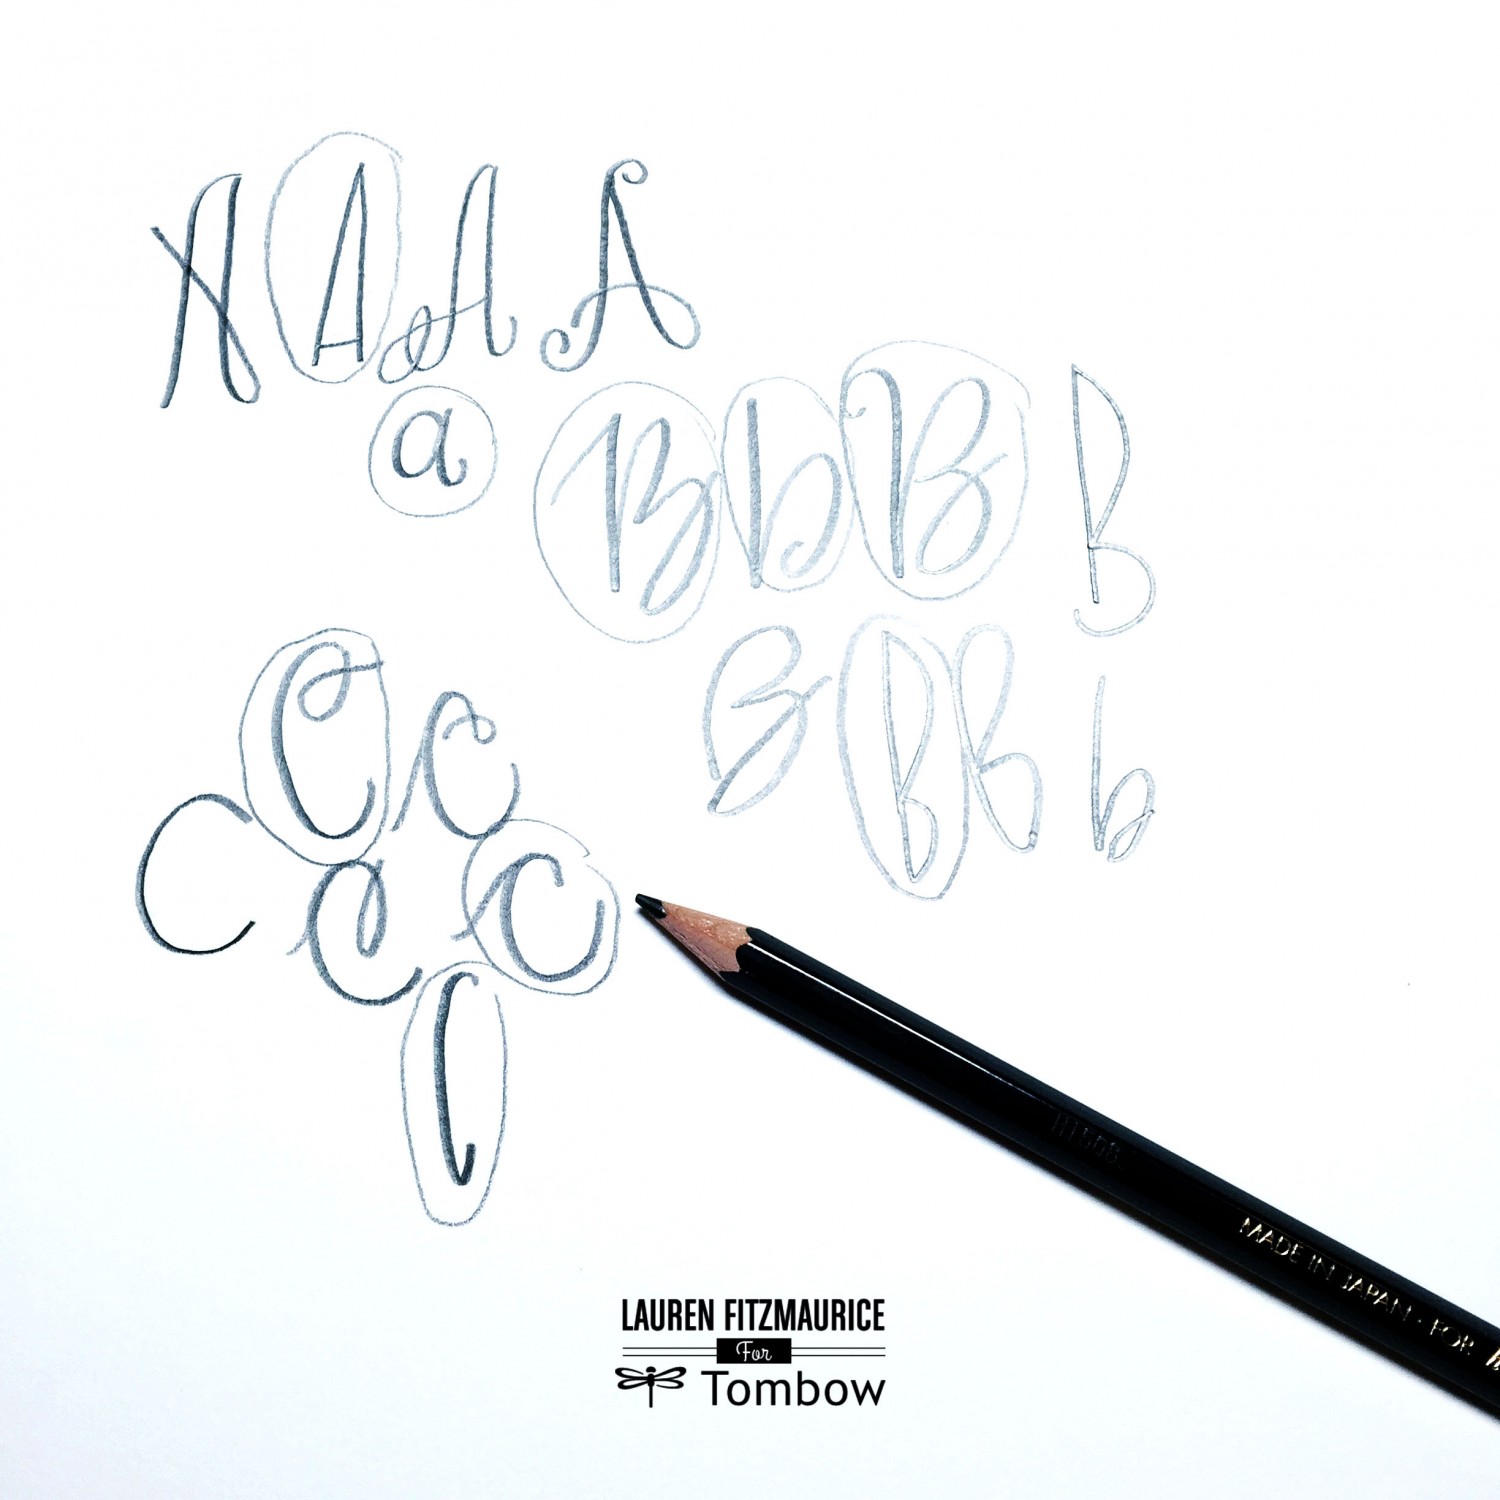
Next, it is time to pick up the Tombow Mono Drawing Pencil and paper. I like to start at the beginning of the alphabet and work my way from A all the way to Z. Write a bunch of versions of each letter, then circle your favorite. After a few letters I can slowly start seeing a few different styles emerging. Once I see one, I move on to another piece of paper and start creating the rest of the alphabet in that style, with a little trial and error, of course.
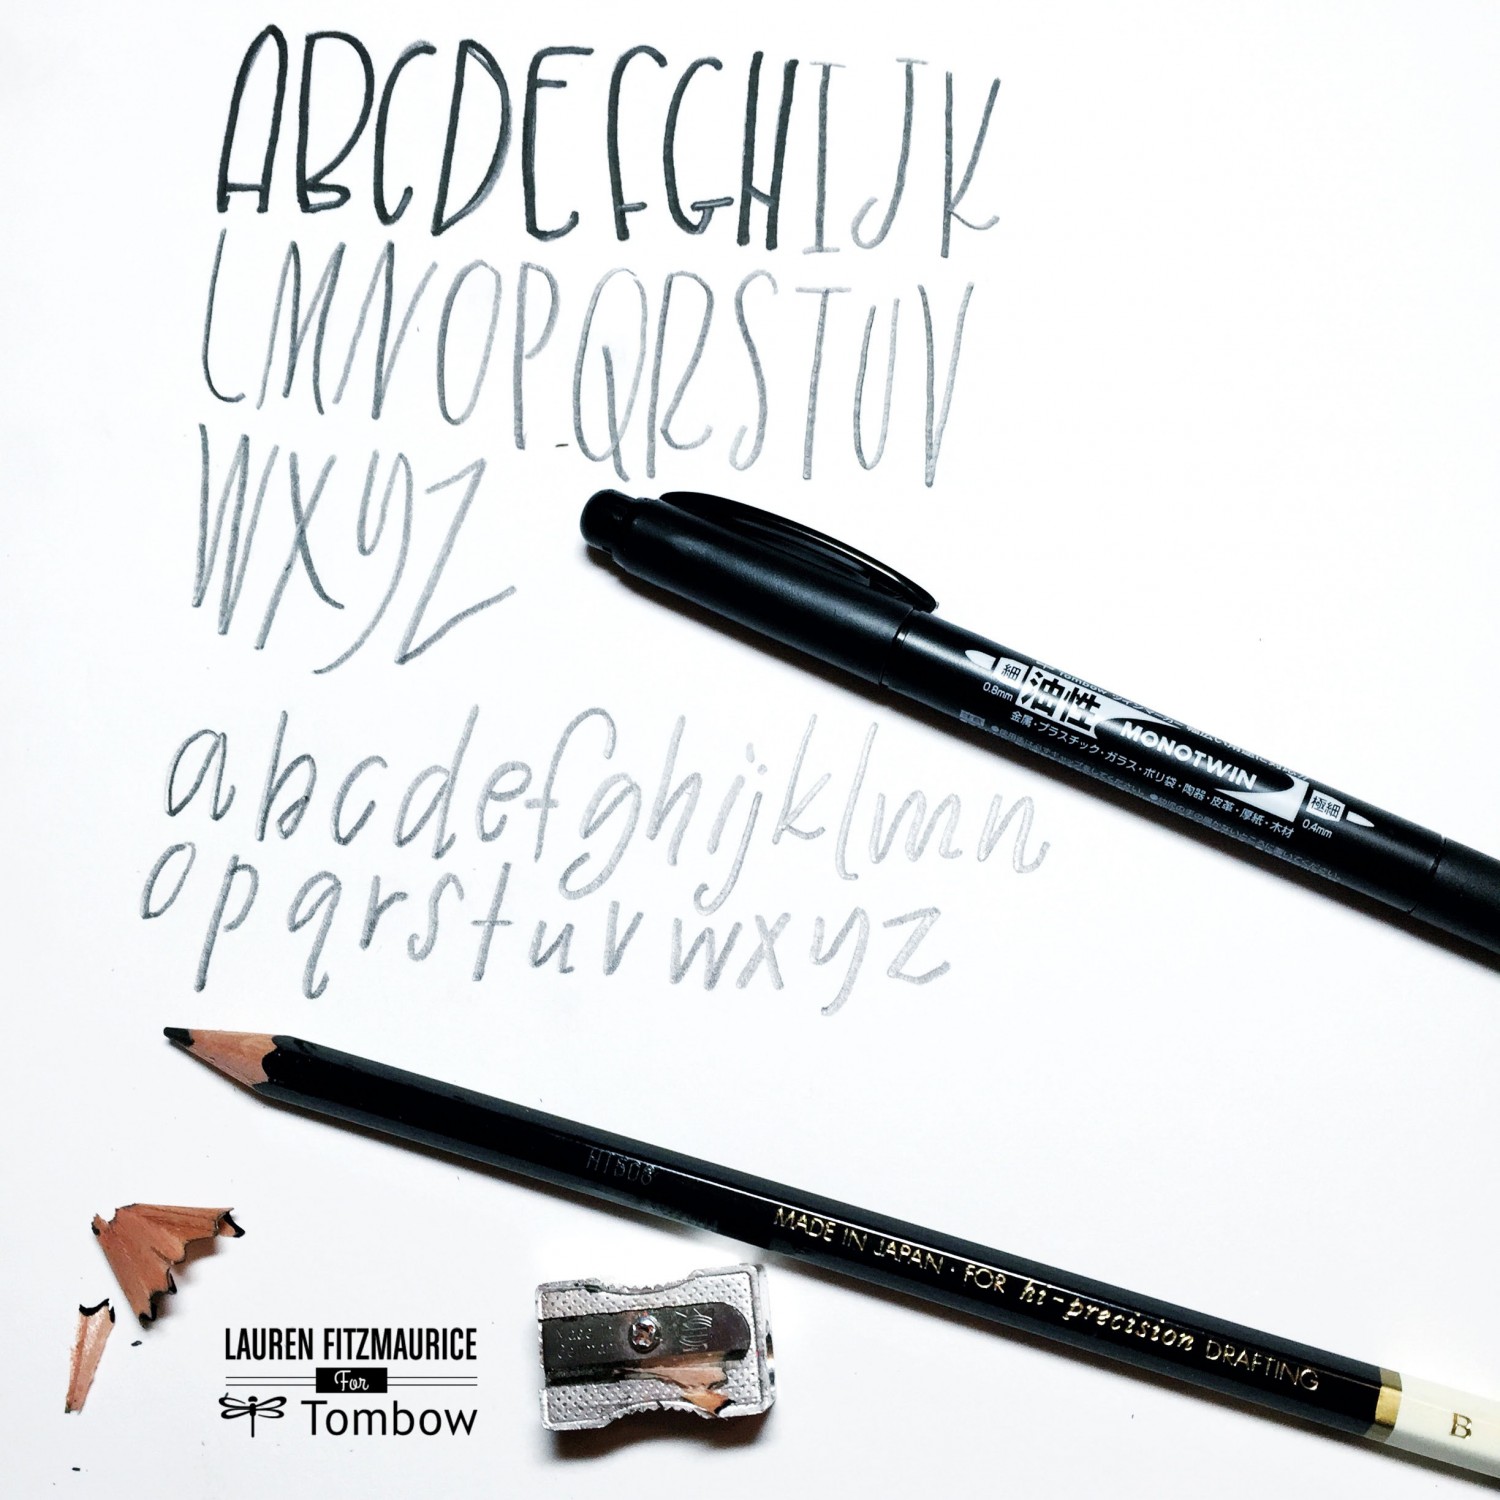
4. Put it All Together
Now it’s time to put it all together. For each style I create, I like to make both lowercase and uppercase letter forms. With my MONO Drawing Pencil, I like to sketch out the letter forms. This creates a little reference sheet of the style that I am creating, but is just a starting point. I firmly believe that in when you write a letter, you make your own rules, so it’s ok with me if not all of my letters consistently match, in most projects. The letters in this style are very simple and a little quirky, which I absolutely love. After creating the alphabet in pencil, I like to go over it with my Tombow Monotwin Permanent Marker to see how it will look in ink. Another great trick is to take some tracing paper and go over your sketched alphabet by tracing with your Monotwin Permanent Marker.
5. Be You and Create Something Beautiful
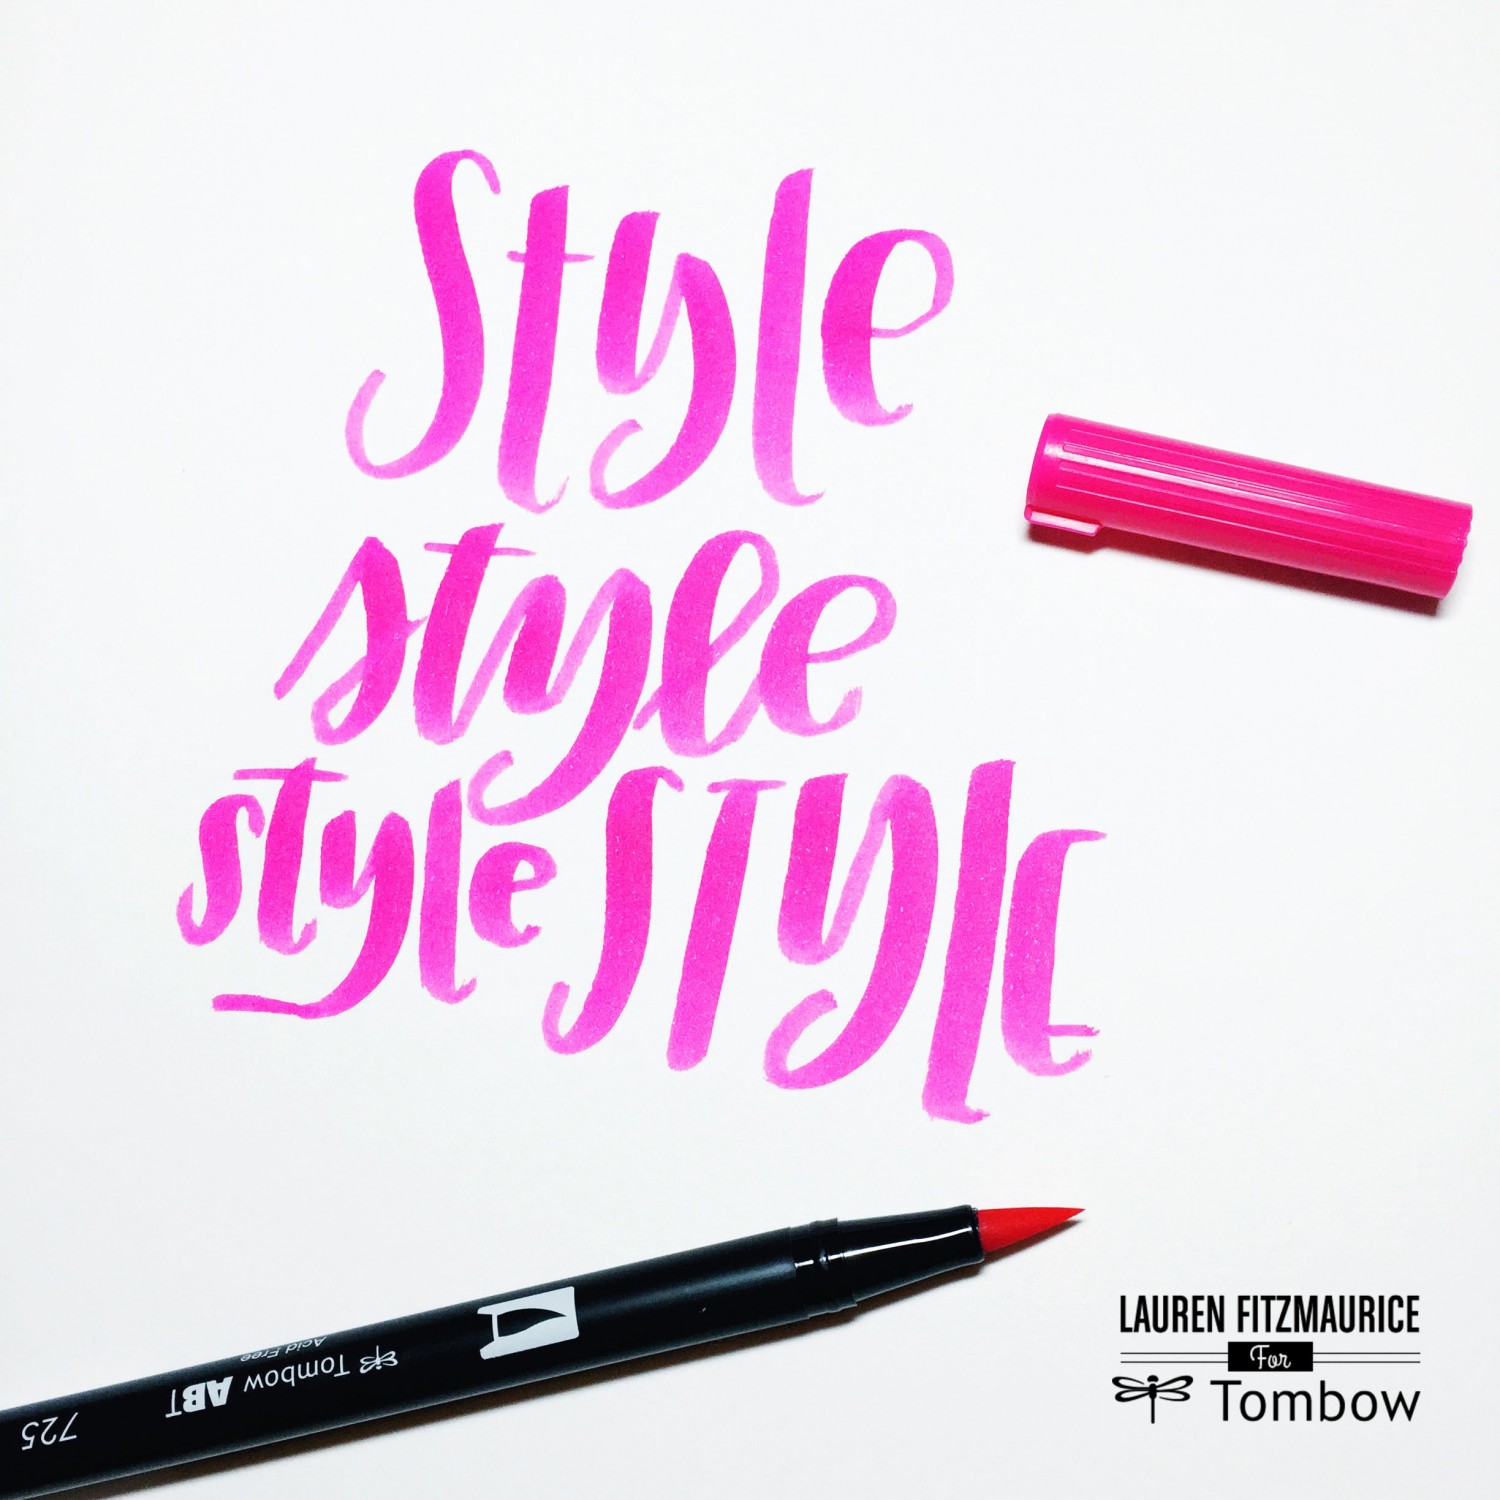
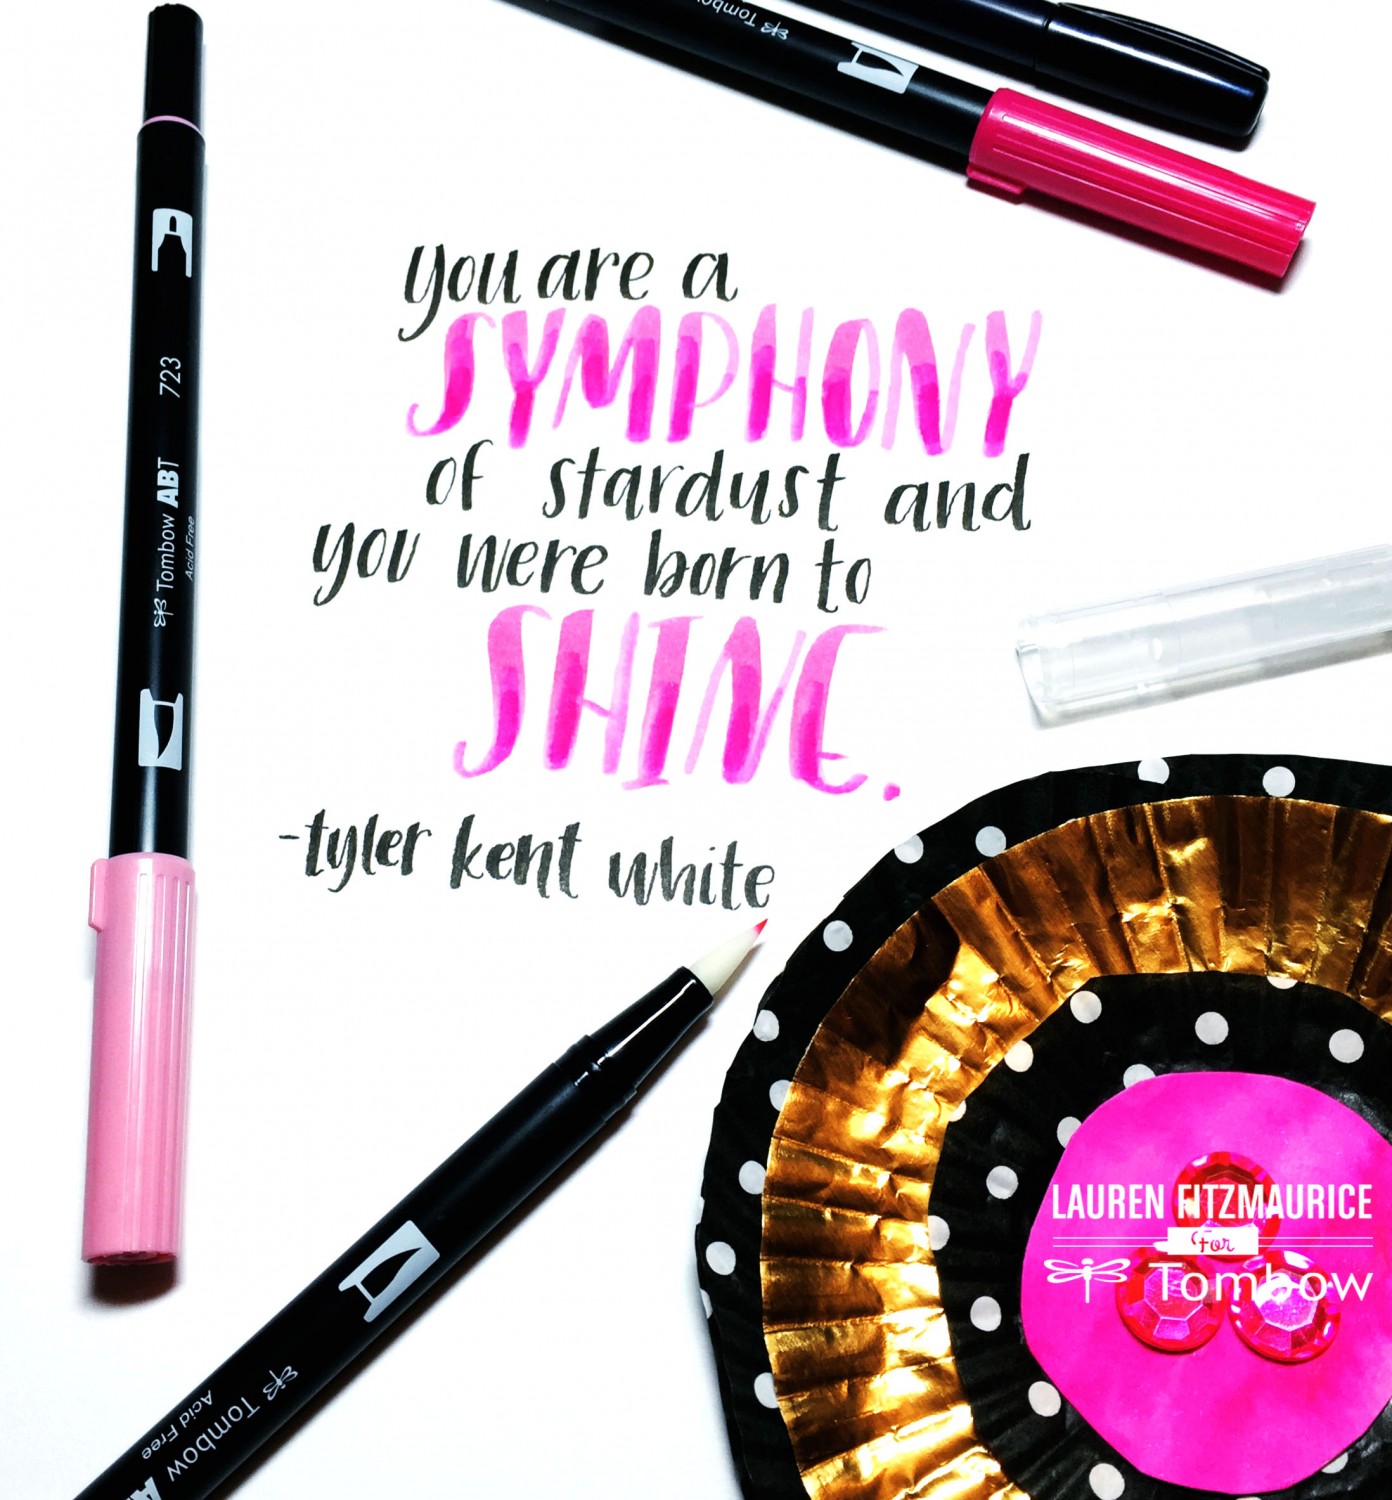
Last of all, it’s time to pick up the brush pens to create a beautiful piece of lettering. The most important part of this entire process is to be yourself. Don’t compare your style to anyone else and completely trust yourself as you create a piece that is uniquely you. I am constantly inspired and connected to words and poetry. I was looking through Serena’s instagram feed and found a repost of the poem in the picture above by Tyler Kent White. Serena‘s favorite word is “shine” so I thought this quote would be perfect for her! I wrote the words symphony and shine in a funky uppercase style with Tombow Dual Brush Pens and the rest of the quote was in simple and girly lowercase letters with the Tombow Fudenosuke Hard Tip Brush Pen. It is fun to mix it up with lettering by blending a darker color into the lighter color with the blender pen, as I did in the picture above. I can’t wait to send this special piece to Serena! It was so cool to create something for her inspired by her! That’s how you create your very own lettering style. The options are endless, really! Whether the letters are quirky, girly, curly, curvy, unique, or simple, if you are yourself and get just a little inspired, you will be able to create something that is truly your own. So pick up those brush pens and get moving! If you aren’t quite comfortable with brush pens yet, you can totally create your own style using the Tombow Monotwin Permanent Marker, the fine tip of the Tombow Dual Brush Pen, or even a Tombow MONO Drawing Pencil.
Thanks so much for reading this post! I hope it helped get a glimpse into the process of developing lettering styles. I can’t wait to see what you create! For more inspiration, check out @renmadecalligraphy, @seresbee, and @tombowusa on instagram and find all of the tombow products at tombowusa.com.

This is the coolest!! A font style inspired by me omg I feel special lol such a great post!! the font you made is perfect omg I would love to use it hehe. You should turn it into a font for reals! Thanks Lauren this was so much fun!! Thanks for wanting to send it to me ☺️
Excellent post Lauren! Love your style!
These are wonderful tips!
Pingback: 10+ Hand Lettering Tutorials | Dawn Nicole Designs™
Thanks for this! I love to learn!