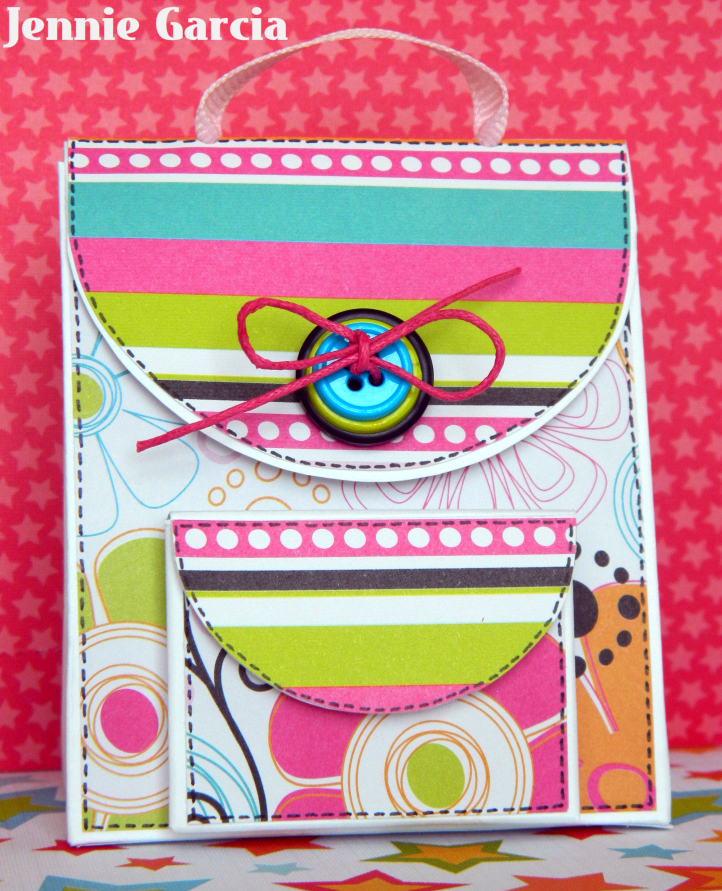
This week we are playing with our Tab Fasteners and I want to share this cute mini backpack. Is really easy to make, I promise :0)
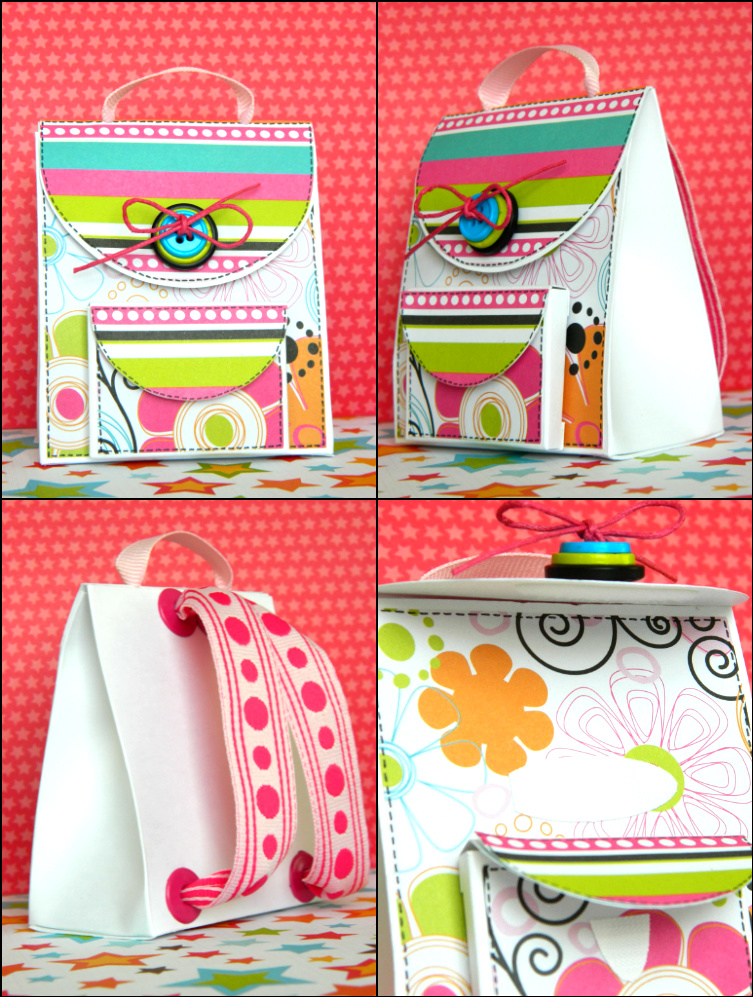
Sometimes we shy away from projects like this because we think is too hard but this was really easy to make, take it from me, probably the slowest scrapbooker ever!! It will take you only a 8 1/2 x 11 cardstock sheet for the base and for the decorations you can use scraps like I did. I took a 10 1/4 x 5 1/4 and I scored the wide part at 3 1/2 then I turned it around and I scored at 3, 4 3/4, 7 3/4 and 9 1/2. Cut the score lines of the bottom part, below the score line. To make the backpack flap I used a 3 x 2 1/2 cardstock and score at 1/2. To make it round I used a plate since I don’t have the tool for making circles. For the pocket you need a piece of 3 x 2 cardstock and you should score it at 1 1/4 and 1 1/2 on the sides and at the bottom. Cut out the squares in the bottom corners to make the folding easier. To make the little flap for the pocket use a 1 1/2 x 2 piece of cardstock and score at 1/4 and 1/2 on the top long side. As I did with the backpack flap to make it round you can use a tool, a plate or anything round. Don’t glue anything yet!! Just have all your pieces.
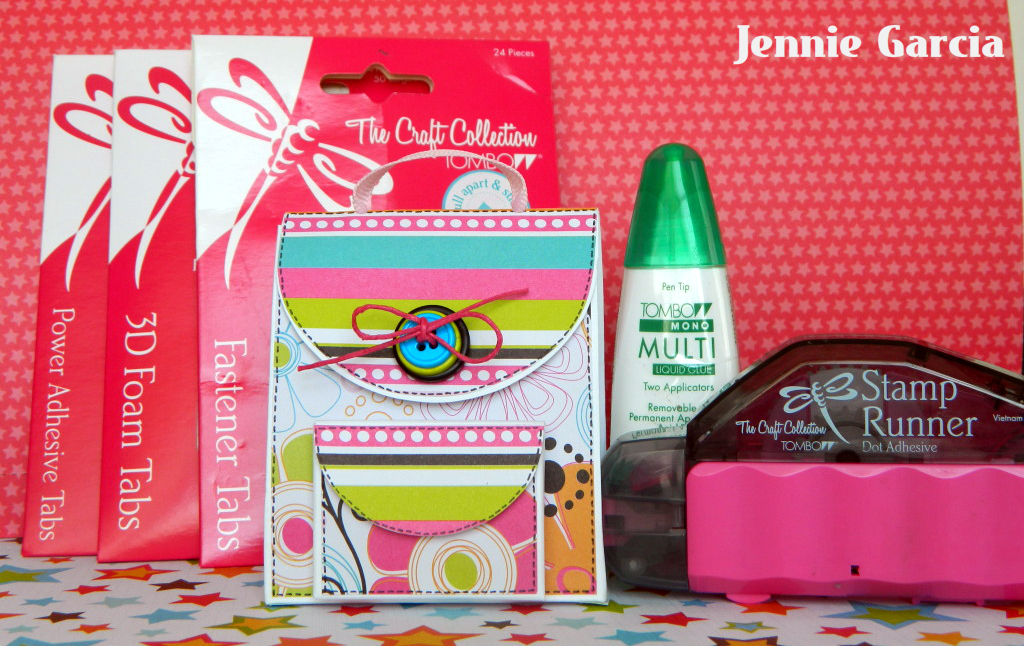
After all the scoring you turn the page around and you are going to have a little flap to put the backpack together, one of the sides, the front of the backpack, another side and the back. You are going to see a little rectangle in the left bottom, cut it out. Using the Stamp Runner Dot Adhesive I covered the front of the backpack with a less busy patterned paper. Glue the backpack flap to the back of the backpack with the little flap on the inside. Cover the visible part of the flap with a busier or darker patterned paper, do the same with the pocket flap. On the exact score line punch two holes 3/4 from the border, this is for the ribbon on top. In the back make four holes, the two in the top are going to be on the center, close to each other but remember that you need space for eyelets (these are optional but they reinforce the holes, avoiding ripping). The two on the bottom should be close to the corners. For the top ribbon I used 6 inch ribbon and for the ones in the back I used two 8 inch ribbon. You can tie the ribbon or you can use your Power Tabs or Mono Multi Liquid Glue to glue the ribbon inside. Remember to keep the same distance in both ribbons. Now you can put it together, Glue the bottom with the Mono Multi Liquid Glue and the little flap to close the sides. Is super easy to make the little pocket just fold the sides and glue the corners where they touch in the back bottom on the top add the flap, there you will have a frame. You will glue this frame to the backpack using the Mono Multi Liquid Glue. And now the star of the show!! The Fastener Tabs!! Since they come with adhesive on both sides I placed the tab, without separating the velcro, on the flap and I closed it. It worked AMAZING!! For the little pocket I used a little less of half of a tab, same method. Just added a little stack of buttons and Ta-Da!!
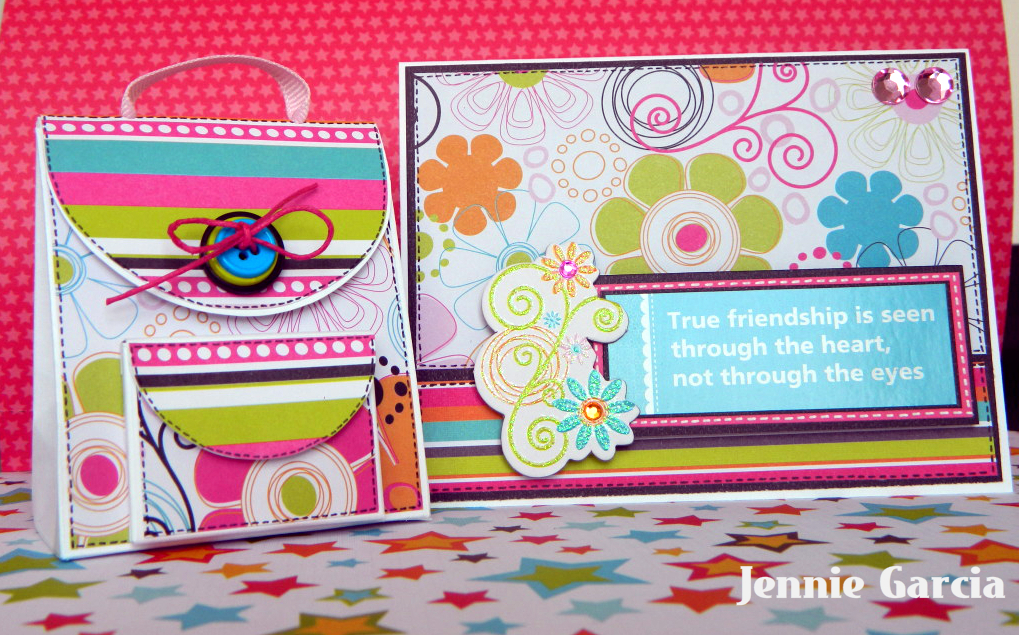
I made this A2 card (4 1/4 x 5 1/2) so you can understand how tiny this backpack will be. For the card I used the Stamp Runner Dot Adhesive and the Foam Tabs for the sentiment and the chipboard sticker.
Do you think you will give this a try?? Show us at the Tombow Facebook Page!!
Take Care!!


Jennie, this is absolutely incredible. Love the colors. It’s all so bright and happy!
Lesley @ Trendy Twine
Very cute Jennie! I tried making one of these once and did not have very good luck. I think it’s because my cardstock was too thick.
Adorable purse Jennie! I love, love the bright and happy colors!
Thanks!! :0) Debbie I used the office cardstock that you buy in bulk and I used a scoreboard.
Love the backpack!
I am sooooo trying this! Jennie, you are a genius!!
I’m gone to say to my little brother, that he should also pay a quick visit this website on regular basis to take updated from latest reports.