If one week of lettering just wasn’t enough for you, don’t despair! We have a Lettering Pinterest board you can follow, and we routinely share amazing handlettering on our Instagram account (follow us @tombowusa).
If you’ve been inspired by our Guest Designers and Design Team members to take up handlettering, we have three quick tips that will guide you on your way as you get started:
Tip 1: Just Start!
It sounds so easy, and that’s because it is! Don’t be afraid that your work won’t look like a masterpiece on the first try. Like most things, lettering takes time and practice to get really good at, and you’ll never know how good you can be unless you try!
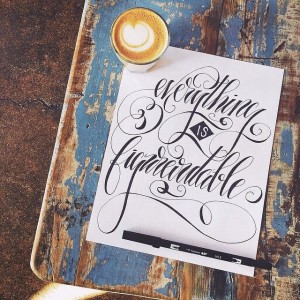
“Everything is Figuroutable” by @reachalana on Instagram
Tip 2: Practice, Practice, Practice
Unless you just have a natural talent for lettering, it’s going to take some practice. Practice by lettering your to-do list, grocery list, kids’ chores, homework, whatever. Eggs, milk and bread not giving you enough creative inspiration? Do a search on motivational quotes and try one on for size instead.
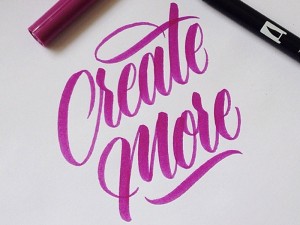
Create More by Andy Lethbridge
Tip 3: Sketch First
When you sketch in pencil first, it’s so much easier to see your composition and make changes. Once you’ve put ink to paper, it’s a lot more difficult to change the look of what you’re doing. Our MONO Drawing Pencils and MONO NP Non-PVC Eraser are perfect for this!

“I’m in love with the Tombow” by Dion Sadji – @graphicfanatik on Instagram
We hope these tips help you get on your way with lettering! Have a question about handlettering? Leave us a comment here, or on our Facebook page! We’d love to hear from you.
Tom bow products are the best. So many items to choose from for my projects