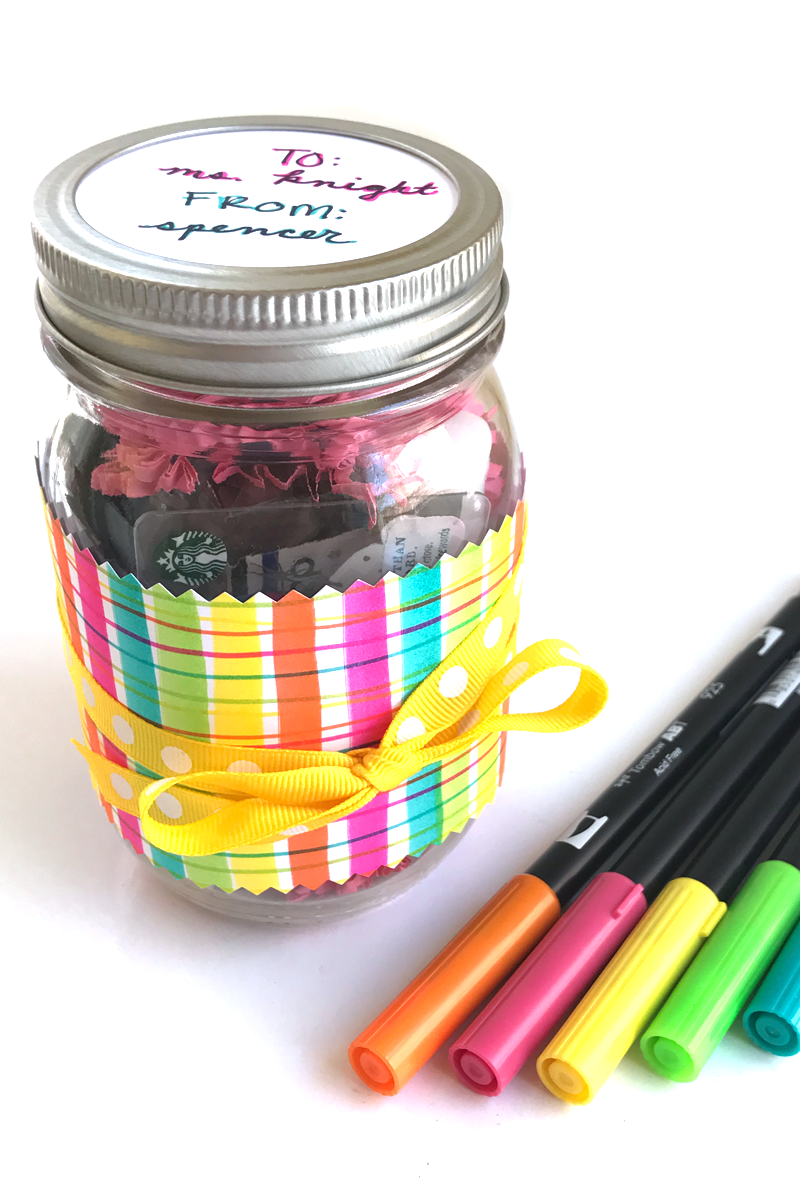
Hi Tombow friends, it’s Dani from @popfizzpaper! Today I’m sharing a quick and easy Teacher Survival Kit Gift perfect for your kid’s teachers during Teacher Appreciation Week! You can even get your kids involved in making these. Let’s get started!
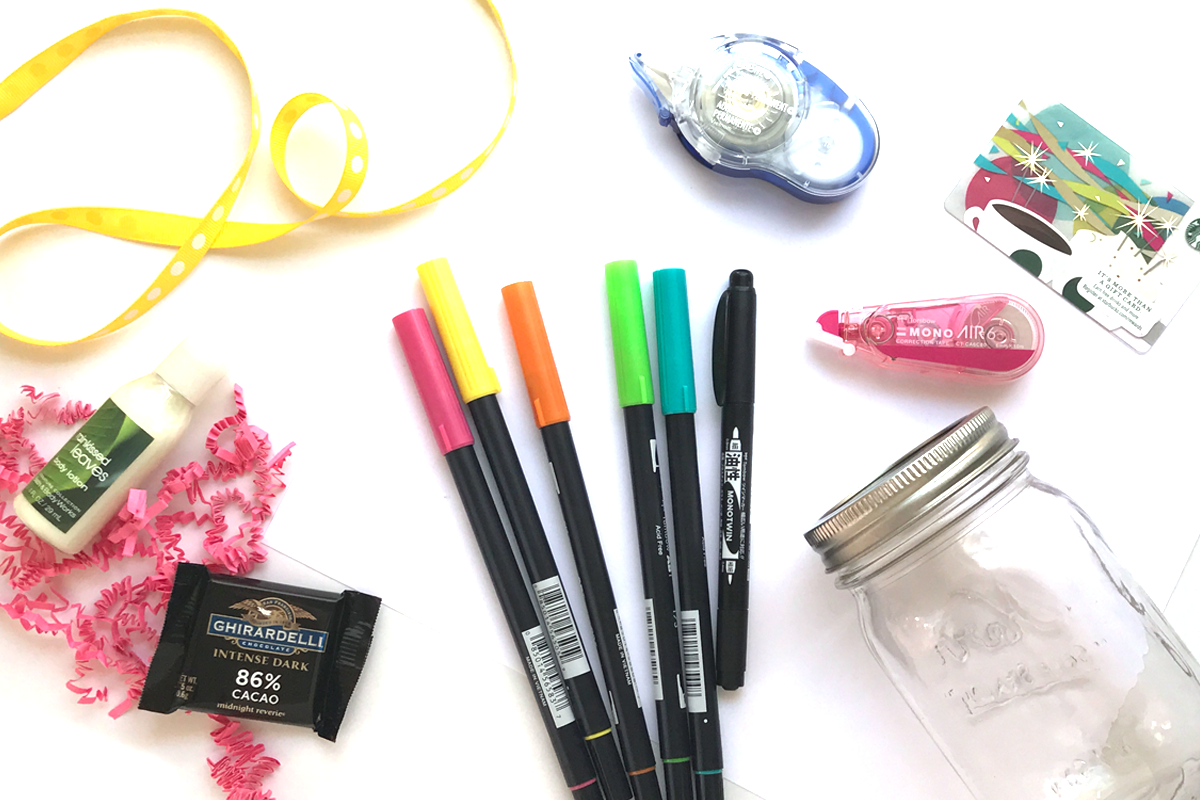
SUPPLIES:
- Tombow MONO Adhesive+
- Tombow Dual Brush Markers (373, 173, 055, 925, 743)
- Cardstock (8.5″x11″)
- Tombow MONO Twin Permanent Marker
- Mason jar (standard size)
- Scissors
- Ribbon
- Little treats and gifts to fill the jar (candy, gift card, small office goods, stationery items, travel size hand lotion, bandaids, tea bags, cough drops, gum, water flavor packets, etc. Anything you think your teacher could use in a pinch and might not have on hand!)
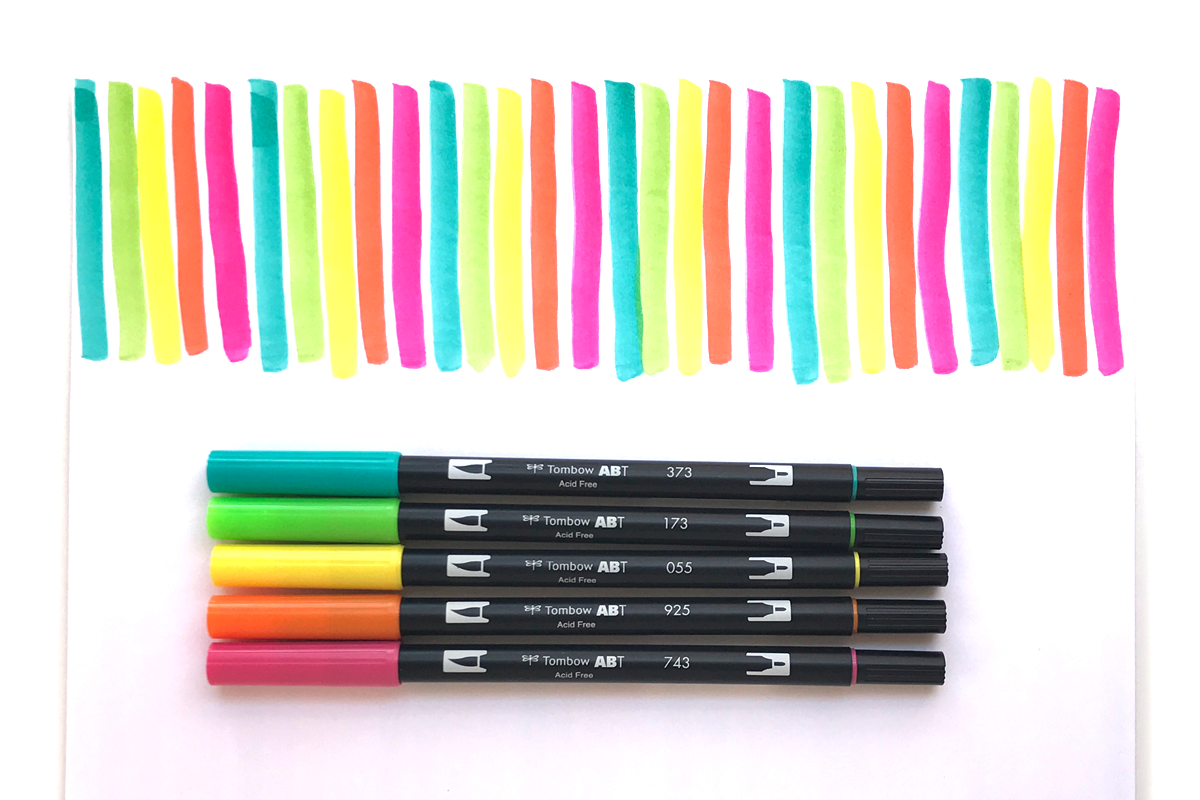
STEP ONE
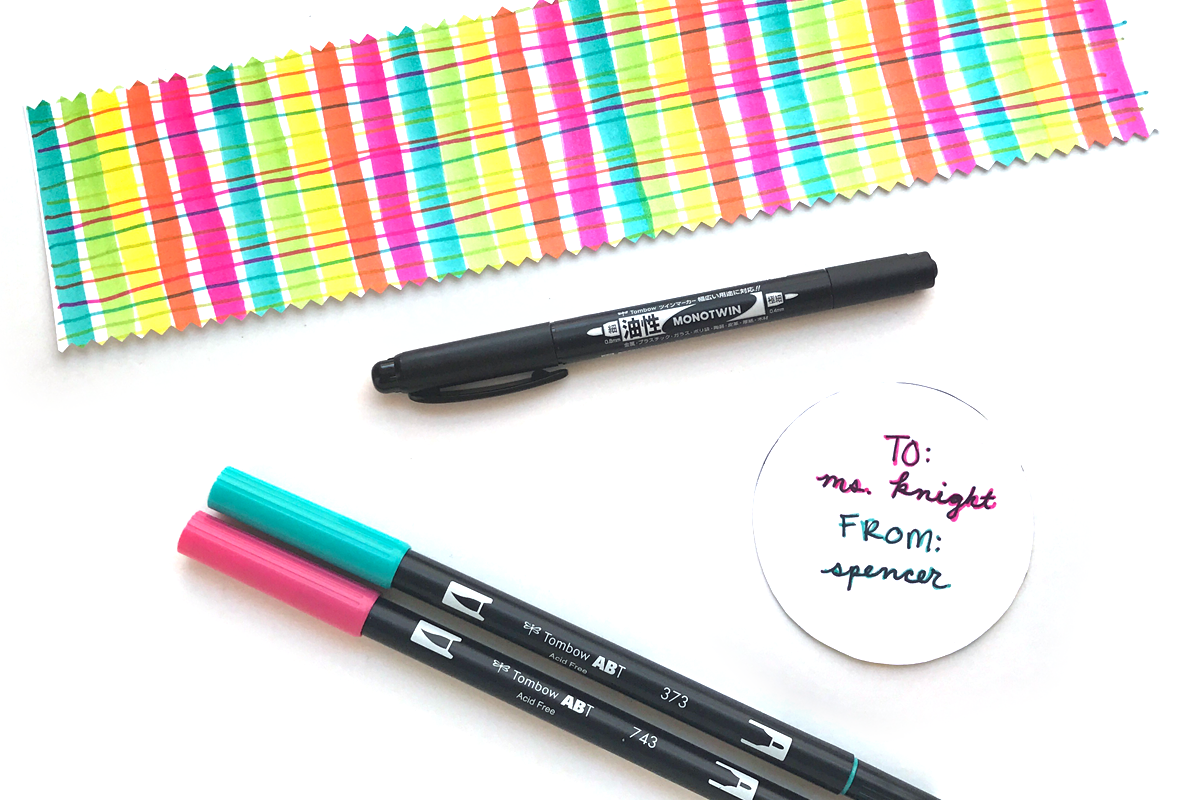
With your cardstock in a landscape orientation, draw 3″ vertical lines using the brush tips of the Tombow Dual Brush Pens. I like happy and vibrant colors, so I went with a bright rainbow theme. You can totally customize the colors to what you think your teacher will like! A pastel colorway would be really pretty, or maybe even your school’s colors.
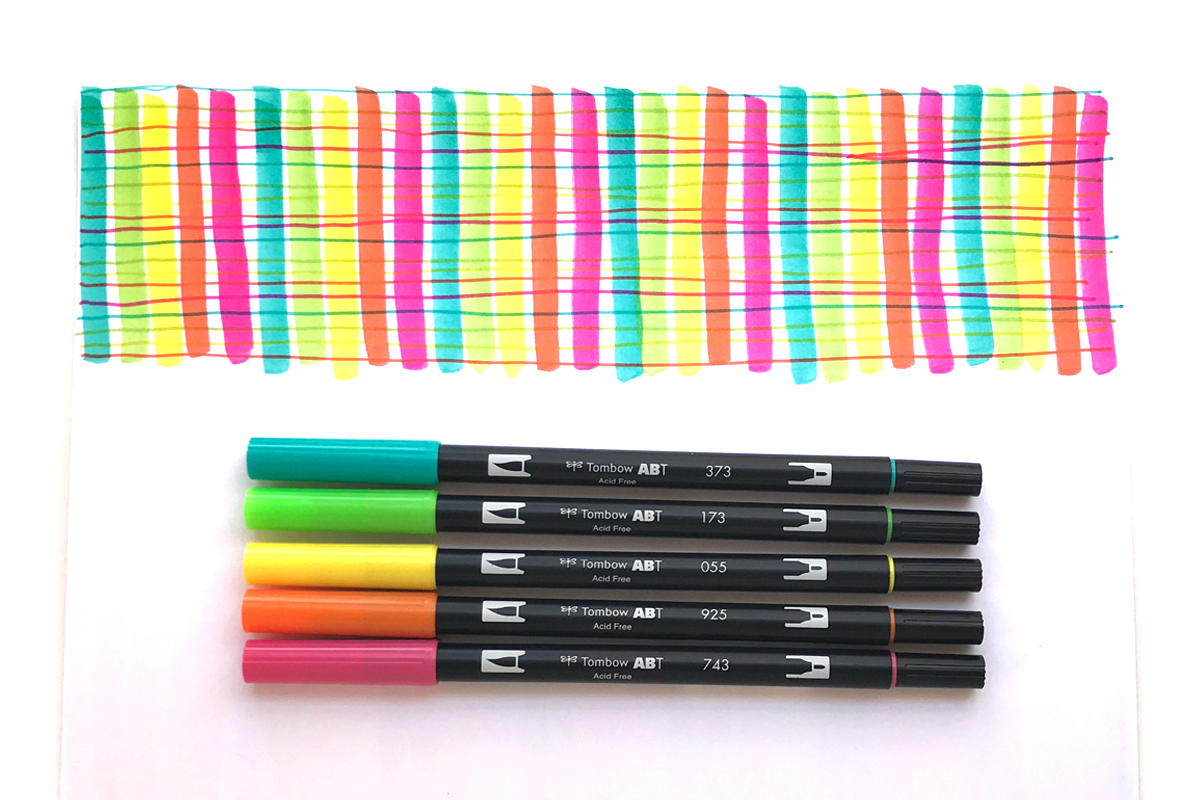
STEP TWO
Next, with the bullet tips of the Dual Brush Pens, draw long, thin lines horizontally across your page. I used the same colors and pattern as above. Don’t worry about your lines being imperfect – it adds to the charm!
STEP THREE
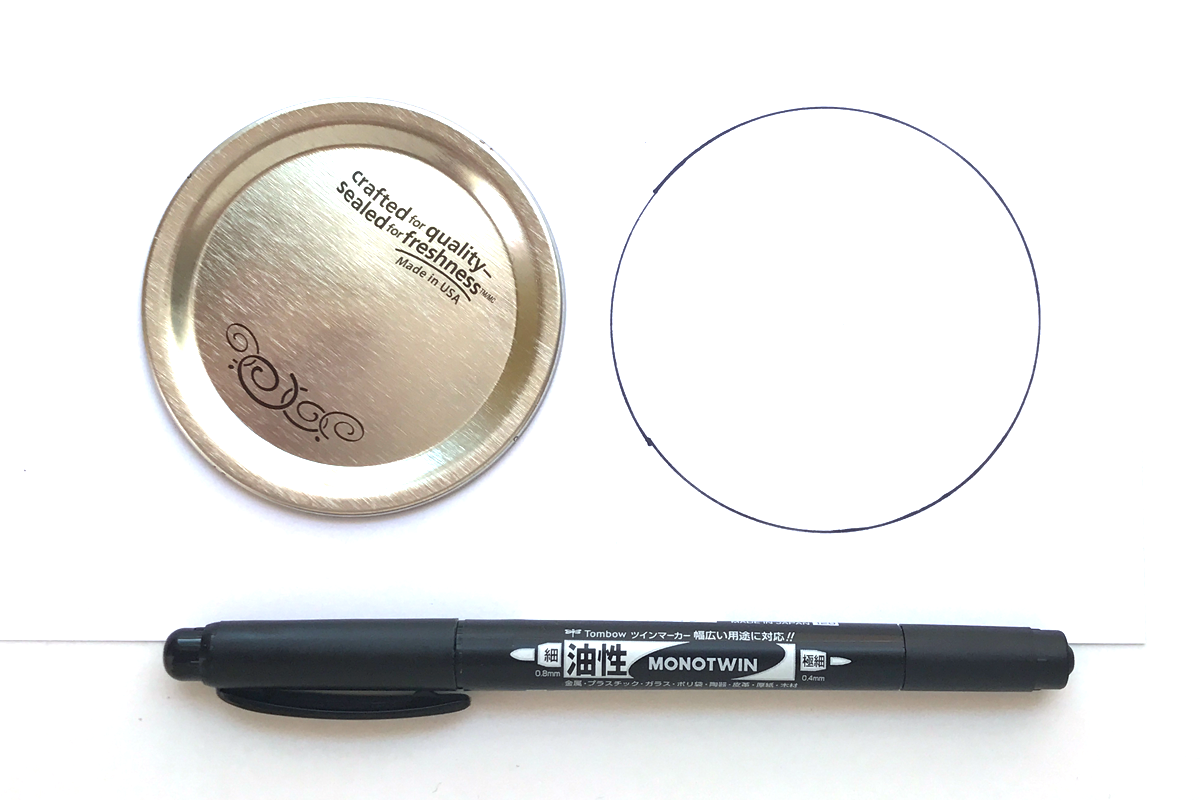
Time to prep the jar lid! On a blank spot on your cardstock, trace around the seal part of the lid with the MONO Twin Permanent Marker. Next, cut it out with scissors.
STEP FOUR
You can decorate the circle you just cut out, or write your teacher and child’s name on it like I did. For mine, I also went over the writing with a couple of the Dual Brush Pens to make the text pop a little bit.
You’ll also need to cut off the portion of your paper that has the vertical and horizontal lines on it. The final piece of paper should be 11 inches long by about 2.5-3 inches wide. I used decorative scissors to make the edges a little bit more fun!
STEP FIVE
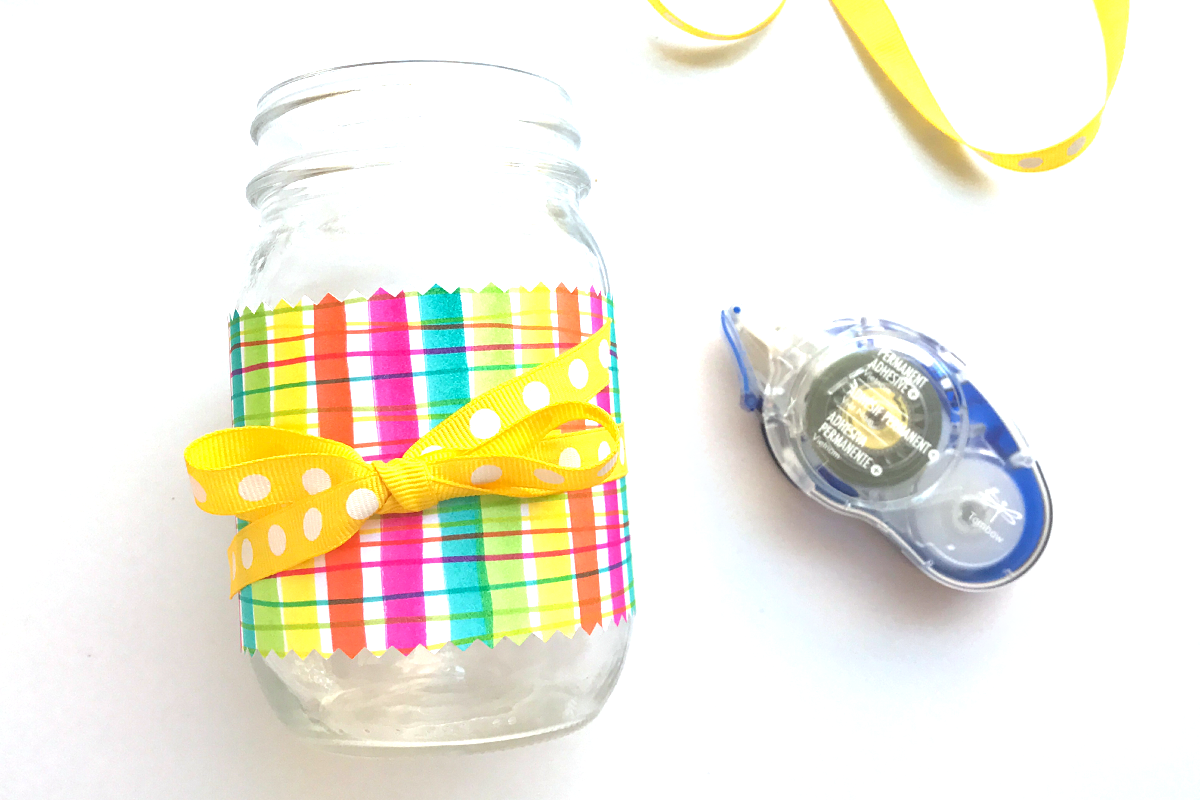
Next, wrap the long decorated paper strip around your jar and use the MONO Adhesive+ Permanent to secure the paper to itself. I like to keep any adhesive off of the jar, just in case the teacher wants to repurpose it later. Wrap coordinating ribbon around the jar, and tie a cute bow. Use the MONO Adhesive+ again to secure the cut ends of the ribbon to the paper so the bow stays looking cute.
STEP FIVE
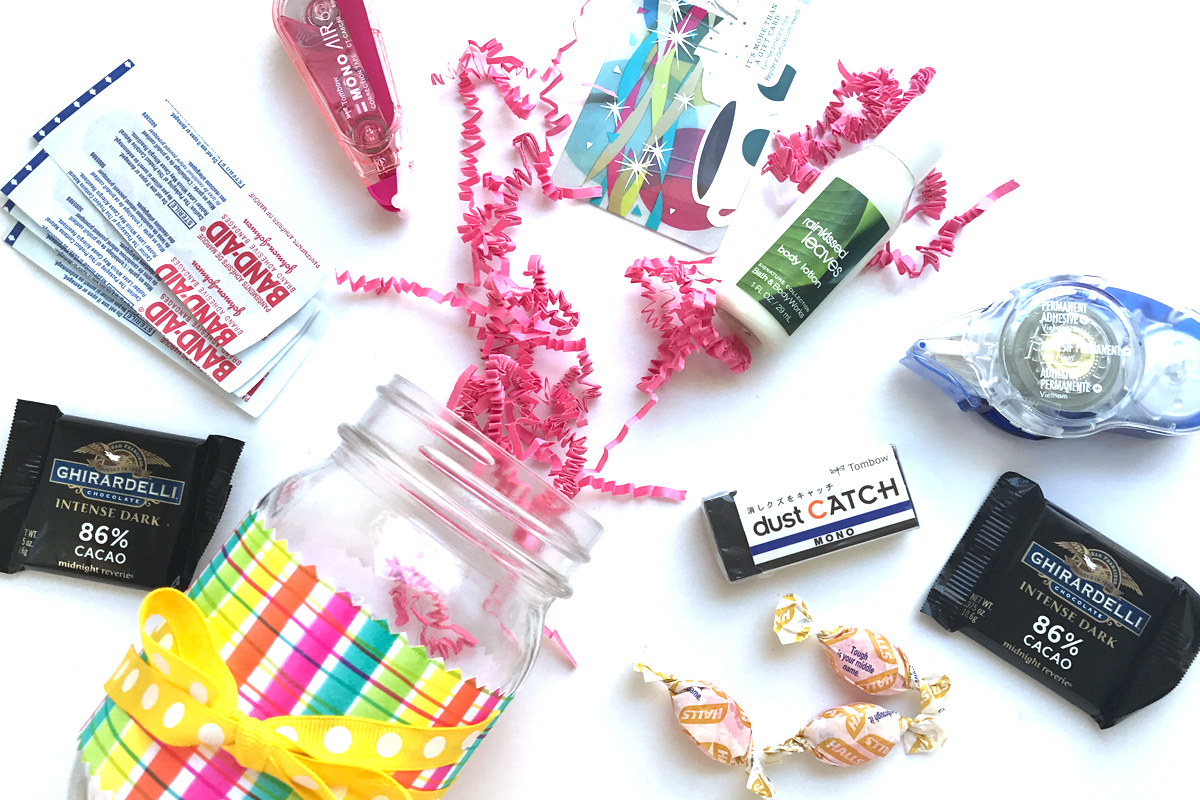
Finally, assemble your jar! I included some helpful things like my favorite Tombow items as well as some fun stuff, like a coffee gift card and chocolates. It would also be fun to fill the jar with a bunch of one type of thing, like gum, crayons, erasers, etc. Take your cue from the teacher you’ll be giving this to for ideas about what to include in the jar.
I also added some pretty pink paper crinkles to add more color. Once your Teacher Survival Kit Gift jar is full, top with the jar seal and the circle paper you cut out, then secure with the mason jar ring. All done!
And that is it for today’s project! I hope you enjoyed it and that you’re inspired to make something for your kid’s favorite teacher(s). If you make your own jar, please tag me on Instagram or YouTube – I would love to see! Happy crafting and I’ll see you next time, friends!

Pingback: DIY Faux Embroidery Hoop using Tombow Dual Brush Pens - Tombow USA Blog
Pingback: Faux Embroidery Hoop sing Tombow Dual Brush Pens - Tombow USA Blog
Pingback: DIY Thumbprint Balloon Card For Teacher Appreciation - Tombow USA Blog