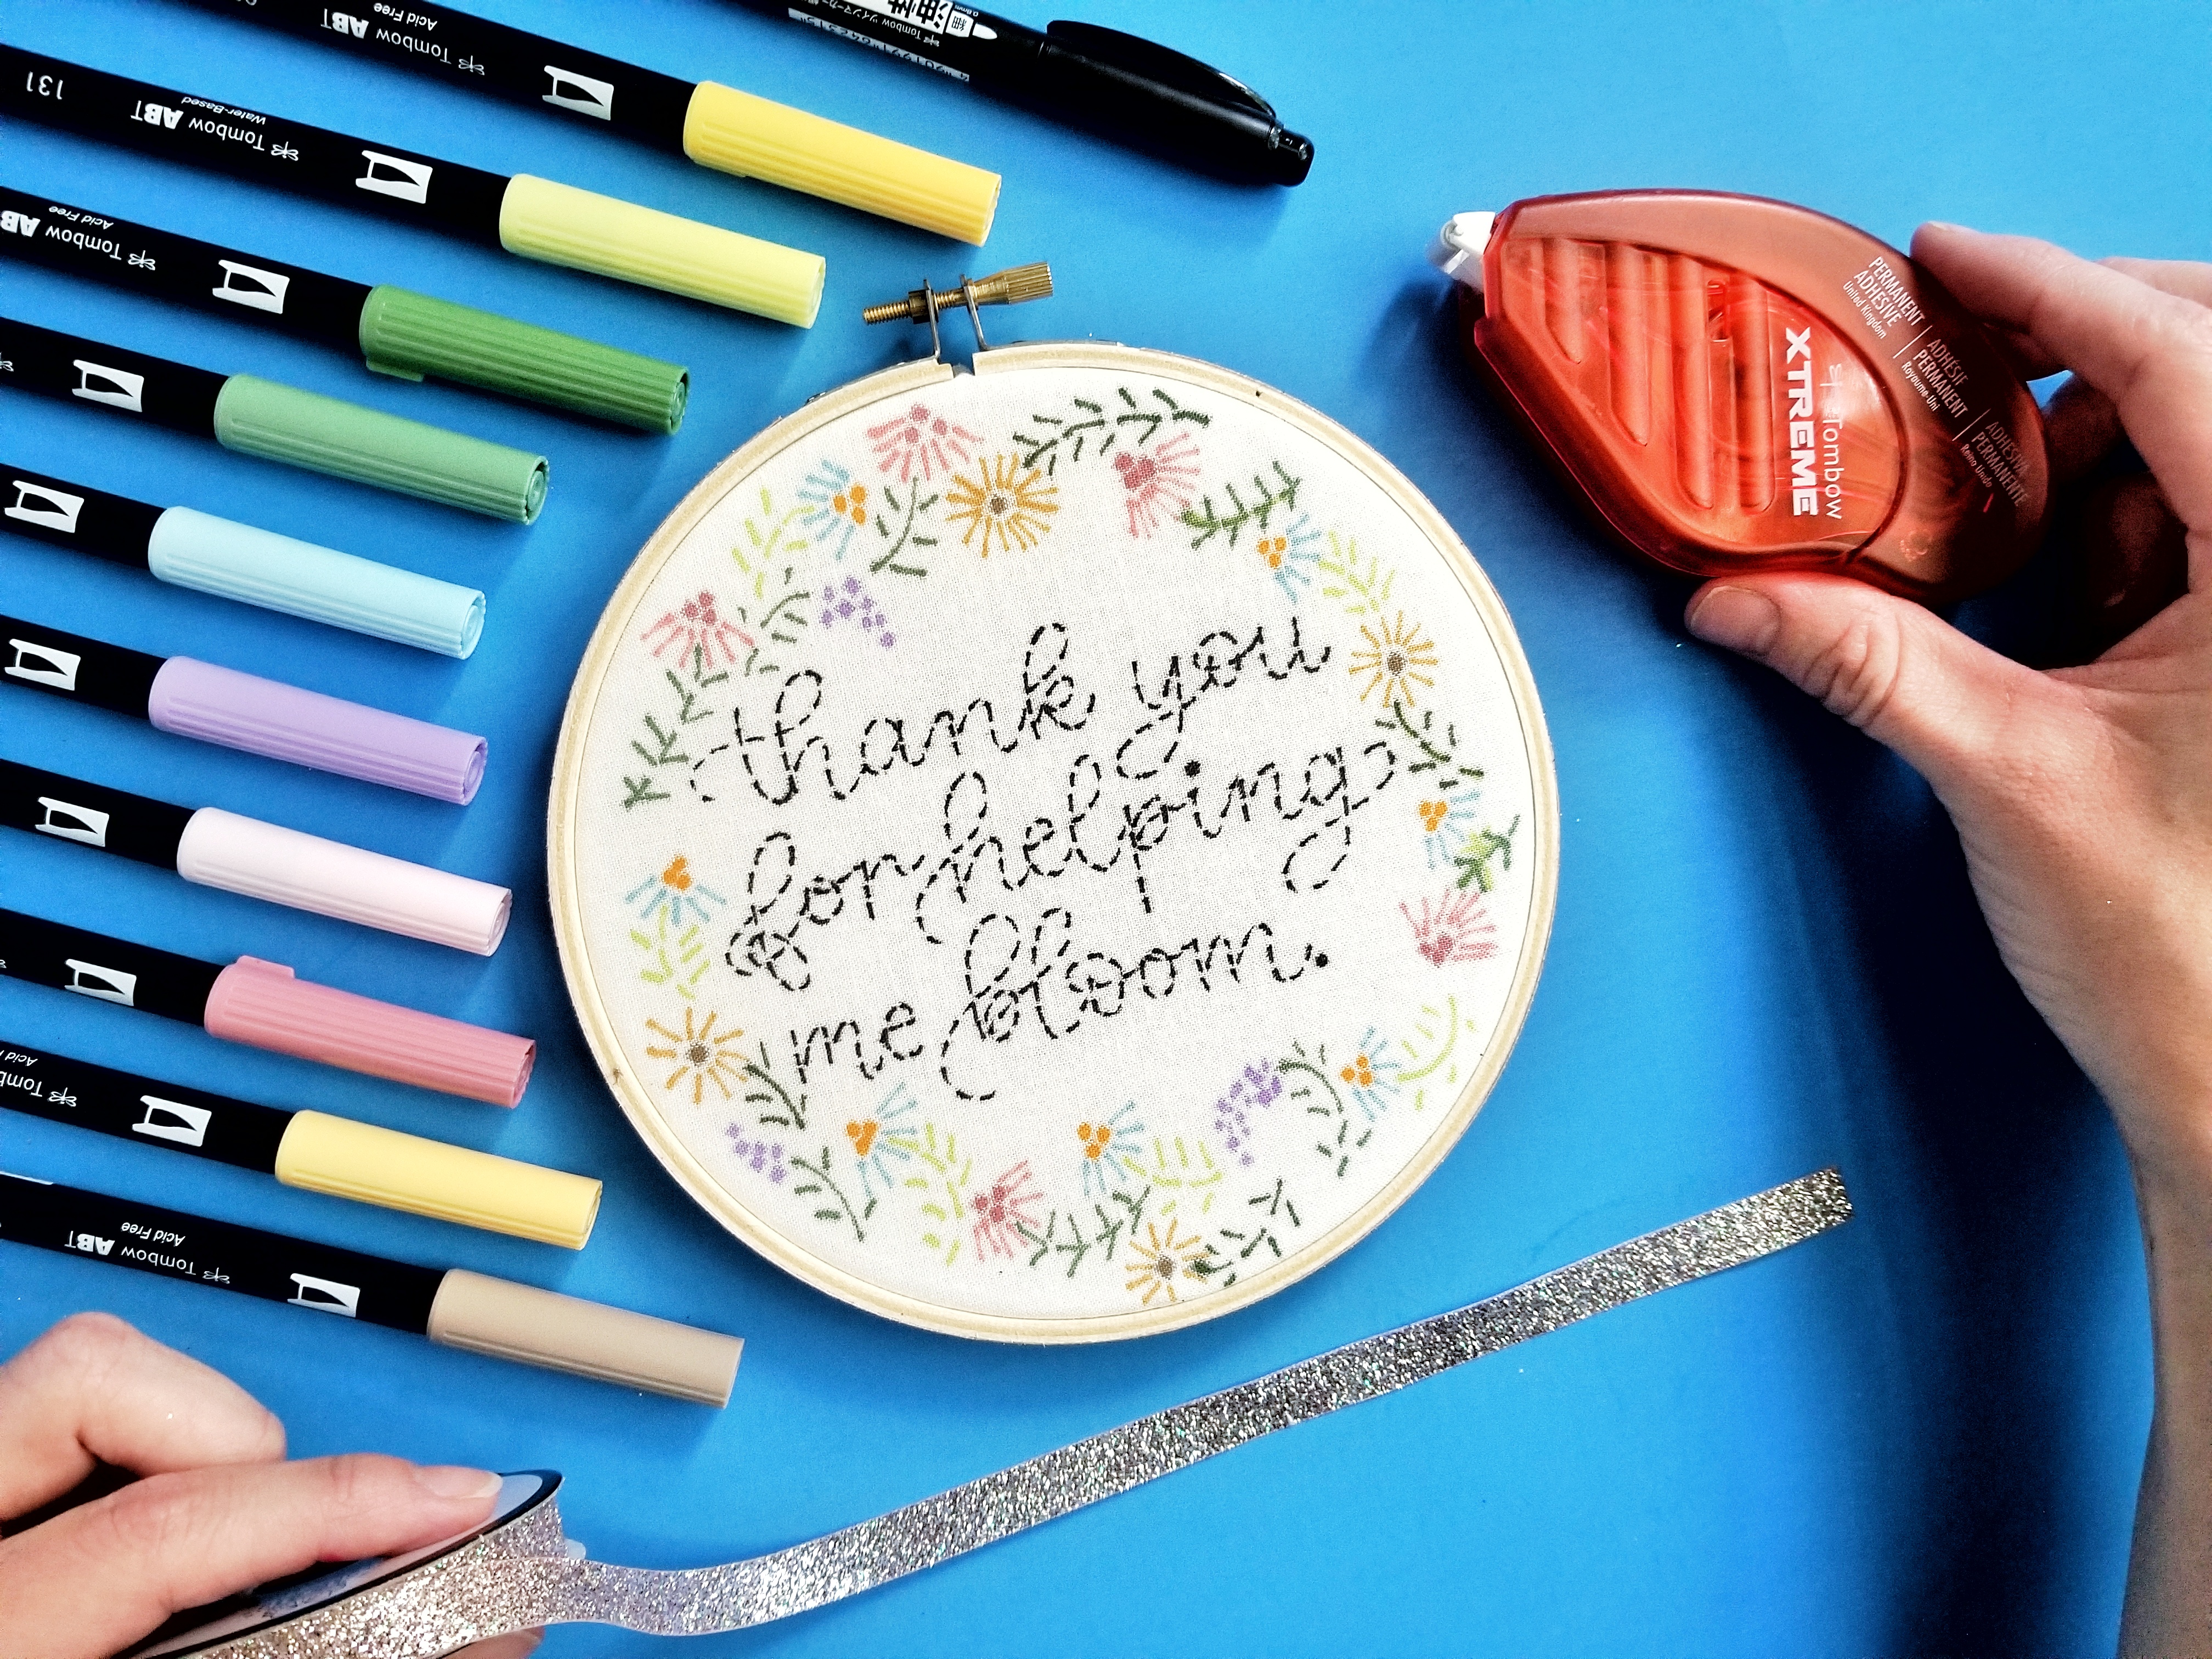
Hey Tombow friends! It’s Grace from Grace Anne Studio. Growing up, my grandmother taught me how to embroider. It was so much fun! Unfortunately, like many childhood lessons, I didn’t continue to grow the skill as I grew. The love of all things embroidered never went away though! In honor of Teacher Appreciation Week (May 6-10), I’m combining my love of embroidery and Tombow Dual Brush Pens to make a faux embroidery hoop.
Supplies
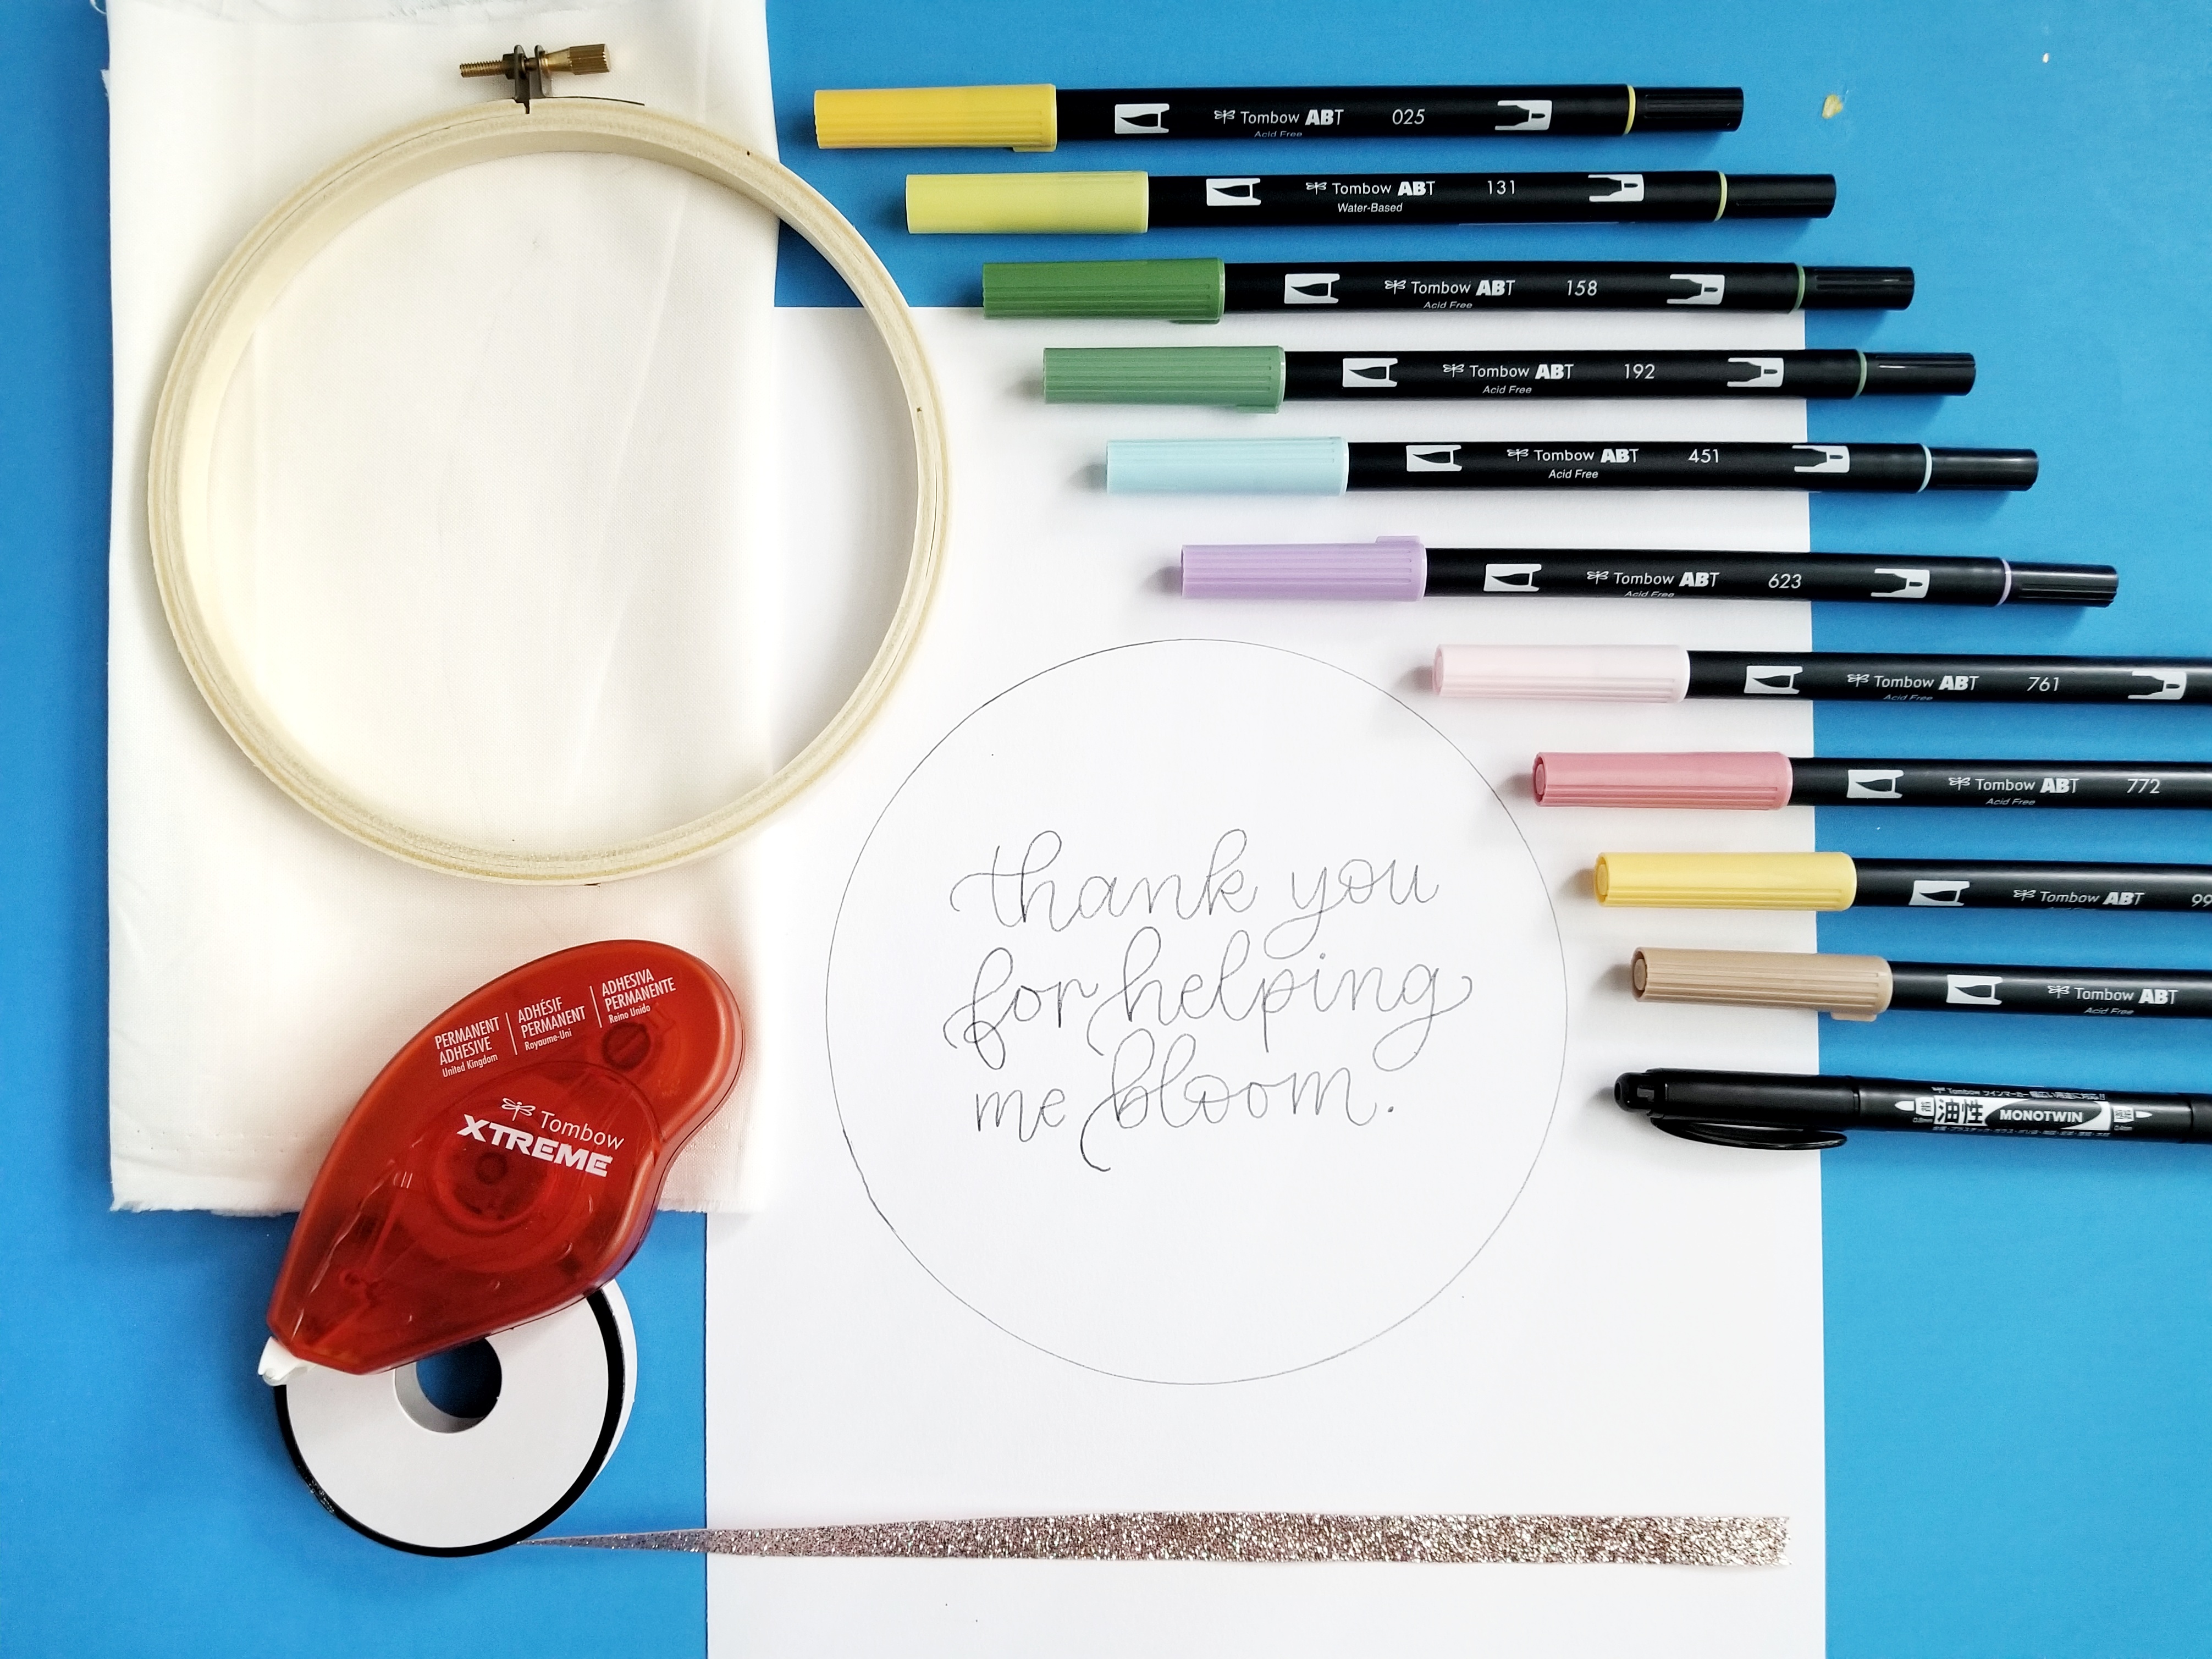
- Tombow Dual Brush Pens
- Tombow MONO Twin Permanent Marker
- Tombow Xtreme Adhesive
- Fabric
- Ribbon
- Embroidery hoop
- Hoop design
- Light pad
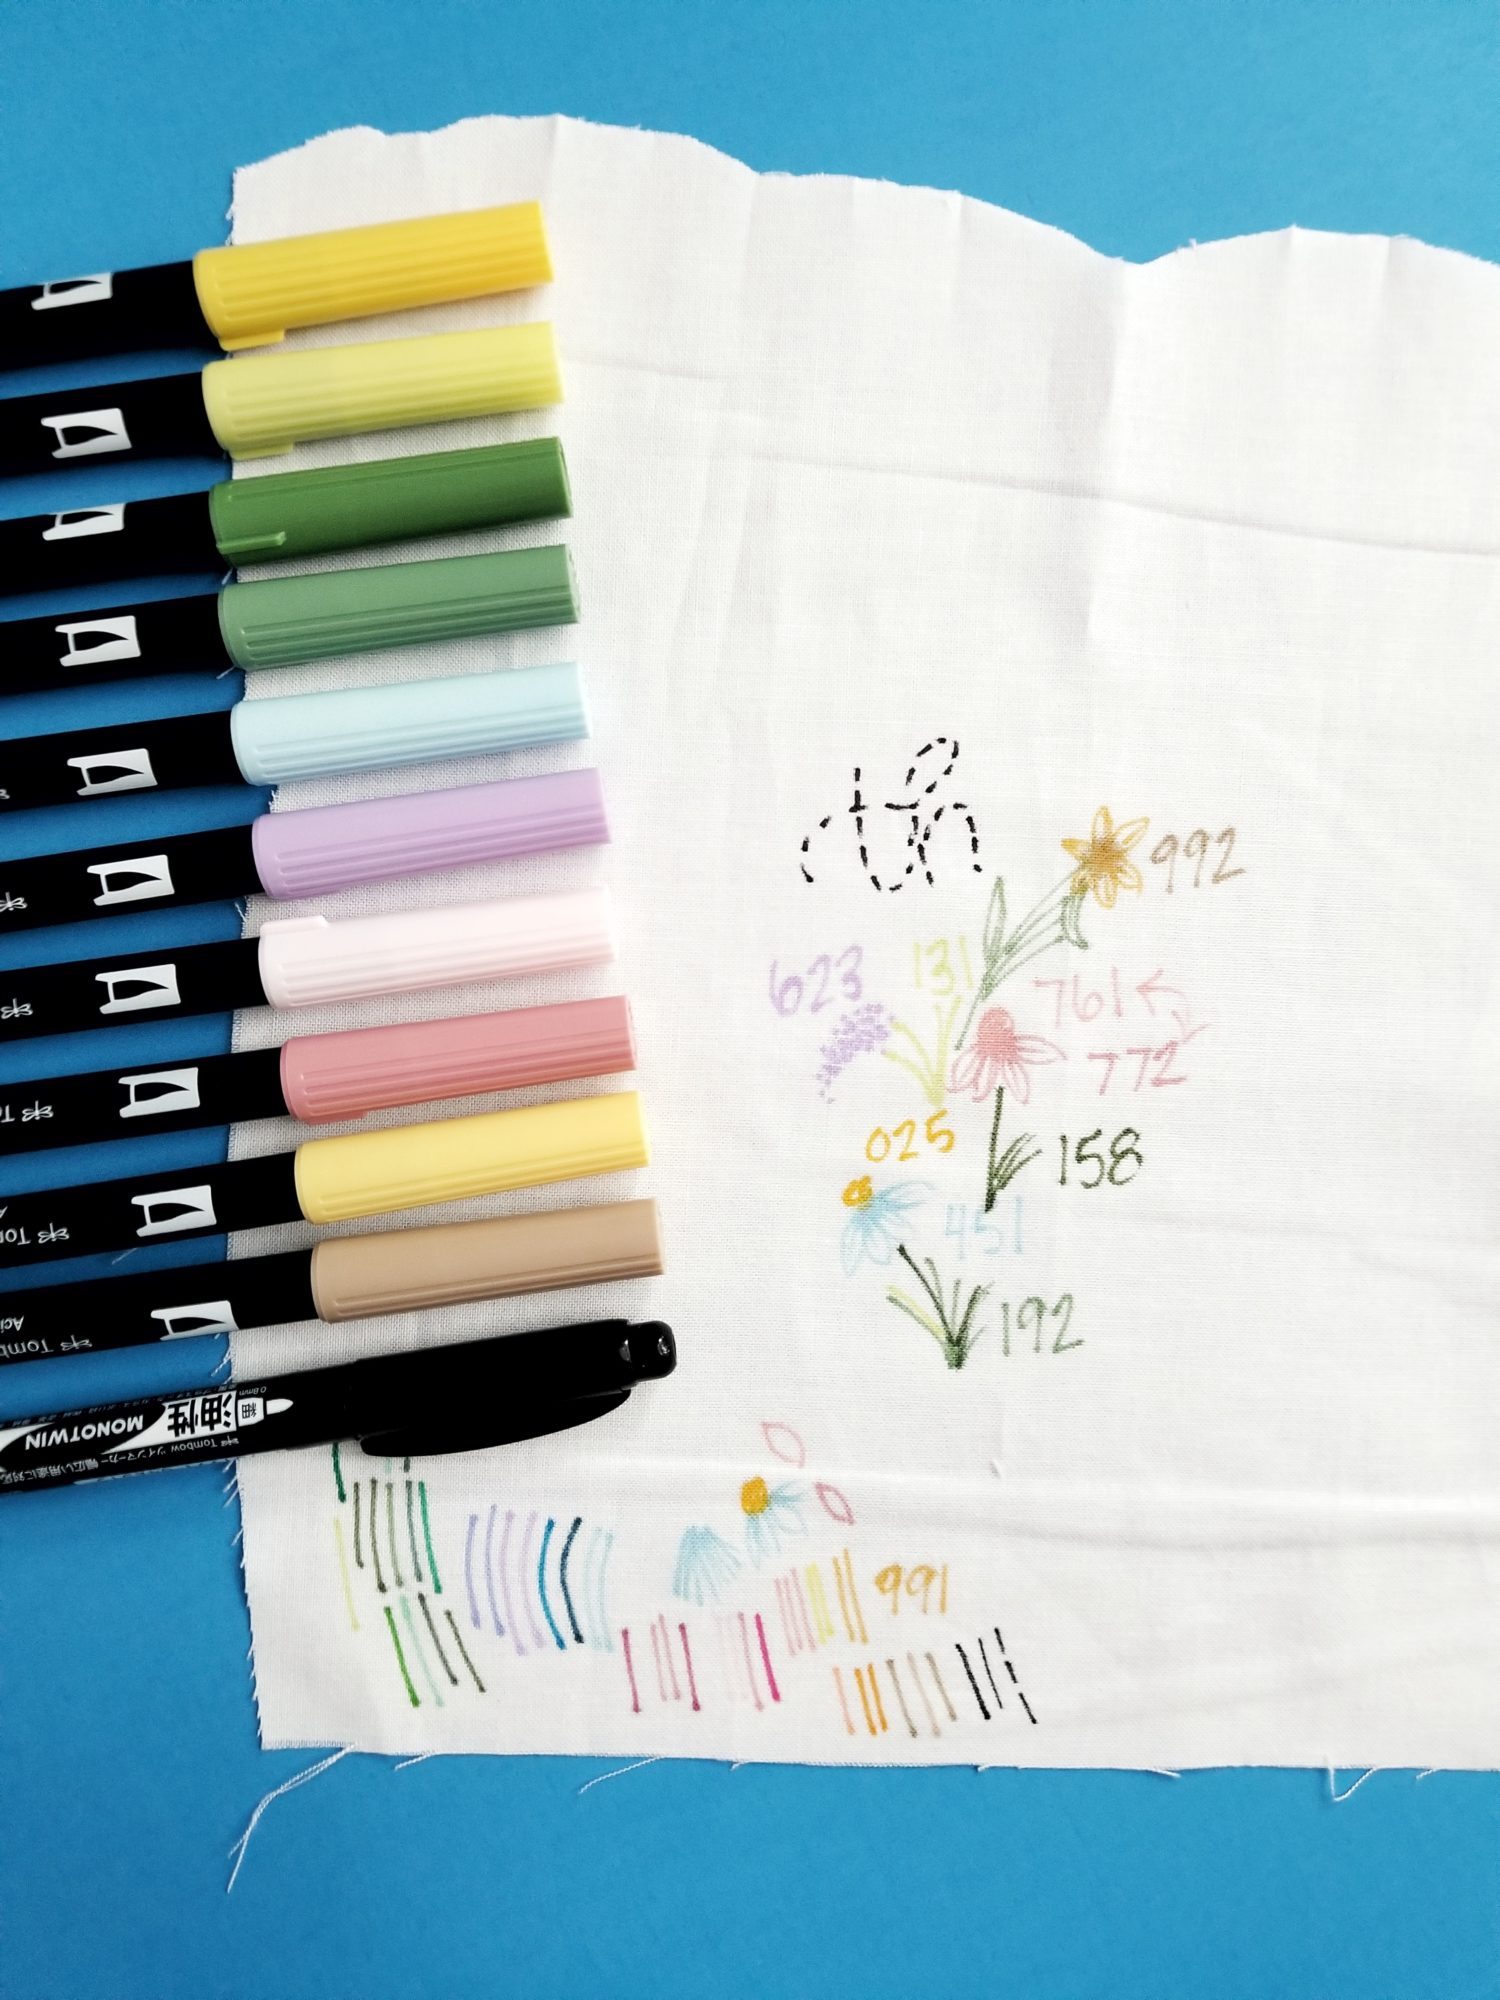
Step 1: Swatch and Stitch
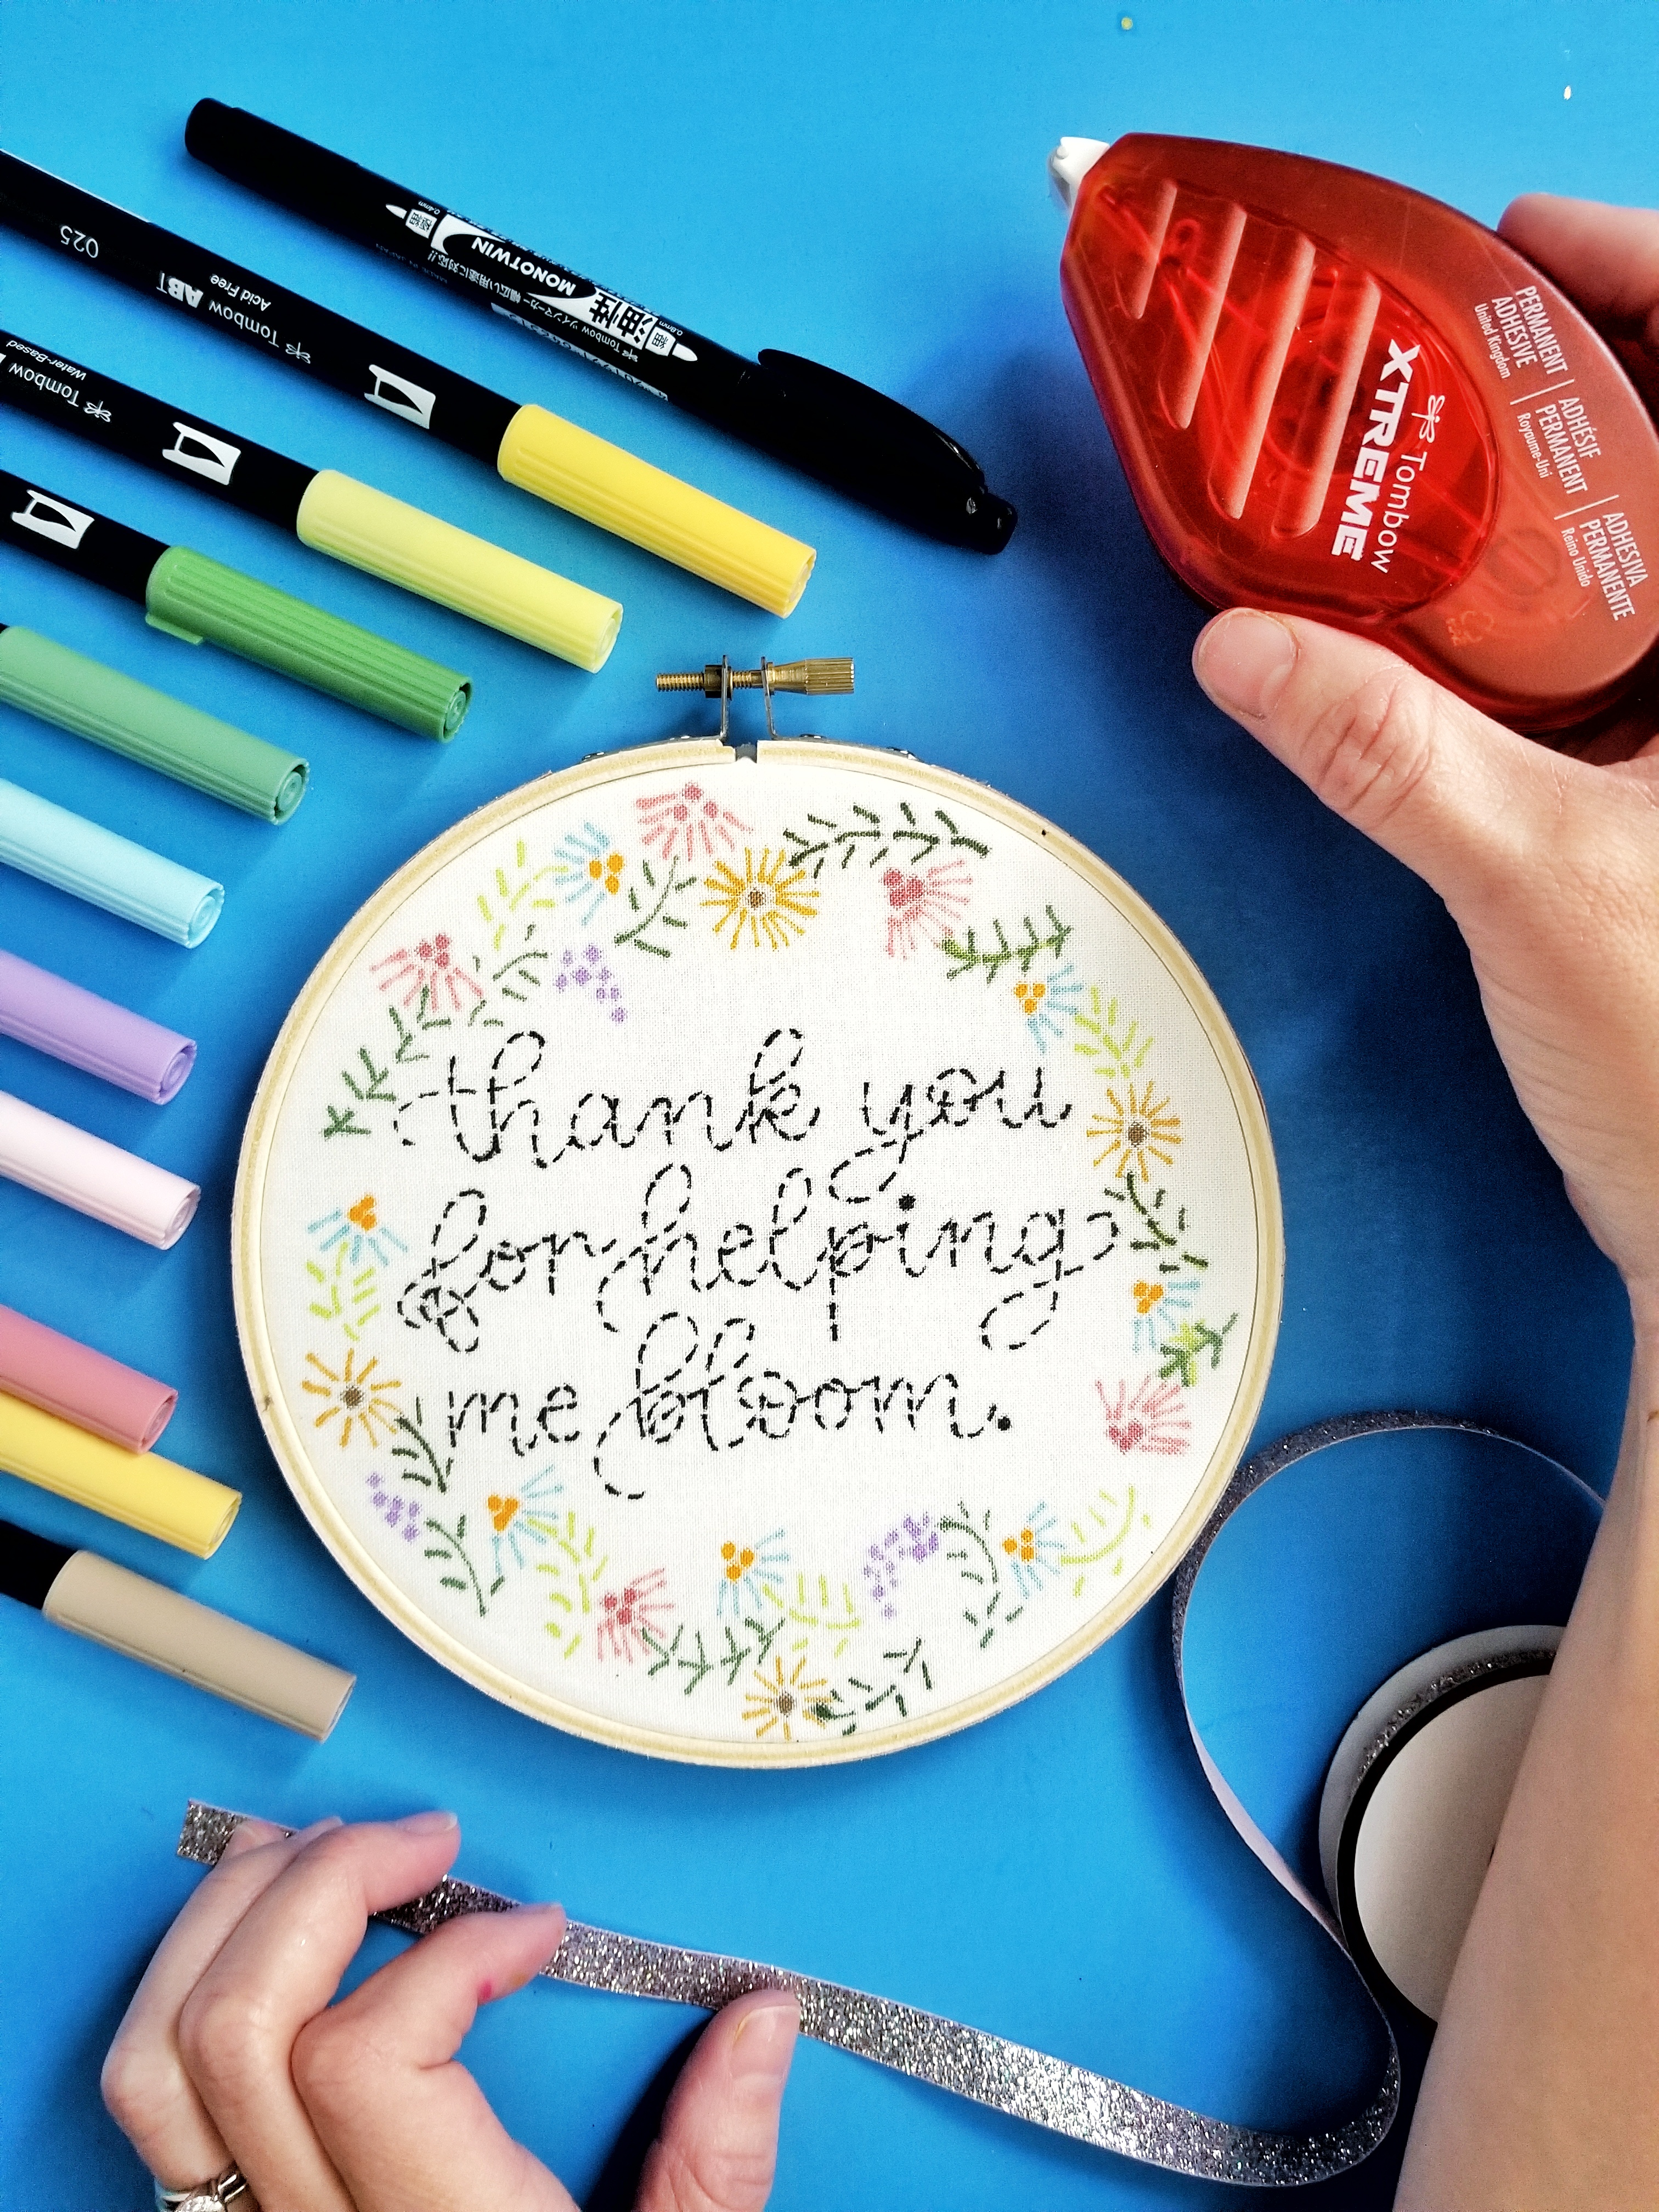
The first step in any project is to test the materials. I used a fabric scrap and tested Tombow Dual Brush Pens on it to find the perfect color palette: 025, 131, 158, 192, 451, 623, 761, 772, 991, and 992. You should also practice strokes on scrap fabric before diving into the final piece. This allows you to see how the ink absorbs into the fabric and prevents any bleeding that might occur.
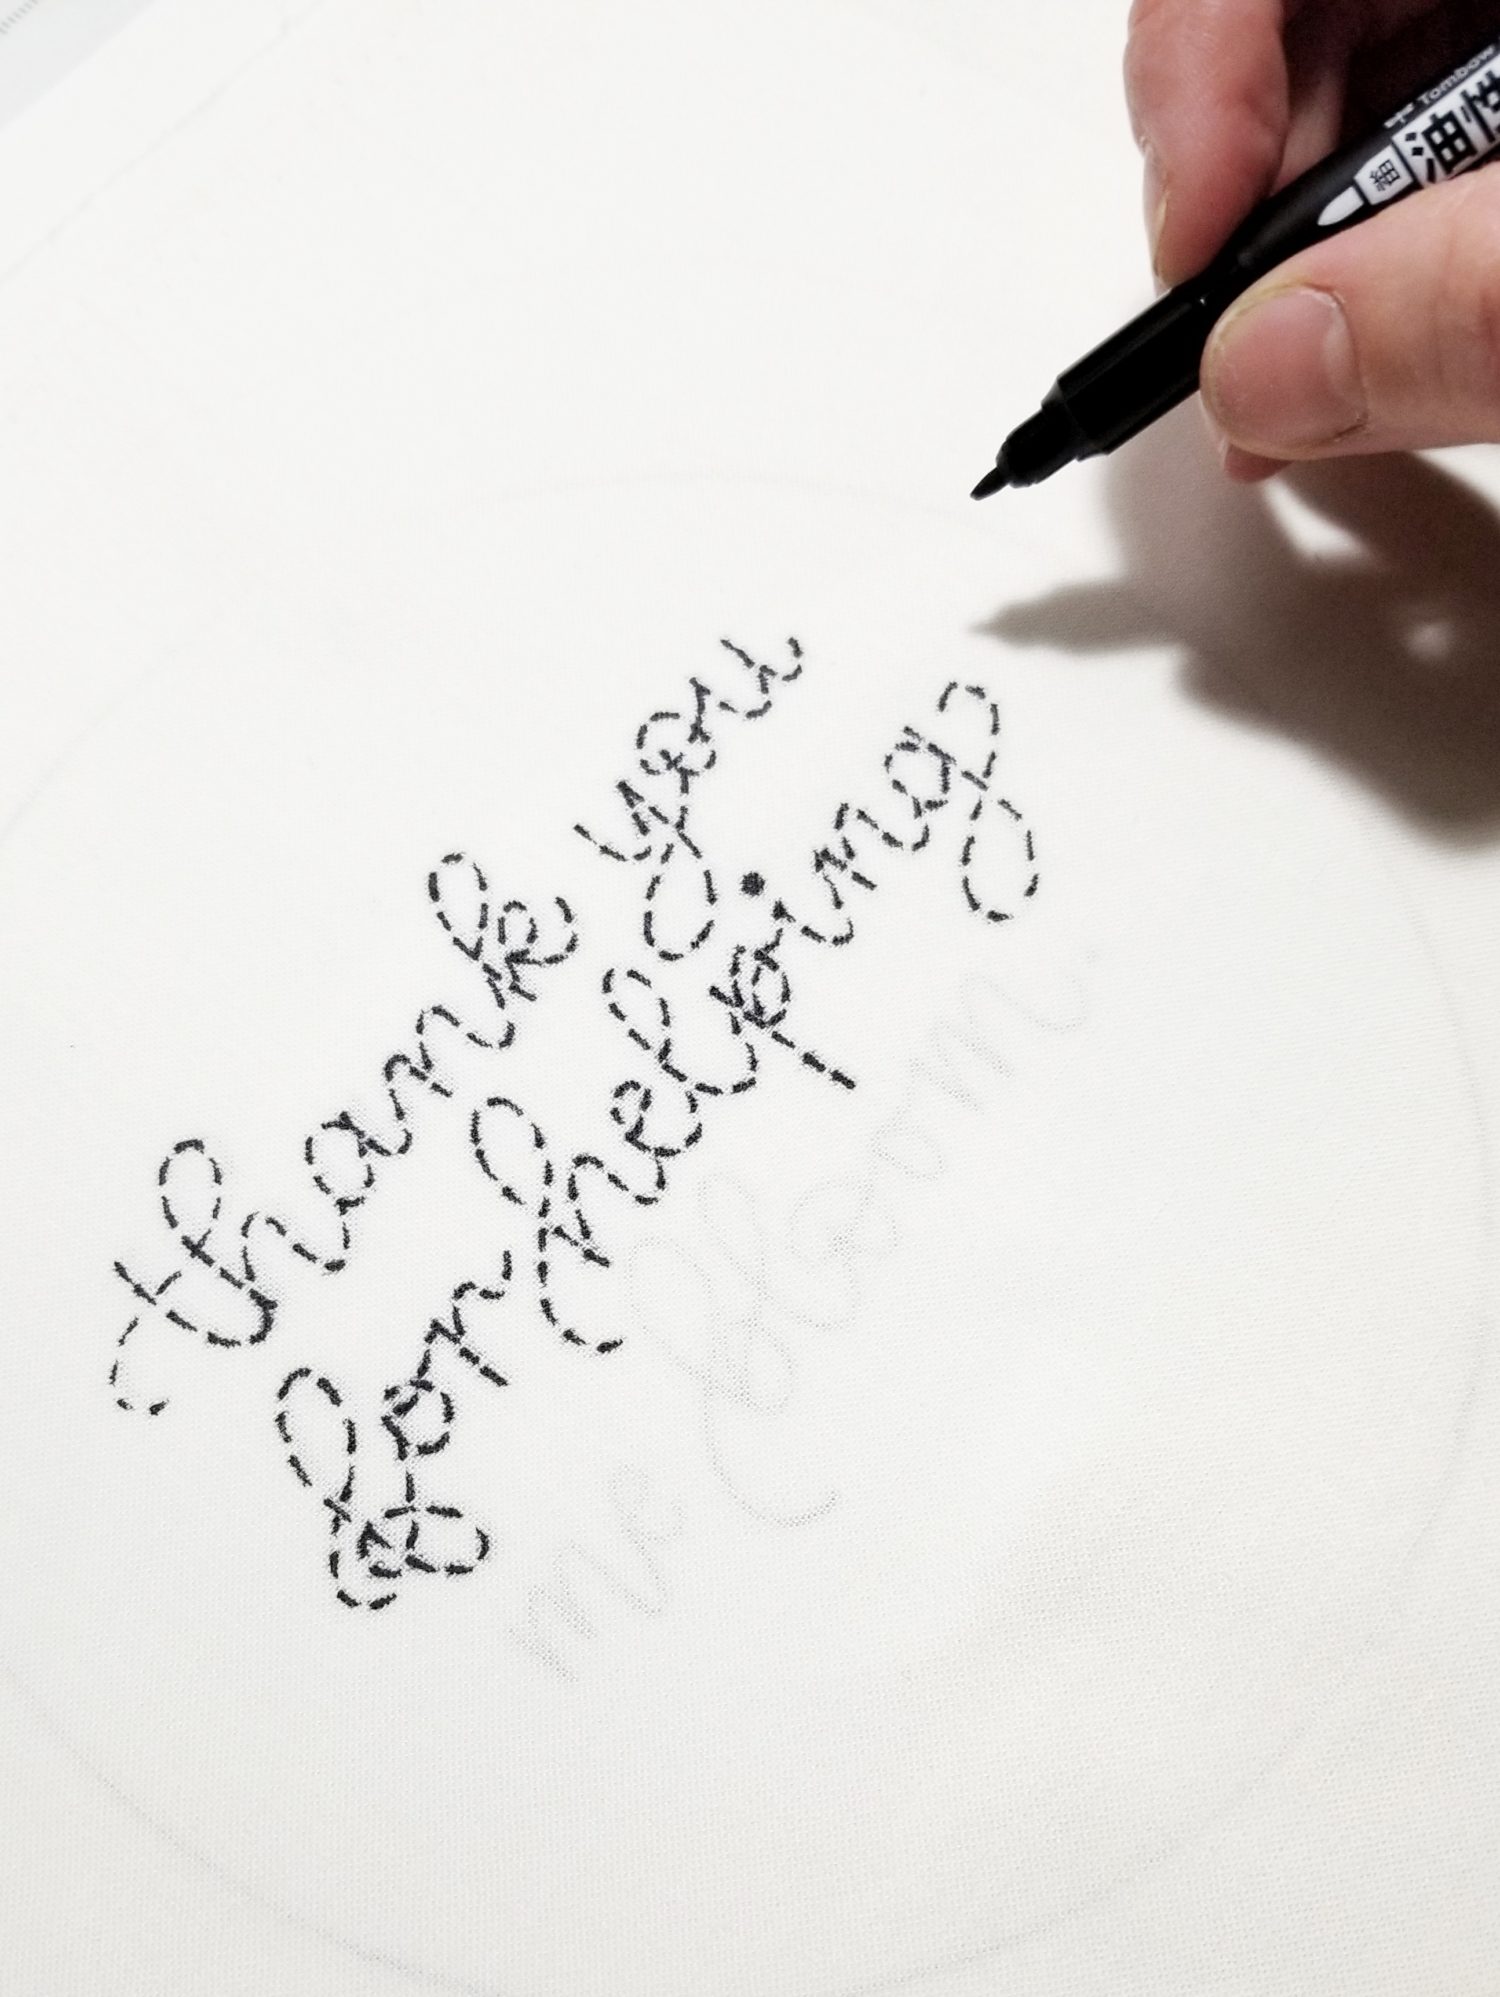
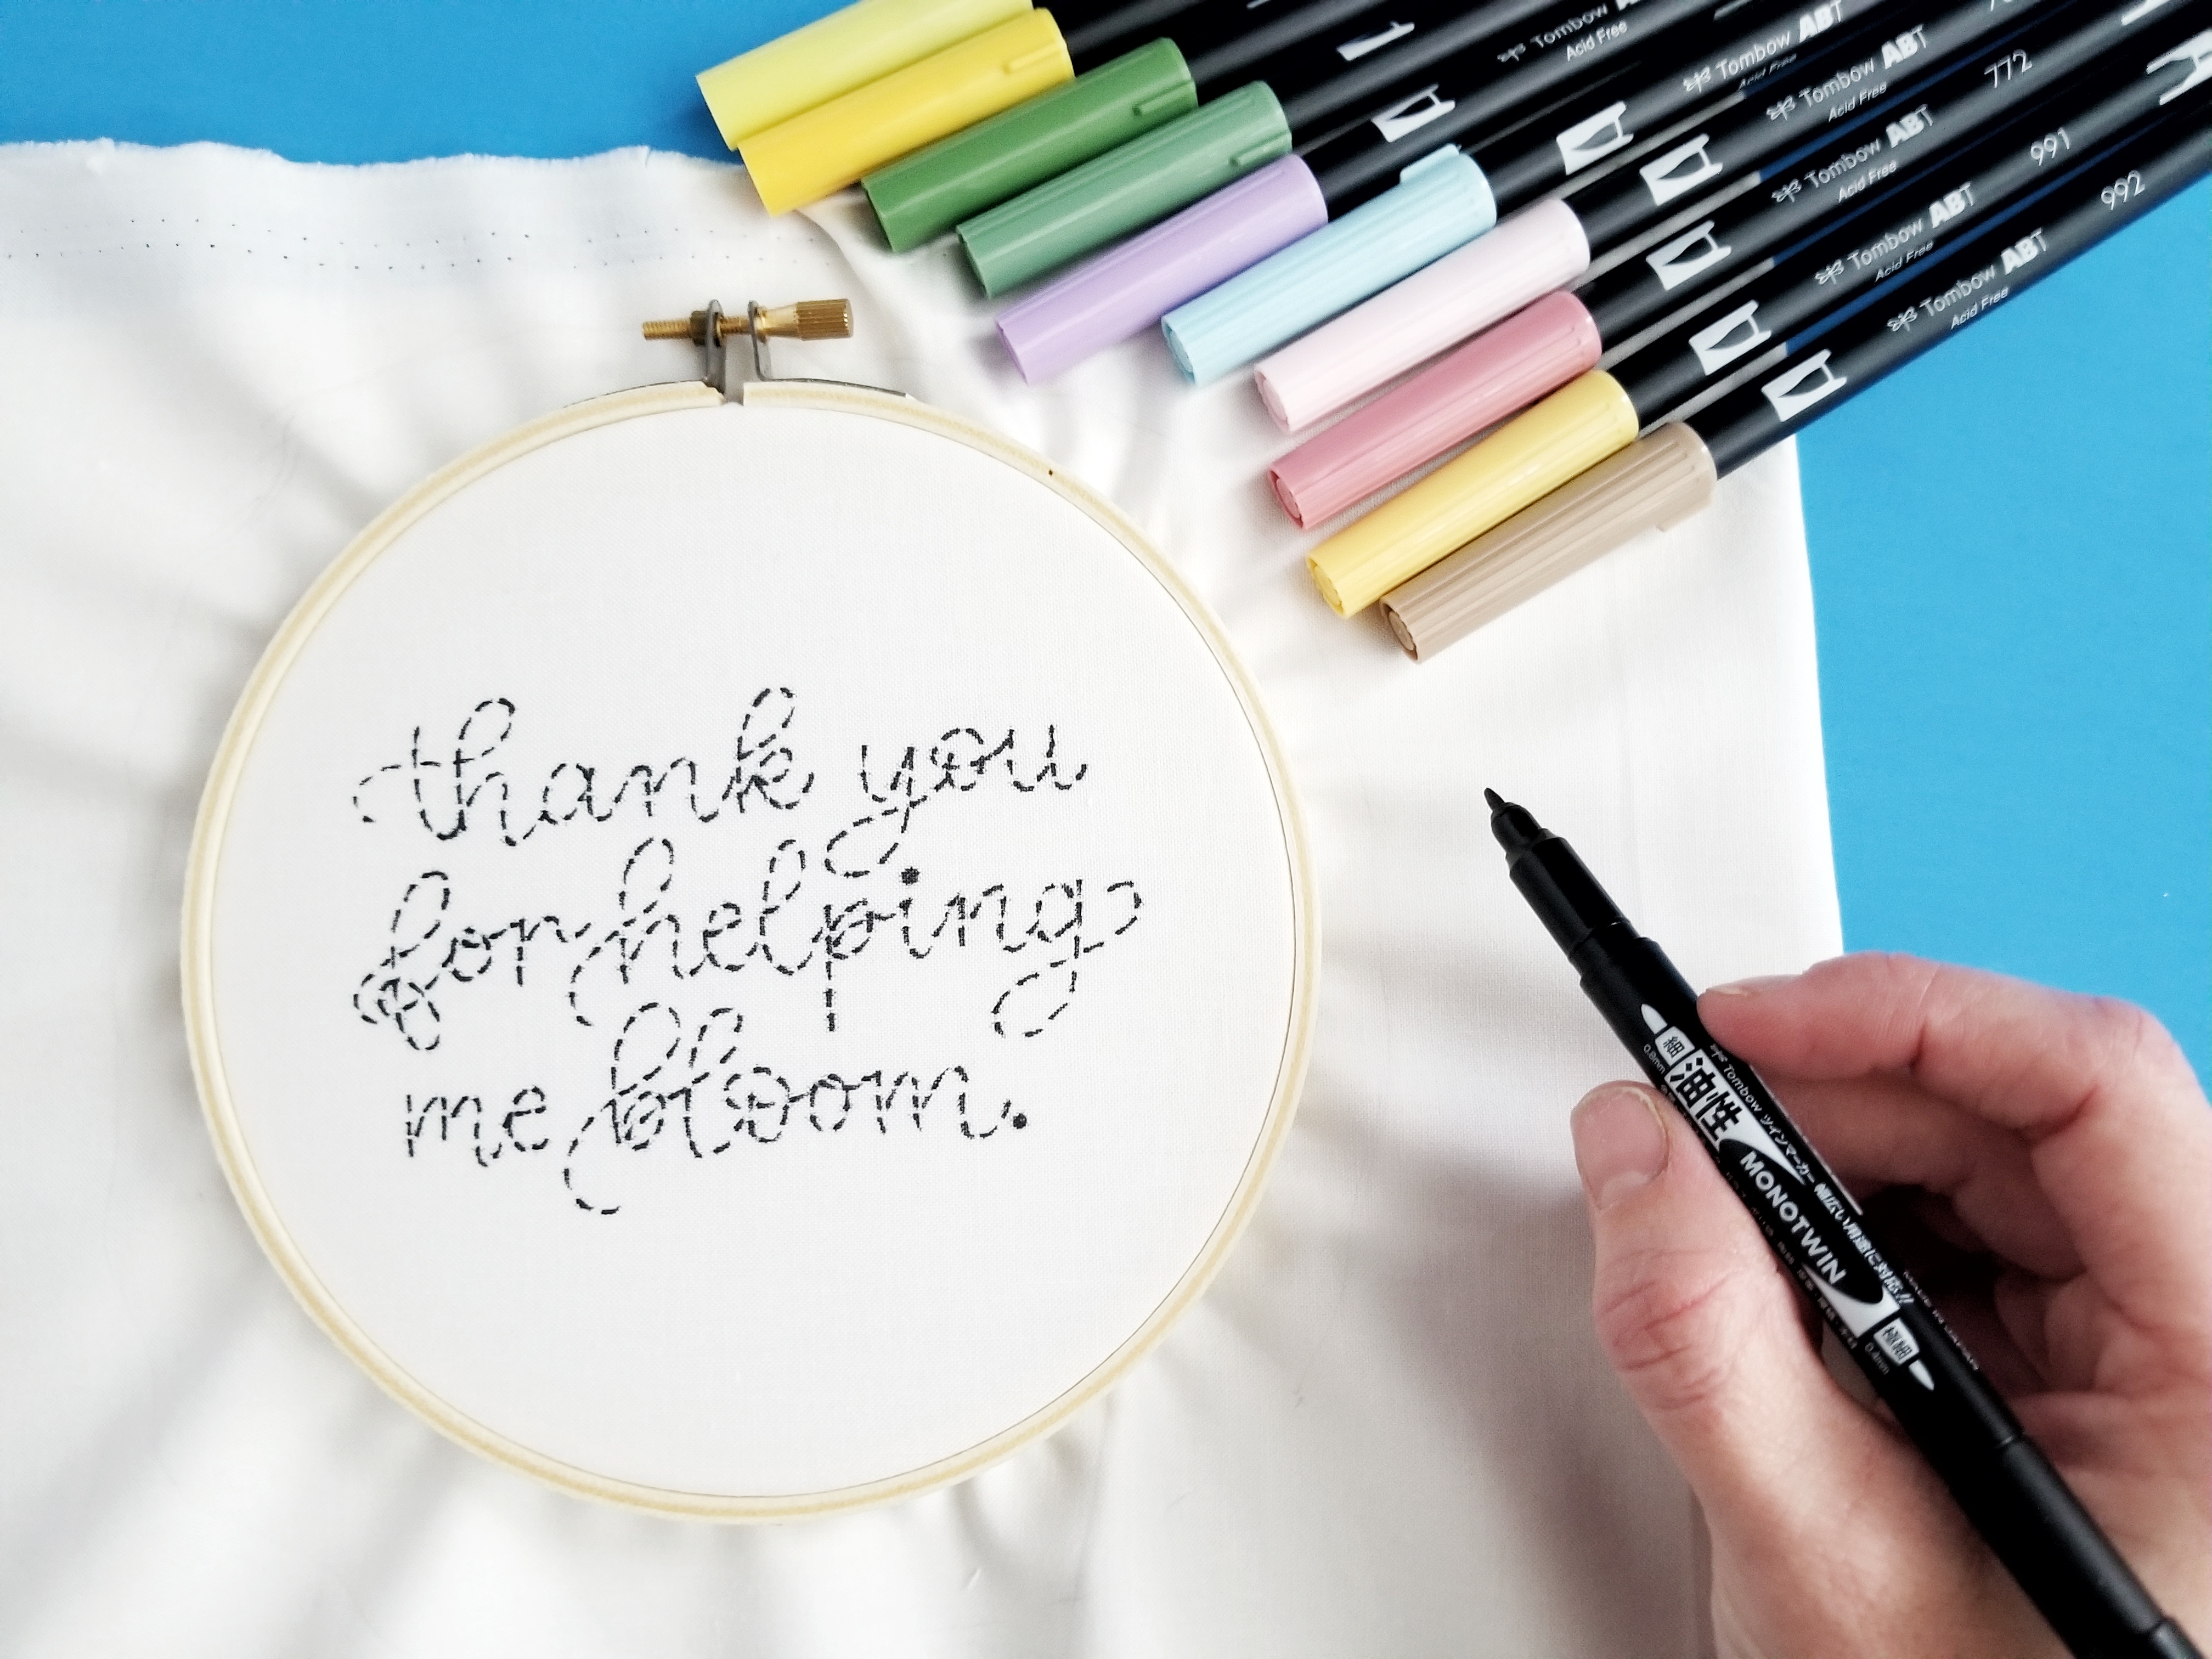
Once your color palette is finalized, use a light pad to transfer the design onto the fabric using a Tombow MONO Twin Permanent Marker. Use consistent dashes and spacing to create a faux running stitch. To dot the “I”, use a circle to represent a french knot. If you don’t have a light pad, fabric and taping your design to a window should work also!
Step 2: Add Hoop
Next, center the design and place the fabric between the embroidery hoop rings. Then, tighten the screw to secure the design.
Step 3: Add Floral Wreath
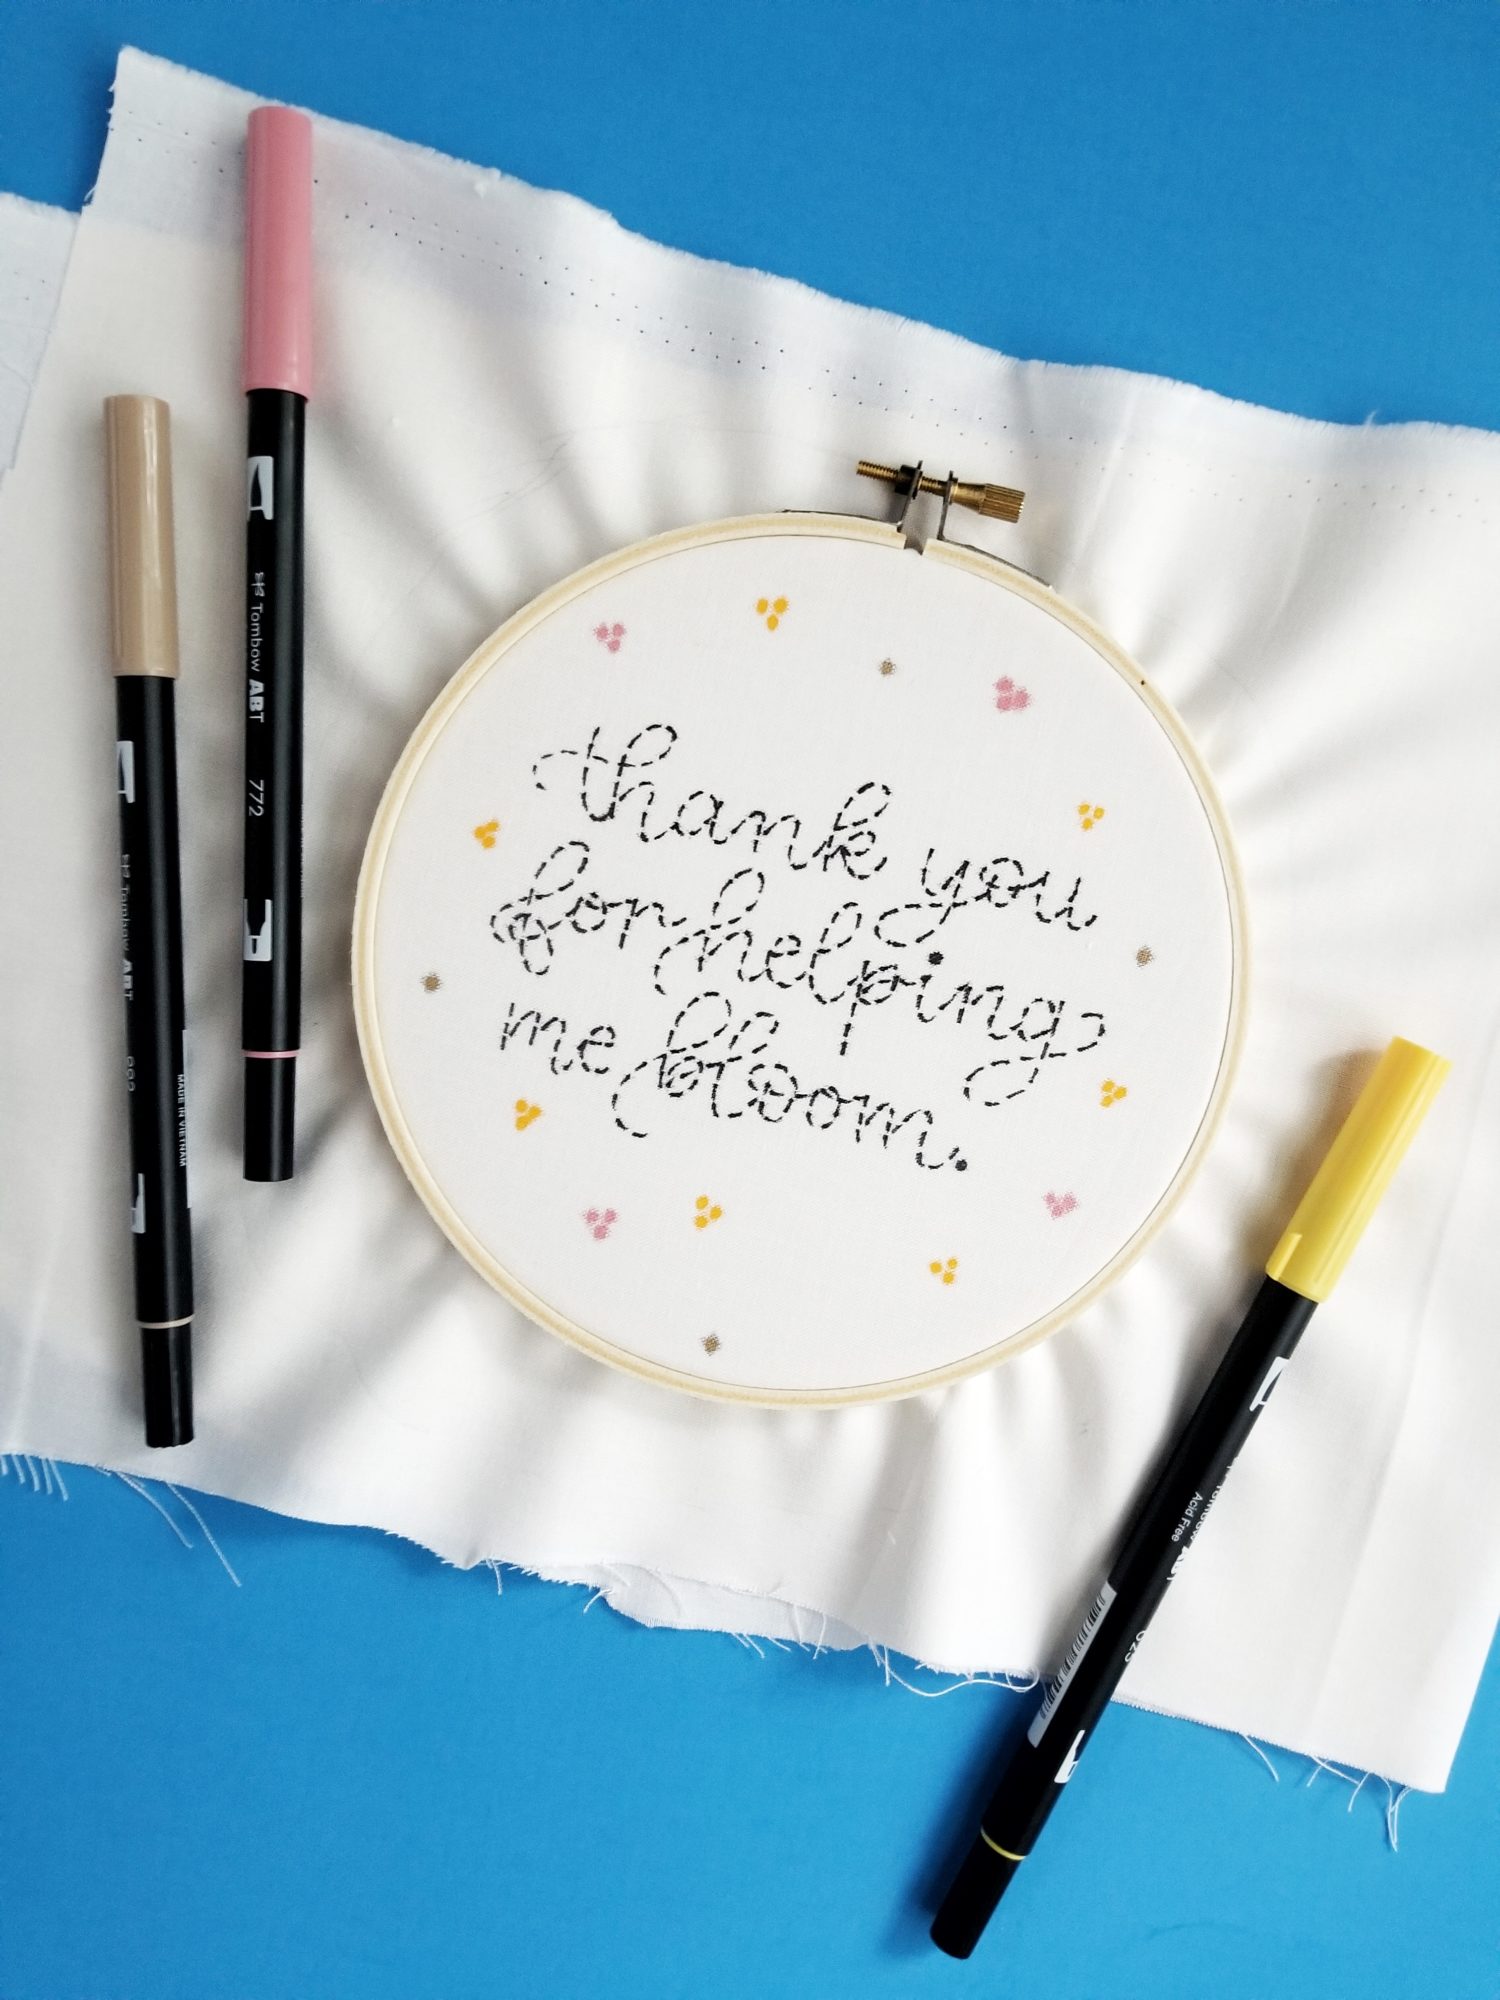
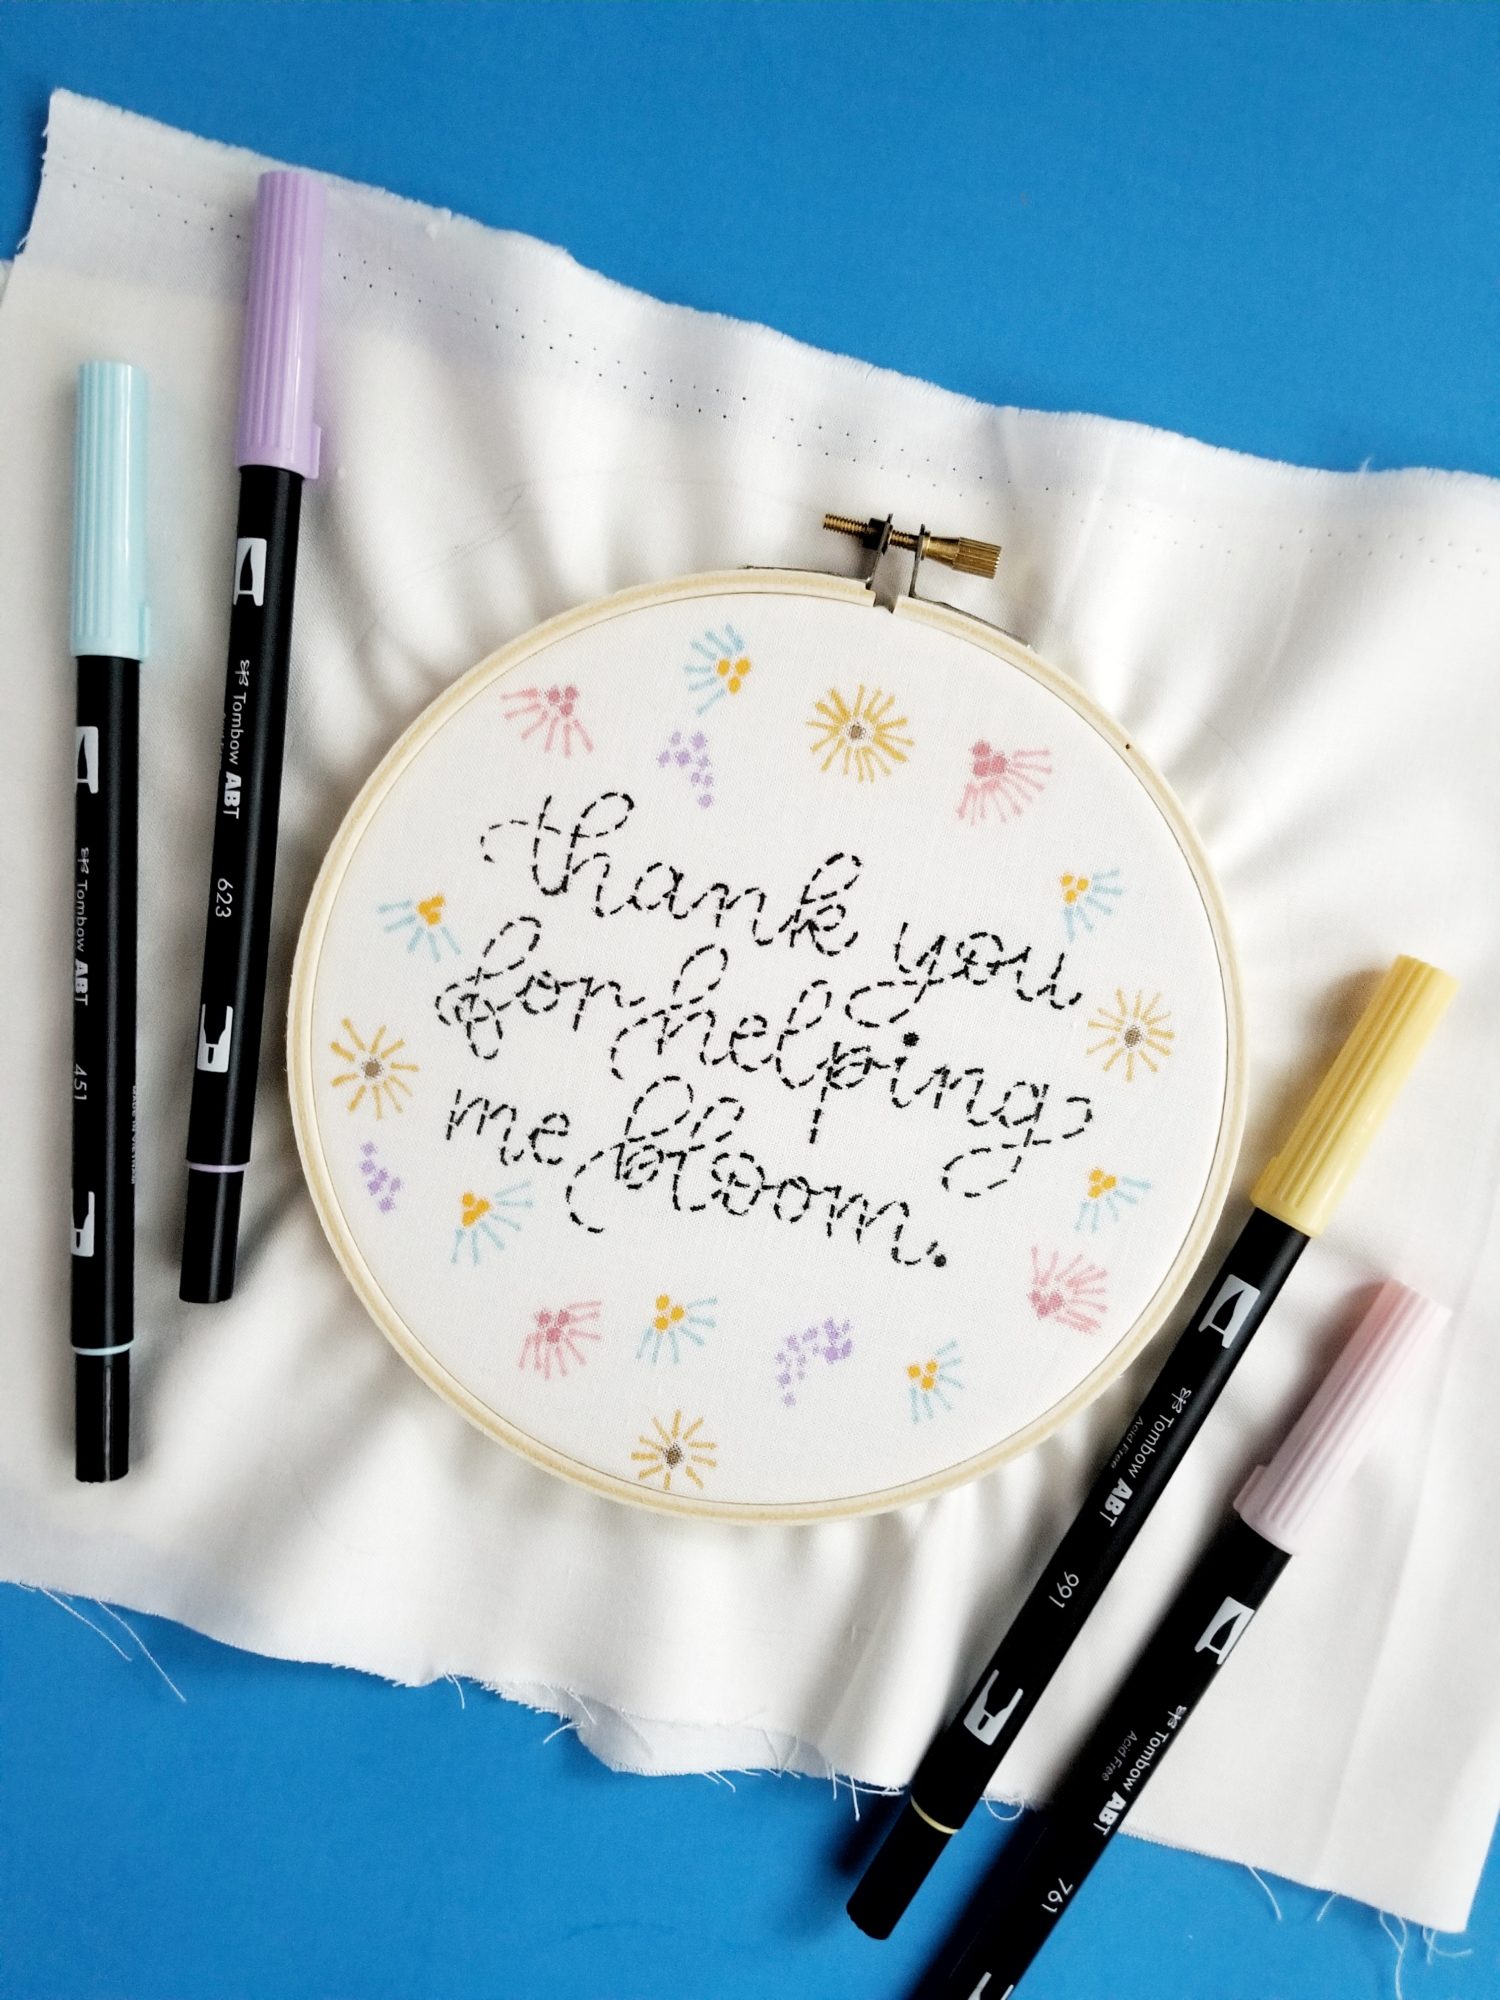
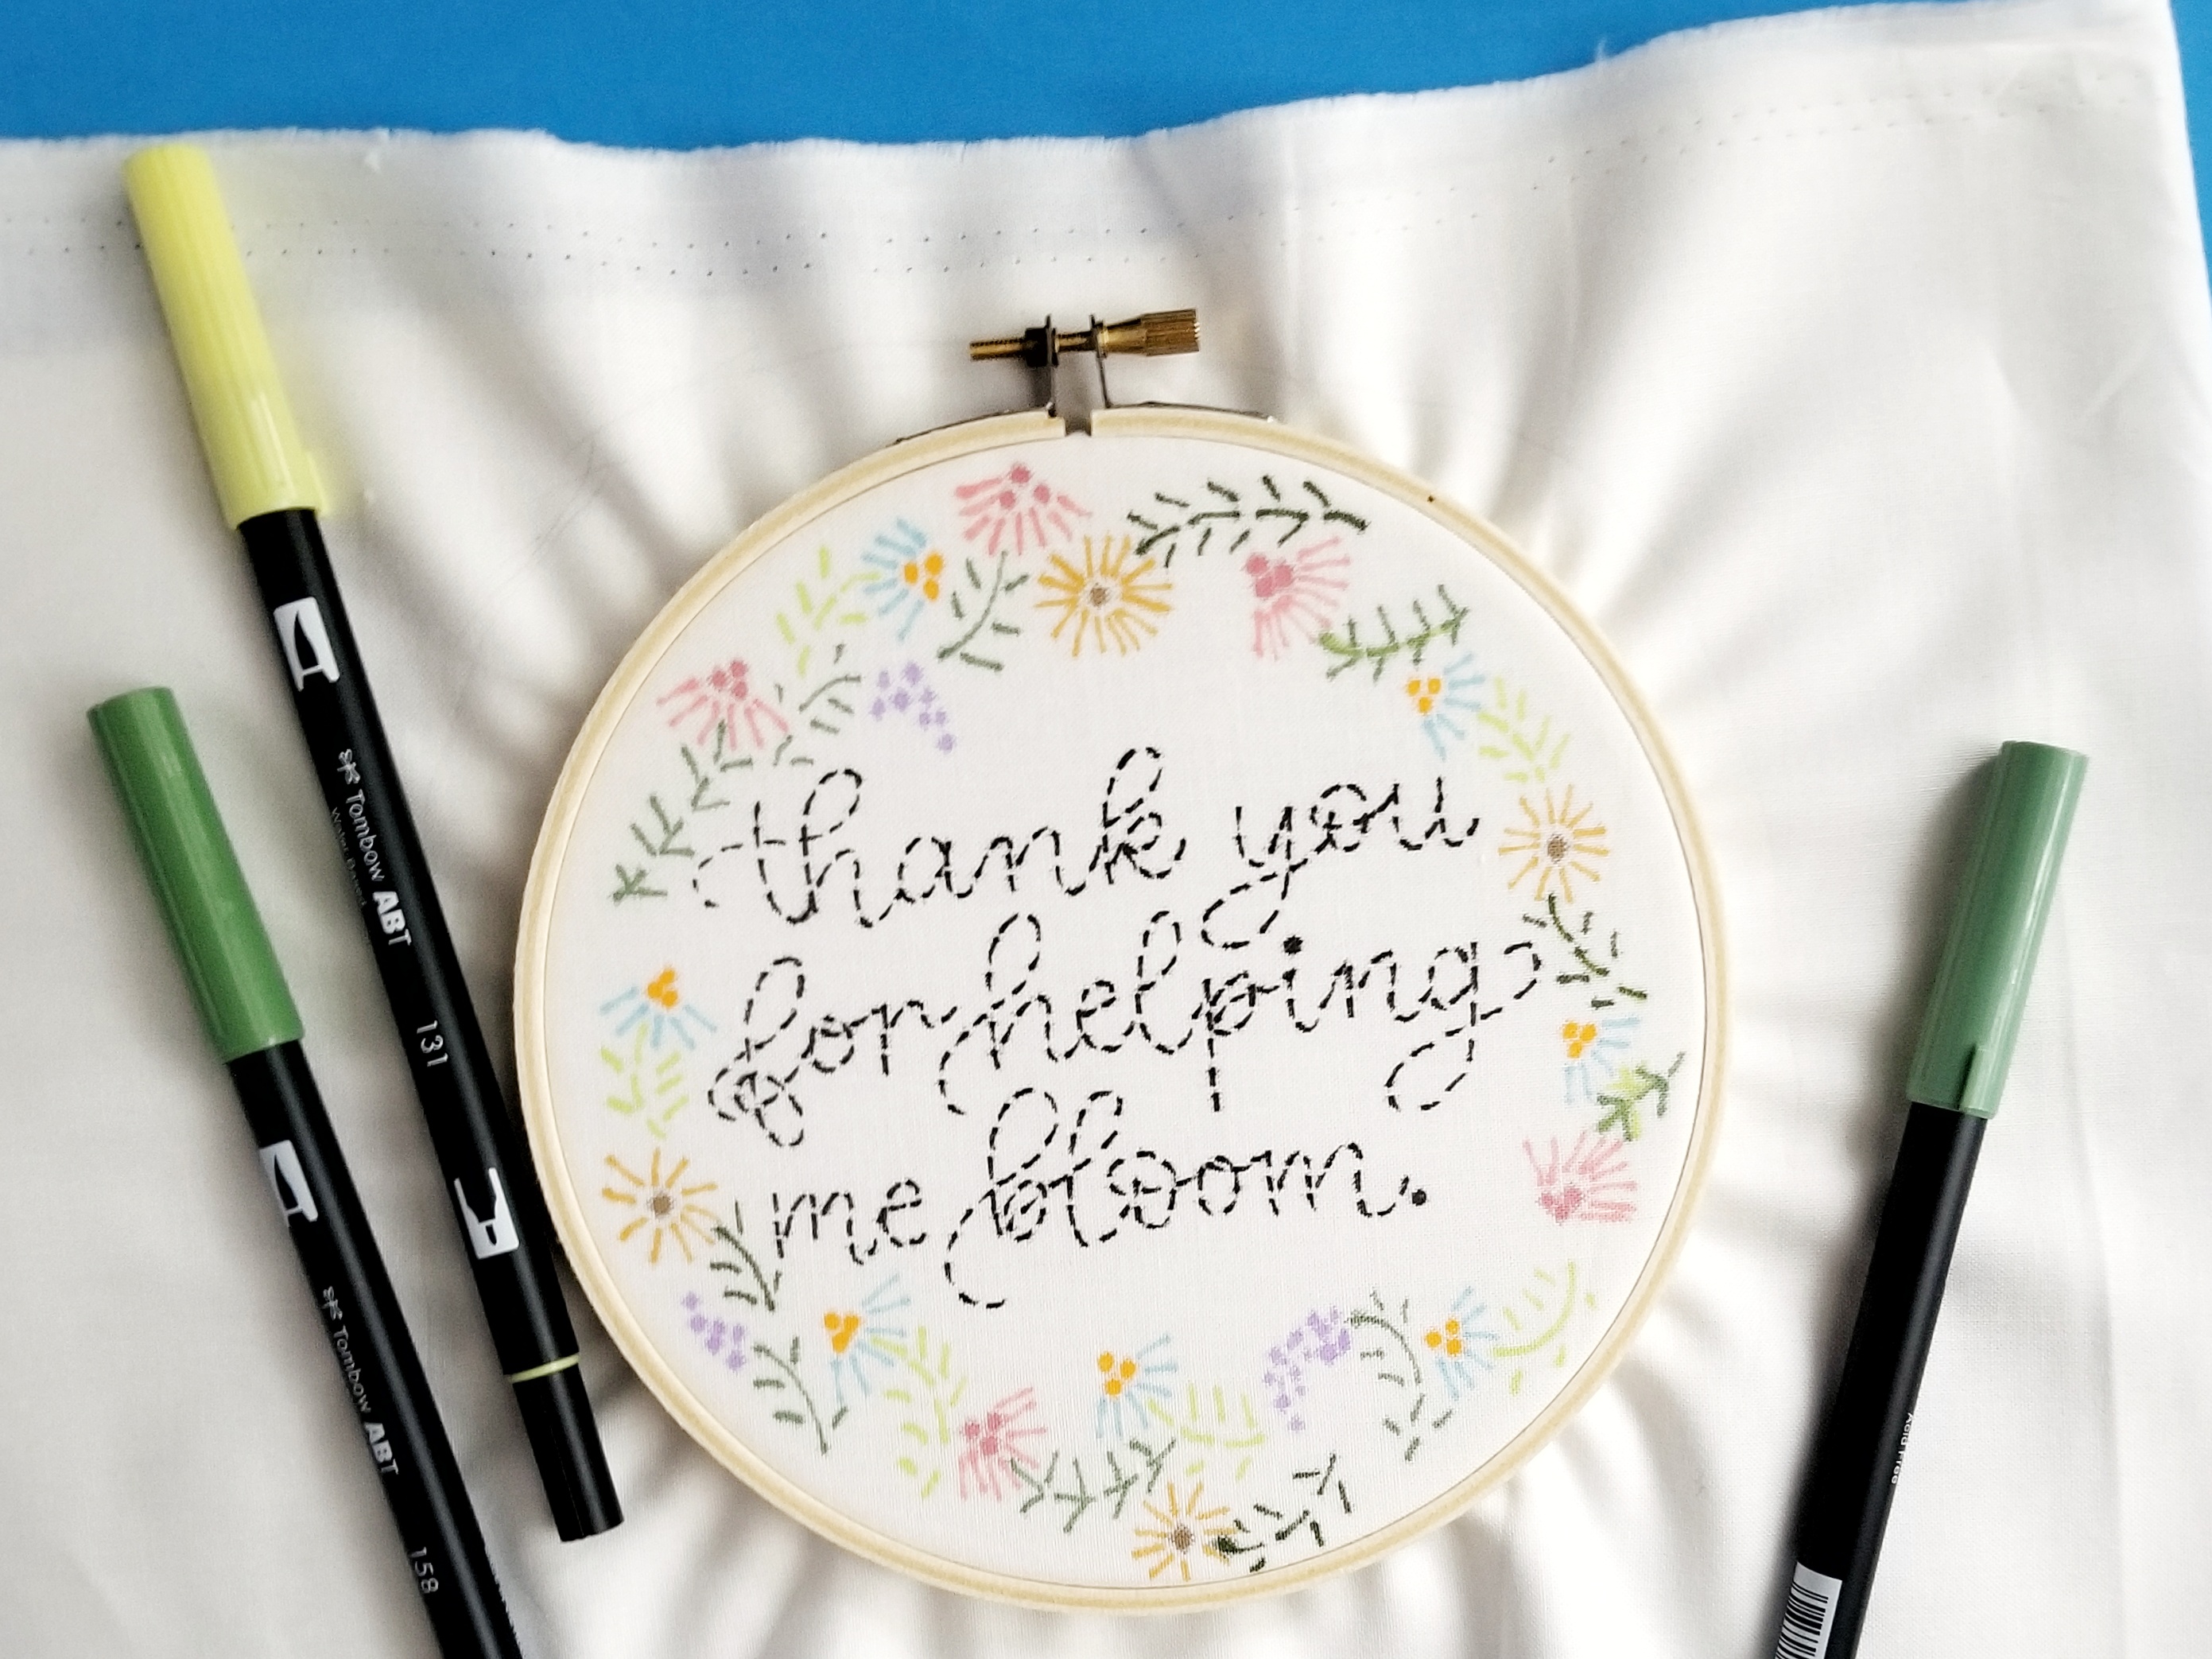
To start your wreath, choose Dual Brush Pen colors for the center of the flowers. Then draw groupings of dots, slightly separated to represent french knots. Next, add dashes and dots to represent a running stitch and french knots for the flower petals. Finally, add different shades of green dashes/a running stitch for the stems and leaves.
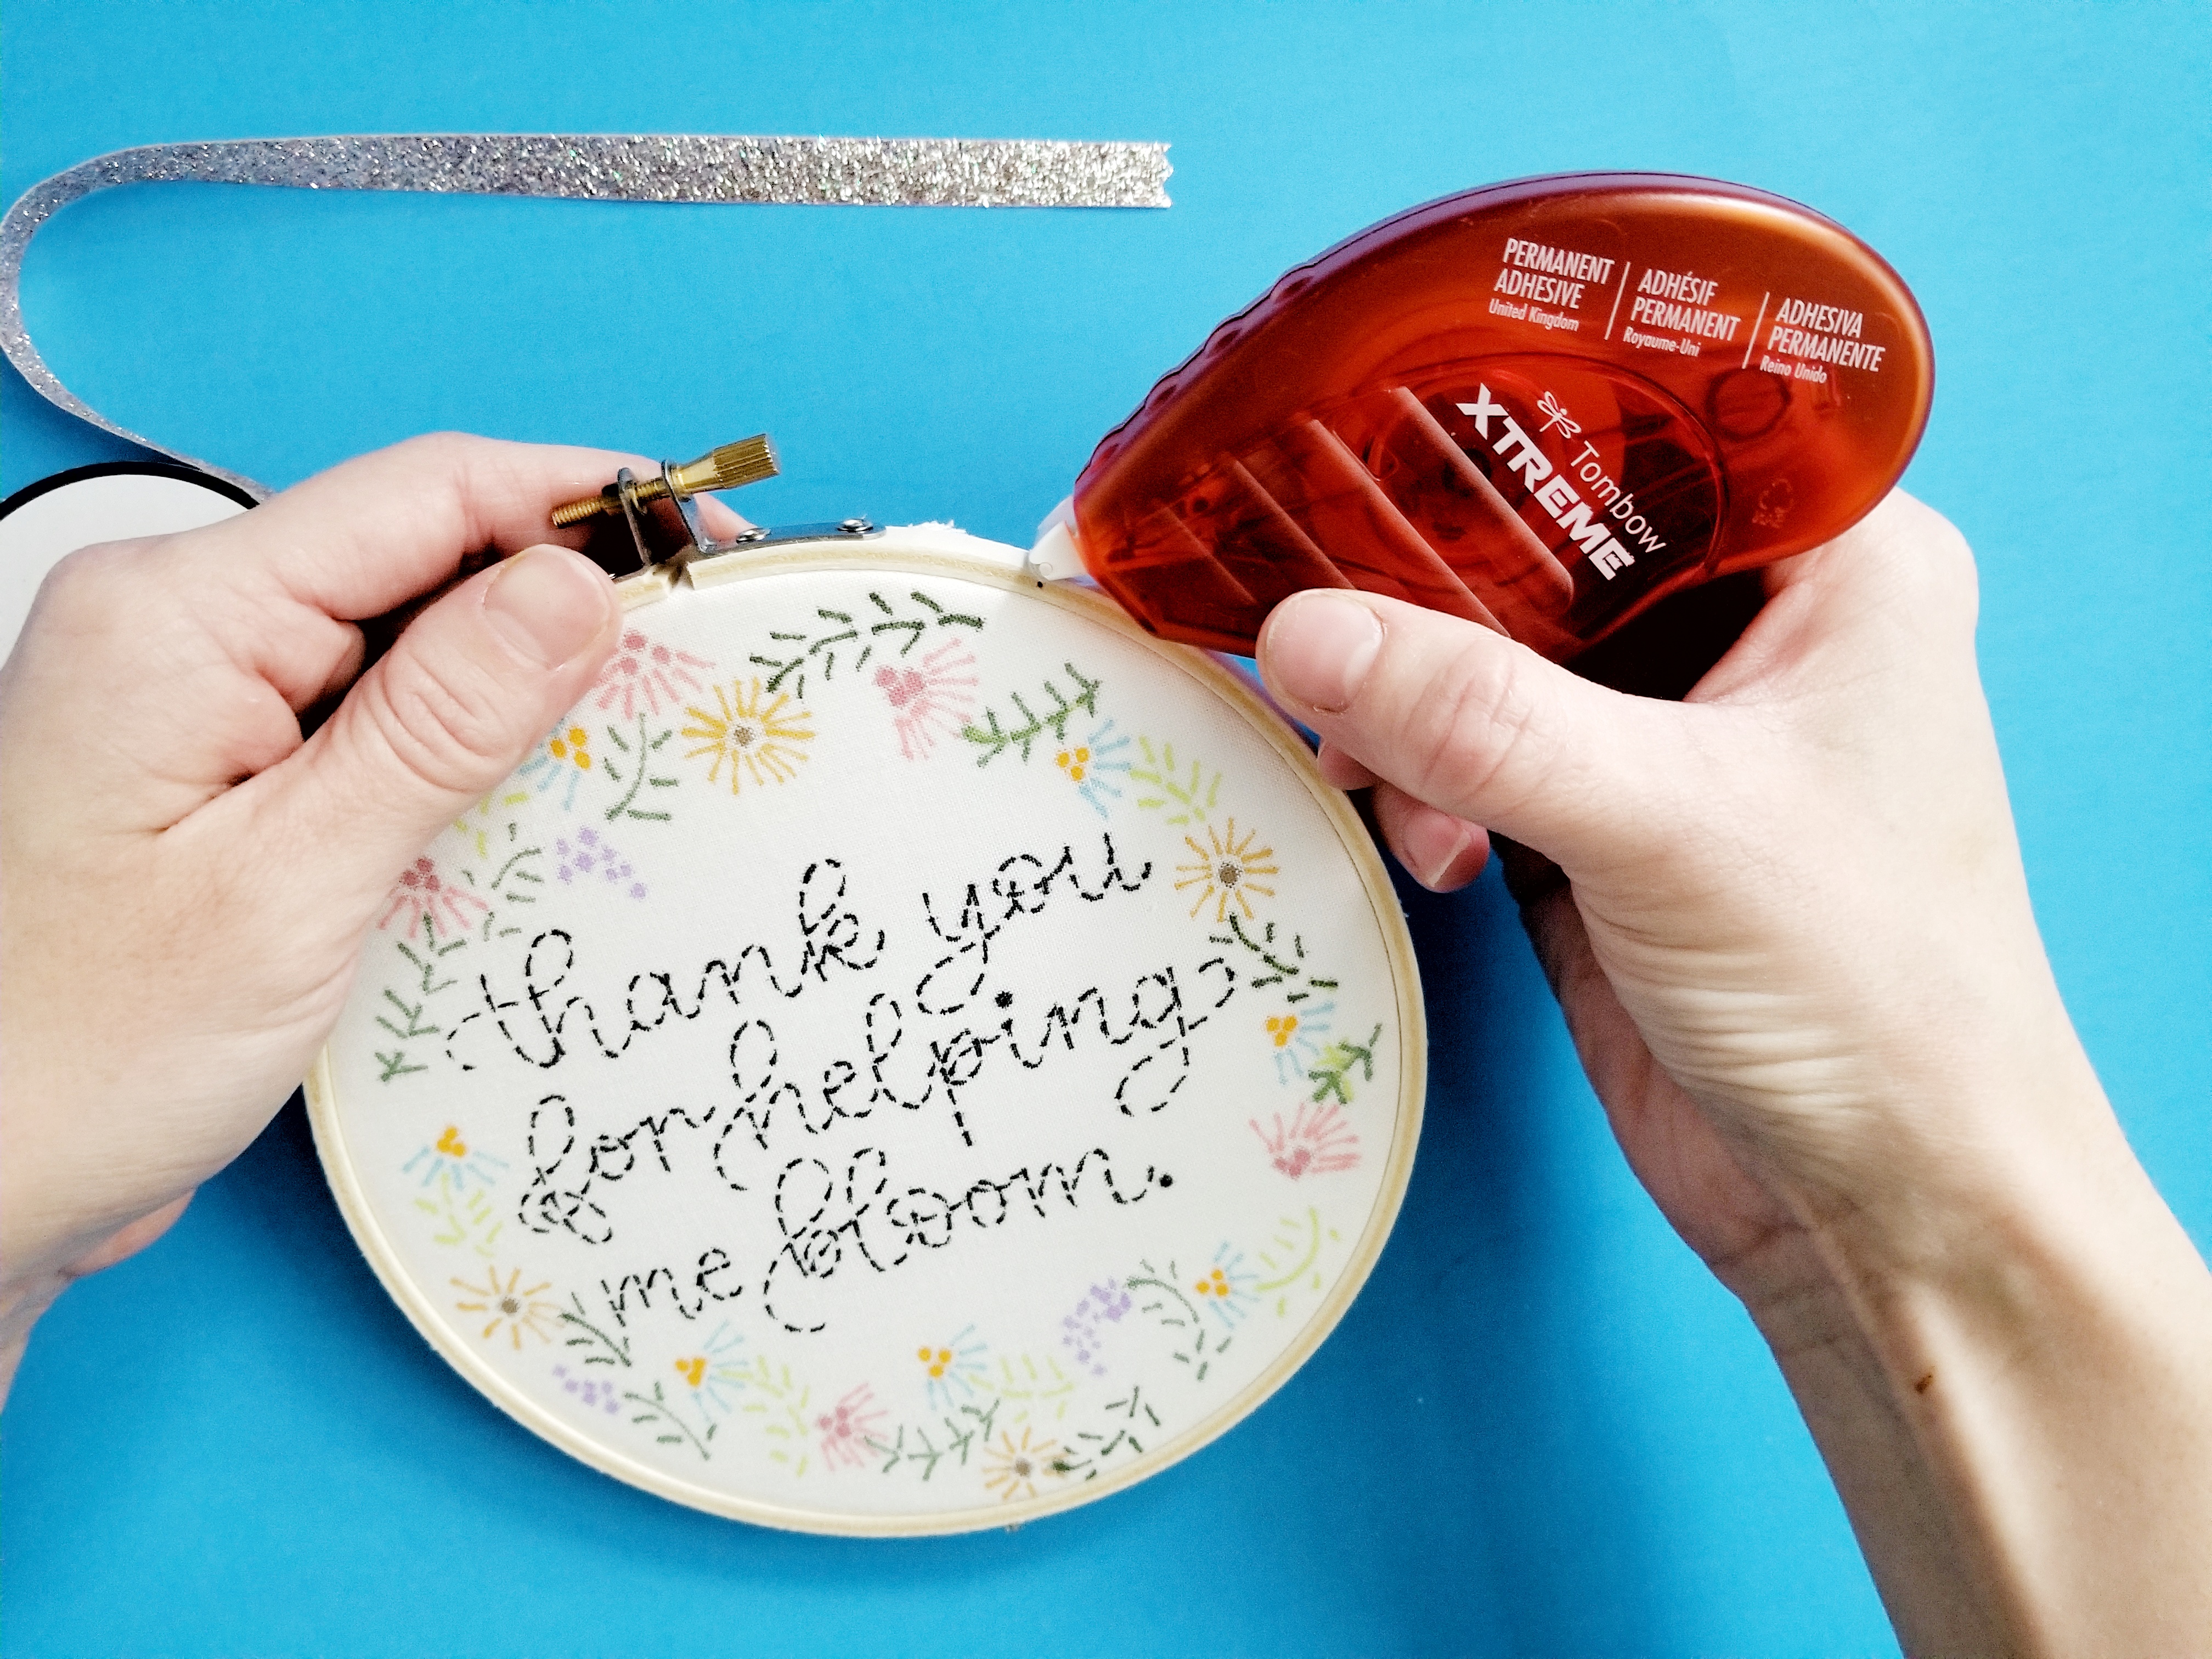
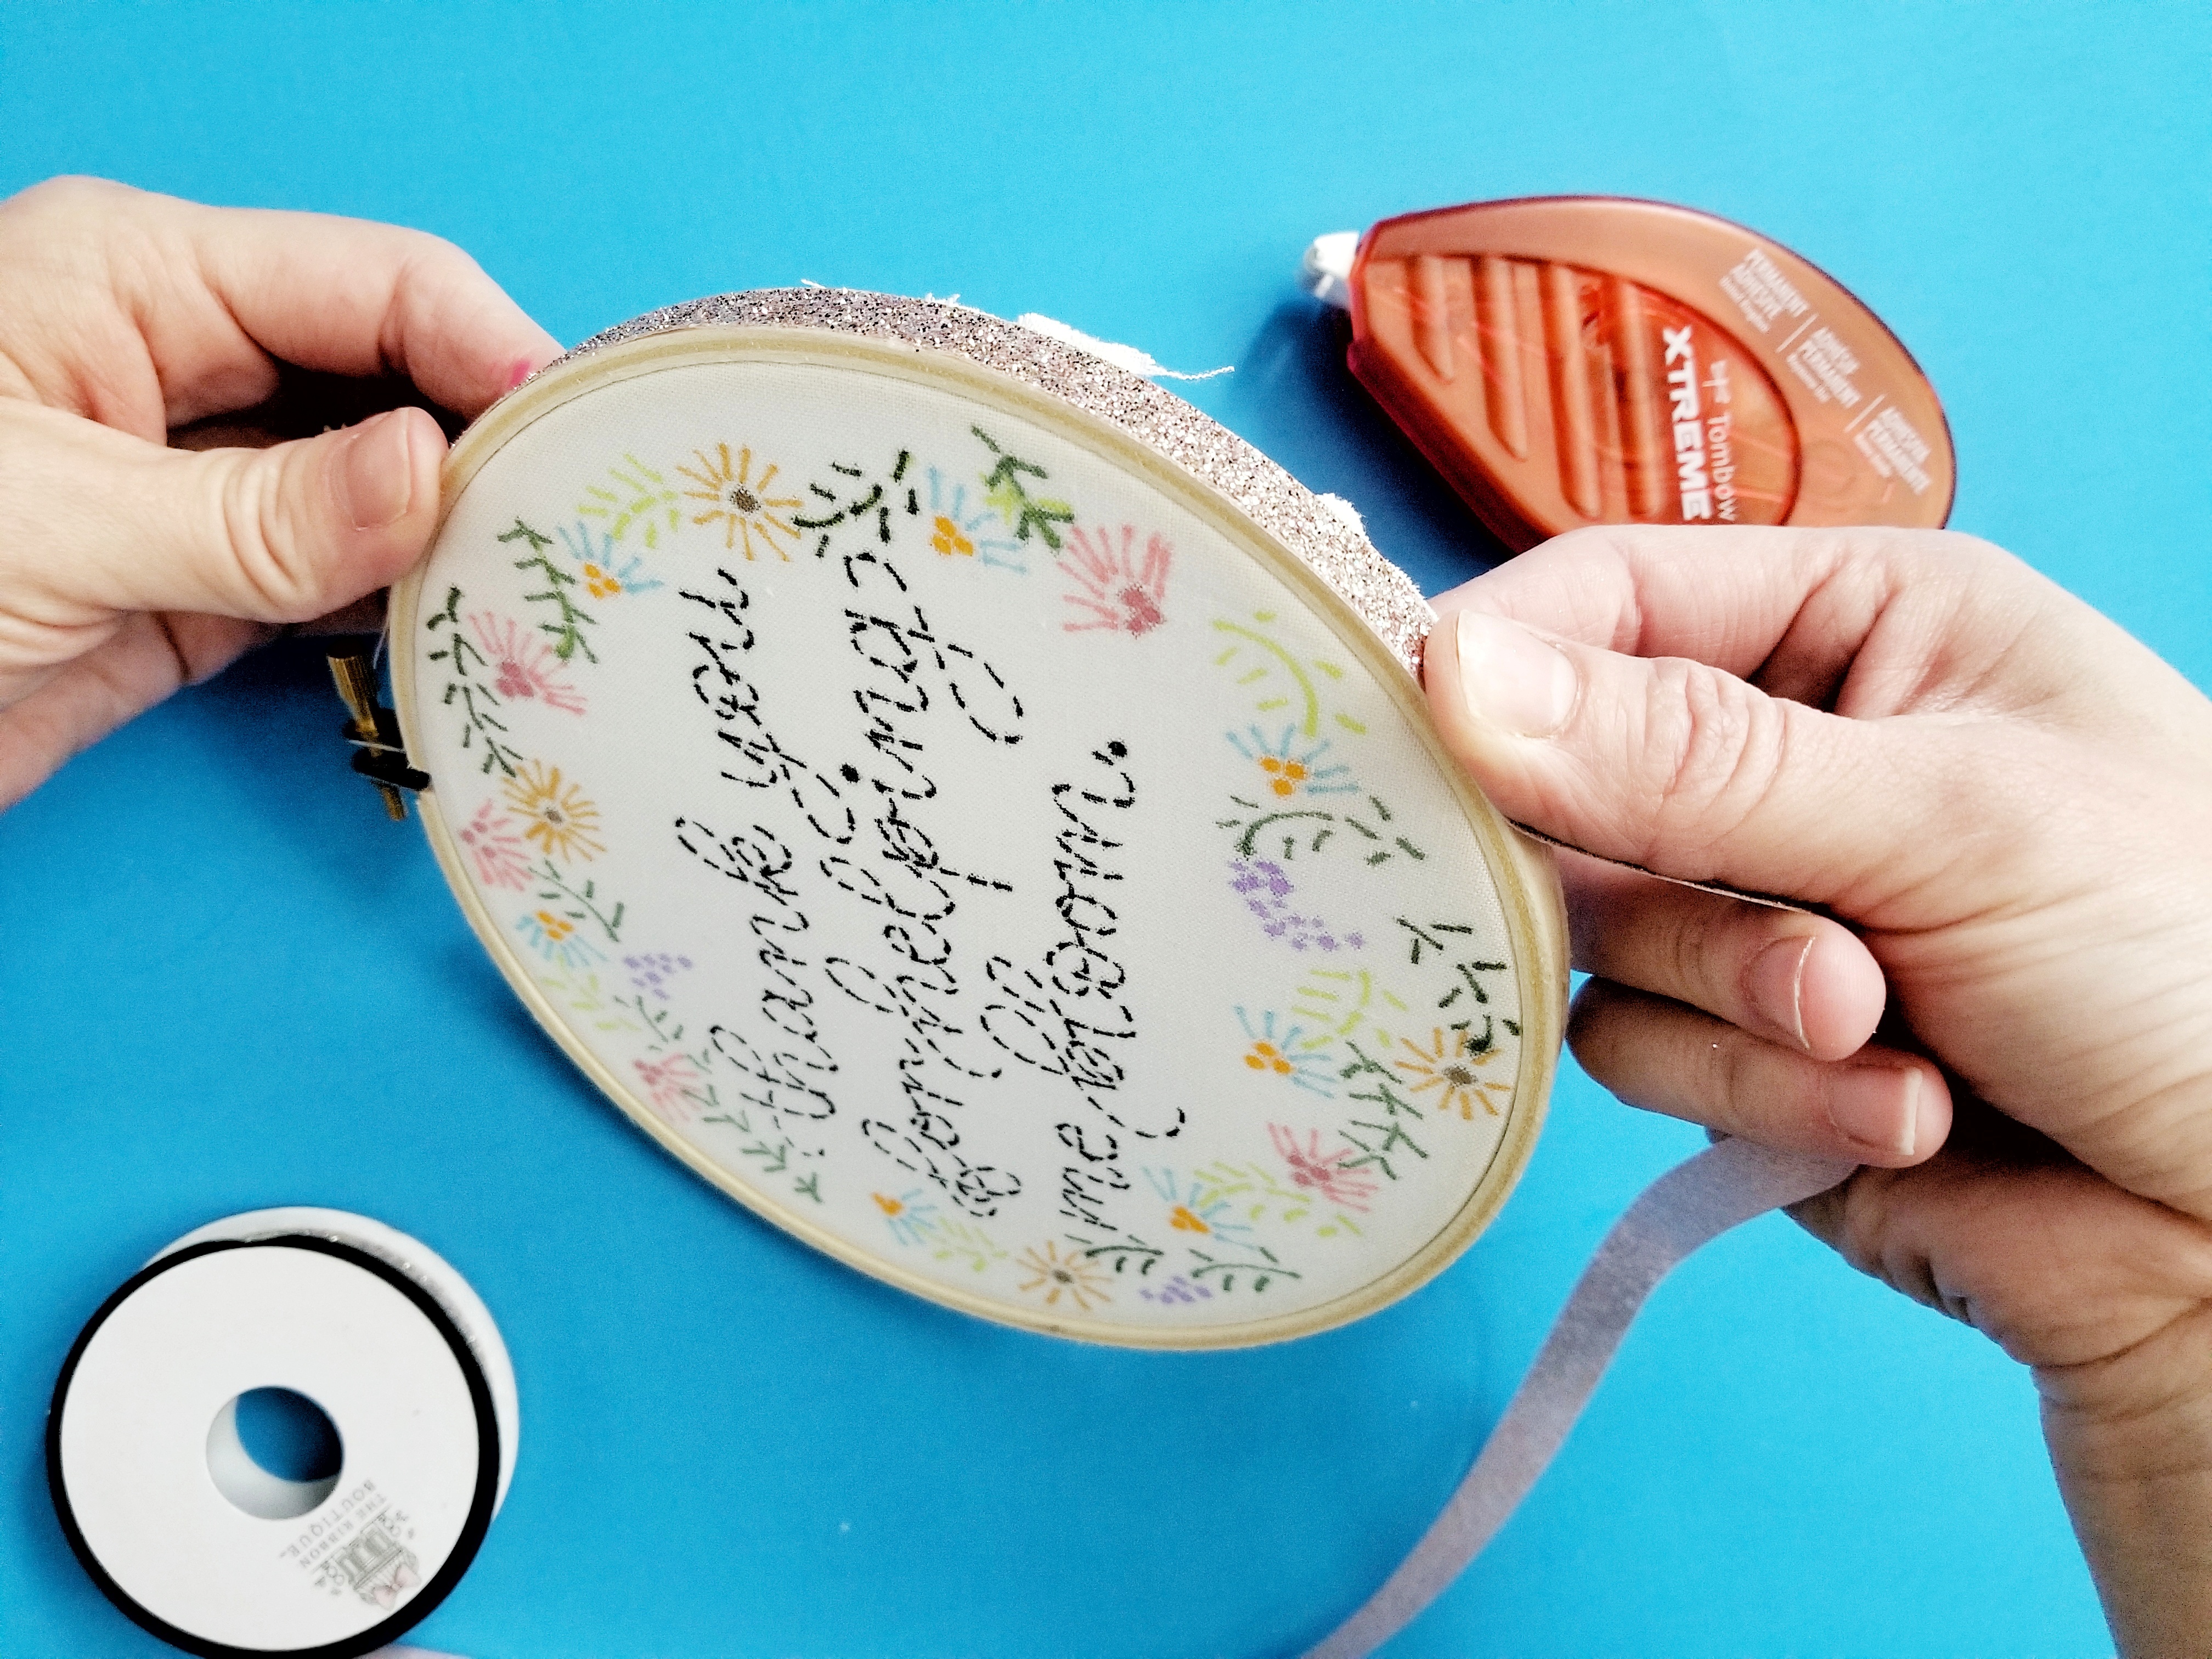
Step 4: Embellish Hoop
Next, trim the excess fabric around the edge of the hoop. Then, run the Tombow Xtreme around the edge of the embroidery hoop. Since the Tombow Xtreme is so strong, you’ll need to flick your wrist or swipe the tape runner in the opposite direction to break the adhesive bond. For a video of this technique, check out Lauren’s post here. Next, attach the ribbon to the sides of the hoop and trim any excess. Be sure to use a ribbon that is the same thickness as your embroidery hoop!
Step 5: Deliver and Thank a Teacher!
That’s it! Thanks for following along with my faux embroidery hoop using Tombow Dual Brush Pens and for showing appreciation for our amazing teachers!! For more teacher appreciation ideas, check out Dani’s post or Lauren’s post. If you use this tutorial to make a faux embroidery hoop, be sure to tag @tombowusa and @graceannestudio so we can cheer you on!
Happy crafting!
Grace
At this moment I am going away to do my breakfast, afterward having my breakfast coming over again to read further news.
Please let me know if you’re looking for a article author for your blog.
You have some really good posts and I feel I would be a good asset.
If you ever want to take some of the load off,
I’d really like to write some content for your blog in exchange for
a link back to mine. Please blast me an e-mail if interested.
Regards!
Pingback: Monogram Embroidery Hoop Art - Tombow USA Blog