Good morning, Beth here on the blog today and I’m excited to use Tombow’s new colorful TwinTone Dual Tip Markers. I just couldn’t stop doodling with them, so today I’m going to show you how to create patterns with new TwinTone Markers!
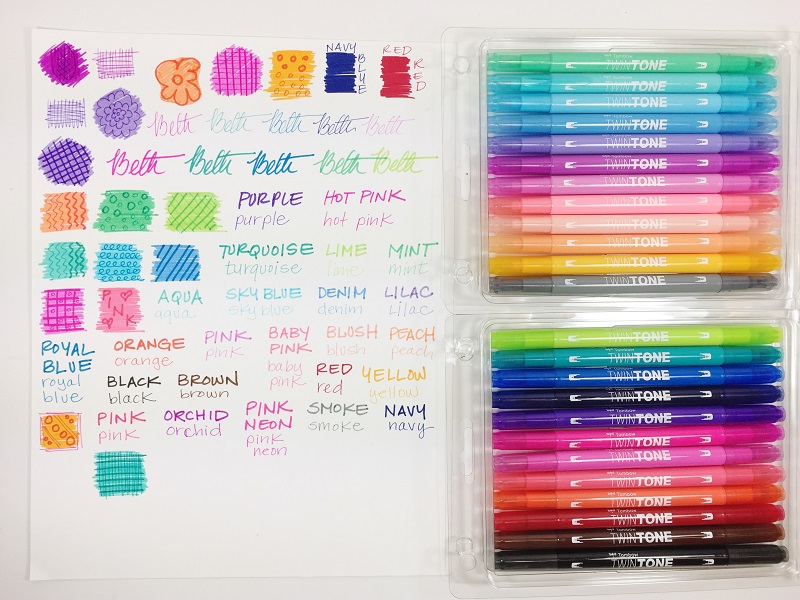
These unique dual tip markers have a broad bullet tip for bold lines and an extra-fine tip for detailed line work. The sets are available, Bright and Pastel, each with 12 markers. The water-based ink dries quickly and doesn’t bleed through most papers. The long lasting fiber tips retain their shape and simply glide over the surface of your paper. I am in LOVE!
My 13 year old niece was visiting this weekend and was immediately drawn to the beautiful packages of markers in my studio, so I tasked her with creating color charts for both sets of TwinTone Markers. She was so excited to help!
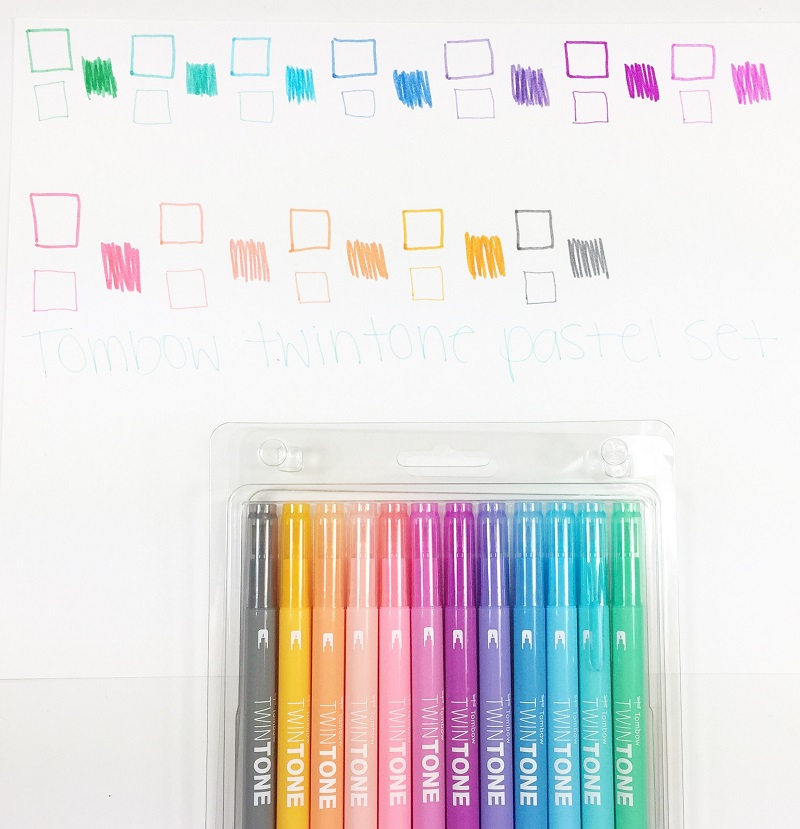
TwinTone Pastel Set
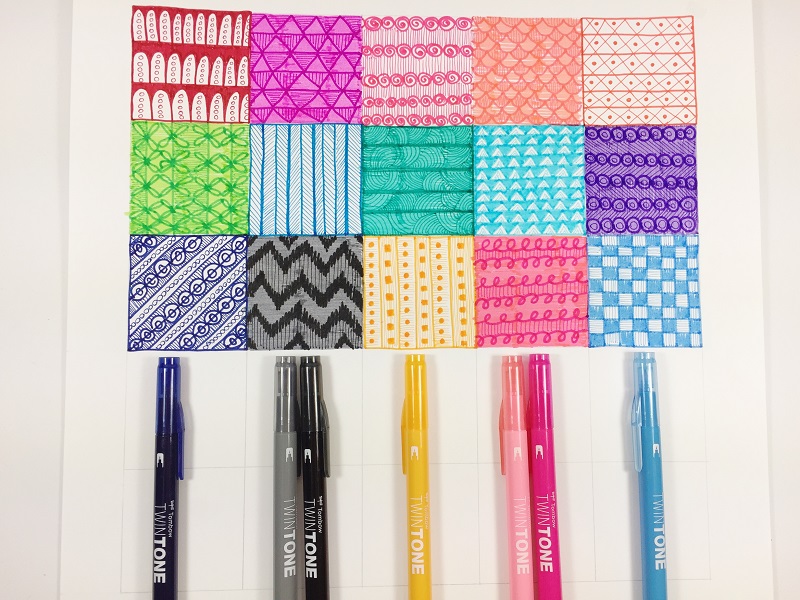
TwinTone Bright Set
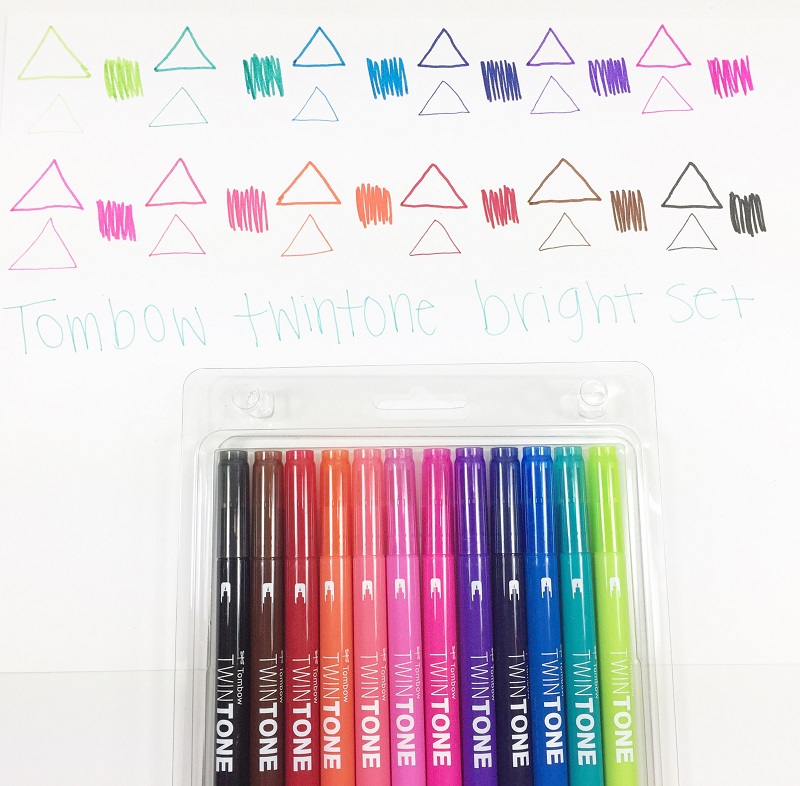
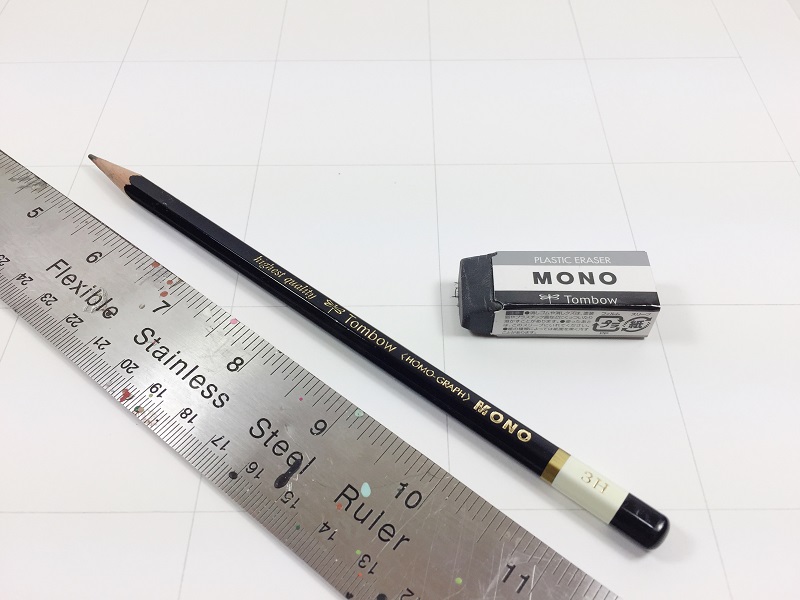
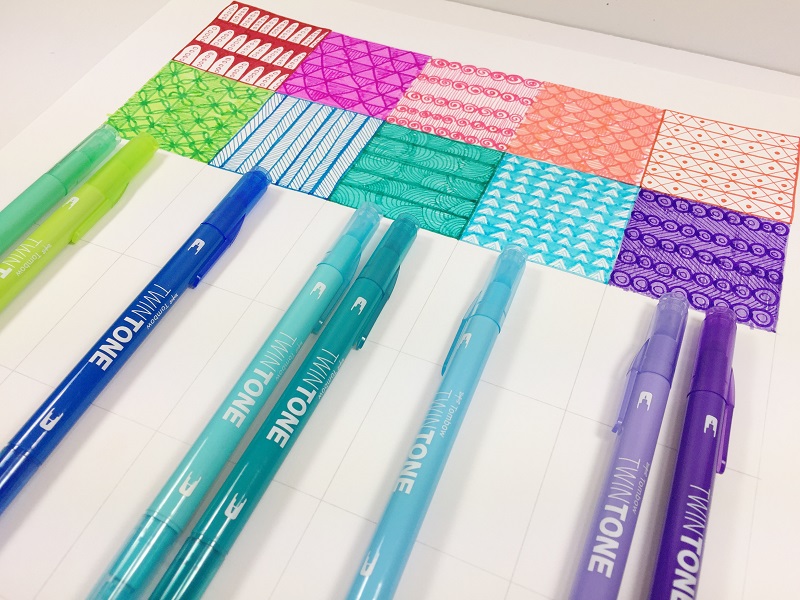
Start off by measuring out 2″ by 2″ squares using Tombow MONO Drawing Pencil grade 3H and a ruler. Erase any unwanted pencil lines with Tombow MONO Eraser.
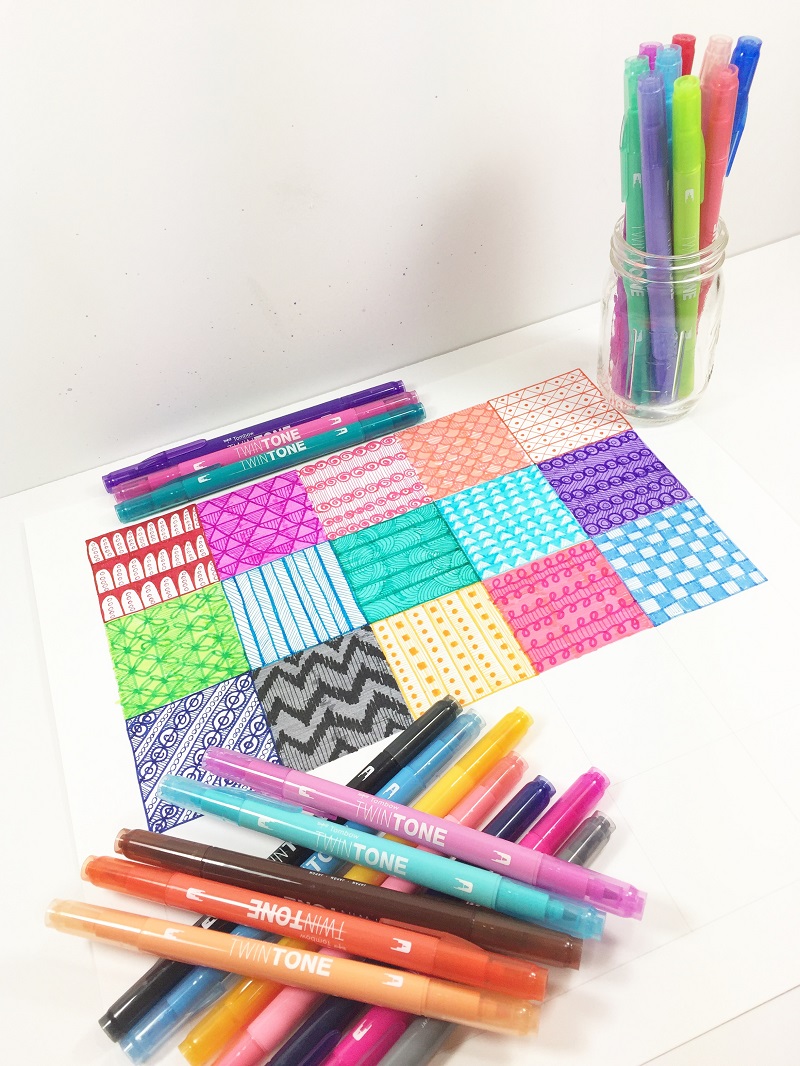
Pair up the pastel colors with their bright counterparts to create wonderfully complex lettering, doodling and patterns.
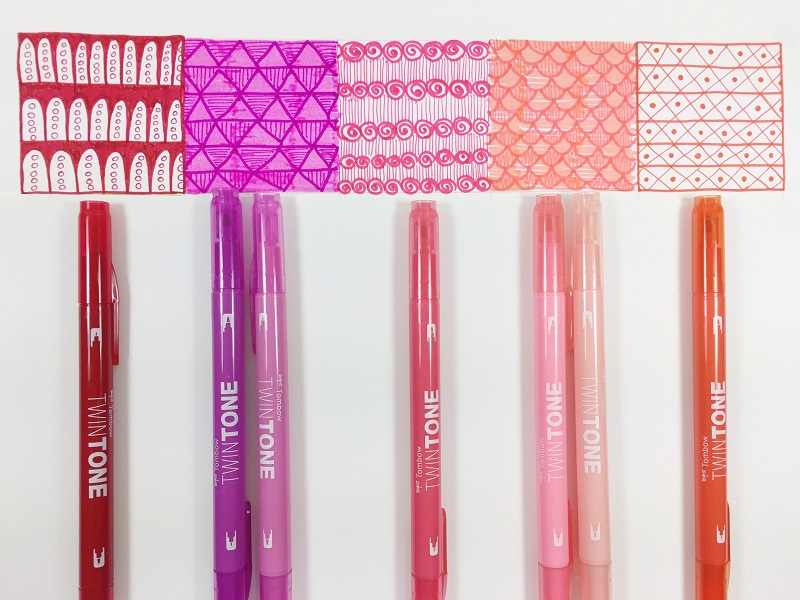
Use the broad and extra-fine tips to create texture and depth within your patterns and doodles. The tips are sturdy, so they keep their shape.
The broad tip colors well and does not shred the paper with repeated strokes. The extra-fine tip allows you to create precise patterns, doodles and lettering.
The Tombow TwinTones are already part of my must-have supplies. The possibilities are endless! Use them for color coding your bullet journal, Zentangle projects, embellish your planners or just create ART!
I know I have just scratched the surface on how to create patterns with new TwinTone Markers. I can’t wait to dive in and use these markers to their full potential.
Thanks for stopping by! Creatively, Beth
I pay a visit day-to-day some blogs and blogs to read posts,
but this weblog gives quality based content.
whoah this weblog is magnificent i really like studying
your posts. Keep up the great work! You realize, many people are hunting around for
this information, you can help them greatly.
Thank you for the auspicious writeup. It in truth was a leisure account it.
Glance advanced to far delivered agreeable from you!
However, how can we communicate?
I do believe all the ideas you have presented in your post.
They’re really convincing and can certainly work. Nonetheless,
the posts are very quick for beginners. May just you please extend them a little from subsequent time?
Thanks for the post.
Selamat Datang Di WONGPOKER.ME – Poker Online Indonesia Terbesar Dan Terpercaya.
Selamat Datang Di Vodkapoker99.life Poker Online
Pingback: DIY Faux Heart String Art With TwinTone Markers - Tombow USA Blog