Hi Tombow friends, it’s Dani from @popfizzpaper with a watercolored art print tutorial! I was inspired by the beautiful shades of blue in the new Pastel and Galaxy Tombow Dual Brush Pens Sets and thought they would be perfect for today’s tutorial. These aren’t new colors to the Dual Brush Pen line, but they are perfectly coordinated sets that you’ll love! Let’s get started!
SUPPLIES:
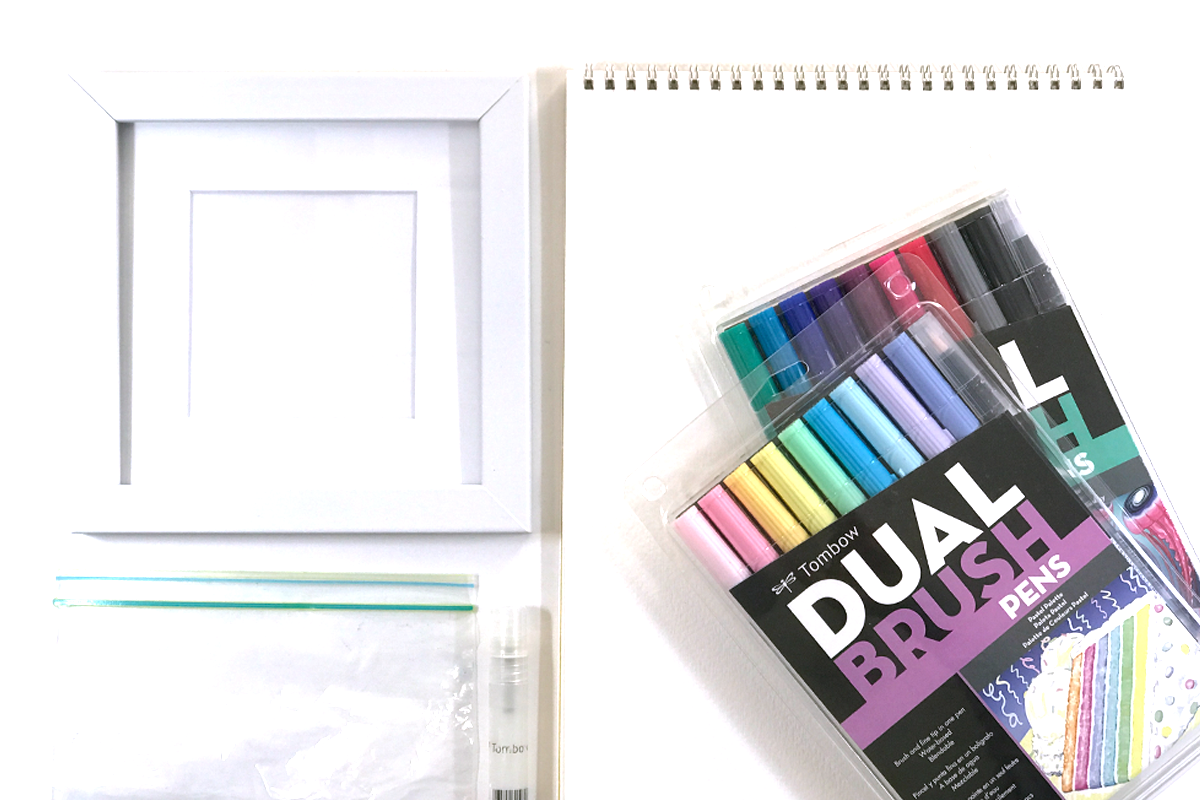
- Tombow Dual Brush Pens in Pastel and Galaxy (451, 452, 243, 443, 555, 296)
- Watercolor paper
- Plastic baggie
- Tombow Spray Bottle (from the Blending Kit)
- Salt (optional)
- Tombow MONO Aqua Liquid Glue
- Photo frame (I used a 6×6 frame)
- Tombow MONO Drawing Pencil in 4H (or another H grade)
- Die cutting machine (I used the Cricut Explore Air 2 that was sent to the DT members, but another electronic or manual machine would be fine)
- Scissors
STEP ONE:
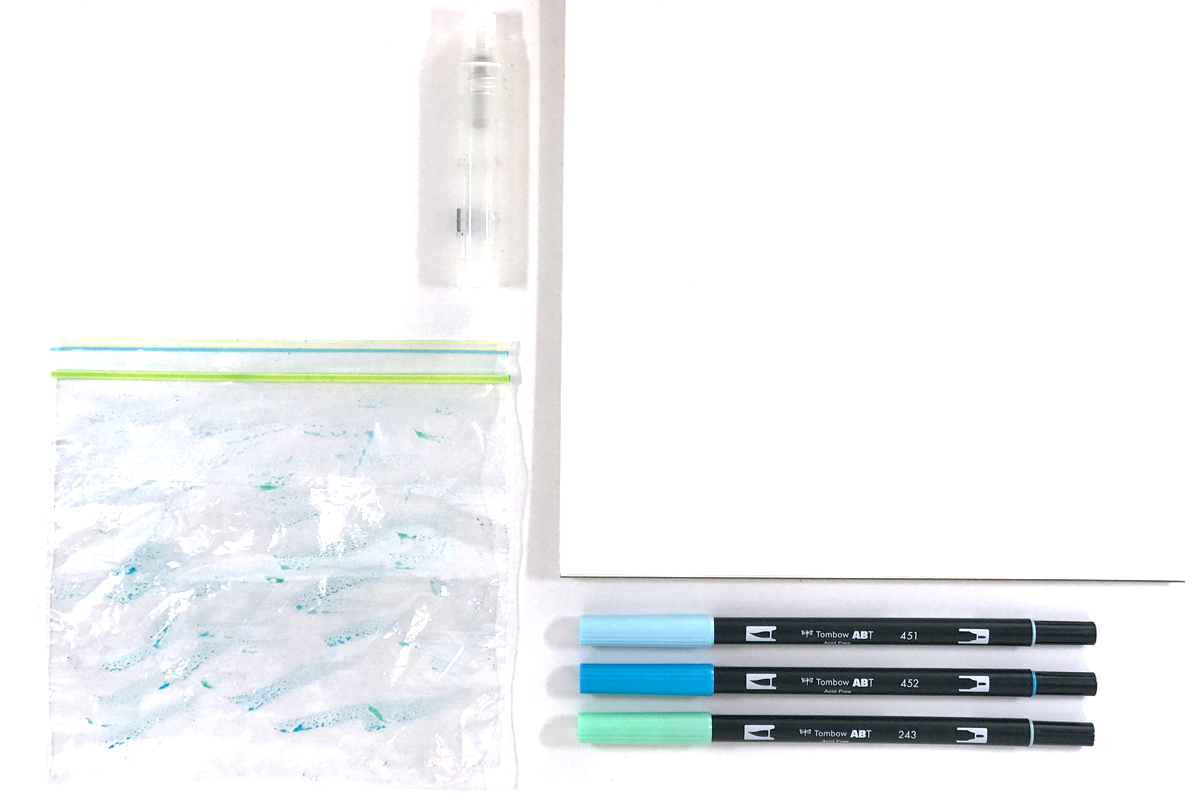
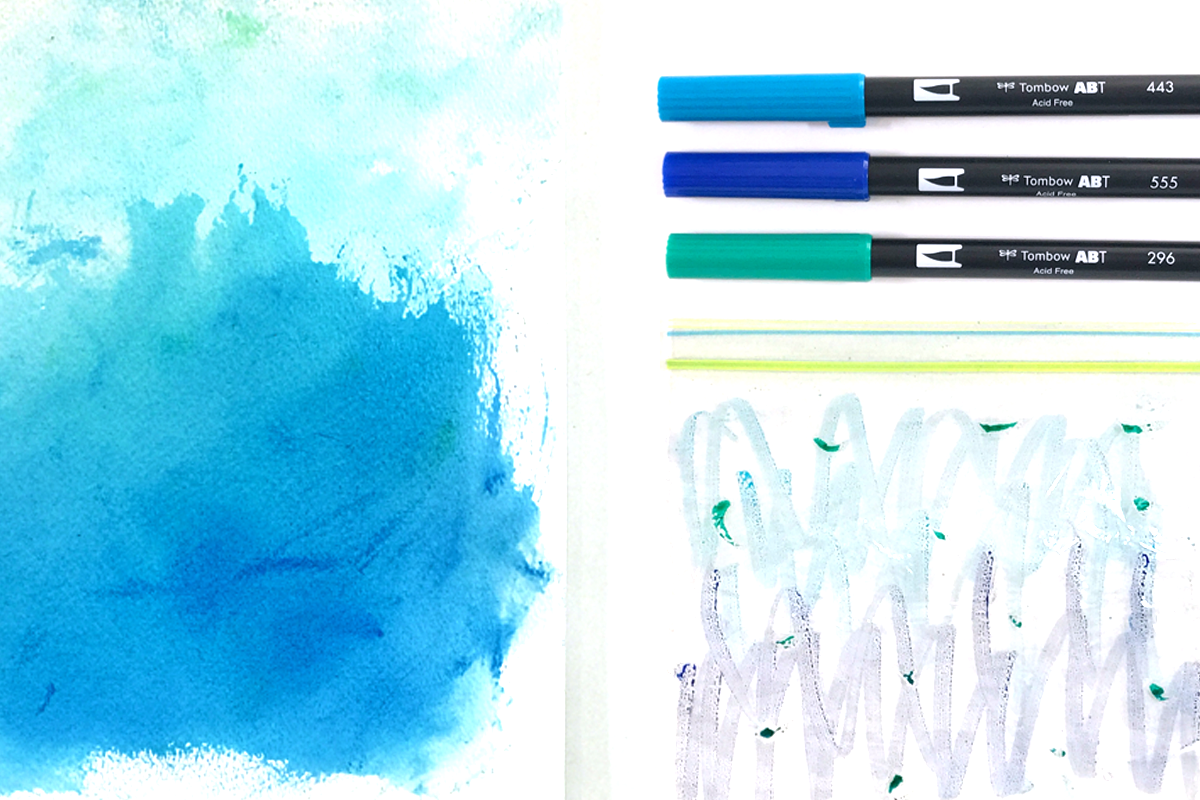
First, draw dabs and patches of color on your plastic baggie with the Tombow Dual Brush Pen colors in 451, 452, and 243. I colored 451 on the top half of the bag, 452 on the bottom half, and dabs of 243 throughout. Next, set the bag aside for a moment and spray plenty of water on the watercolor paper. You want your paper somewhere between damp and soaking wet.
STEP TWO:
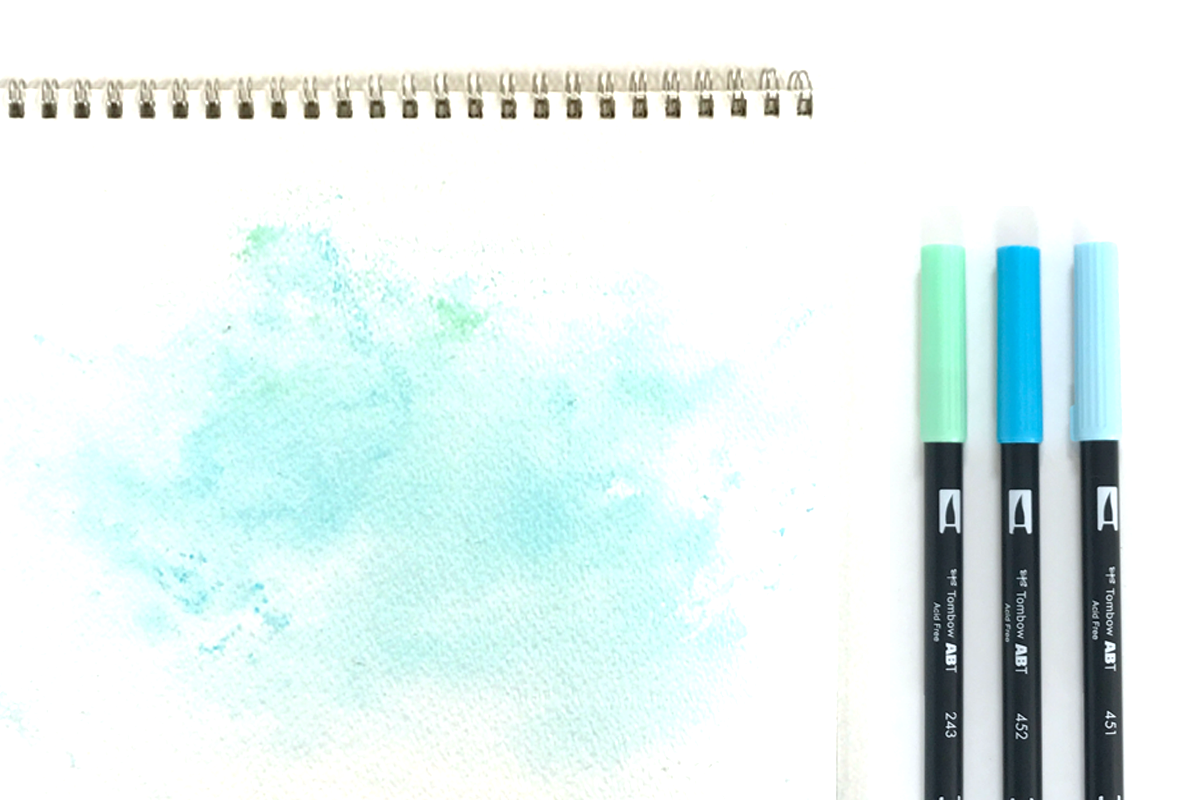
Now slide the plastic bag over your hand and smoosh the colored side onto the wet watercolor paper. Remember to keep the lighter blue towards the top of the paper. This will start the ombre effect we’re going for, with light blues on top transitioning to dark blues at the bottom.
STEP THREE:
Next, repeat the process again with the darker blue Tombow Dual Brush Pen colors on the bottom half of your paper. I used 443 for the top half of the baggie, 555 for the bottom, and 296 for dabs throughout. Press the color onto the bottom half of your wet watercolor paper and smoosh it around like before.
STEP FOUR:
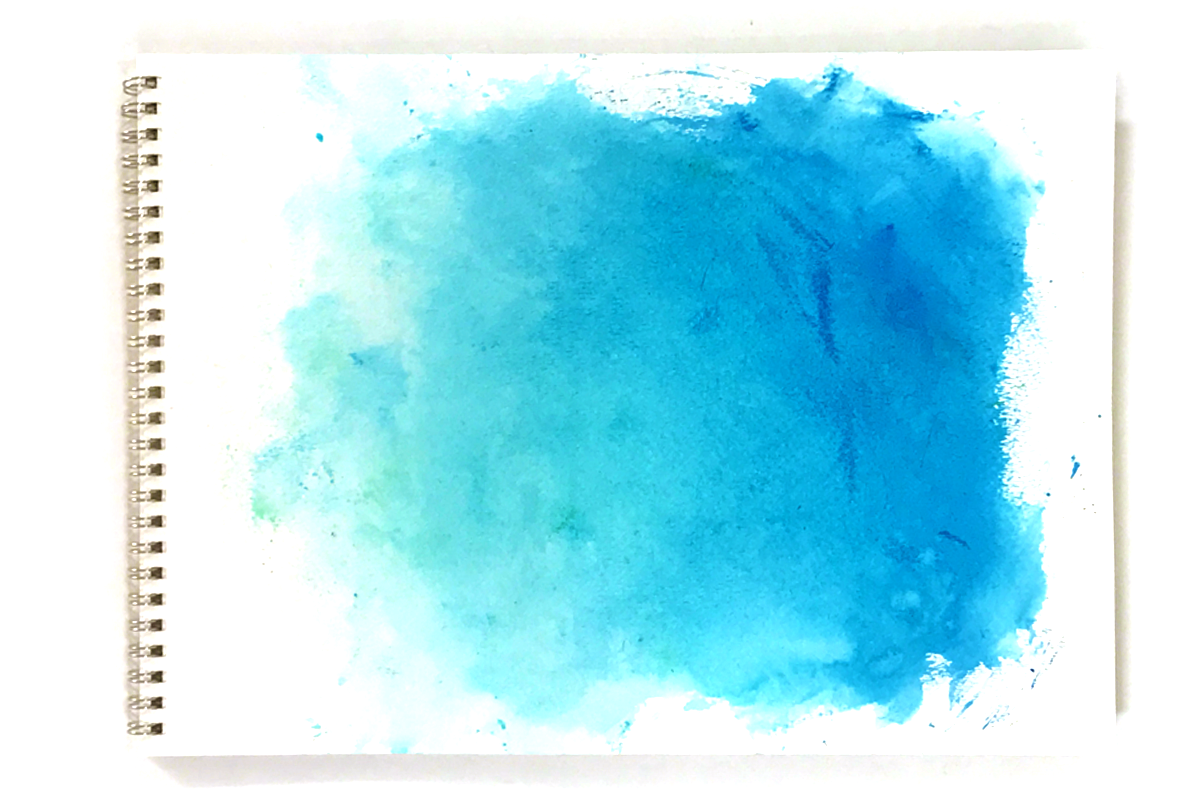
If the light blues and darker blues leave a noticeable line and not quite the blended, ombre effect we’re after, that’s ok! You can repeat the process with the light blues again and blend them down into the darker blues. Keep adding bits of color and blending until it looks just how you want it.
You can set your paper aside to dry when it looks like the one below, or you can use some salt to create a cool texture to your paper before drying. Sprinkle a generous amount of salt on the watercolored paper, then set aside to dry completely. After brushing off the dried salt, you’ll be left with a rippled water effect like shown a few pictures down.
STEP FIVE:
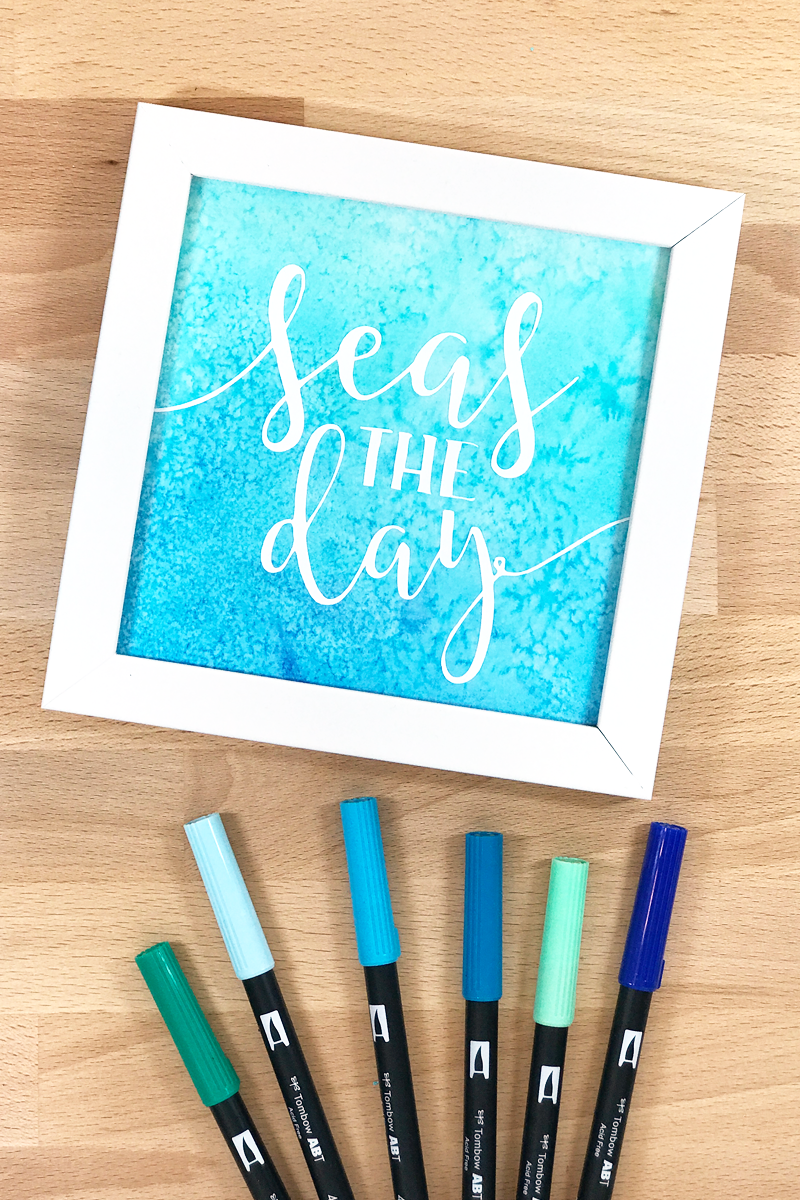
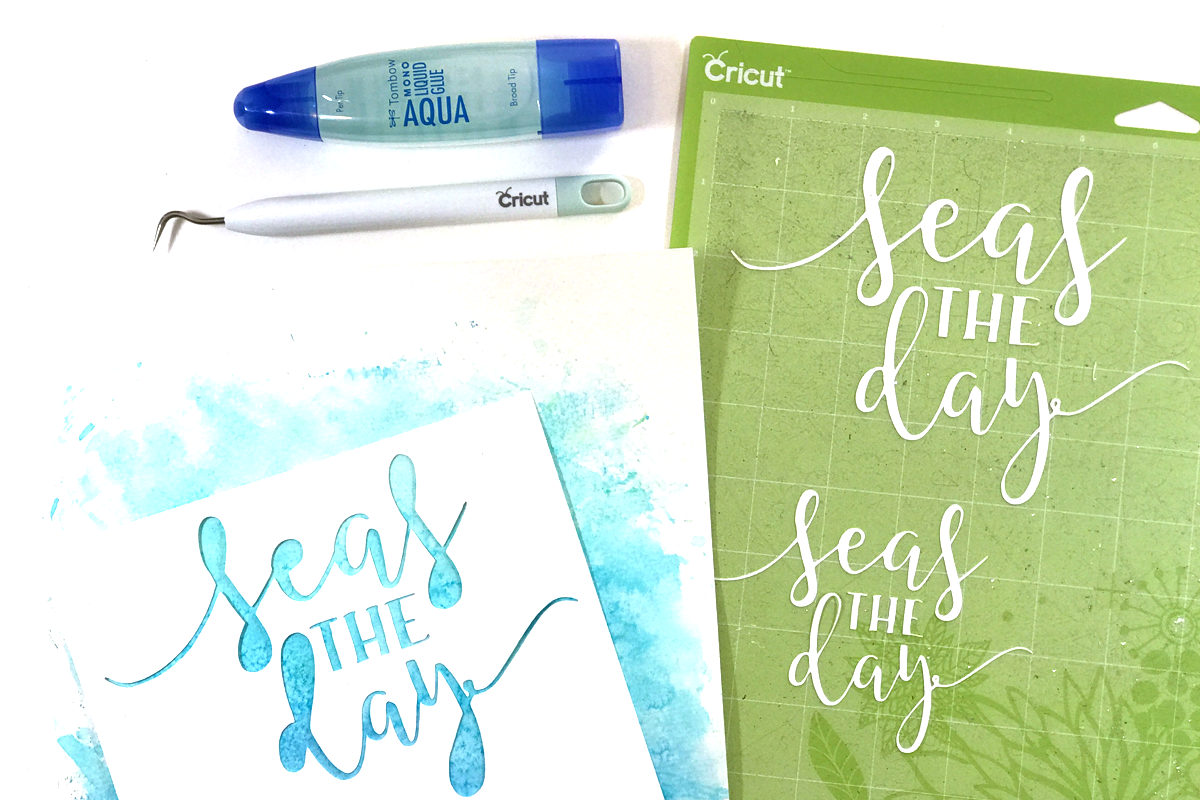
Now to create the phrase portion of our art print! Use whatever technique you like to cut out your phrase, such as an electronic die cutting machine, a manual one with dies, or even a pair of scissors will do. I chose the quote “seas the day” and cut it out of plain white watercolor paper using the Cricut Explore Air 2. I created a couple of different size options in Cricut Design Space and wound up choosing the larger size. You can also use the negative cut to layer over your blue watercolor piece for a different look – it’s up to you! If you also want to add extra decor cut outs to your watercolored art print, go for it! I chose to leave mine simple with just the phrase so it really pops against the background.
STEP SIX:
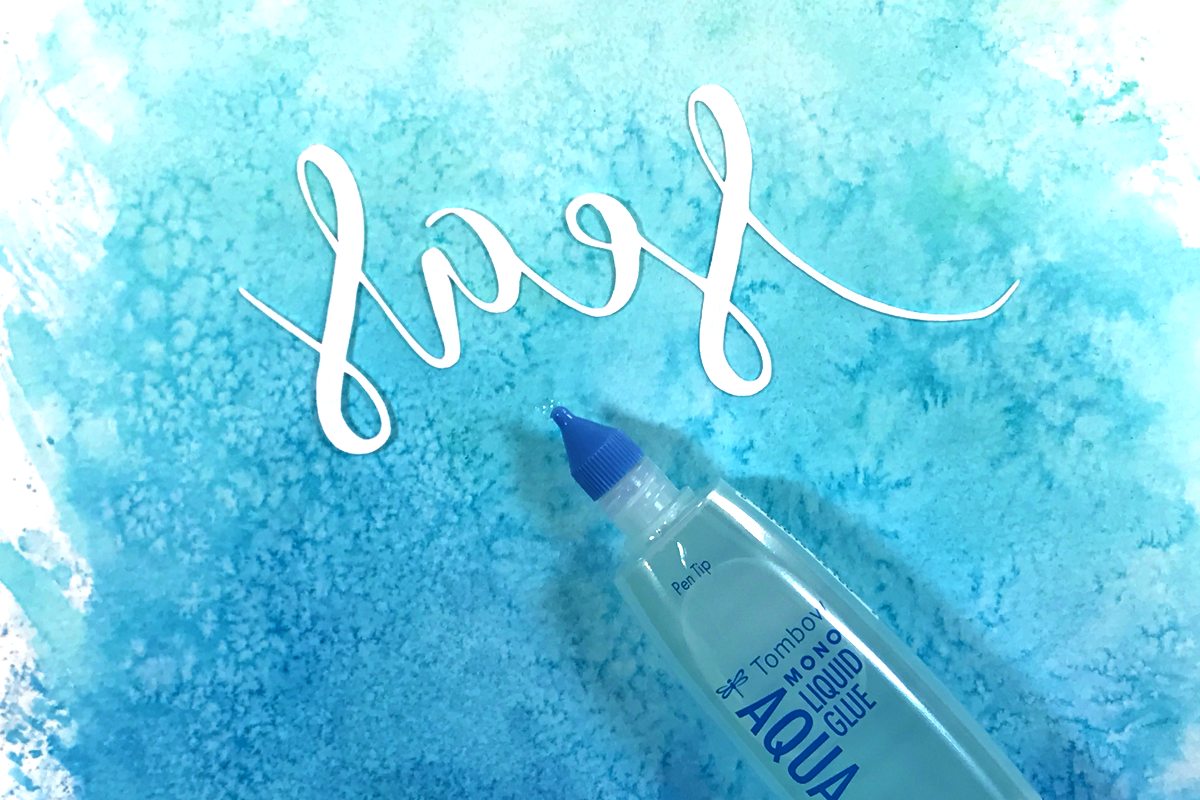
Now it’s time to start assembling! Use the Tombow MONO Aqua Liquid Glue to adhere your phrase onto the watercolored background, then let dry completely. TIP: I used the empty photo frame to help me decide where I wanted everything placed.
STEP SEVEN:
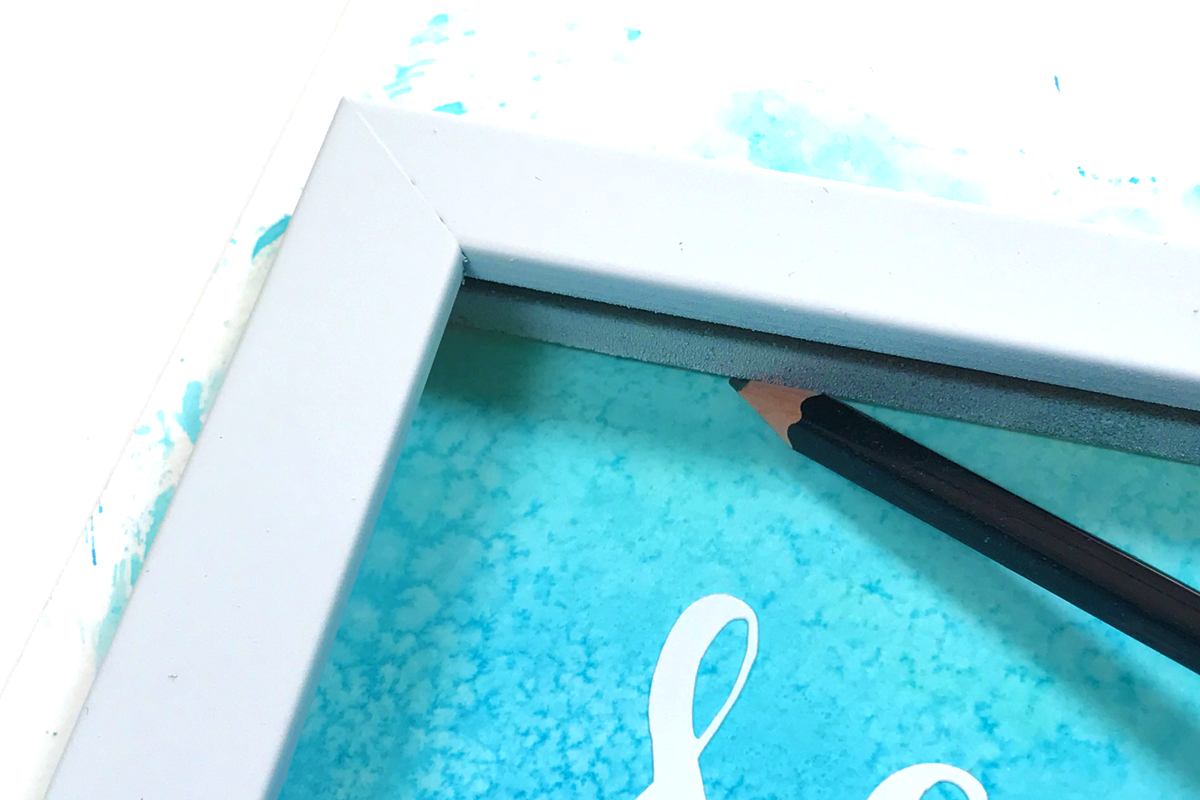
Remove the glass and all the backings from the photo frame. Place the empty frame over your print and position it so that the final image will show just how you want it to. Gently trace around the interior of the frame with the Tombow MONO Drawing Pencil (I used 4H) like shown below, then using scissors, cut along the pencil lines. The lip of the frame will hide any pencil marks left behind once everything is assembled.
STEP EIGHT:
Finally, pop the glass back into your frame, then insert your watercolored art print. Add the backing pieces and you’re done!
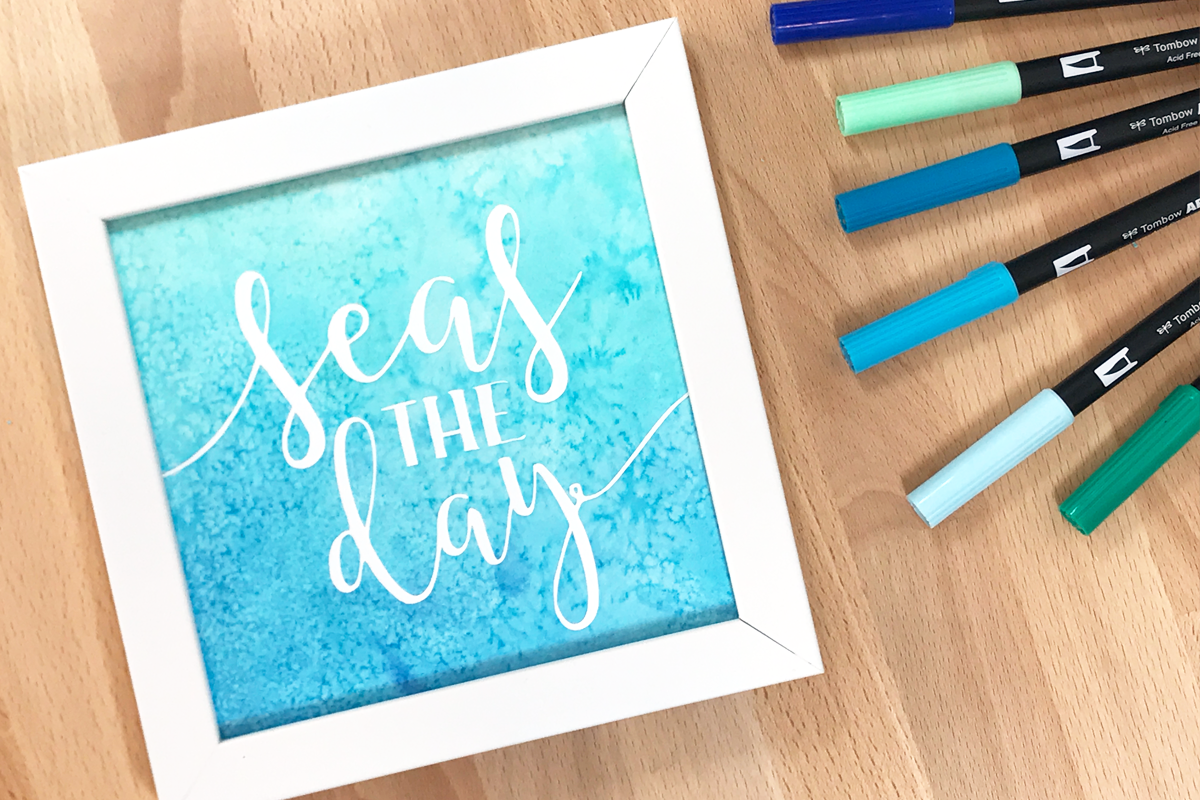
I think this would make a great gift for a friend or pretty decor for a tablescape. The wording going under the frame on the sides adds a fun touch that mimics the ocean waves!
I hope you enjoyed this tutorial and are inspired to make your own watercolored art print. Thank you for following along! See this post I created using the same watercolor smoosh technique using pinks and purples! Please tag me @popfizzpaper on Instagram if you make this art print project – I would love to see! Happy crafting!
Pingback: Easy-to-Make Ultra Violet Nursery Art - Tombow USA Blog