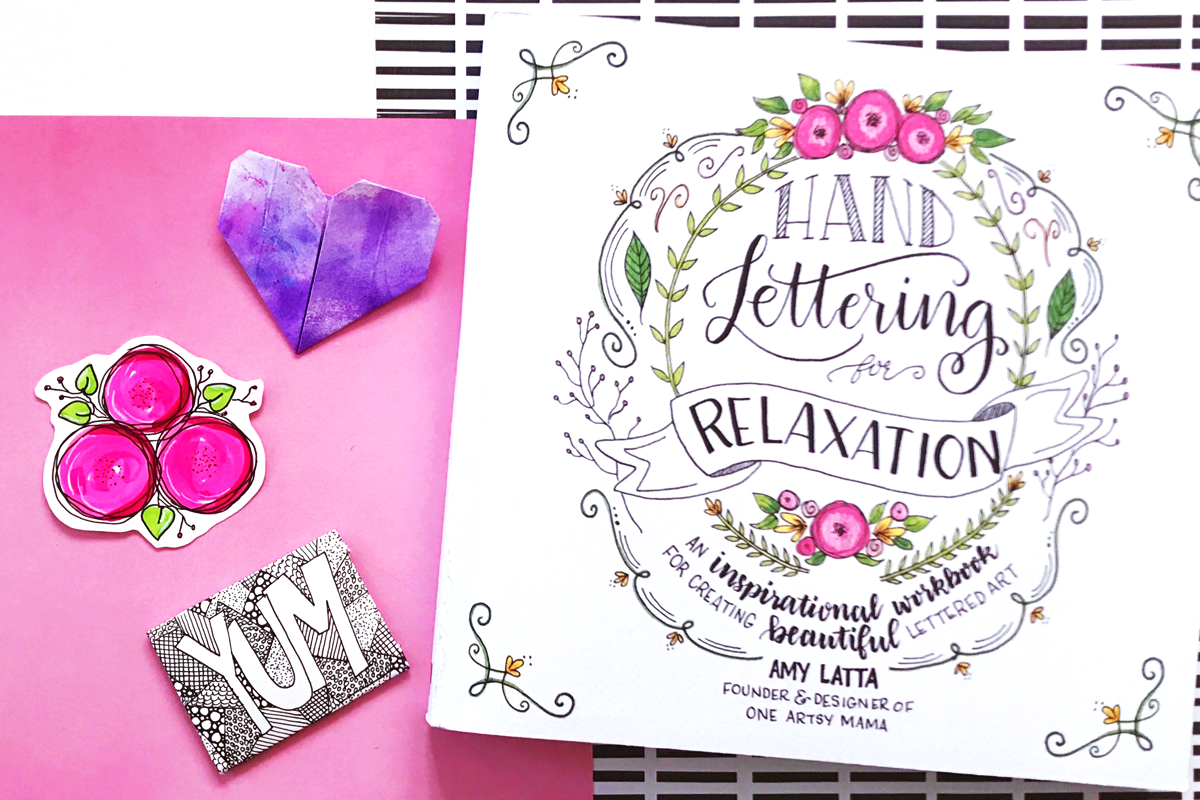
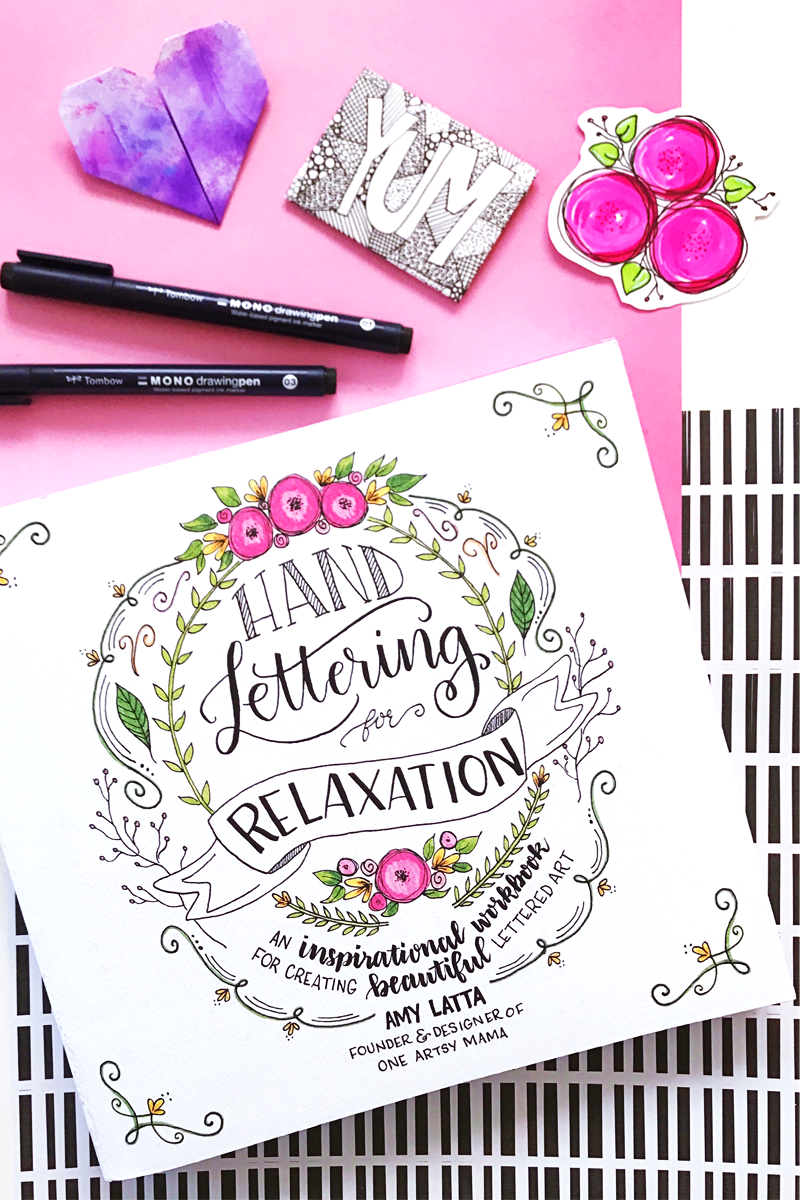
Hi Tombow friends, it’s Dani from @popfizzpaper with a fun back to school project share. When my son was younger, I loved putting little notes in his lunch box to make him smile during his day. Today I’m showing 3 ways you can get creative with lunch notes for your kiddos. I’m using the awesome Hand Lettering for Relaxation book by Amy Latta (@oneartsymama) for inspiration. Let’s get started!
FLORAL DIECUT LUNCH NOTES
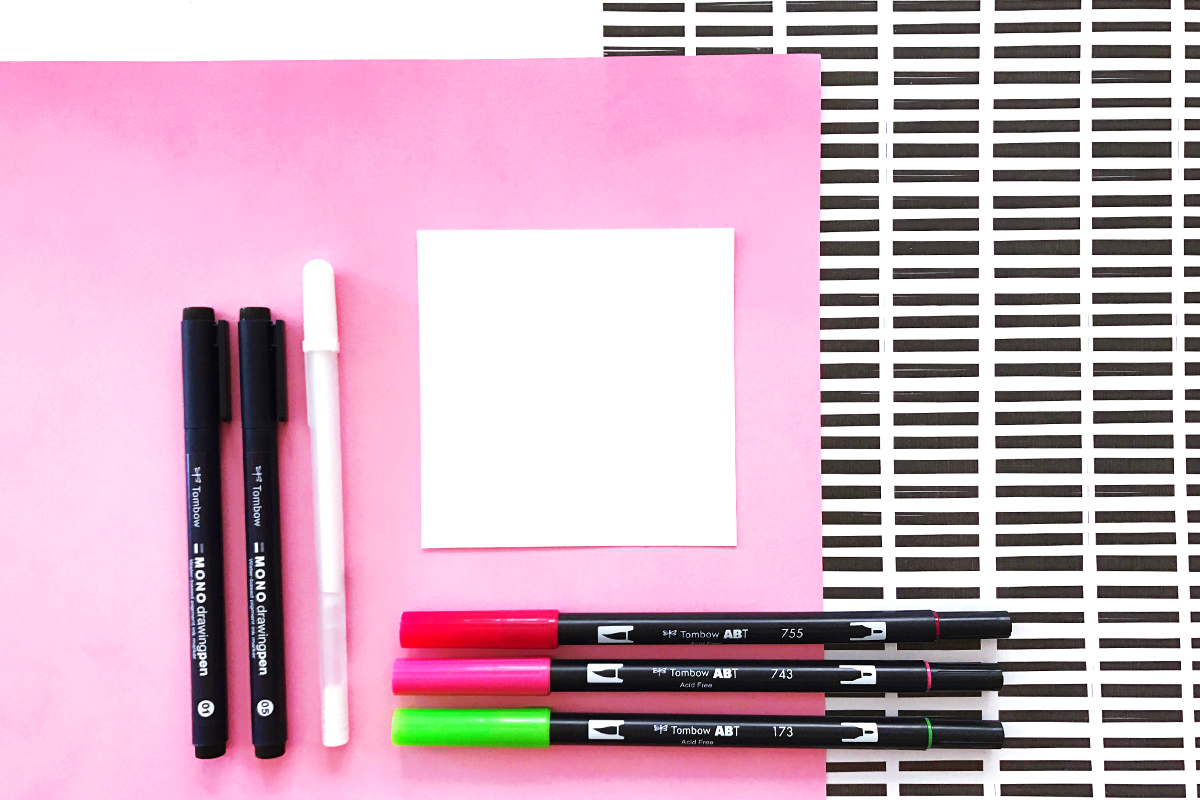
SUPPLIES:
- 4″x4″ square of mixed media paper
- 3 Tombow Dual Brush Pens, one light and one darker shade for the flowers plus one green for leaves (I used 755, 743, 173)
- Tombow MONO Drawing Pens in 05 and 01
- White gel pen
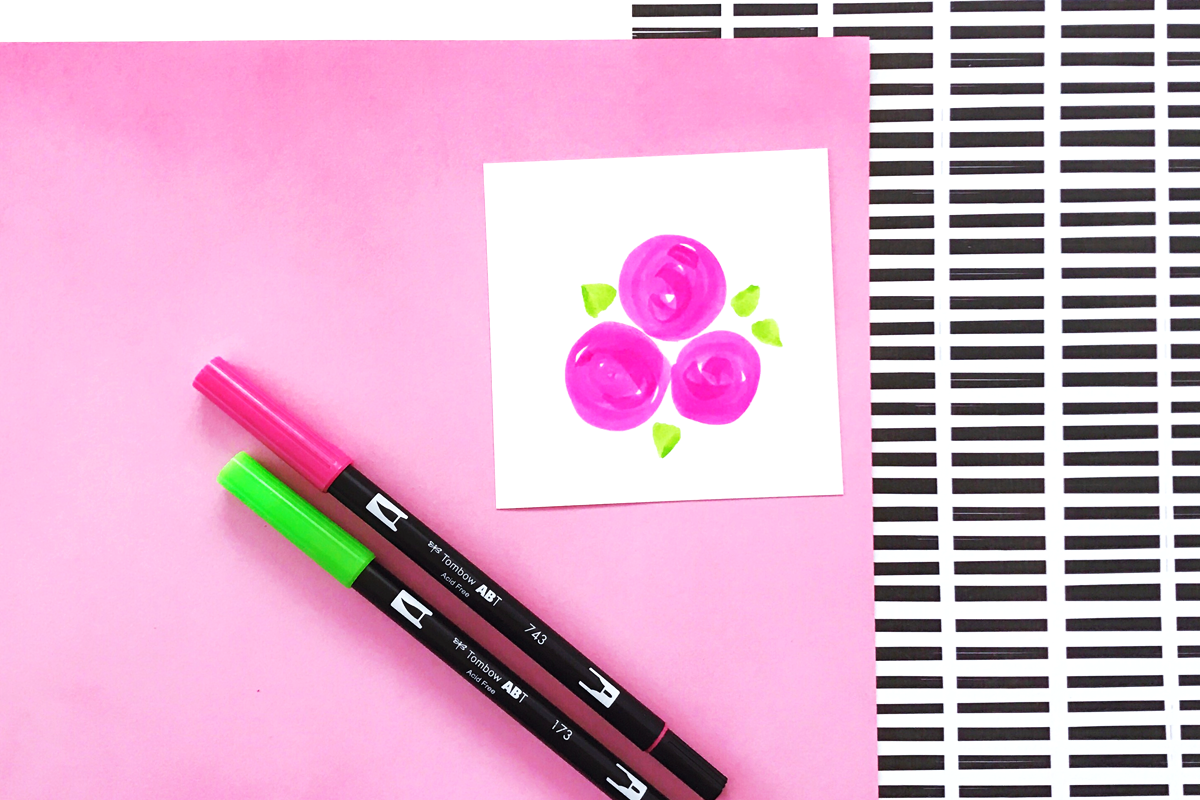
As soon as I saw these flowers in Amy’s book, I knew I had to try them for myself! To start your flowers, create three circles of color with your lighter flower color (743). Add green (173) dabs for the leaves.
Use the 05 Tombow MONO Drawing Pen to draw circles around the perimeter of your flowers. Make sure they overlap a bit and don’t worry if they aren’t perfect – that’s the look we’re going for! Also trace around your leaves, add some twigs, and draw dots in the center of your flowers with the MONO Drawing Pen.

Create a bit of extra dimension with the 01 MONO Drawing Pen to add even tinier dots in the center of your flowers. Use the darker flower color Dual Brush Pen (755) to create shading and the white gel pen to add highlights. Cut out the diecut using scissors (or an electric cutting machine if you wish). Write your note on the back and you’re set! Handmade diecuts make unique lunch notes and add a pop of color and fun to any lunchbox. Your child could even reuse them in a project of their own! For more floral inspiration, check out this post by Smitha.

ZENTANGLE INSPIRED LUNCH NOTES
SUPPLIES:
- 4″x4″ square of mixed media paper
- Tombow MONO Drawing Pen in 03
- Washi tape

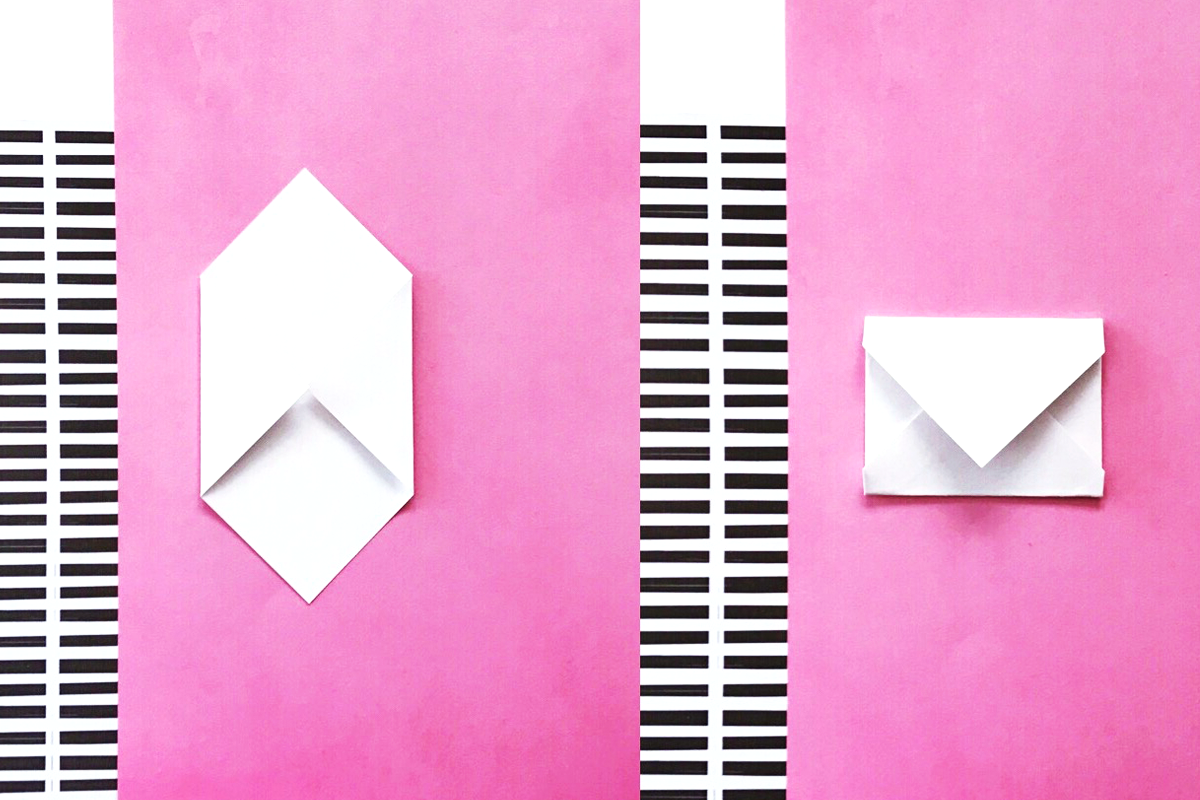
First, let’s create the envelope! Take your square of paper and turn it diagonally so it looks like a diamond. Fold the two sides inward until they meet, then press down to fold. Take the bottom of the diamond and fold upwards so it covers the middle. Fold over the top so it overlaps the previous fold. See below!
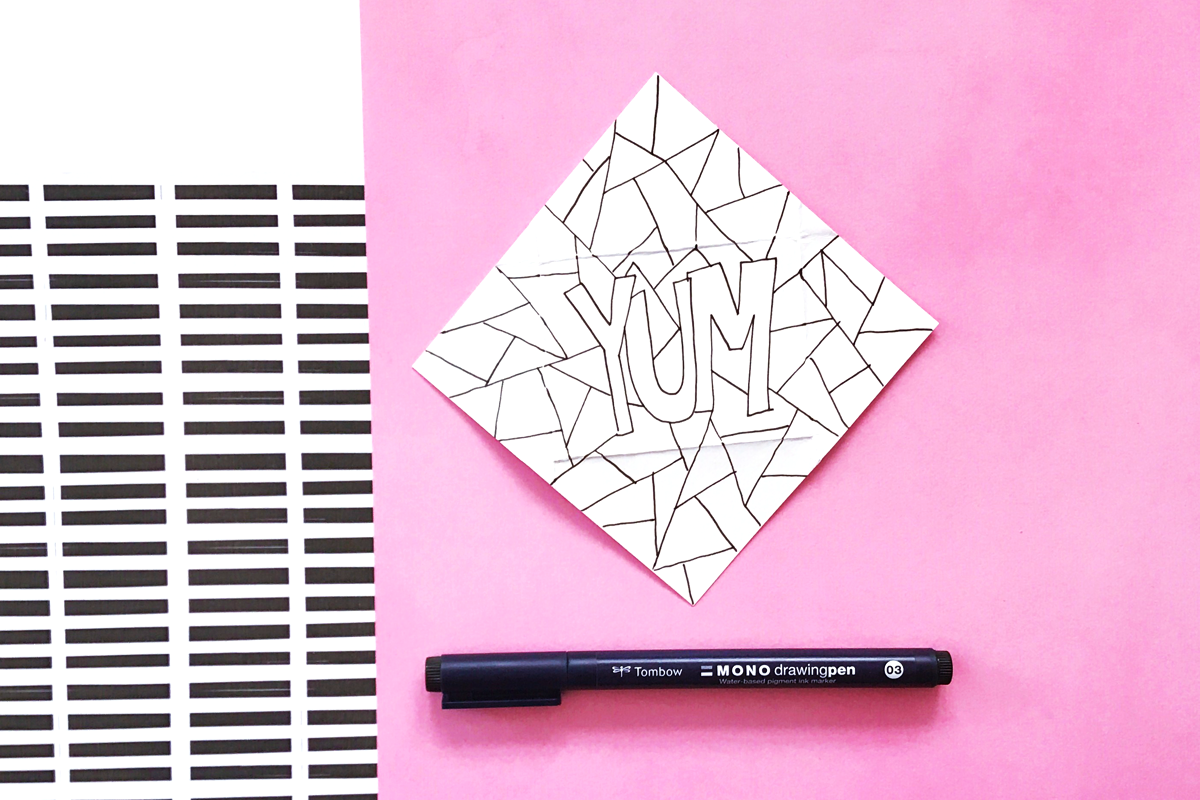
Once you have your envelope, open it up and flip over to the front. Use the 03 MONO Drawing Pen to write a word in a bubble letter type font in the center – I wrote “YUM.” Around the word, draw lots of angular shapes to fill up the rest of the space. Leave the inside of your word blank so it will really stand out later.
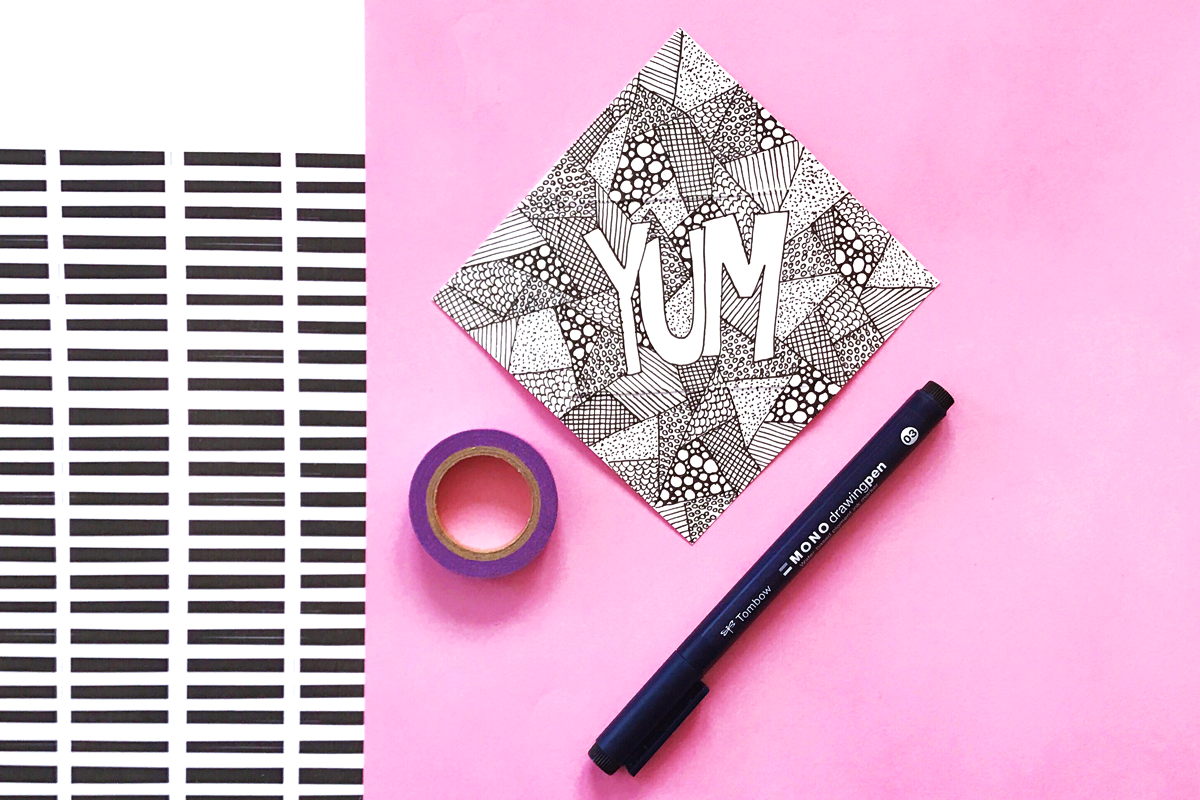
Now start filling in all the angular shapes with different patterns! I used dots, lines, bubbles, waves, and more to fill mine up, making sure to not have any of the same patterns directly next to each other. When you’re done, write your note on the blank side, refold, and use washi to seal it up.
This note takes some time, but is quite relaxing to create, especially if you enjoy doodling. You could also reverse the process like Amy does in her book, creating patterns inside of your word and leaving the outside blank. Either way, just think how much fun it will be for your child to color in all the different patterns! For more pattern inspo, make sure to check out this post by Marie!
WATERCOLOR ORIGAMI LUNCH NOTES
SUPPLIES:
- 4″x4″ square of mixed media paper
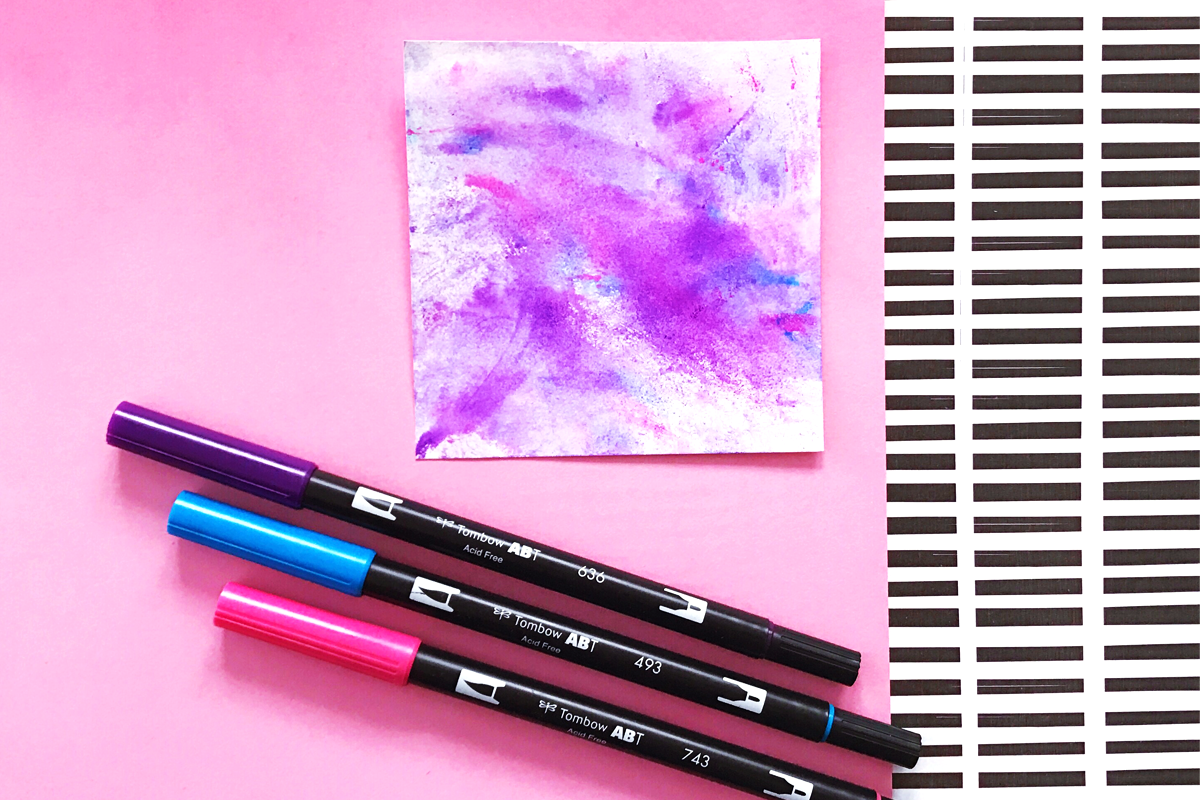
- Tombow Dual Brush Pens in coordinating colors (I used 743, 636, 493)
- Plastic sandwich bag
- Spray bottle (the one from the Blending Kit works perfectly!)
- Scrap paper
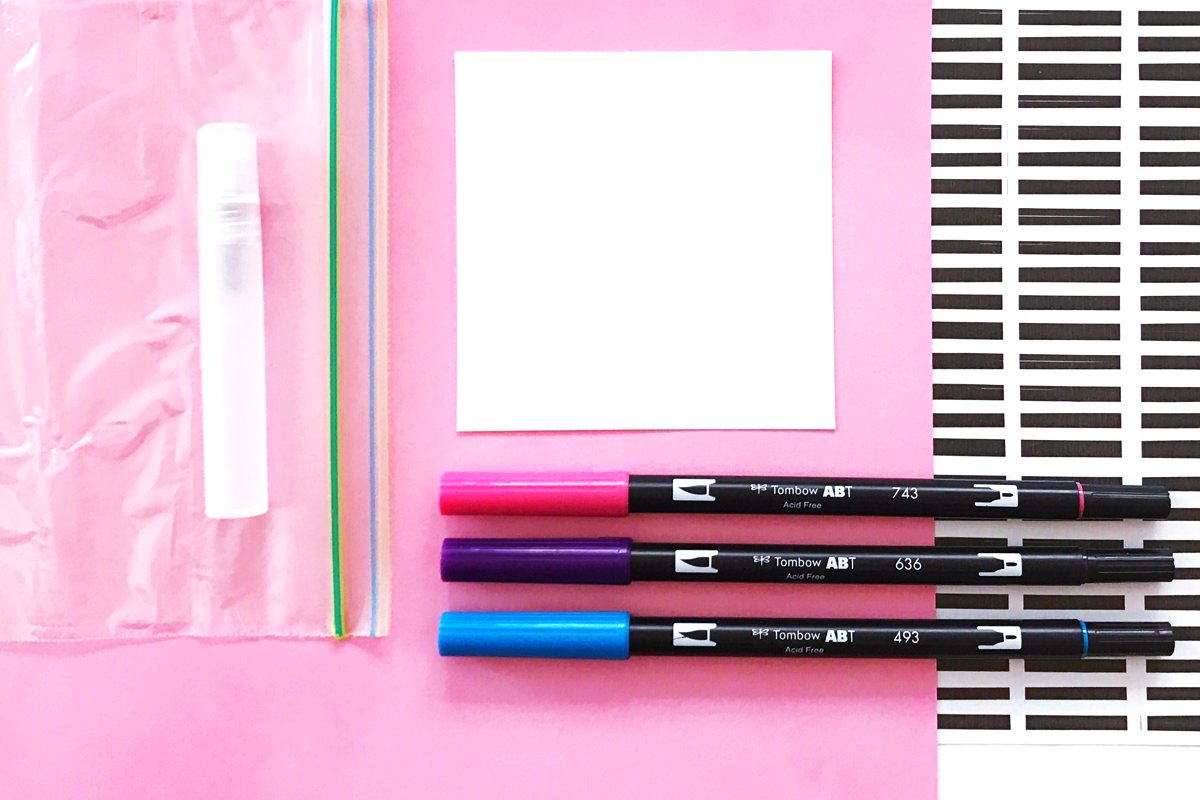
I love this technique from Amy’s book for creating watercolor backgrounds. It’s super fun and easy, you can even get your kids involved! Here’s how to do it: Take your paper square and place it on your scrap piece of paper. Spray water on your square, then set aside for a moment. On the plastic bag, draw dabs of color with the Dual Brush Pens. Don’t worry if you can see through the bag, it’s ok!
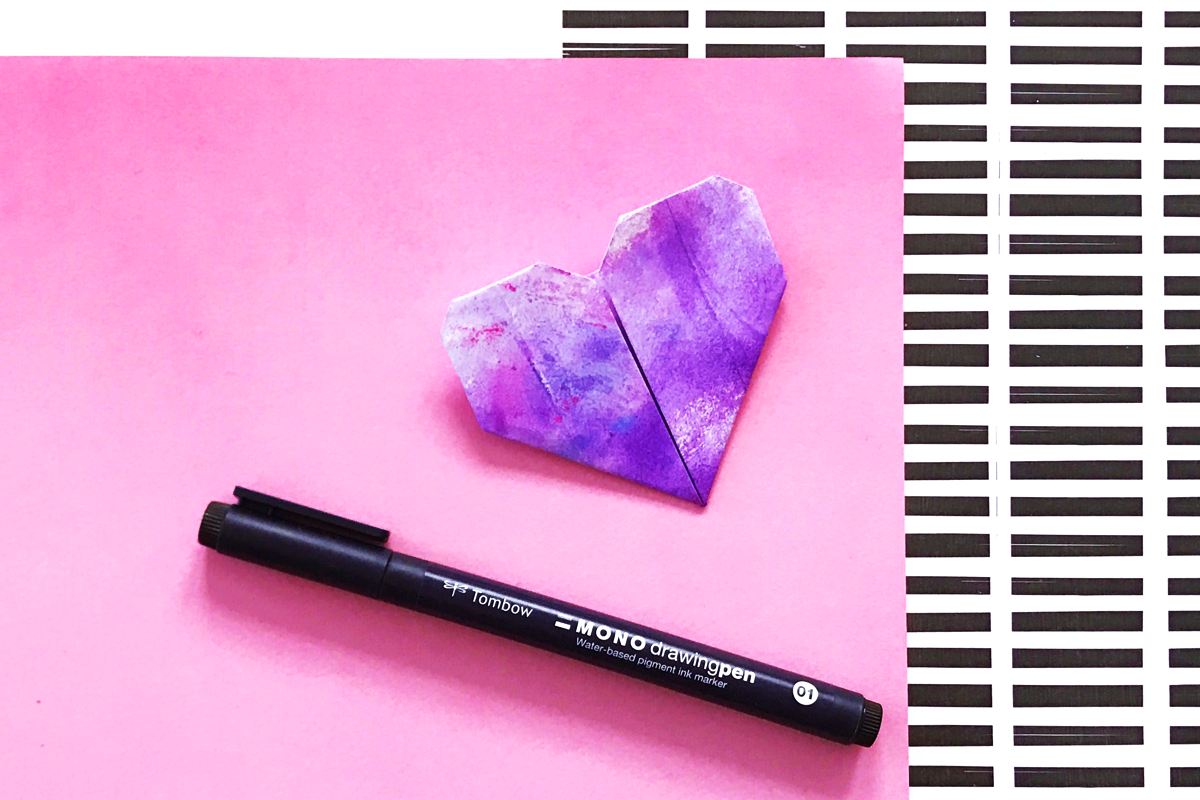
Place the bag over your hand, then smoosh the color all over your wet piece of paper. Instant watercolor gorgeousness! Let dry, then fold up into any origami shape you’d like. I created a heart here because of the purples and pinks, but green and yellow watercolor paper would be perfect for a frog origami! You can search the internet for all sorts of easy origami to try that will match your child’s interests.
And that is it for today’s back to school inspired post! I hope you enjoyed these different ways to create fun and unique lunch notes for your kiddos! Which lunch note are you most excited to try?
If you want to learn more techniques for lettering, backgrounds, and doodling, make sure to check out Hand Lettering for Relaxation. It’s full of easy to follow tutorials and I can’t recommend it enough. See you guys next time!