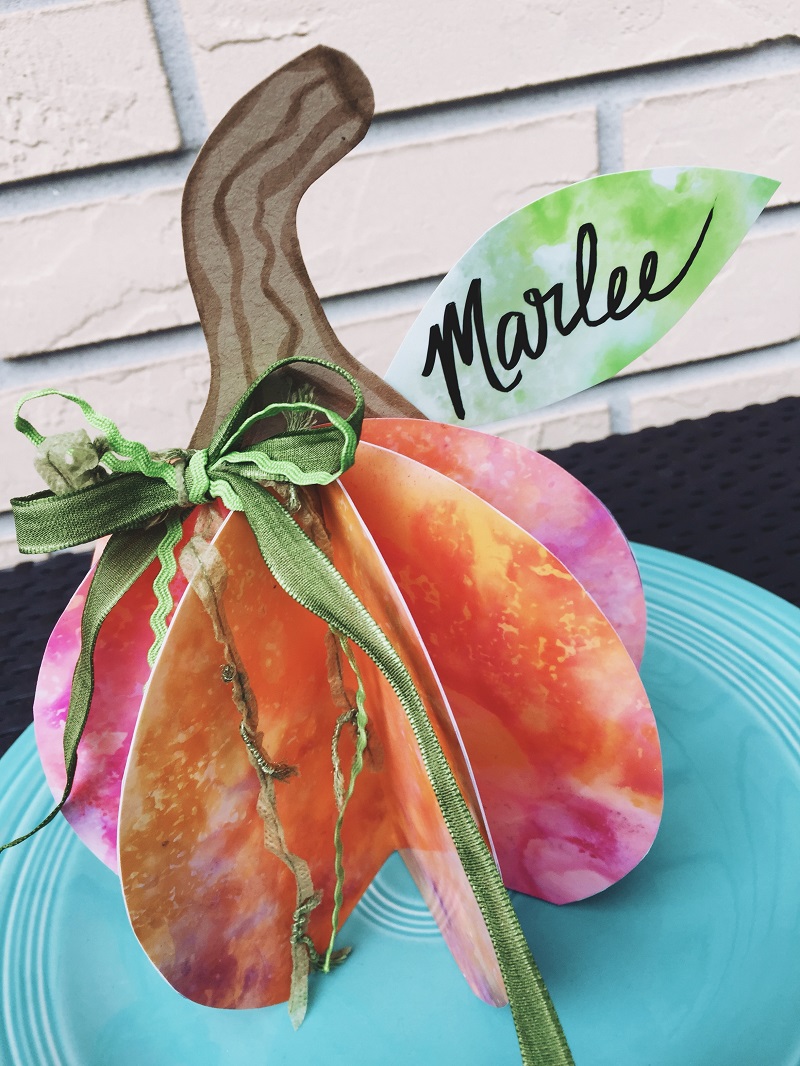
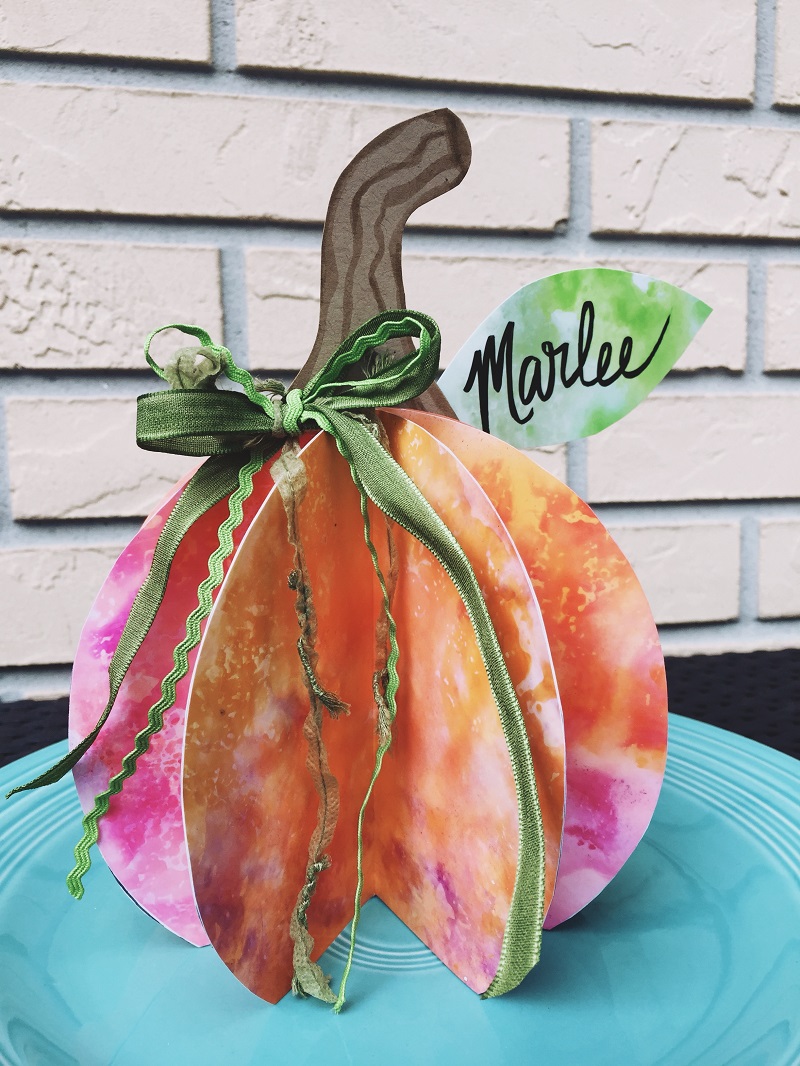
Good morning Tombow fans! Beth here today to share my favorite splash technique on these pumpkin place cards. This projects is perfect for the upcoming Thanksgiving holiday!
STEP ONE:
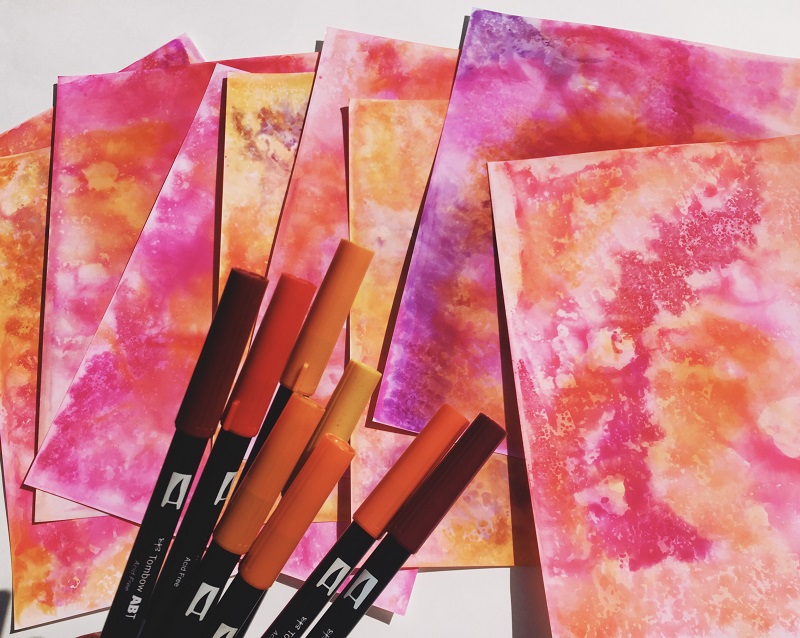
Create splash background papers by scribbling a variety of Dual Brush Pens (757; 837; 885; 905; 993; 933; 925 and 946) onto the Blending Palette, then spray generously with the Mister – these can both be found in the Tombow Blending Kit. Place the shiny side of your ink jet glossy photo paper into the color. Shift slightly and peel back to reveal the splash marbled effect.
STEP TWO:
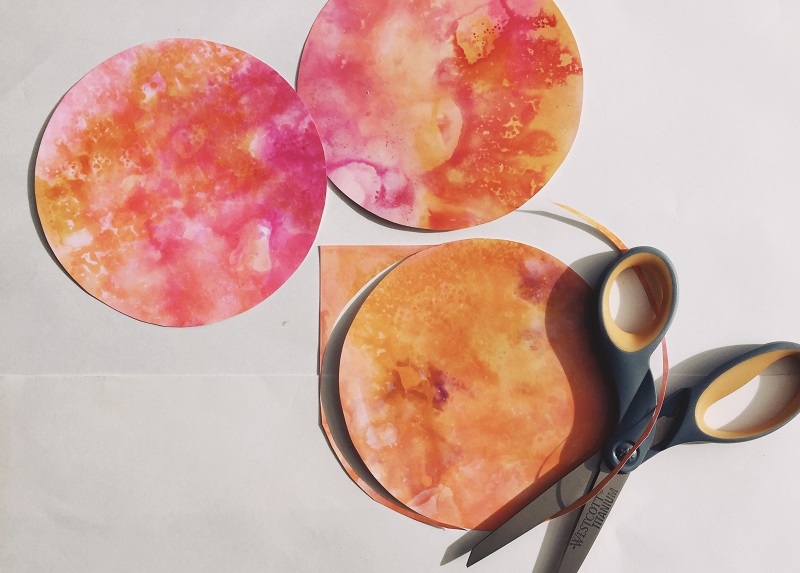
Trace 6″ circle using a template (bowl or plate) onto chipboard and cut out with scissors. For each pumpkin, trace eight circles onto the splash backgrounds with the broad tip of the MONO Twin Permanent Marker.

STEP THREE:
Cut each circle out with scissors.
STEP FOUR:
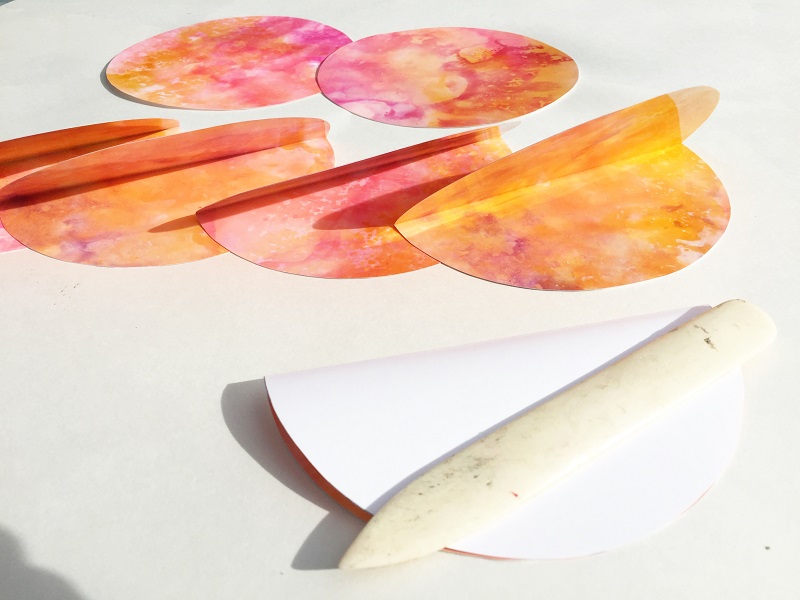
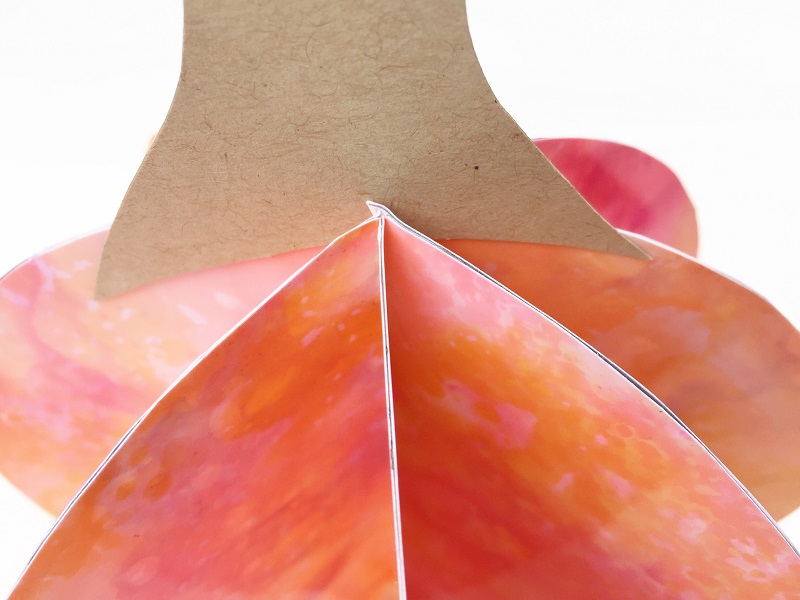
Fold each circle in half and score with a bone folder.
STEP FIVE:
Cut a 1″ strip from the bottom of each circle, so the pumpkin can stand up.
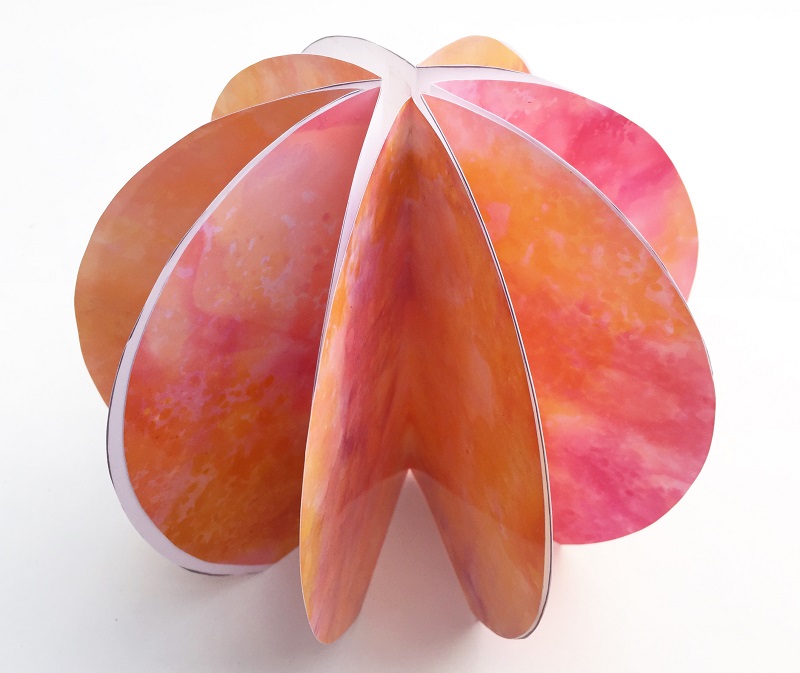
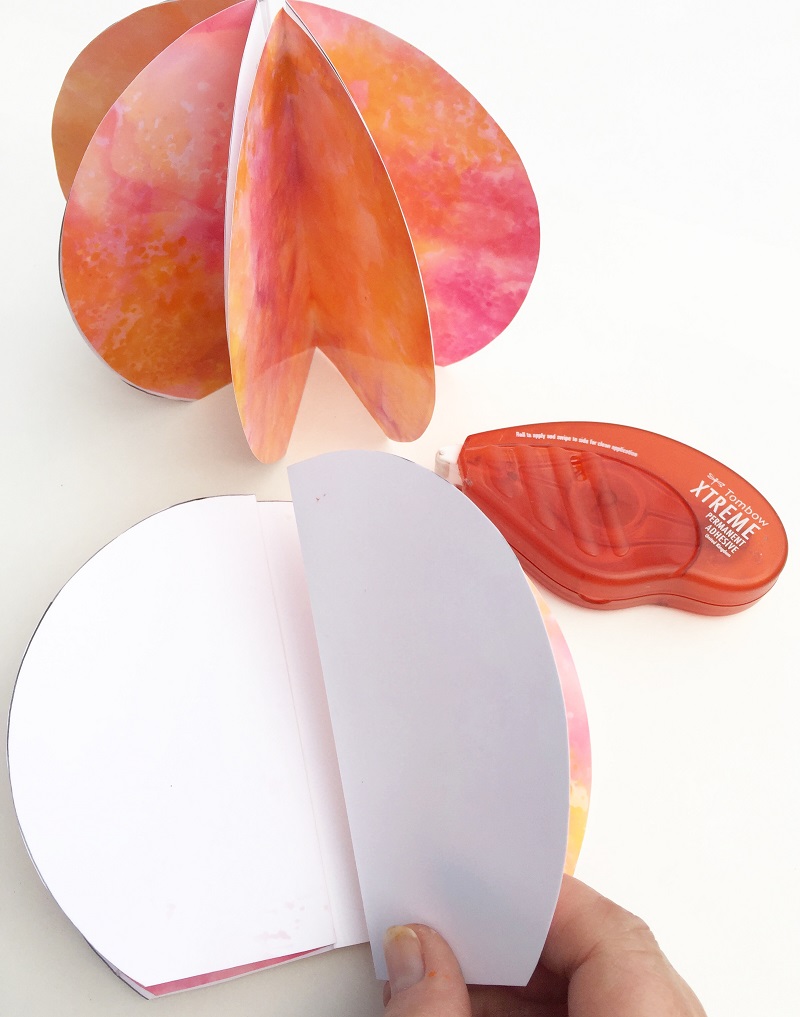
STEP SIX:
Apply Xtreme Permanent Adhesive to one side of folded circle, then attach second folded circle. Tombow’s Xtreme Permanent Adhesive is five times stronger than traditional adhesive runners, just remember to roll to apply, then swipe tip to the side for a clean application. Repeat until all eight circles have been attached. If the back of the photo paper is visible, trim with scissors.
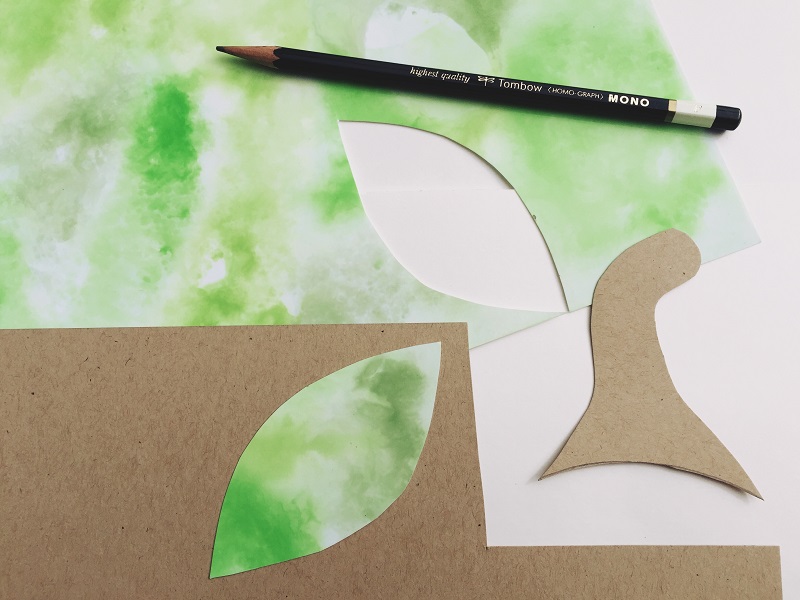
STEP SEVEN:
Create a green splash background with Dual Brush Pens (158; 195 and 173). Draw two leaf shapes with MONO Drawing Pencil grade F, then cut out with scissors. Attach, back to back, with Xtreme Permanent Adhesive. Draw a pumpkin stem on to kraft colored cardstock, then cut out with scissors.
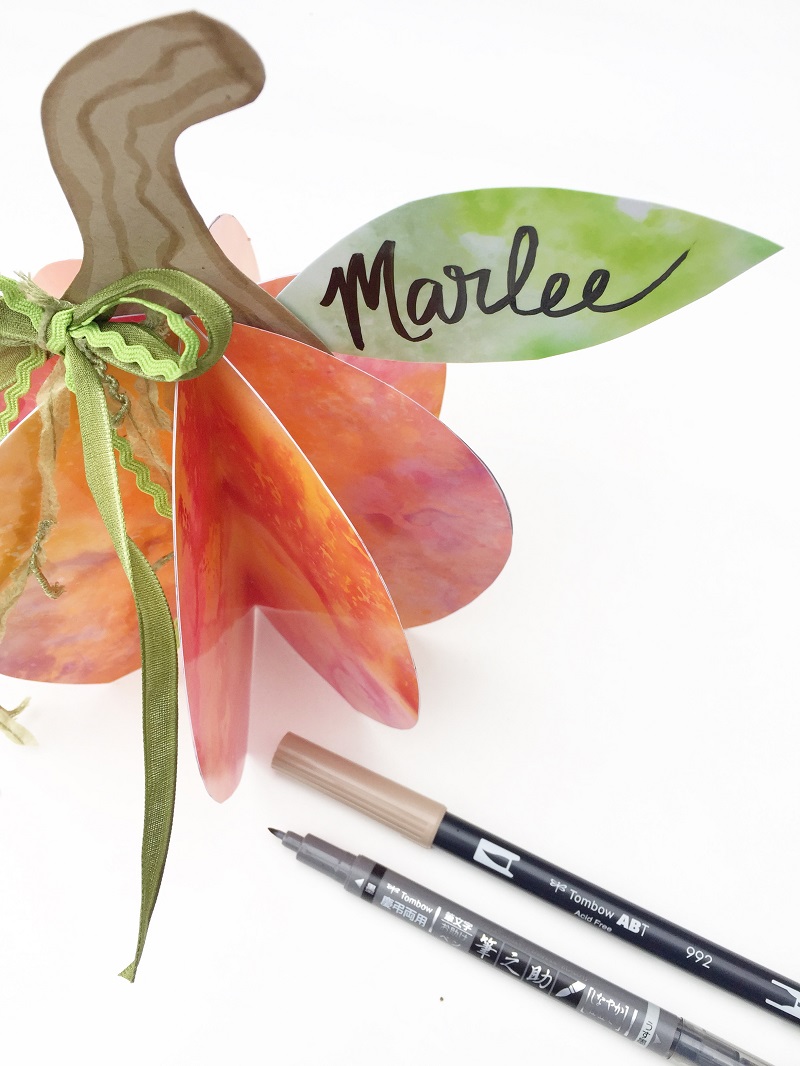
STEP EIGHT:
Create details on the pumpkin stem with Dual Brush Pen 992. Write the name on the leaf with Fudenosuke Twin Tip black. The tip of this Fudenosuke is the softest and the easiest to letter with, especially on the slick, glossy surface of the photo paper.
STEP NINE:
With sharp, pointed scissors, cut a slit at the top of the pumpkin to insert the stem.
STEP TEN:
To finish the pumpkin placecard, attach leaf to back of stem and bow made of green fibers with an Extreme Tab cut in half.

Here is a close up of the splash technique pumpkin placecard.
I hope that you have enjoyed my colorful pumpkin project today and that you will be inspired to show us YOUR Tombow creativity! Share your projects on social media using the hashtag #tombowusa.
Here are a few more pumpkin projects – A Hand Lettered Pumpkin by Lauren, Glittered Pumpkins by Cynthia and Easy Paper Pumpkins by Smitha – ENJOY!
Thanks for stopping by!
Creatively, Beth