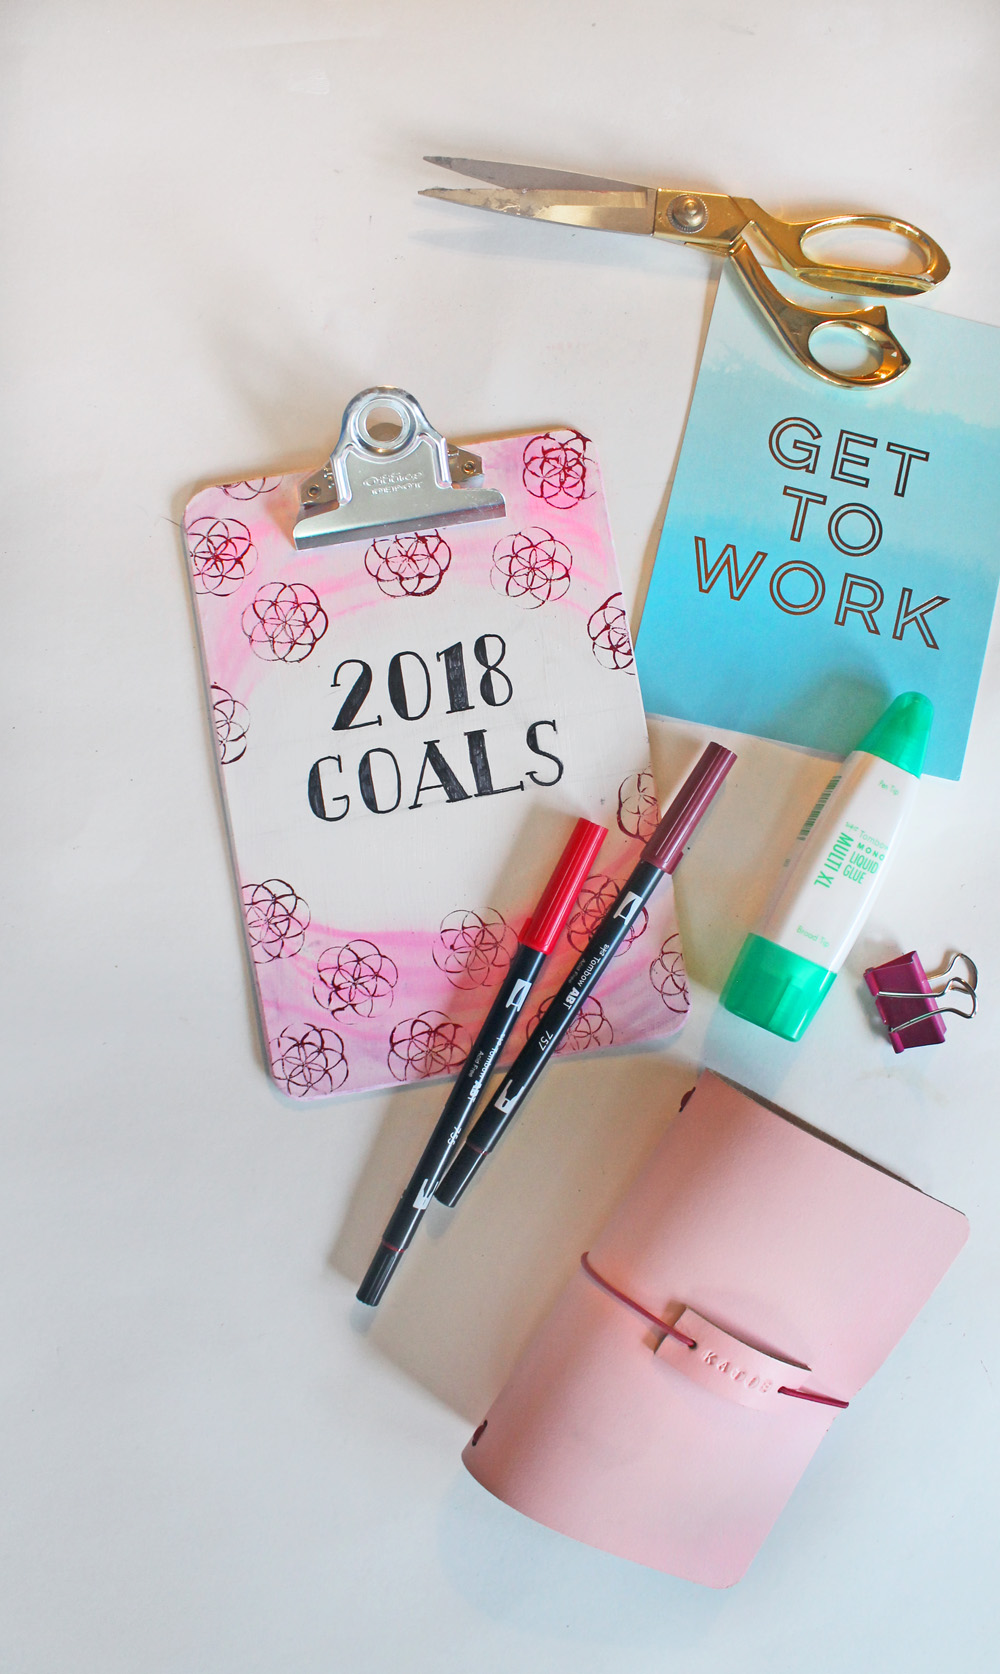
Hello everyone, it’s Katie here! This week we created projects inspired by the New Year! Now, I personally am not at all a night owl, and I don’t ever celebrate the new year by staying up. So, rather than doing any party decor, my project focuses more on getting organized for 2018! I’ve made a “goals” clipboard, and it’s perfect for anyone who wants to keep track of any big goals/resolutions, or even just a list of small creative goals- like keeping up in your journal or scrapbook.
Supplies:
- Plain clipboard
- White gesso
- Washi Tape
- Dual Brush Pens
- Compact Spray Mister (From the Blending Kit)
- Paint Brushes
- MONO Multi XL Liquid Glue
- Transfer foil
- Acrylic stamp
- MONO Twin Permanent Marker
- MONO Drawing Pencil Set
- Art Deco Lettering instructional cards
Step one:
Start off by painting your clipboard with white gesso. My clipboard wasn’t designed to have the metal clip removed, so I just used washi tape to tape around it before painting. I recommend gesso instead of paint, because the Dual Brush Pen ink sticks better to the gesso then it does a glossy paint.
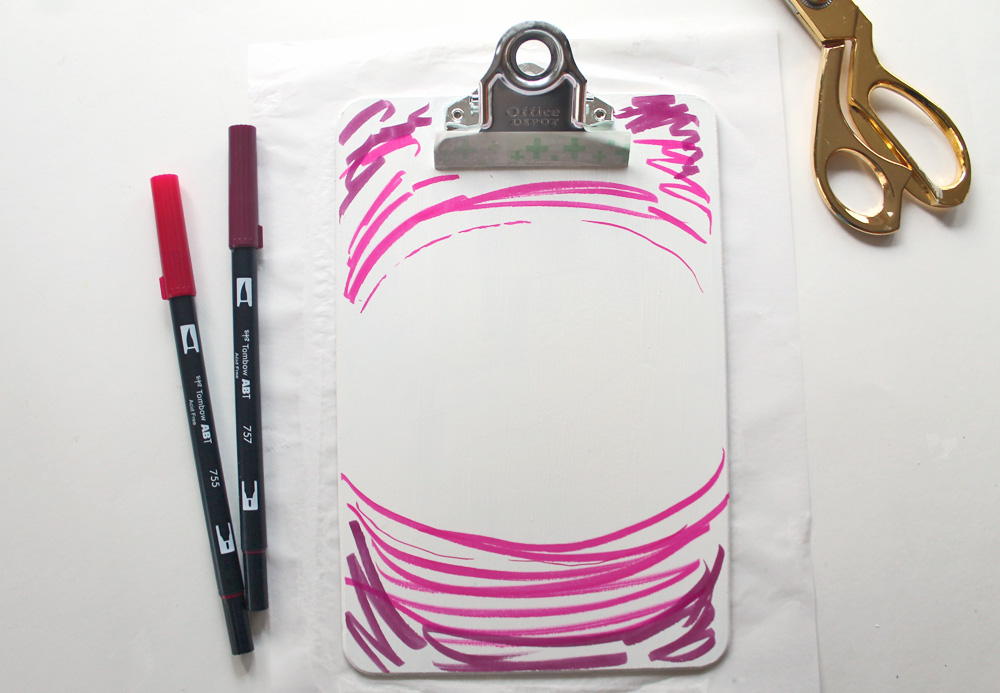
Step two:
Take 2 colors of Dual Brush Pens and apply the ink in a circular shape, leaving a white space in the center of the clipboard. I used colors 757 and 755.
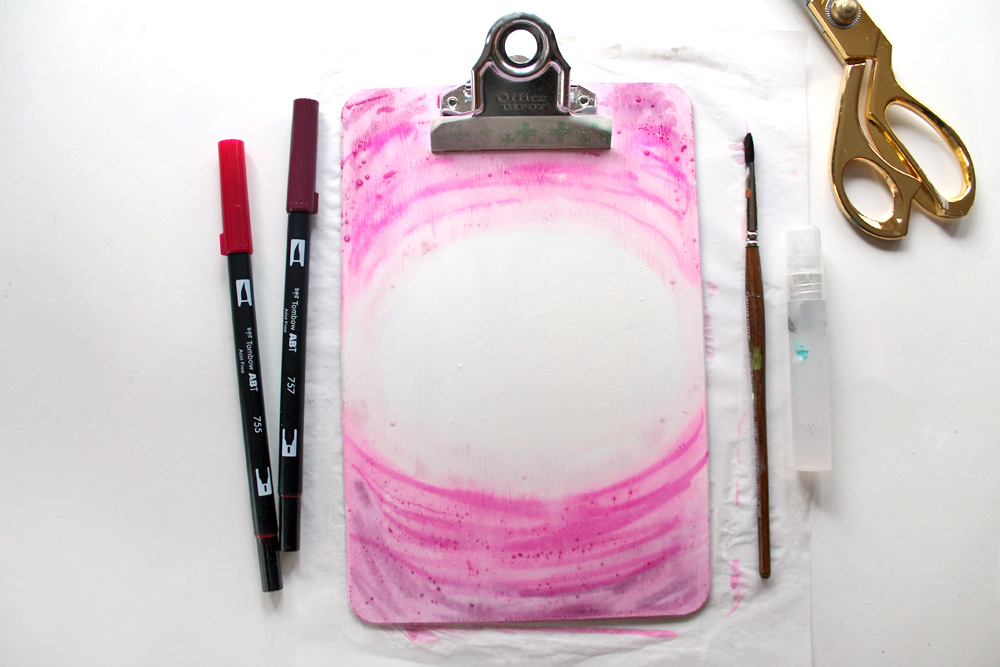
Step three:
Mist your ink with water, and then use a paint brush to blend the colors together. Brushing over top also helps to remove any marker lines. (The quicker you spray the water after you’ve applied the ink, the less of a line you’ll have!)
Let dry.
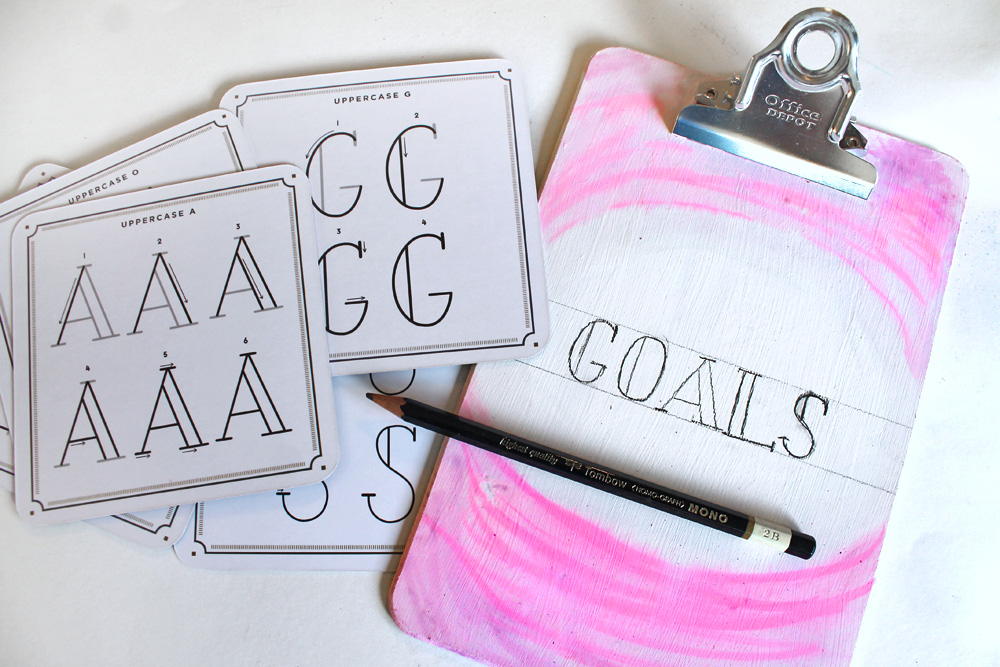
Step four:
Once the background color has dried, it’s time to letter! Sketch out your letters with a MONO Drawing Pencil, and then go over the lines with the MONO Twin Permanent Marker.
Have y’all seen the new instructional card tins by Shelly Kim? They’re like flash cards for lettering! Shelly was kind enough to send those of us on the Tombow design team some of her tins, and I loved the Art Deco letter style. The tins don’t include number cards, but I used the guidelines to create the same look for my “2018” numbers.
Step five:
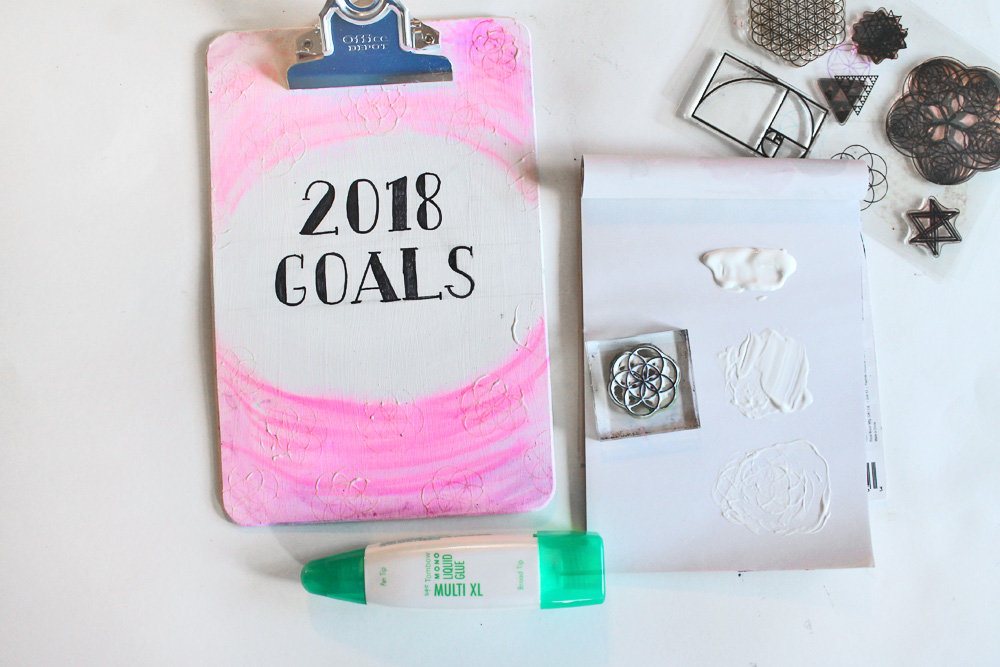
Now it’s time to add a little more embellishment, and we’re going to do that by creating foiled stamping! Here’s how:
Squeeze a small amount of the MONO Multi XL Liquid Glue onto a piece of scrap paper (or a blending palette, but you’ll want to make sure you wash off the palette immediately after using it.) and spread it out with a paint brush.
Place your stamp down into the adhesive, exactly as you would an ink pad, and then stamp your design onto your clipboard. I recommend having a design that is fairly simple. If your stamp has too many fine lines it may lose some of the detail.
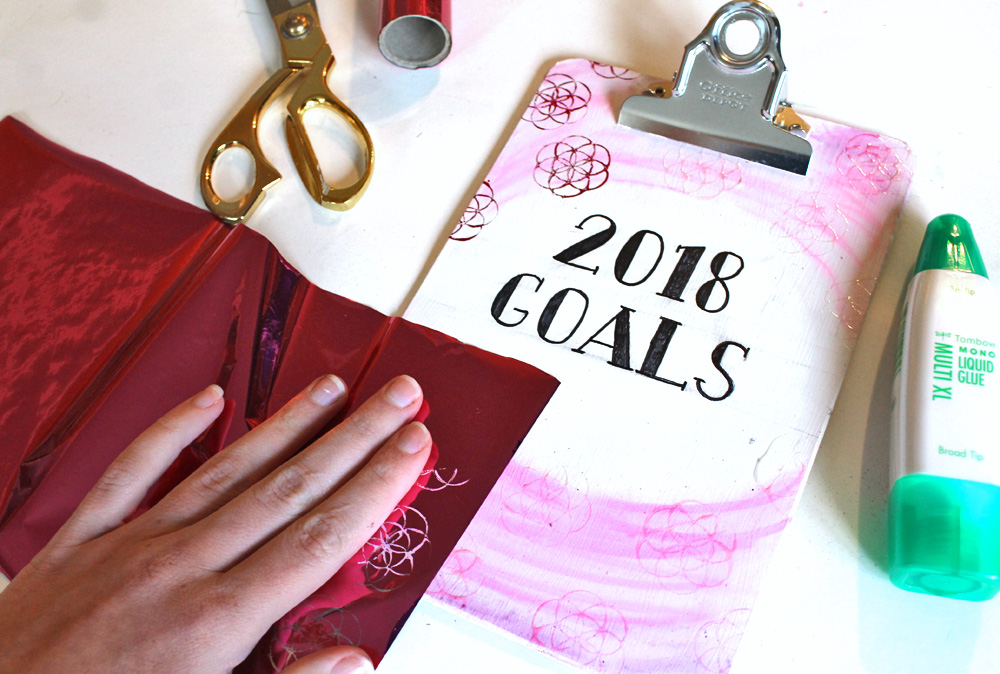
Step six:
Let the adhesive dry completely. It will still be tacky, but you’ll know it’s dry because it will have gone from white to clear.
Once dry, rub transfer foil over the stamped designs.
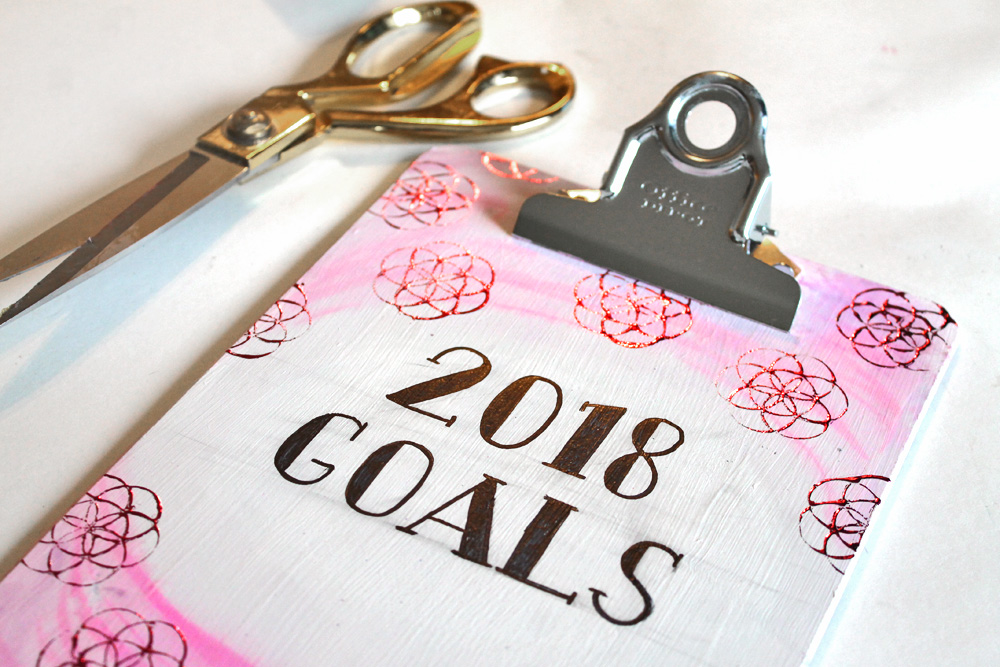
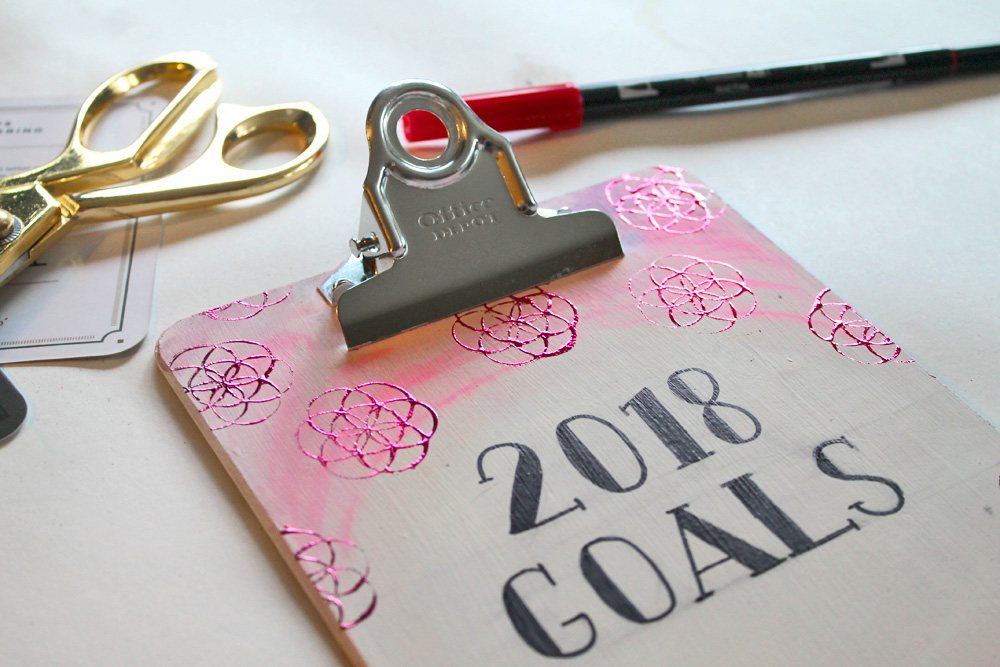
That’s it! It’s hard to get a good photograph of foiled designs, but when you hold the clipboard up in the light, the foil shines so bright, making it super festive for the start of a new year.
I love a good clipboard restyle. Here’s another cute clipboard organizer by Serena Bee on the Tombow blog.
Thank you for stopping by! Happy New Year!