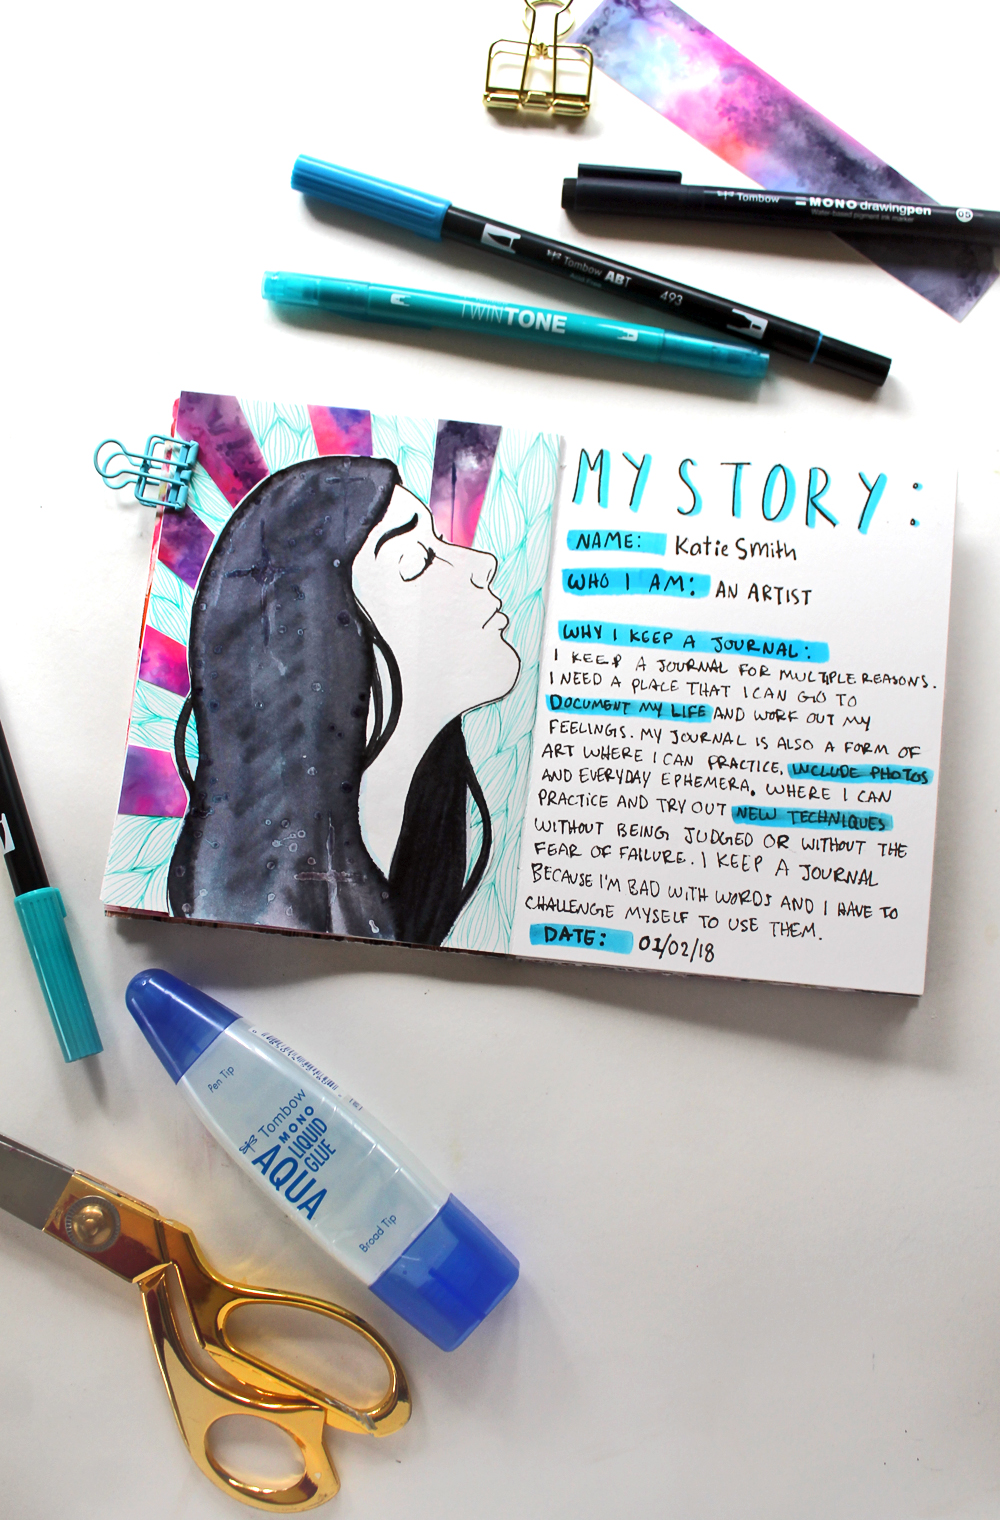
Hey Y’all! It’s Katie here today and I am thrilled to be on the Tombow Design Team again this year! As my first post for 2018, I wanted to feature one of my favorite things: Art Journaling. I love working into books and journals. Today I am showing you how to create an intro page for your art journal.
Why an intro page? I think it’s neat to have an introduction of yourself at the start of the journal, or a cover page. Something that says who this journal belongs to, why you’re keeping it, etc.
Supplies:
- Art Journal (I’m using a handbound journal made using this tutorial.)
- Tombow Dual Brush Pens
- Tombow Blending Palette
- Tombow MONO Aqua Liquid Glue
- Tombow MONO Drawing Pen 05
- Tombow TwinTone Dual Tip Markers, Pastel
- Misc Papers to Collage
- Paint Brush
- Girl Illustration
How to Create an Introduction Art Journal Page:
Step one:
Let’s start by adding a self portrait to the page! Drawing is one of my hobbies, so I sketched out a girl onto mixed media paper that I could use as my portrait. If you don’t love to draw, try using a photo, a magazine image, OR print out a copy of my drawing, found in the supply list above. If you’re printing out my design, I’d recommend printing it out onto mixed media paper, that can handle a bit of wet media if you color her in.
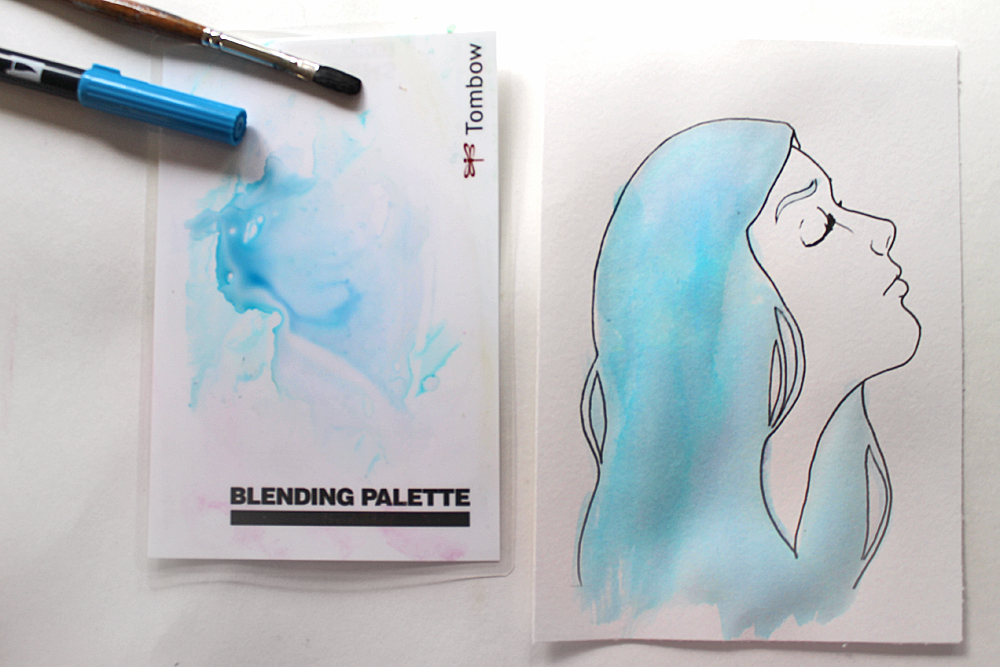
Step two:
Time to add color! Apply Dual Brush Pen ink to the Blending Palette, and pick up the ink with a wet paint brush, using that to apply the color to the drawing. This will result in a watercolor effect, which is my favorite look!
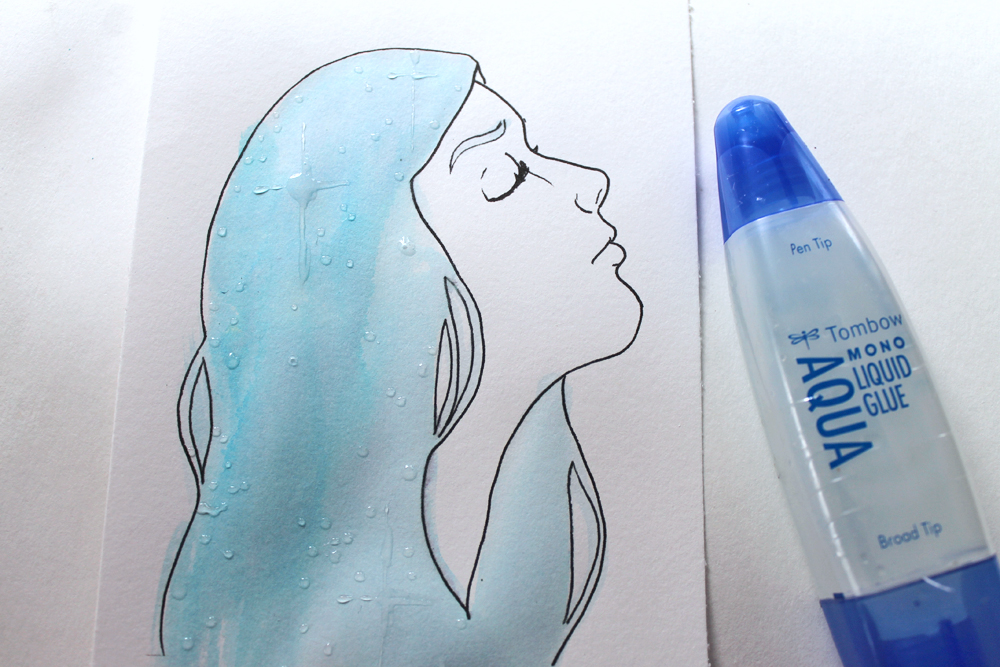
Step three:
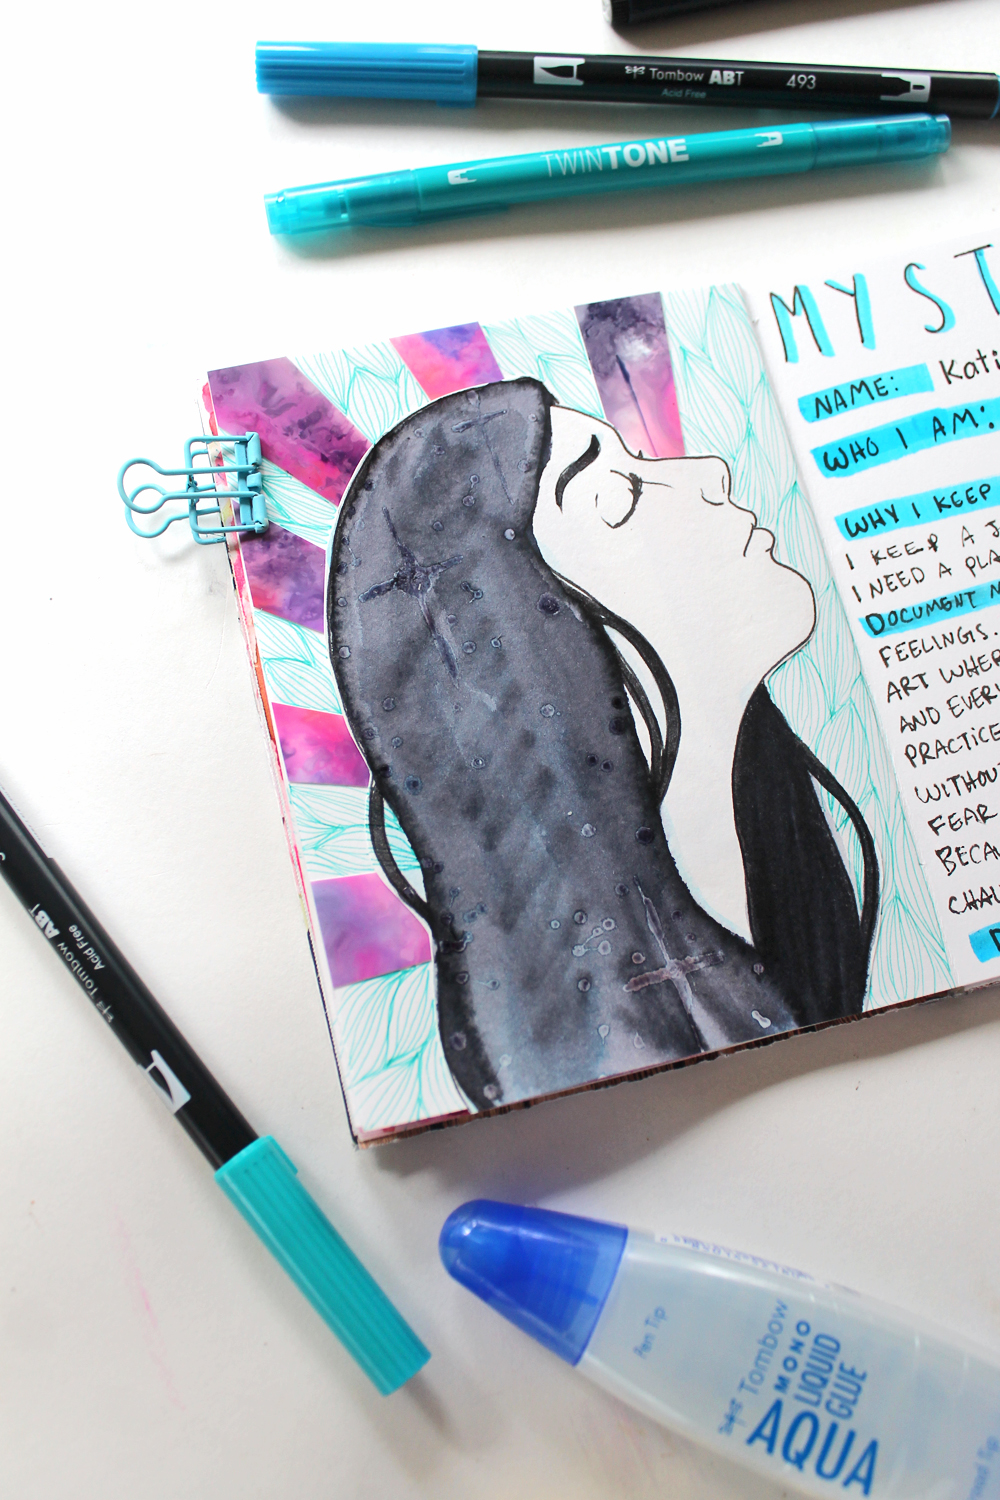
Once the ink is dry, Use the pen tip of the MONO Aqua Liquid Glue to doodle designs or dots over top of the colored part.
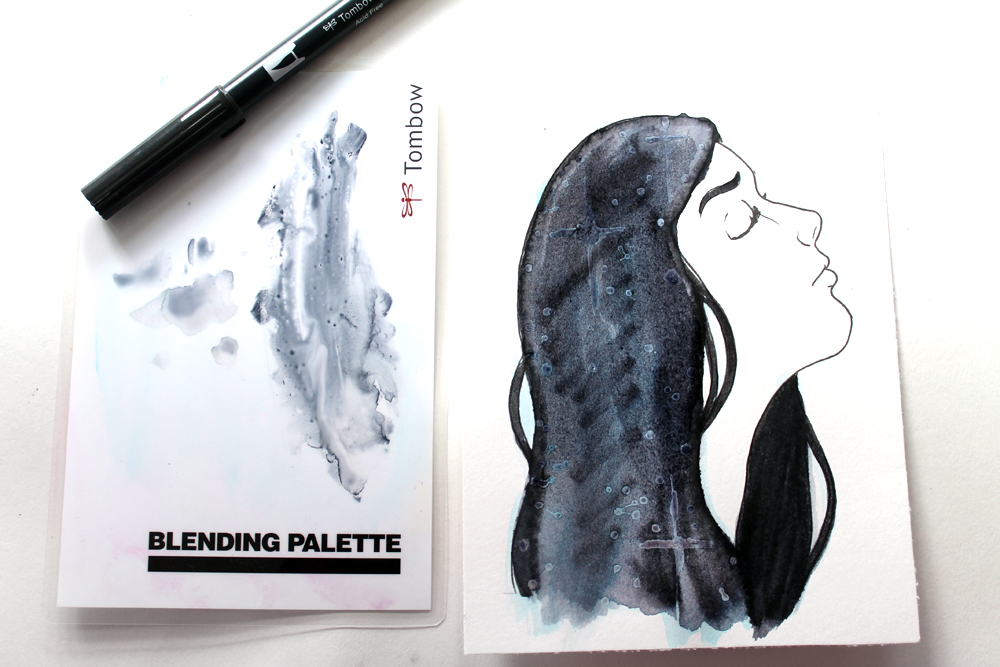
Step four:
Make sure that the MONO Aqua Liquid Glue is completely dry (so that it resists!), and then brush over top of the design with a darker Dual Brush Pen color.
Step five:
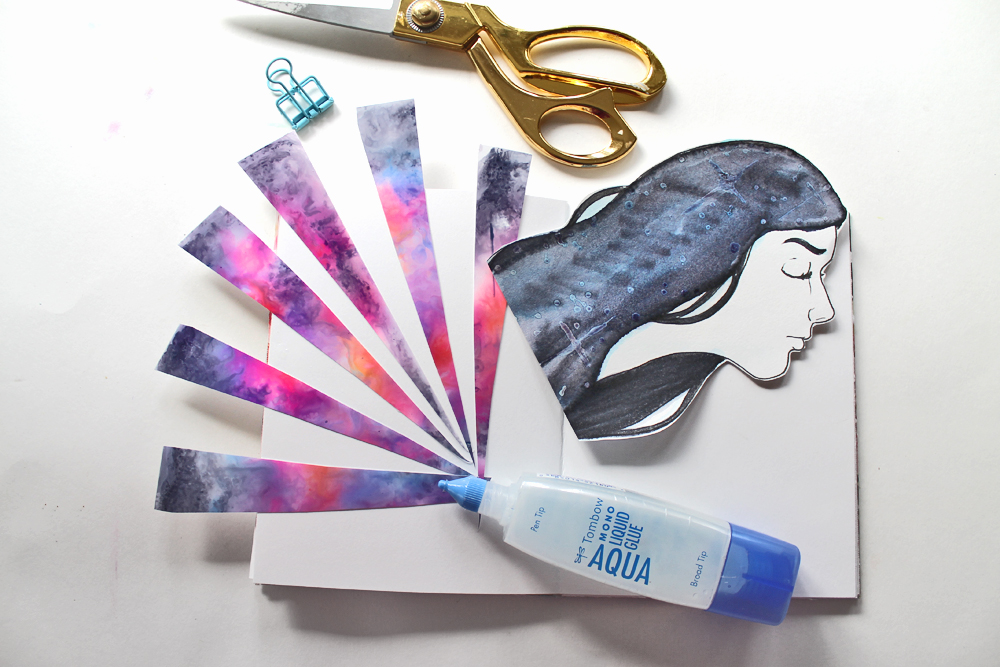
Use the broad tip of the MONO Aqua Liquid Glue to adhere the portrait into your journal. I created a background using a splash technique galaxy paper I made following this tutorial, and then adhered my self portrait over top.
Step six:
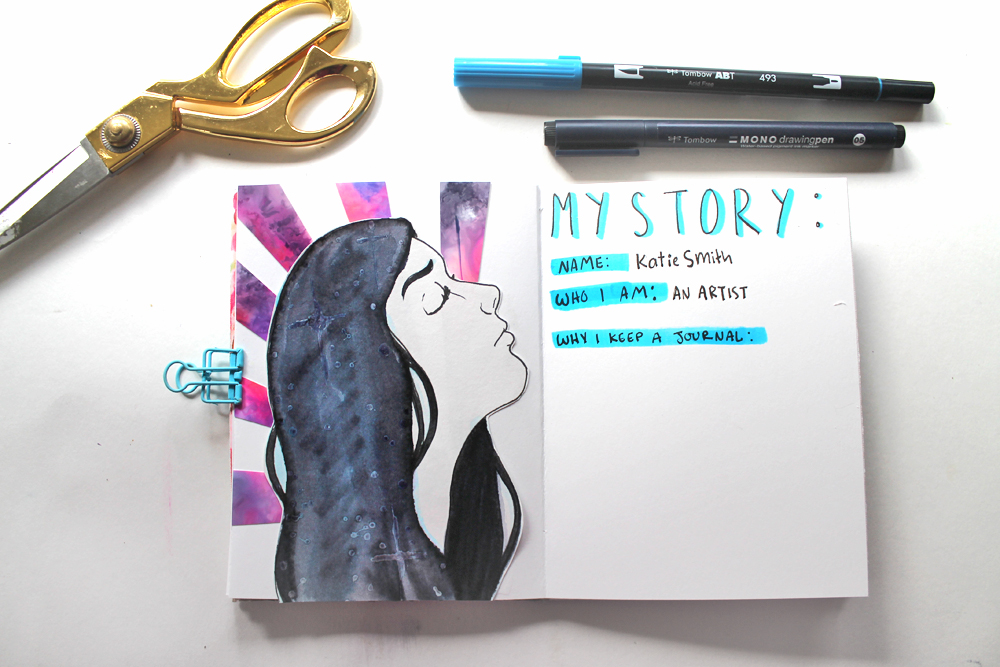
It’s time to add some journaling! I used the 05 MONO Drawing Pen to create my writing – I find the thicker tip of the 05 works best for writing for me. I also highlighted parts of my text by going back over the words with a 493 Dual Brush Pen.
Step seven:
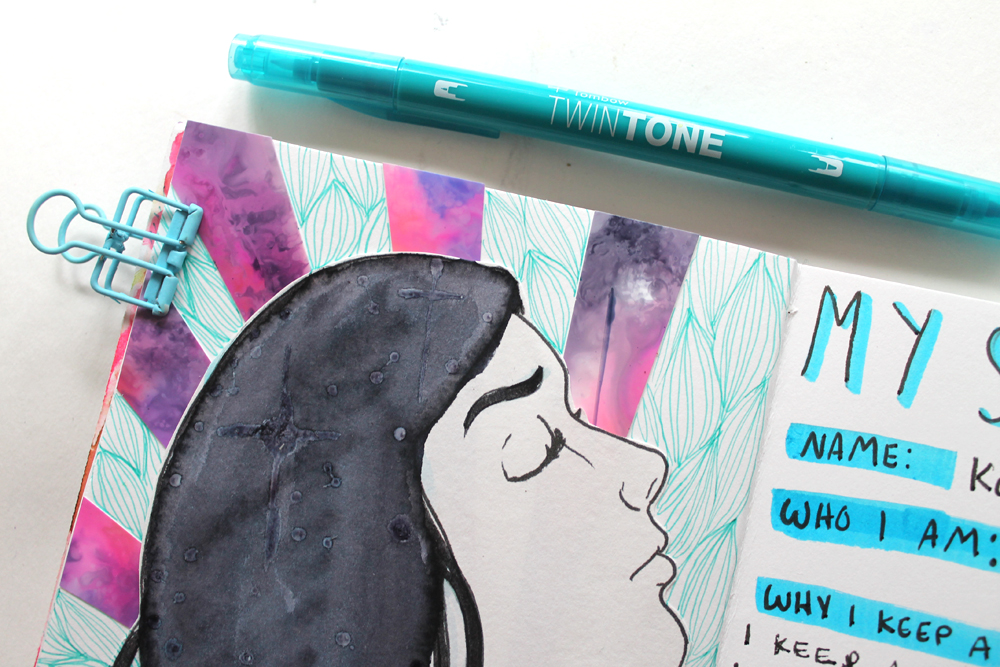
It’s all in the details! I felt like I needed a little more depth to my page on the left, so I grabbed a teal TwinTone and started drawing a repeating pattern onto the background.
If you need some pattern inspiration, Beth wrote a post about how to create patterns using the Tombow TwinTones.
Thank you so much for stopping by! If you make your own journal intro page, Please feel free to share it on social media, and remember to tag both myself @studio.katie and @tombowusa!
Pingback: Watercolor Gems in your Journal with Dual Brush Pens - Tombow USA Blog
Awesome