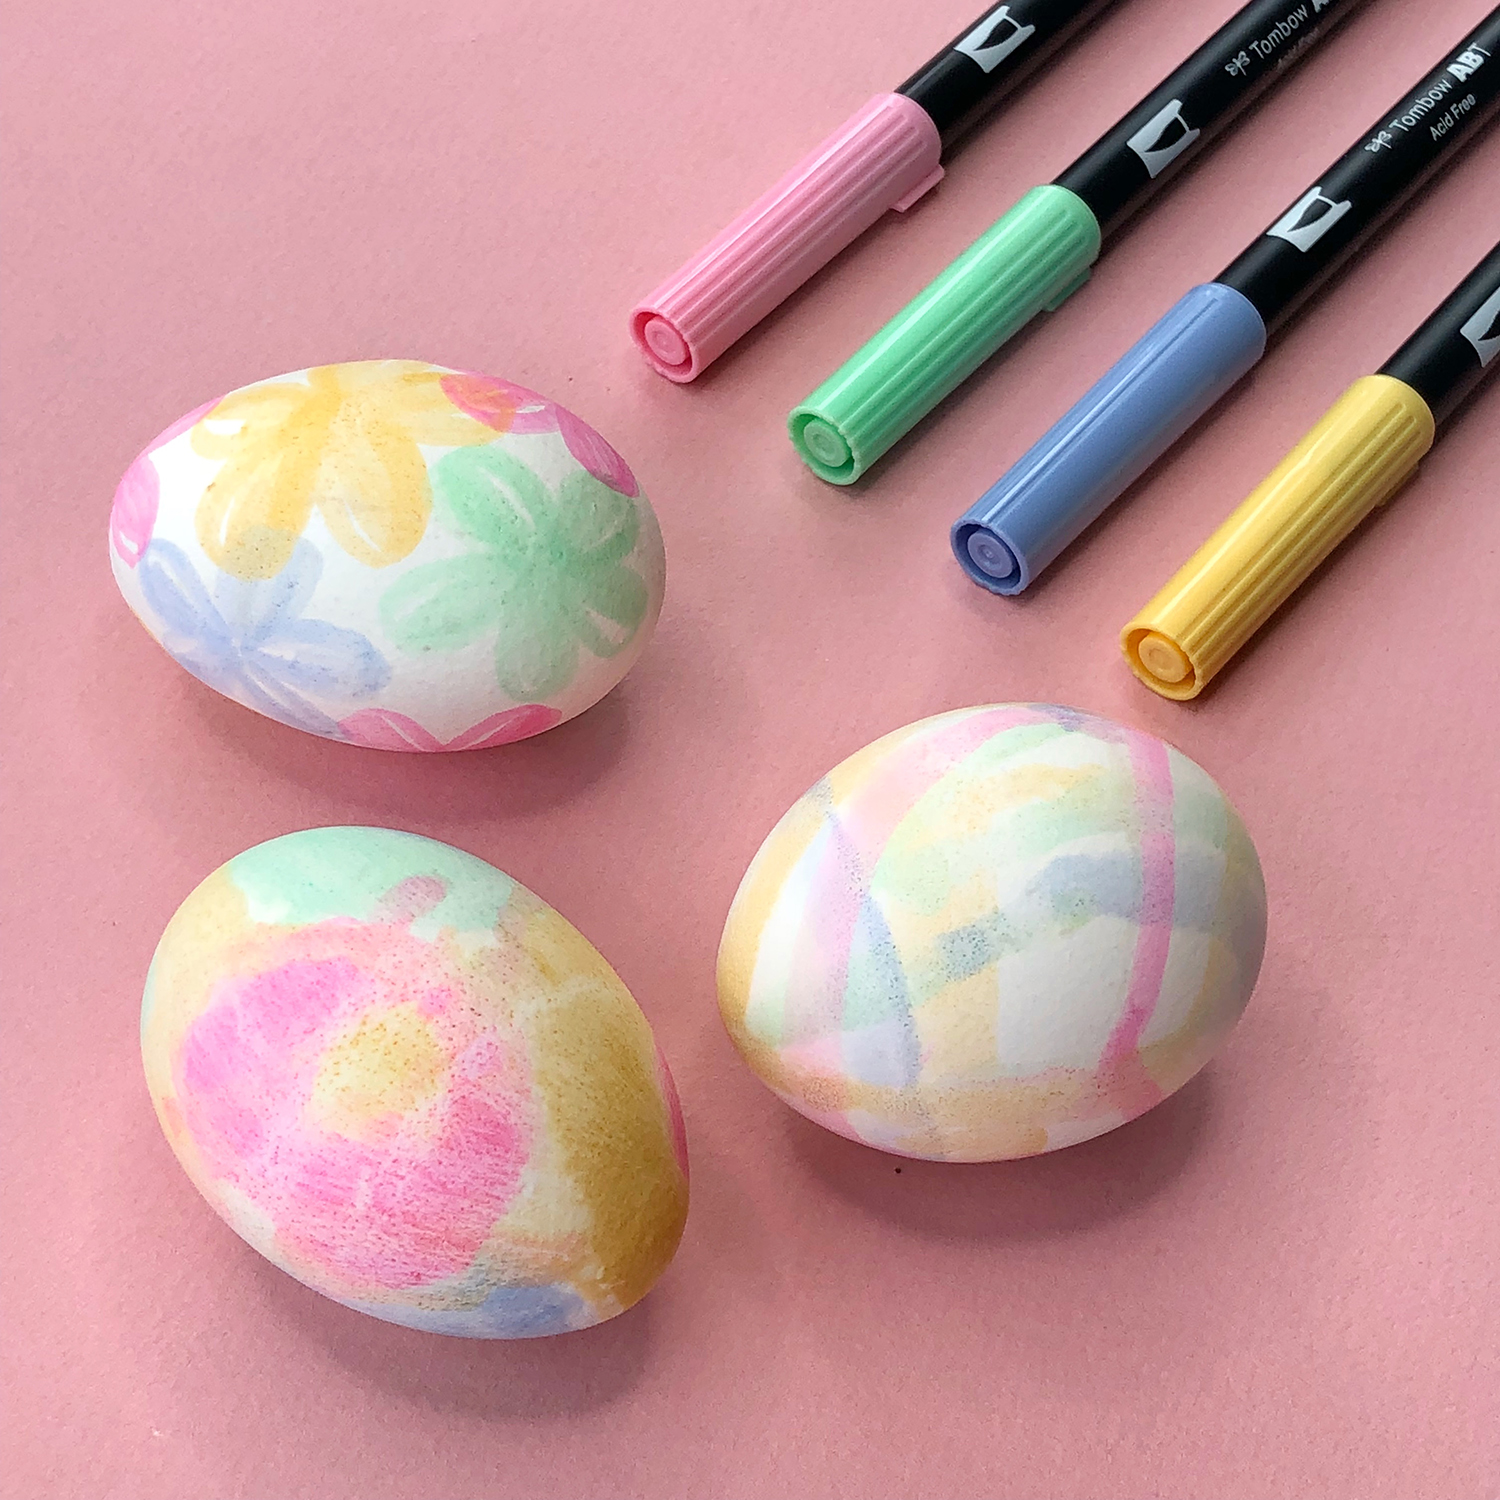
Hello! Jessica from BrownPaperBunny here to show you three watercolor-look easter egg decorating techniques using your Tombow Dual Brush Pens! Each technique is super easy and loads of fun!
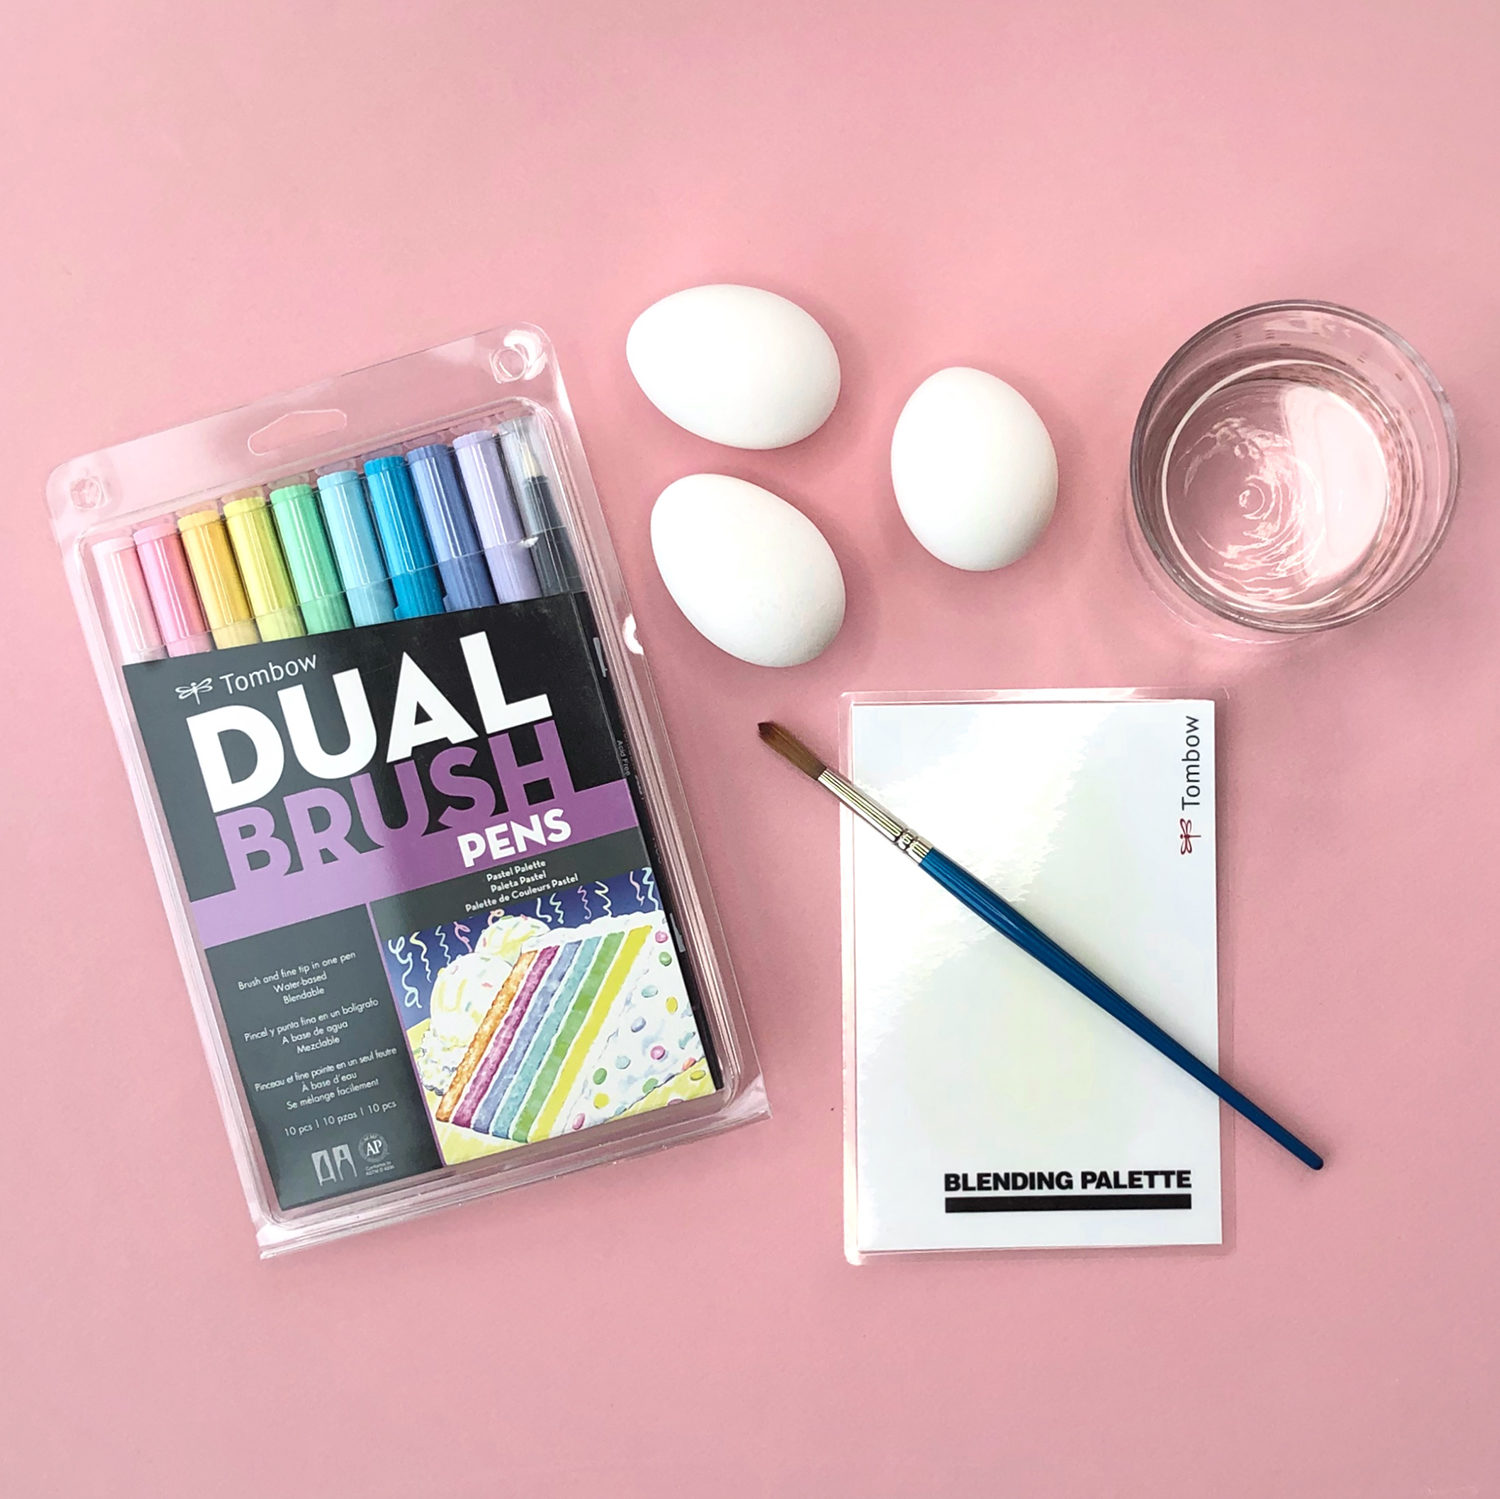
Here’s what you’ll need to get started:
Supplies
- Tombow Dual Brush Pens (Pastel 10-Pack)
- Eggs (white ones will work best)
- Water
- Paintbrush
- Tombow Blending Palette
- Egg carton
Technique 1: Watercolor Streaks
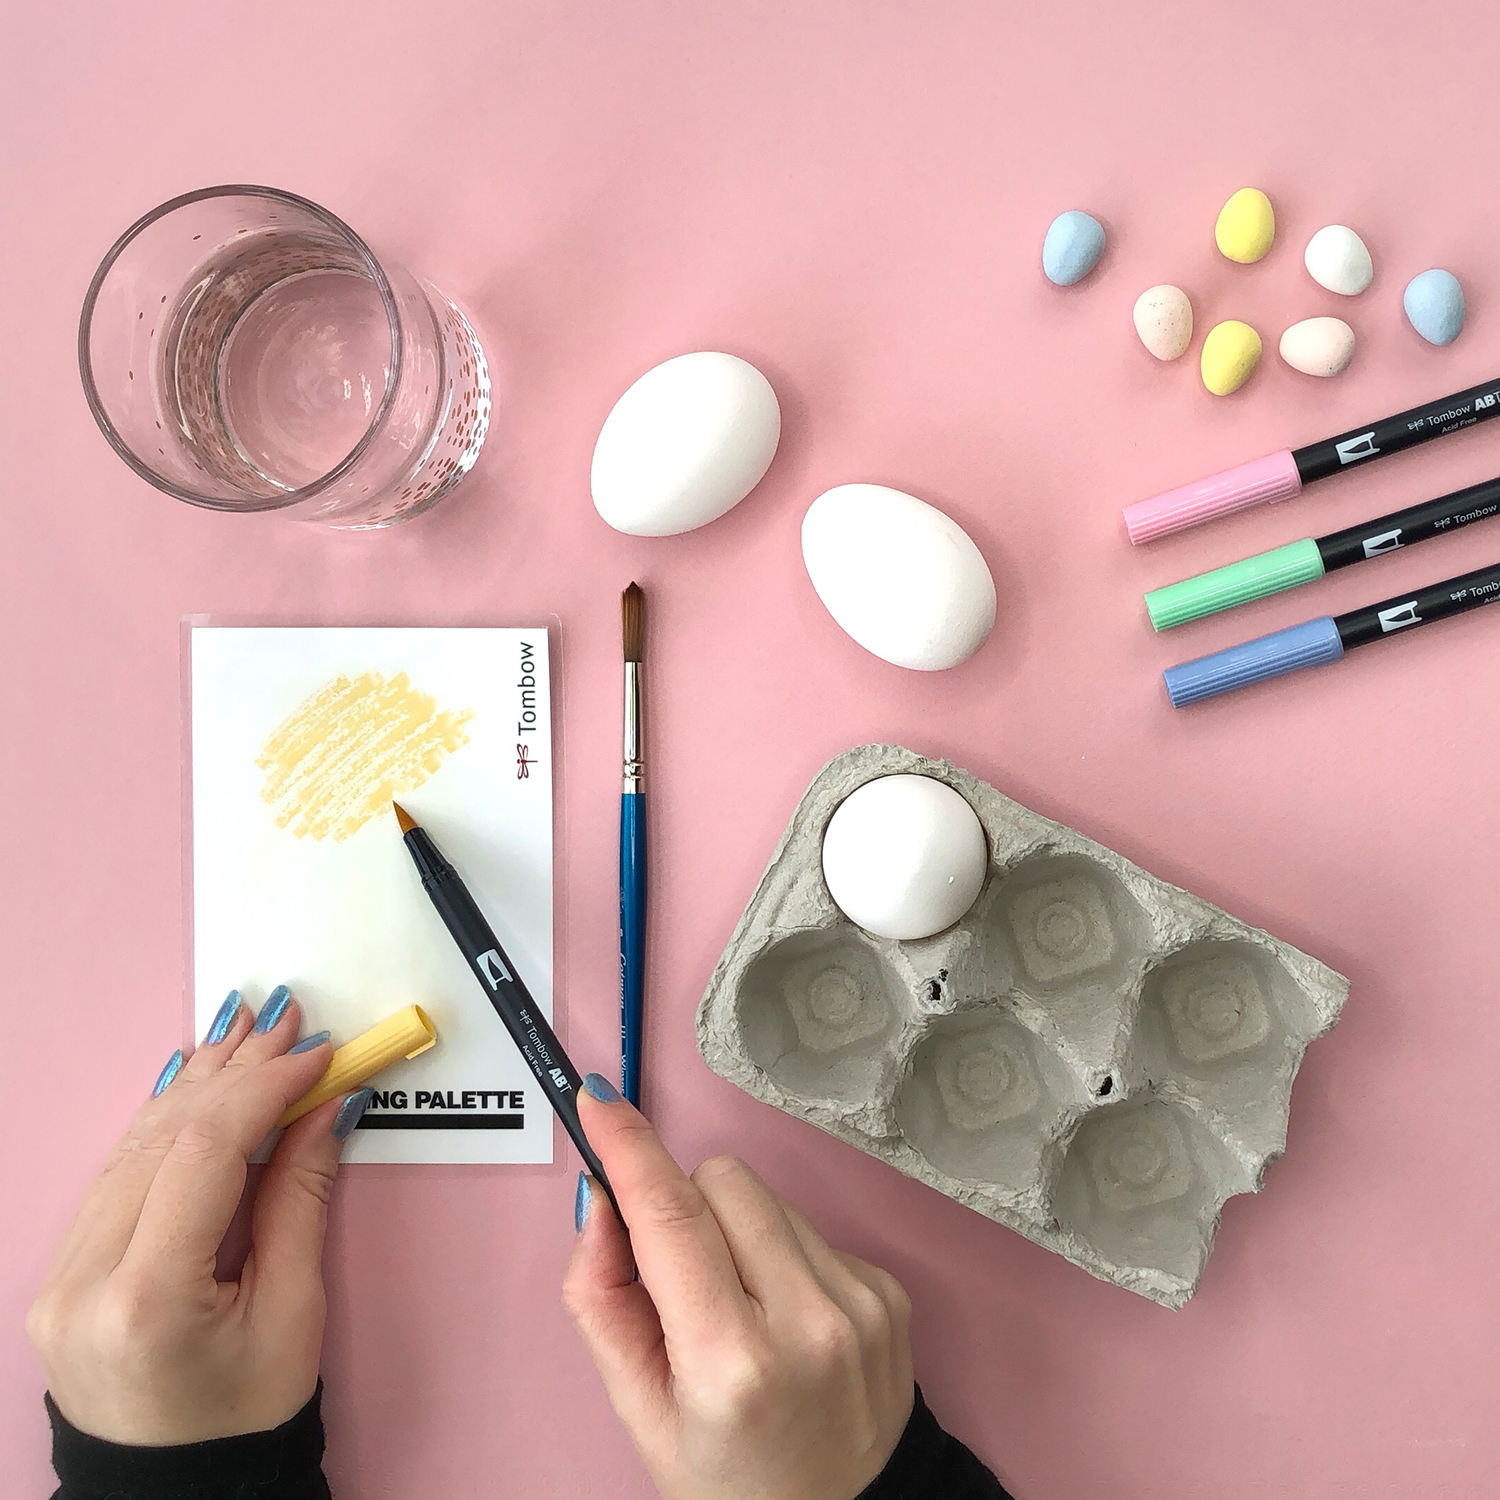
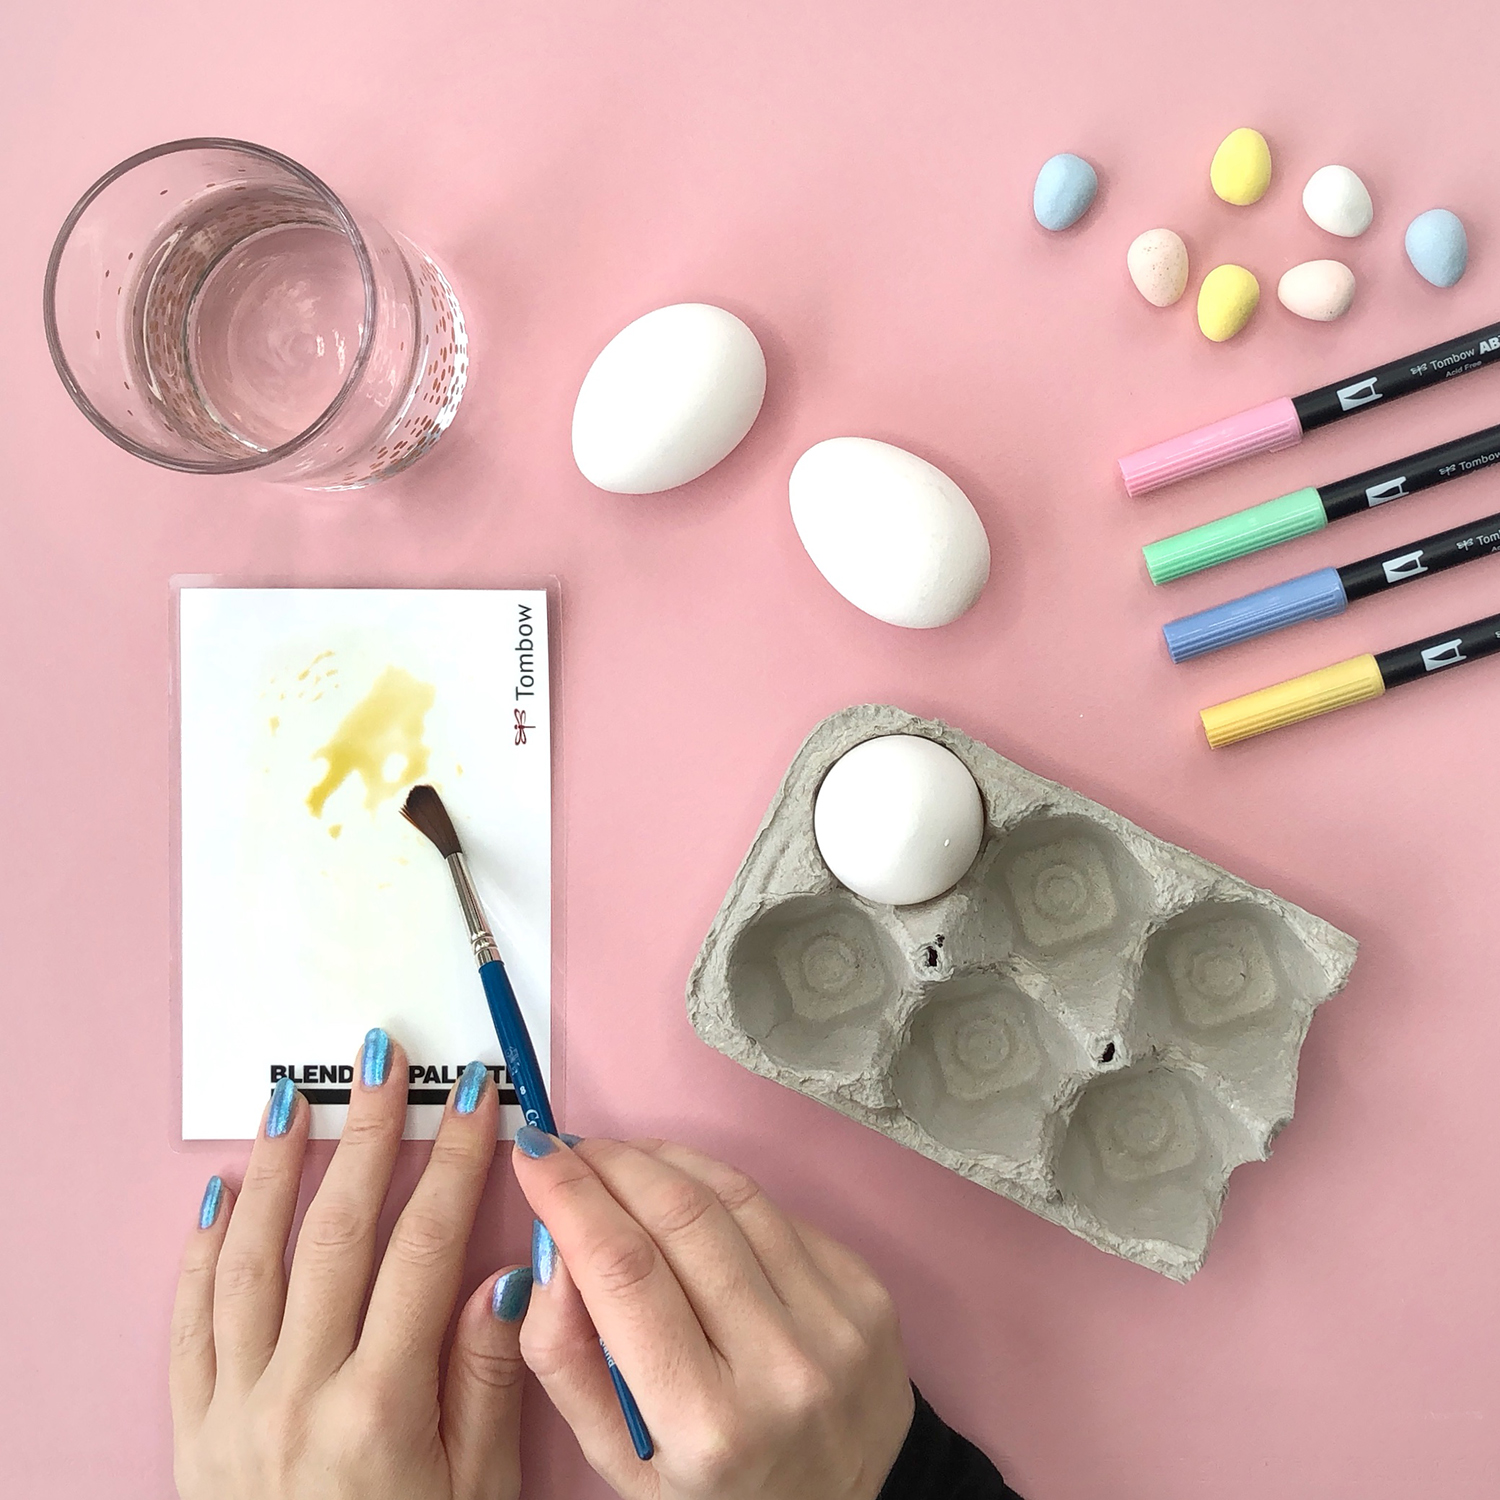
For this first technique start by adding some ink from the Dual Brush Pen to your Blending Palette, then use a wet paintbrush to transfer the ink from the palette to your egg. Use lots of water and let the ink drip down the egg. This is where the egg carton comes in handy, to help you decorate one side at a time without getting your fingers too messy. Start with the lightest colors first, letting them dry a little before adding the next color.
Technique 2: Drawing Directly on the Eggs
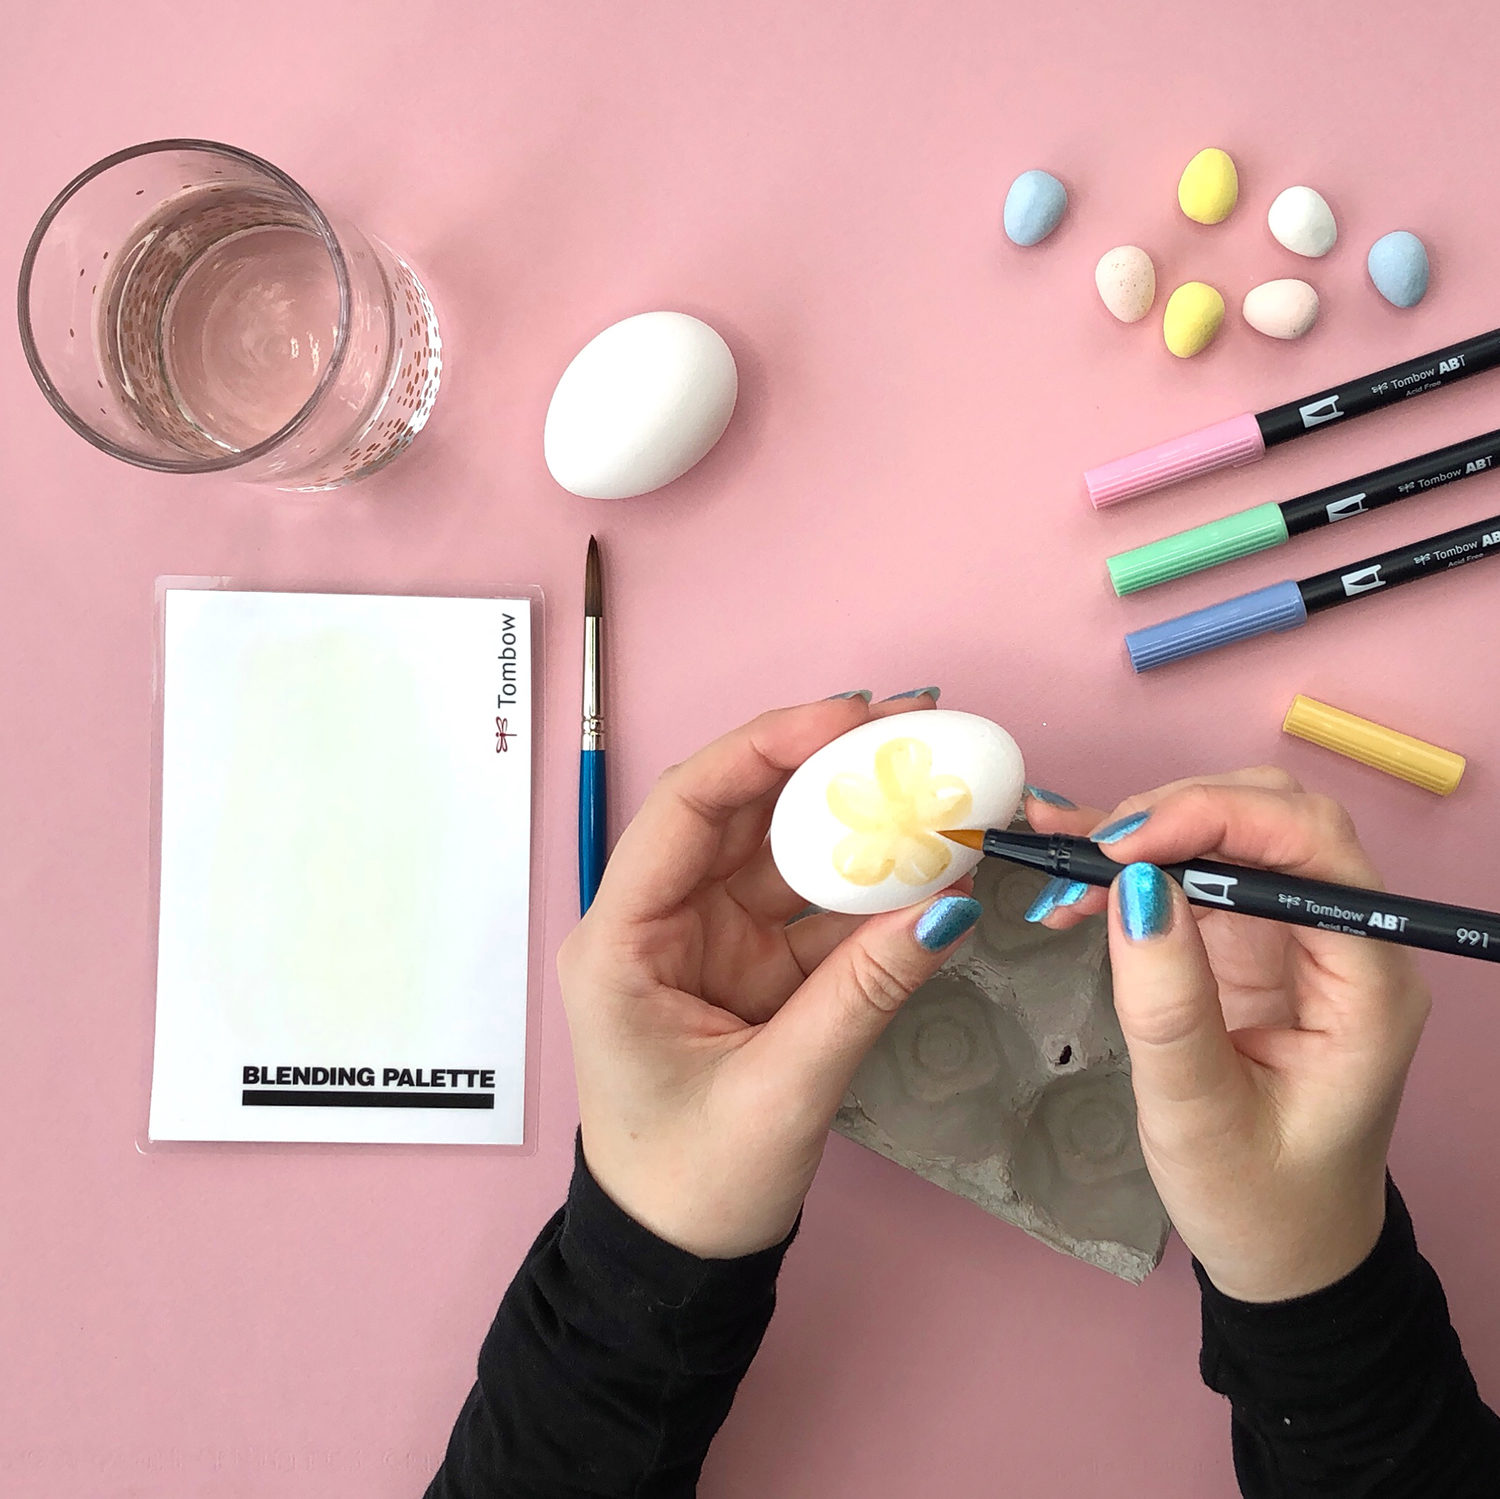
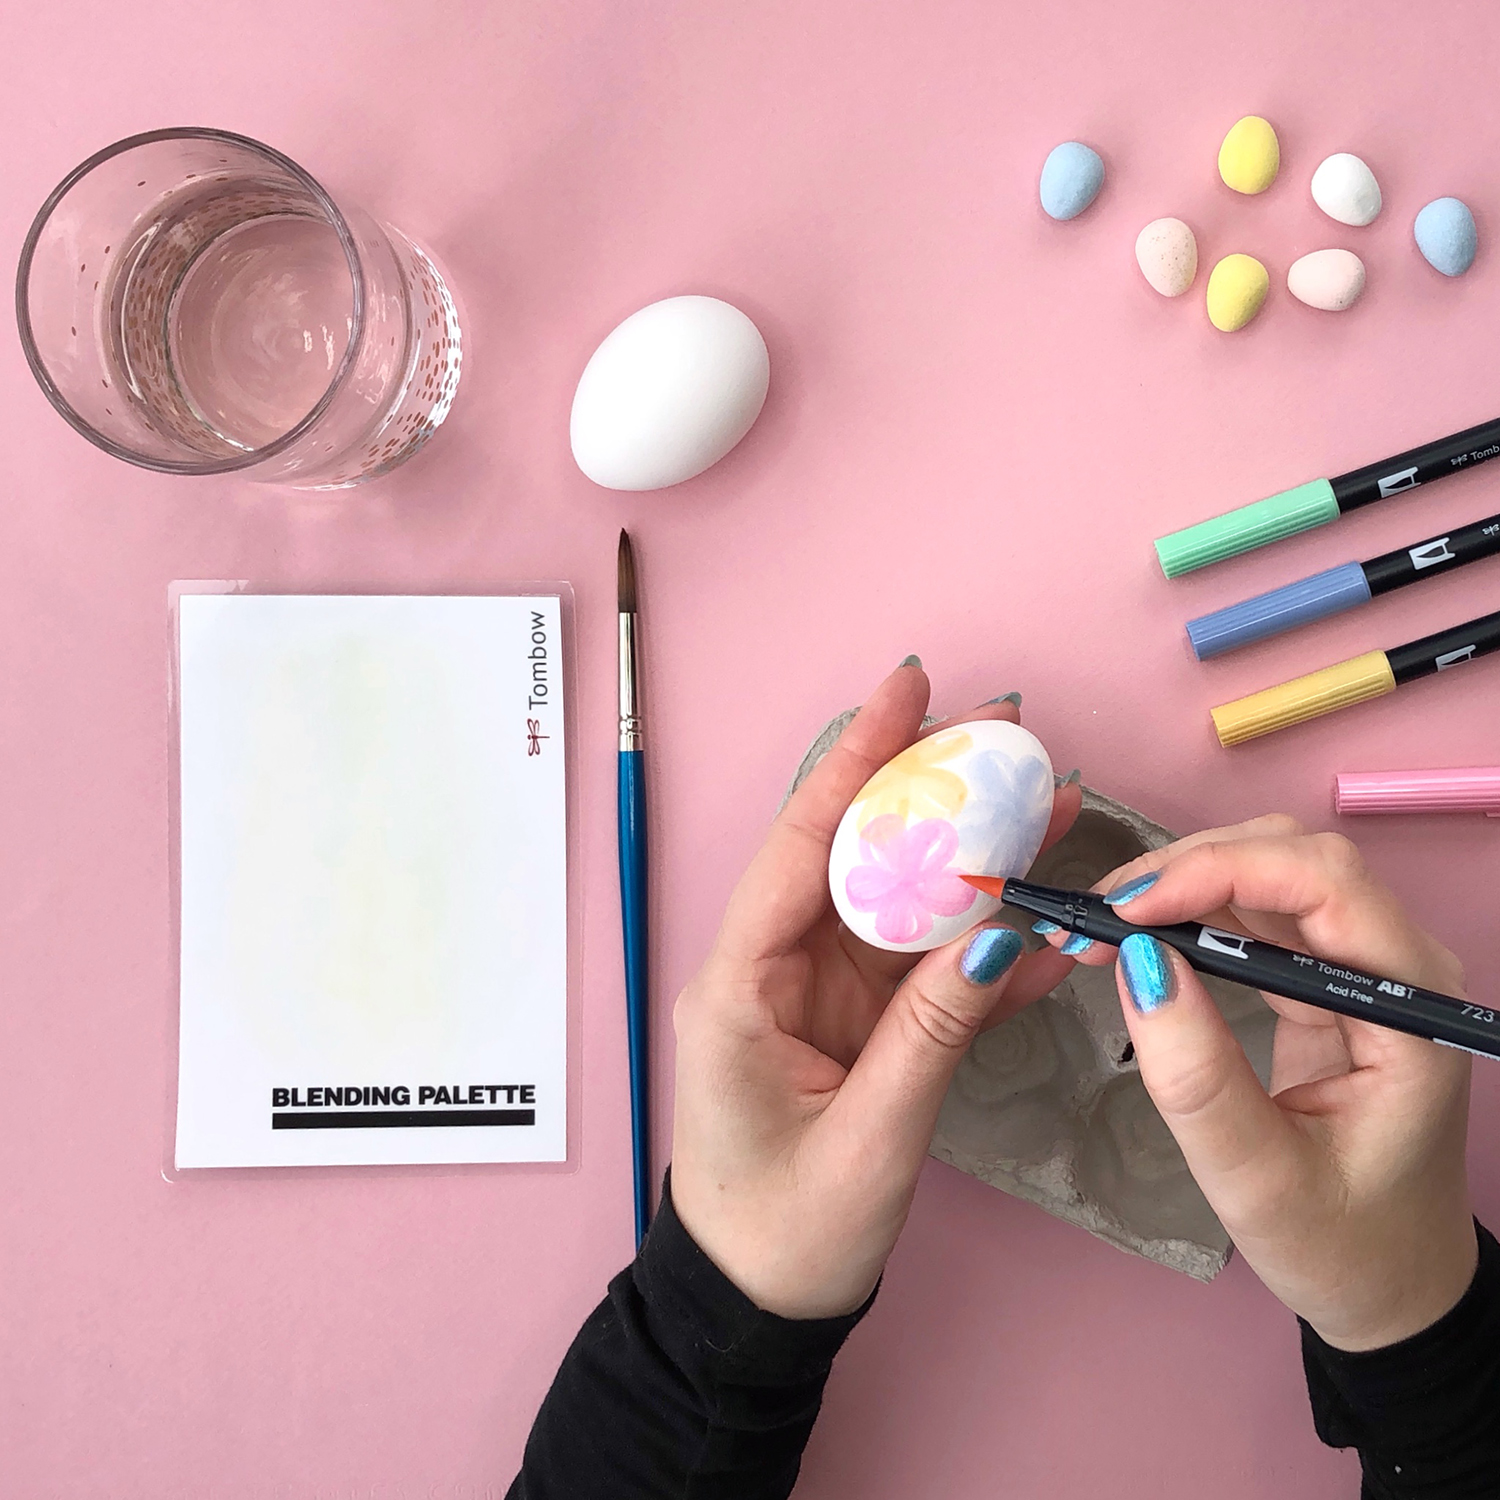
This one is super easy! You’re going to use your Dual Brush Pens to draw directly onto the eggs. Pick an easy-to-replicate shape like a flower or polka dots and repeat all over each egg. The trick to giving them a watercolor look is to start with the lightest colors first and make sure you overlap the shapes slightly so you get some color blending and transparency like you would with watercolor paint.
Technique 3: Wetting the Eggs
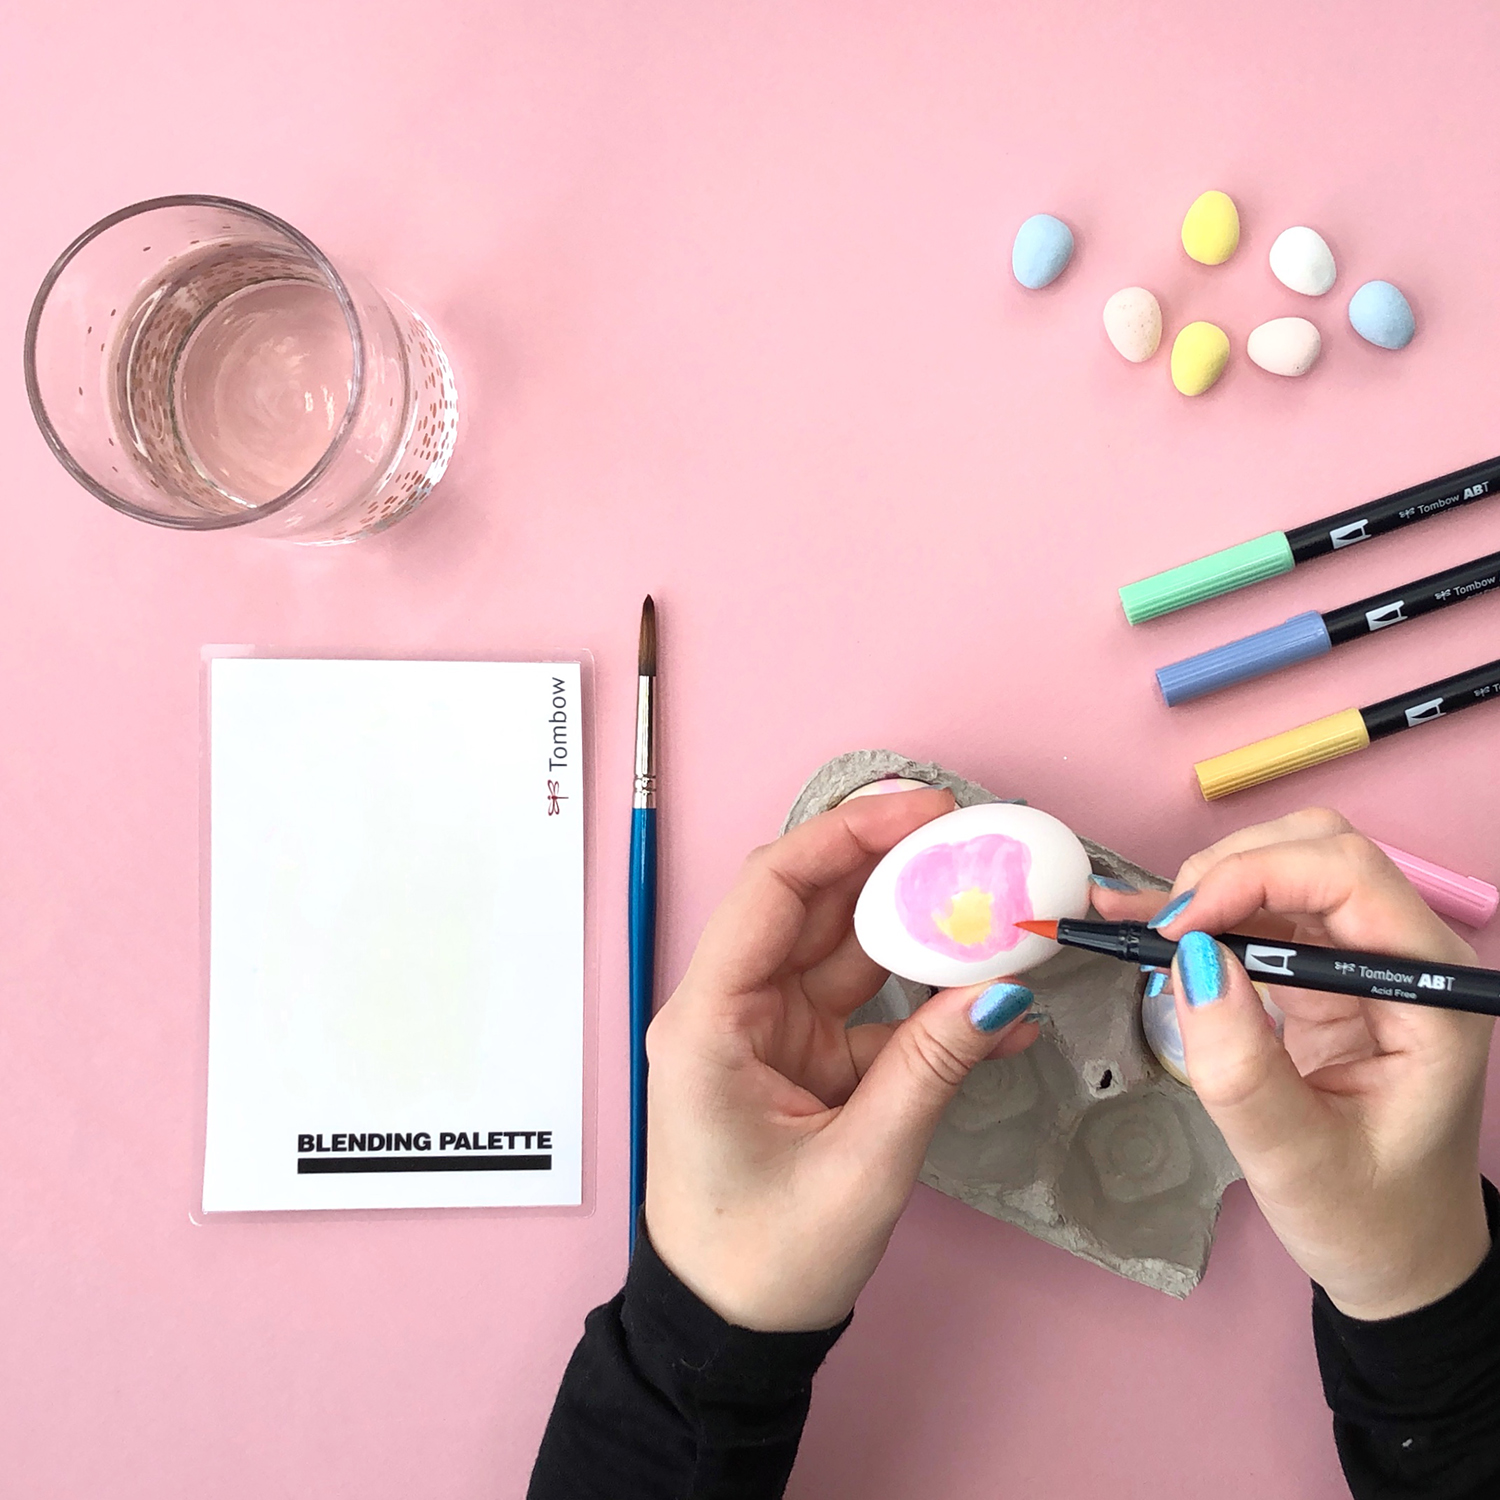
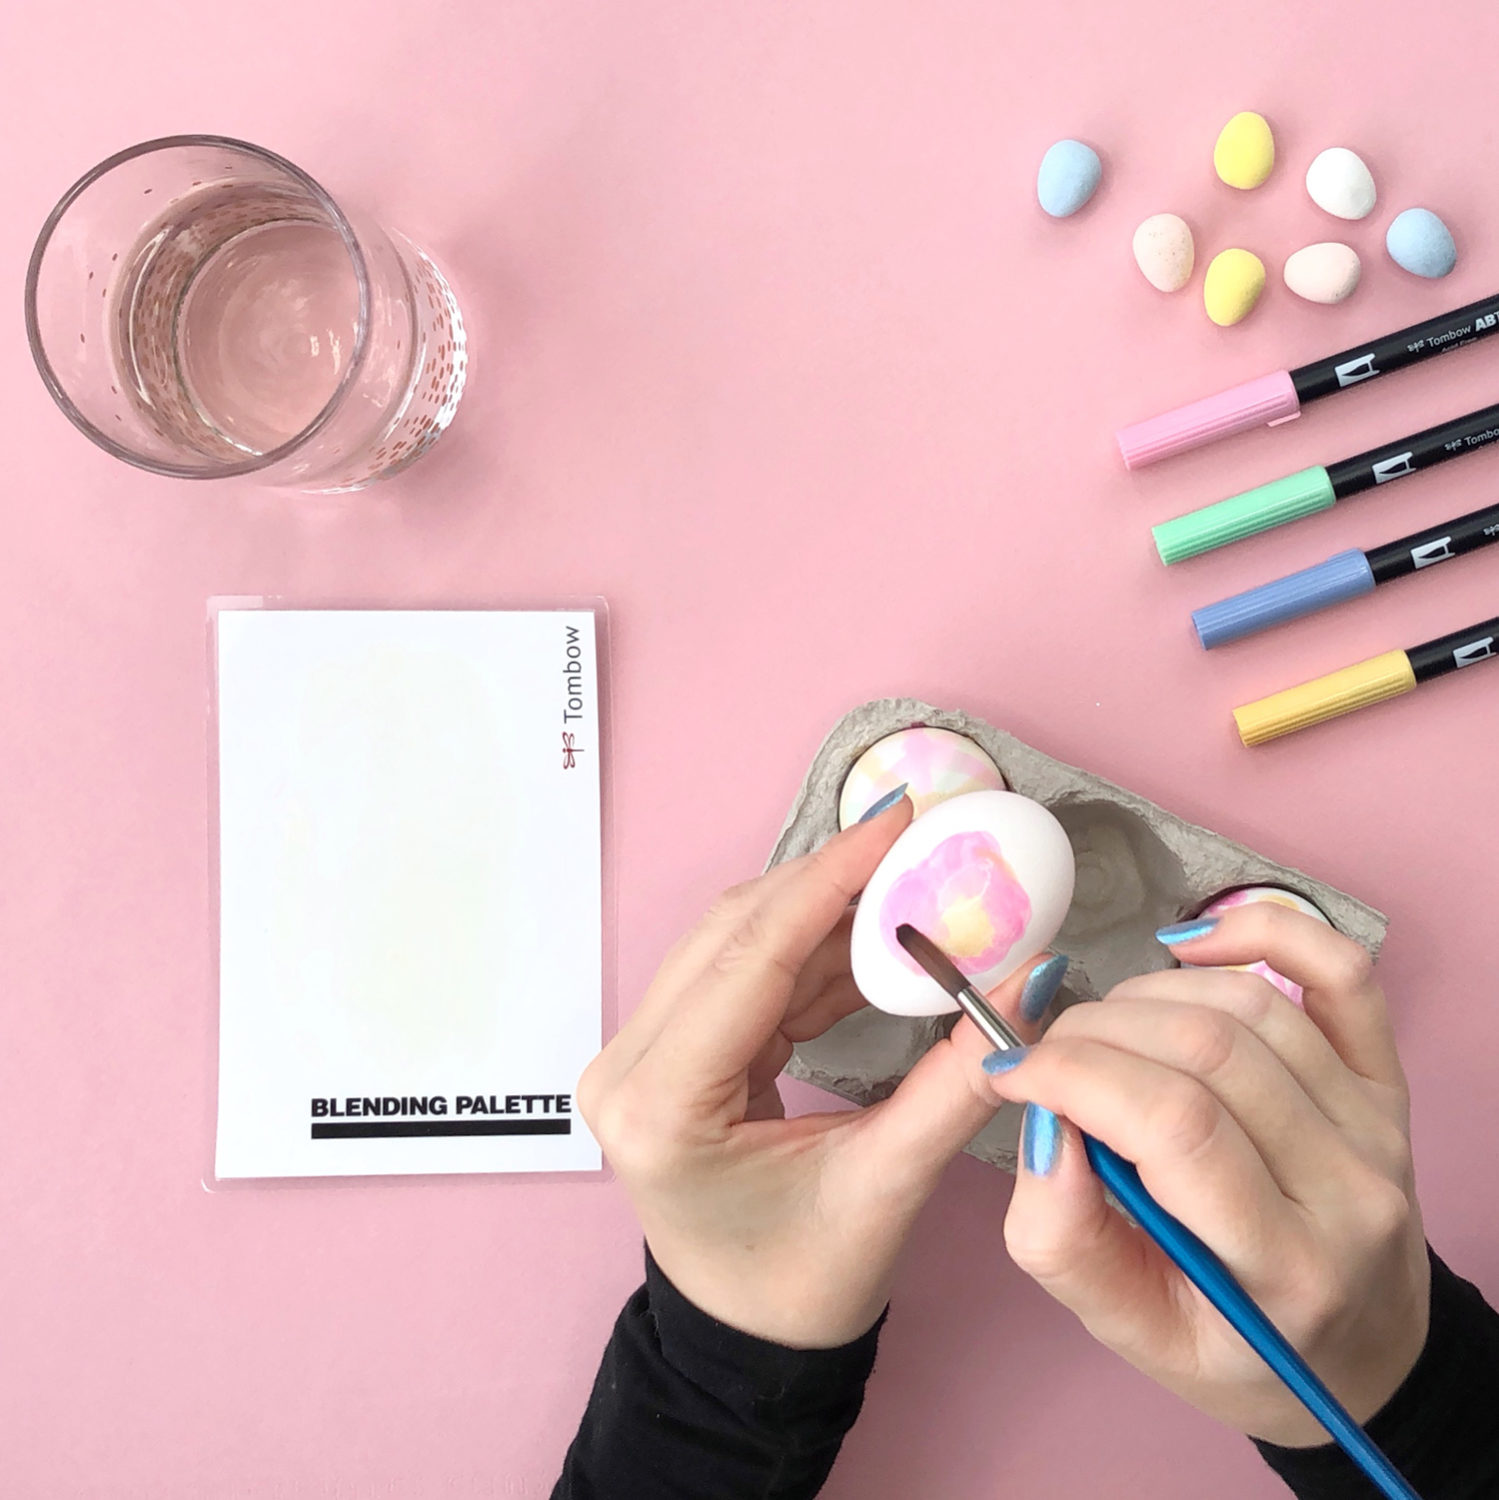
The last technique involves drawing directly onto the eggs like you did in technique 2, but this time we’re going to use a wet paintbrush to blend the ink directly on the egg for a more watery look. Super easy!
If you make some eggs of your own we’d love to see them! Tag @TombowUSA @BrownPaperBunny and #TombowUSA on social media.
And if you’re looking for more Easter projects, check out this post on Easter paper marbling by Beth and Easter egg decorating by Lauren!
**Please note: Do not eat these eggs after decorating them. These are for decorative purposes only.