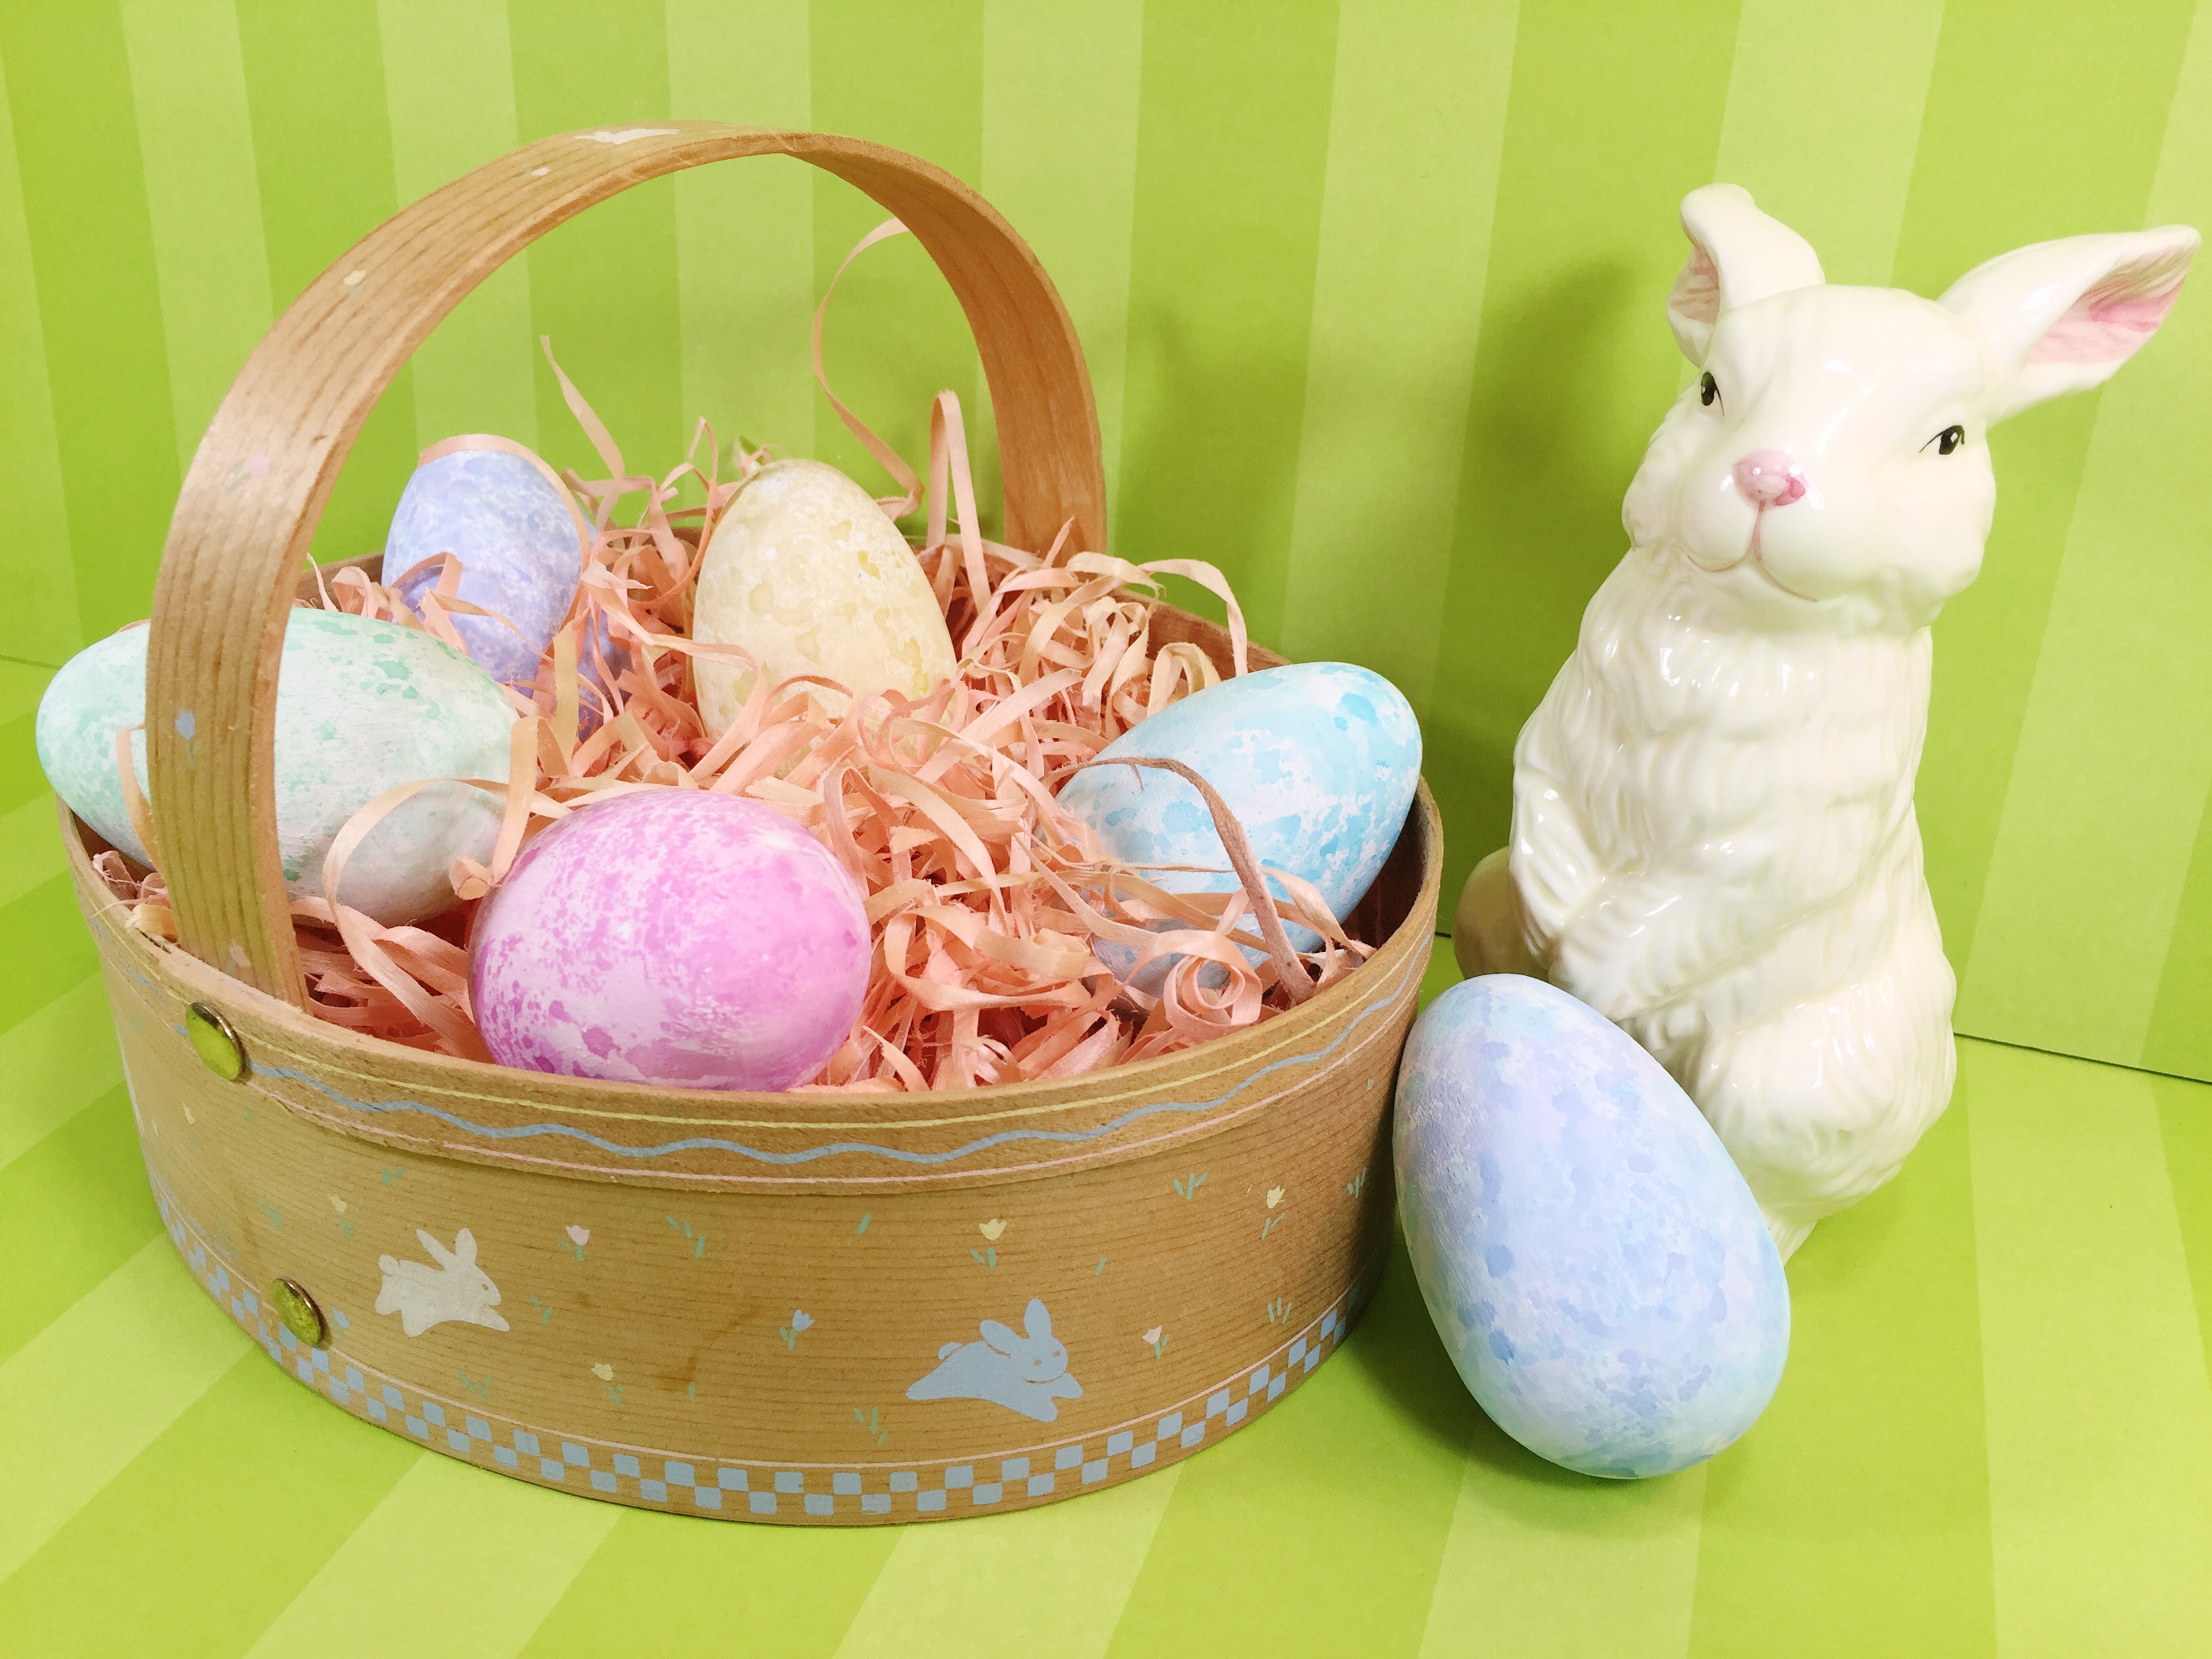
Good morning y’all, Beth from @creativelybeth here to share a super quick and easy alternative to dyeing your Easter eggs. Create pastel watercolor Easter eggs instead!
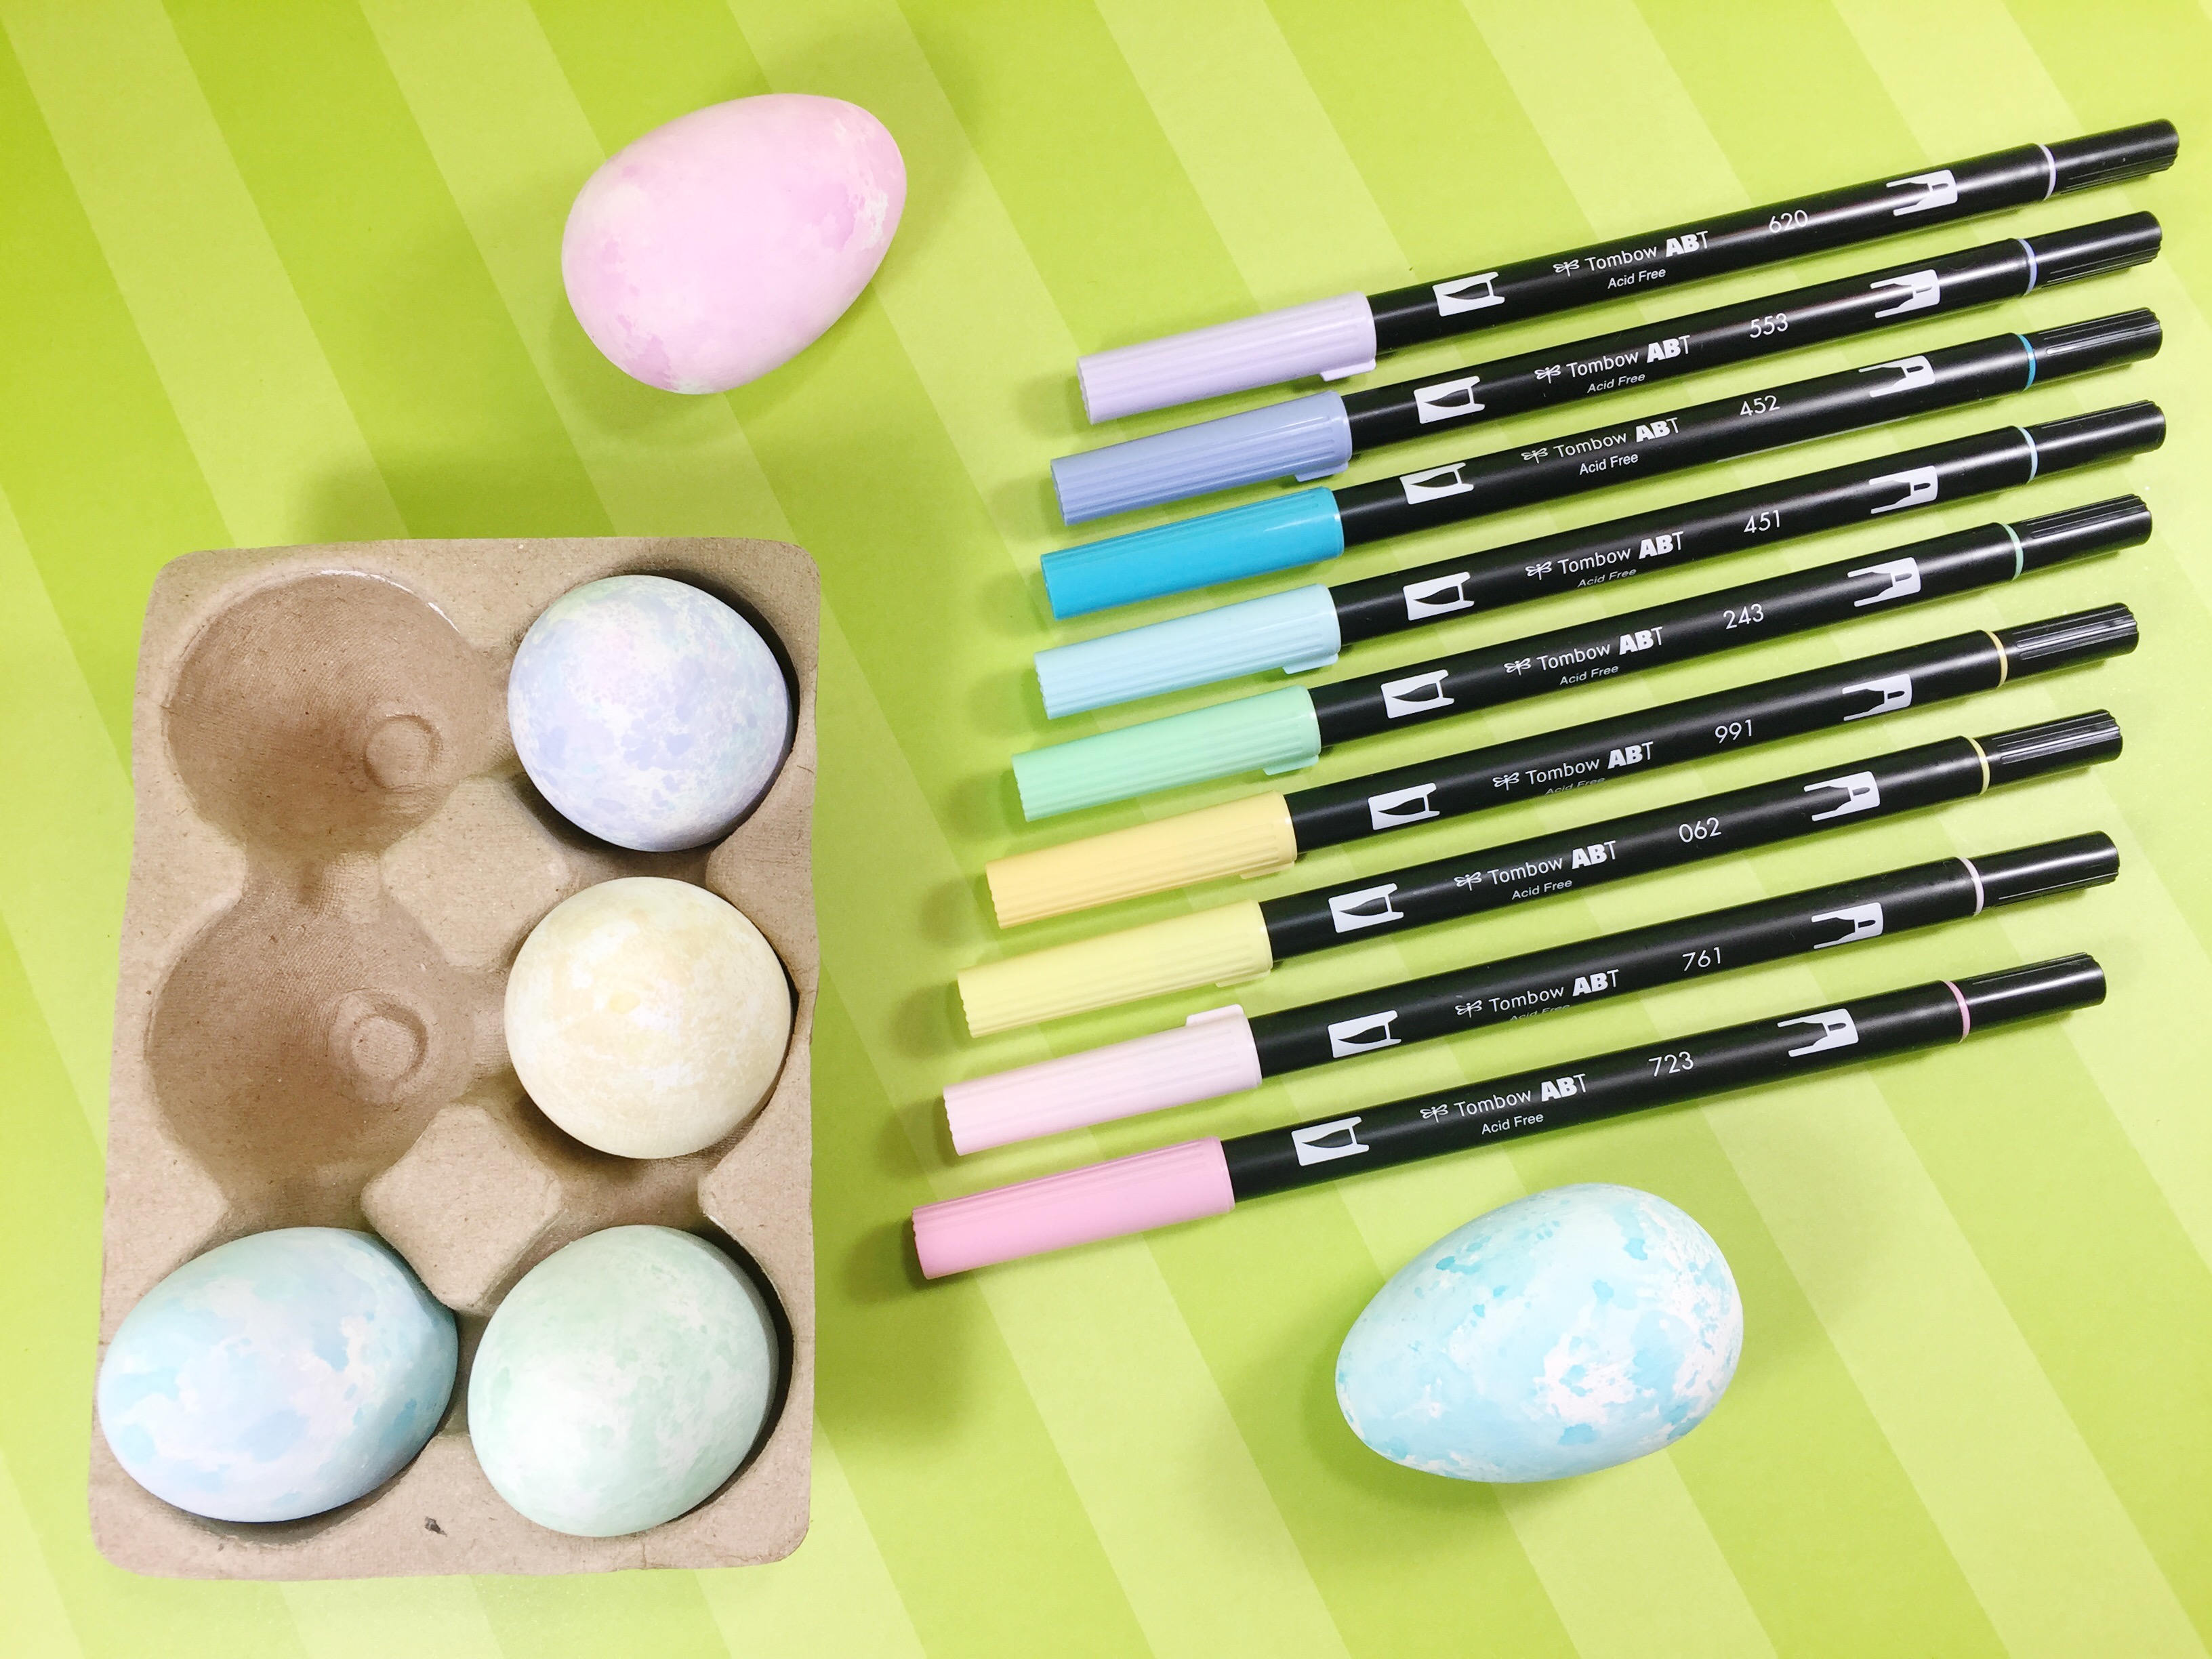
This week the Design Team is sharing everything pastel, featuring the Pastel 10-pack of Dual Brush Pens. I immediately thought of watercoloring Easter eggs, so I tried the real ones first, but I couldn’t get the Dual Brush Pen ink to stick to the real shells – craft fail! Painted wooden Easter eggs worked much better and you only need a few supplies!

Here’s what you need:
- Tombow Dual Brush Pens – Pastel 10-pack
- Spray Mister from the Tombow Blending Kit
- Wooden Easter Eggs (I found mine at the Target Dollar spot in the cute egg crate!)
- White White
- Craft Paint Brush
- Plastic Bag – Gallon Size
- Paper Towels
Step One:
Base coat the unfinished wooden eggs with white craft paint, let dry. Apply a second coat, if necessary.

Step Two:
Select the colors of Dual Brush Pens from the Pastel Set that you’d like to use. I started with 452, 553 and 243.

Step Three:
Apply Dual Brush Pen ink directly to the outside of the plastic bag and spray lightly with the Tombow Spray Mister. Slide your hand inside the bag, place the egg on your palm, then squeeze and rotate. Set aside on paper towels to dry. Make sure to clean the outside of the plastic bag between colors.
Watch this video to see the entire process:
Step Four:
Once the first coat of watercolor is dry, add additional layers. Experiment with color combinations and saturation to create depth and interest.

Here’s a close-up of the soft colors and watercolor texture that I was able to create.

I hope that y’all have enjoyed my tutorial on how to create pastel watercolor Easter eggs and that you will use this project as a jumping off point to showcase YOUR Tombow creativity!
For more pastel inspiration check out this lettering tips post from Smitha, this ribbon lettering post from Marie or this patterned lettering post by Lauren.
Thanks for stopping by!
