Hi friends! Dani from @popfizzpaper here today teaching you how to create a moon drawing using Tombow MONO Drawing Pencils! You only need a few supplies to create your moon. If you find process videos helpful, make sure to check out the video at the end of this post to see me drawing the moon. Let’s get started!
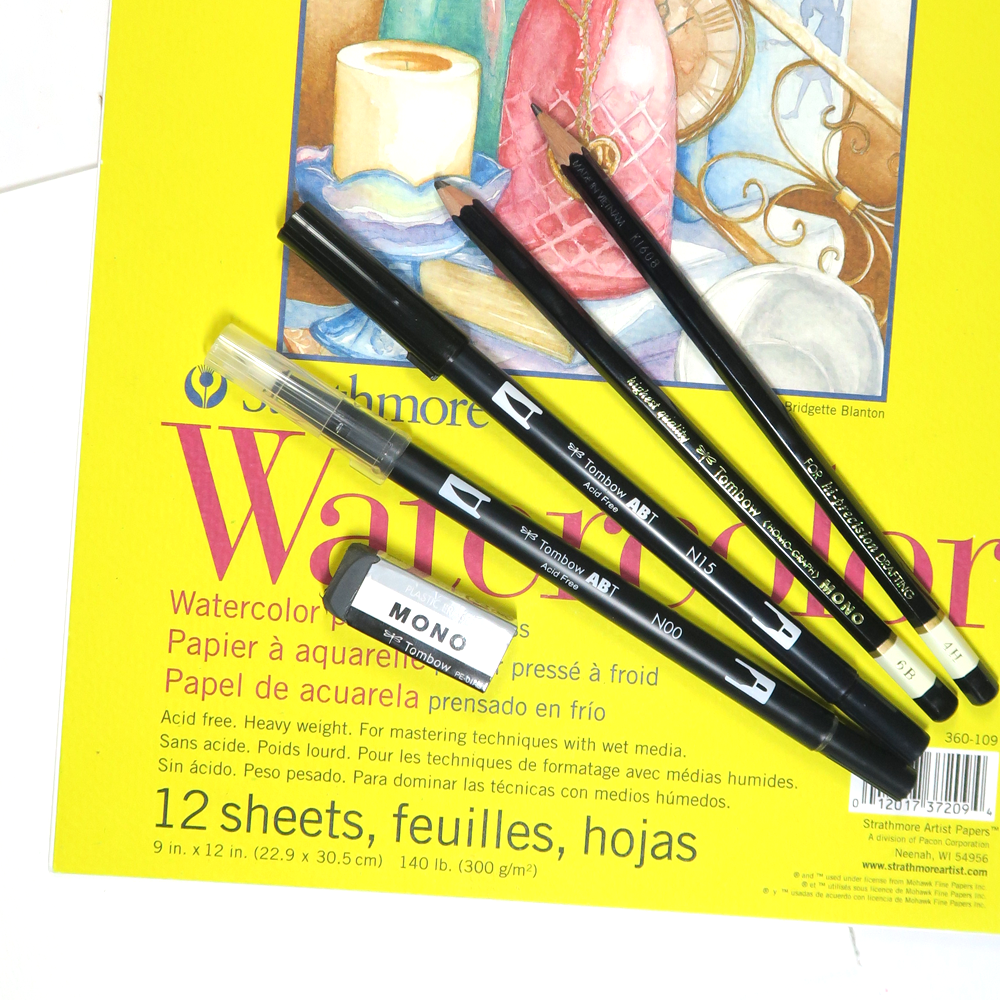
SUPPLIES:
- Watercolor or mixed media paper
- Tombow MONO Drawing Pencils in 4H and 6B
- Tombow MONO Twin Marker
- Tombow Dual Brush Pen in N15
- Tombow Colorless Blender Pen
- Tombow MONO Eraser
- Circle to trace around (I used a jar lid)
STEP ONE
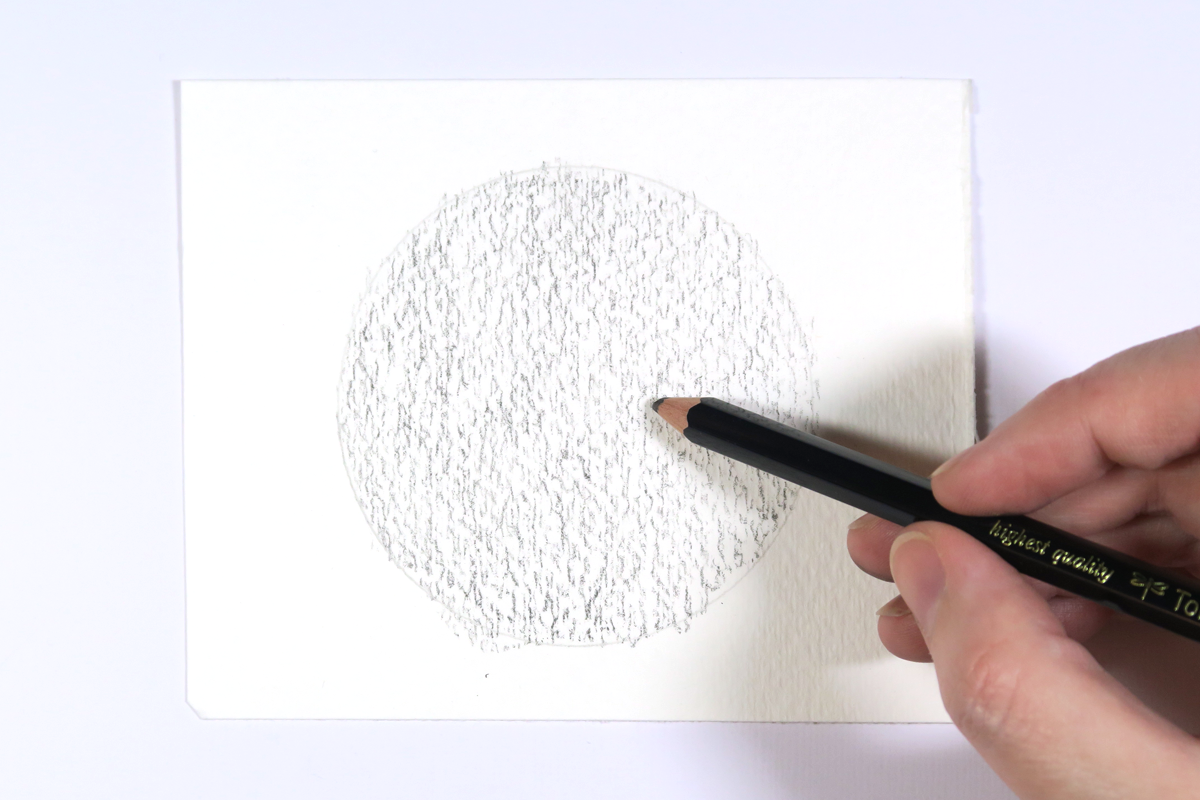
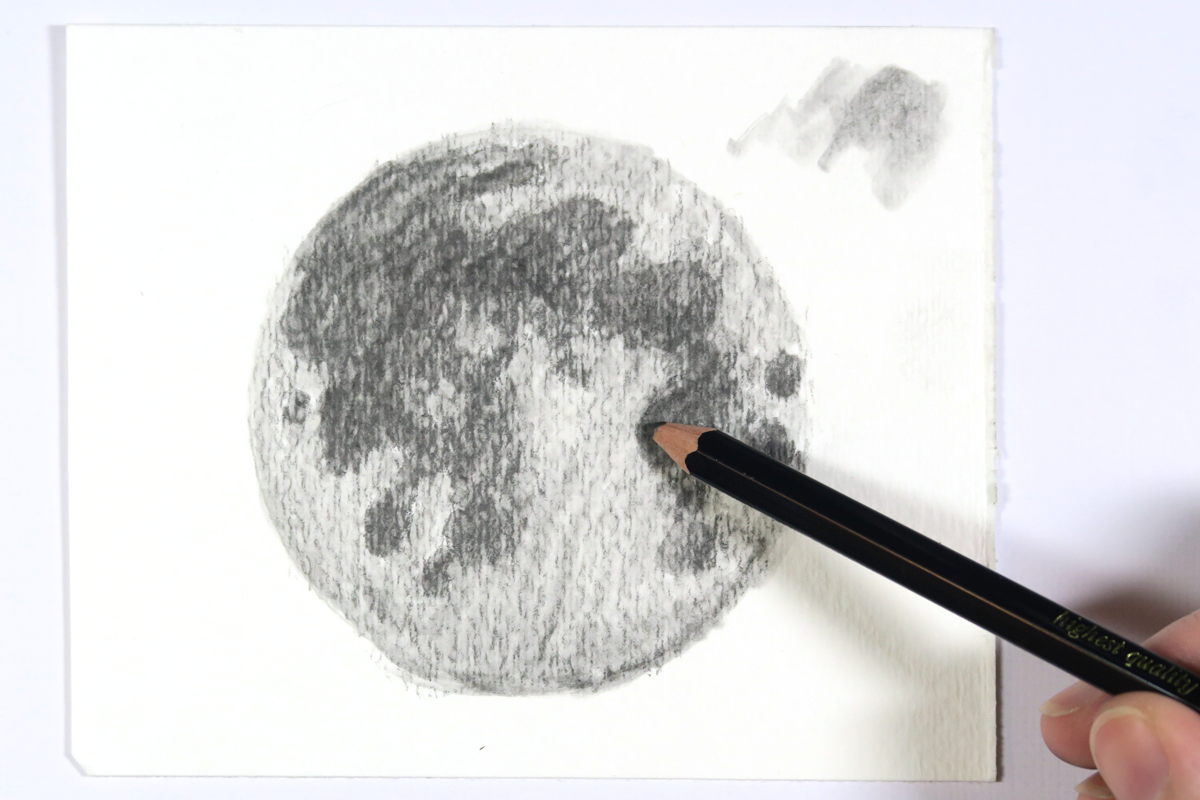
I’m using watercolor paper for my moon drawing because I like the texture, but mixed media paper would also work well. To get started, trace around your circle with the 4H Tombow MONO Drawing Pencil. Next, lightly fill in the circle with the Tombow MONO Drawing Pencil in 6B. This will become the lighter areas of your moon.
STEP TWO
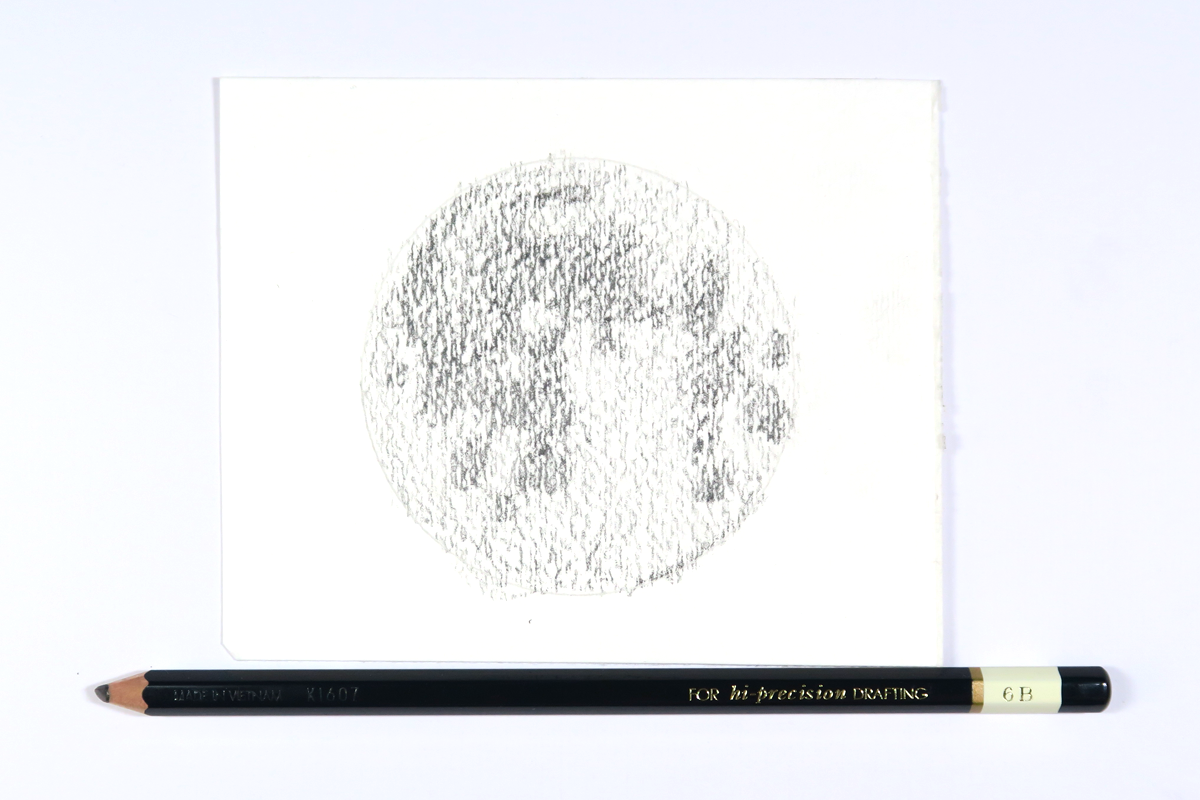
Next, shade in darker areas with the 6B pencil to create the lunar seas, or shadowy dark areas, of the moon. I used a picture from the internet for reference.
STEP THREE
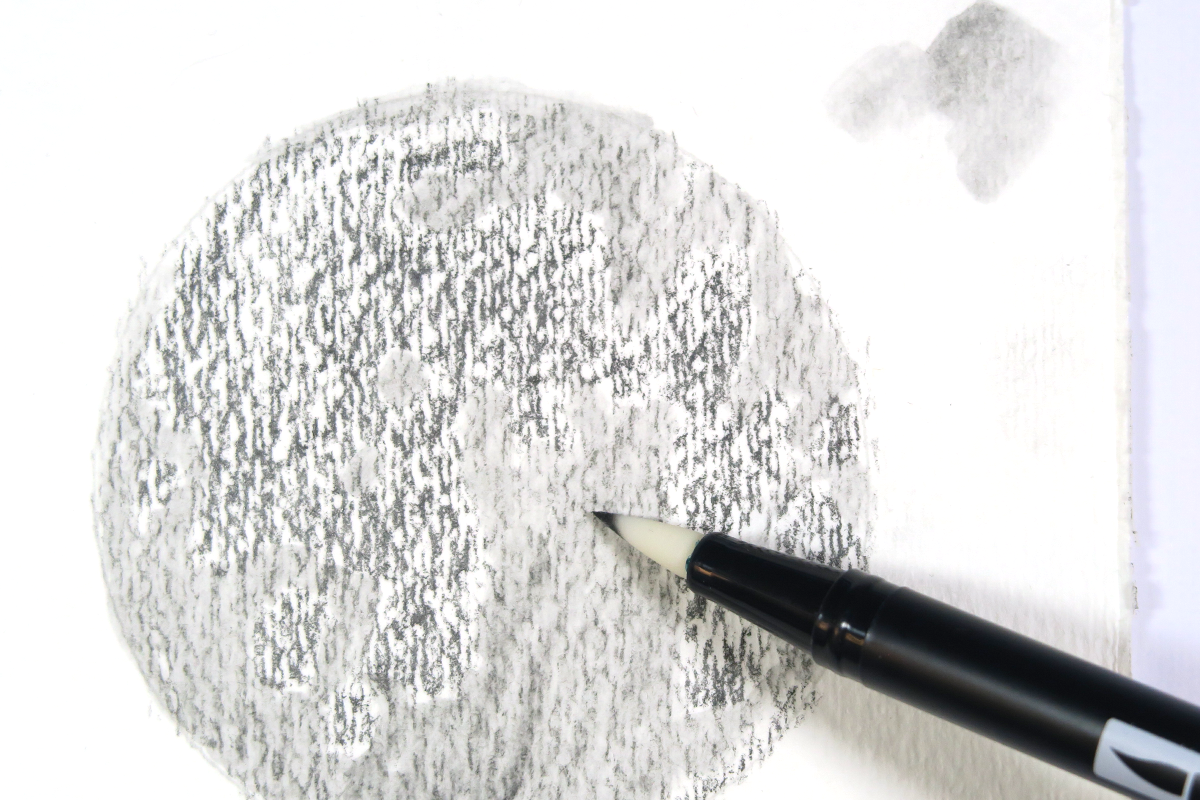
Now, get your Tombow Colorless Blender Pen and start blending all the lighter areas. I like to do the lighter areas first because it’s easier to build up color than to remove it. You can use the corner of your paper to dab off excess color from your Colorless Blender Pen if you find things are getting a little too dark. Then, once all the light areas are blended and a soft wash of gray, blend all the darker penciled areas. I also blended the dark edges a little bit into the lighter areas, just to make things look a bit softer.
STEP FOUR
Now, let’s go back and add even more dimension. Take the 6B MONO Drawing Pencil once more and add shading to the darkest areas of the lunar seas. Then, using the Colorless Blender again, blend them in. If you need to lighten up any areas of your moon, the Tombow MONO Eraser works like a charm, even after the blender pen has been used!
STEP FIVE
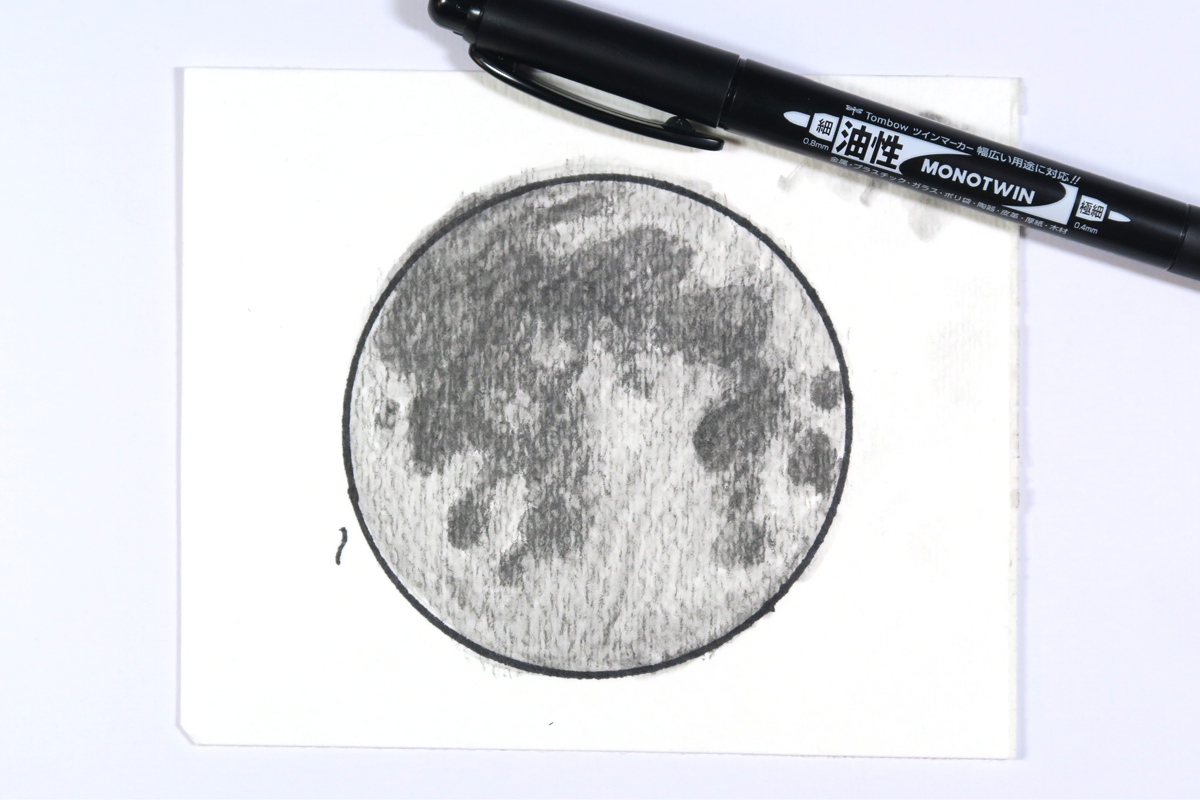
Once you are happy with your moon, retrace the circle around it with the Tombow MONO Twin Marker. I also used the brush tip of a black Tombow Dual Brush Pen to add a ring of black around my moon to really make it pop.
STEP SIX
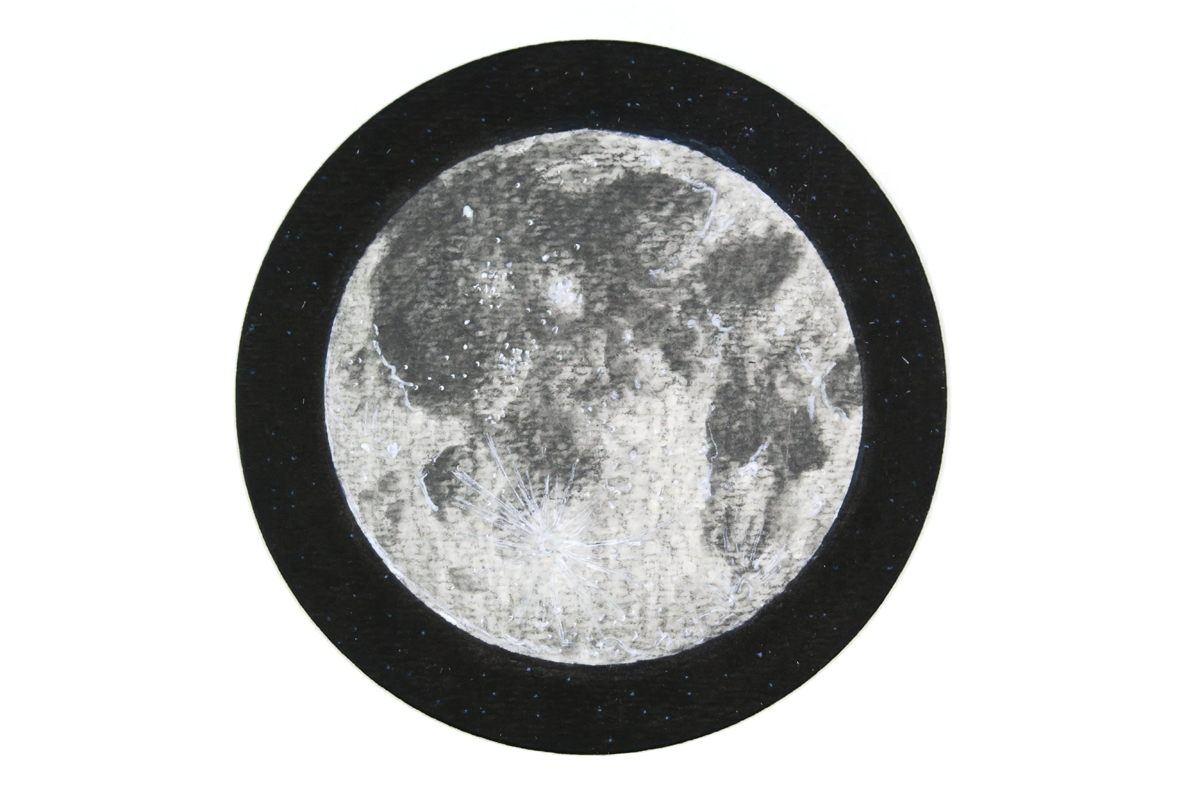
Lastly, use the white gel pen to add details to your moon and stars in the sky. You could frame your drawing and give it as a gift, cut it out and use as a die cut, or even add to the front of a greeting card. It’s up to you!
Thank you so much for following along with my moon drawing tutorial today. For more drawing tips, check out this post by Smitha to learn how to add pencil lettering to your moon, then print out my Tombow MONO Drawing Pencil value scale here. See you next time!
IS it my computer or yours because this post came out only showing 1/2 of the instructions? I have gotten quite a few just like that but in this one, the bottom or last page was full sized? I wonder if anyone else has had this problem?It is as if it was blown up and that is why I only have room for half of the page?
Pingback: How To Draw A Peony With The MONO Drawing Pencil Set - Tombow USA Blog
Pingback: DIY Birthday Stamp Tutorial - Tombow USA Blog