Hey Tombow Fans! This is Jennie! This week we are teaching you simple projects you can try this year. I’ll be giving you a simple lesson on cardmaking for beginners! The great thing about cardmaking is that you don’t need a big budget or expensive tools. It’s also handy to have a stash of handmade cards for many occasions. 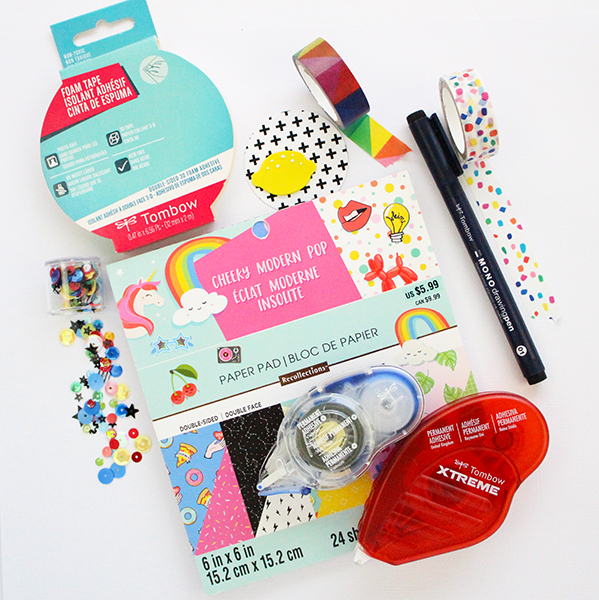
Supplies:
- Tombow MONO Adhesive+ Permanent
- Cardstock for the card base
- Tombow Foam Tape
- Patterned Paper
- Tombow Xtreme Adhesive
- Embellishments
- Tombow MONO Drawing Pens
- Punches or Dies (optional)
Step One:
Get a card base. Card bases can be bought in many sizes. You can also make card bases with cardstock. Use a color cardstock to create a mat for the pattern paper.
Step Two:
Cut the pattern paper 1/4″ smaller than the cardstock.
Step Three:
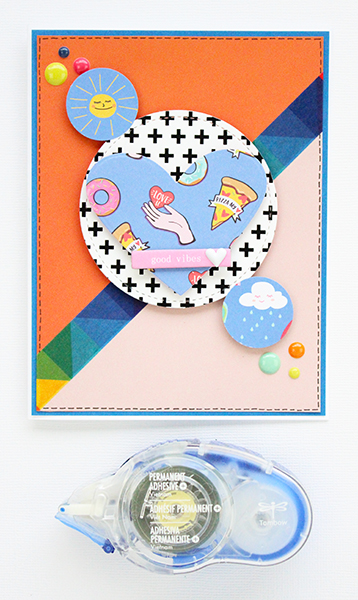
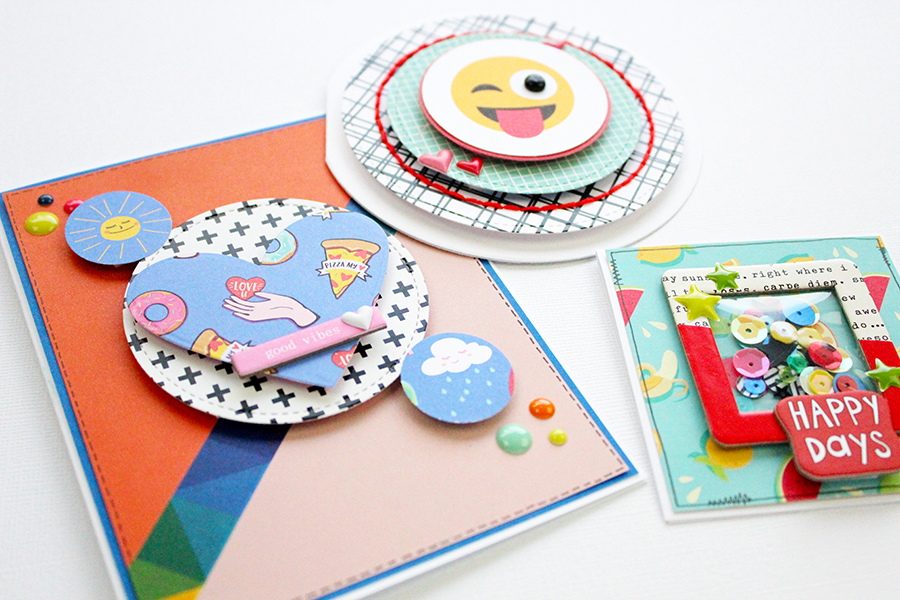
Add embellishments. I used dies and punches to cut elements from a 6×6 paper pad. The design of the paper has a diagonal line toward the right. I added washi tape following that right but I added the embellishments to create a line to the left. The best adhesive to add embellishments is the Tombow Foam Tape. Dimension makes a card better and more interesting than a completely flat card.
Step Four:
Add finer details like enamel dots. I also like to add faux stitching or scribbles on the border with the Tombow 01 MONO Drawing Pen. Try to keep in mind the rules of threes or a visual triangle. Make clusters and keep your items close enough that they touch. If you look closely at this card, it has an X design driving your eye towards the center. When you are starting pick one place to draw your eye.
There are so many ways to create cards. Let’s try another way of cardmaking for beginners! To make shaped card bases just fold a piece of cardstock and use a die with a die cutting machine. You can create a design with an electronic die cutting machine by taking two solid shapes and flipping the left image and welding both images together. Or just take a simple shape like a circle and trace it onto a card base. Make sure you leave a space on the left connected!
Card #2!
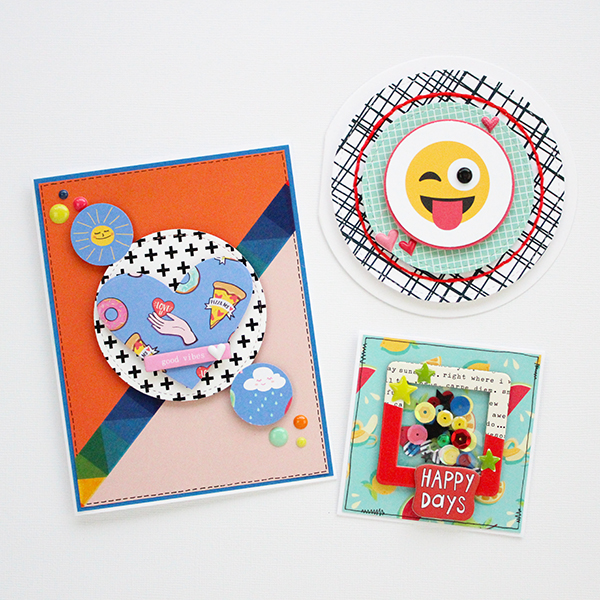
Check out this simple design. Bull’s eye! Using a die and my Big Shot Die Cutting Machine I created a circle card. I skipped the mat this time and cut a smaller circle. Between those 2 circles I added a little detail by using a stitching circle template and embroidery floss. Right at the center I have an emoji face which has a very thin mat. I added an enamel dot I made with perler beads with the Tombow MONO Multi XL Liquid Glue. Don’t forget the little sprinkles! 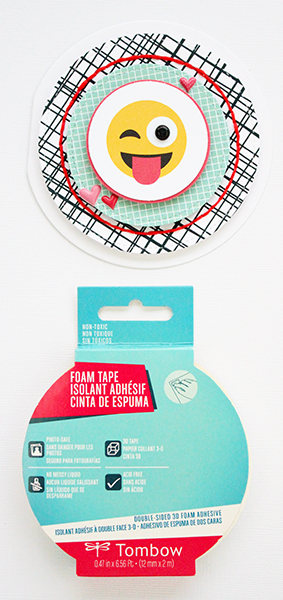
Card #3
This super tiny card is pretty fun! It has a mini shaker pocket I made with the Fuse Tool, a page protector and sequins. Gluing plastic can be tricky but the Tombow Xtreme Adhesive is the best way to go! It’s also great for rubber or acrylic pieces. If you want to hear a little more about adhesives for cardmaking, this article by Dani might help!
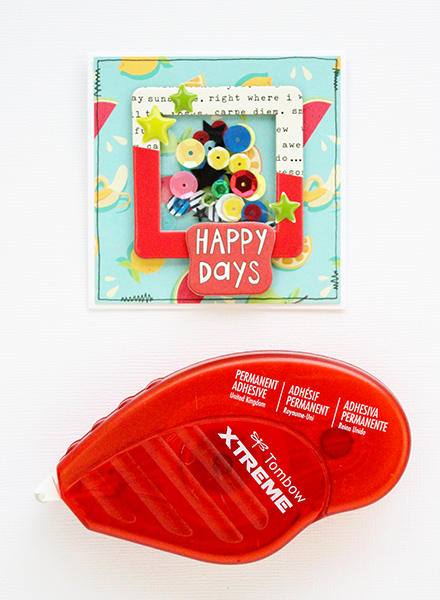
It took me less than an hour to create these, including the stitching and the shaker pockets which can be a bit hard to do. Once you’ve mastered simple cardmaking maybe you could try stamping on cards.
Want to learn more about cardmaking? Check out these 5 Tips for Cardmaking! Once you try these tips and tricks show us what you made using the hashtag #tombowusa! I hope you enjoyed this cardmaking for beginners lesson!
Pingback: DIY Card + Watercolor Embellishments with Tombow Dual Brush Pens - Tombow USA Blog
Pingback: Easy Rainbow Birthday Card with Rainbow TwinTones - Tombow USA Blog
Pingback: Create a Foiled Envelope with Stamps and Adhesive - Tombow USA Blog
Pingback: How to Heat Emboss Hand Lettering - Tombow USA Blog
Pingback: How To Use These 6 Tombow Adhesives for Cardmaking - Tombow USA Blog