Hello Tombow friends, Adrienne here from Studio 80 Design! Valentine’s Day is coming up so I wanted to share a fun Valentine project with you all!
Have you ever tried string art? It’s where you create an outline of an image with nails onto a piece of wood and then fill in the image with string by wrapping and crossing over the image with the string. Today I wanted to show you a project that replicates string art but with paper and pens! We’re going to be using Tombow TwinTone Dual-Tip Markers and a dot grid notebook. I found its easier to use a dot grid notebook because you have built in “nails” already in your paper! Let’s get started!
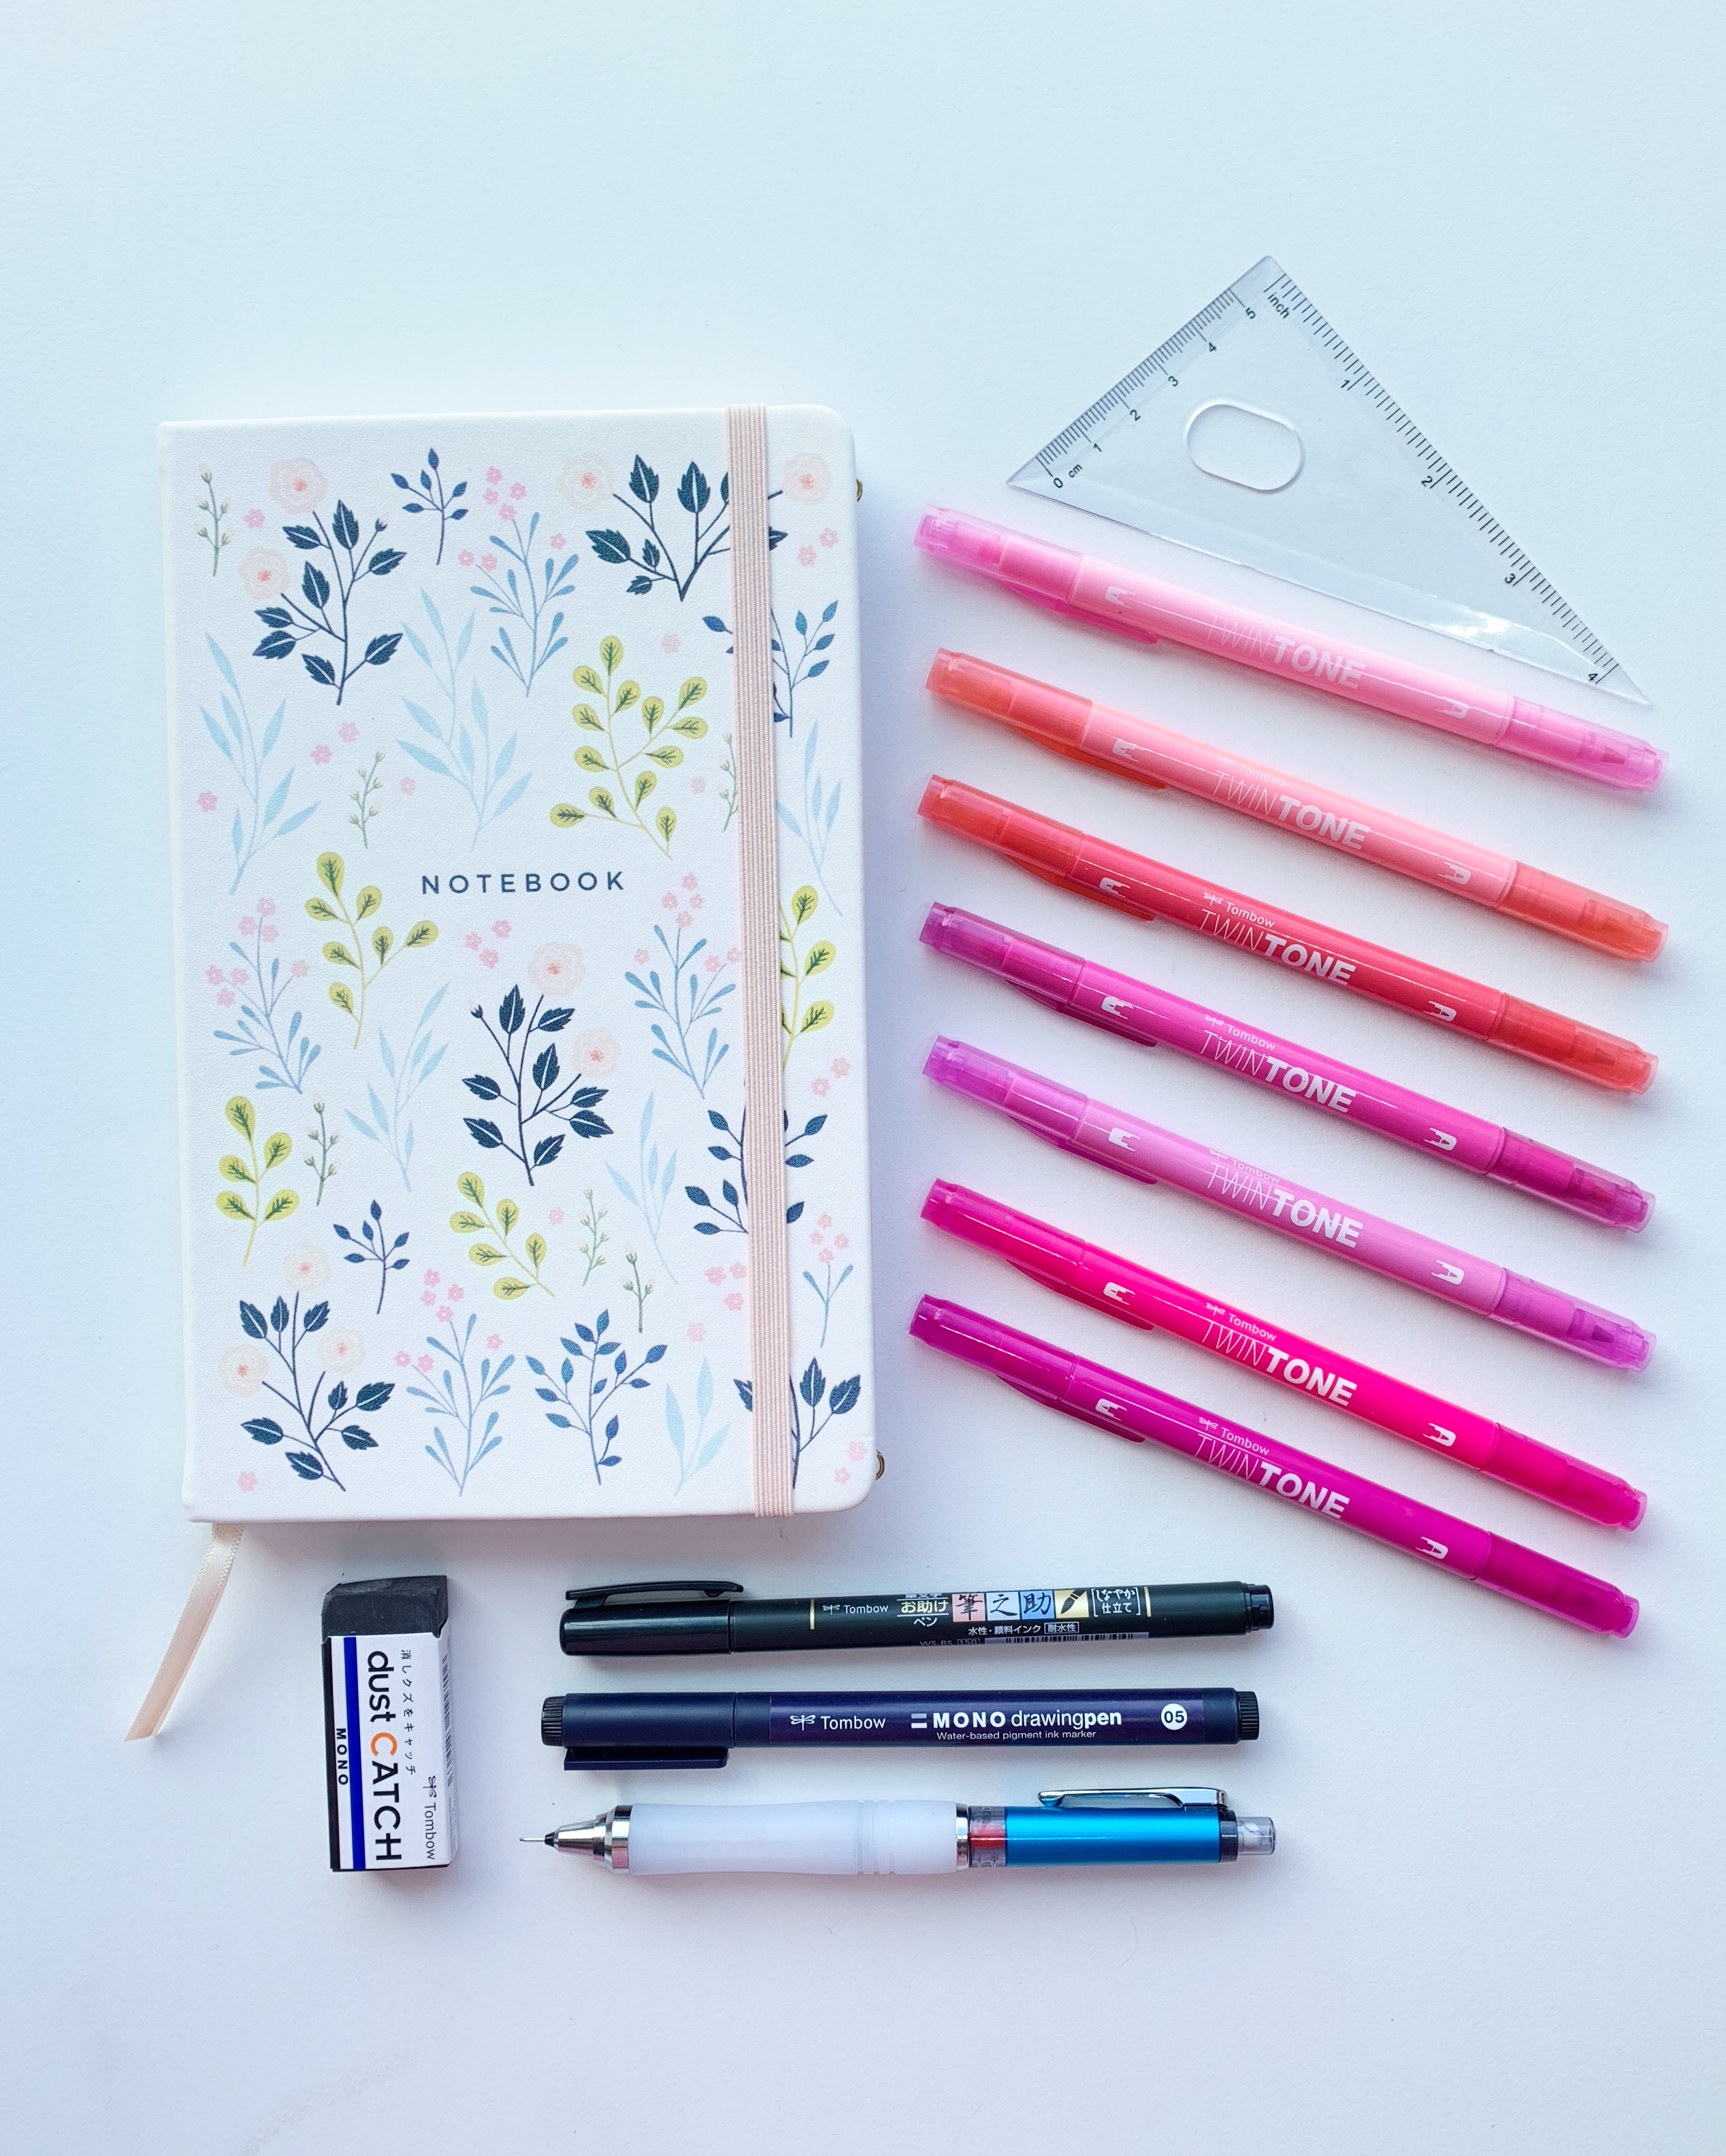
Supplies you’ll need:
- Dot Grid Notebook
- Tombow Mechanical Pencil
- Tombow MONO Dust Catch Eraser
- Tombow TwinTone Markers (I used an assortment of pinks)
- Ruler
- Tombow Fudenosuke Brush Pen, Soft Tip
- Tombow MONO Drawing Pen, 05
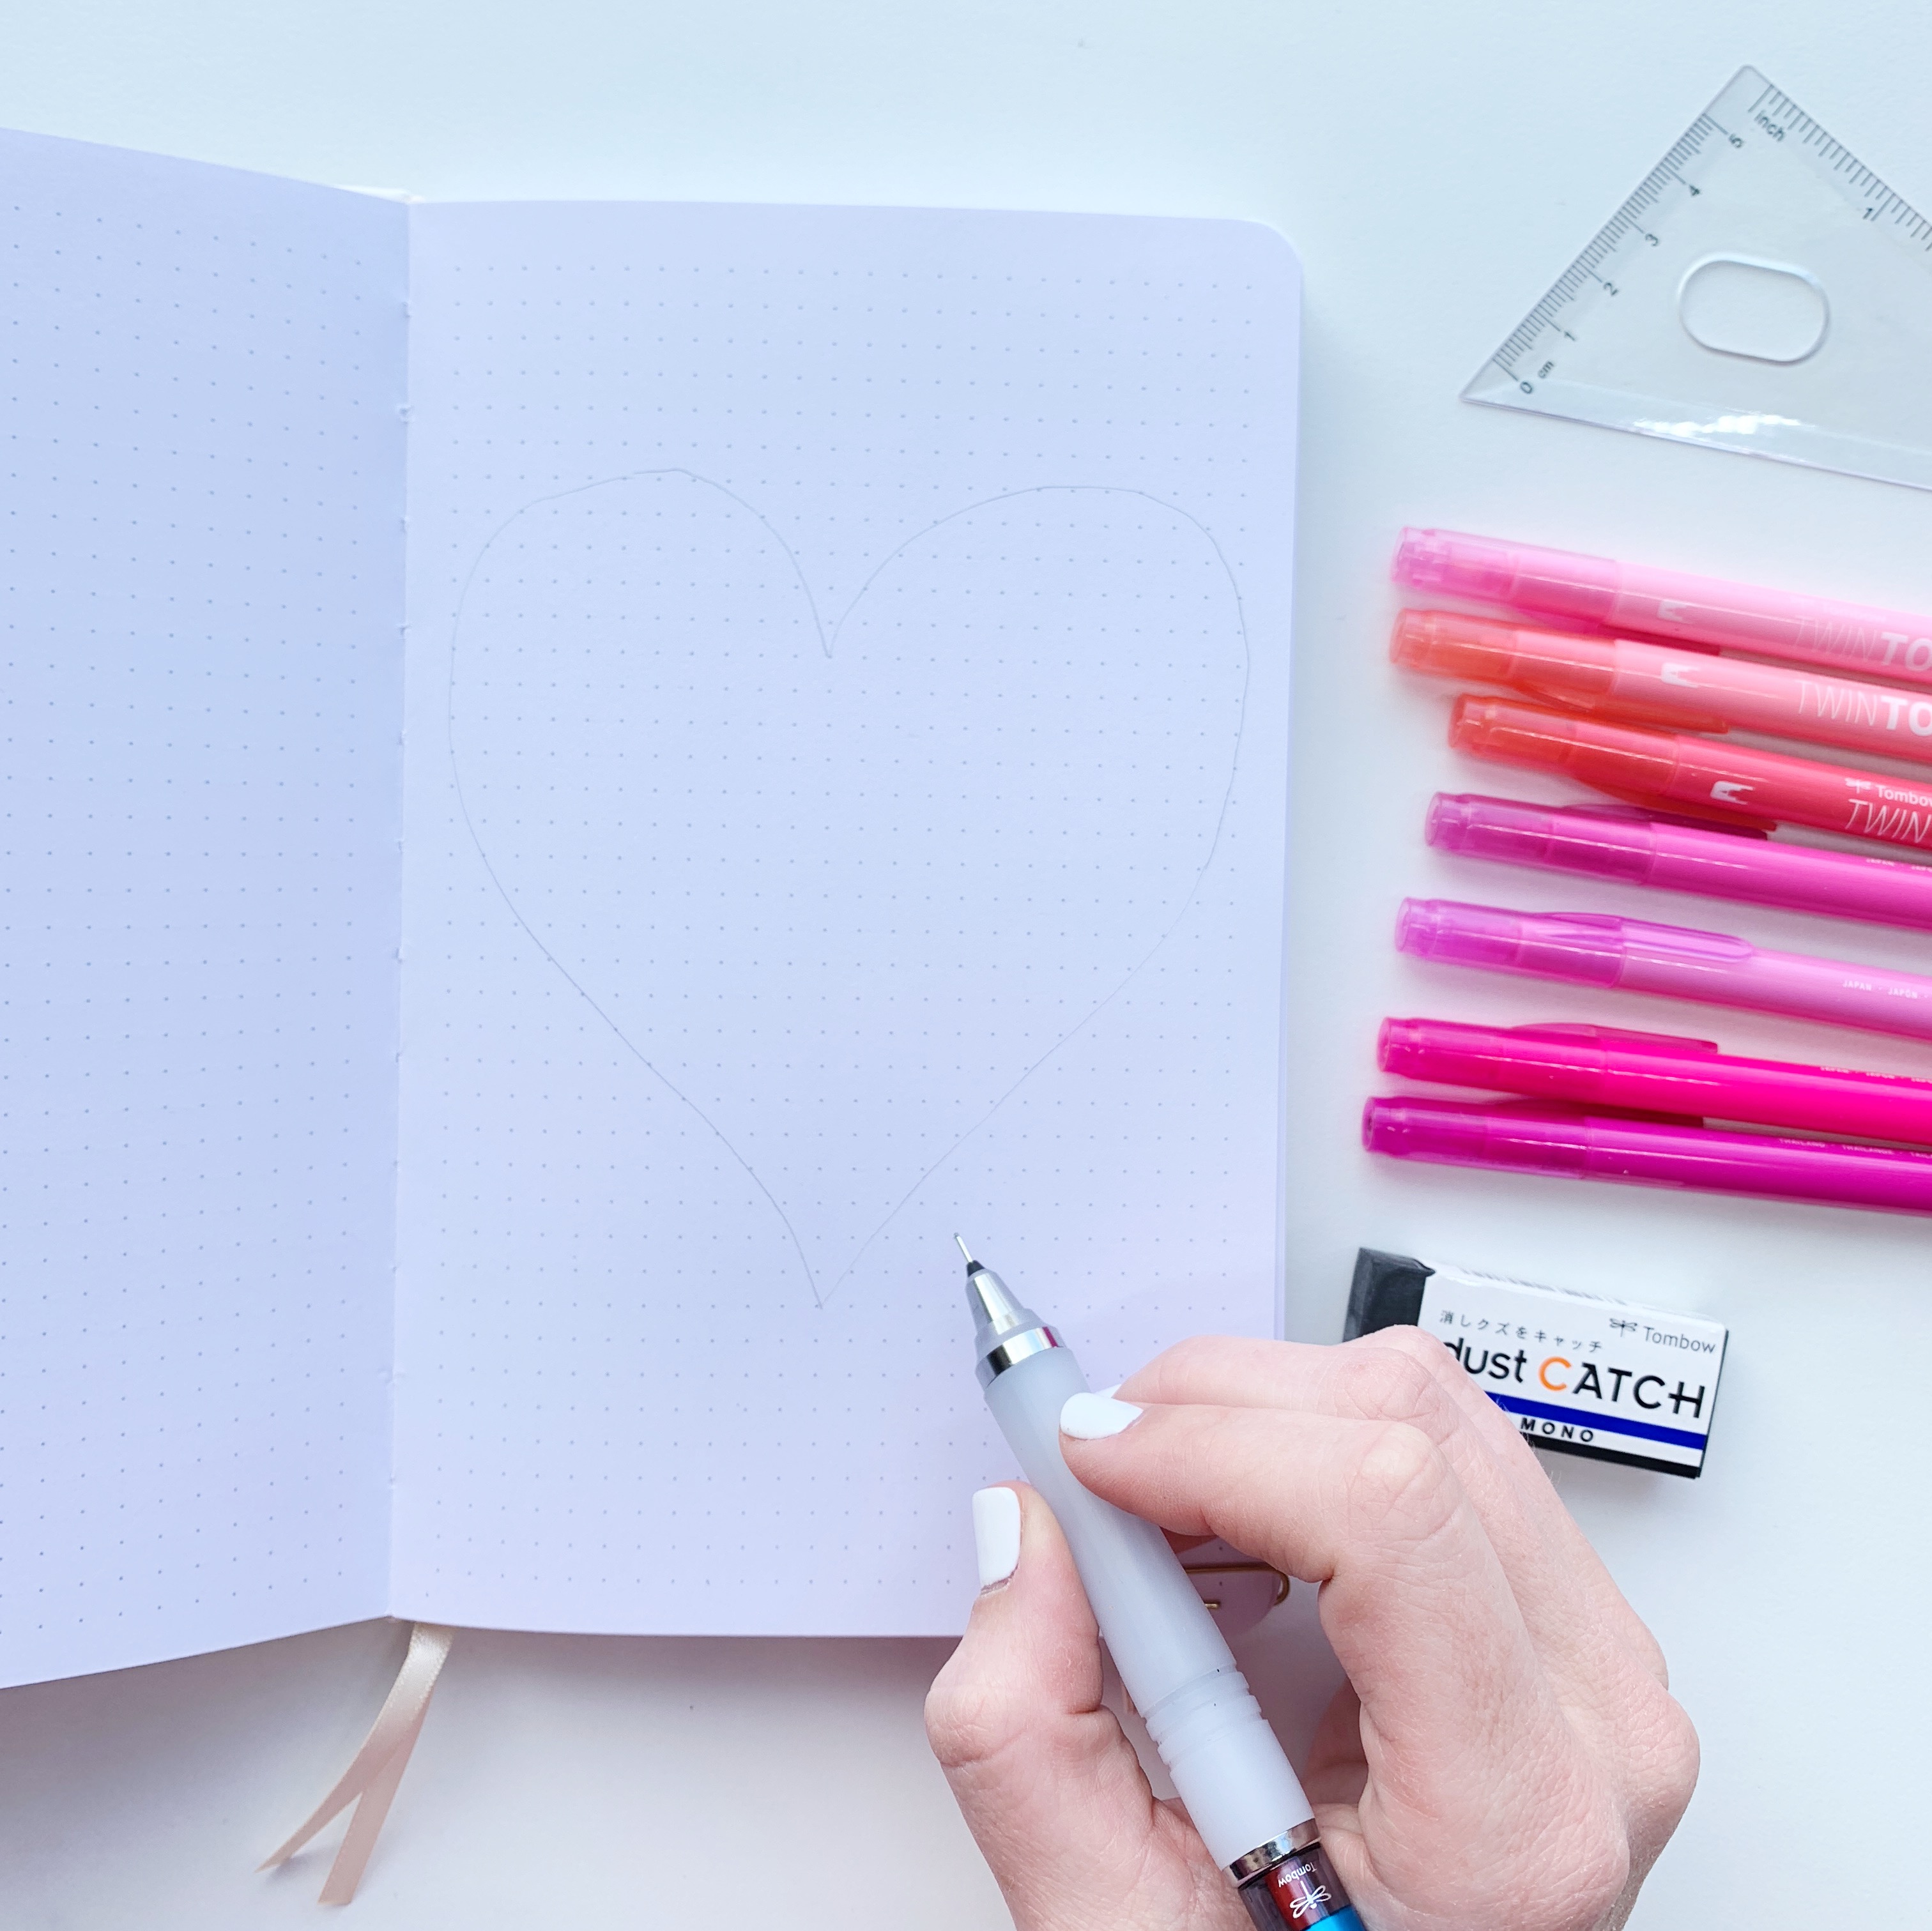
Step 1: Sketch
In your dot grid notebook, use your Mechanical Pencil to make a rough sketch of a heart. Make sure to fill most of the page so it’s nice and big!
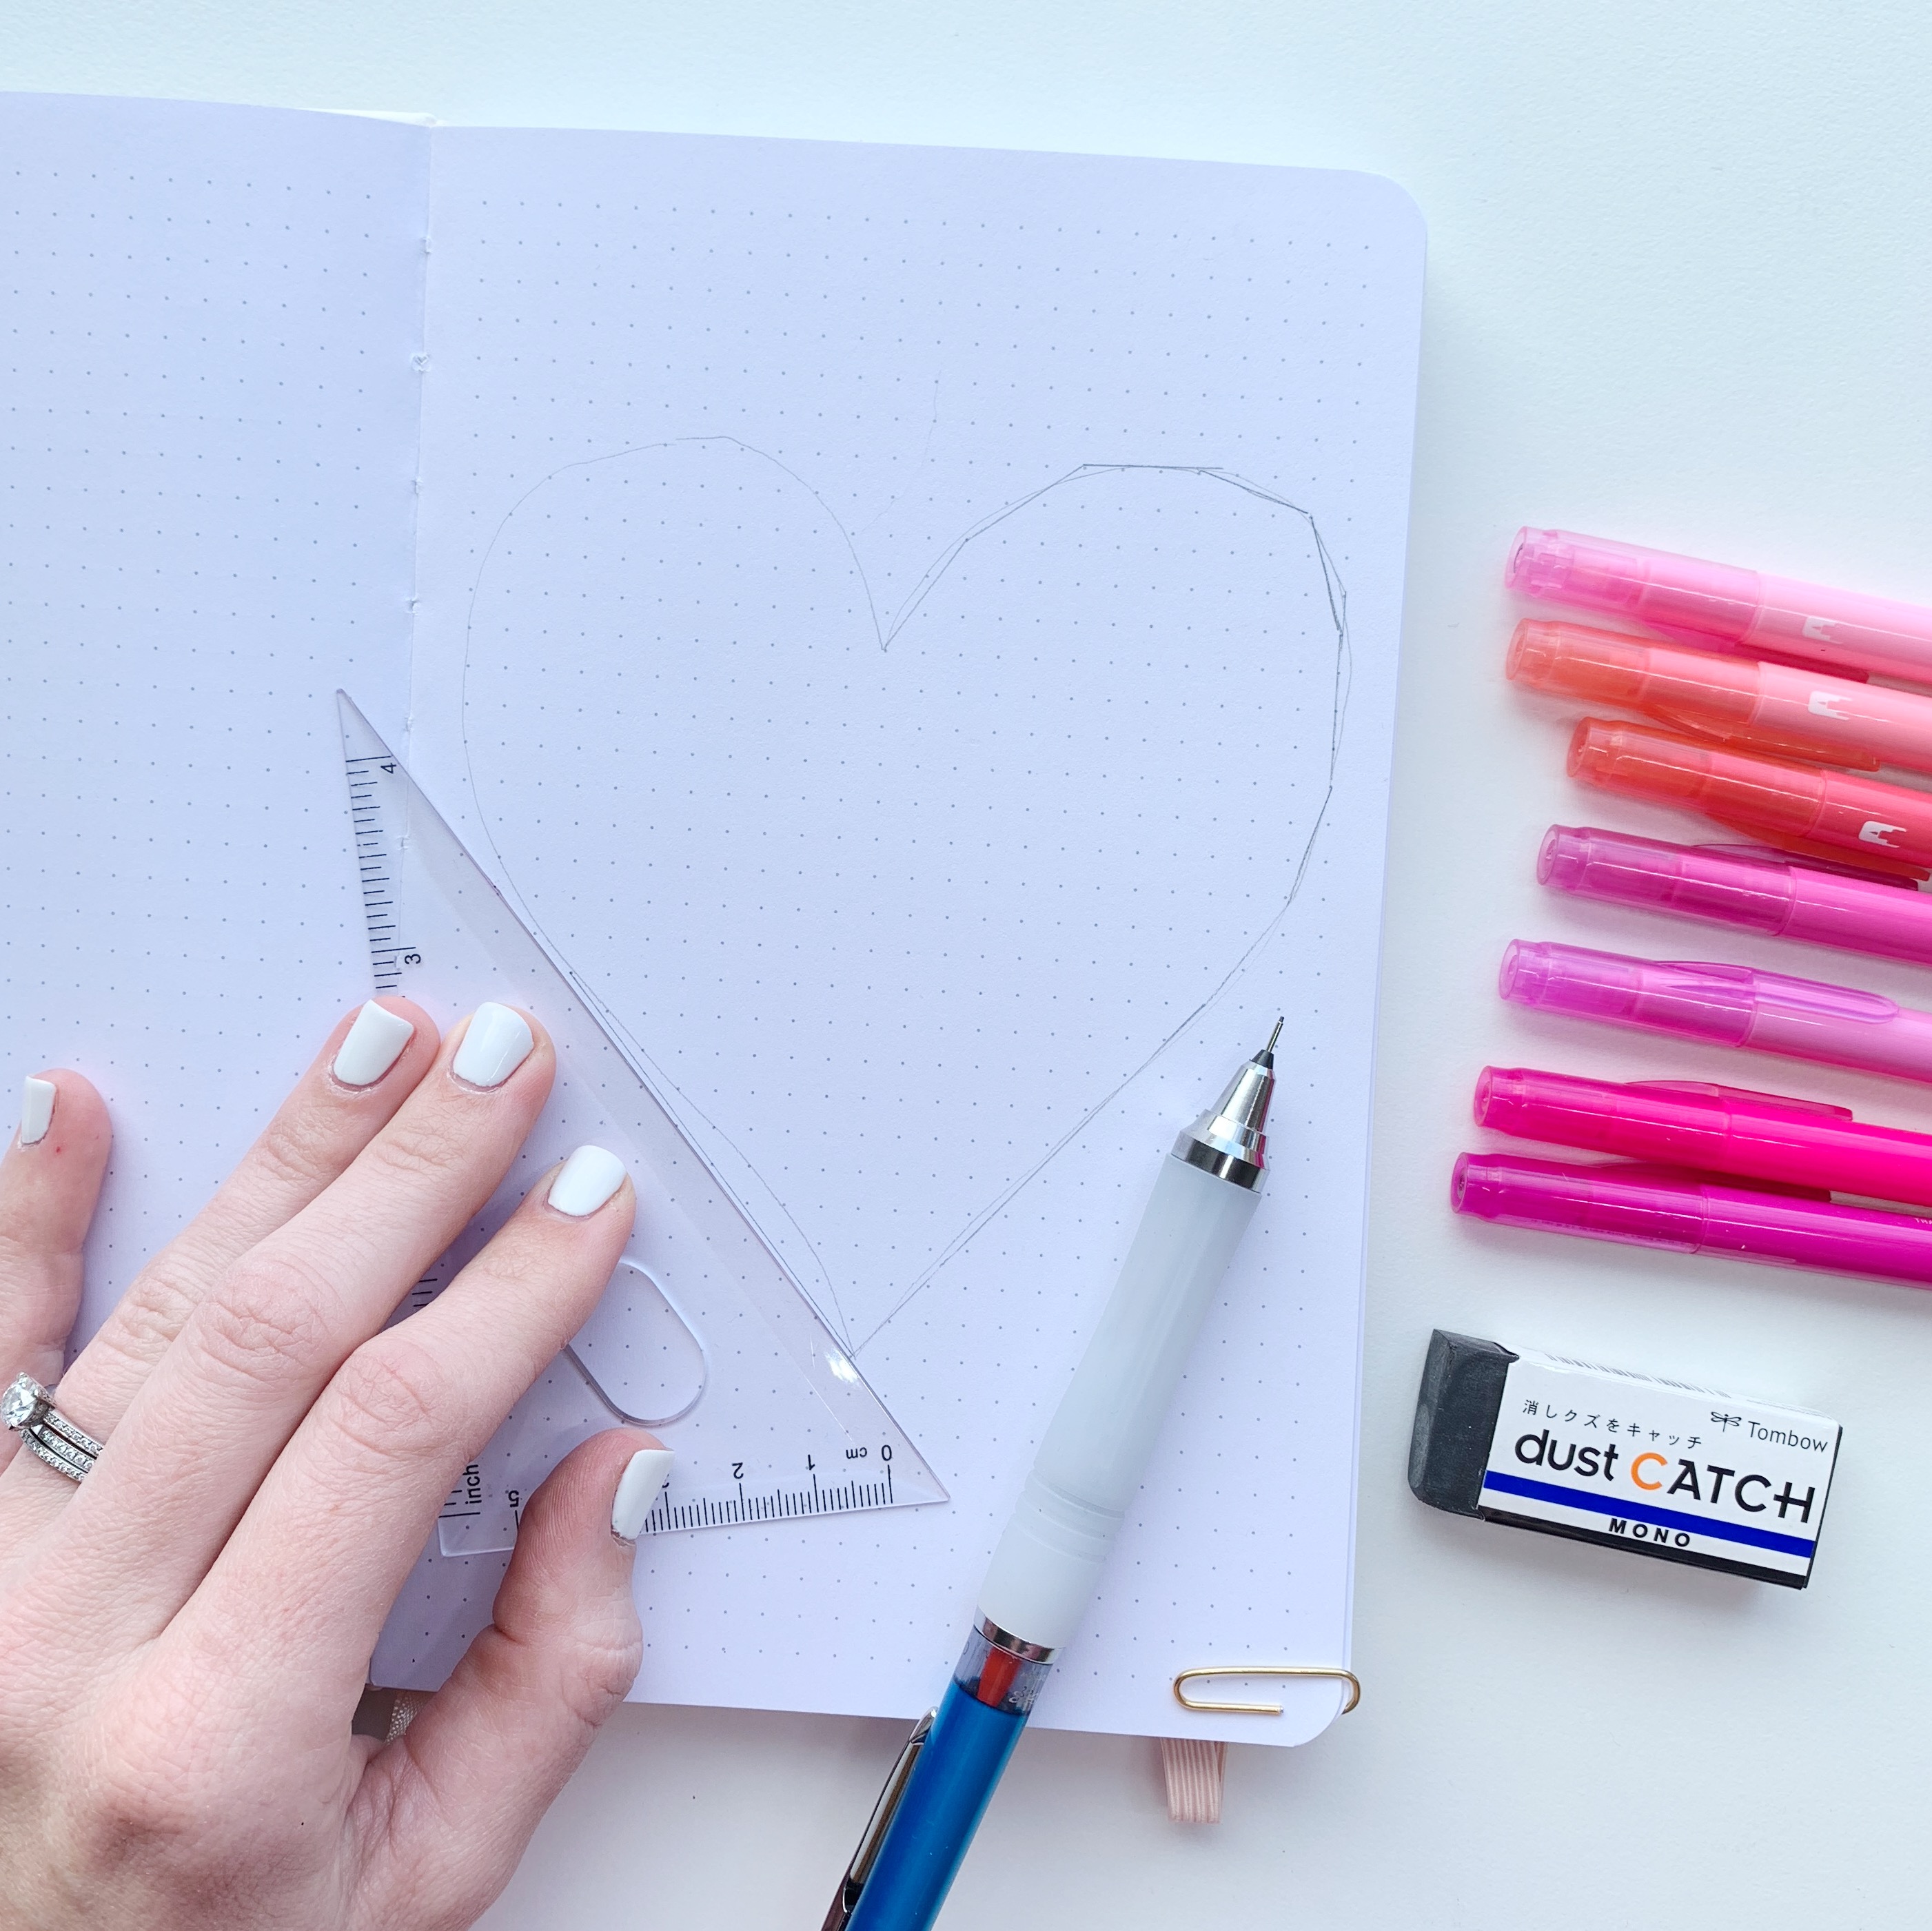
Step 2: Straighten the lines
Next you’ll want to straighten the lines of the heart to connect to dots on your grid. These will represent the “nails” around the heart. Try to make both sides of the heart as symmetrical as you can so it looks even!
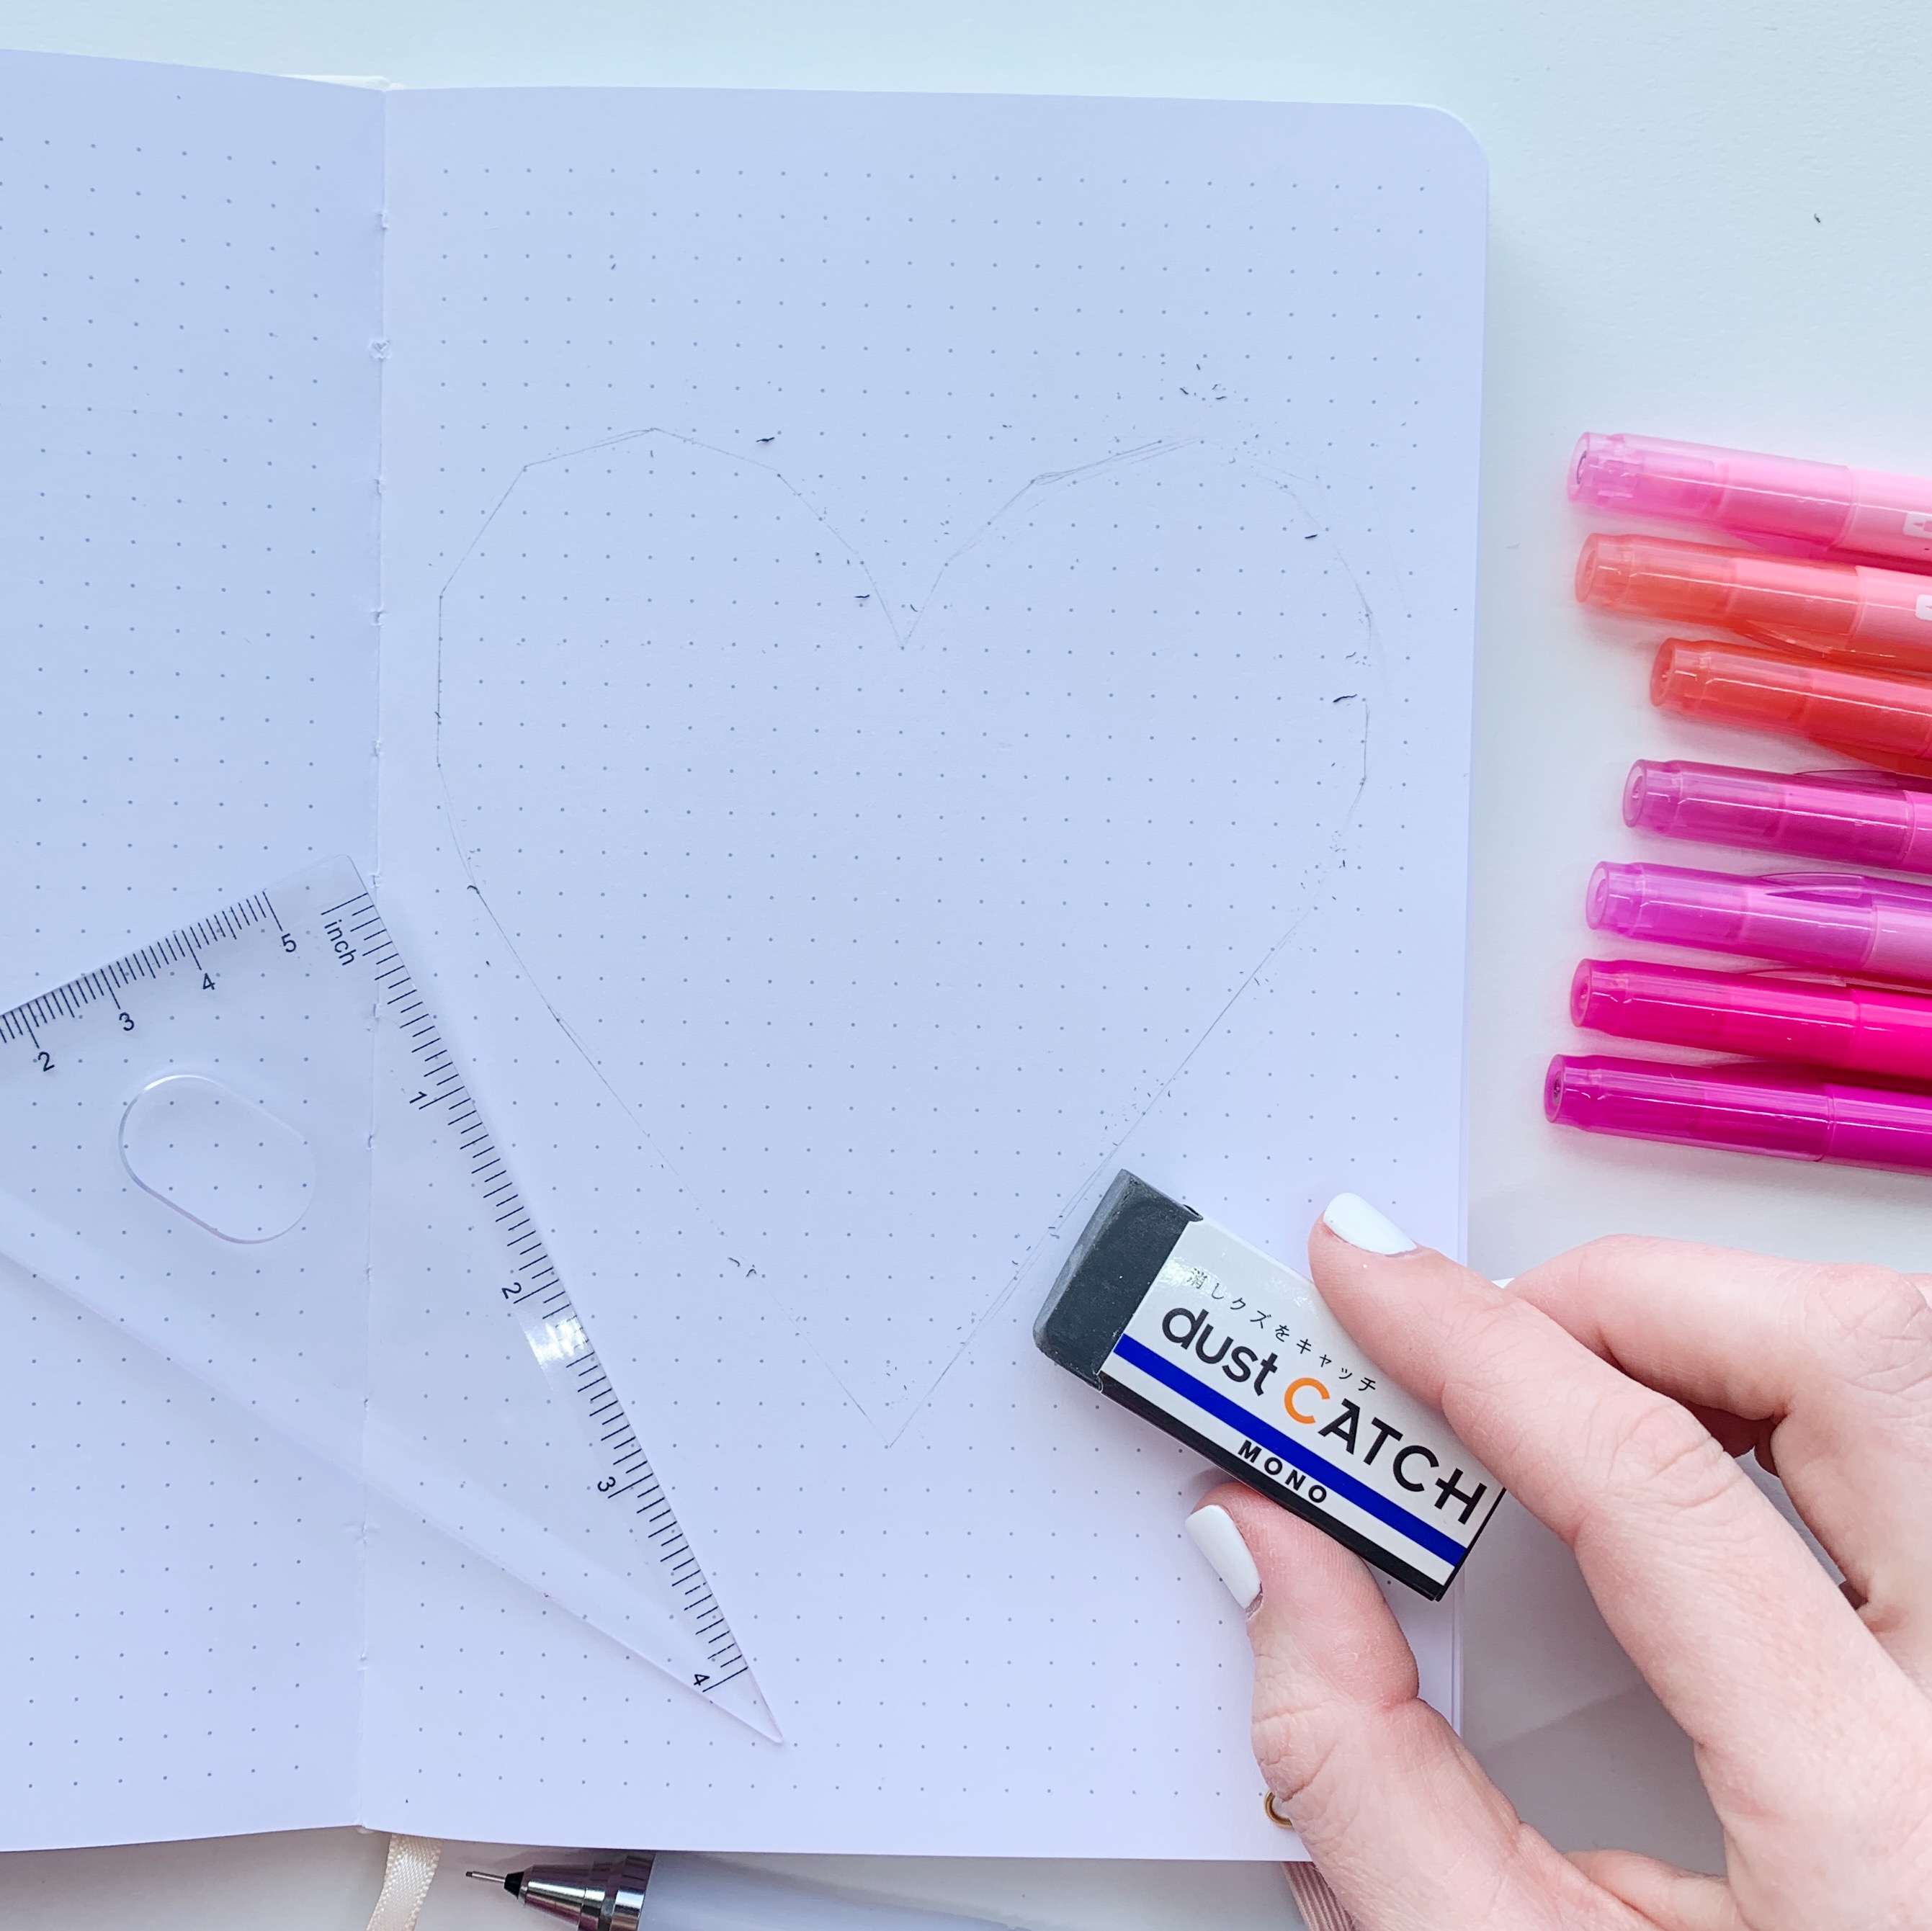
Step 3: Lightly erase
Lightly erase your lines with the MONO Dust Catch Eraser, making sure you can lightly see the lines. This is one of my favorite erasers because it leaves minimal eraser shavings behind when you use it. When you start drawing with the TwinTone Markers, you’ll see less of the pencil marks!
Step 4: Outline the heart
Take a dark pink TwinTone Marker and trace the outline of the heart using a ruler. The Twin Tone Markers are great for drawing and sketching in your dot grid notebook because there are two sized tips that allow you to draw and also add in small details to your pages!

Step 5: Draw in “string”
Just like in string art, we’re going to add in lines inside the heart. Start with the dark pink TwinTone Marker and create 8-10 lines with your ruler, drawing them at different angles and connecting them from one side of the heart to another side just like you would with nail art. This is like connecting the nails with the string in string art.

Step 6: Add more lines
Continue to draw in more strings using all the different shades of pink of TwinTone Markers. I used seven different pinks from the Pastel, Bright, and Rainbow collections. Focus on filling in any blank spaces to makes the “stings” look even around the heart.


Step 7: Add lettering
Write in a fun Valentine’s phrase in the middle of the heart using the Fudenosuke Soft Tip Brush Pen. I wrote “Be Mine” in the middle, and I went over it twice so it would be nice and dark against the pink lines.

Step 8: Draw shadow
Using the MONO Drawing Pen 05, I added in a small line shadow to “Be Mine” to add in a fun little detail. I love using the MONO Drawing Pens to add in a shadow like this because the small nib lets you create fine, precise details.


And that’s it! I love how this project turned out and it can be used in so many ways in your dot grid notebook! If you try this project make sure to tag @tombowusa and @studio80design so we can see your work!!
For more fun with Tombow TwinTone Markers, make sure you check out these tutorials:
Hermoso y facil es muy terepeutico, Saludos desde Puerto Rico, Me gustaria algo para el bullet jornal con flores.
Pingback: DIY Instant Pot Cheat Sheet with TwinTone Markers - Tombow USA Blog
I really like how this came out. I’ve just recently come across the Twintone sets & I bought 2 sets of each, the pastel, bright & the new rainbow one. I am obsessed with these pens. I’m using them for everything! Journals, planners, notes, creative writing & my all time favorite thing to do, Journaling. I’m so happy with your product & I can’t wait to make this. It sounds easy enough for me!