Hello friends, Adrienne from @studio80design here today to talk about progress! As artists, hand letterers, and crafters, we all start as beginners and we’re all on our own path on our creative journey. The key to growing and getting better is consistent, steady practice. Working a little bit everyday on your craft will help you improve tremendously, and this week I want to share with you my personal progress I have made over the past several years!
I want to start out by sharing one of my first lettering projects I did when I first began my hand lettering journey. I created this almost three years ago, and it didn’t quite go the way I planned. My style and artistic craft has changed SO much over the past three years, and I’m going to remake this project to see my progress!
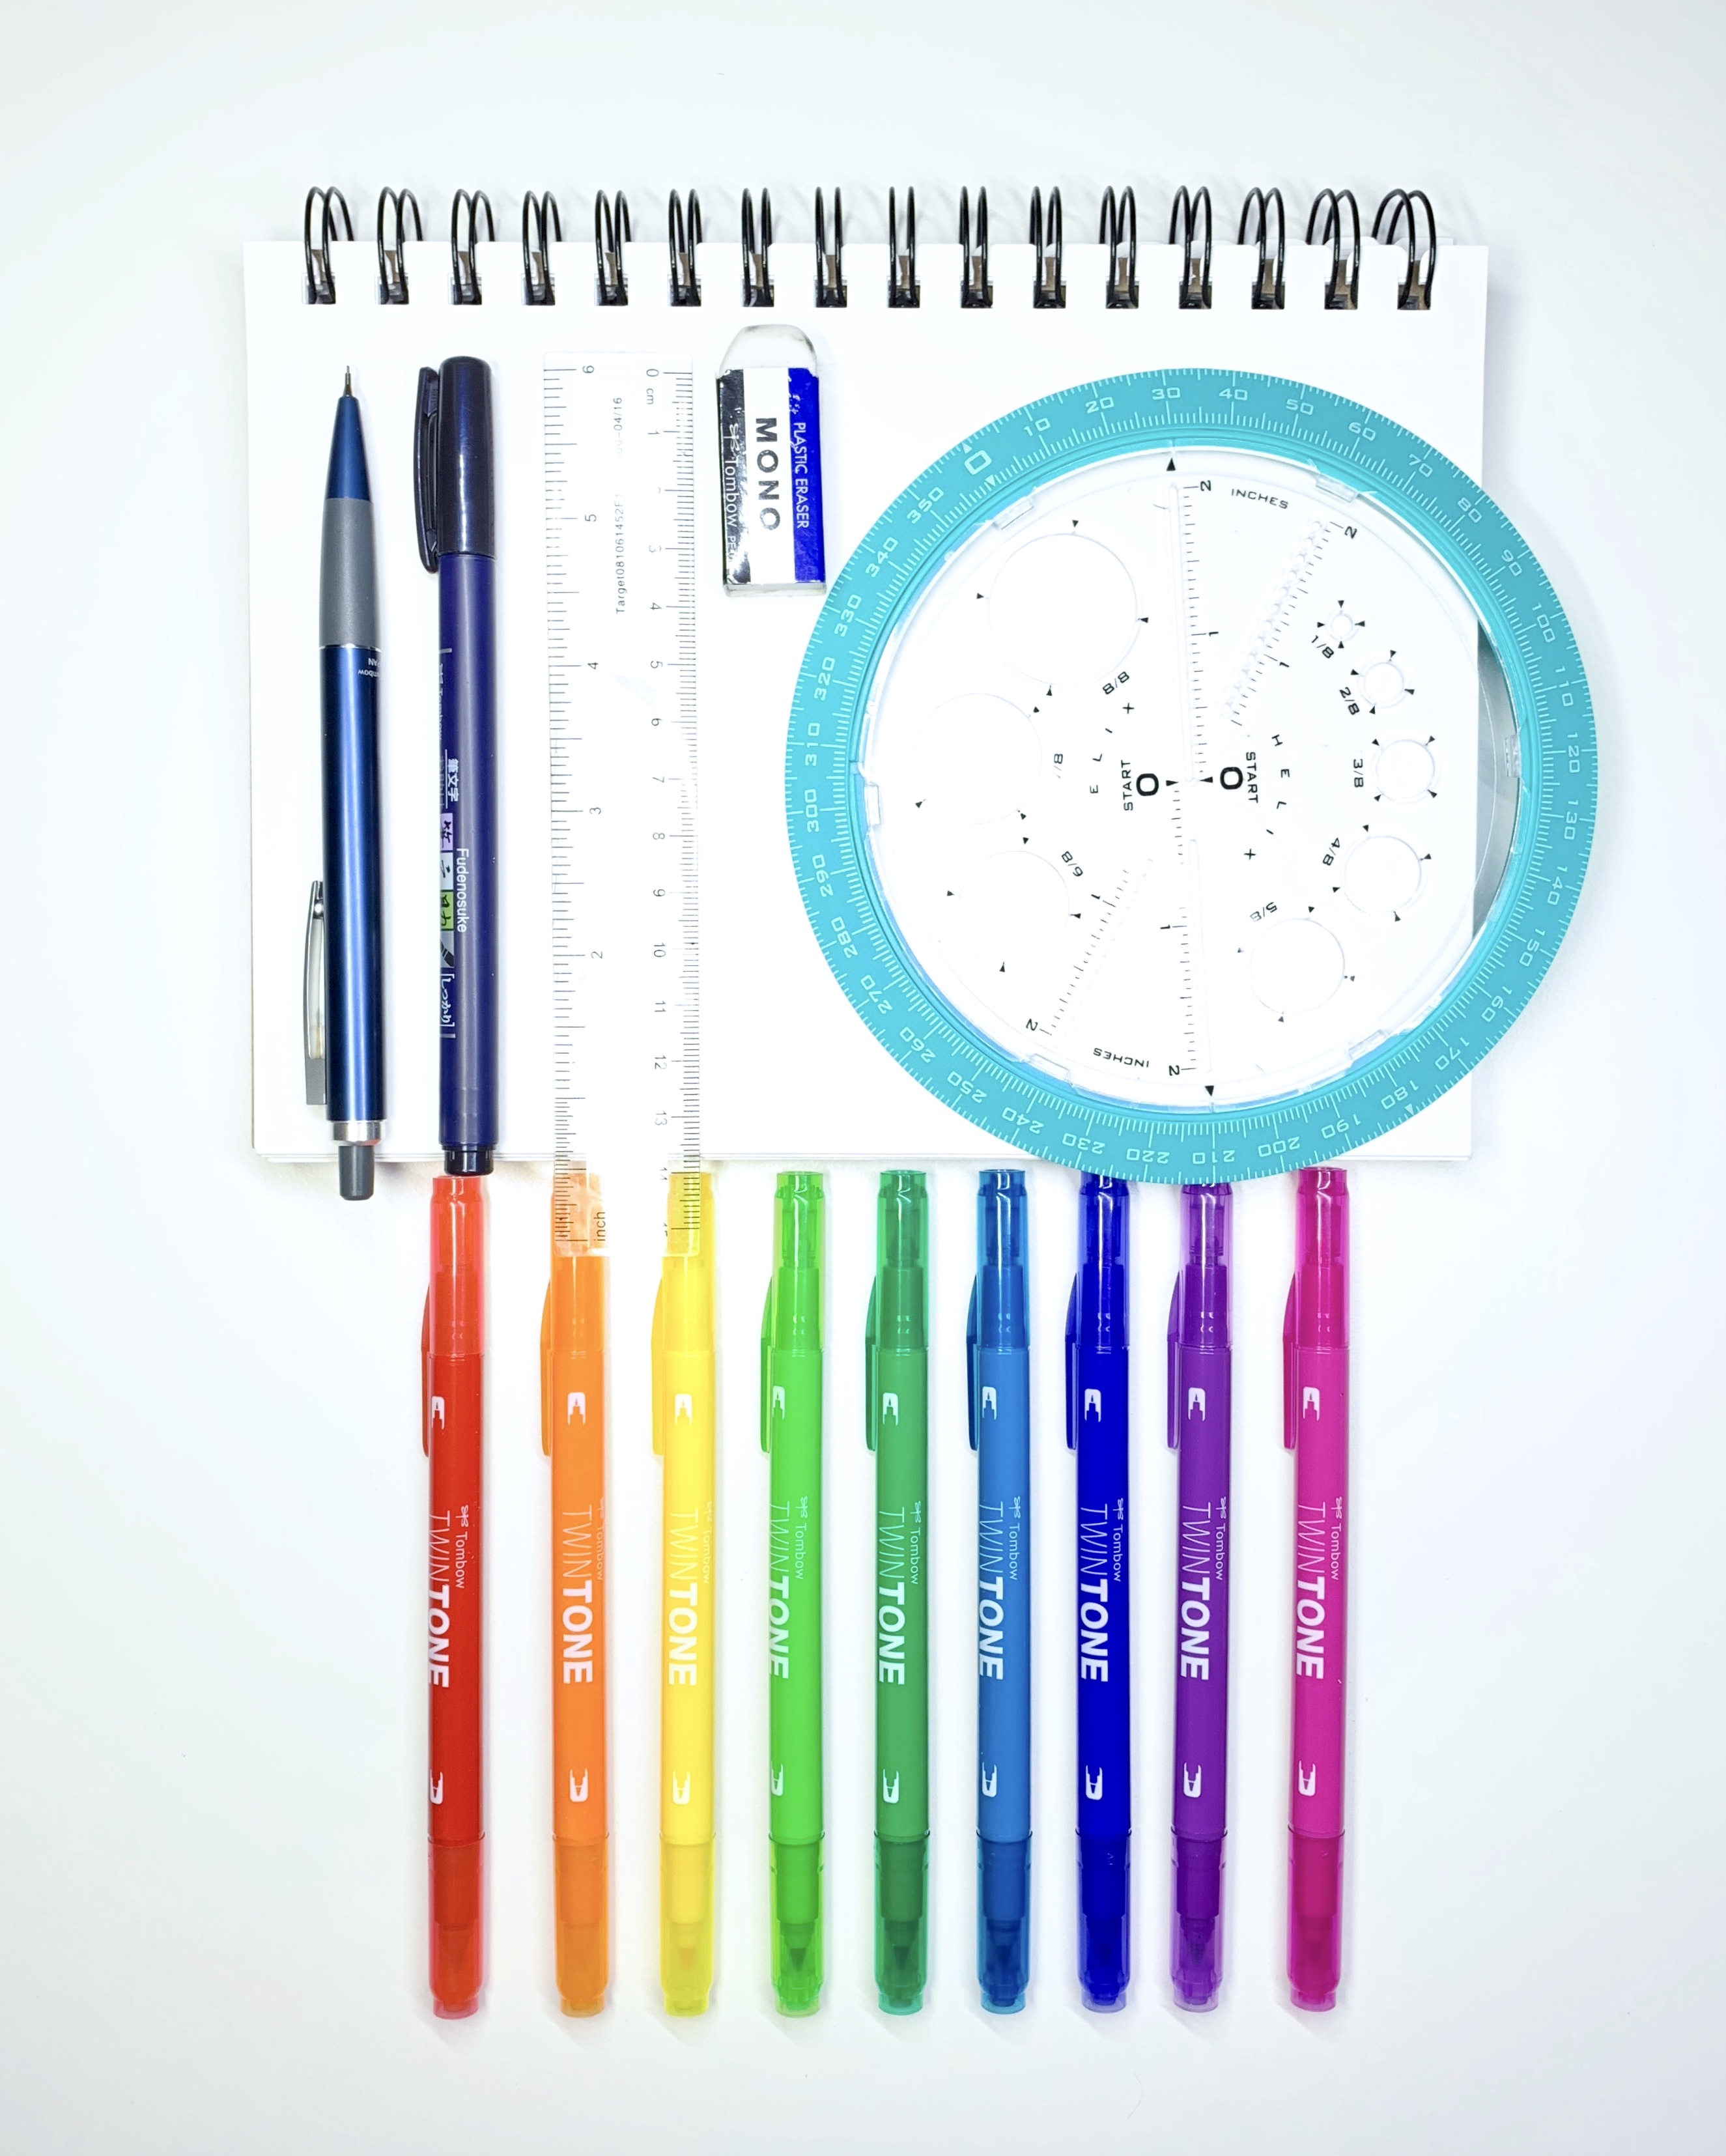
Materials you’ll need:
- Paper
- Tombow MONO Mechanical Pencil
- Tombow MONO Eraser
- Ruler
- Helix 360 Degree Angle and Circle Maker
- Tombow TwinTone Marker Set, 12-Pack Rainbow
- Tombow Fudenosuke Brush Pen, Hard Tip, Black
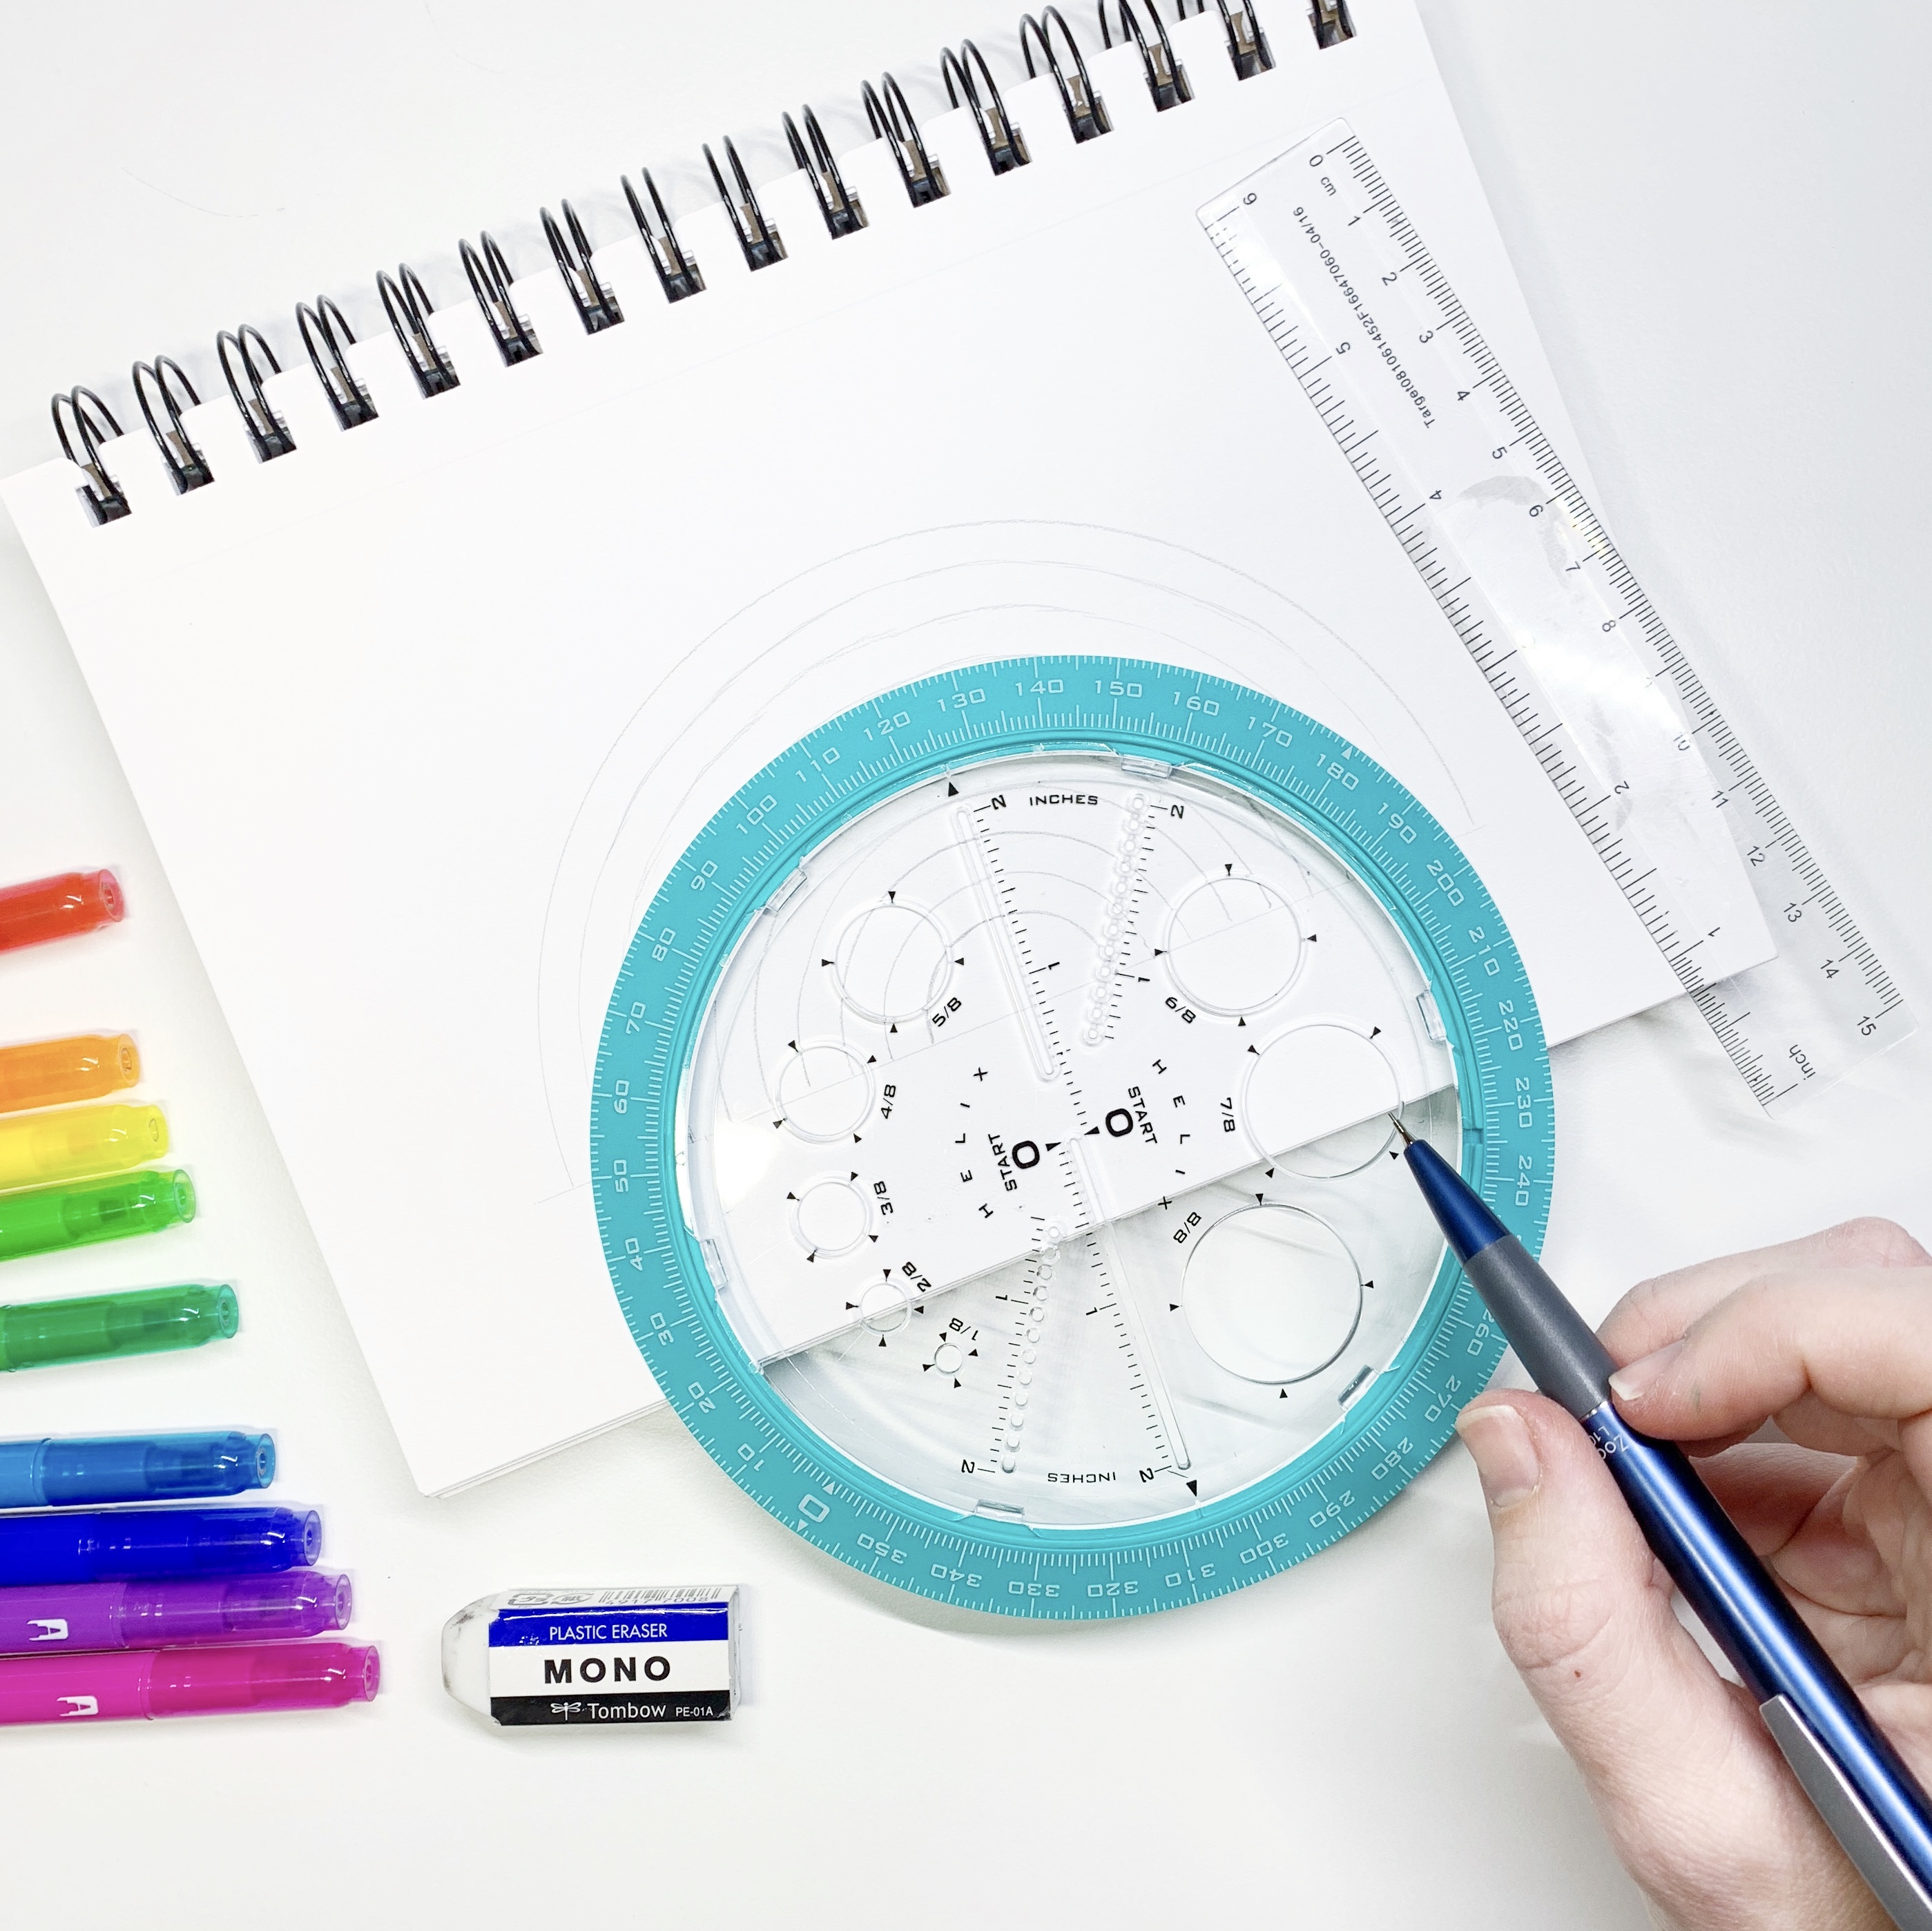
Step 1: Sketch your arcs
The first thing to do is lightly draw arcs for the rainbow using a Helix 360 Degree Angle and Circle Maker and a Tombow Mono Mechanical Pencil. This circle maker is so easy to use and it’s perfect for creating circles and arcs. For this project, I made ten half circles and then drew a line with my ruler at the bottom.
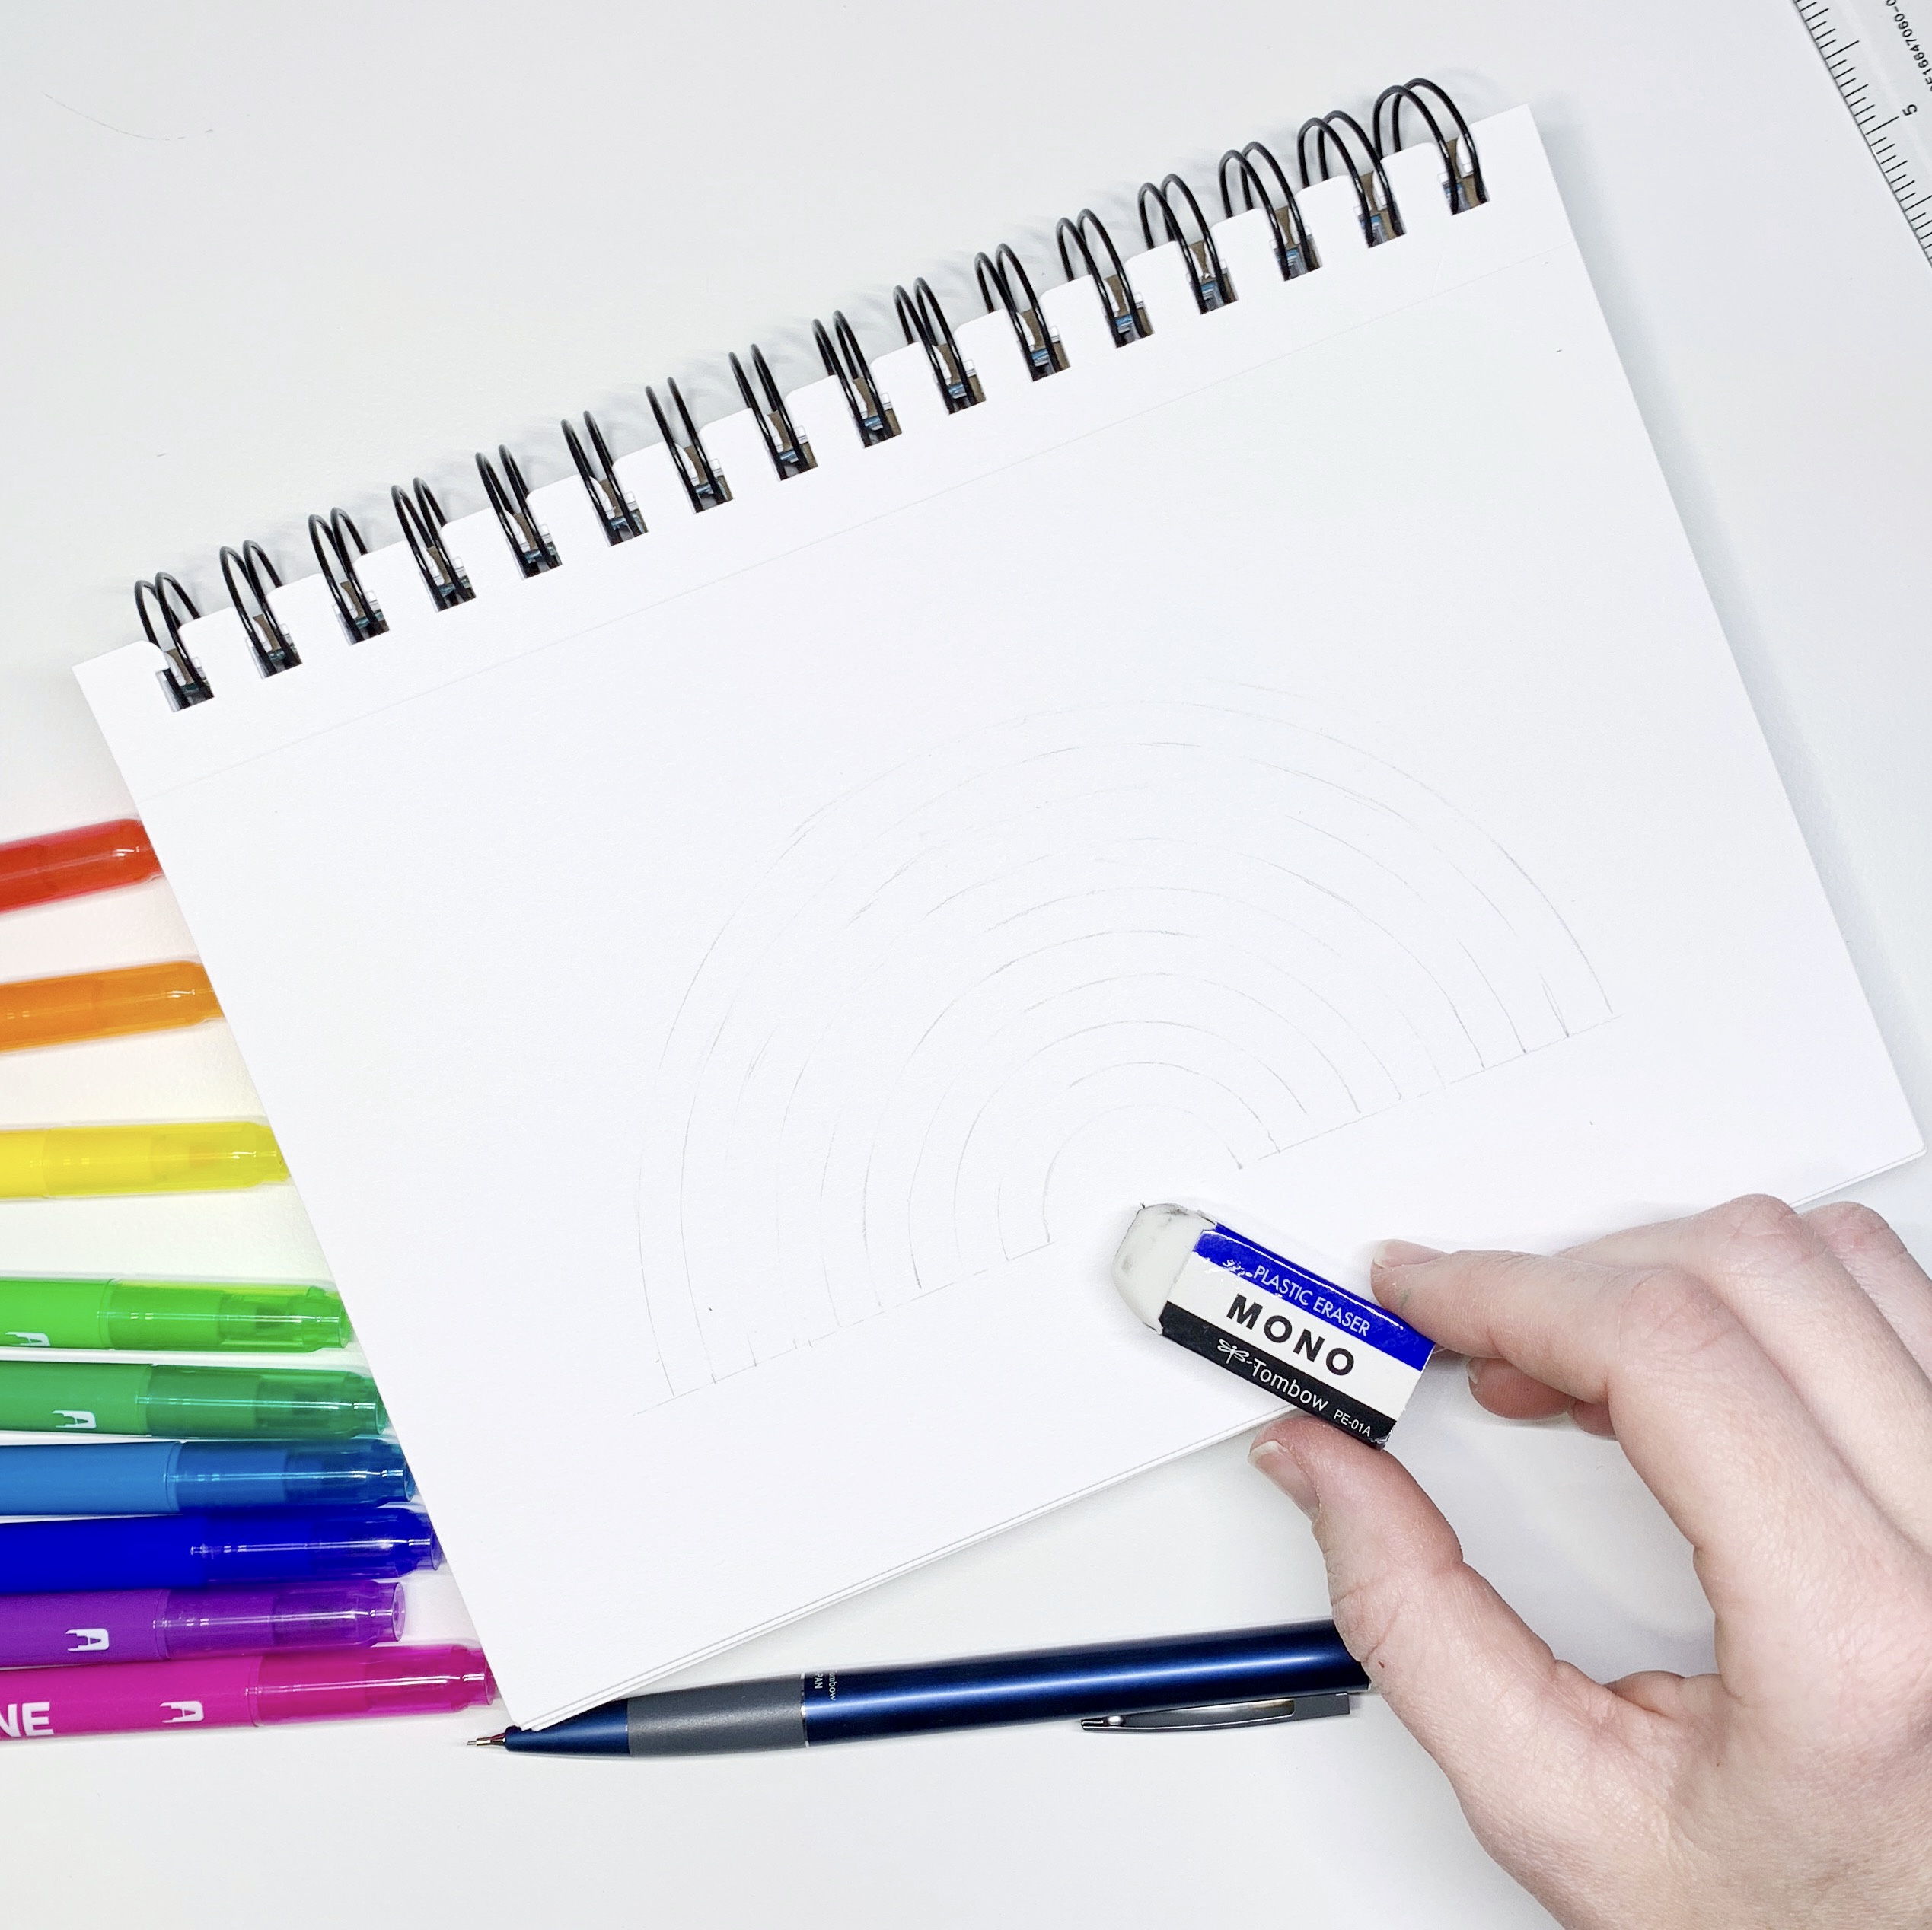
Step 2: Lightly erase lines
Next, use the Tombow MONO Eraser to lightly erase the pencil lines so you can just barely see them. This way, when you draw with markers on top it’ll be easier to erase the lines after!
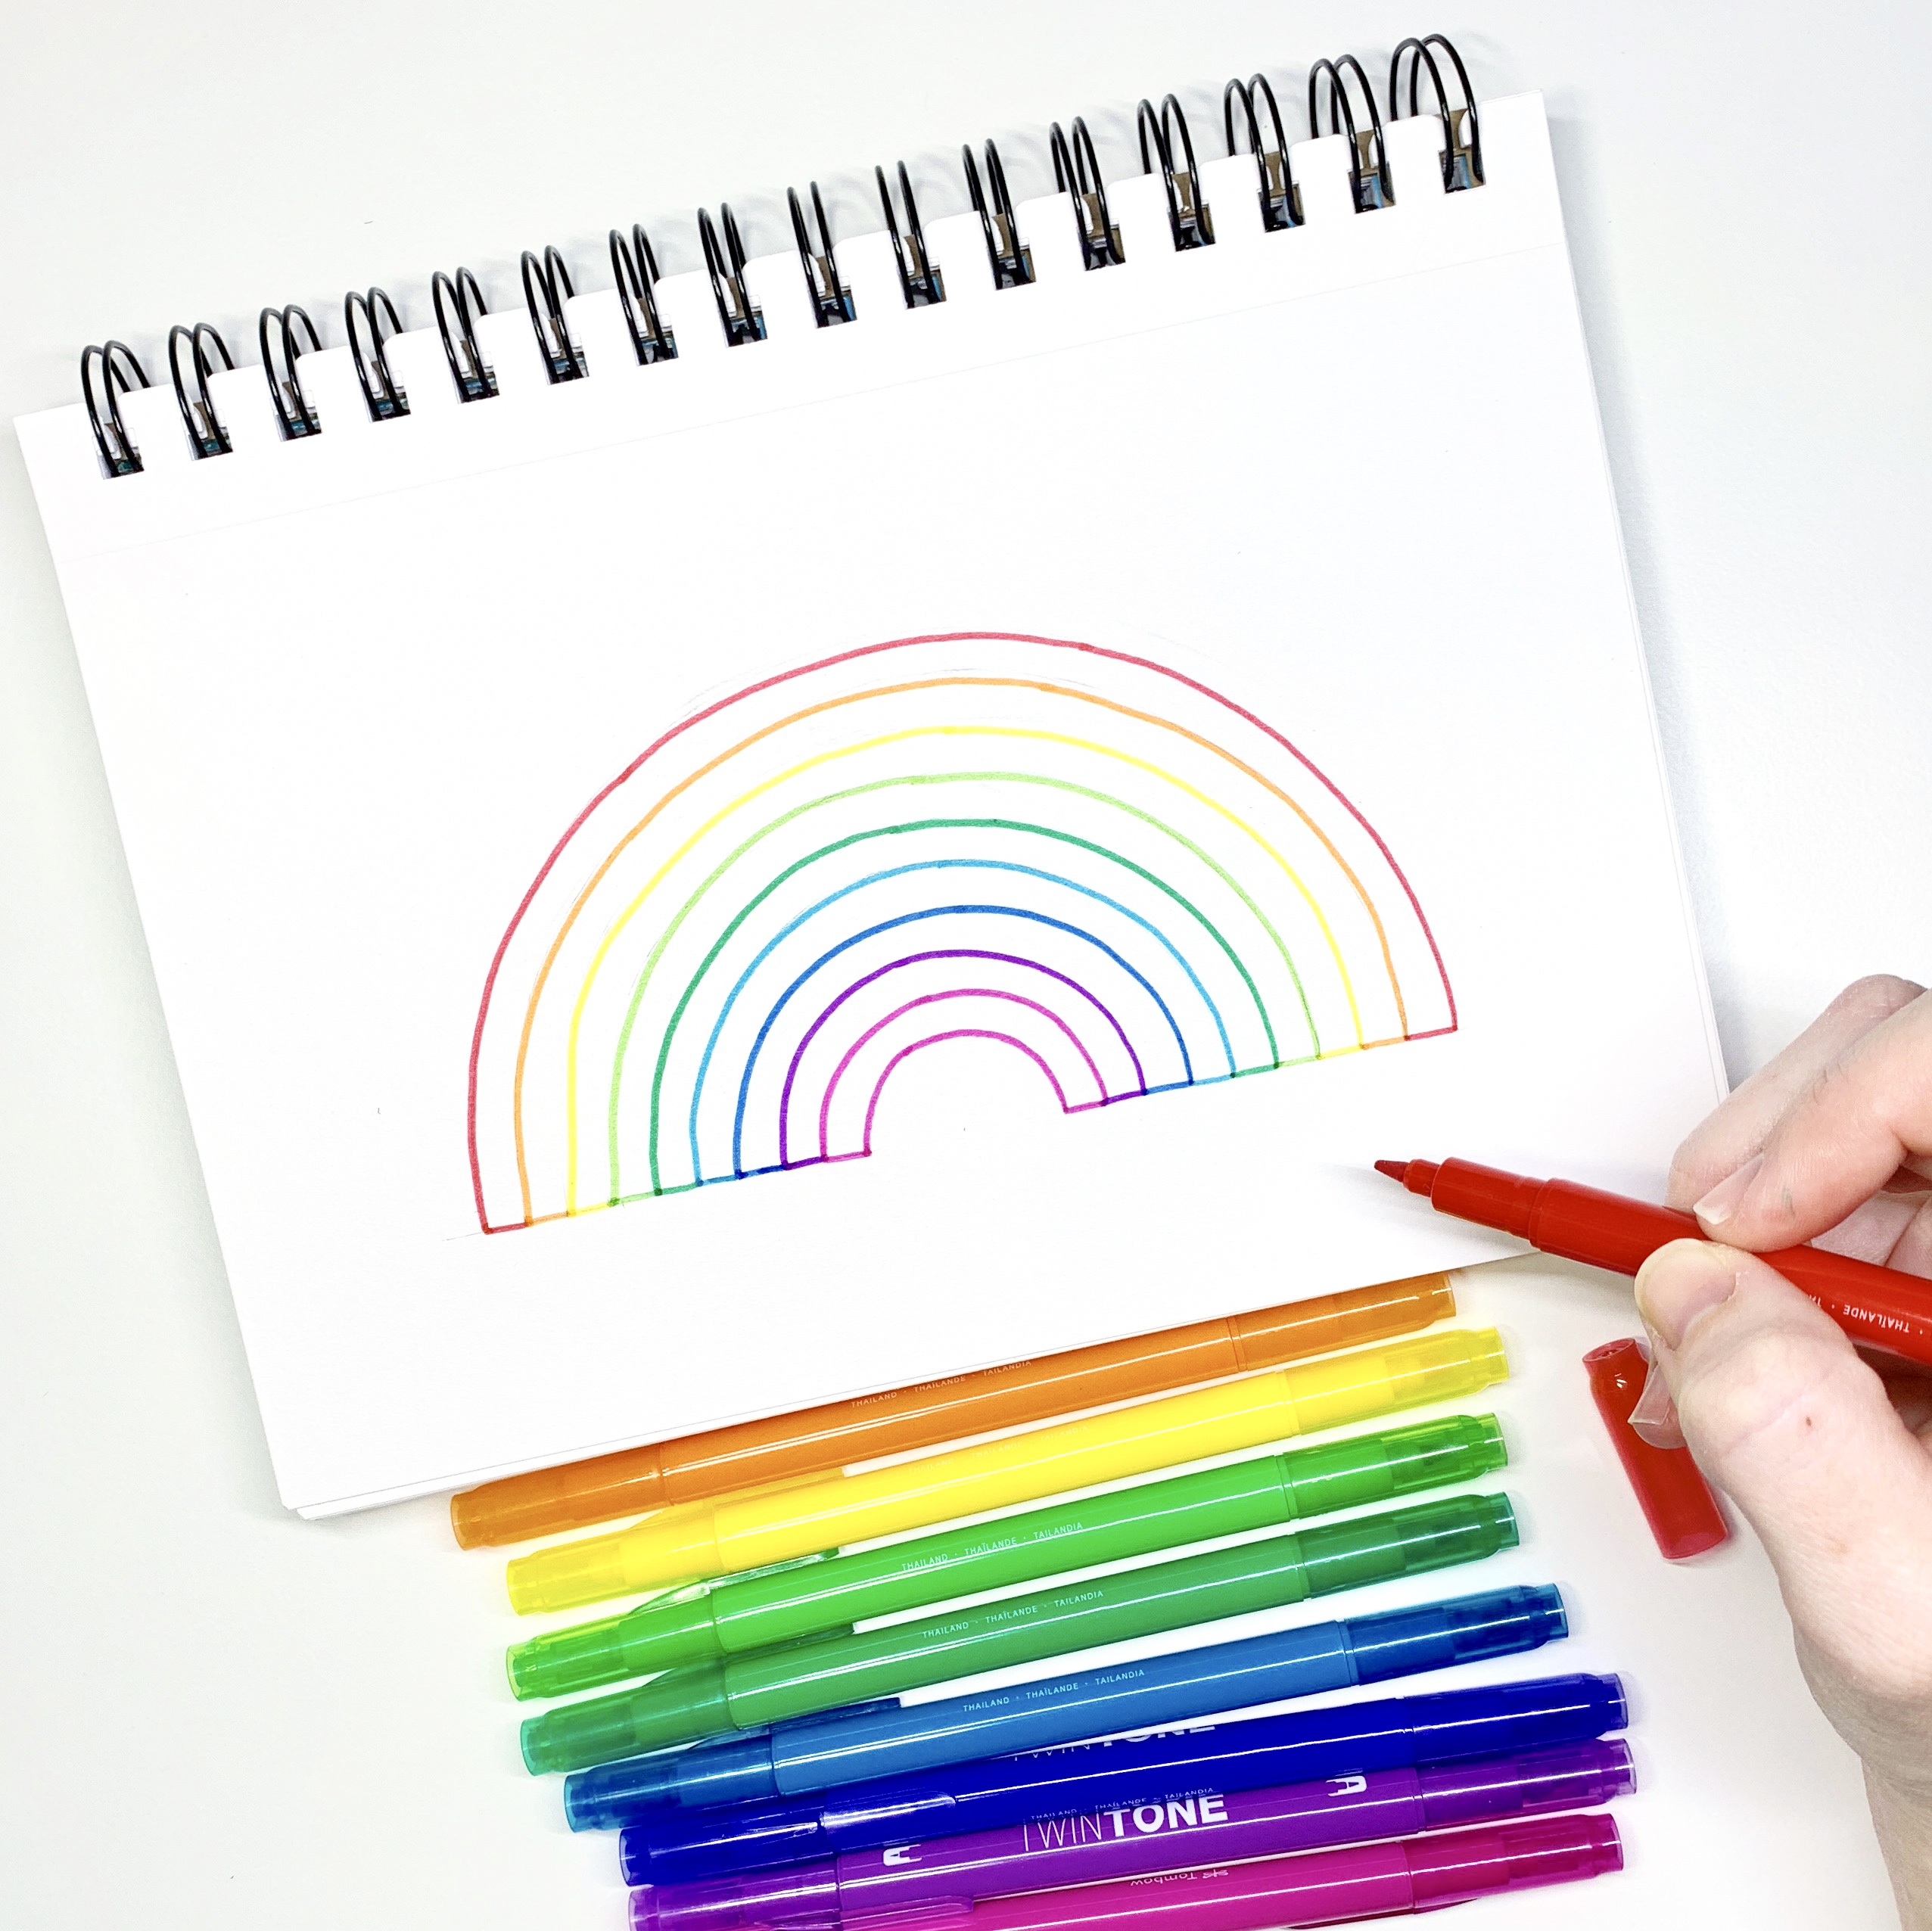
Step 3: Outline the arcs
Then I picked out the colors from the Tombow TwinTones Markers, Rainbow Pack that I wanted to use for this rainbow. I chose nine colors out of the palette and then used the larger tip to outline each arc.
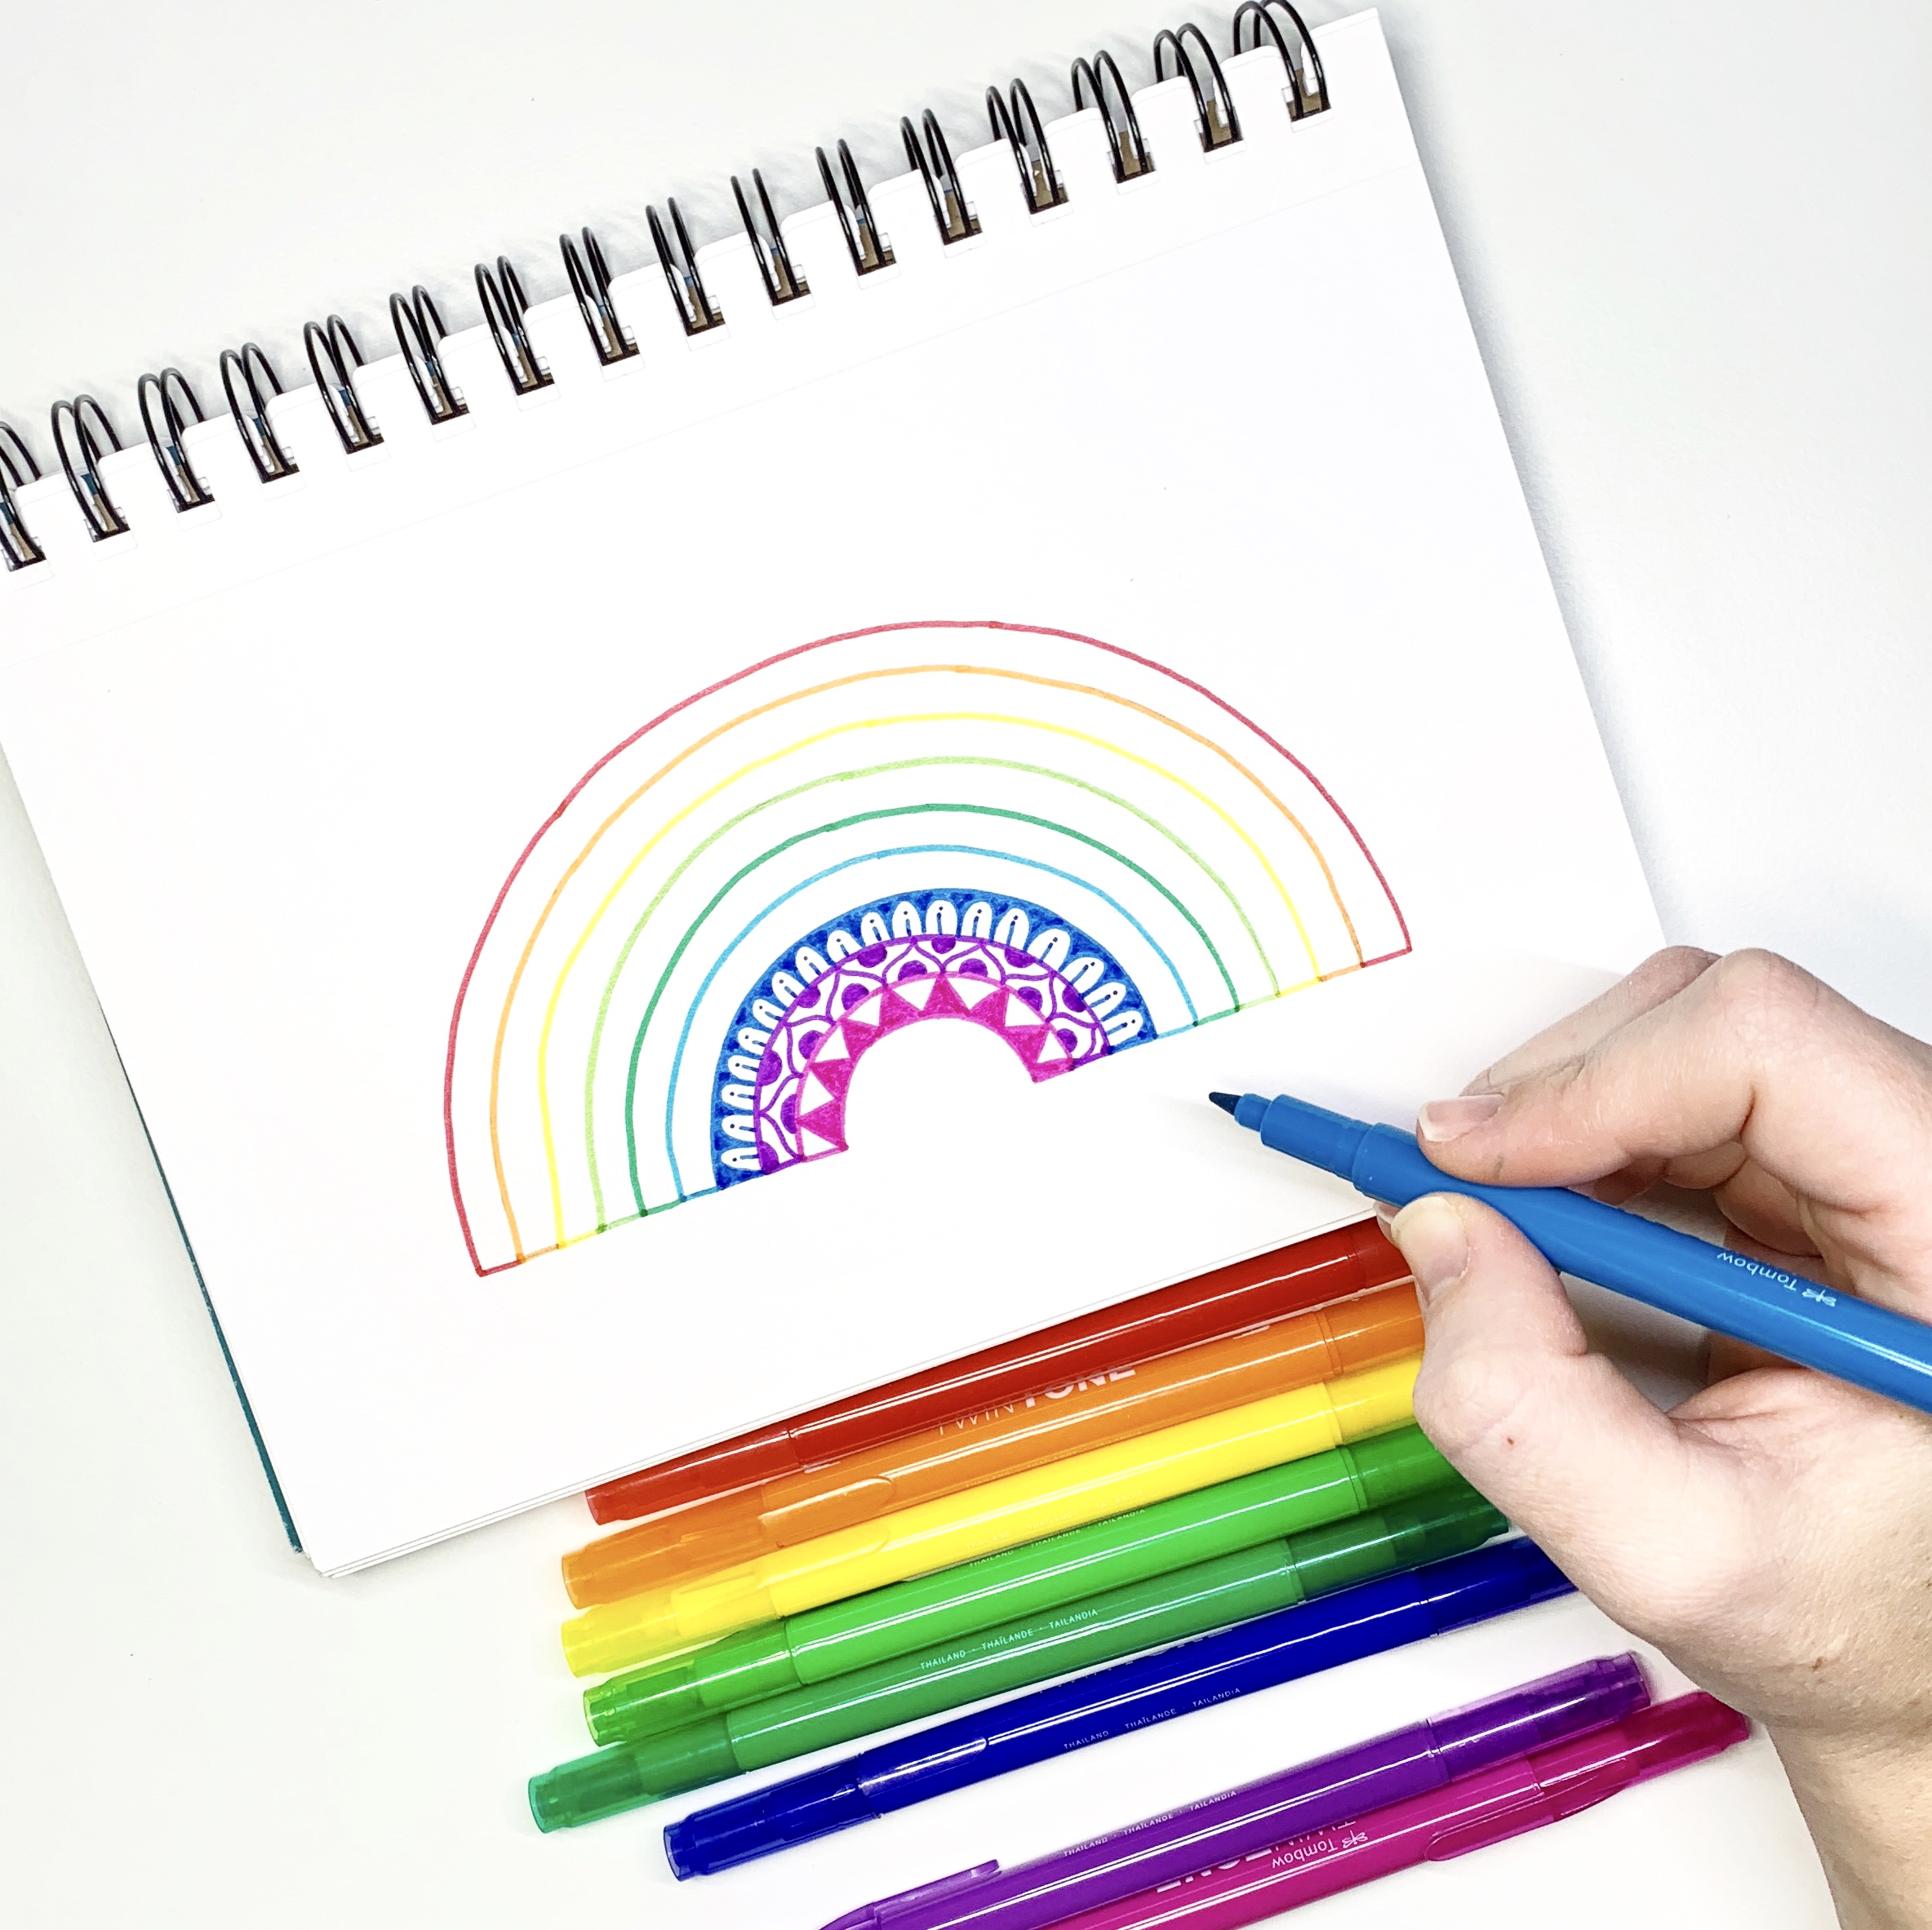
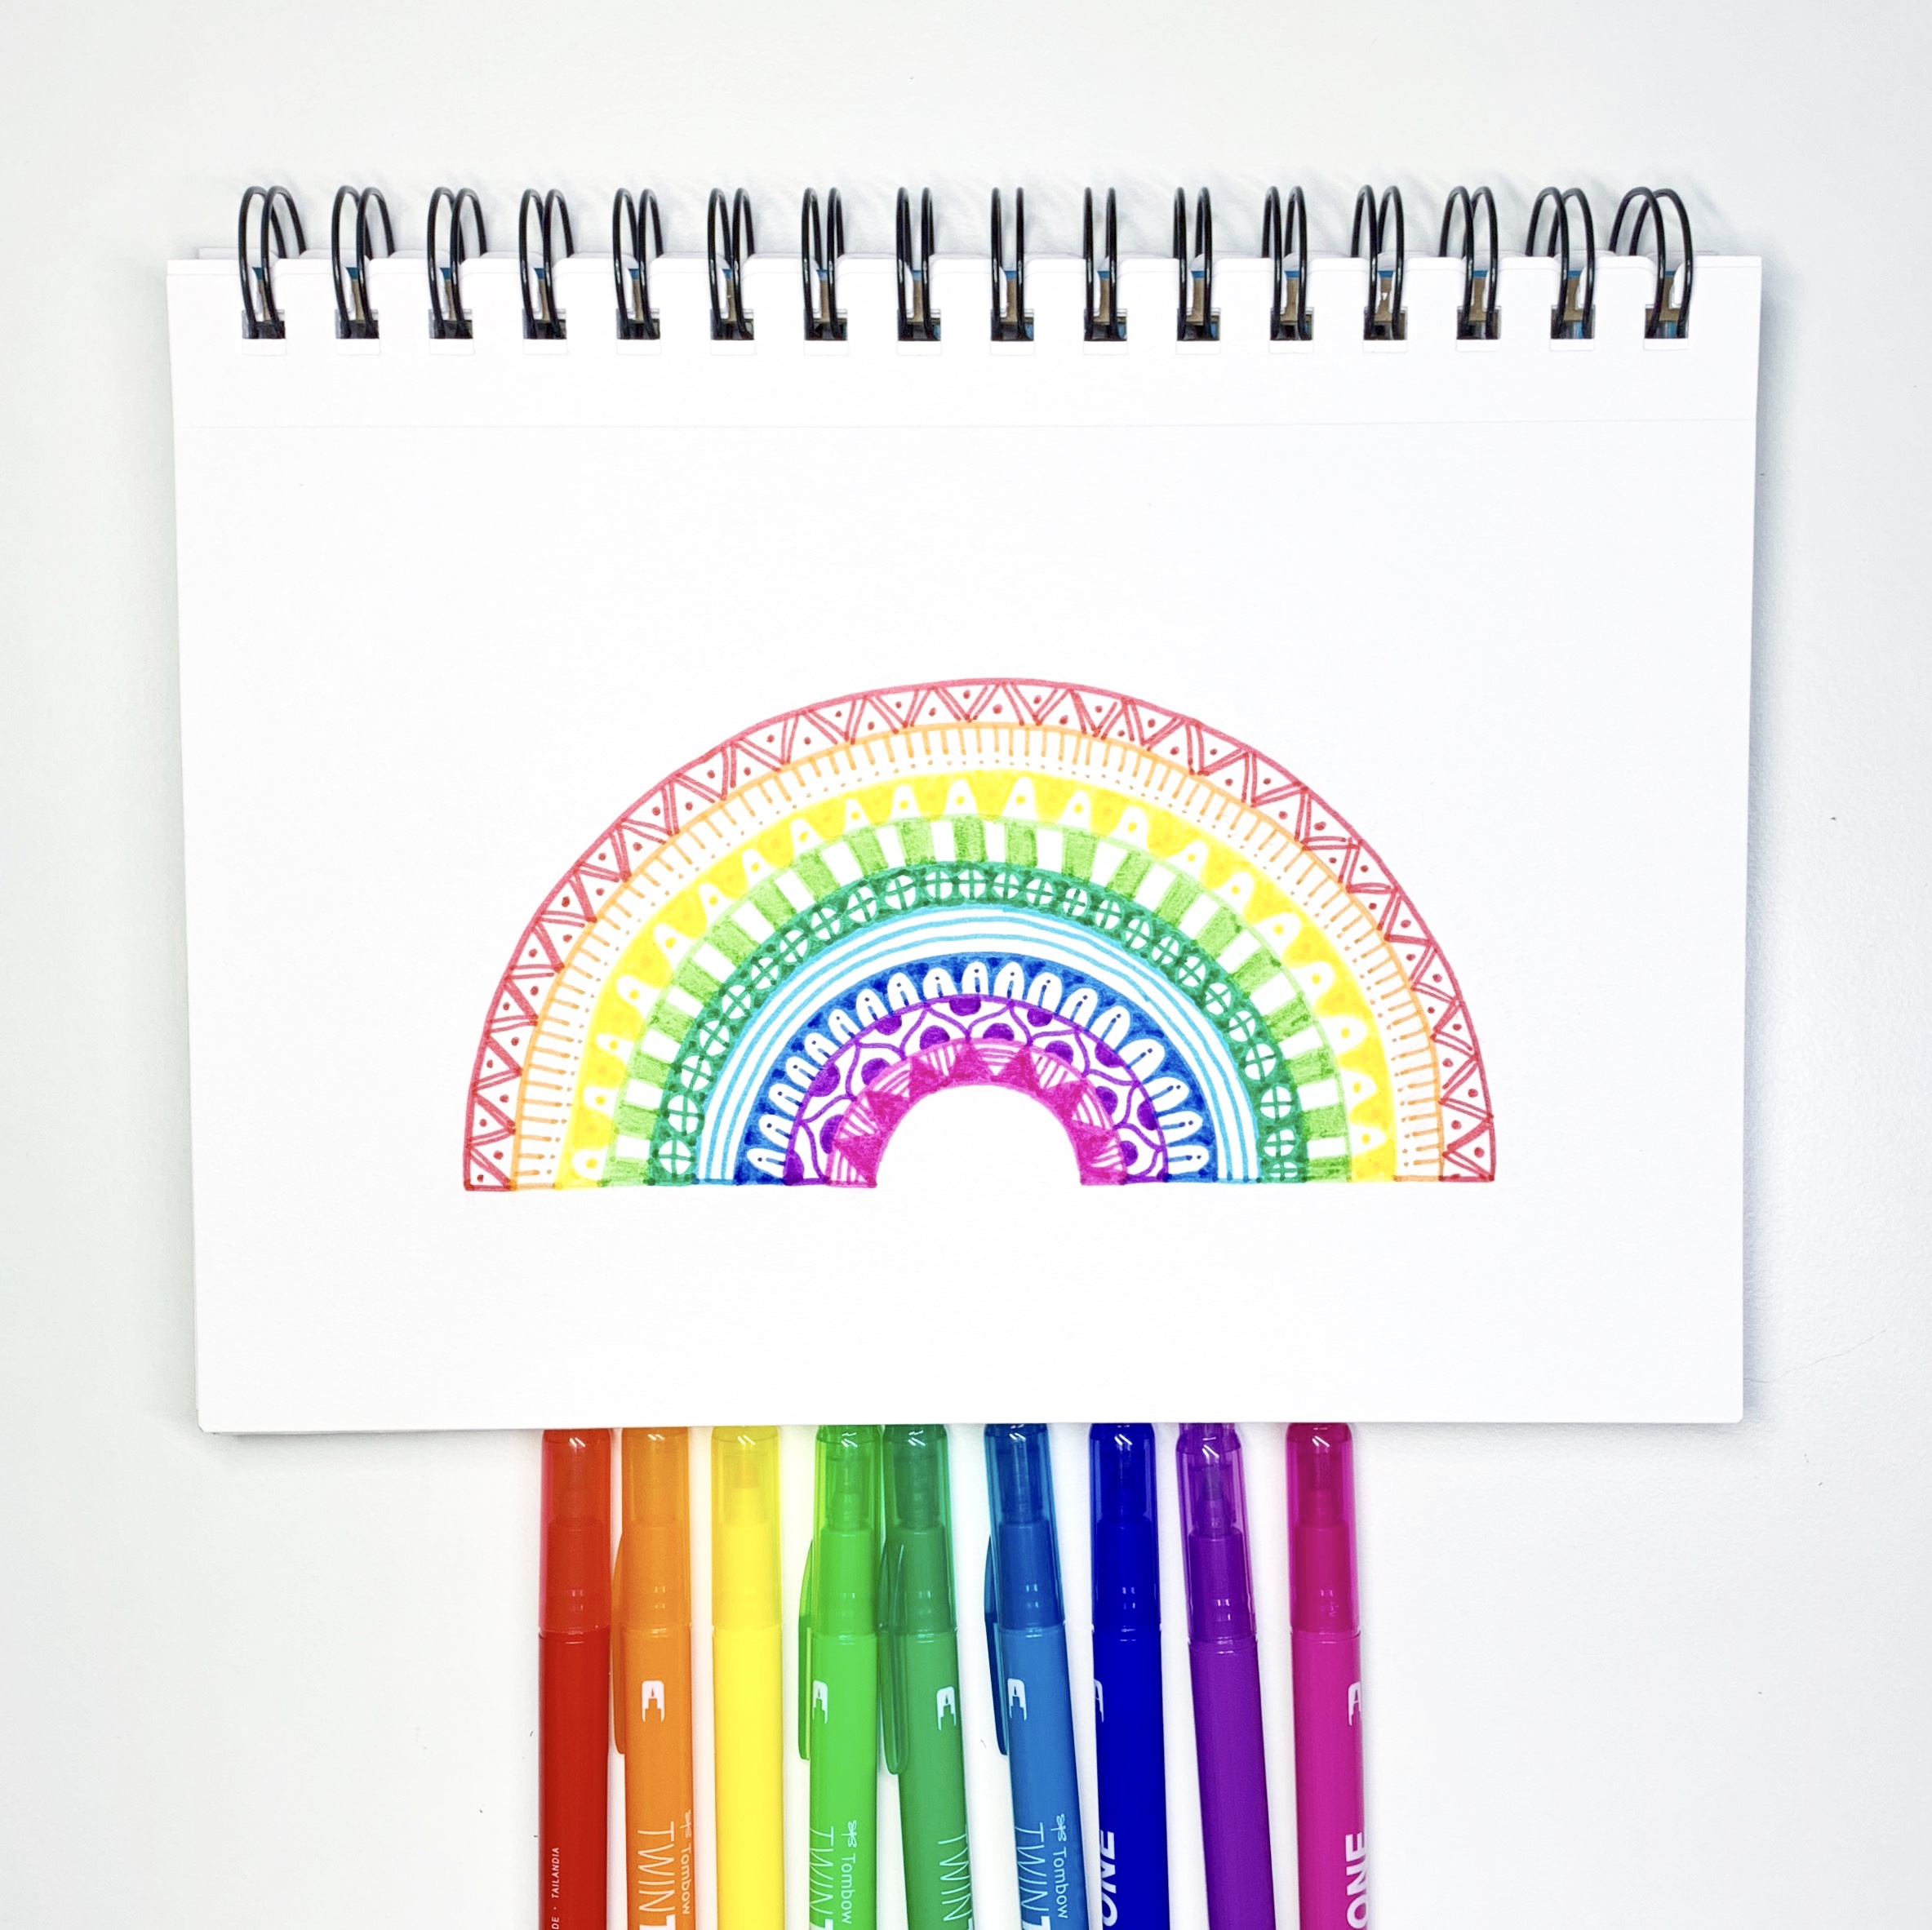
Step 4: Draw in details
Now comes the fun part, drawing in the designs inside each arc using the Tombow TwinTone Markers! It’s fun to create a different design within each arc! The TwinTone Markers are great to use because they have two different tip sizes, one for coloring and another for smaller detail work.
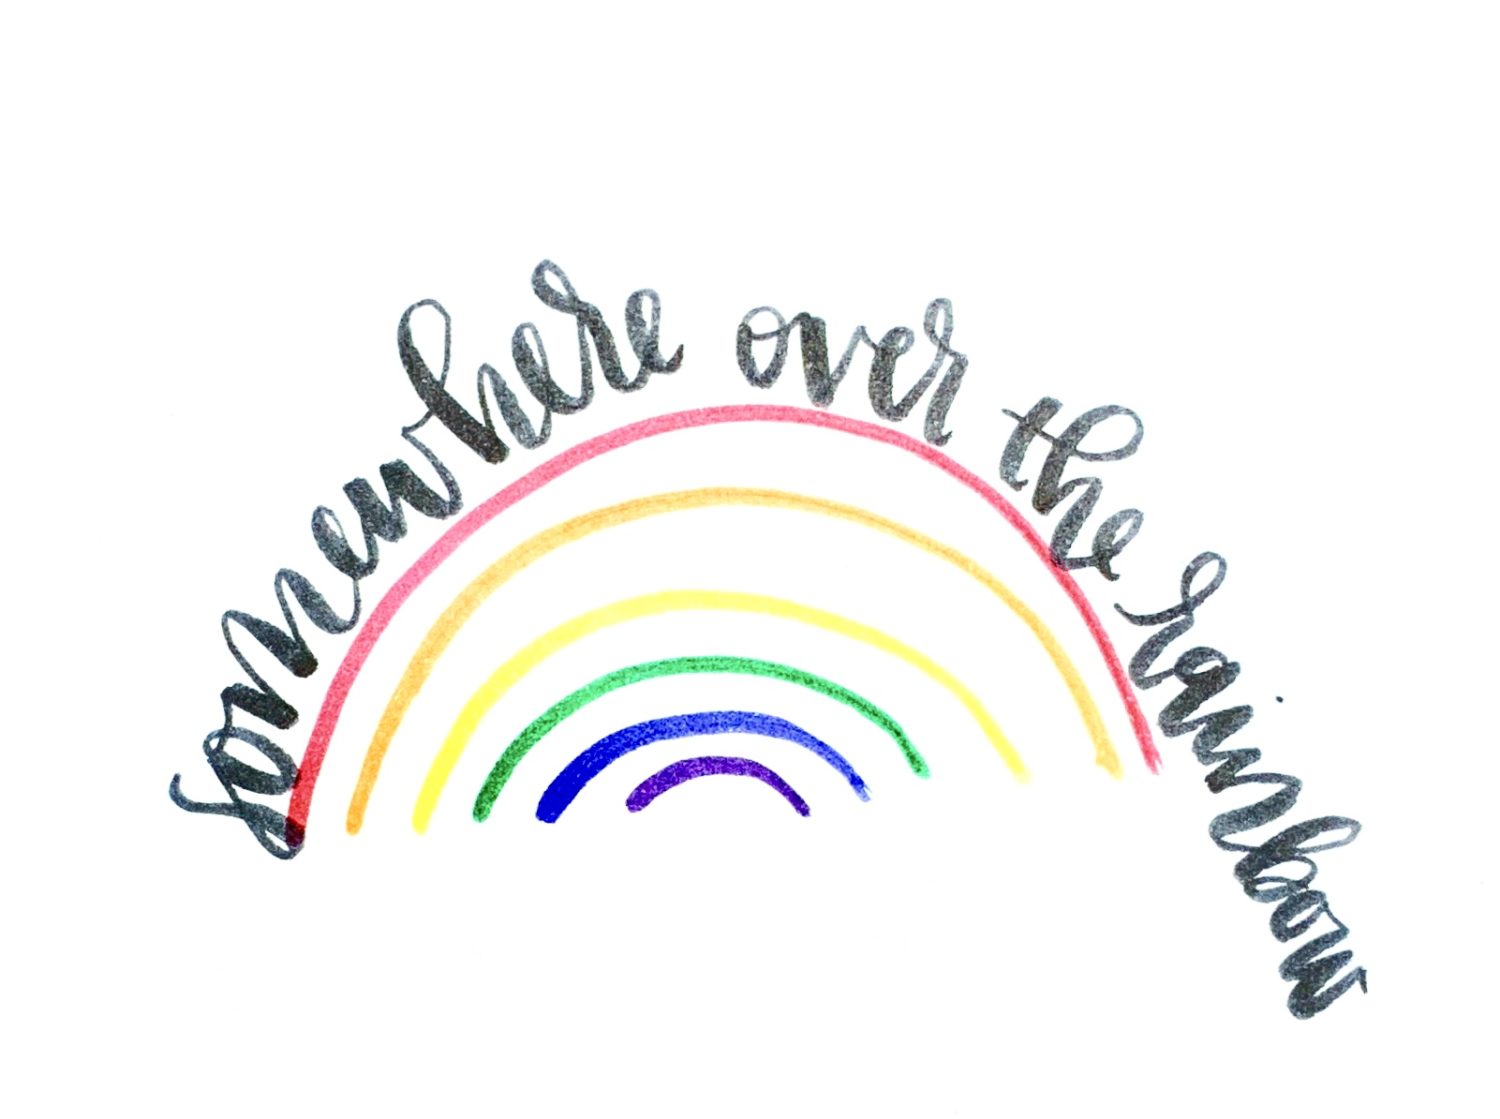
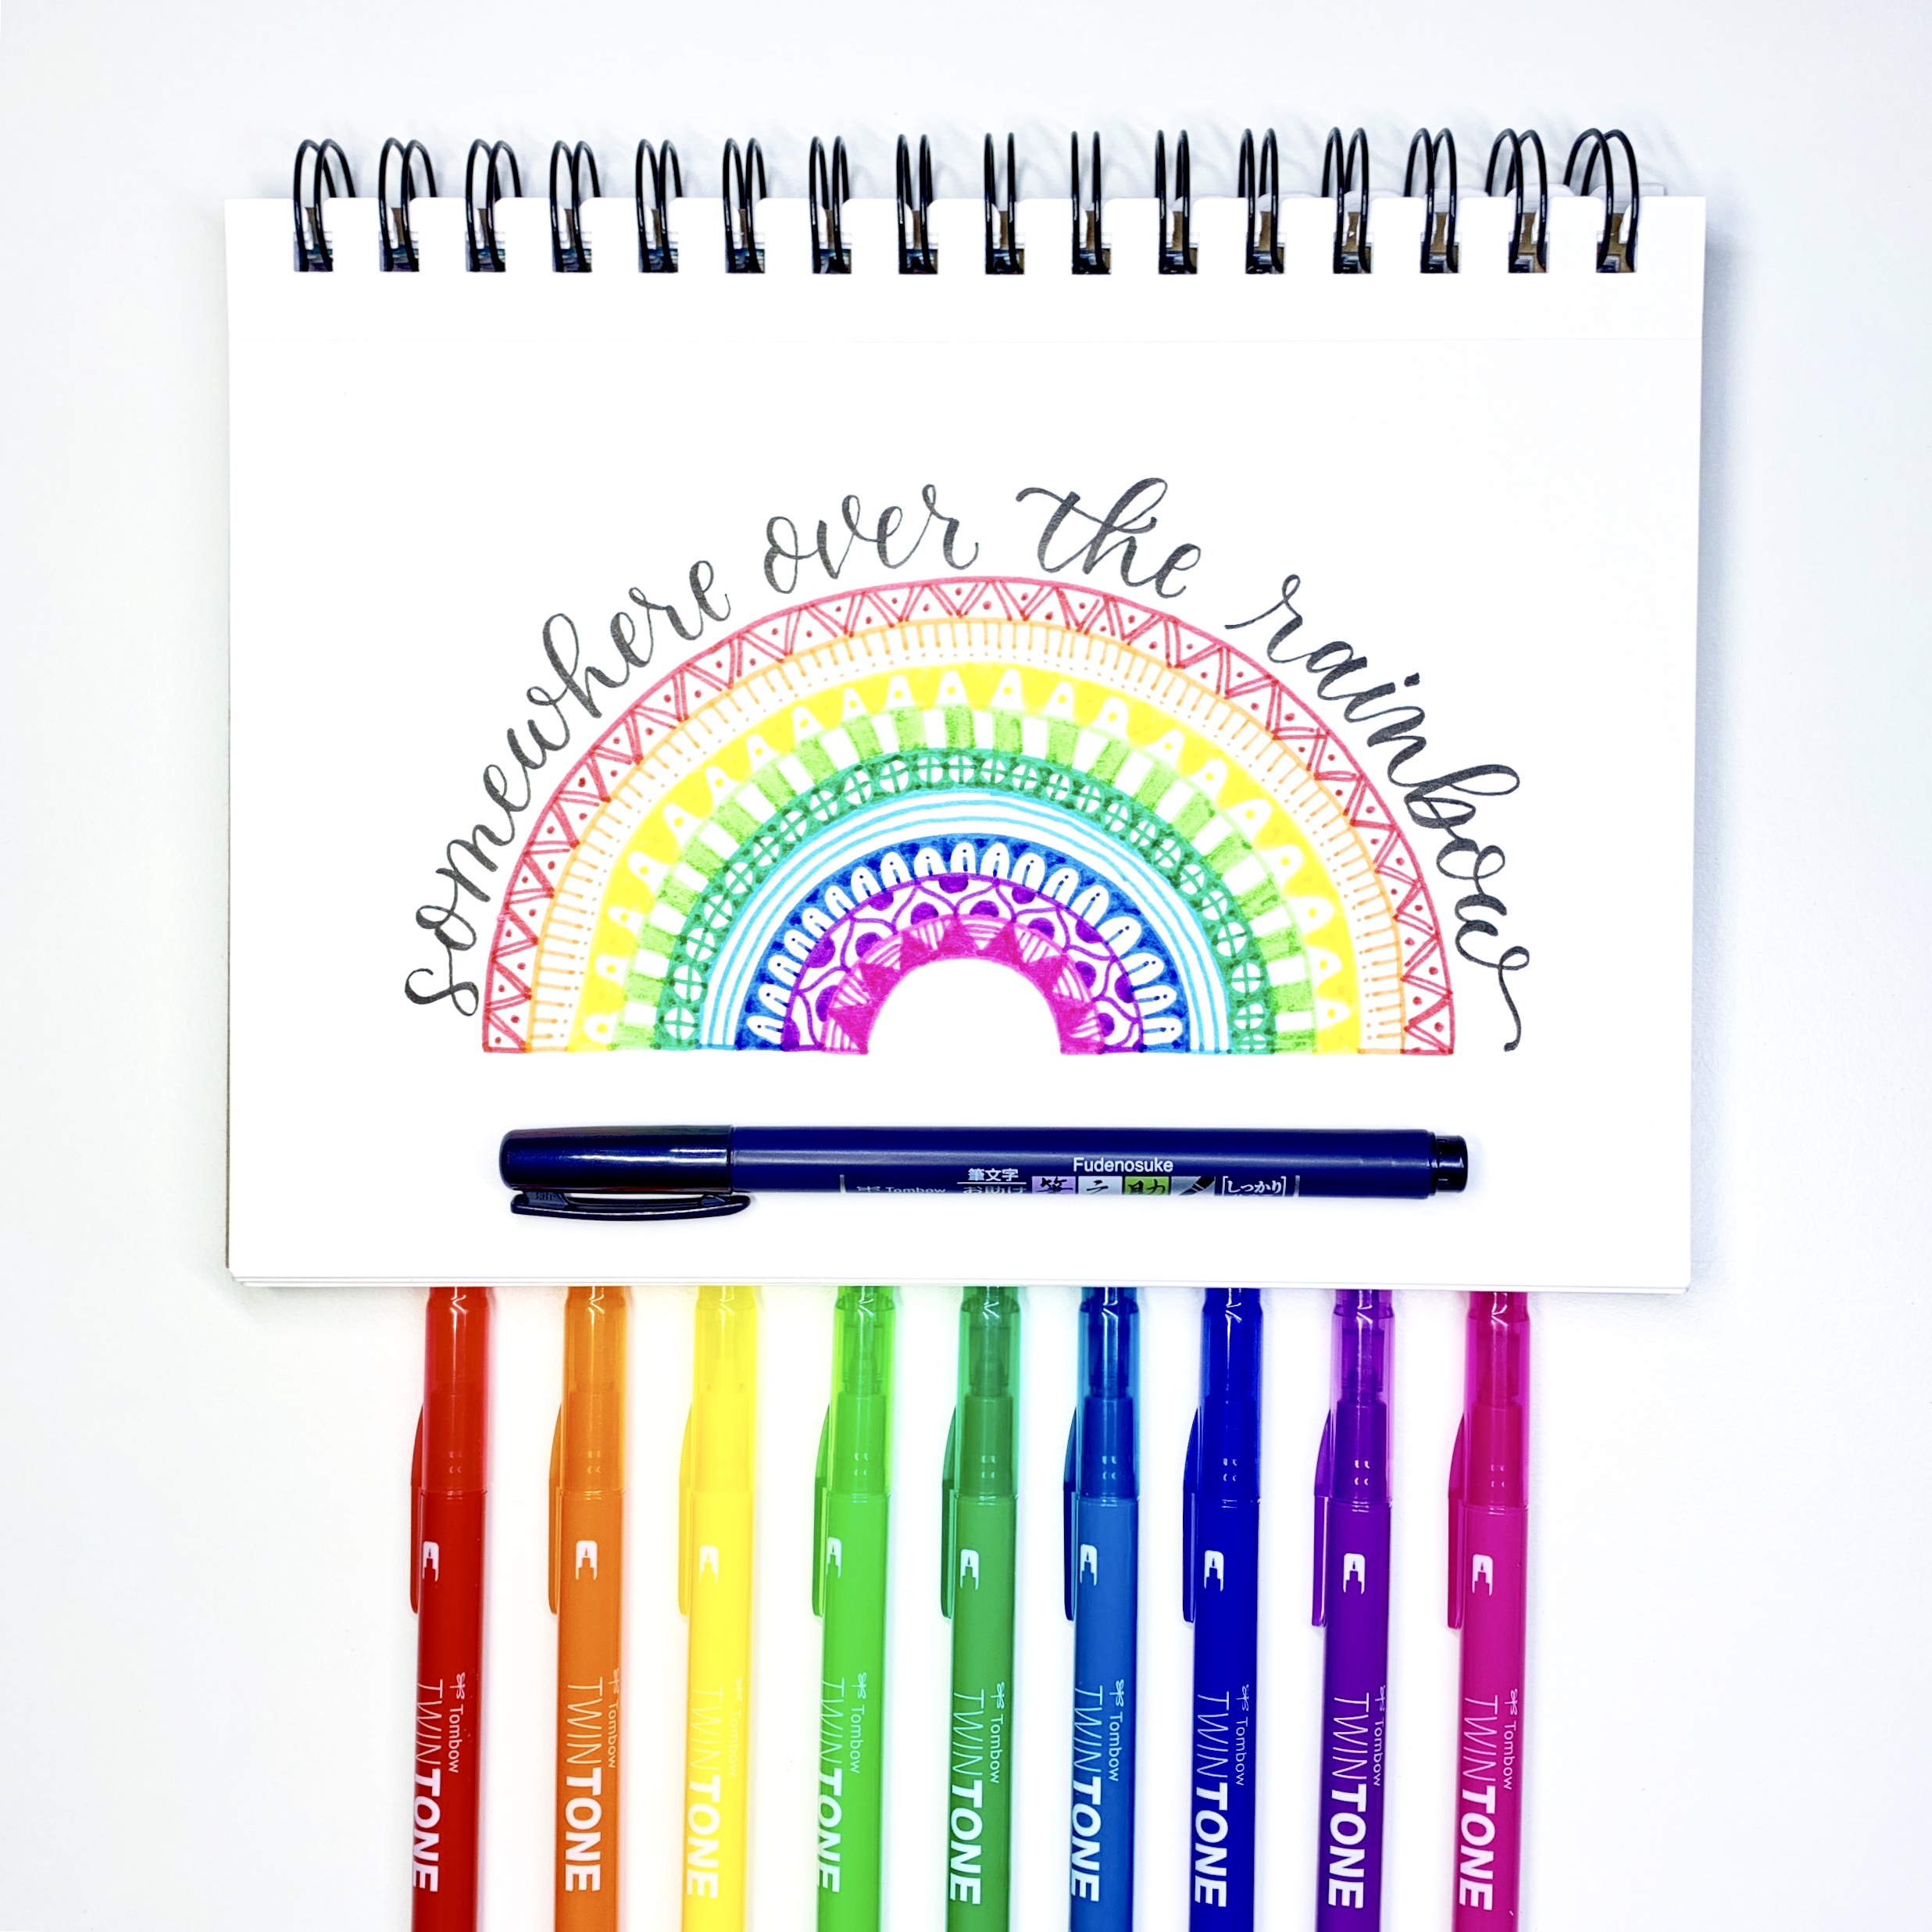
Step 5: Write in quote
The last thing to do is letter in your quote above the rainbow arc with the Tombow Fudenosuke Brush Pen Hard Tip. I wrote out the quote “somewhere over the rainbow” across the top arc of my rainbow. If you need to sketch it out in pencil first, do it!
Look at that progress! It just goes to show that with consistent practice you will see progress in your craft! Always remember to keep your past projects, so you can look back and see how much you have grown! Make sure you follow @studio80design for more rainbow inspiration!
I hope you found this tutorial helpful! For more rainbow fun, make sure you check out these projects!
- Rainbow Pebbles Planner Page
- Rainbow Letters Using Irojiten Colored Pencils
- 3 Rainbow Inspired Lettering Projects
Pingback: Create a Floral Swatch Pattern for Tombow's TwinTone Markers - Tombow USA Blog