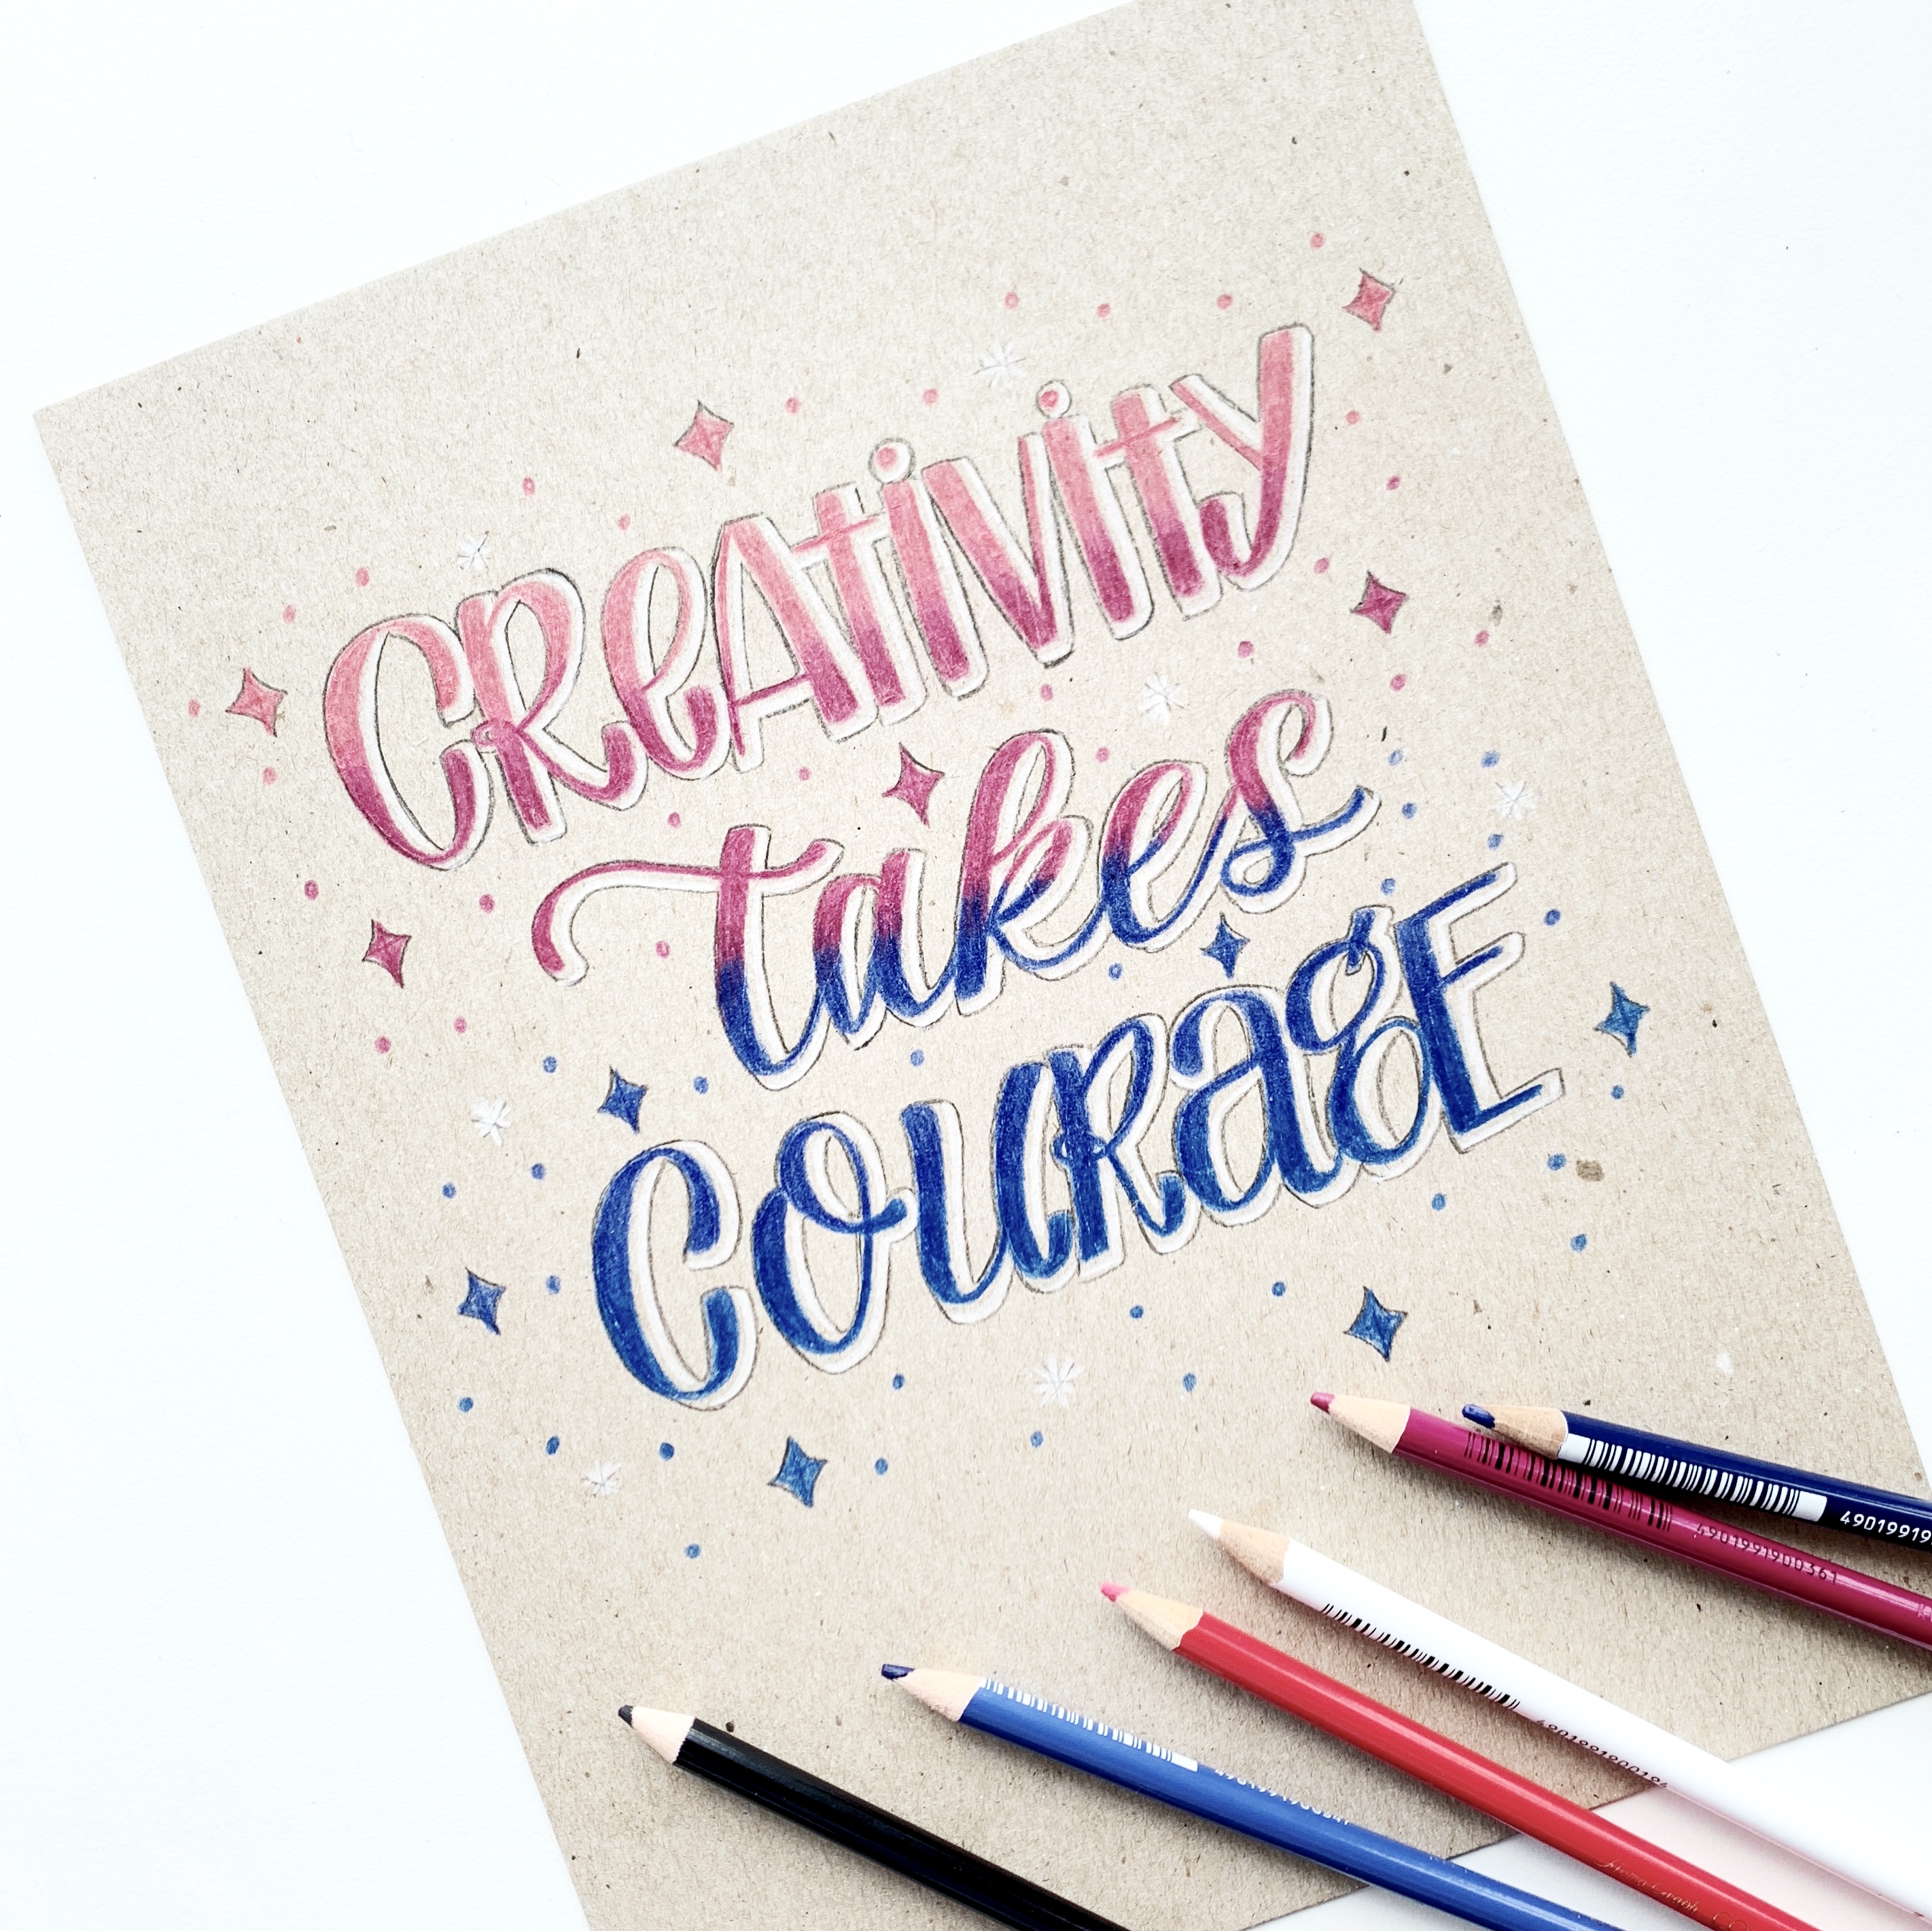
Hello Tombow friends! Adrienne from Studio 80 Design here to show you how you can create blended lettering with colored pencils! One of my favorite quotes is “creativity takes courage” by Henri Matisse. So, I’ll be lettering that quote today to celebrate World Art Day!
Materials you’ll need:
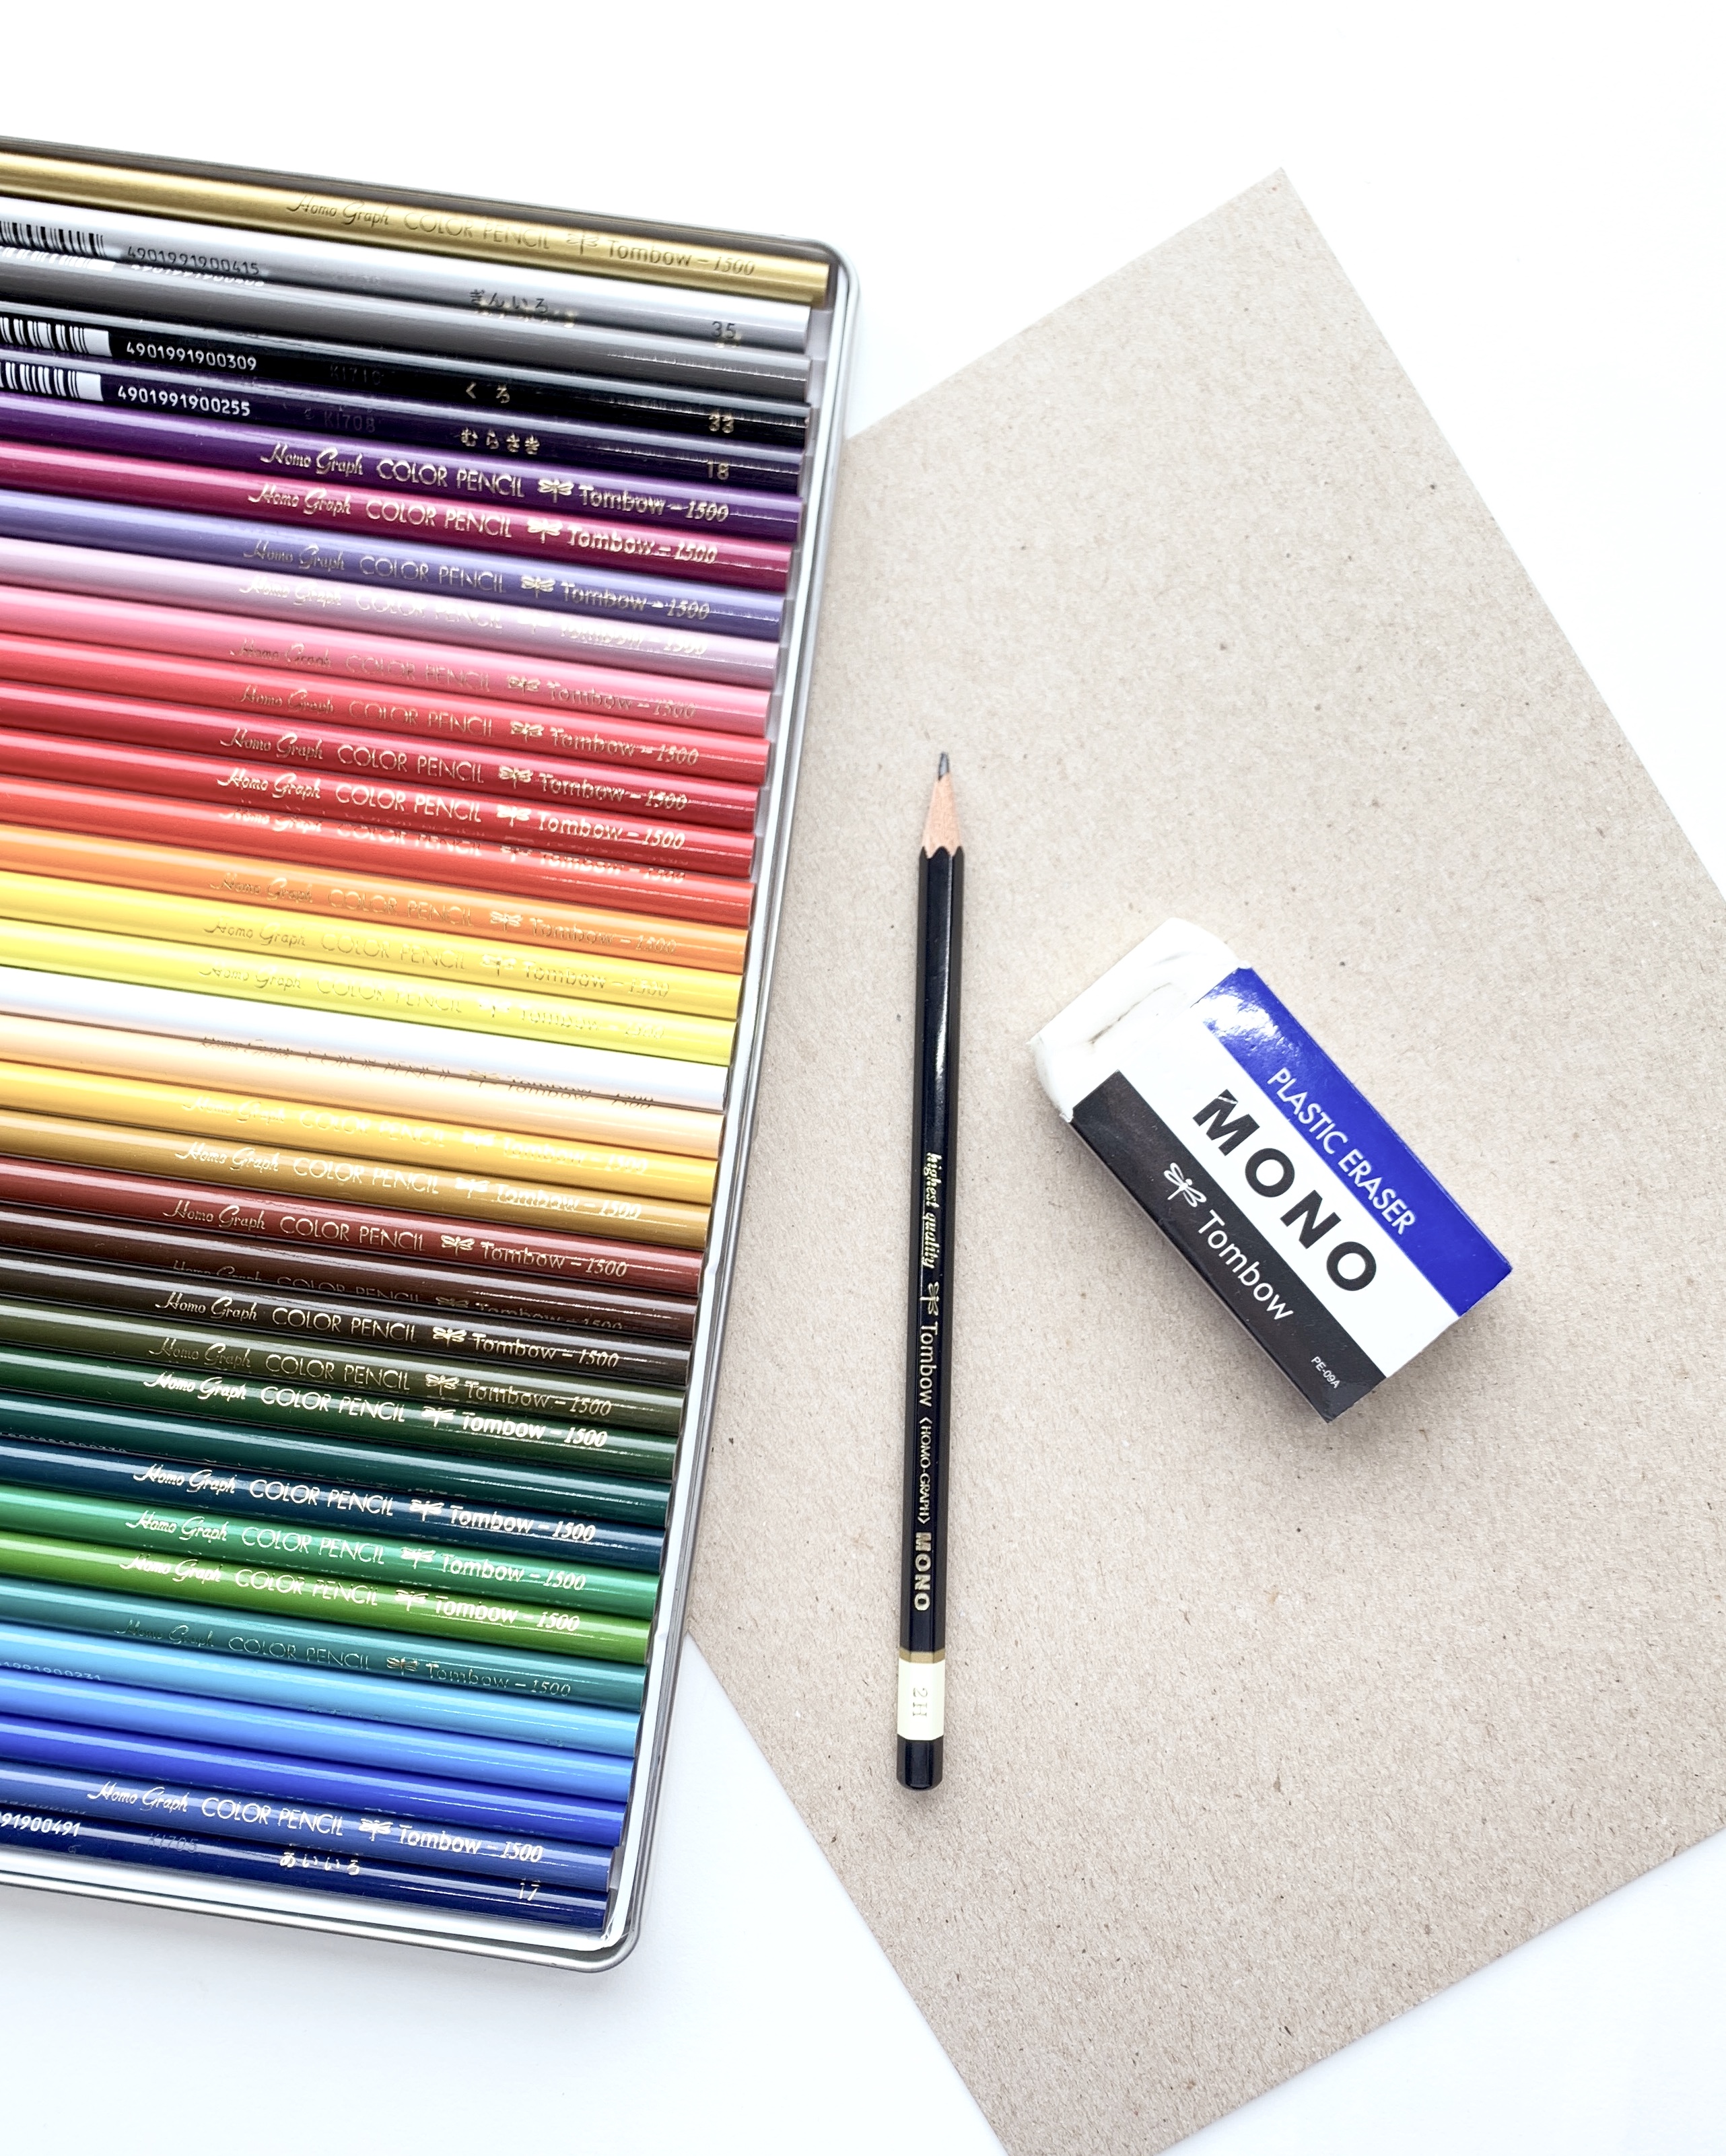
- Brown paper
- Tombow 1500 Series Colored Pencil, 36 pc Set
- Tombow MONO Drawing Pencil, 2H
- Tombow MONO Eraser
- Ruler
Step 1
The first thing to do is draw guidelines with your MONO Drawing 2H Pencil and your ruler. The 2H pencil is great for initial sketching because it will give you faint lines, so there will be minimal erasing afterwards! I drew three lines in the center of my paper, one for each word of “creativity takes courage”.

Step 2
Next, pick out your colored pencils you want to use from the Tombow 1500 Series Colored Pencil Set to create your blended lettering. I love this palette because the colors are so bright and vibrant and they blend together so well! Since I have three lines, I’ll need four colors for this blend. As a tip, just add one to the number of lines you have and that’s how many different colors you’ll need to do this blend!
Put them in the order you’ll want to use them. I put them in order from light to dark. Take your first colored pencil and use it to draw in the top half of the letters on the first line. In my case it’s “creativity”. If you’re having a hard time with spacing, a tip is to sketch in your letter using something with a hard tip so it leaves an imprint. A great tool is a mechanical pencil with no lead. Use it to lightly draw in the letters, so it leaves a groove in your paper. It will be faint, however you’ll have a better idea of where all the letters go!
Then use colored pencil #2 to draw in the bottom half of the letters on that first line.

Step 3
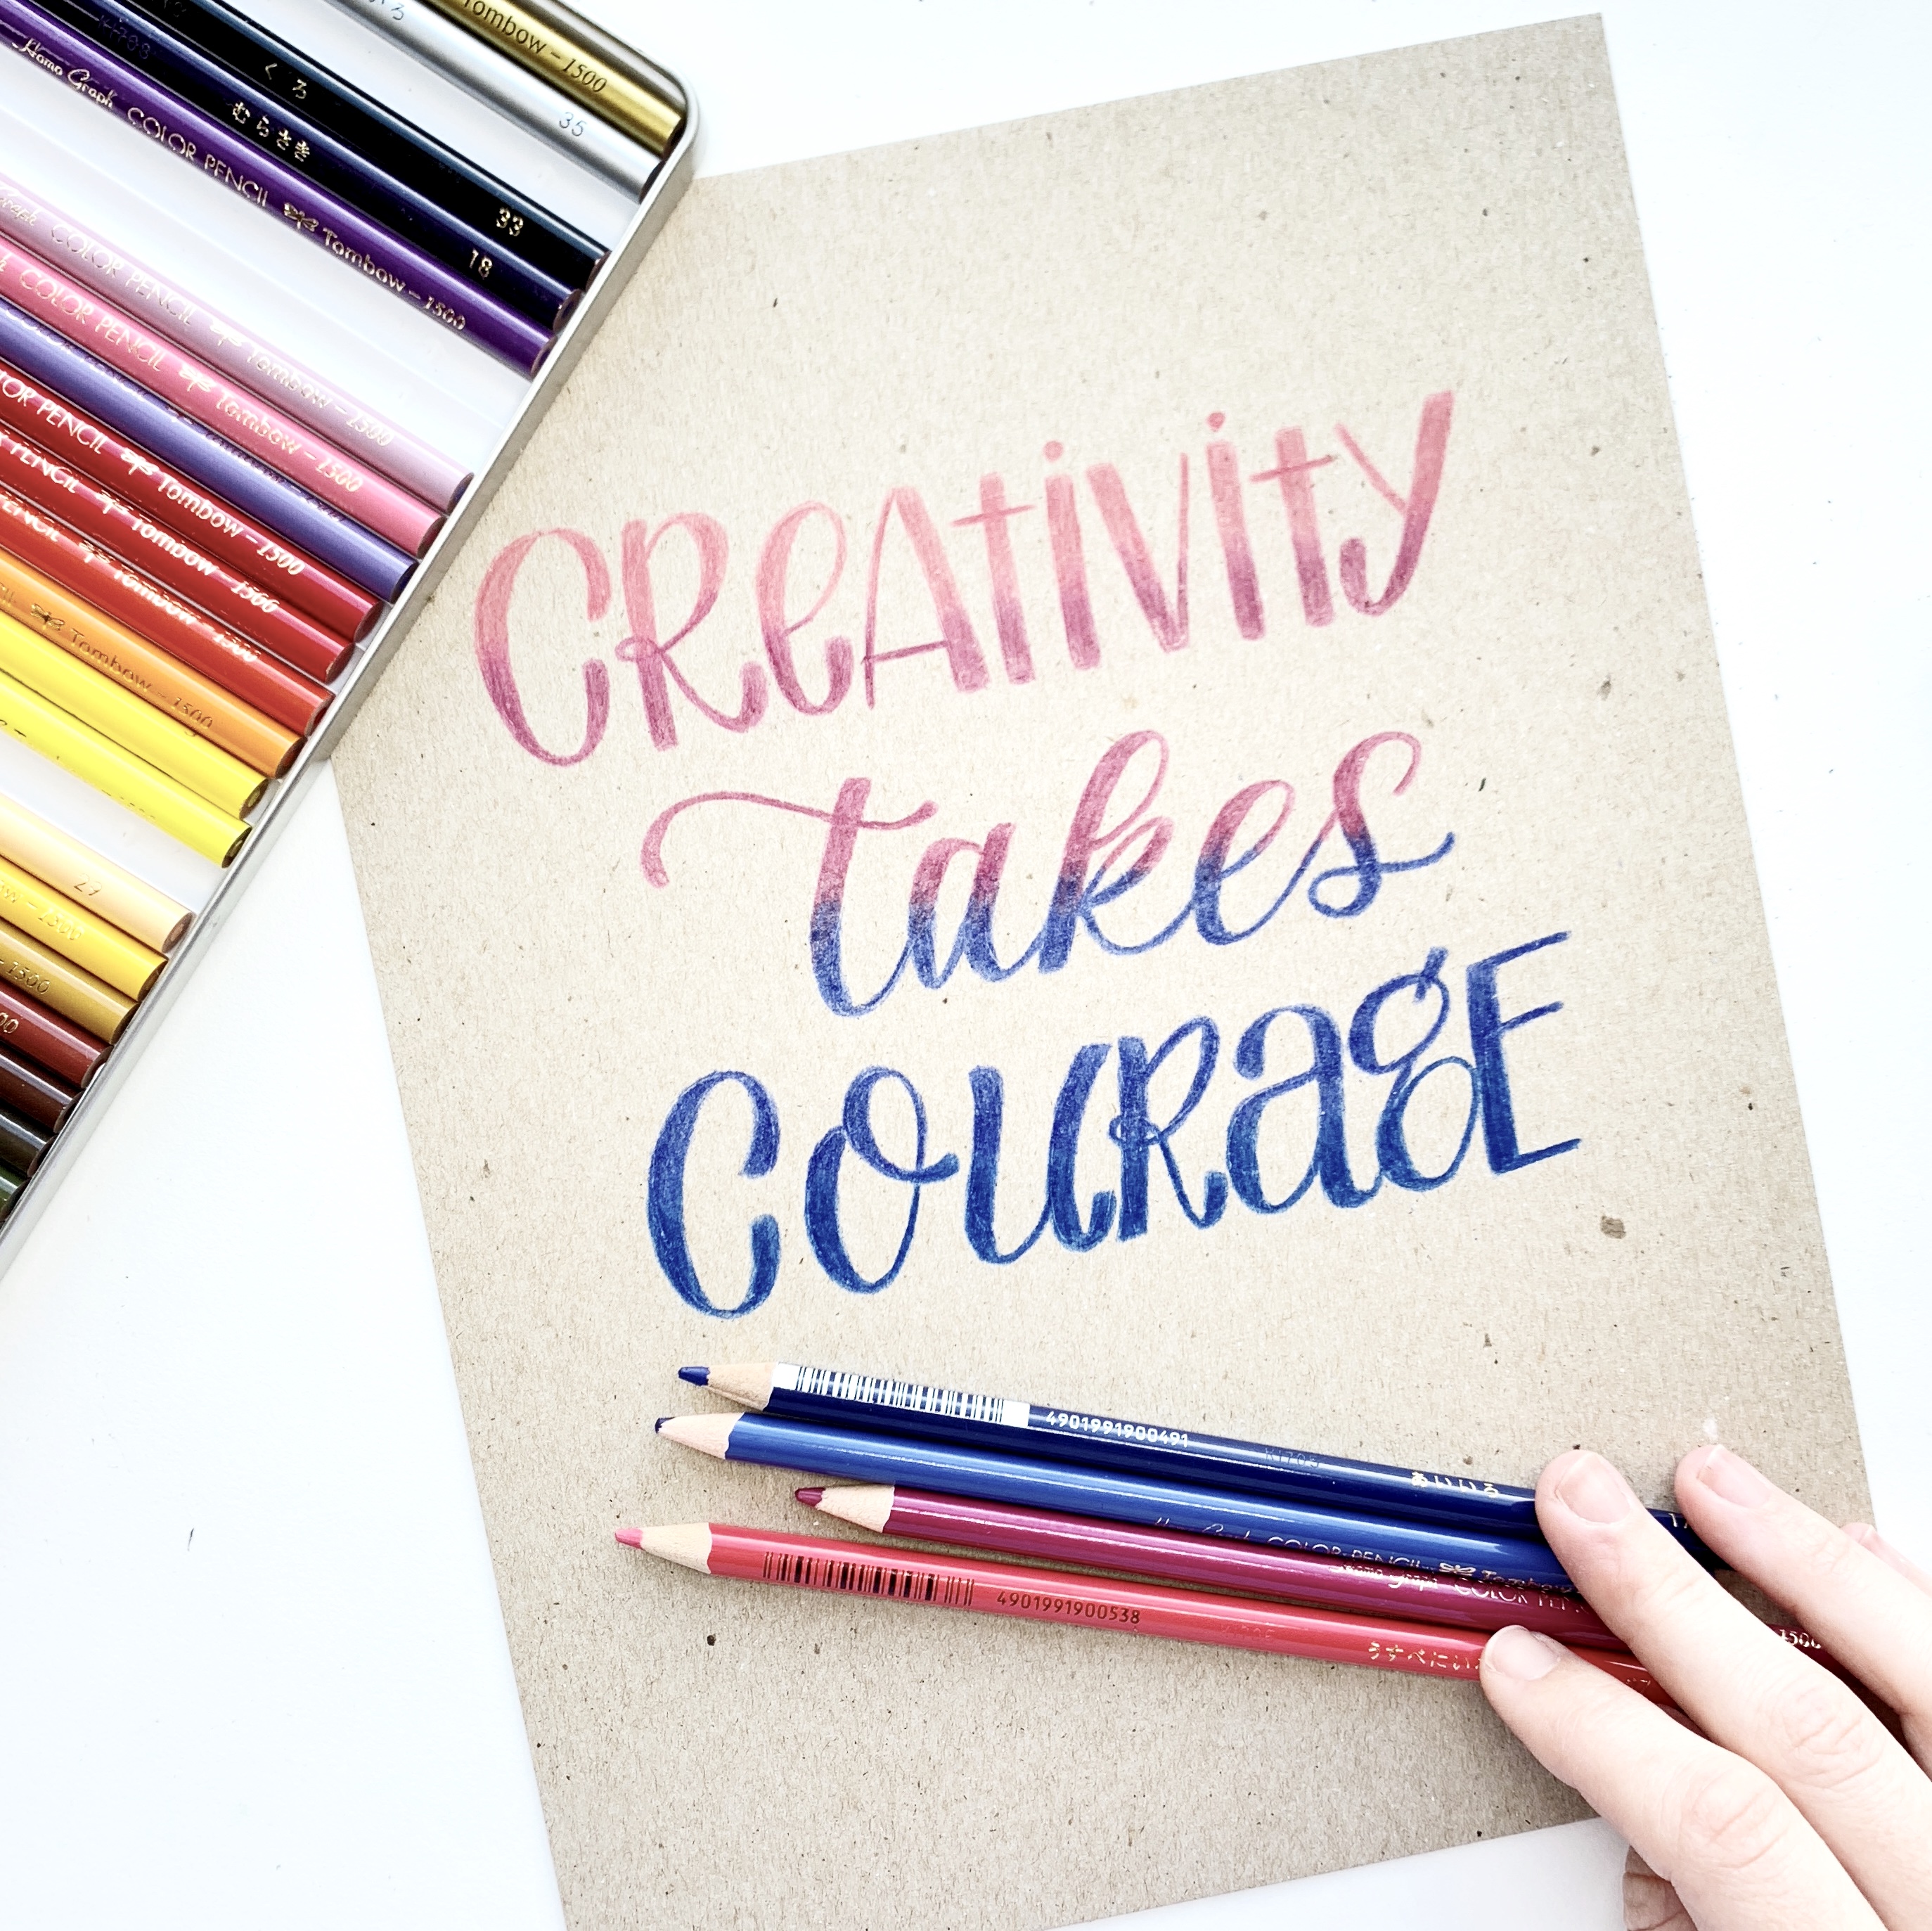
Continue to draw in your letters with colored pencils. Use colored pencil #2 to draw in the top half of the letters on the second line, in my case it’s “takes”. I decided to write the second line in a script font just to change it up, but feel free to write it any way you choose!
Next, use colored pencil #3 to draw in the top half of the letters on the bottom line. In my case it’s “courage”. Then use colored pencil #4 to draw in the bottom half of the letters on the last line. You’ll start to see how the colors will blend together! Erase any pencil lines with your Tombow MONO Eraser.

Step 4
After you’ve sketched out all the letters, color in those letters with the coordinating colors. While you do so, make sure to blend the two colors together that meet in the center of each letter.
Step 5
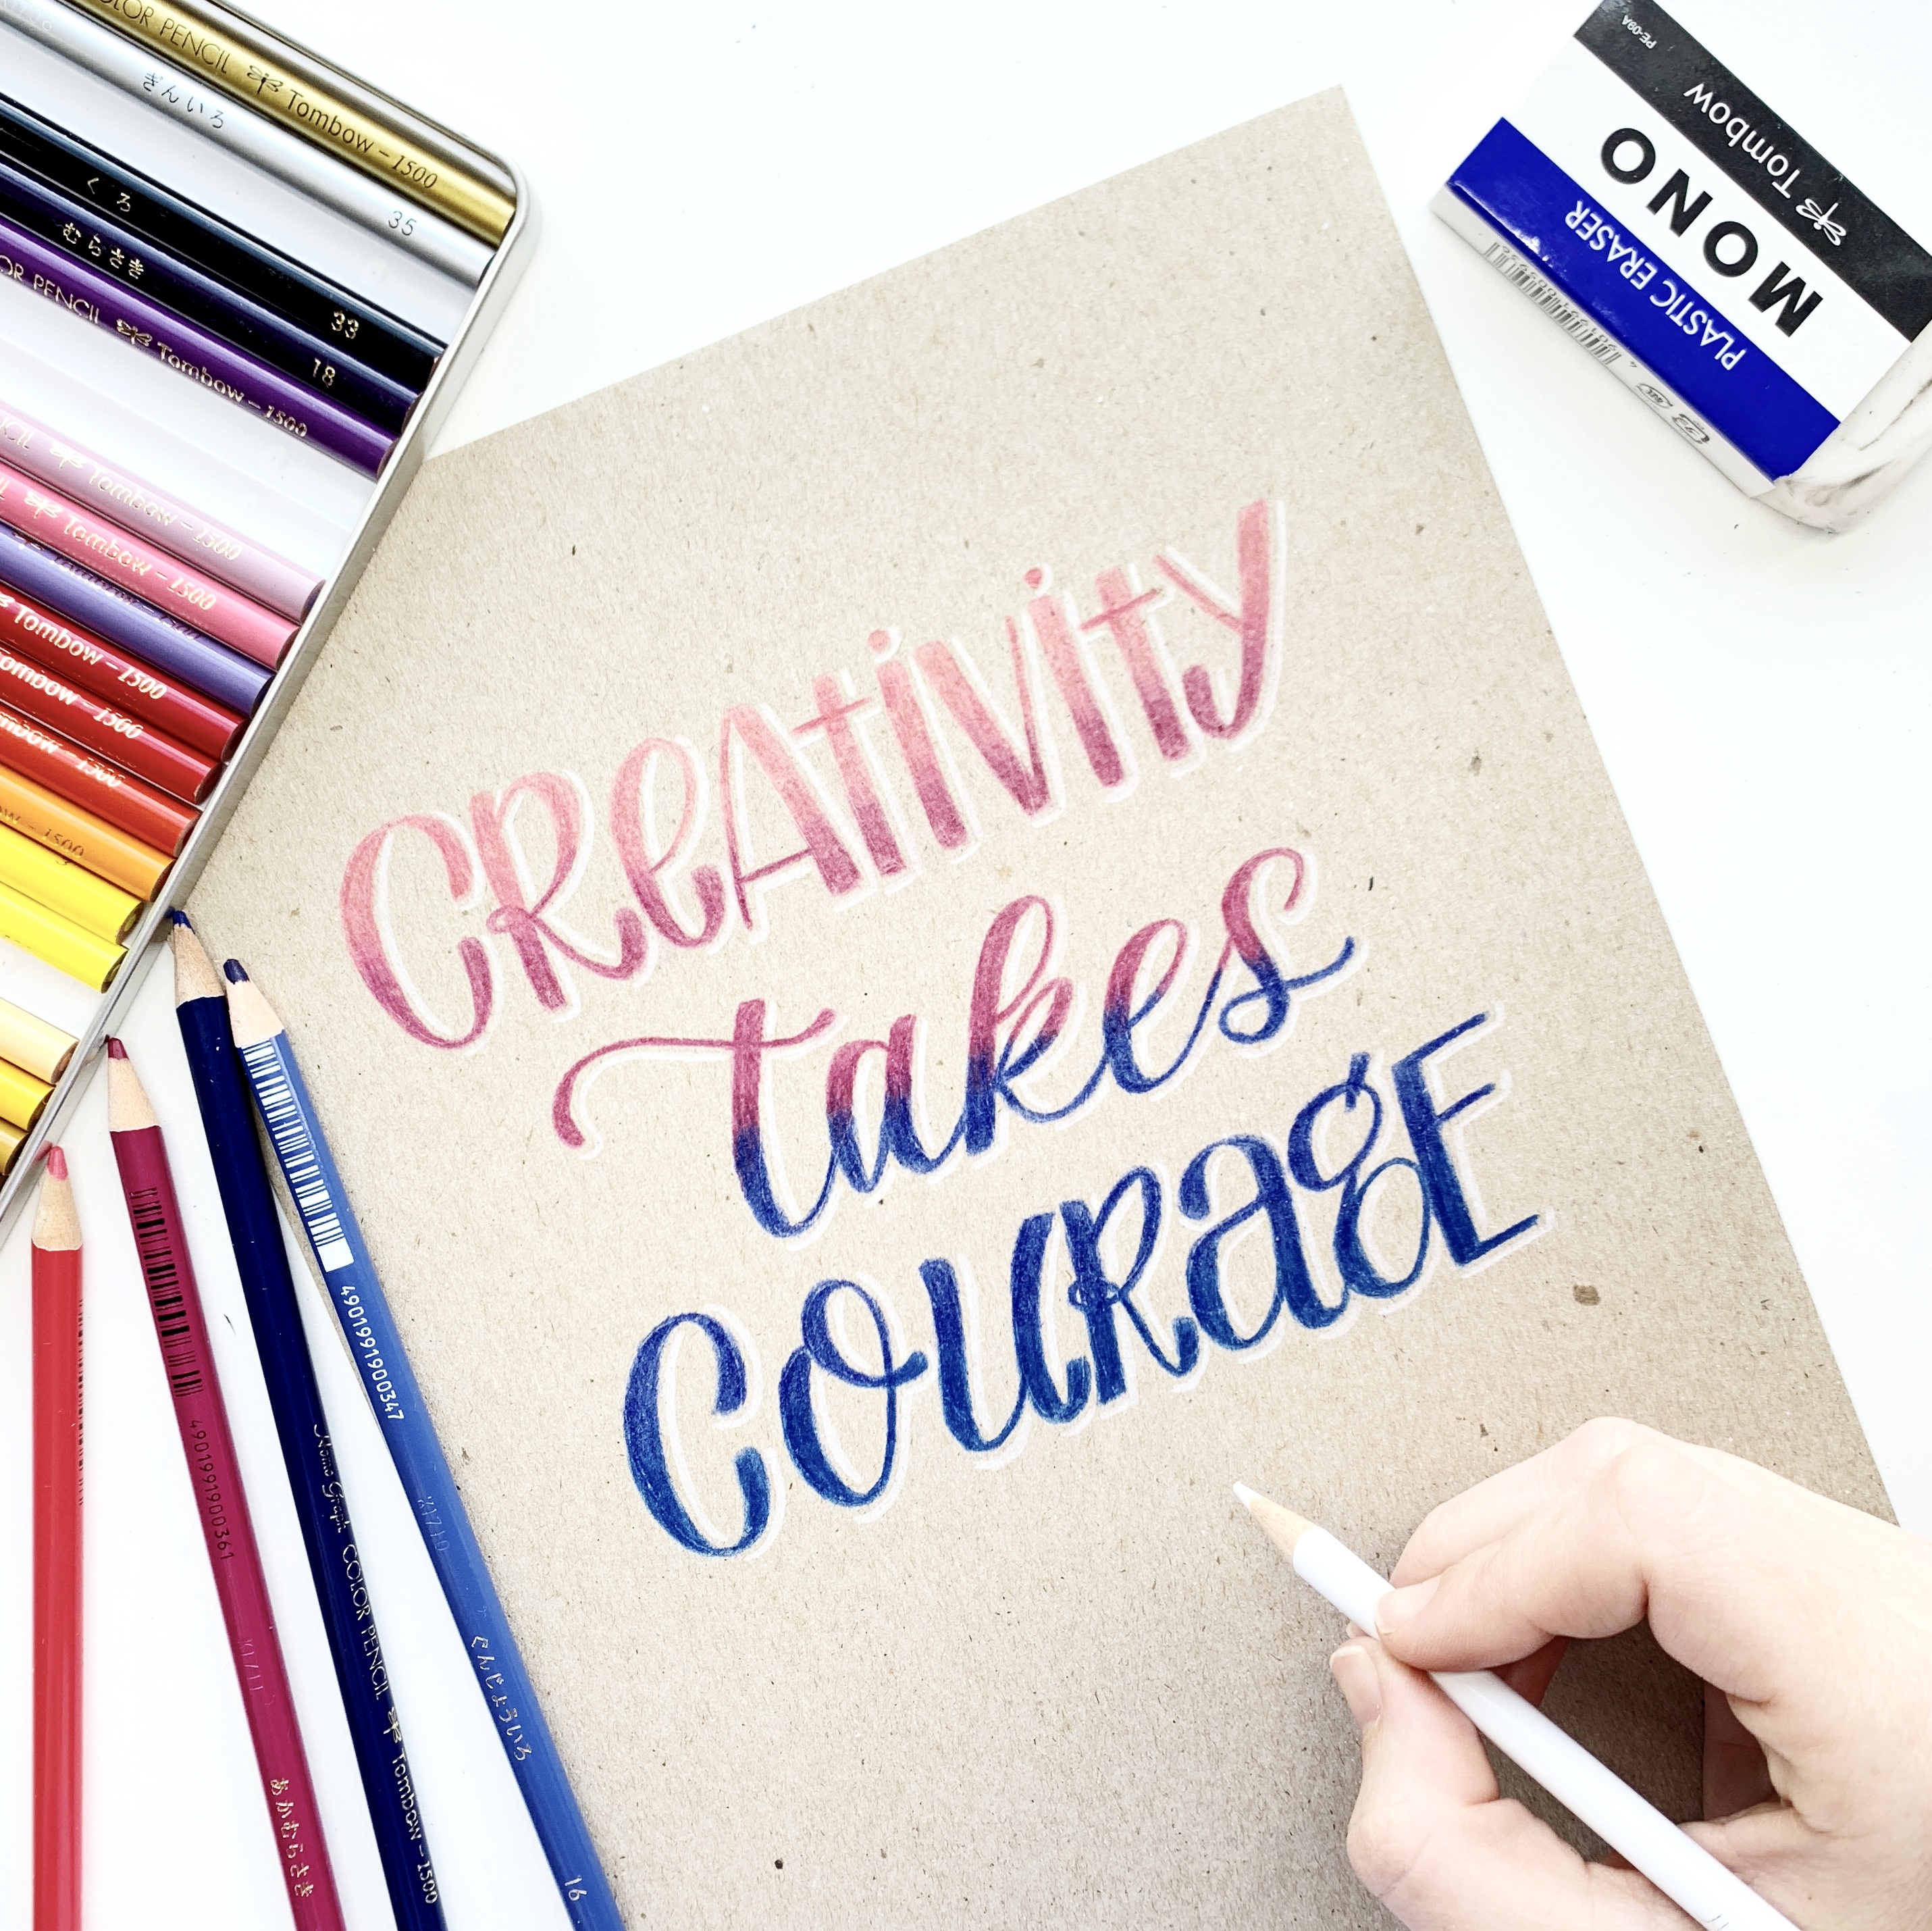
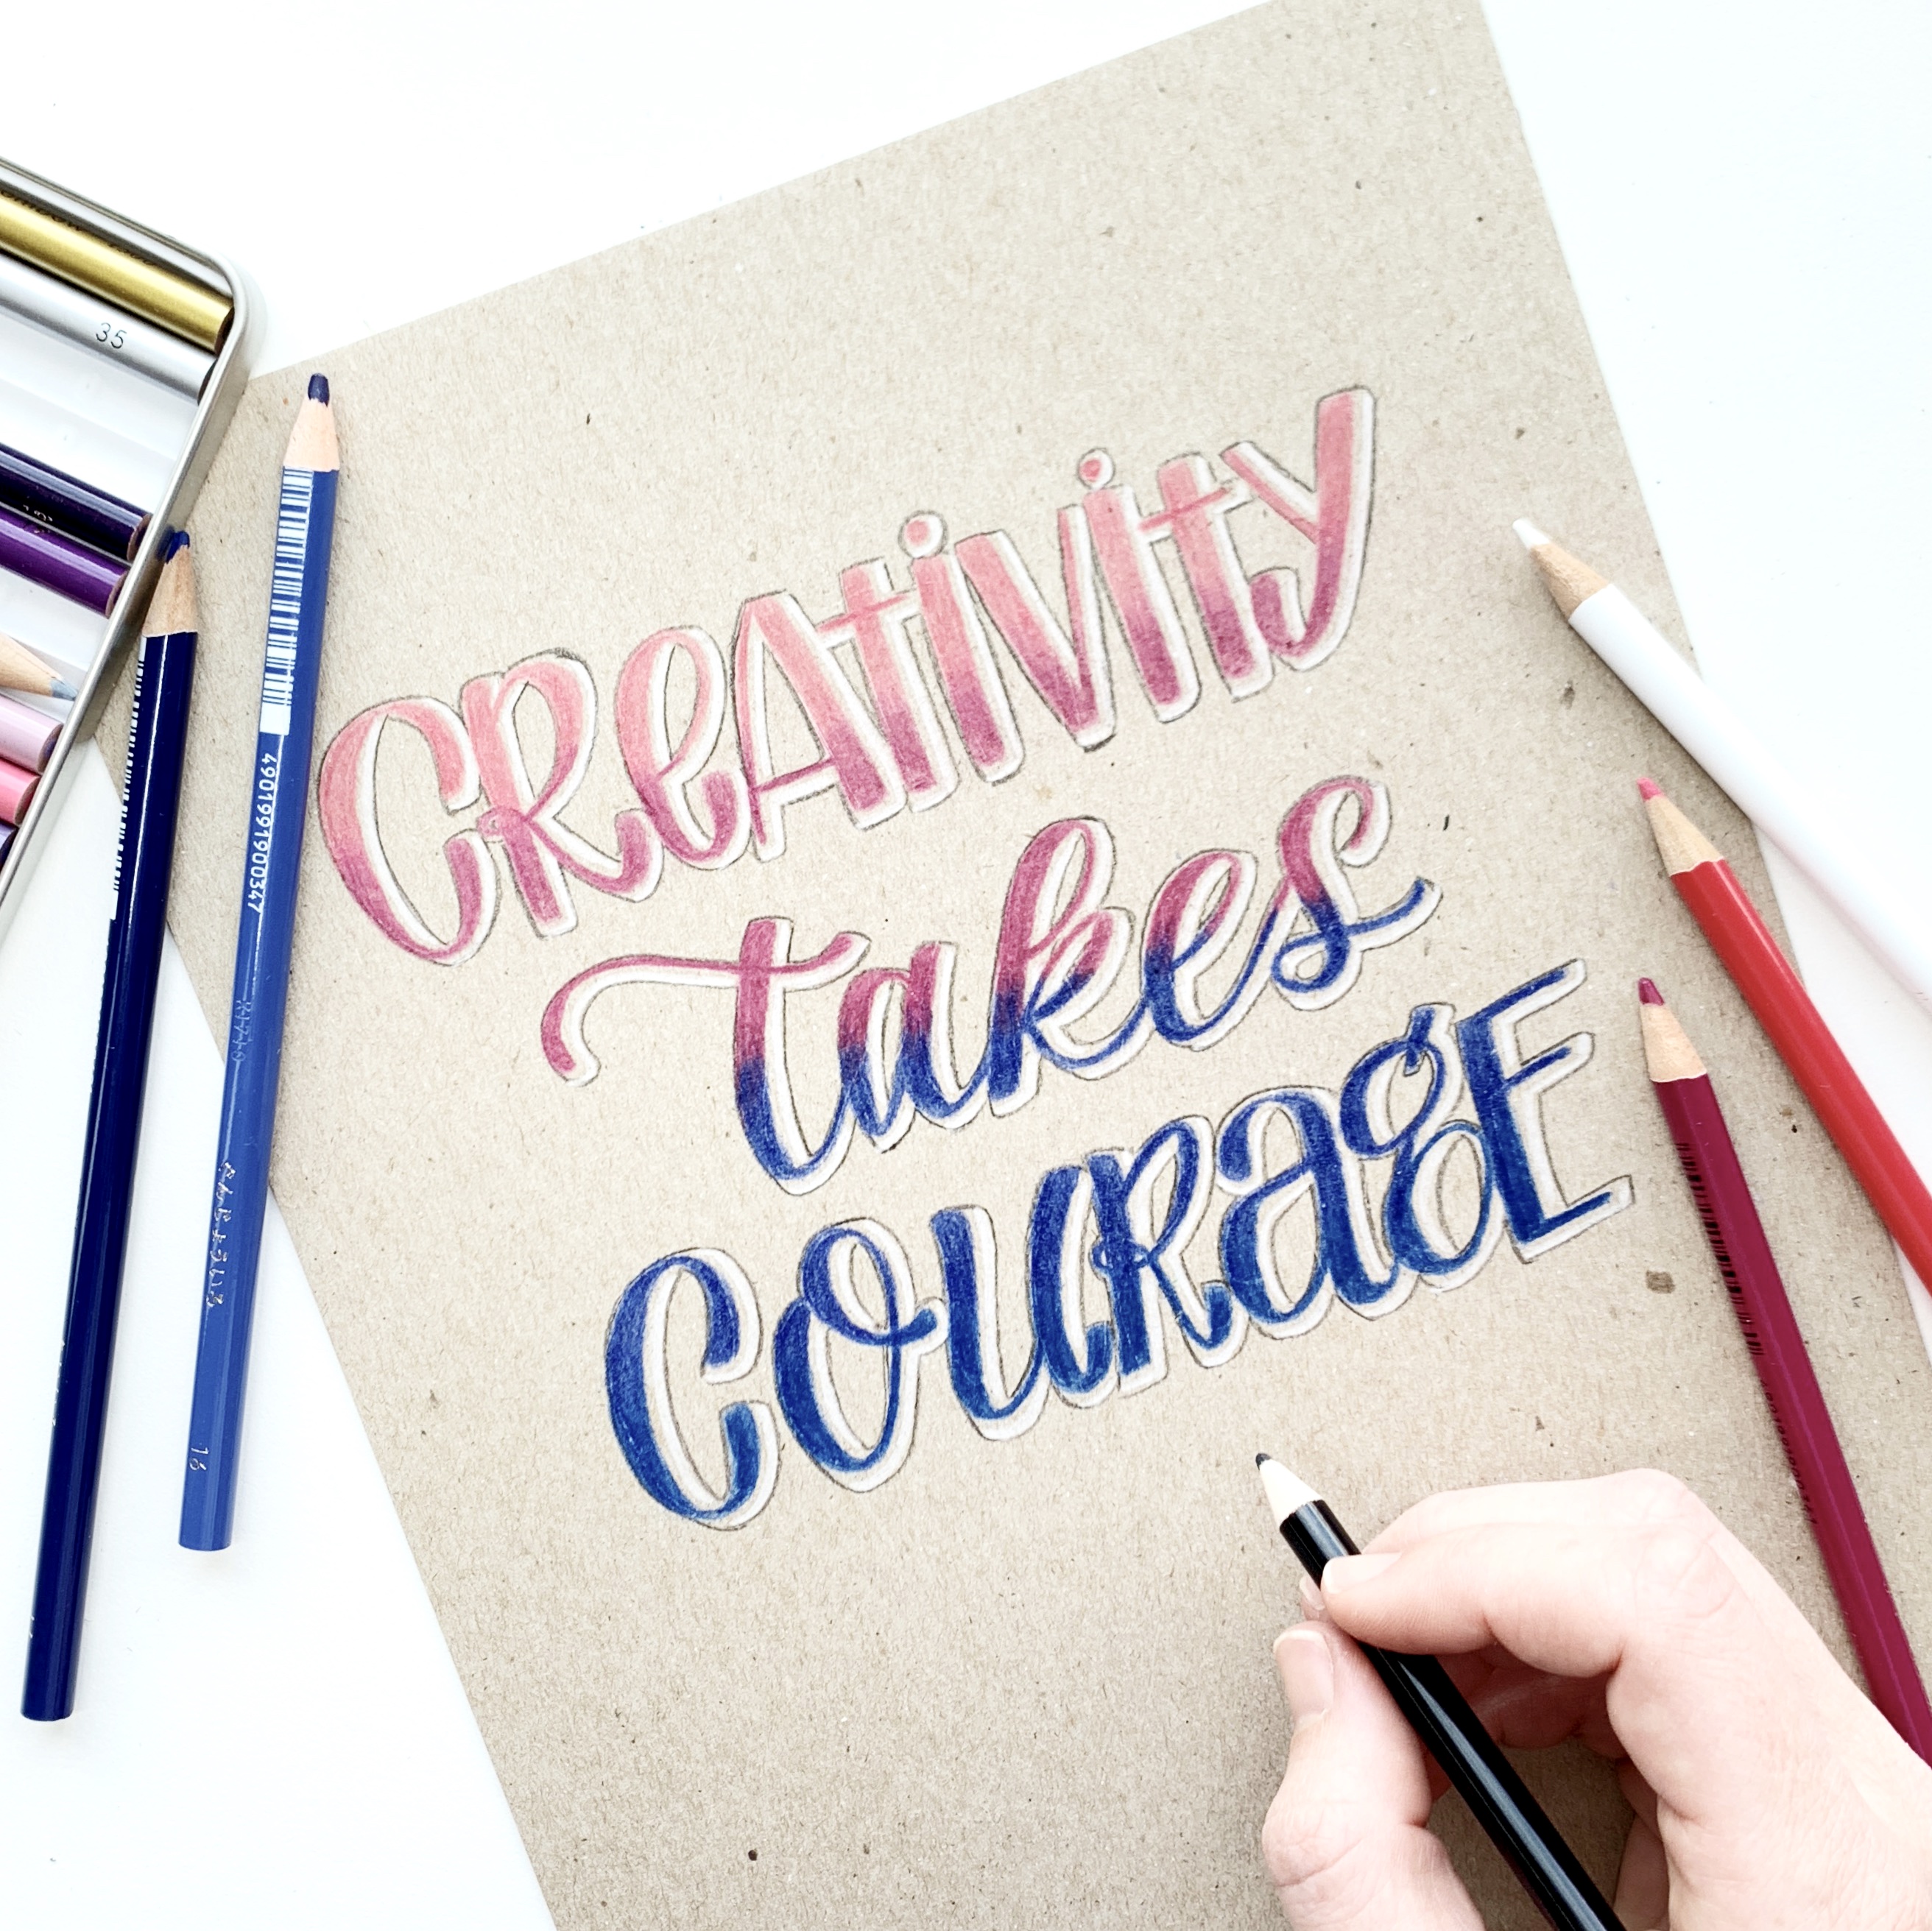
To add some pop to the letters, try adding a shadow and outline! I used a while colored pencil to add in a drop right shadow to each letter. Then I used a black colored pencil to outline each letter and a white shadow to connect them!
Step 6
Lastly, draw in a fun background with diamonds and small circles with the colored and white pencils. I kept the colors coordinating to their rows and added small white stars all around.
And that’s it on how to create blended lettering with colored pencils! I hope you found this tutorial fun and helpful! If you try this tutorial make sure to tag me @studio80design and @tombowusa, so we can see your work!
For more colored pencils projects make sure you check out these blog posts:
- Floral Illustration with Tombow Dual Brush Pens and 1500 Colored Pencils
- How to Color Wood with Irojiten Colored Pencils
- Rainbow Letters Using Irojiten Colored Pencils
- 3 Ways to Use Colored Pencils in Lettering
Pingback: 4 Tips To Letter Using Irojiten Colored Pencils - Tombow USA Blog
Pingback: DIY Colored Pencil Galaxy - Tombow USA Blog
Pingback: Buffalo Plaid Lettering With Dual Brush Pens - Tombow USA Blog
Pingback: How to Make Wooden Letters | 8 Easy Steps (2025)