Happy Valloween!! Serena Bee from @serenabeecreative here with a tutorial on how you can make your own Valentine’s Day cards with a twist! I was inspired by the retro kitschy Valentines from the 50s and 60s and created my own. In this tutorial, I will show you how to watercolor Valloween cards with the Tombow Dual Brush Pens and TwinTone Markers. Let’s get started!
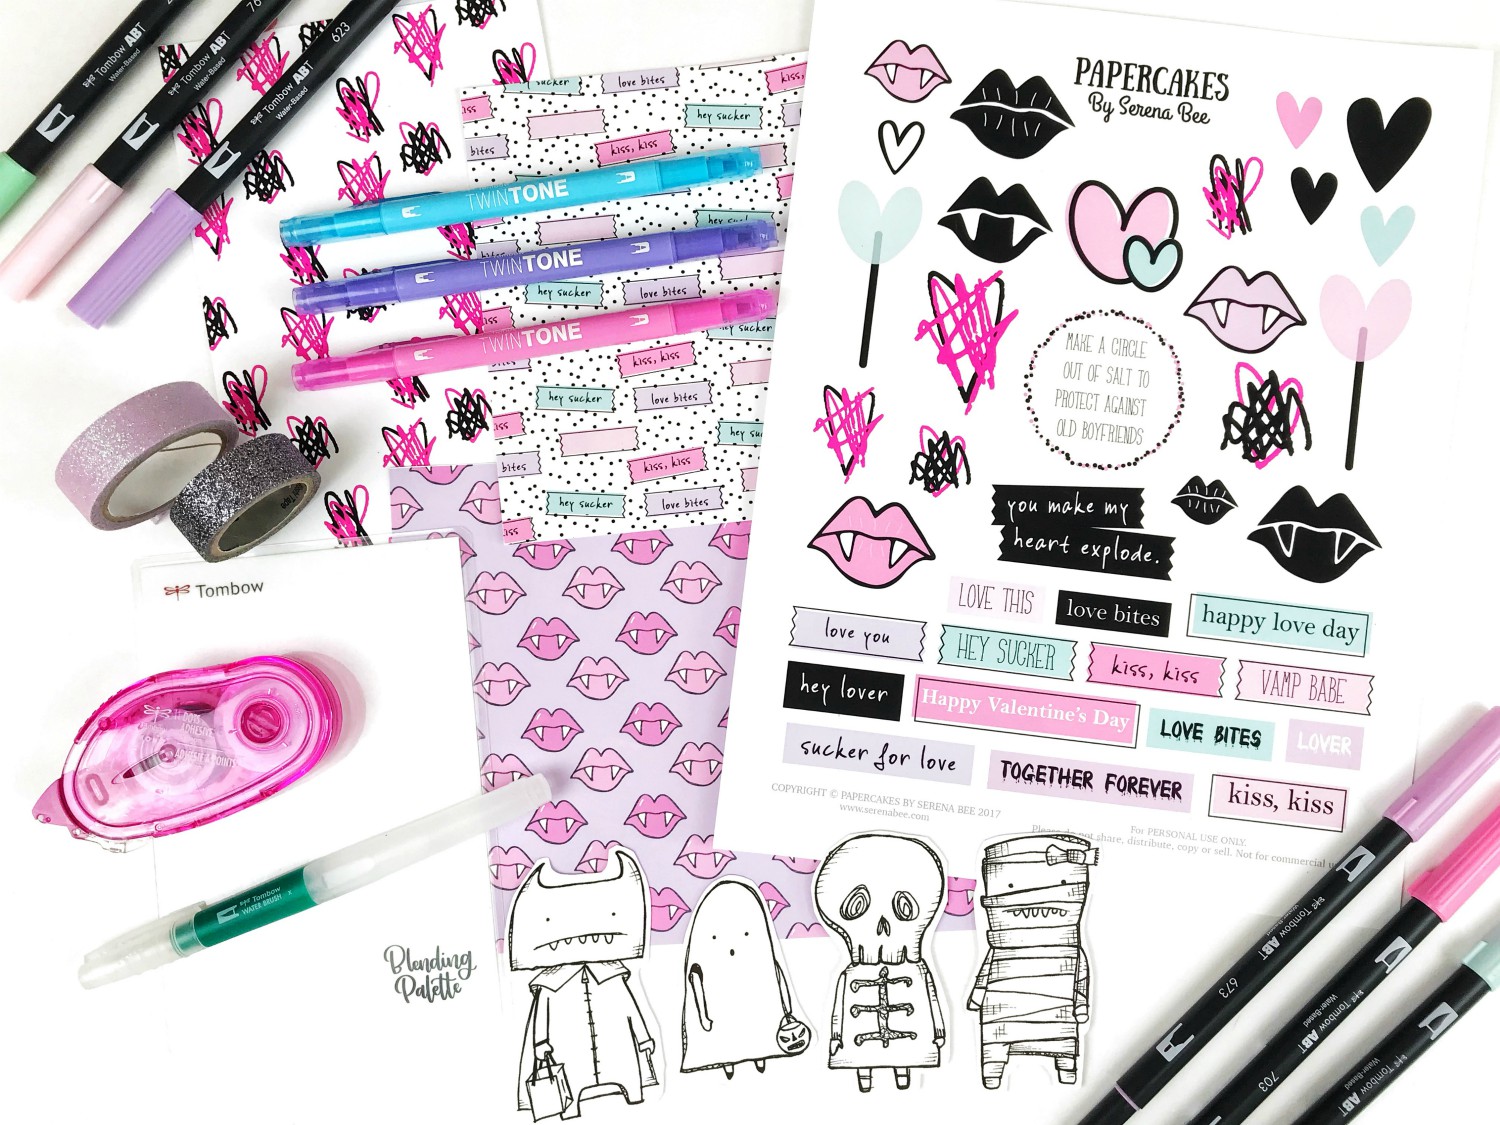
Supplies:
Colors used: Greens + Blues: 291, 312, 243, 407; Greys: N45, N65; Purples + Pinks: 620,623, 673, 772
Colors used: 21-Pale Purple, 19-Violet, 22-Pink, 74-Aqua, 86-Mint Green, 15-Blue, 49-Gray
- Water Brush Small
- Water Brush Medium
- Blending Palette
- MONO Twin Permanent Marker
- MONO Dots Adhesive
- MONO Multi XL Liquid Glue
- MONO Removable Adhesive (optional)
- Love Bites Digital Collection
- Scissors
- Mixed media card stock or watercolor paper
- Stamped images
Watercoloring Your Images
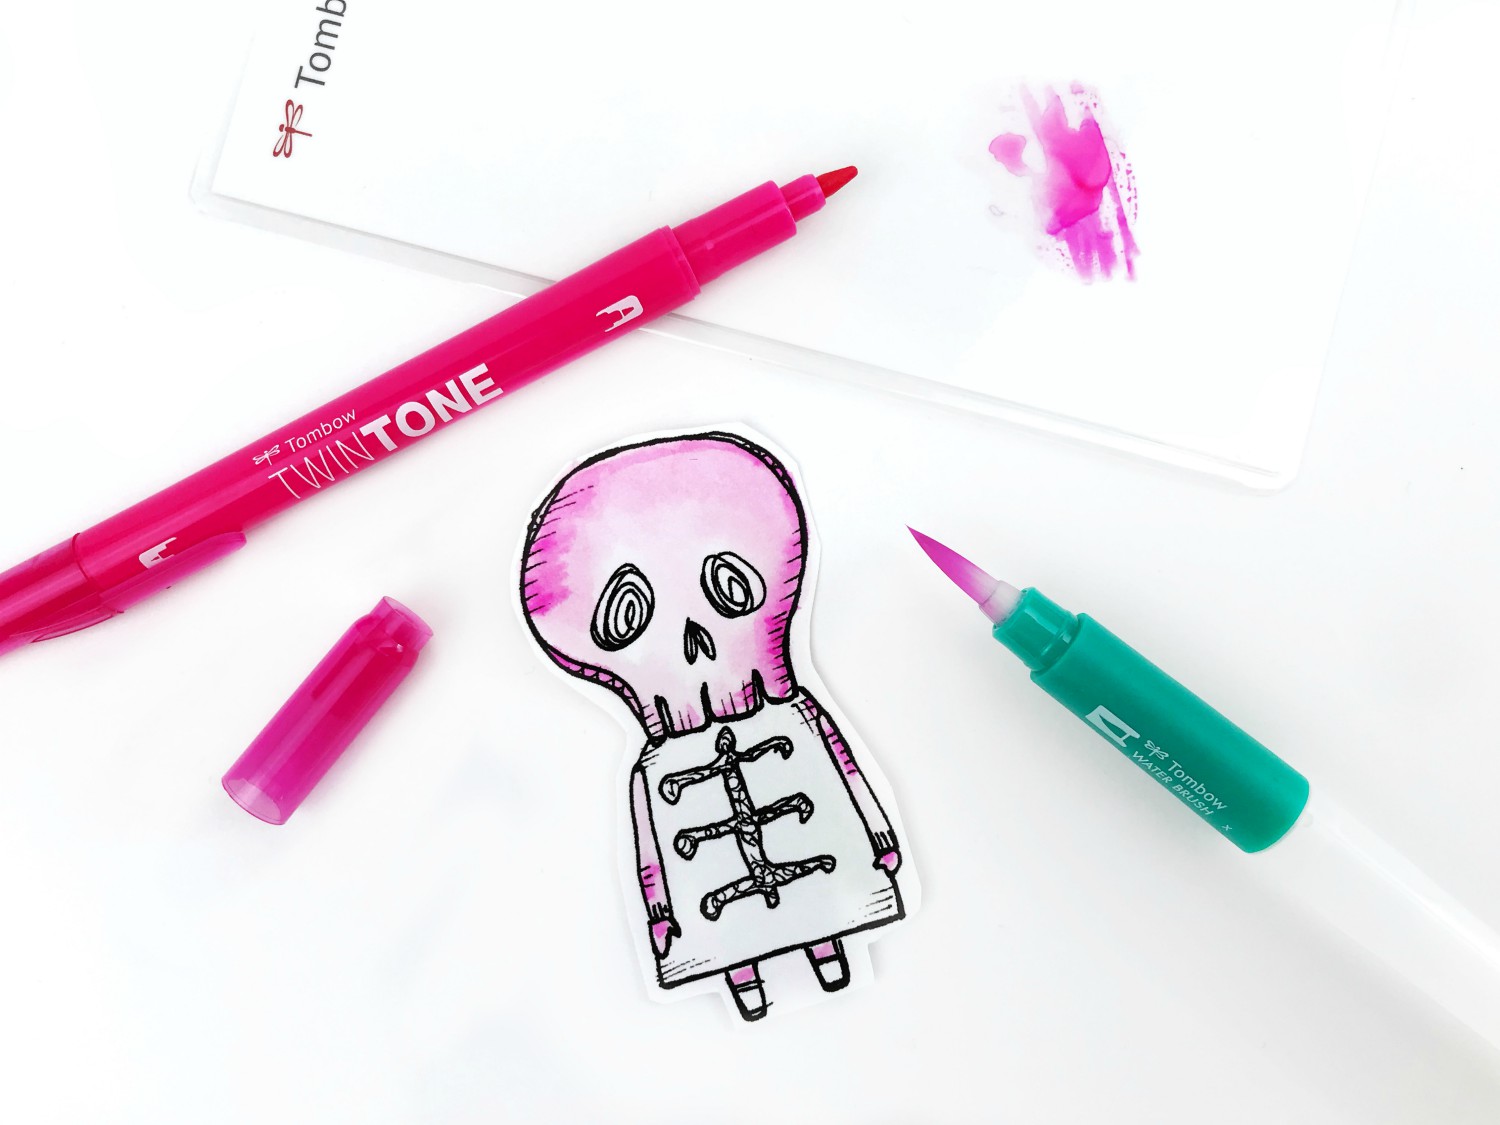
The first step is to gather you stamped images. I’m using the Vera Lane Studio “Lil Tricksters” digital stamps. I love these little trick-or-treaters so much. My favorite way to color them is by using the Dual Brush Pens as watercolors. I printed my images on mixed media card stock but you can also use watercolor paper.
To begin, scribble the colors on to the Tombow Blending Palette. Use the Medium Water Brush to pick up the color and begin layering the lightest shade on your image.
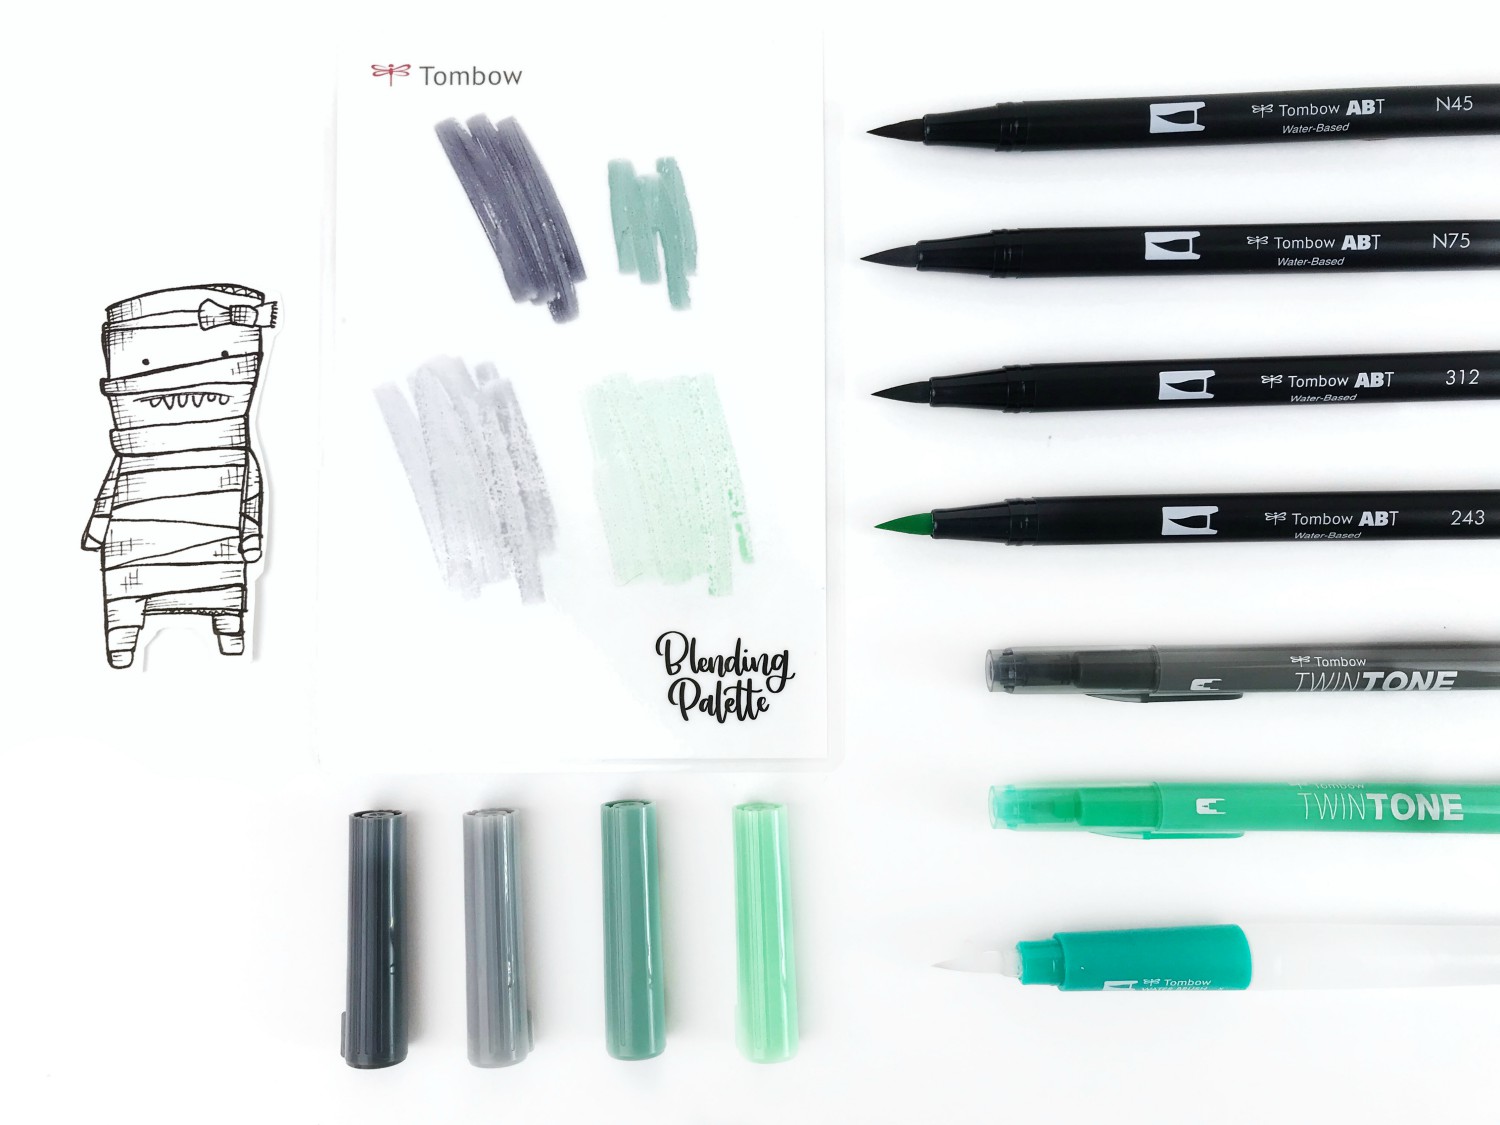
I’ll have all the color combos for each Trickster at the end of this post!
Continue to add more layers of color as your layers dry. Add in shading with the darkest shade of the color you are using.
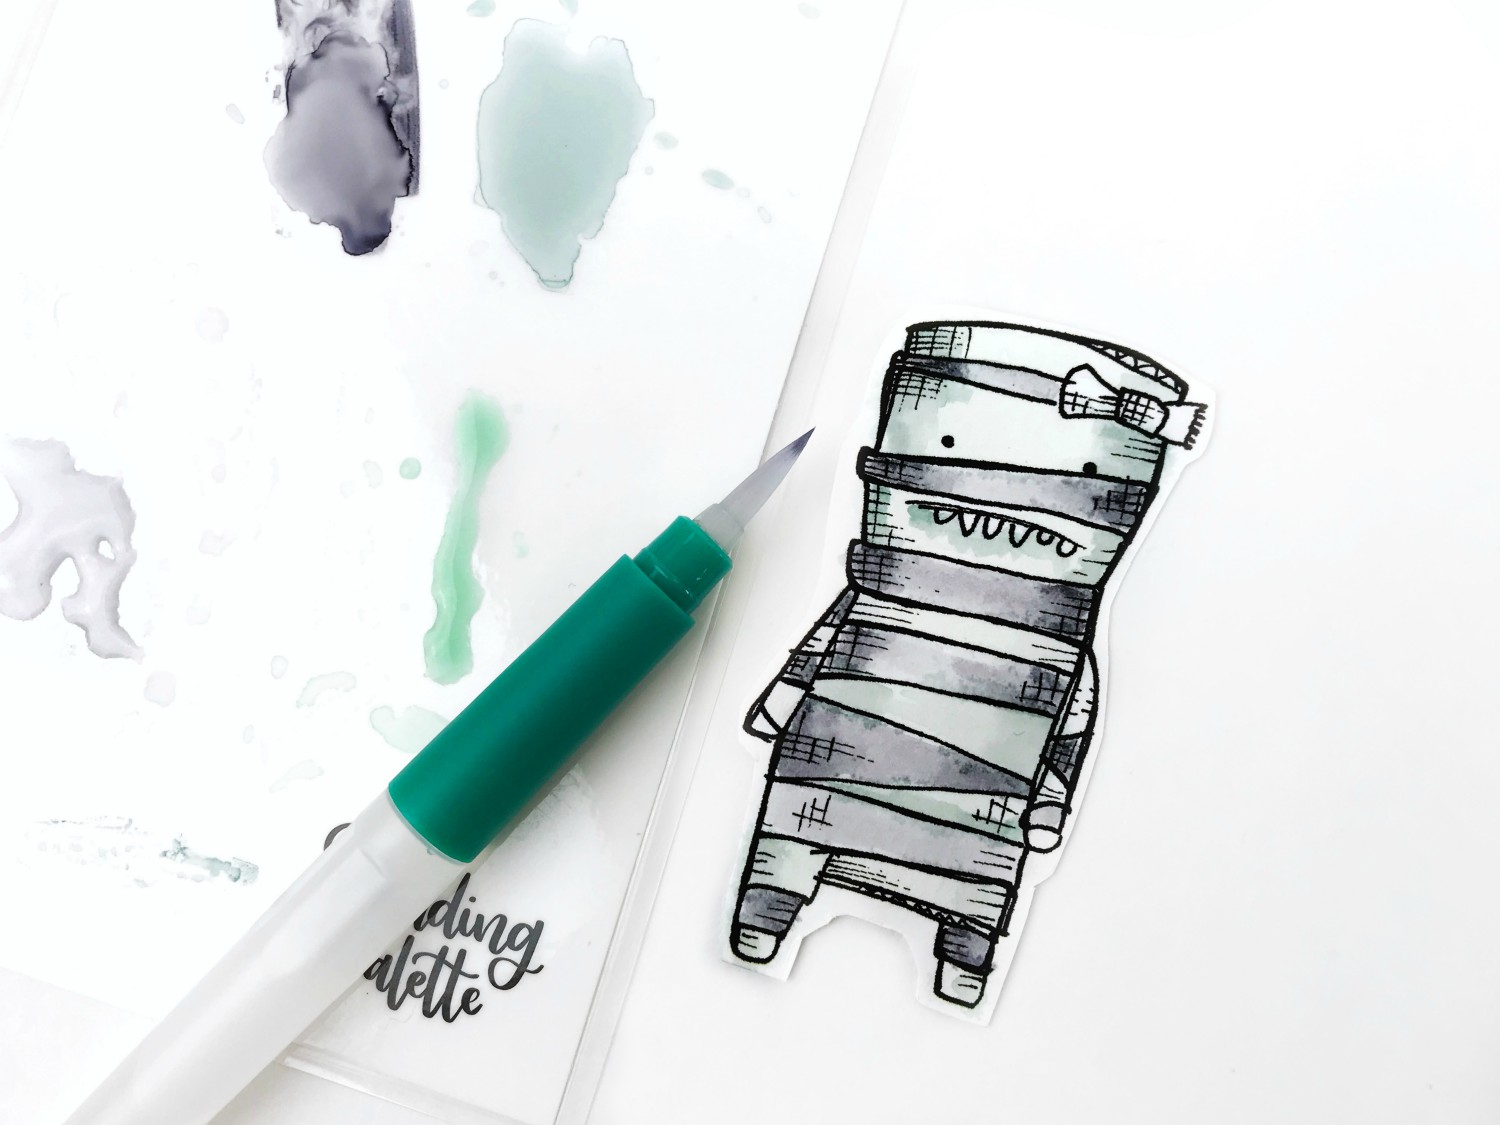
Adding Detail
To add more depth and detail to your images, you can add your Dual Brush Pen color directly onto your image, like so.
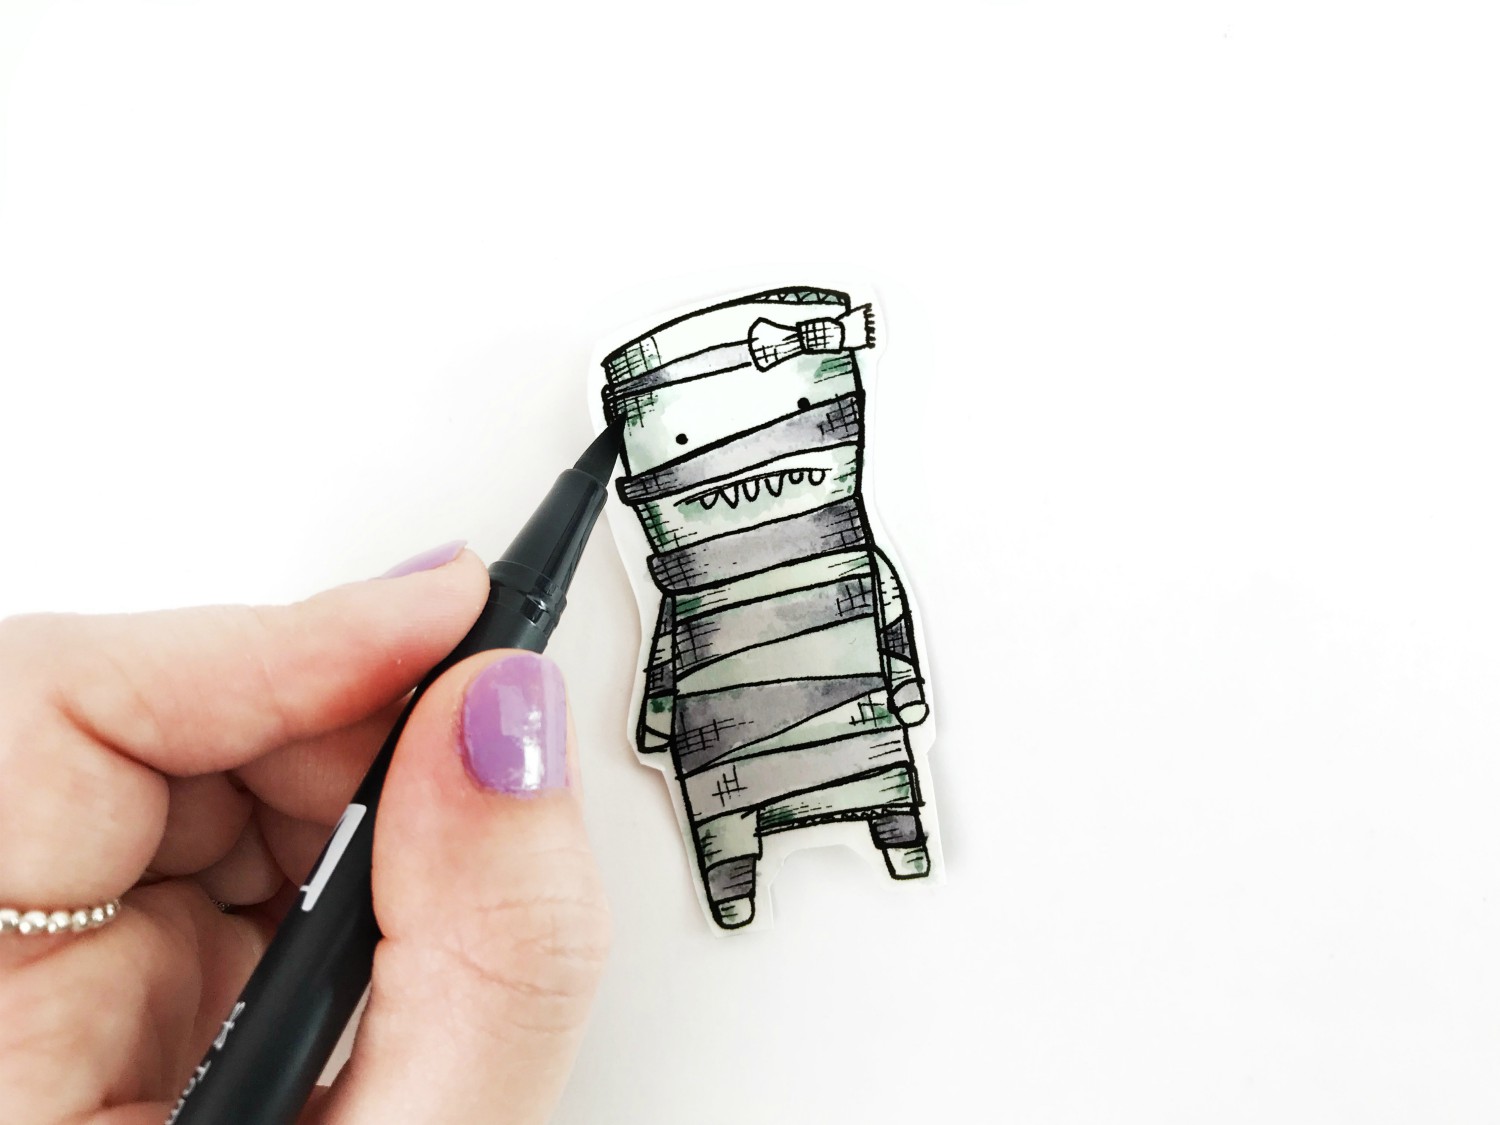
If ever you added too much, you can always blend it in with the Water Brush. Use the Small Water Brush to add detail and shading to the smaller areas.
For even more detail, I like to go in with the TwinTone Markers! They are water soluble as well. This makes them easy to blend with the Dual Brush Pens.
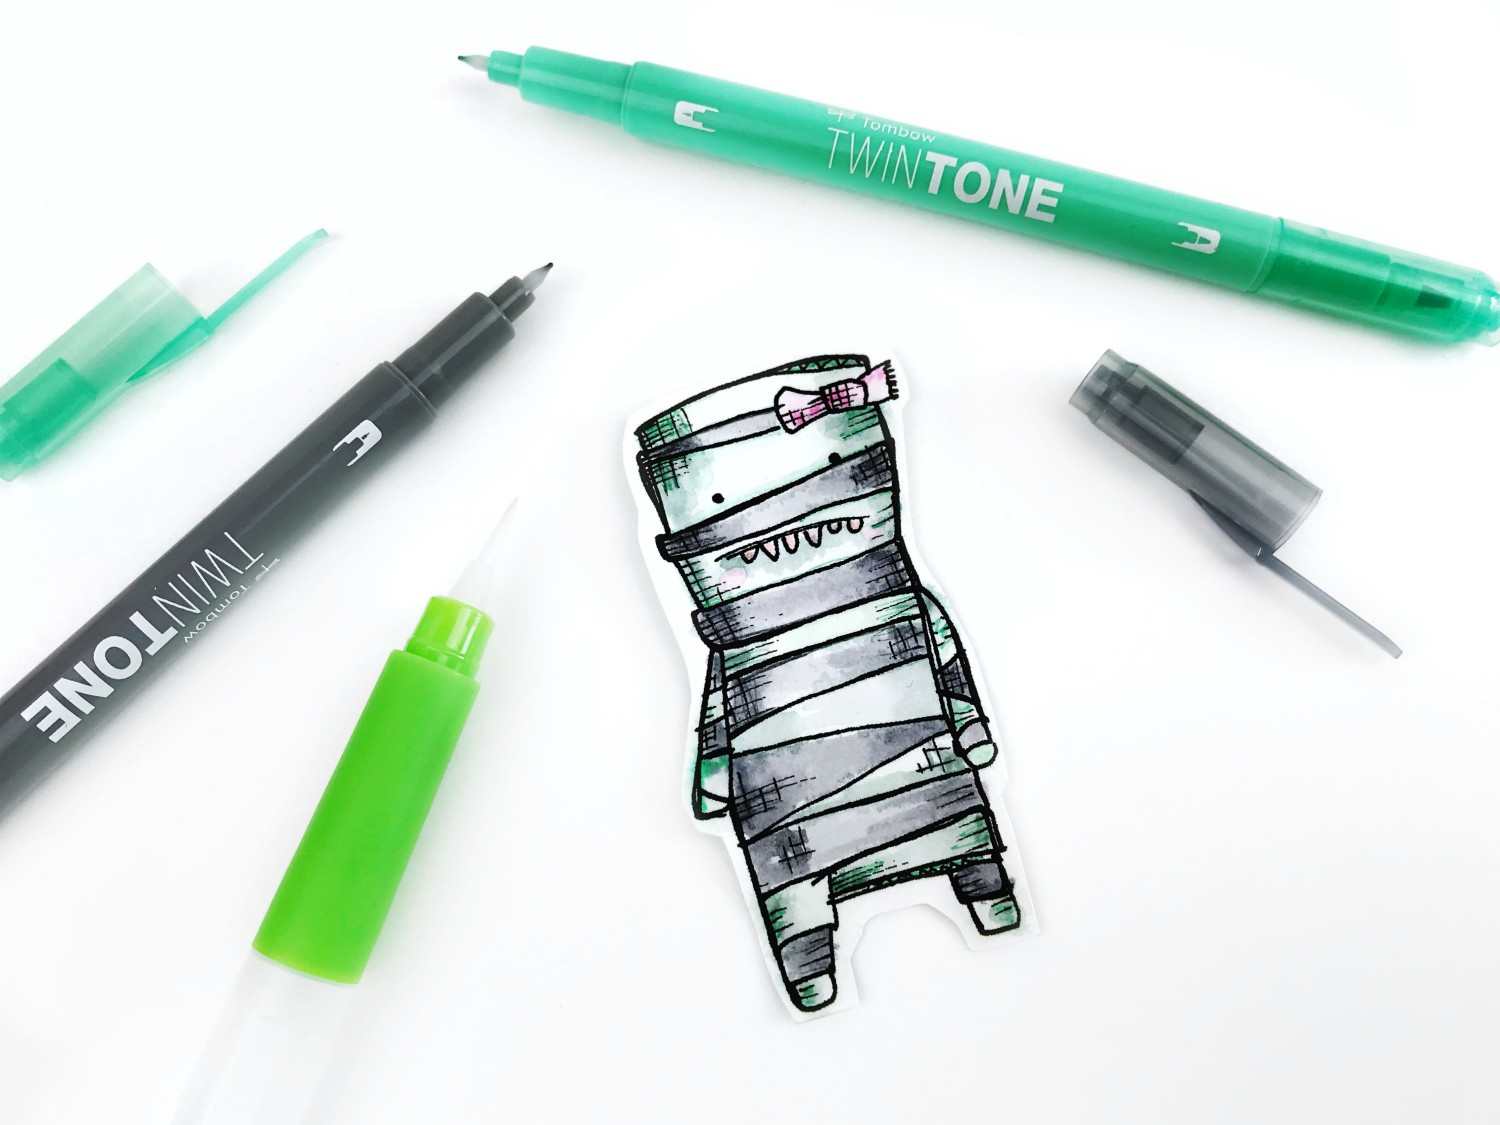
I also used the extra- fine tip of the TwinTone Markers to go over the hash lines in the images.
For an even bolder look, you can directly watercolor with the TwinTone Markers. Scribble your color on to the Blending Palette and use the Water Brush to pick up the color. Alternatively, you can also directly apply color onto your image with the markers then blend with the Water Brush.
Putting It All Together
Now it’s time to cut your images. One of my go to tricks to finish off a stamped image is to trace the edges using the MONO Twin Permanent Marker. Using a scratch paper, lay your image flat and trace against the cut edge of the image with the MONO Twin Permanent Marker. Most of the ink will be on your scratch paper leaving you with a solid black line all around your image. This also helps hide the raw edges from cutting.
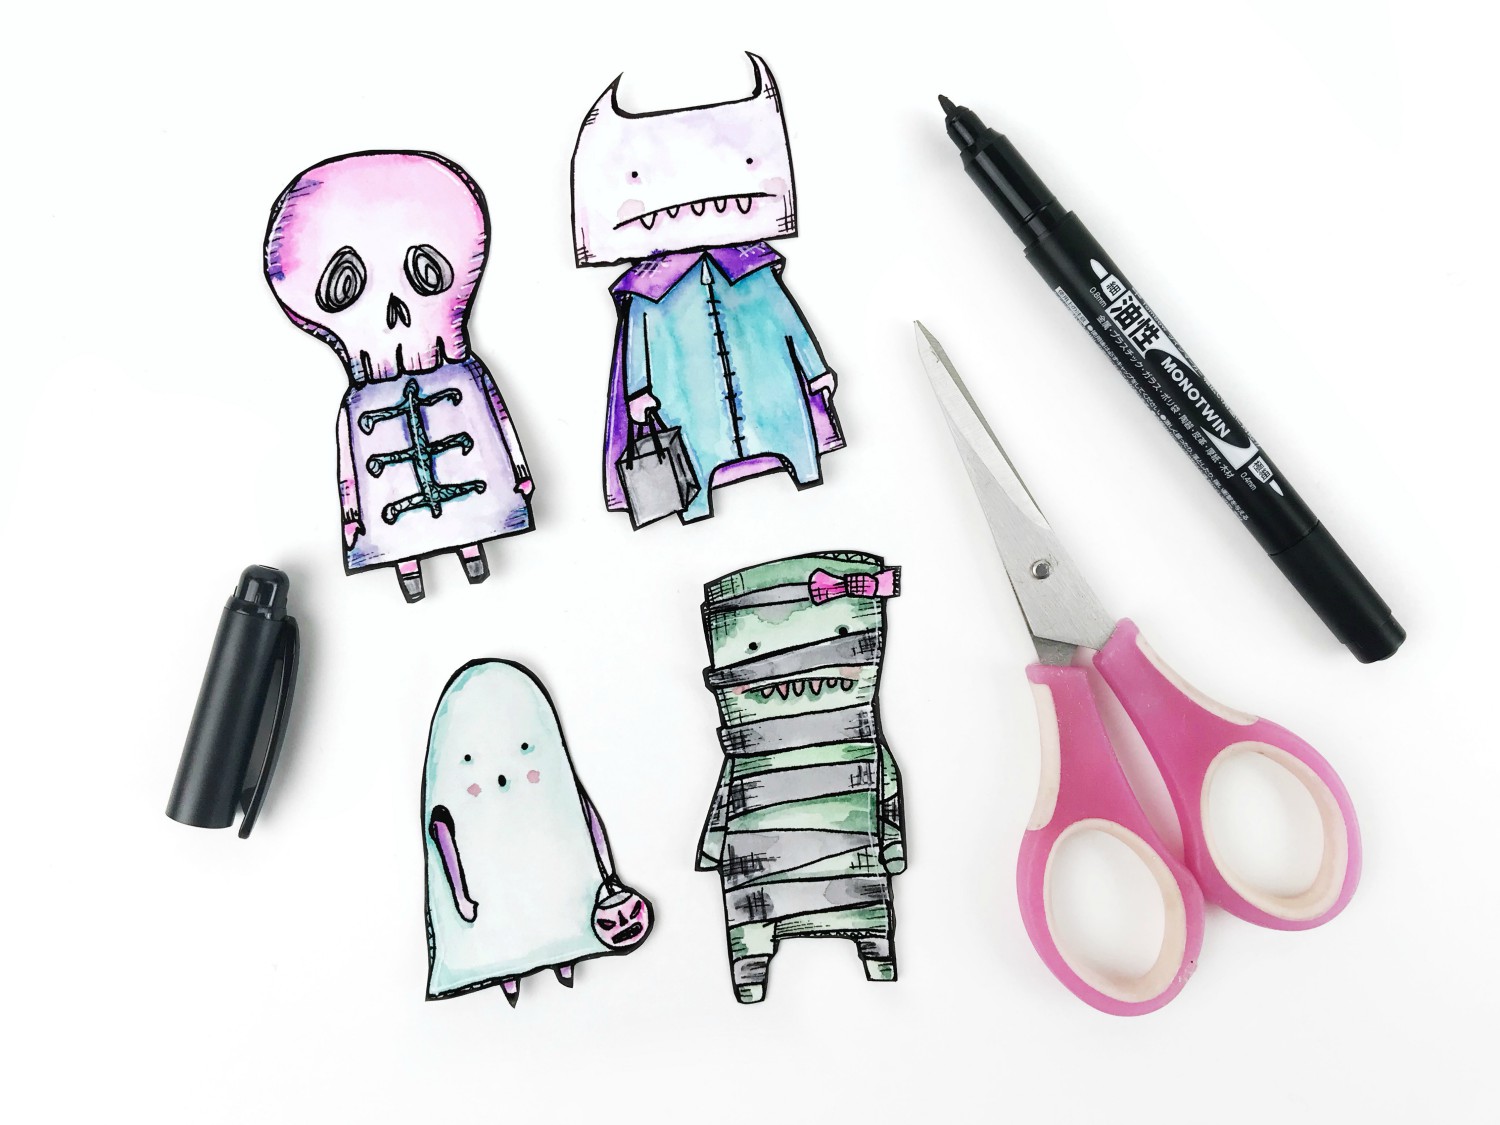
Once you have your images cut and prepped, it is time to assemble the Watercolor Valloween cards!
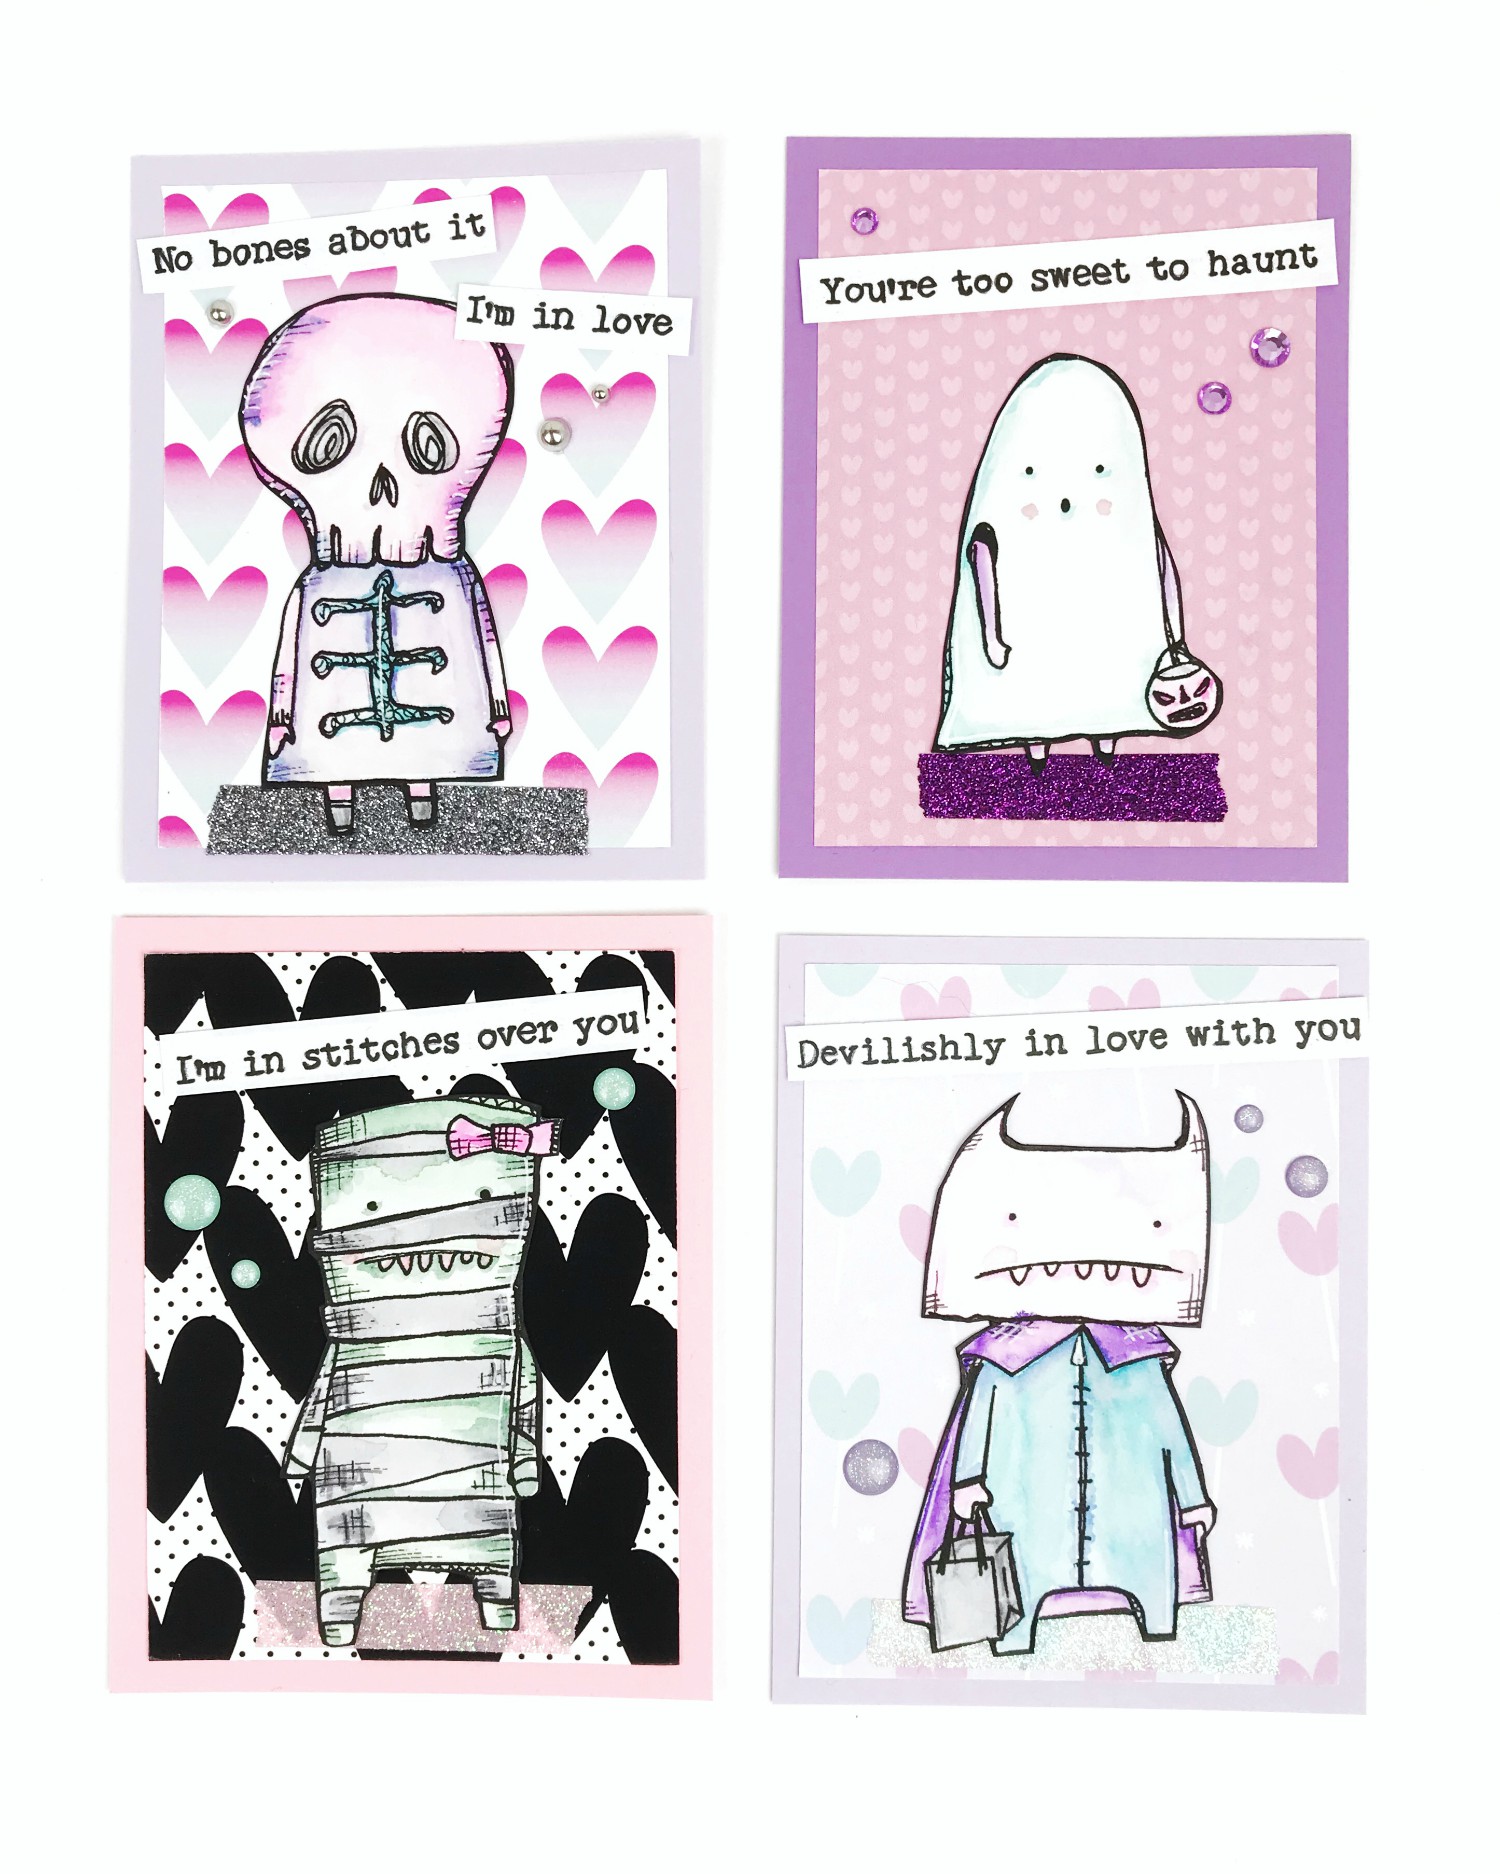
Begin by selecting your pattern paper. I cut my Papercakes “Love Bites” collection (which I designed) into 3″x4″. Next, I matted my paper onto plain colored cardstock using the MONO Dots Adhesive. This is my go-to adhesive for all my paper projects!
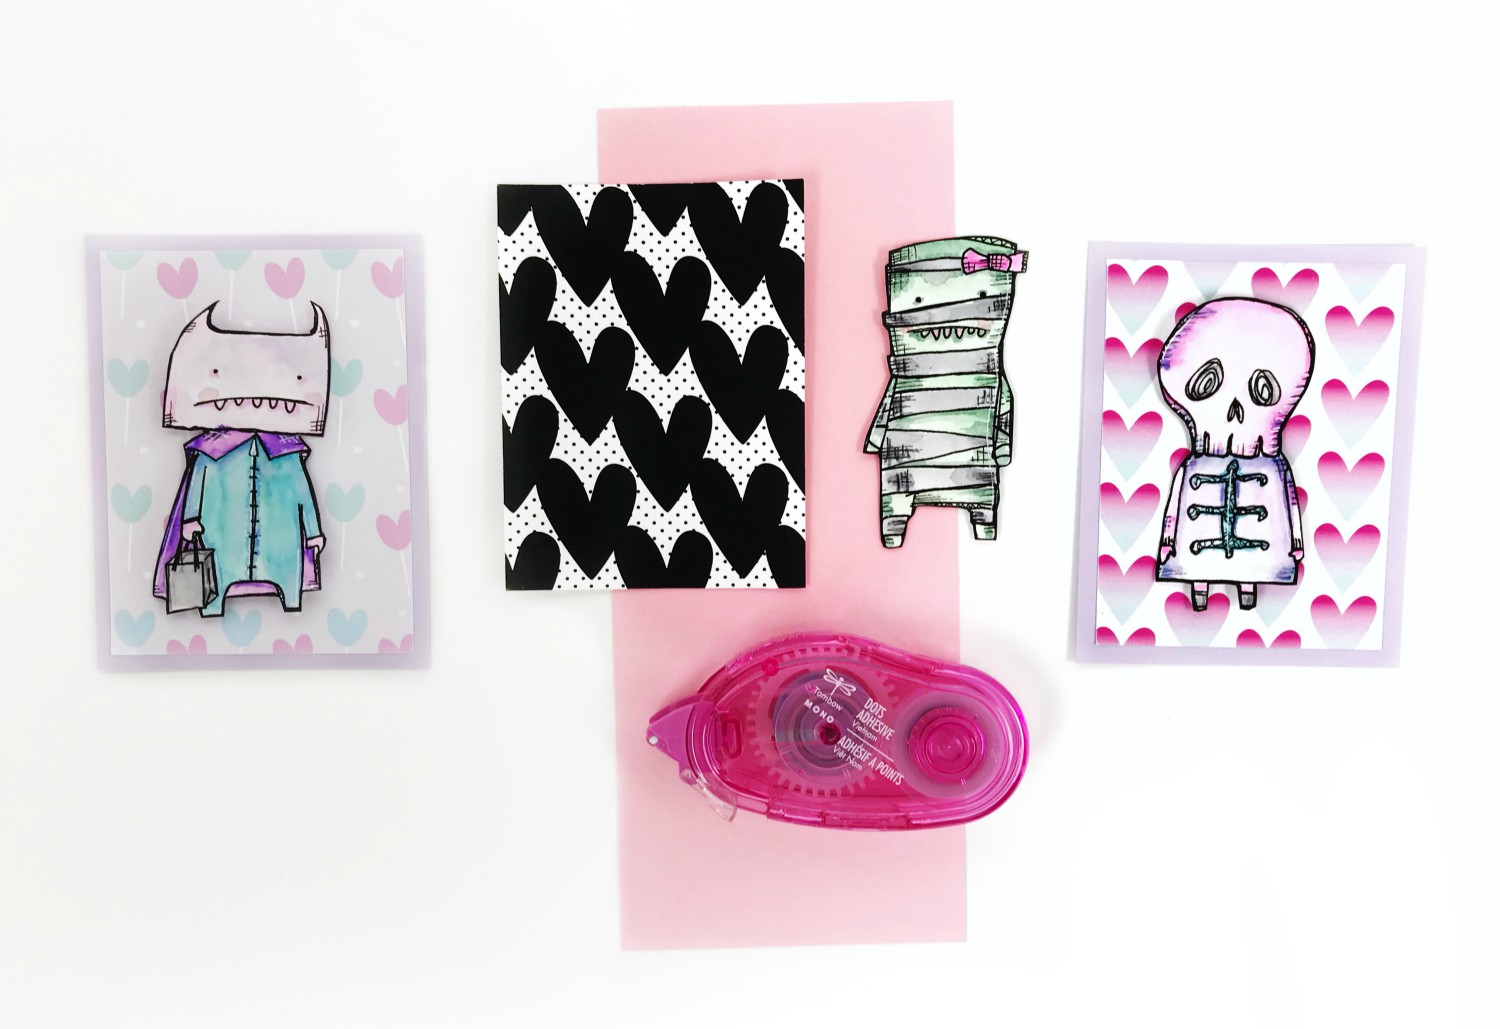
I’m using the MONO Multi XL Liquid Glue to adhere my stamped images down. My images dried a little warped due to the nature of watercoloring, so I’m using the MONO Multi to firmly secure all bits down to my card base.
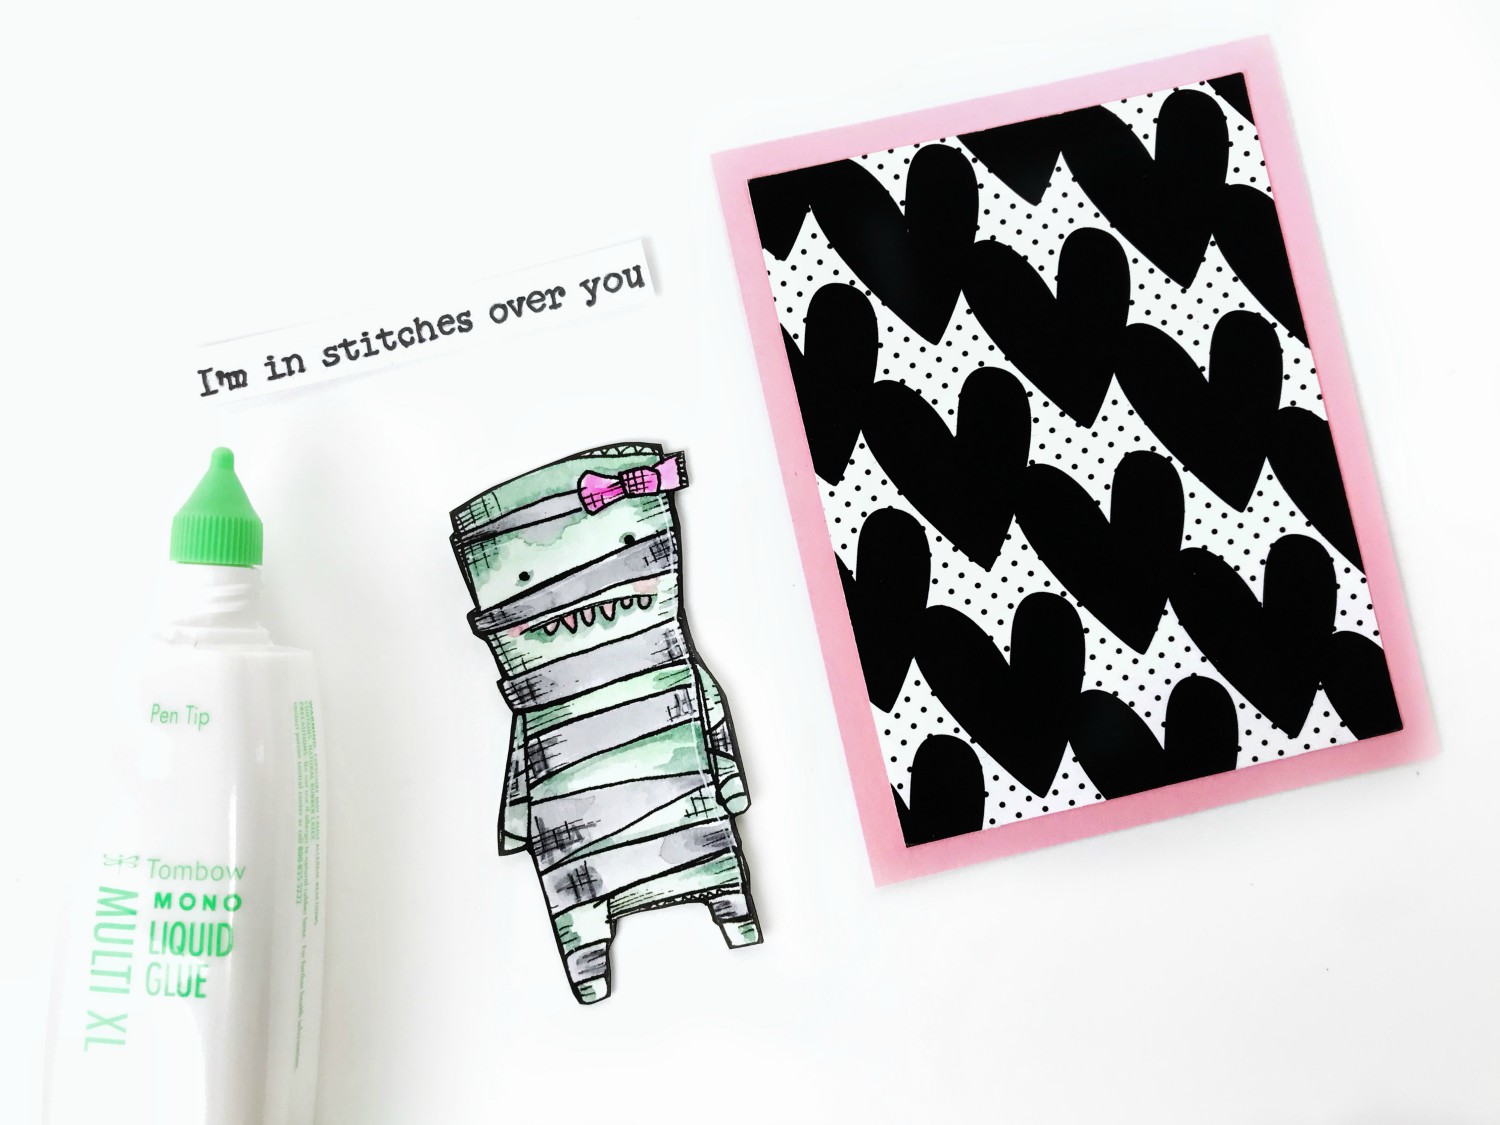
I came up with punny sentiments that match my little characters and printed them out. This step is optional. You can use word stickers or if you know how to hand letter, you can write out your own sentiments.
And there you have it! Your watercolor Valloween cards are all done and ready to be sent to your sweetheart and friends!
Bonus Mini Project Share
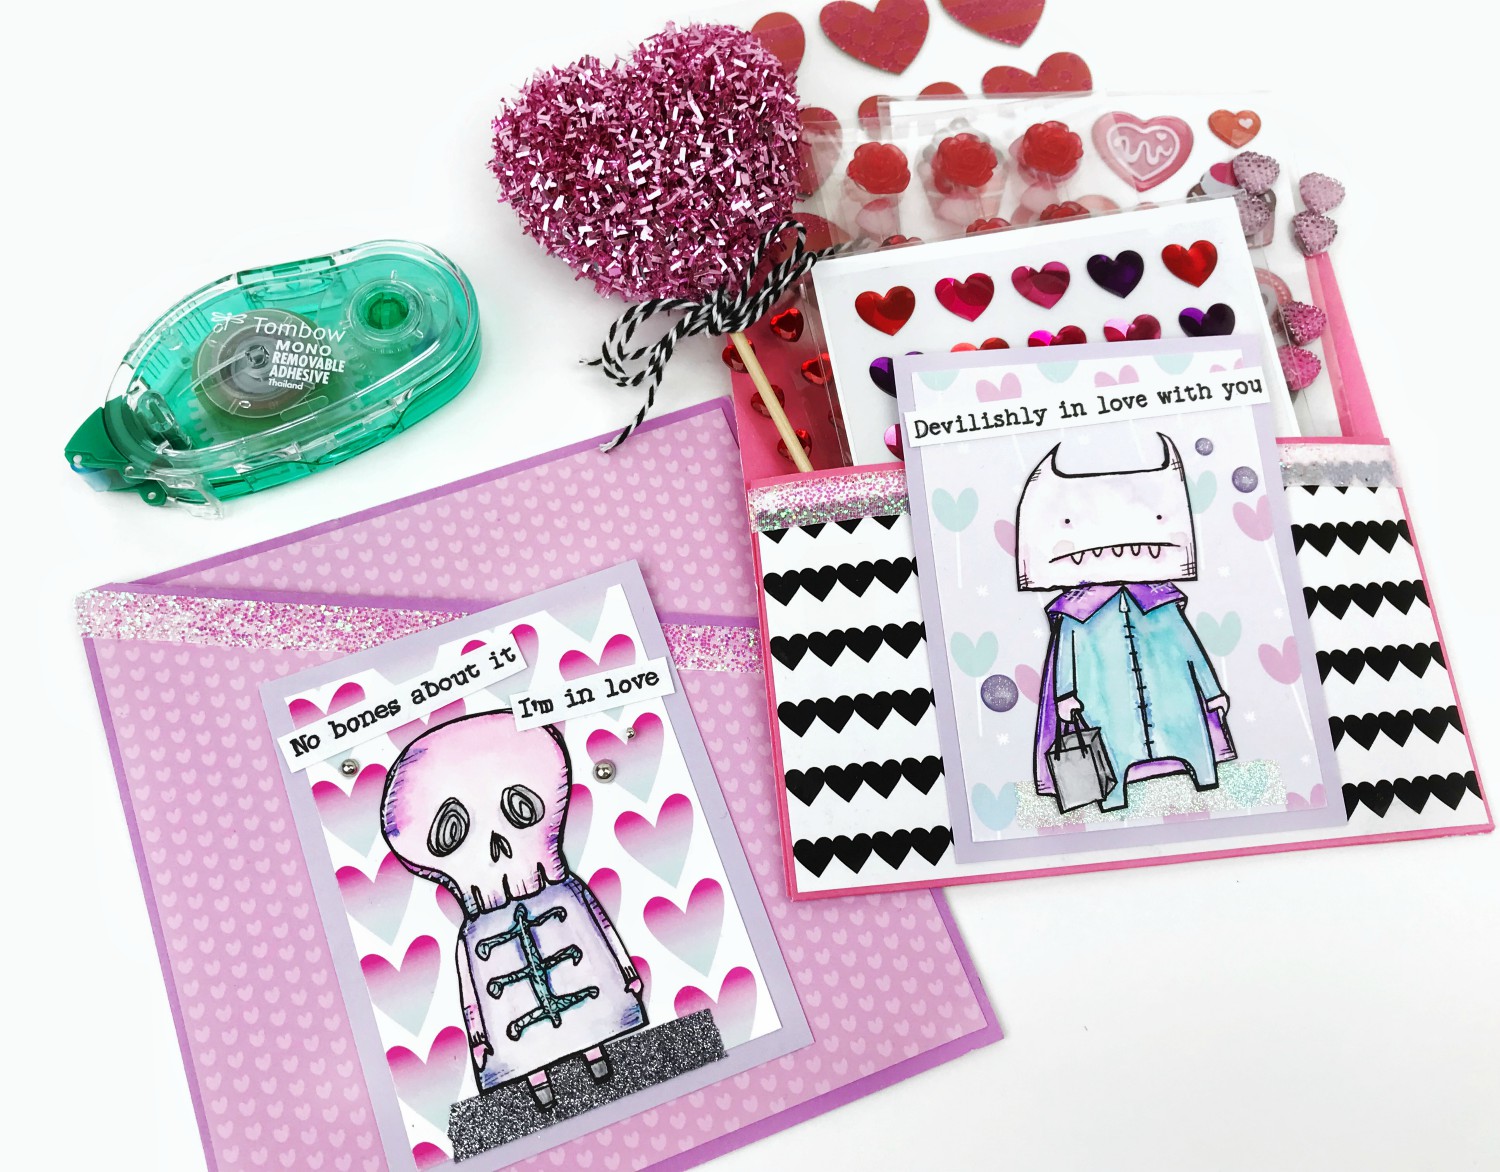
To take this project one step further, you can use the MONO Removable Adhesive to attach your Valloween cards to happy mail! It acts as a decorative focal piece on this loaded pocket, plus my penpal can also remove it and use it elsewhere!
Color Combos
Mummy Girl:
- Dual Brush Pens: 243, 312, 772, N65, N45
- TwinTone Markers: 49-Gray, 86-Mint Green, 22-Pink
Ghostie:
- Dual Brush Pens: 291, 407, 620, 772
- TwinTone Markers: Pale Purple, 19-Violet, 49-Gray, 22-Pink
Lil Devil:
- Dual Brush Pens: 620, 623, 673, 722
- TwinTone Markers: 19-Violet, 74-Aqua, 15-Blue, 49-Gray
Skeleton:
- Dual Brush Pens: 407, 673
- TwinTone Markers: 19-Violet, 22-Pink, 15-Blue, 49-Gray
I hope you enjoyed my take on Valentine’s Day cards in today’s tutorial! If you re-create this project tag @serenabeecreative. I wanna see!
If you’d like to see more from me, check out my Youtube channel or join my Crafty Rebelles Community!
And for more watercoloring inspiration check out these awesome posts from the Tombow Design Team:
Much love,
Serena Bee
Pingback: Handmade Watercolor Card Set - Tombow USA Blog