Hi, Jessica from BrownPaperBunny here. I’m going to show you how to make a two-tone portrait today.
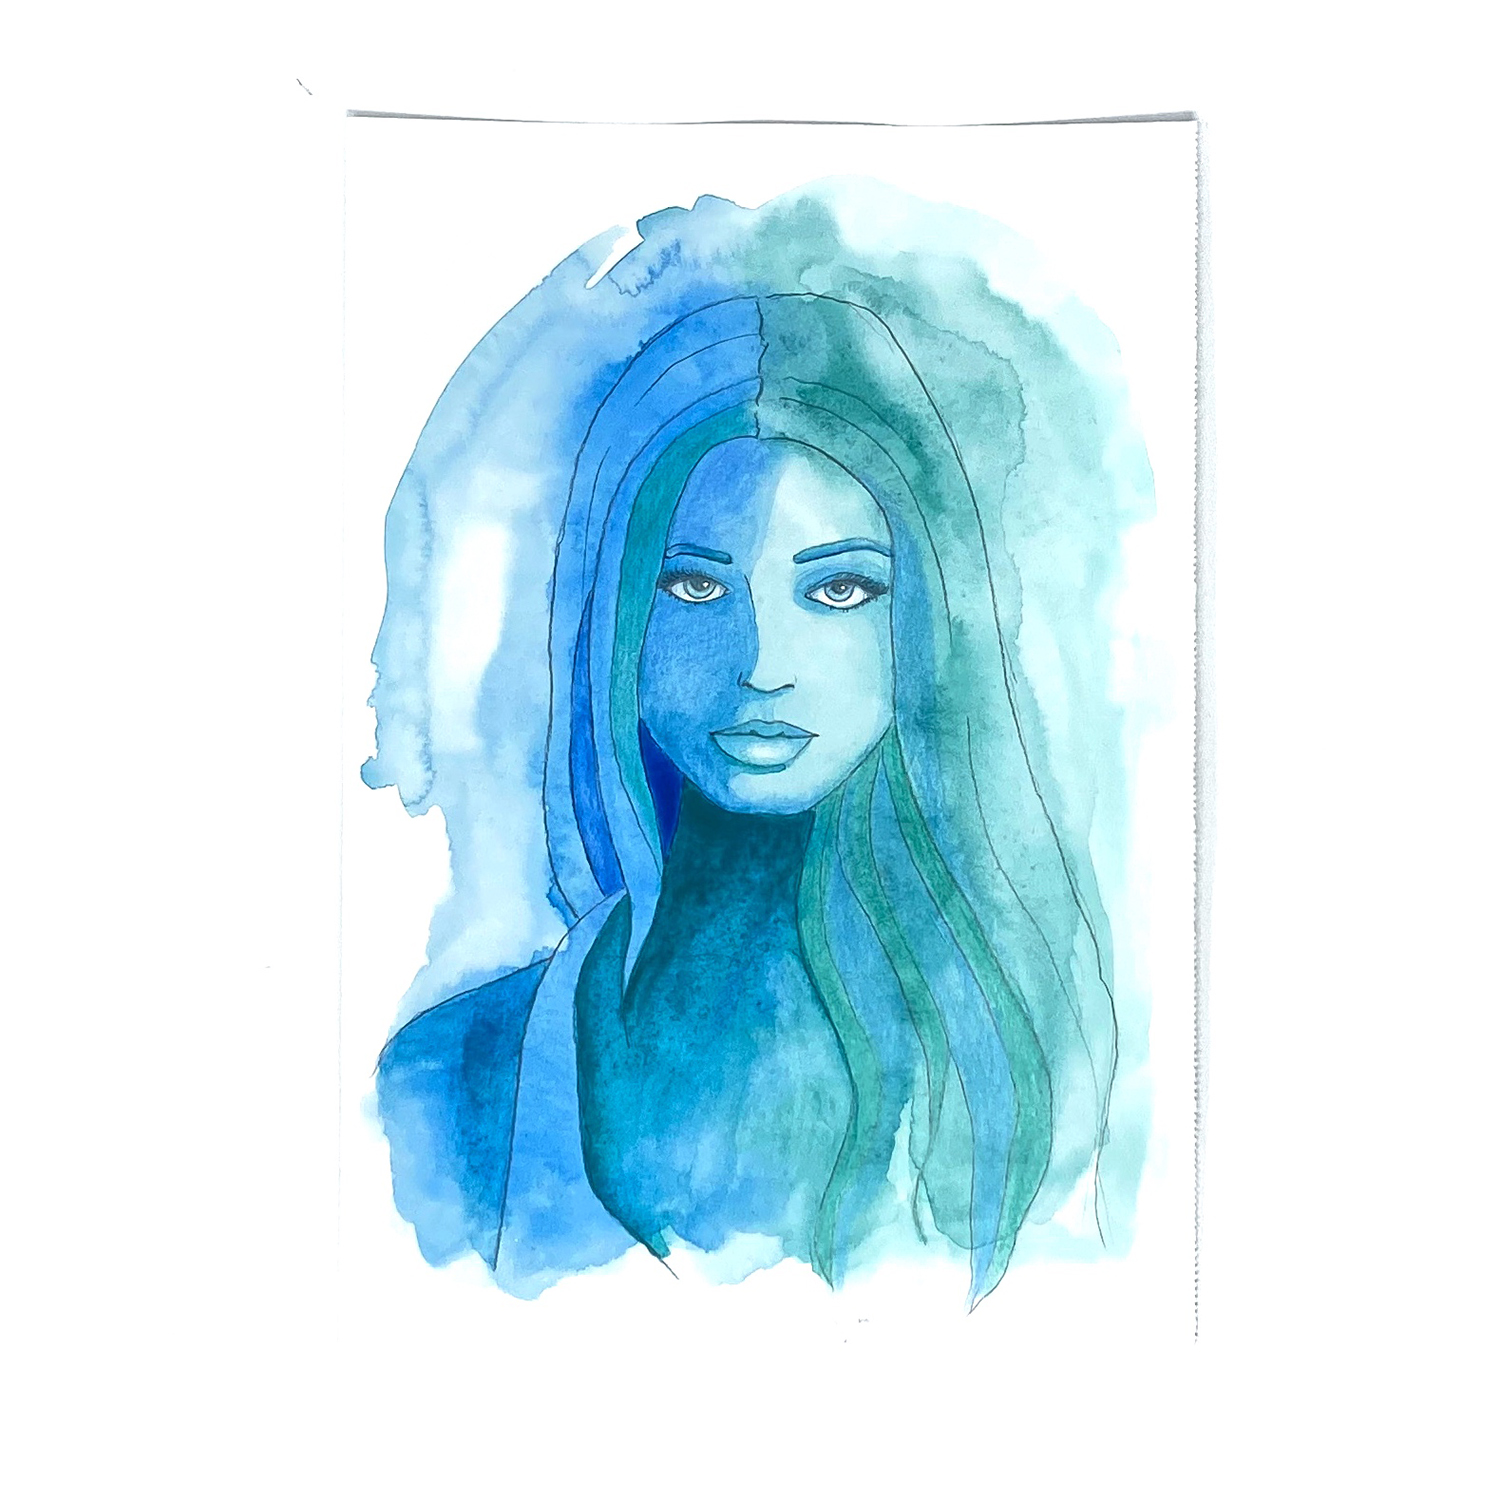
This is a re-do of an old portrait I created back in 2018. I thought it would be fun to see if I could improve on it given the practice I’ve had since then.
Here’s the original. You can see I was a bit heavy-handed with the water. I also blended most of the shadow areas together into one dark mess. Let’s see if we can improve on that!
Follow along with me and let’s make a two-tone portrait together! Here’s what you’ll need to get started.
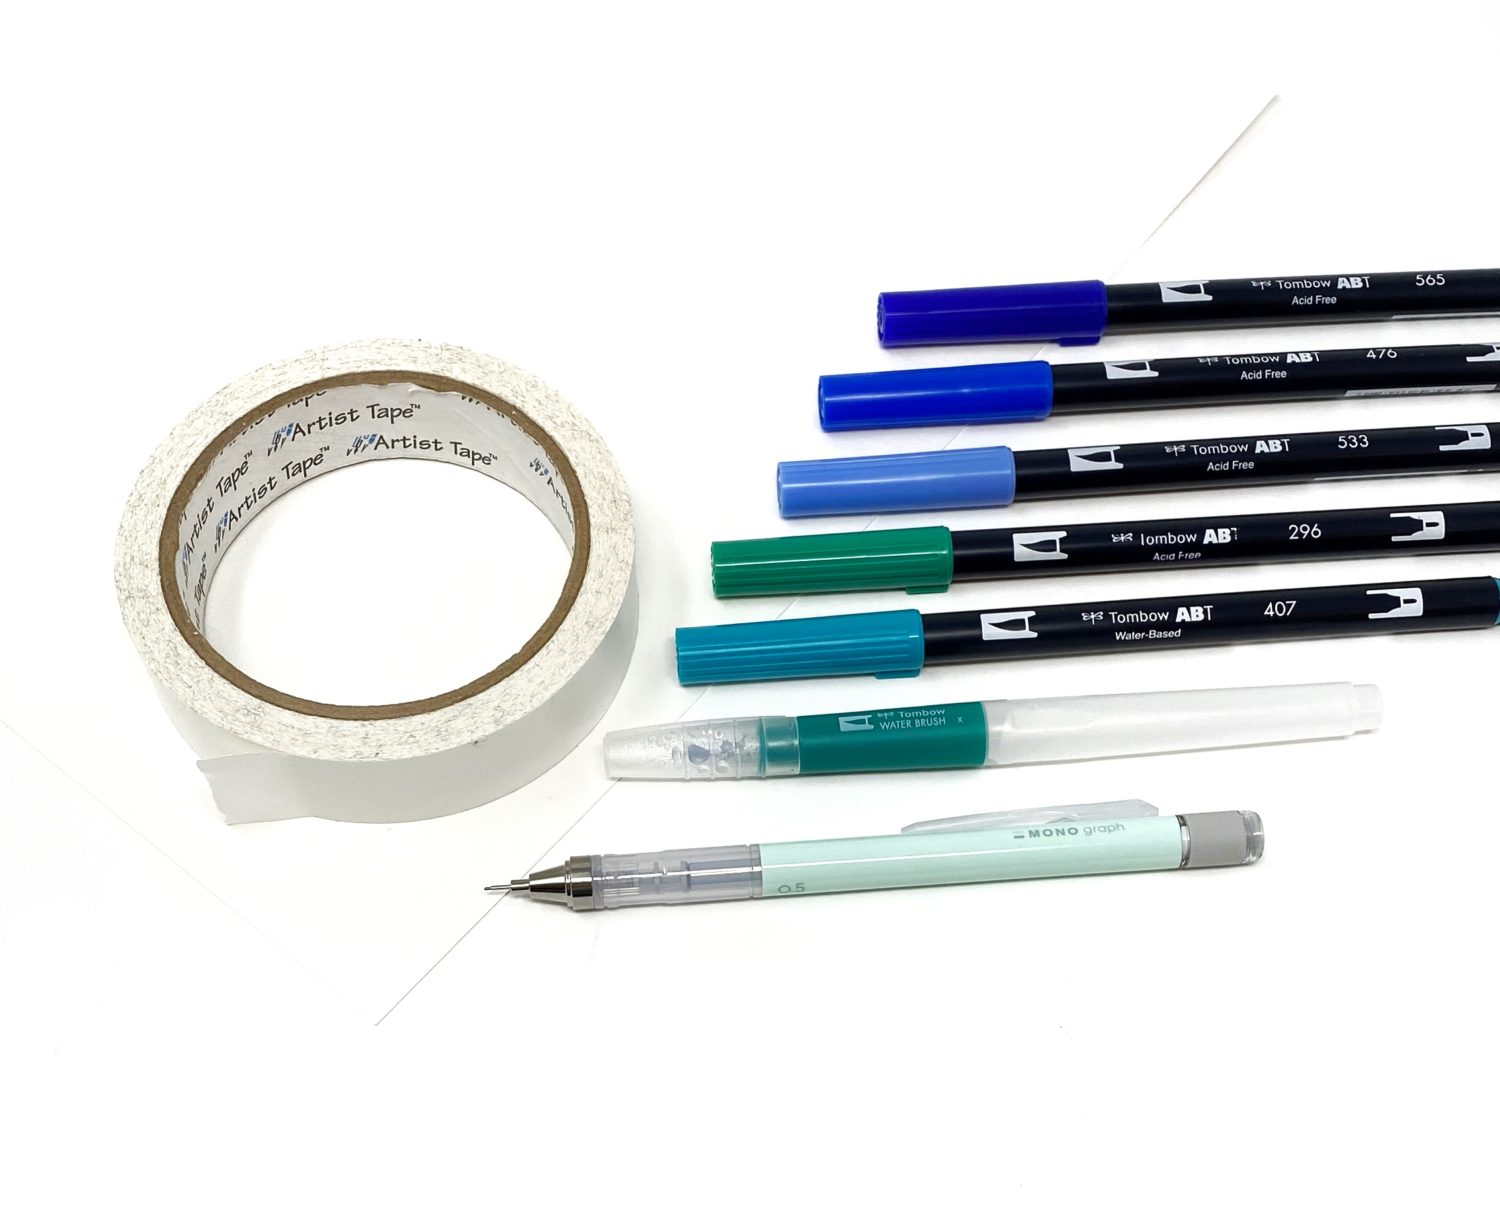
Supplies:
- Tombow MONO Graph Mechanical Pencil
- Watercolor paper
- Tombow Dual Brush Pens
- Artist’s tape
- Tombow Water Brush (Medium)
- Tombow Blending Palette
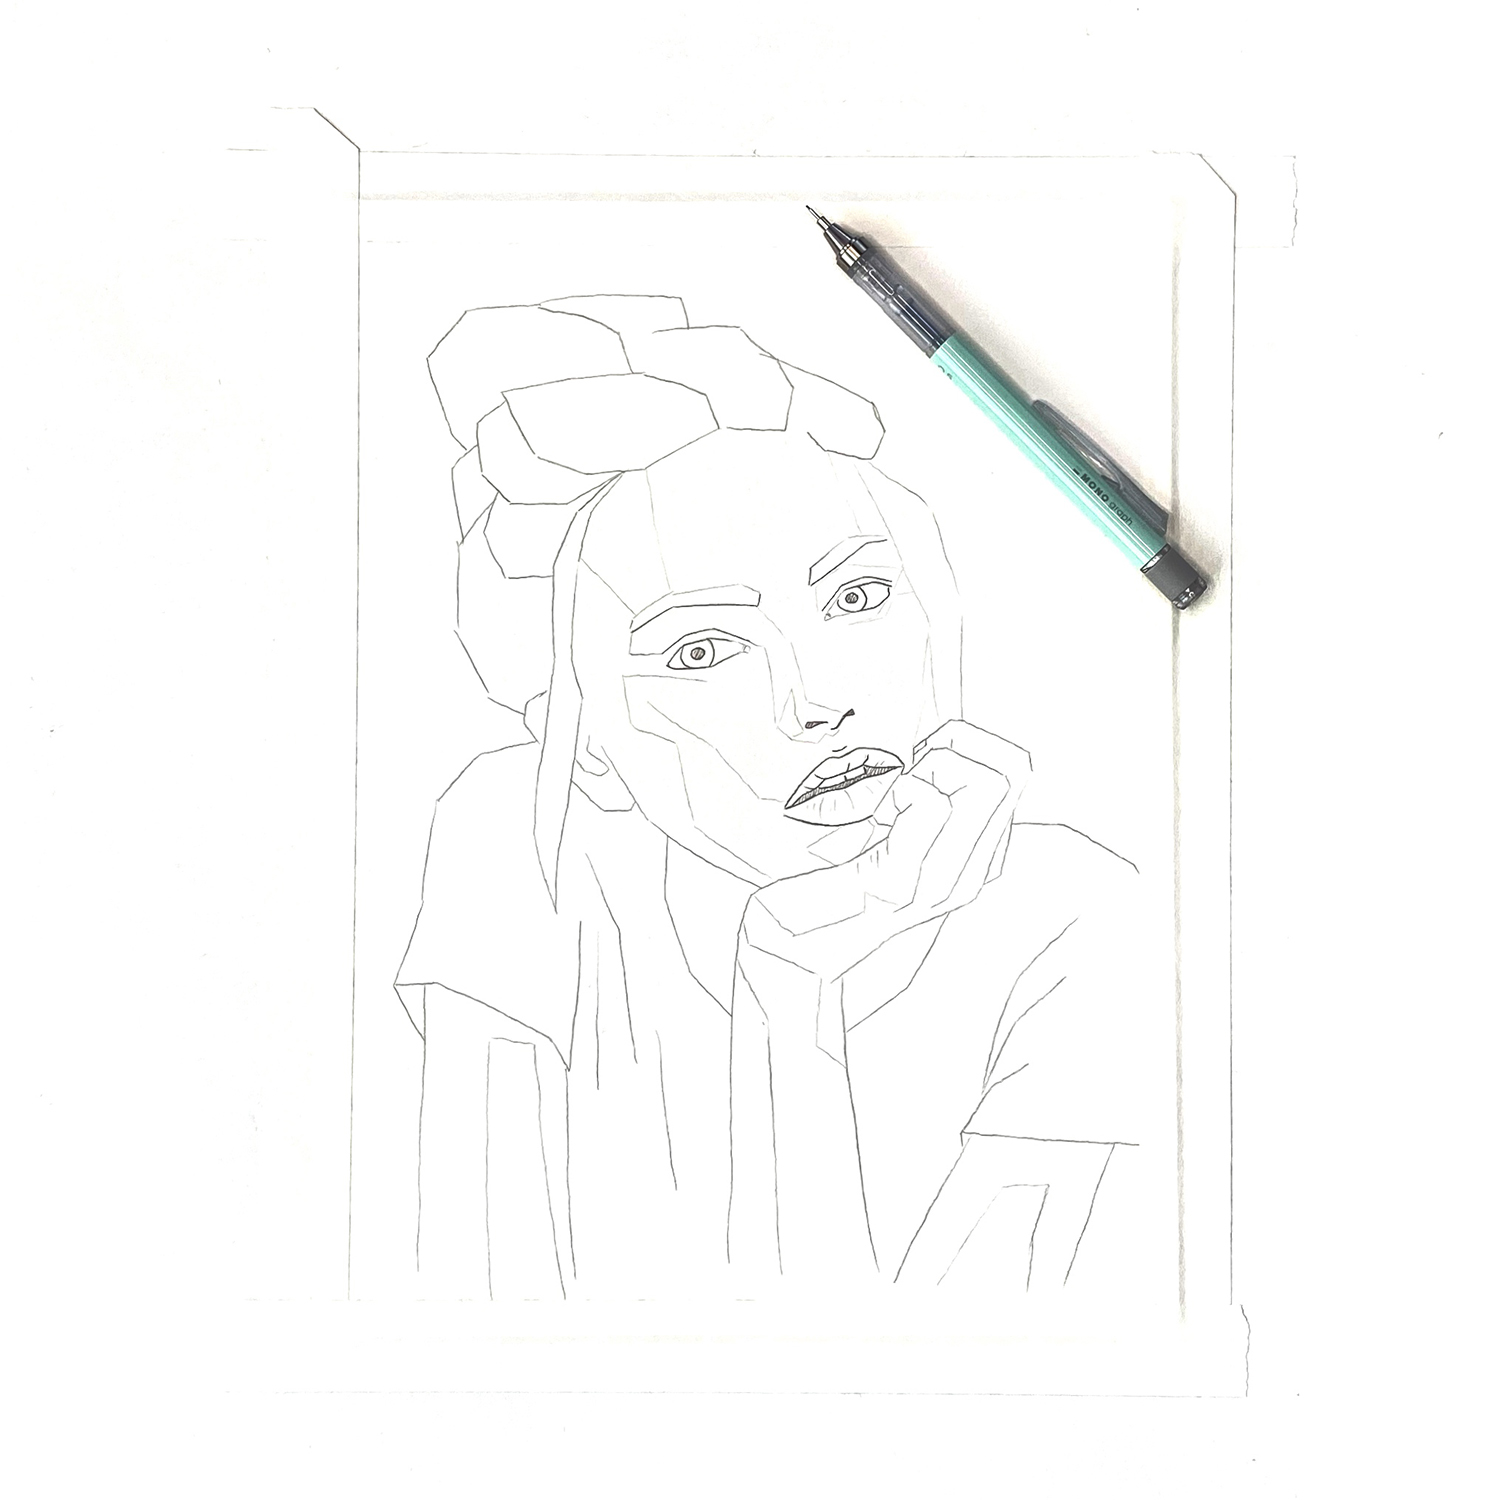
Step 1: Sketch Out Your Face
Find a good reference photo that has clearly defined shadow and light areas. If it’s black and white, that’s even better because we’re going to be sticking to two main colors anyway. Pay particular attention to where the main light source or sun appears to be coming from. You’ll find the shadows get darker in the areas that are furthest from that source.
Stick your watercolor paper onto your table to keep it from warping once you add water. Then sketch your face using your MONO Graph Mechanical Pencil. If you’re not confident with your people-drawing skills, you can use tracing paper to transfer the basic shapes and location of the features onto your paper.
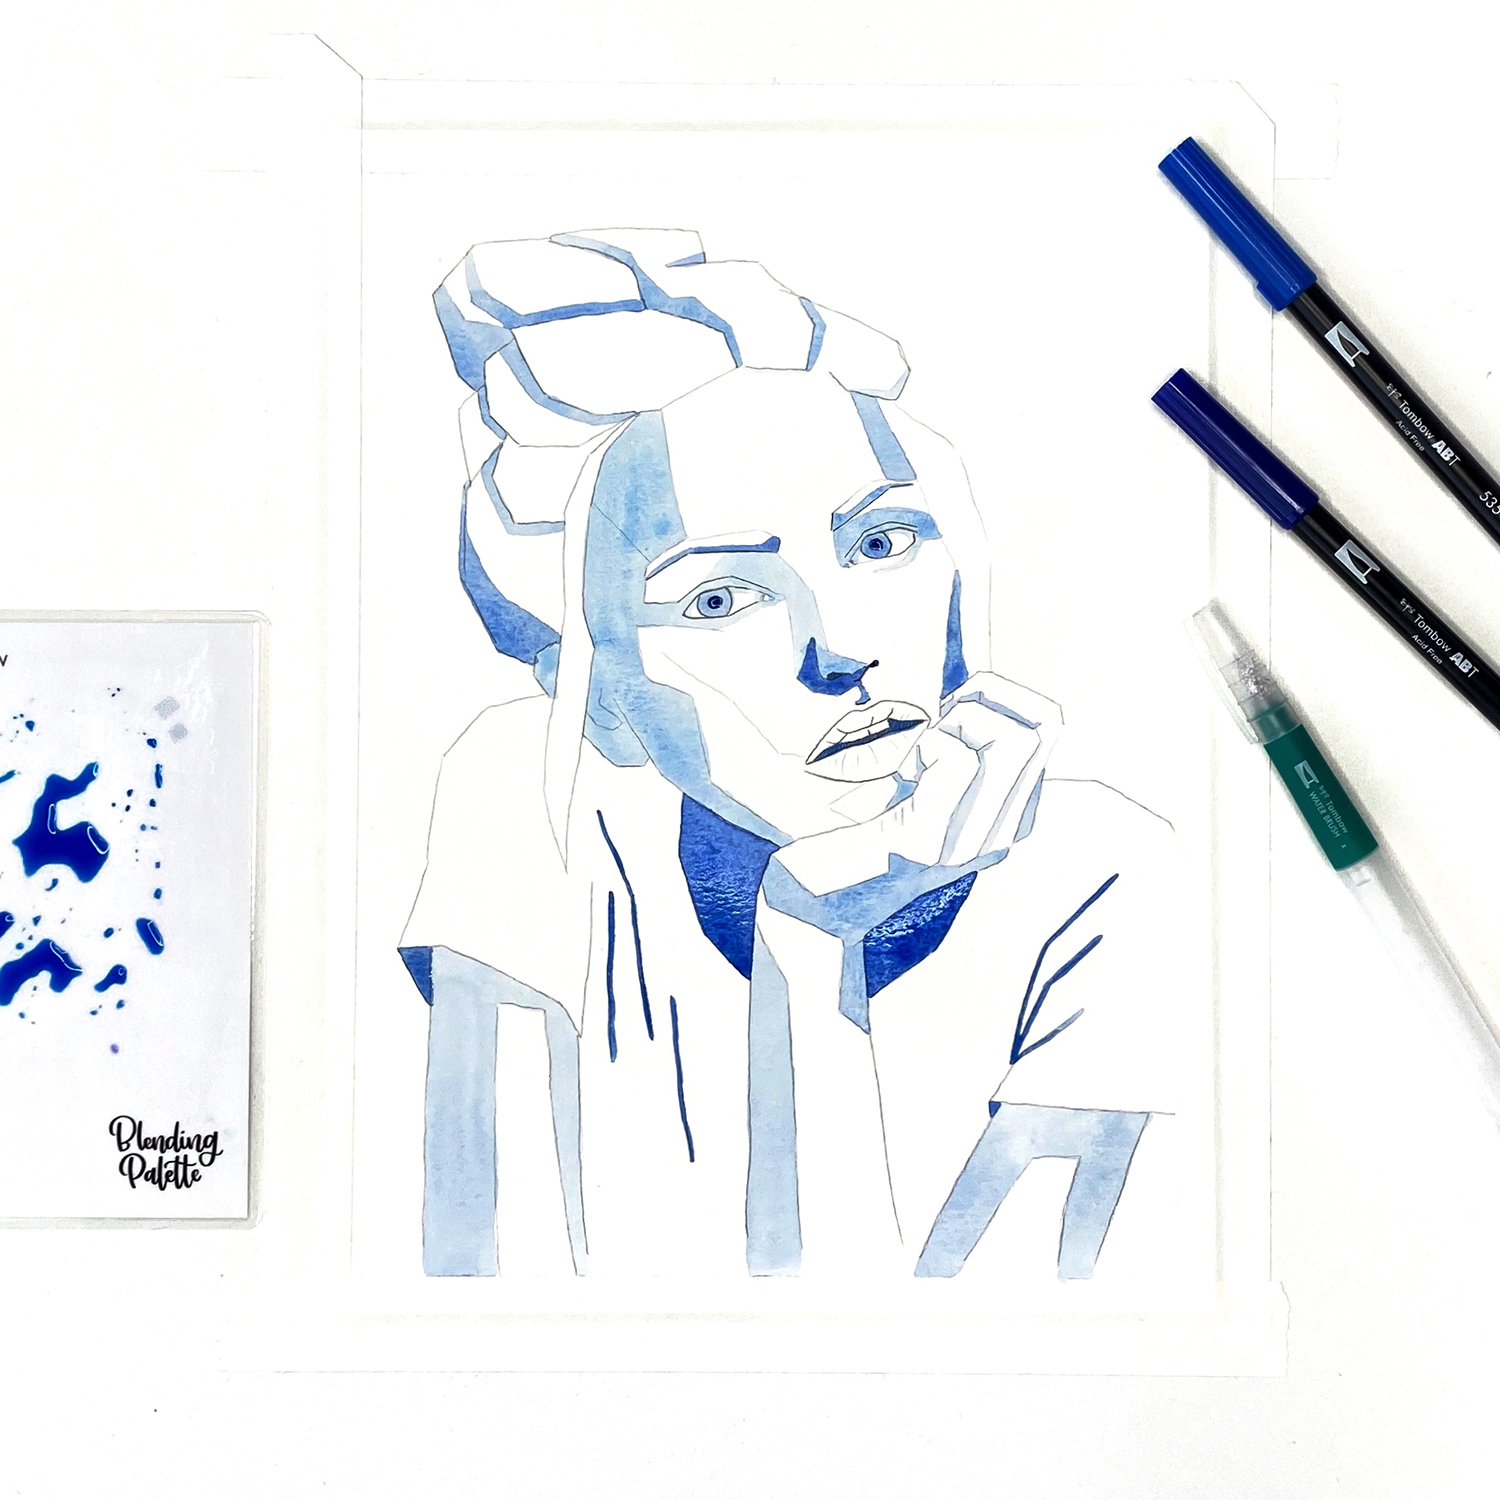
Step 2: Find the Shadows
Choose the two main colors that you want to use for your portrait. I’ve chosen blues and teals, but you could choose any colors that blend nicely together. For example, blue and purple, orange and pink, yellow and green, etc.
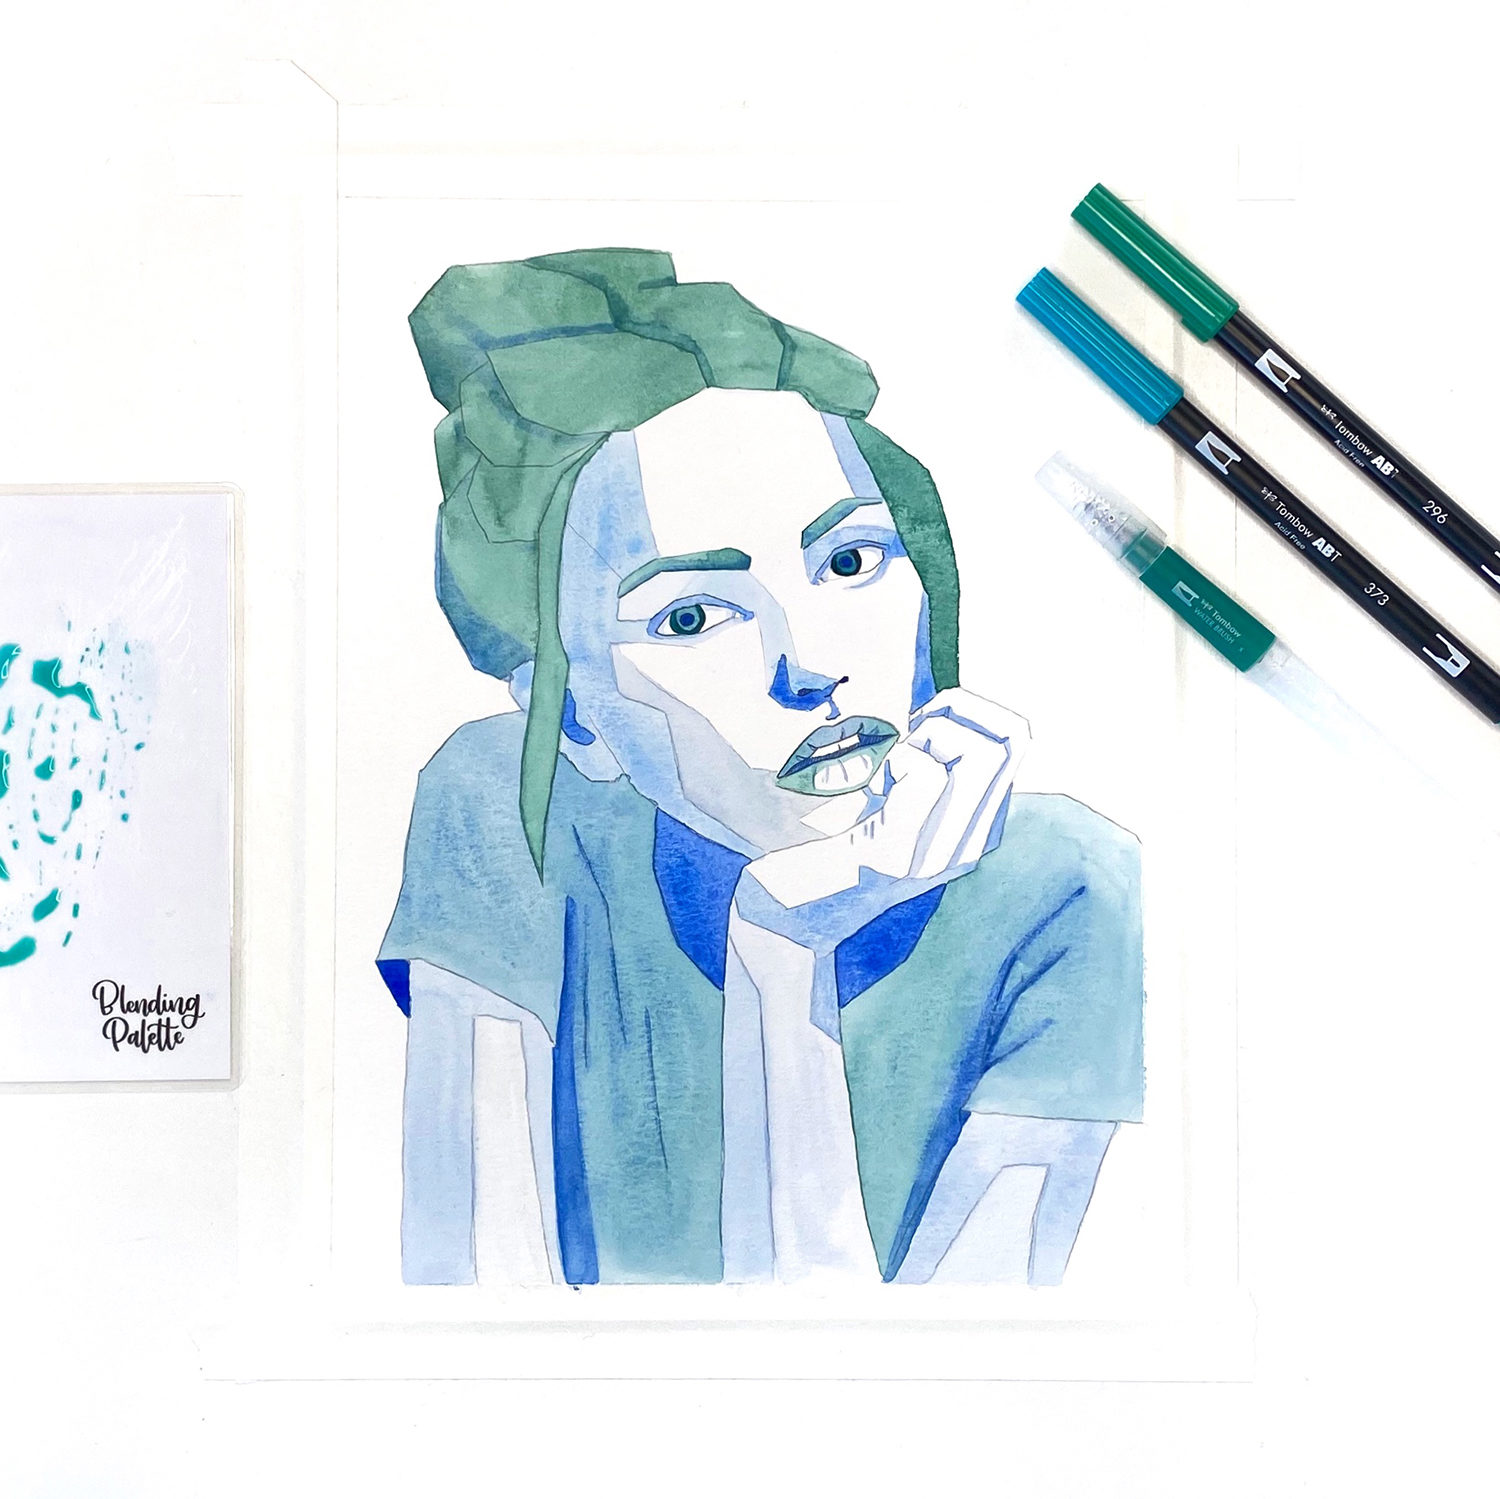
Locate the darkest areas of shadow on your reference photo. Then, scribble some dark ink onto the Blending Palette and use your Water Brush to transfer the ink and map out those darkest areas on your watercolor paper.
Step 3: Layer Colors
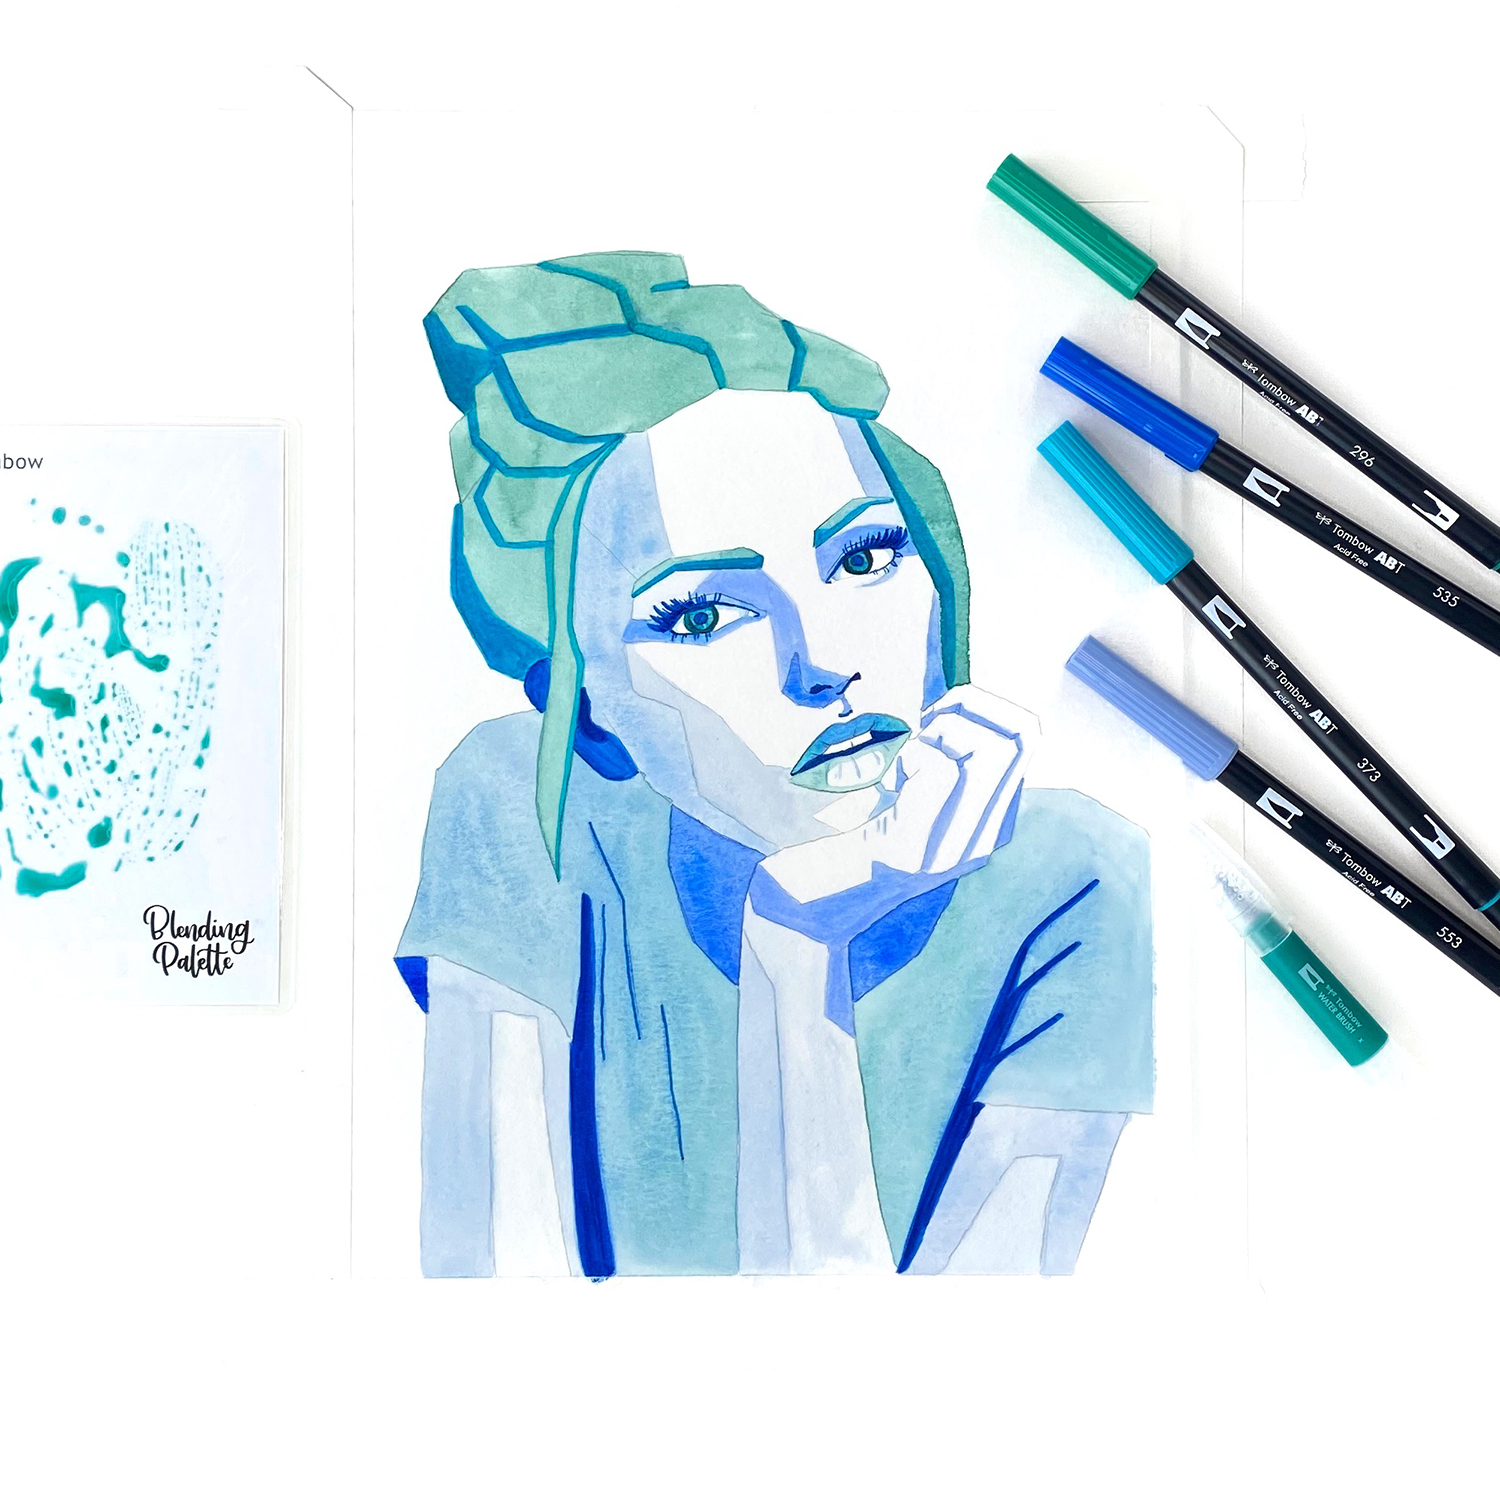
Once your first layer is dry, you can add additional colors or tones over the top. Work your way around the portrait, making sure to let the areas you’ve just painted dry before you paint the areas next to them. Otherwise, the ink will bleed together (like in my original portrait). Use your darkest shades for shadows and your lightest colored Dual Brush Pens on the lightest parts of your portrait. Try to leave some of the paper free of color in the absolute lightest areas to provide more contrast.
Step 4: Add Details
Once you’ve added the bigger areas of color, you can use the brush tip or the bullet tip on your Dual Brush Pens to add some smaller details (eyelashes, lip crease, etc.). You can also go over your darker areas of shadow with Dual Brush Pens directly for added impact and depth.
Step 5: Add a Background to Your Two-Tone Portrait
This step is optional, but you can add a soft wash to the background if you don’t want to leave it white. For mine, I kept the right half lighter because that is where my light source was coming from. It gradually got darker as I moved to the right of the portrait.
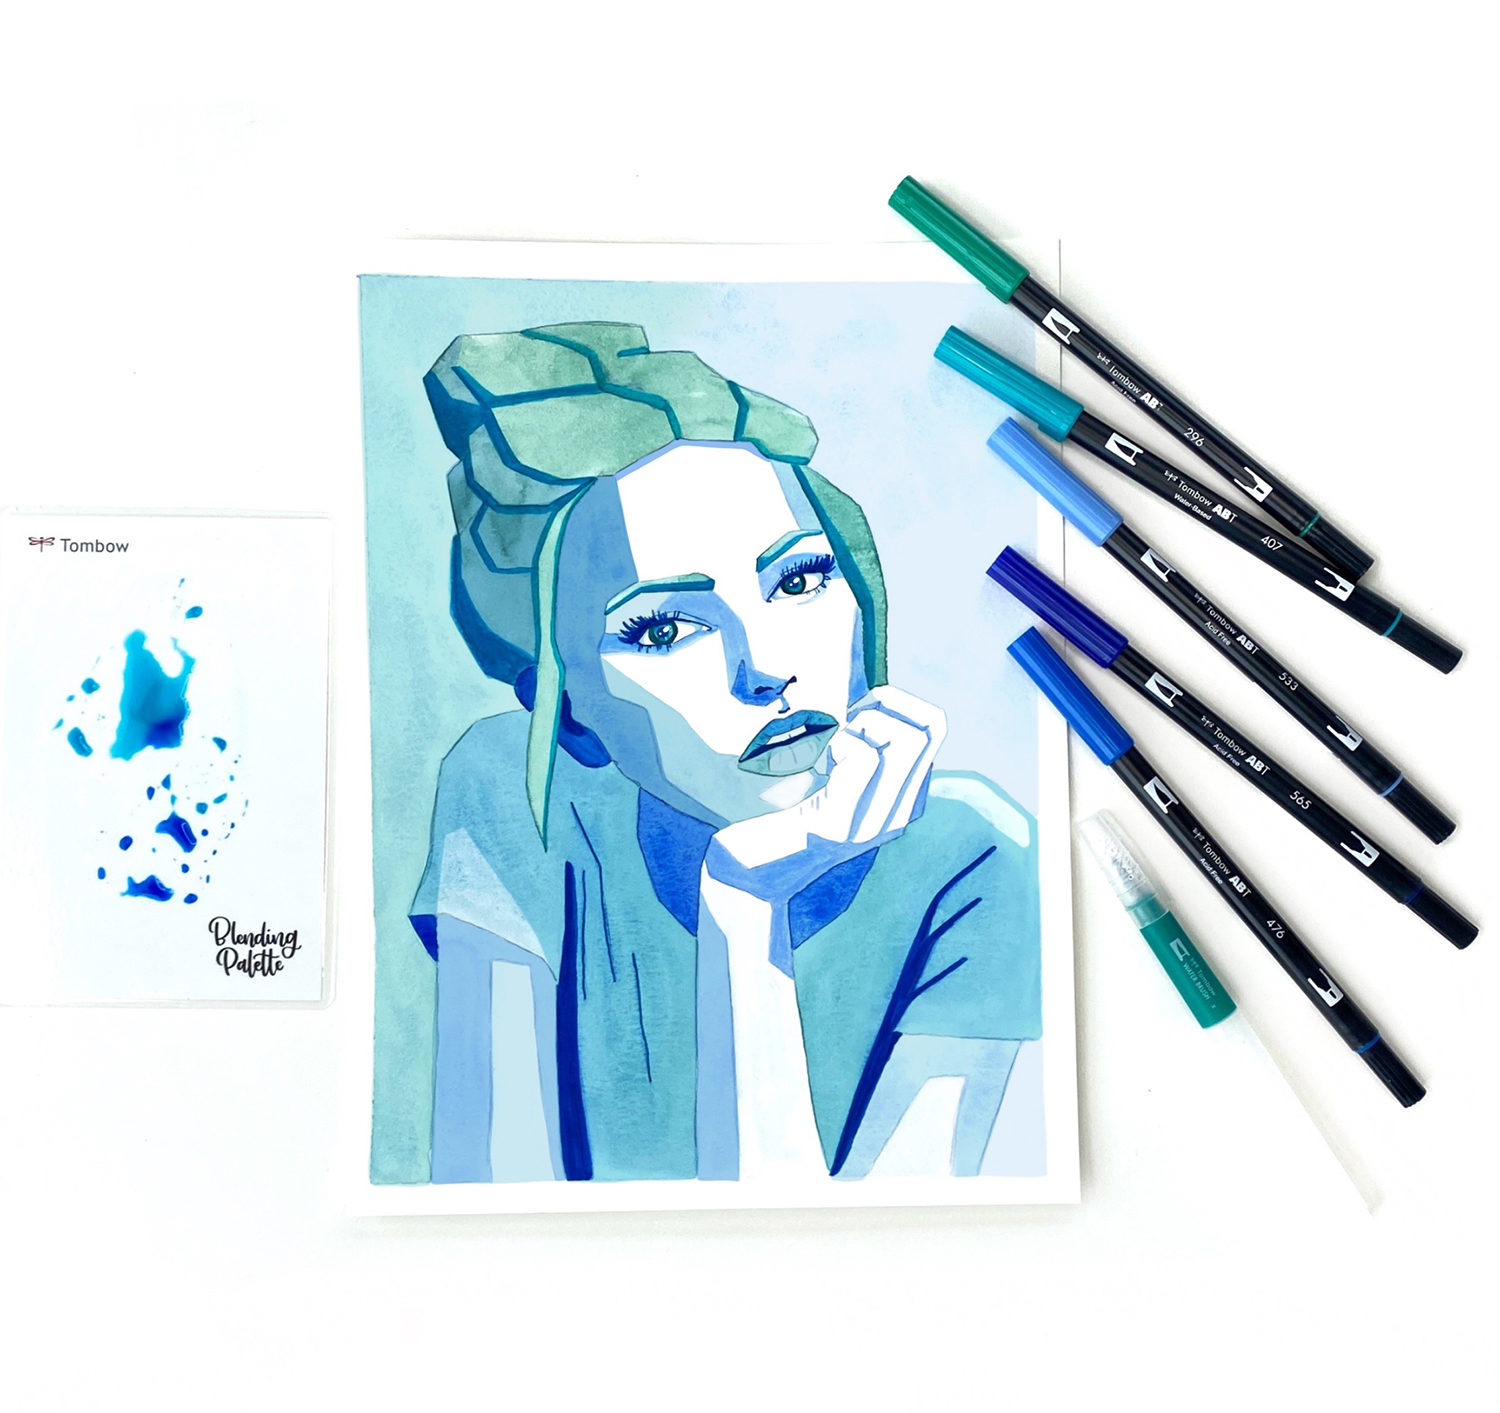
Once everything is dry, you’re ready to snap a photo and share it with us on social media! Tag @TombowUSA and @BrownPaperBunny so we can see!
If you’re looking for more tutorials on portraits or drawing people, check out this Easy Zentangle Portrait tutorial.
love this
wow this is incredible!!
Pingback: Blended Watercolor Lettering With Dual Brush Pens - Tombow USA Blog