Hello everyone, Ali LePere here! Today, I want to show you how I make my outgoing snail mail a little happier! Adding a paper liner to the inside of an envelope adds an element of surprise for the recipient and adds some luxury to a plain old envelope!
Materials
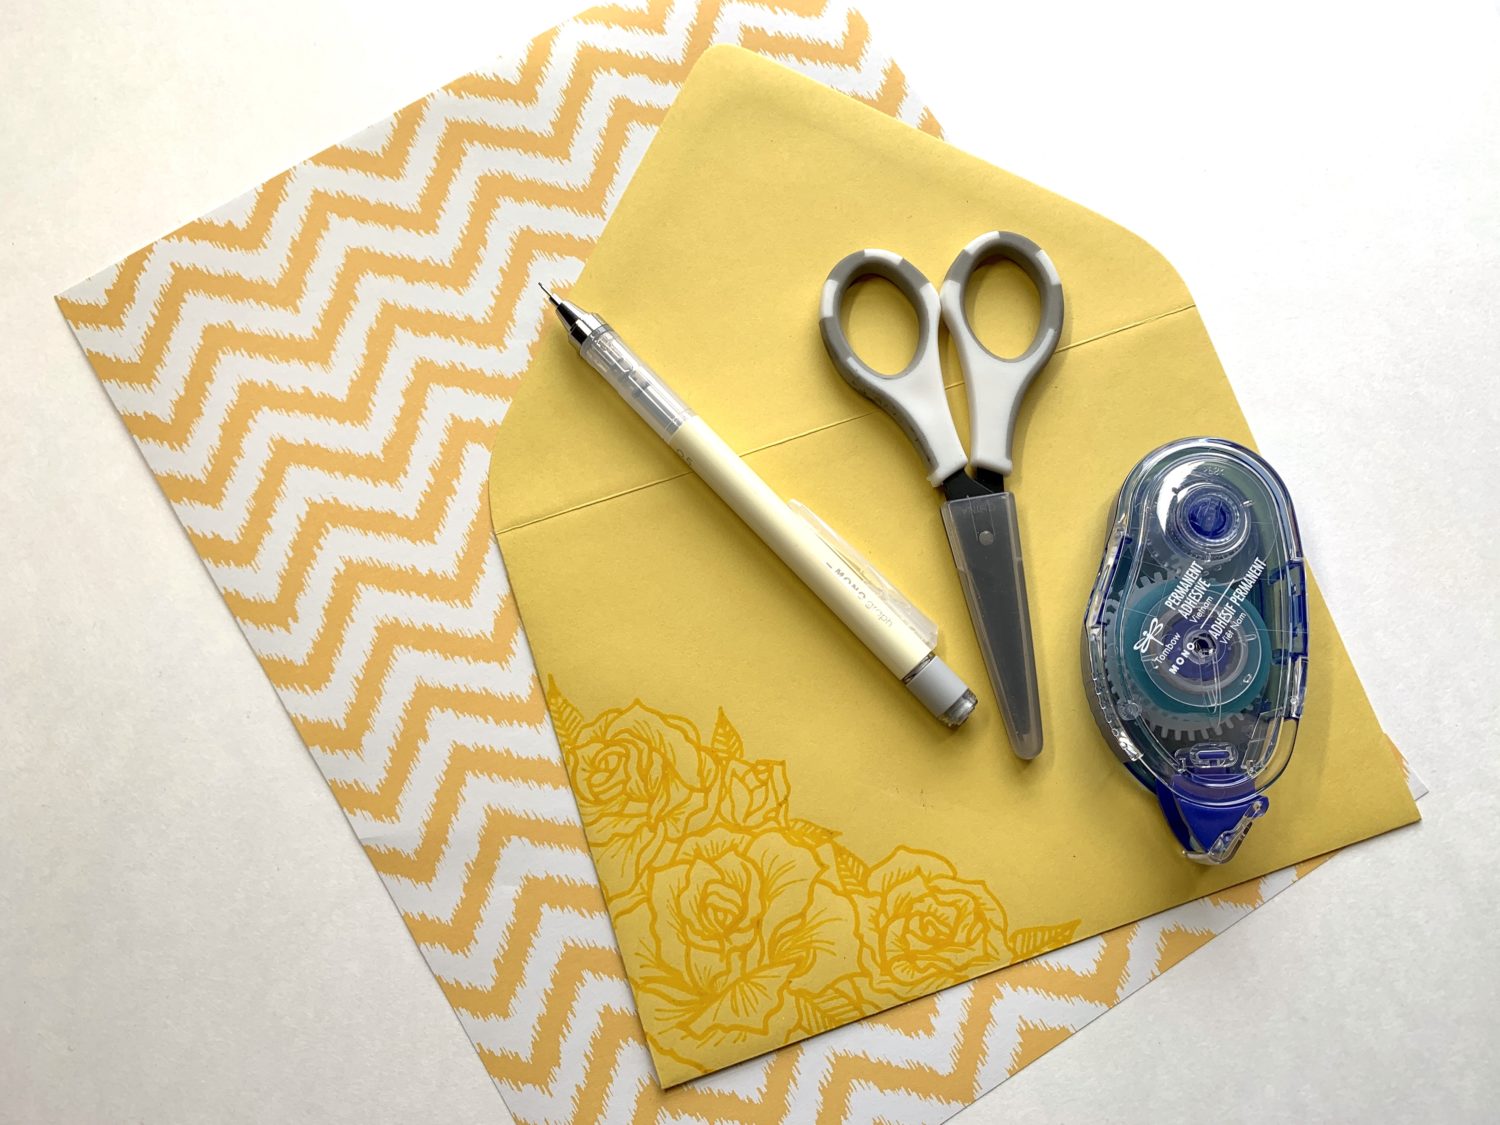
- Tombow MONO Permanent Adhesive
- Tombow MONO Graph Mechanical Pencil
- Envelope
- Scissors
- Decorative paper (lightweight papers are best!)
Step 1
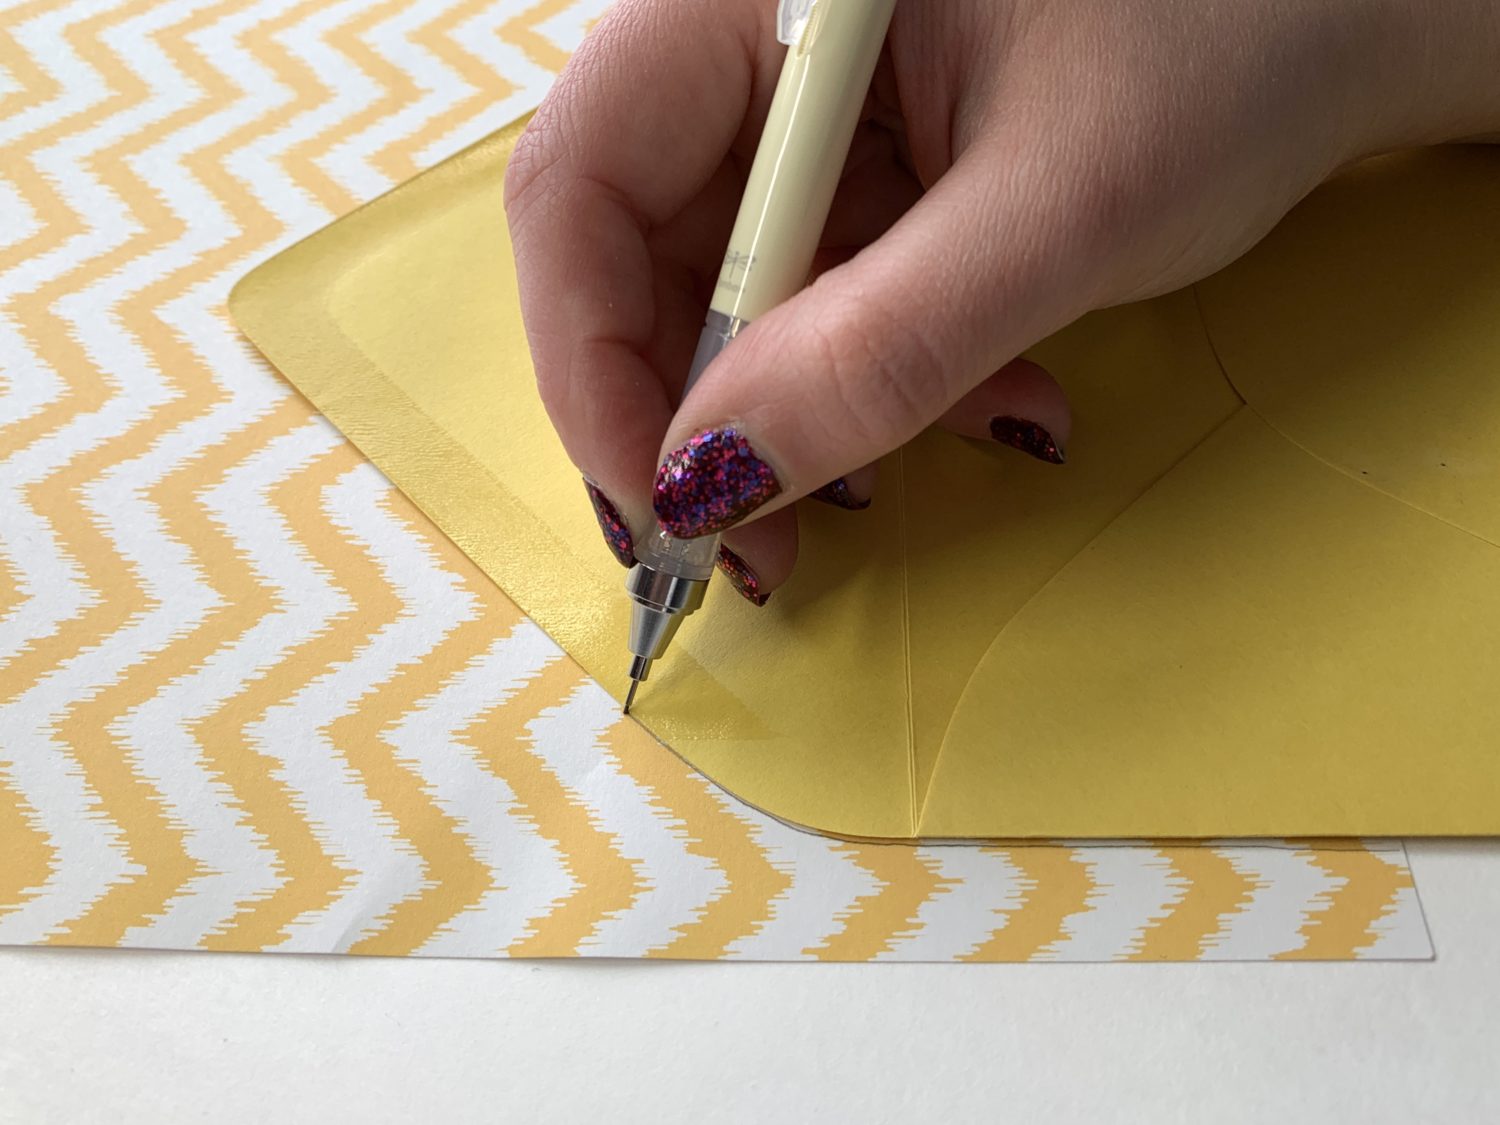
I set the open envelope on my liner paper and drew an outline around the envelope using my MONO Graph Mechanical Pencil. For this step, I payed close attention to the bottom flap of my envelope. The liner doesn’t actually need to cover the entire inside of the envelope. I only need the paper to go past that bottom flap.
Step 2
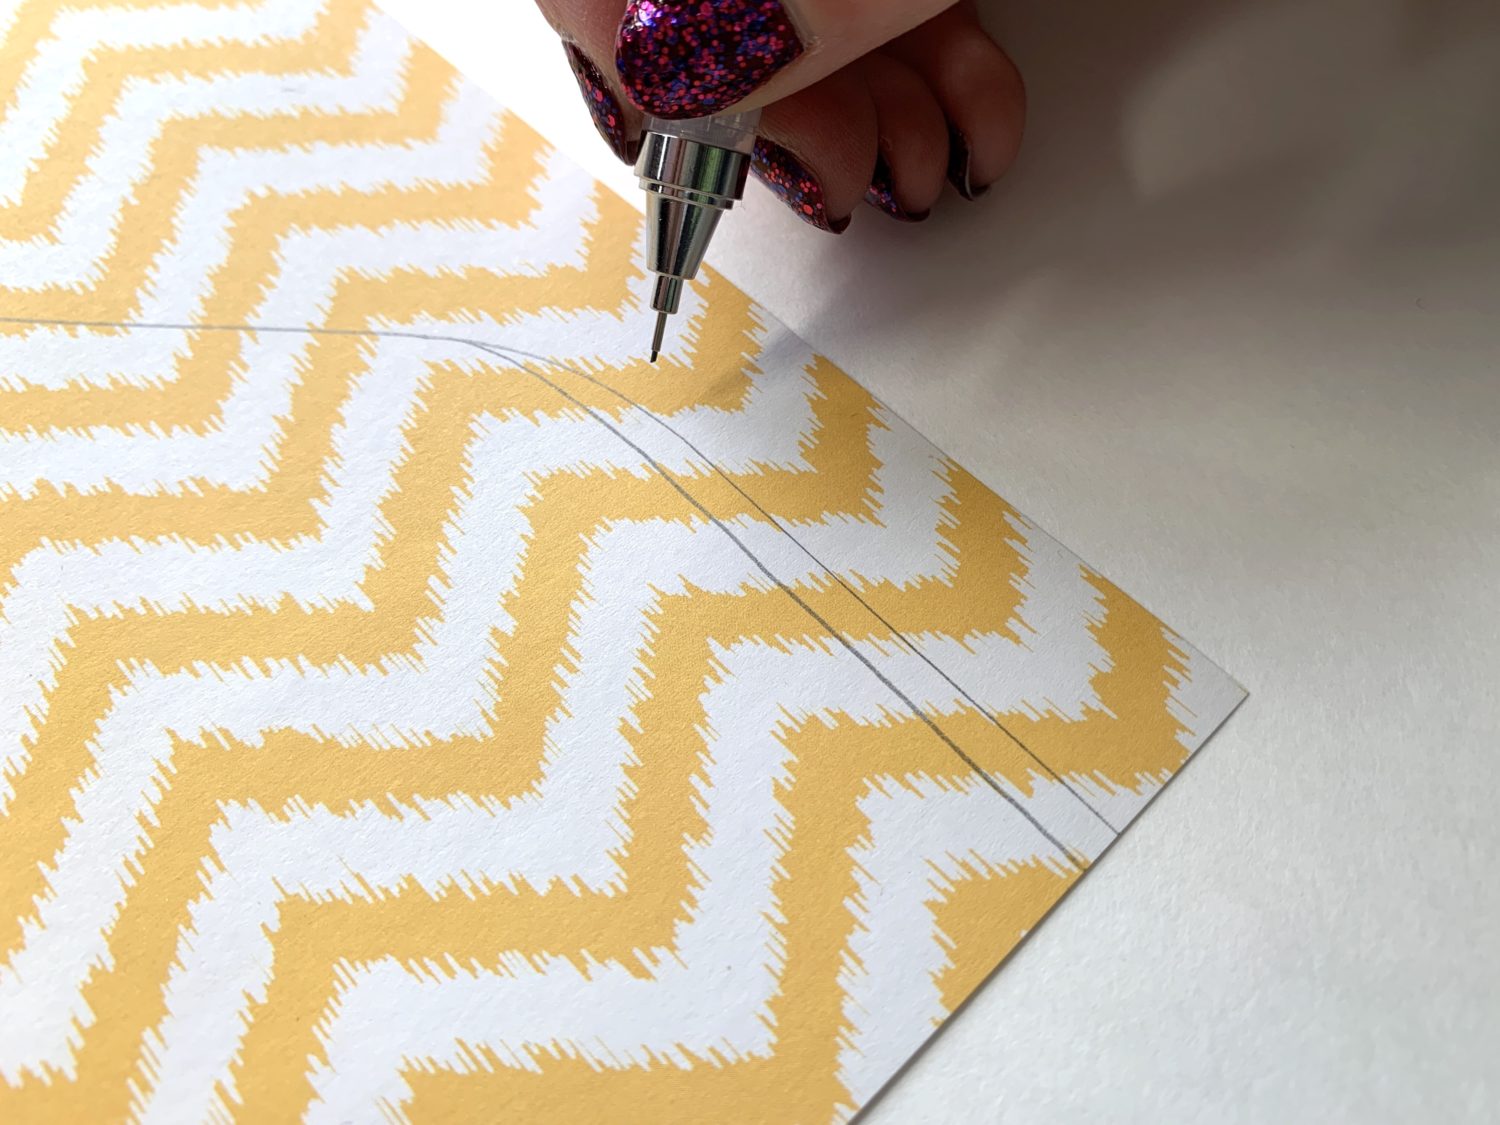
Since I don’t like the liner paper to be right up against the envelope, I altered the liner outline to be a little bit smaller. I used my pencil to mark lines about a quarter inch from the left and right inside edges of the original outline.
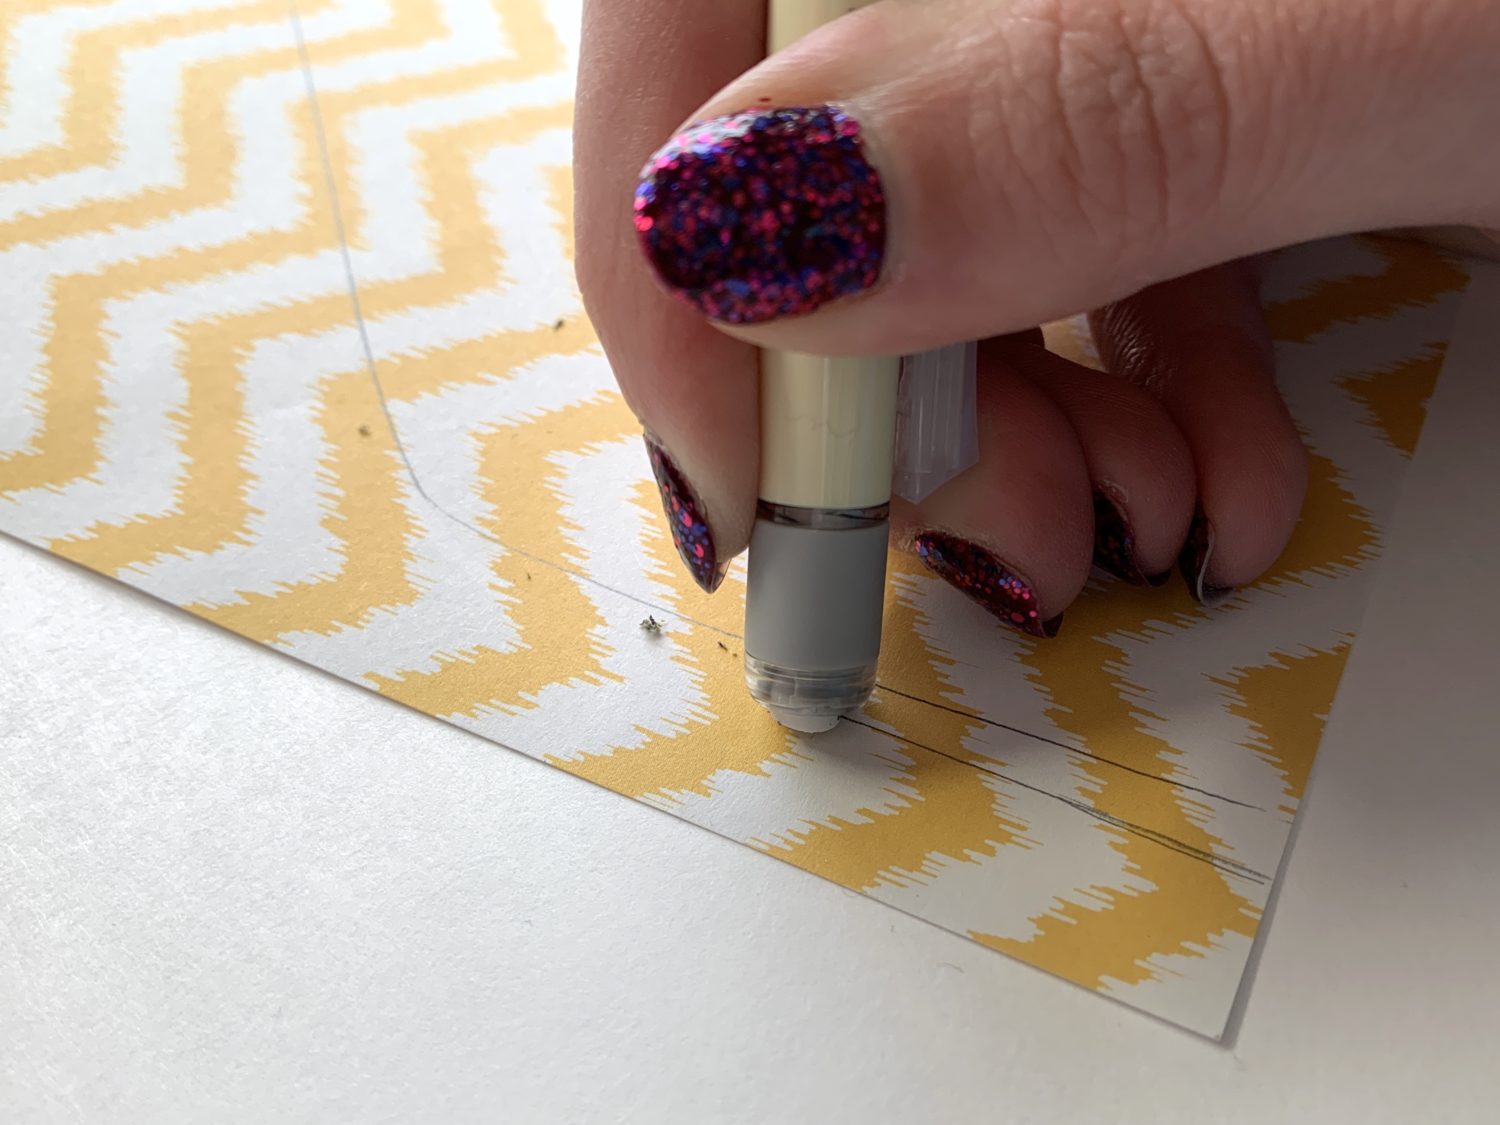
Then, I erased the outer lines.
Step 3
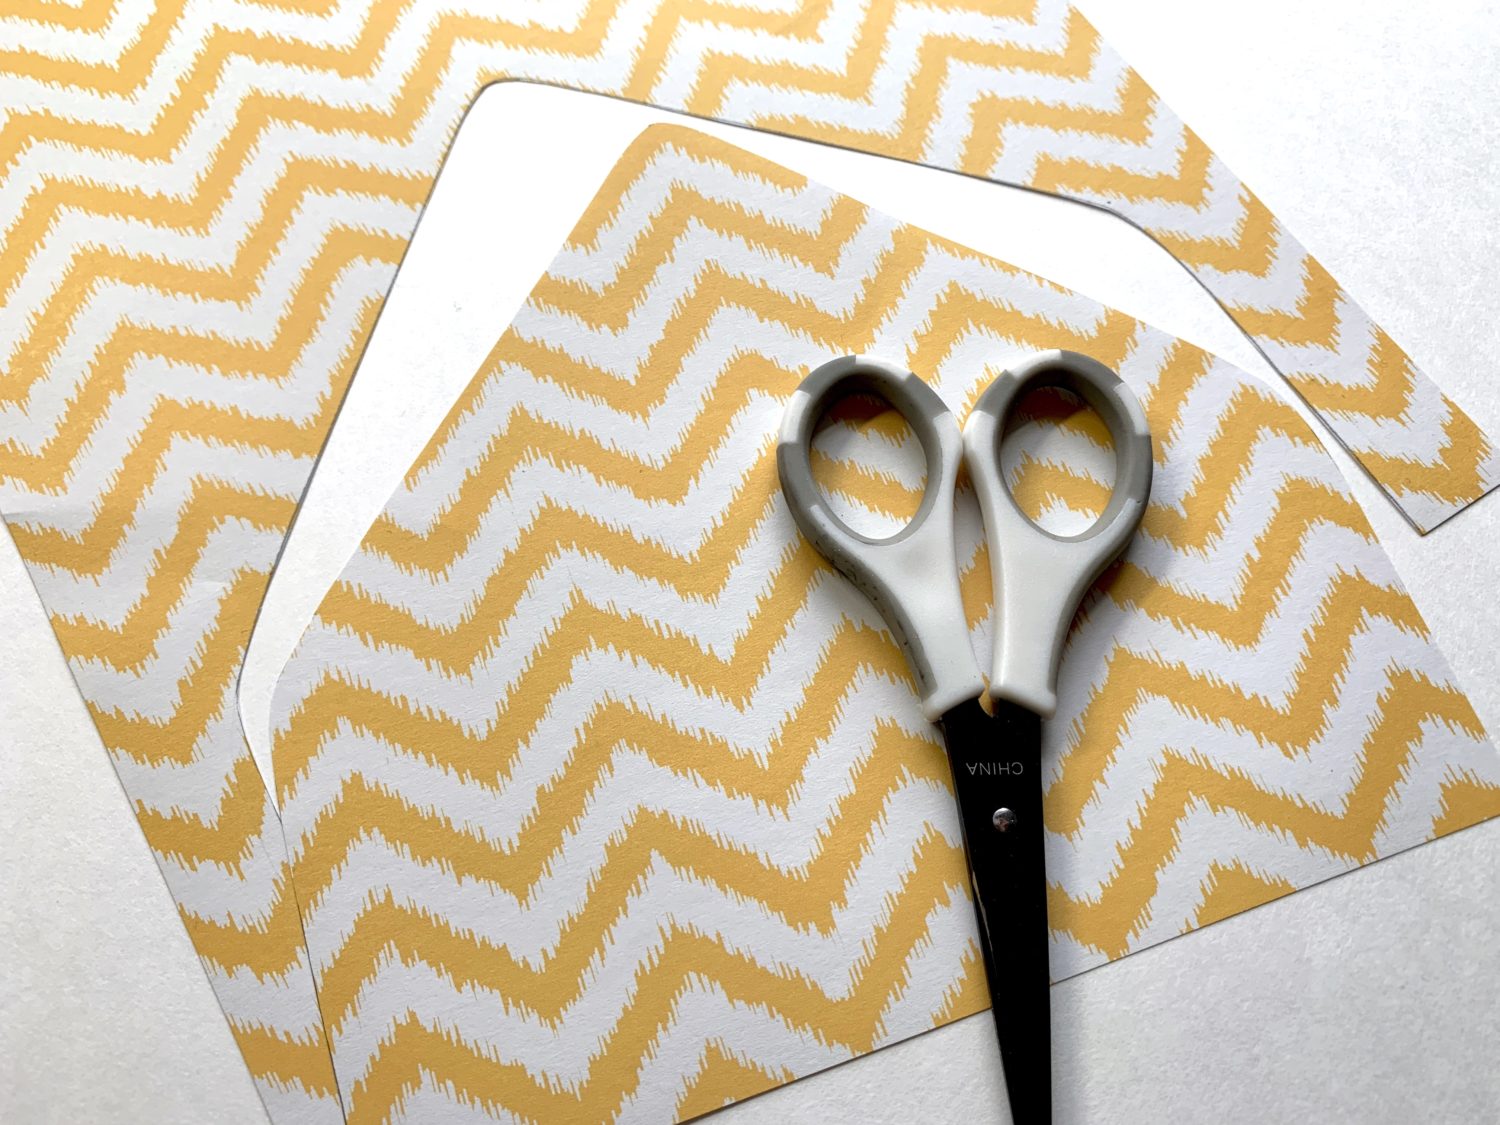
Next, I used my scissors to cut along the pencil outline.
Step 4
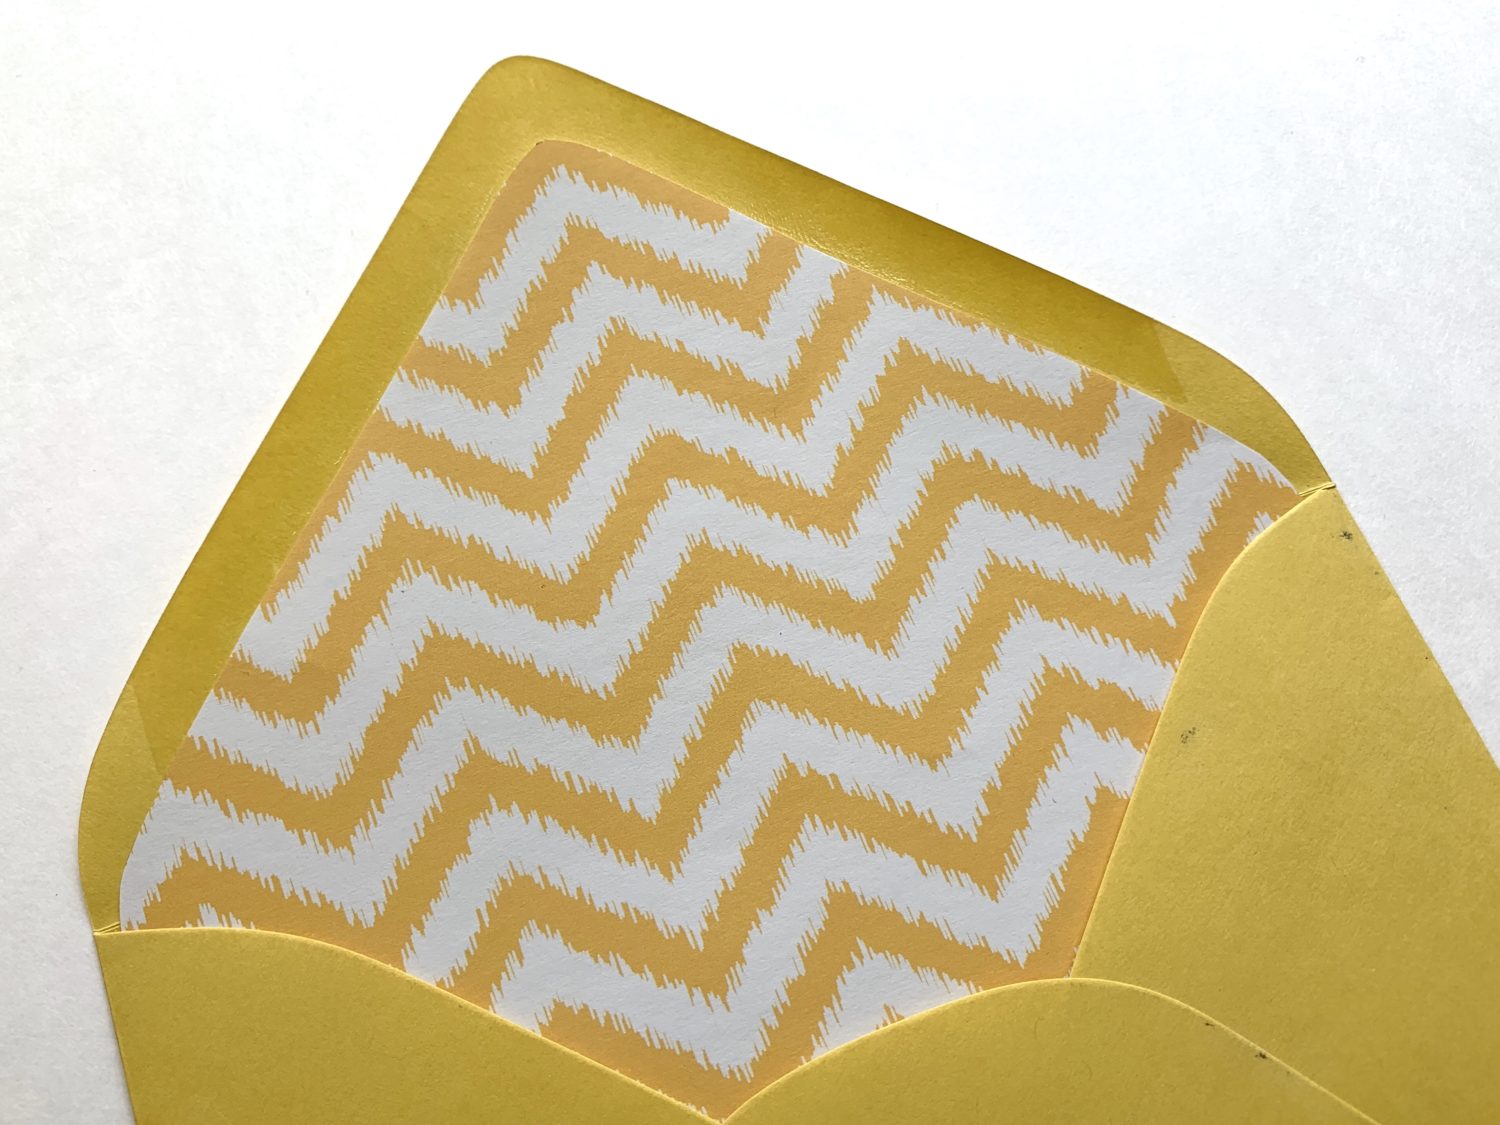
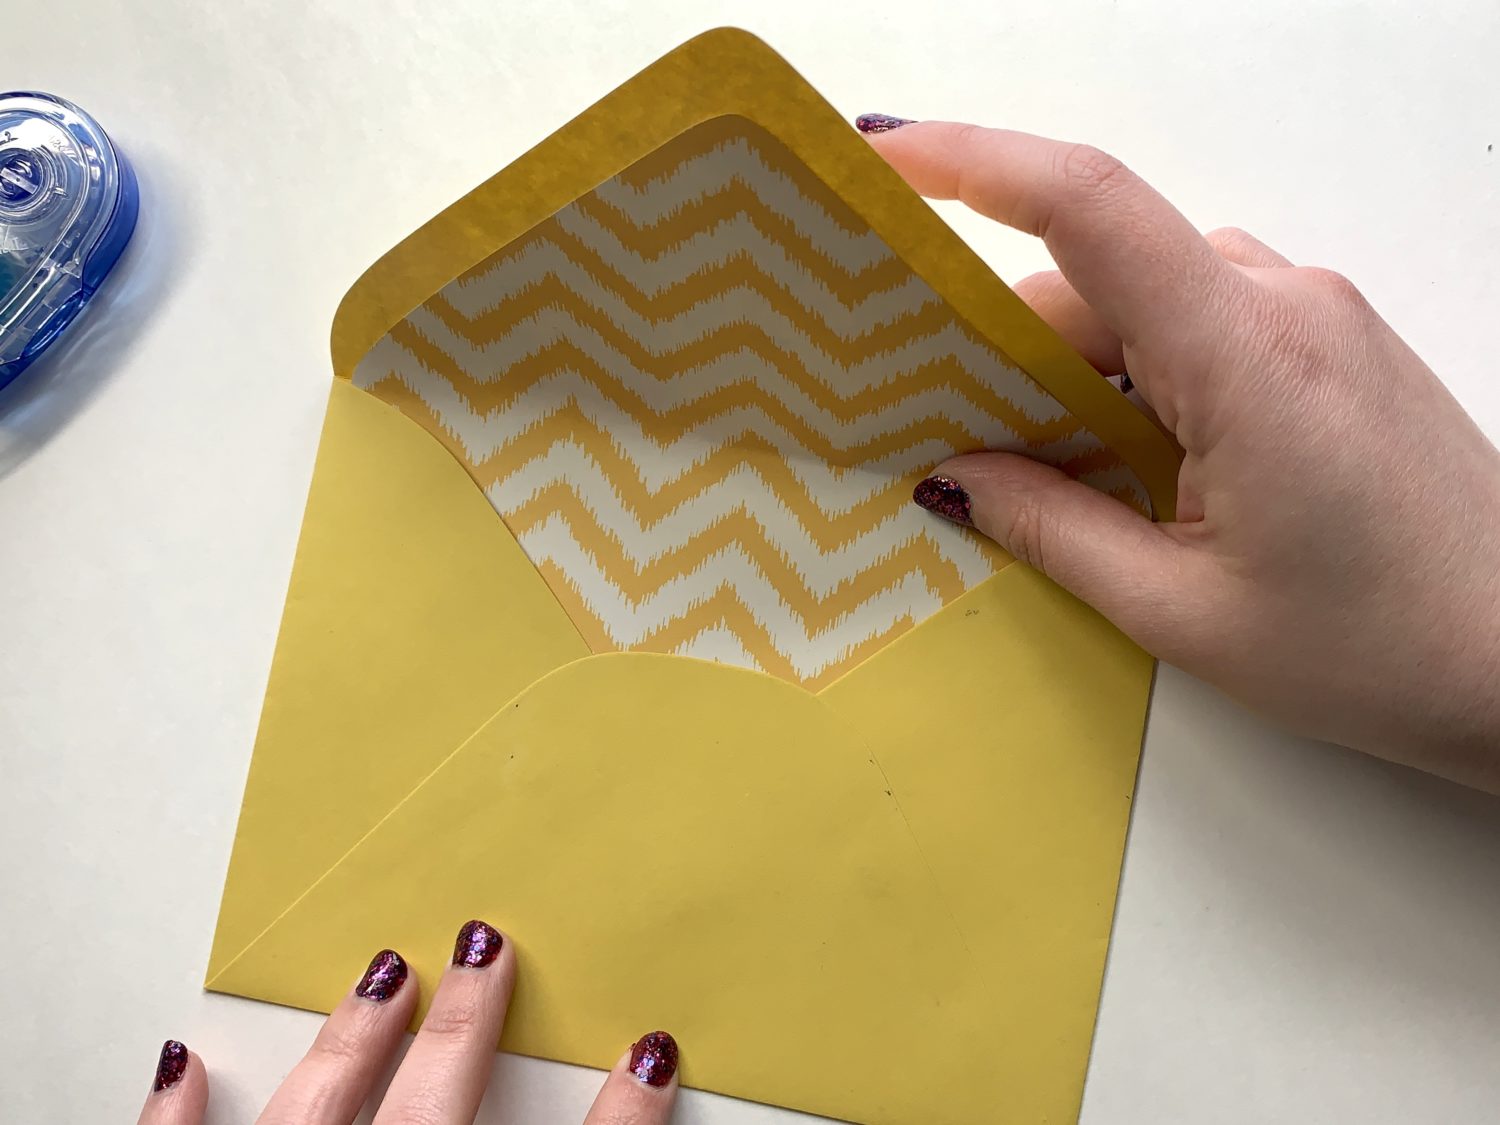
Now, I line up the liner paper in the envelope. I make sure it’s centered and lined up against the sealing adhesive on the top flap of the envelope.
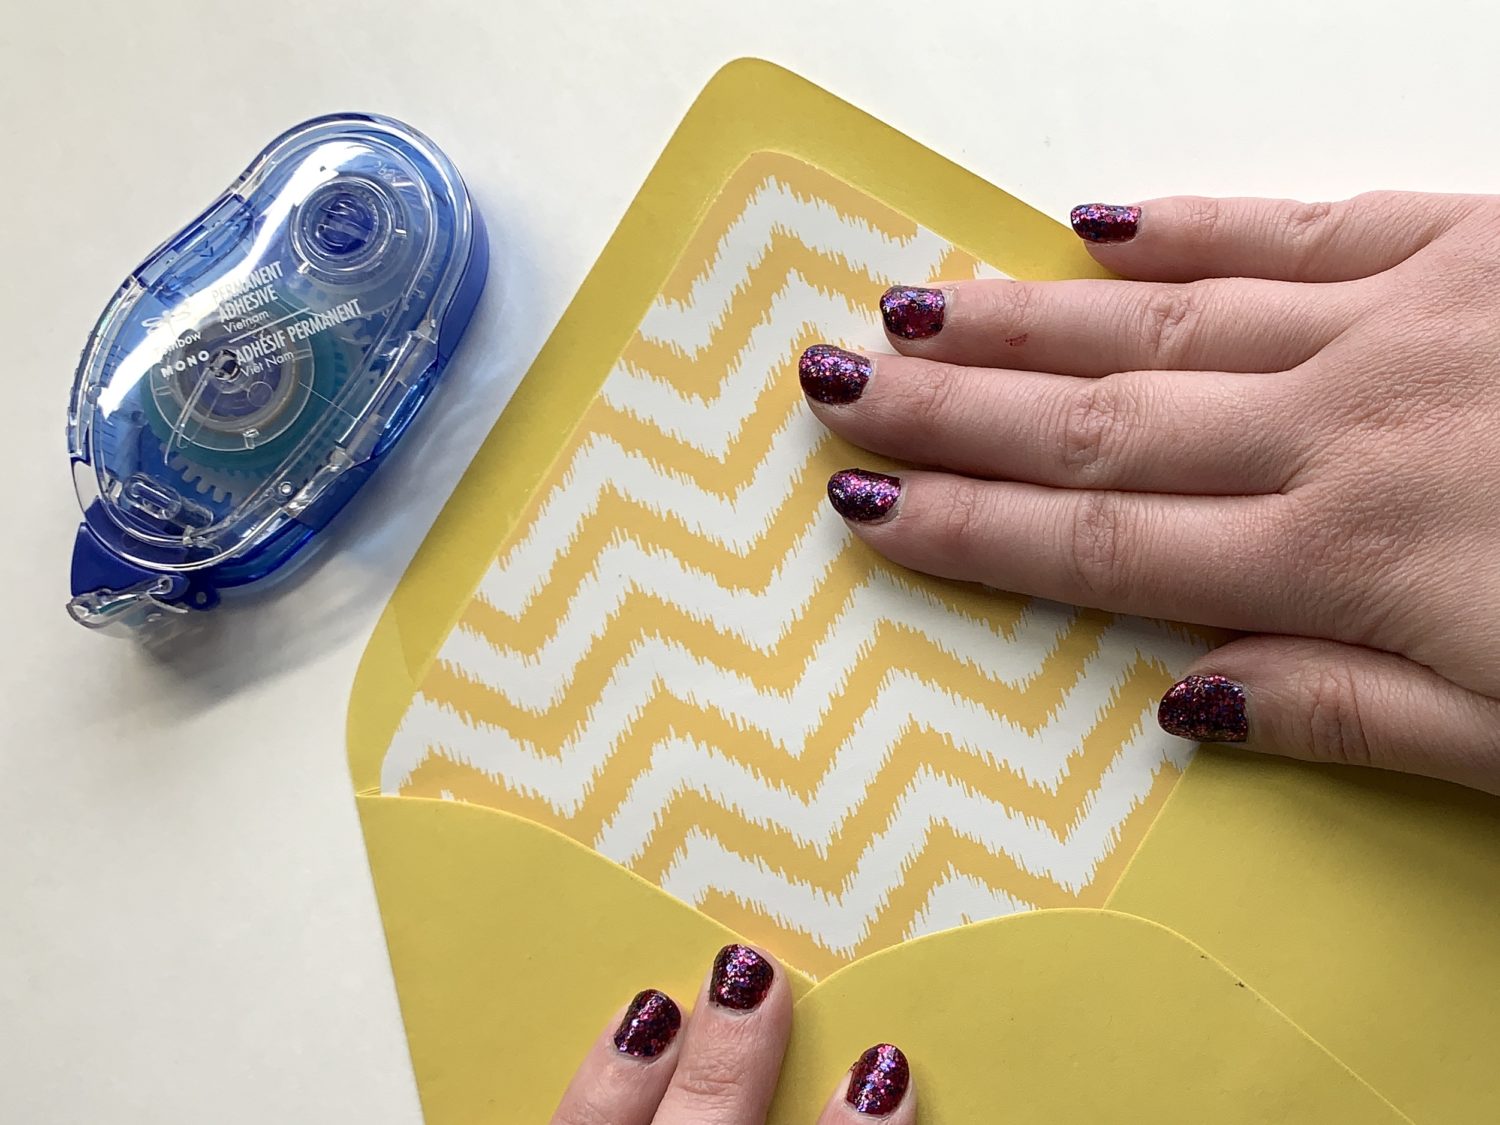
Step 5
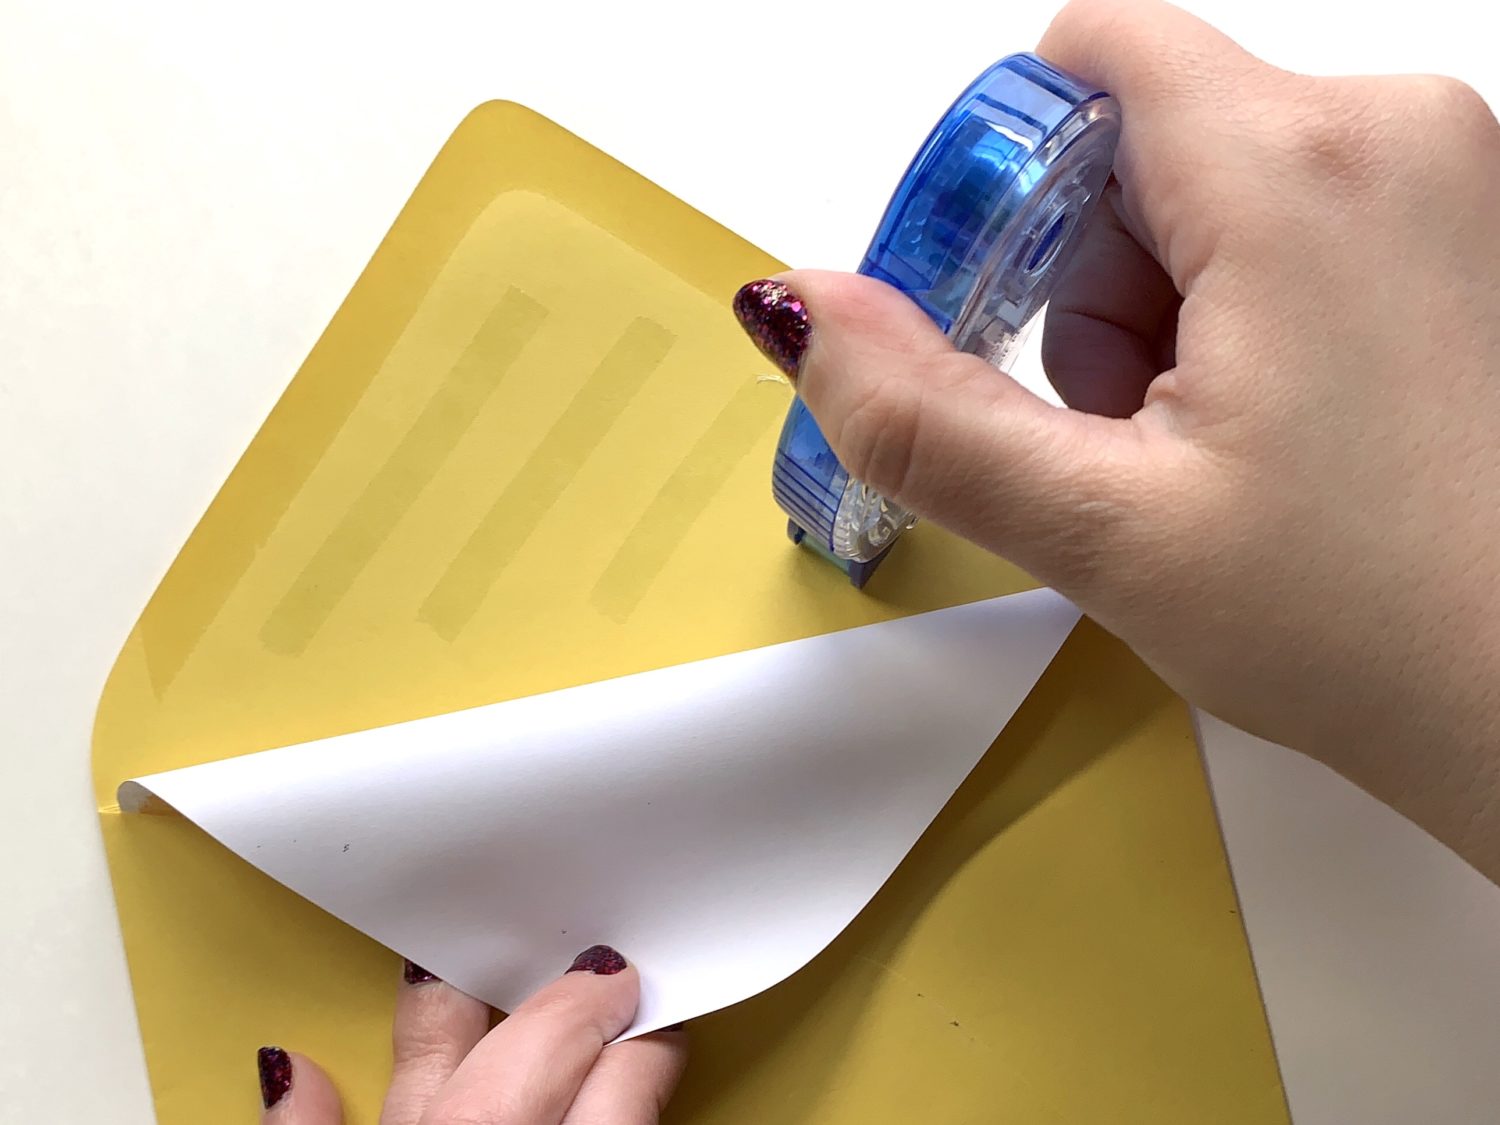
Next, I’m going to be sticking my liner in place. To do this, I use my left hand to both hold back the liner and keep it in place. I use my right hand to apply the MONO Permanent Adhesive to the envelope flap and pat the liner paper down as I finish.
Tip: Do not put adhesive anywhere else on the inside envelope. The liner paper actually needs to be able to move with the envelope. By adhering the liner to only the top inner top flap of the envelope, it allows the bottom section of the liner to move freely as the envelope is opened and closed.
Step 6
I carefully folded down the flap and closed my newly lined envelope!
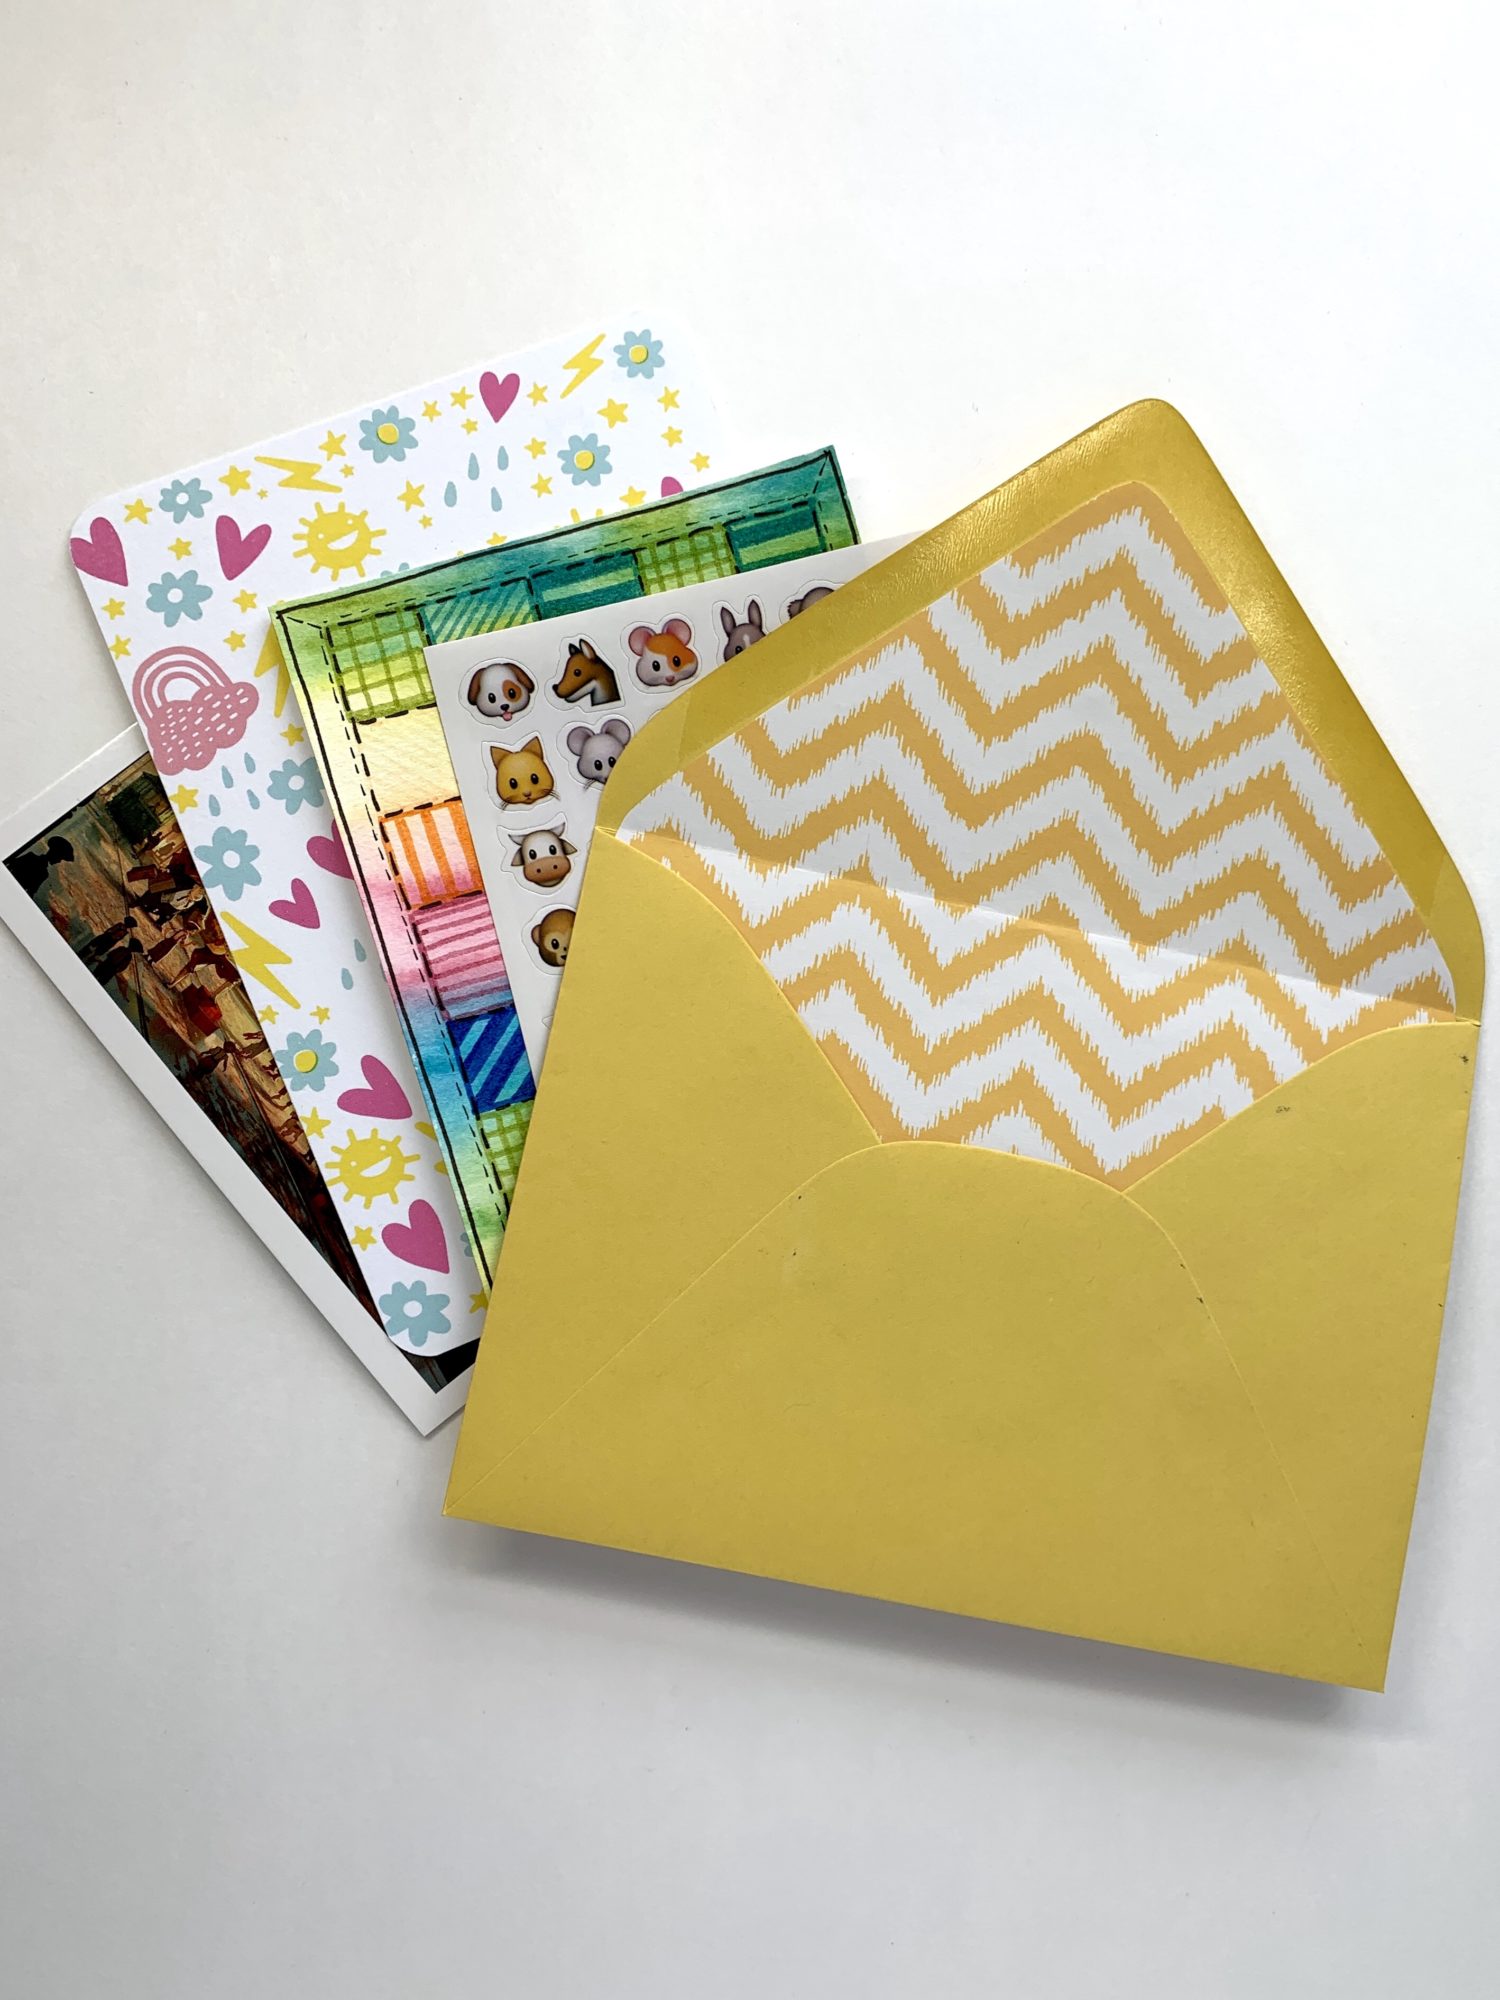
Super easy, right?? I hope you enjoyed the tutorial and you start adding liners to all of your envelopes! If you’re interested in making your envelopes and happy mail even more exciting, check out 5 Ways to Letter Happy Mail Addresses by Grace Myhre. You can also checkout 10 Happy Mail Hacks: A Creative Envelope in Less than 10 Minutes by Lauren Fitzmaurice!
If you follow along with the tutorial, make sure to tag Tombow so we can cheer you on!