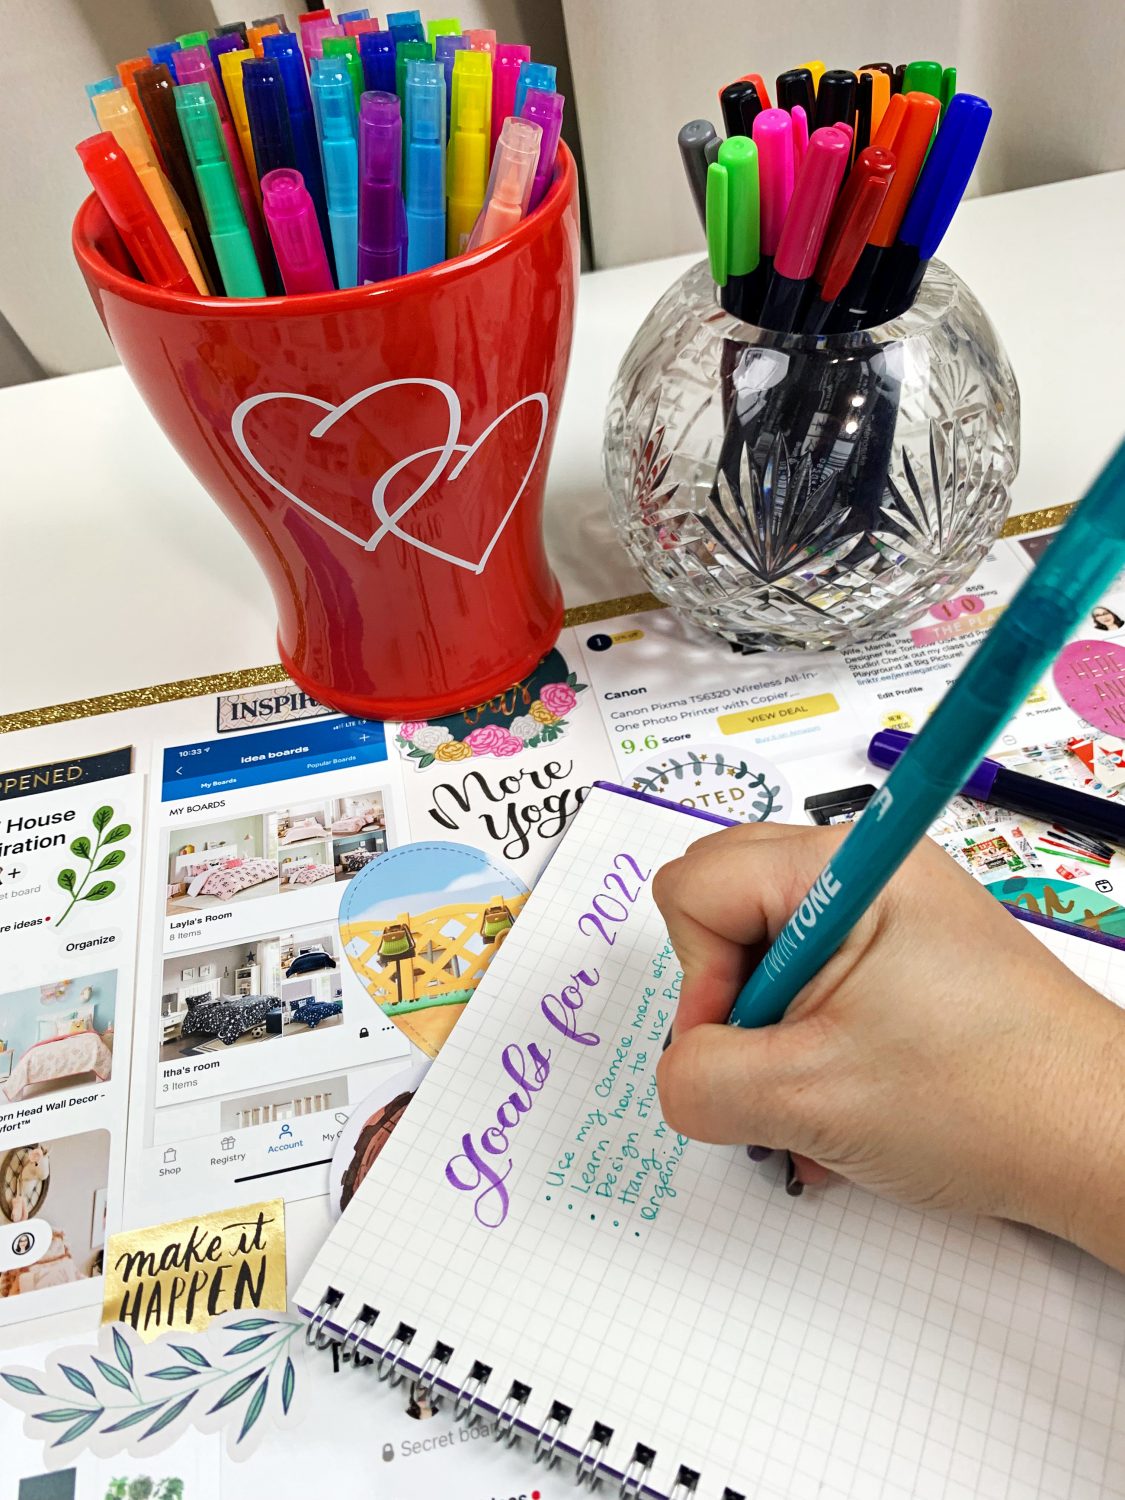
Hello Tombow friends, I’m Jennie Garcia, and to start my year with purpose, I like to create a vision board to put it on the wall to look at it all year long.
Supplies:
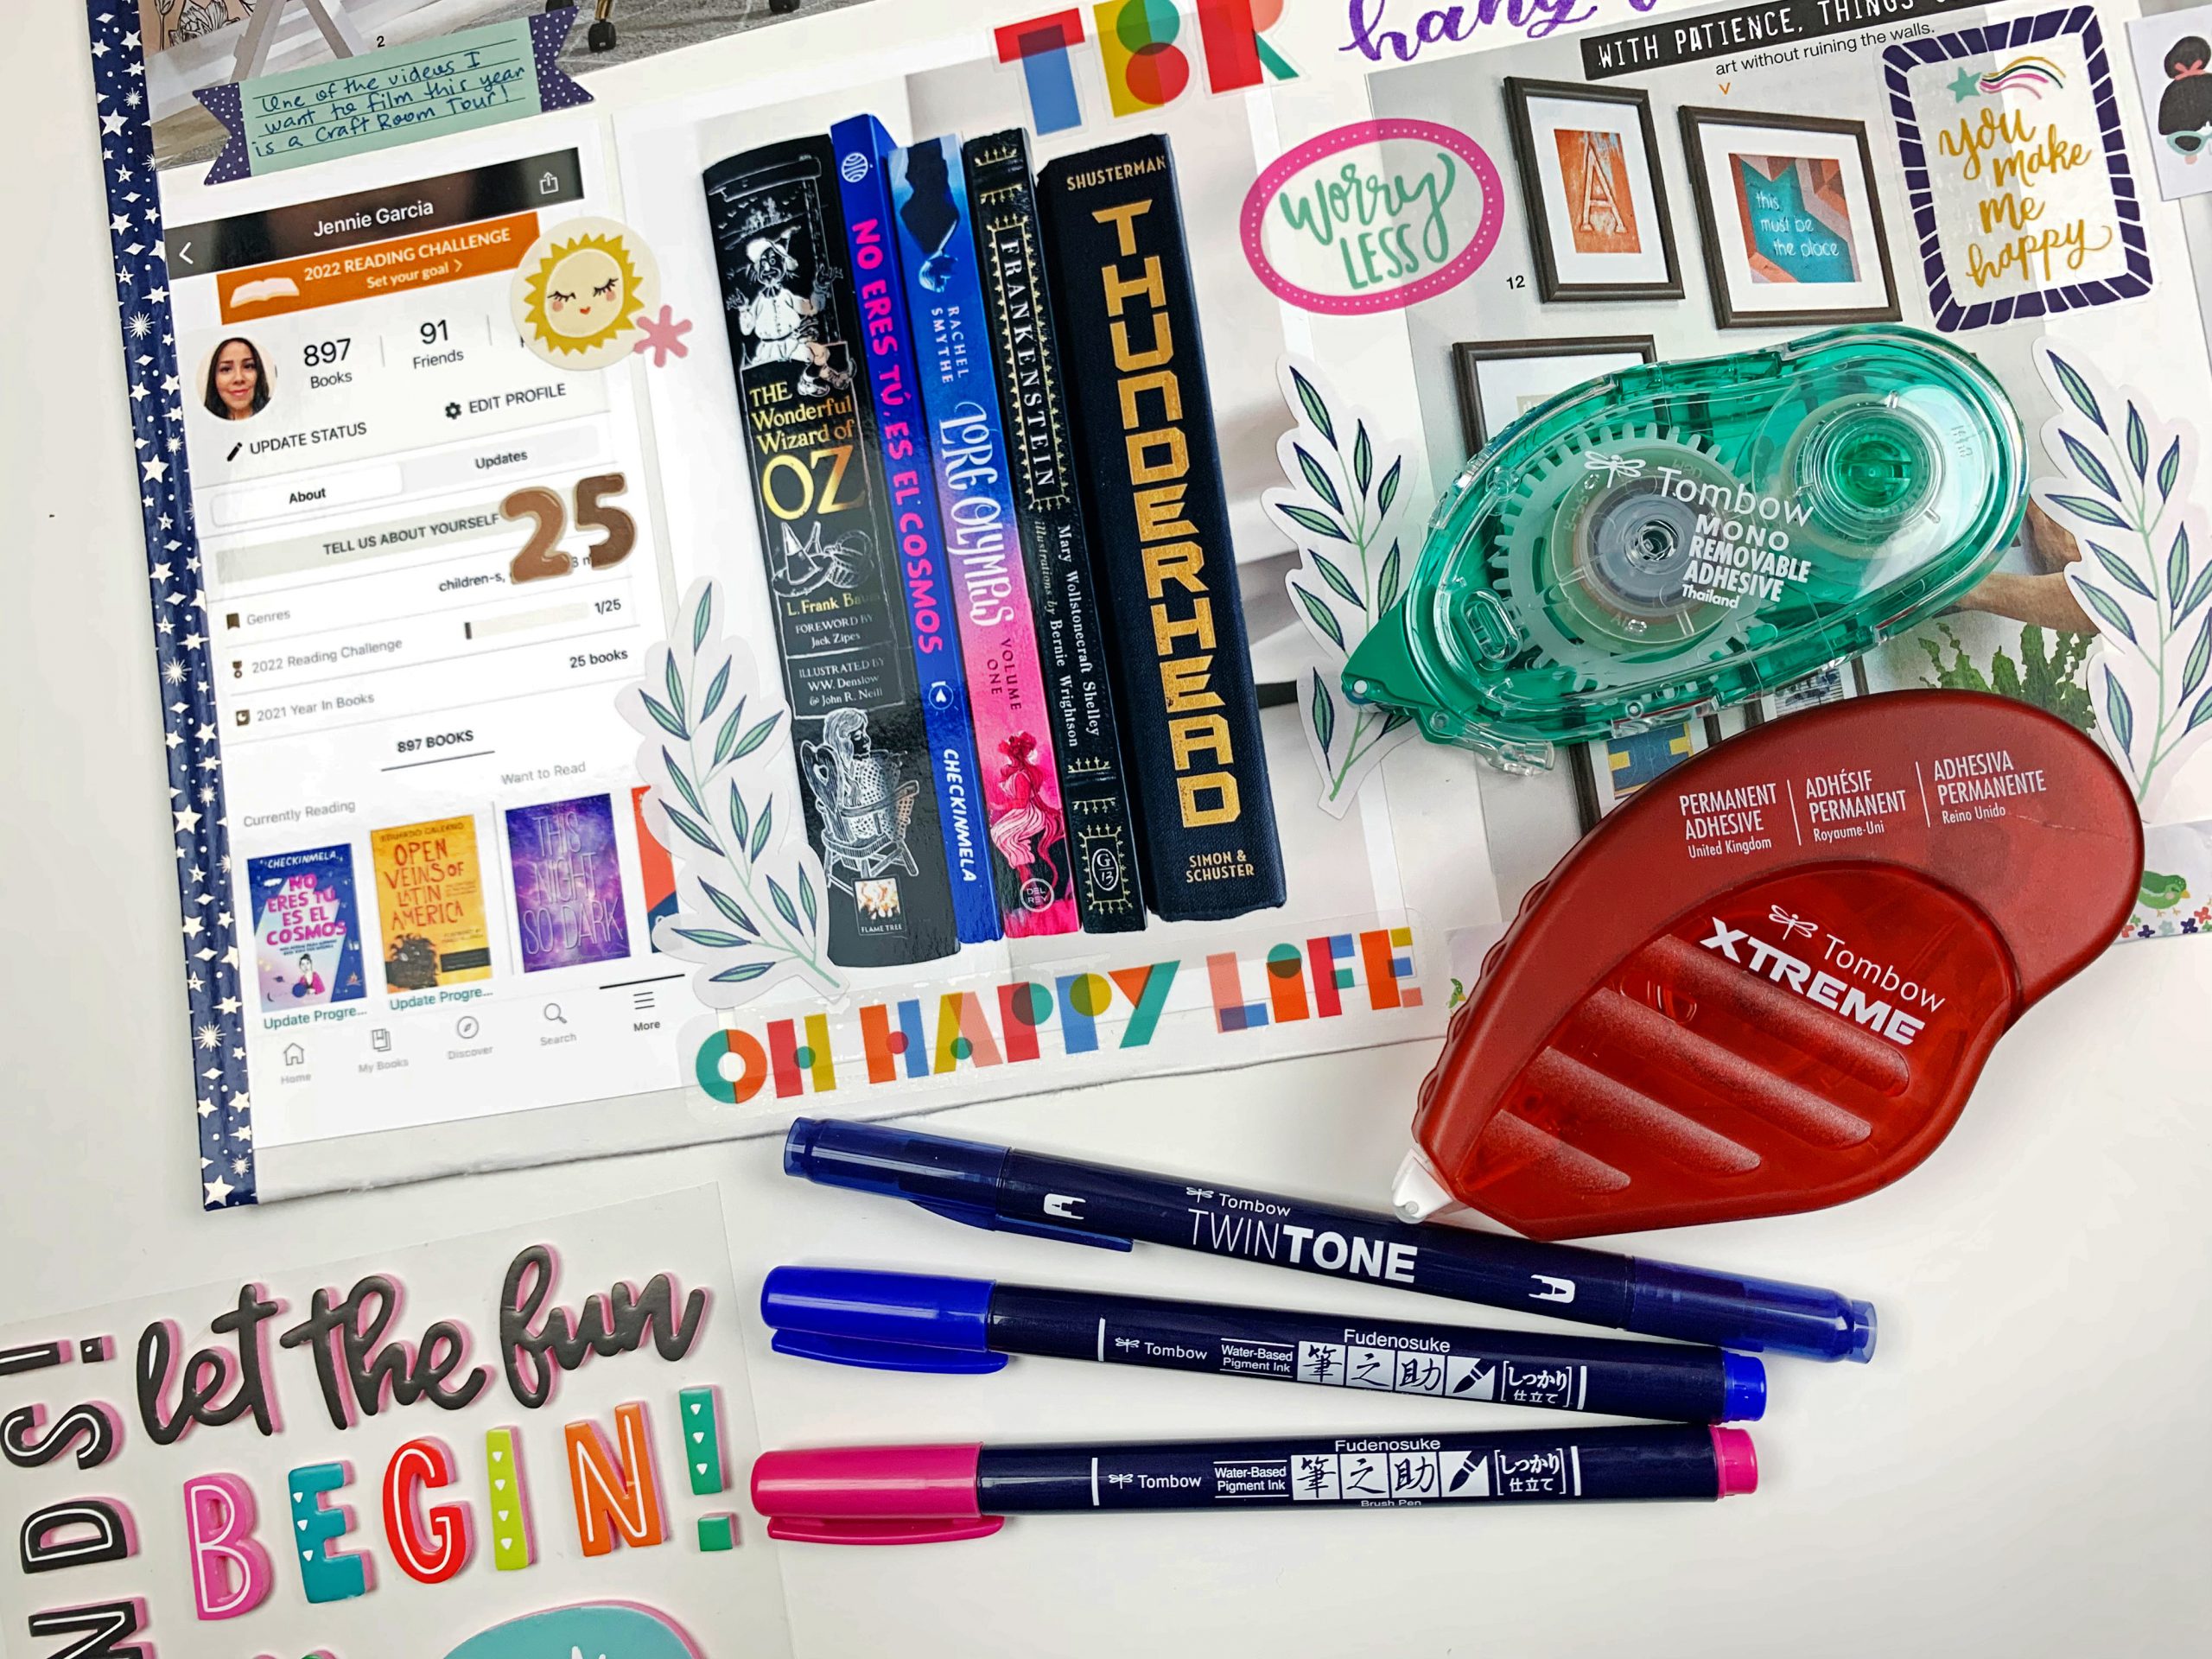
- Writing instruments (I used Tombow Fudenosuke Brush Pens and Tombow TwinTone Dual Tip Markers)
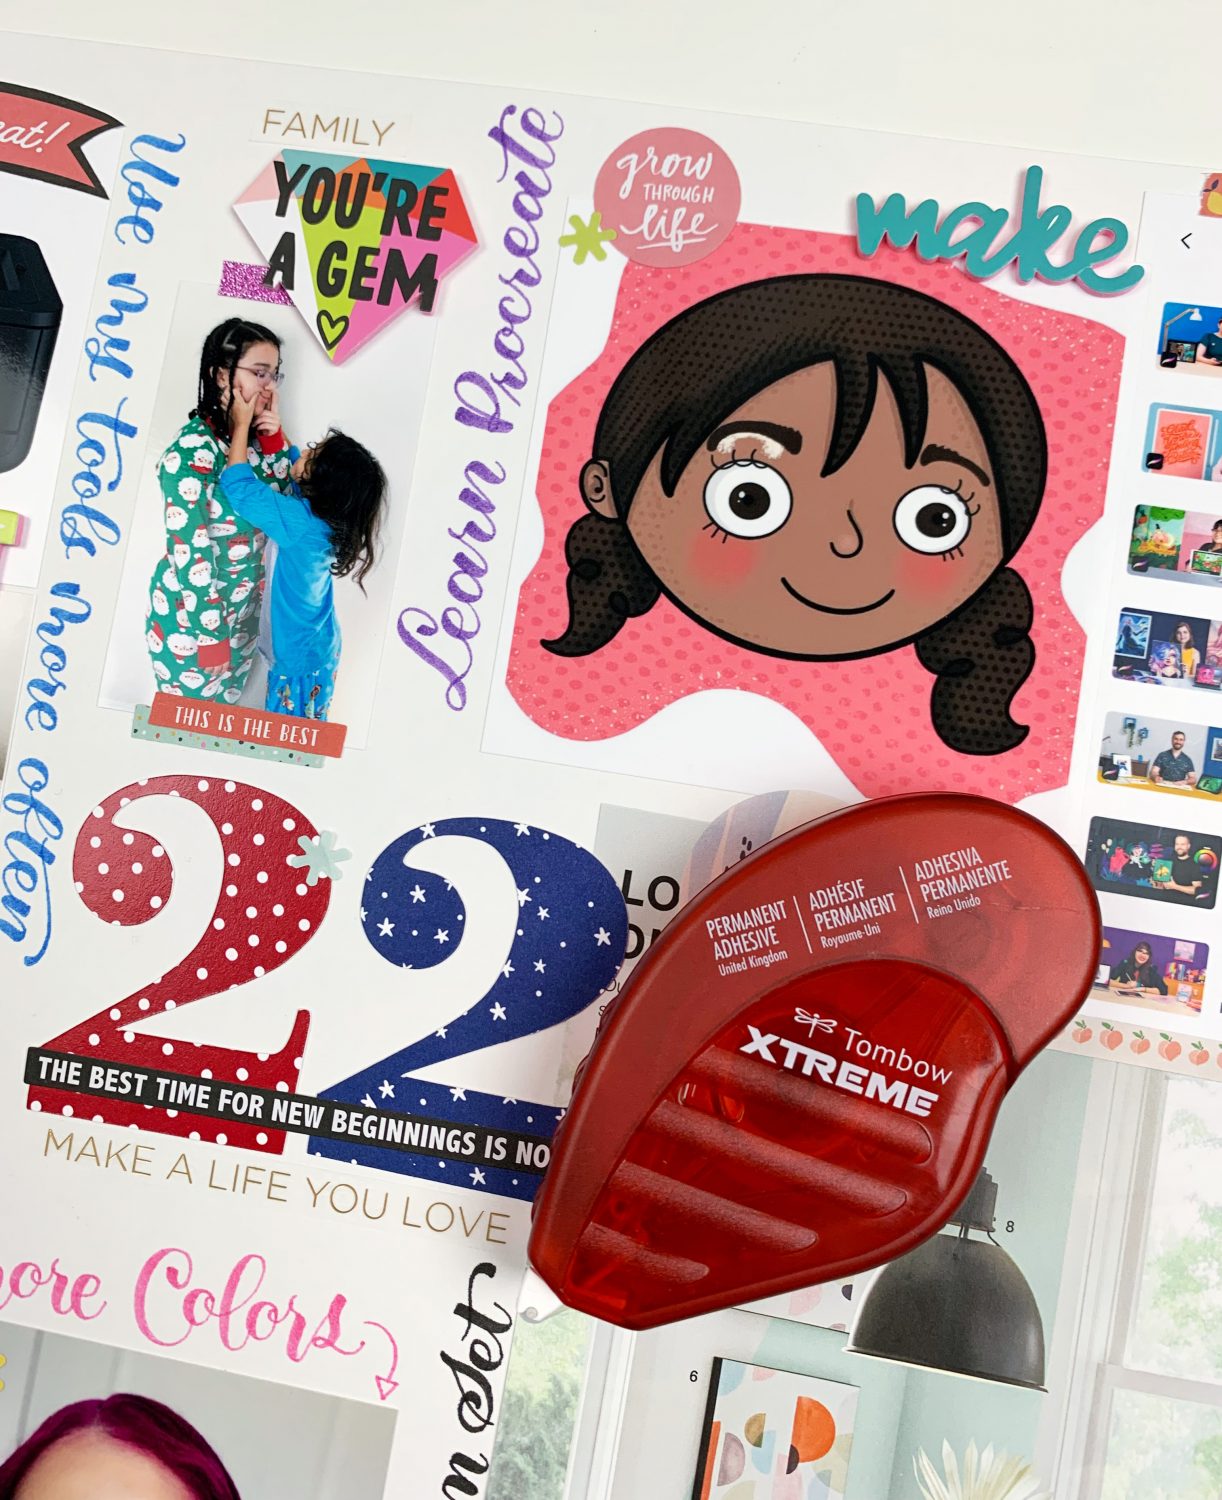
- Tombow Xtreme Adhesive
- Board (You can also make a small one on your planner)
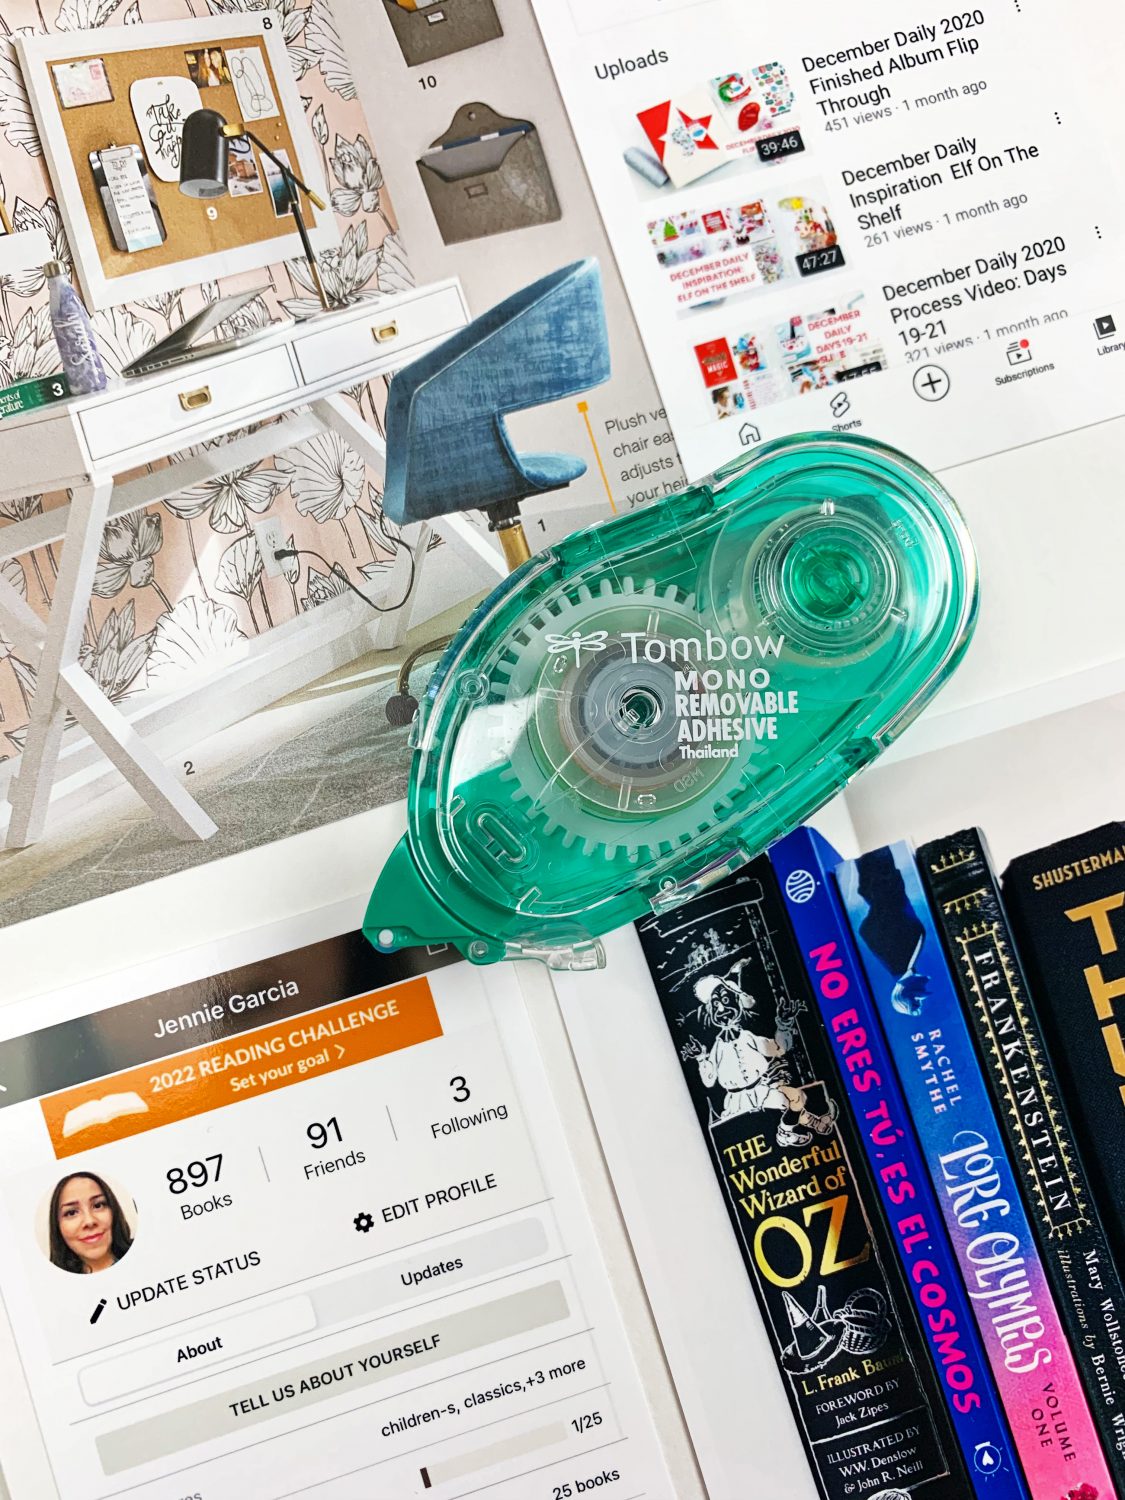
- Tombow MONO Removable Adhesive
- Embellishments, stickers, washi tape, etc
- Tombow Xtreme Mounting Putty
Step One:
Make a list! If you made a vision board last year, take a look at it. Sometimes goals need a little extra time to become a reality. If you want to give it a try again, add it to your list. This vision board can have any kind of goals you want. You can make different smaller vision boards for each part of your life or it could be for all your goals in general. You can also make one as a family.
Step Two:
Flip through magazines, catalogs and pictures online to cut images that relate to your goals. If you want to grow on social media, take a screenshot to see how your numbers grow throughout the year.
Step Three:
Use the Tombow MONO Removable Adhesive to arrange the images on your board. This adhesive lets you keep moving the images until you are happy with the result.
Step Four:
Use the Tombow Fudenosuke Brush Pen to add lettering or journaling to your vision board. You can write on a piece of paper and cut it out to add it to the board. My plan in case of a lettering mistake was to move the photo. This is where the Tombow MONO Removable Adhesive worked perfectly. Lucky me, I didn’t make any mistakes.

Step Five:
Secure the images using a permanent adhesive runner like the Tombow Xtreme Adhesive.
Step Six:
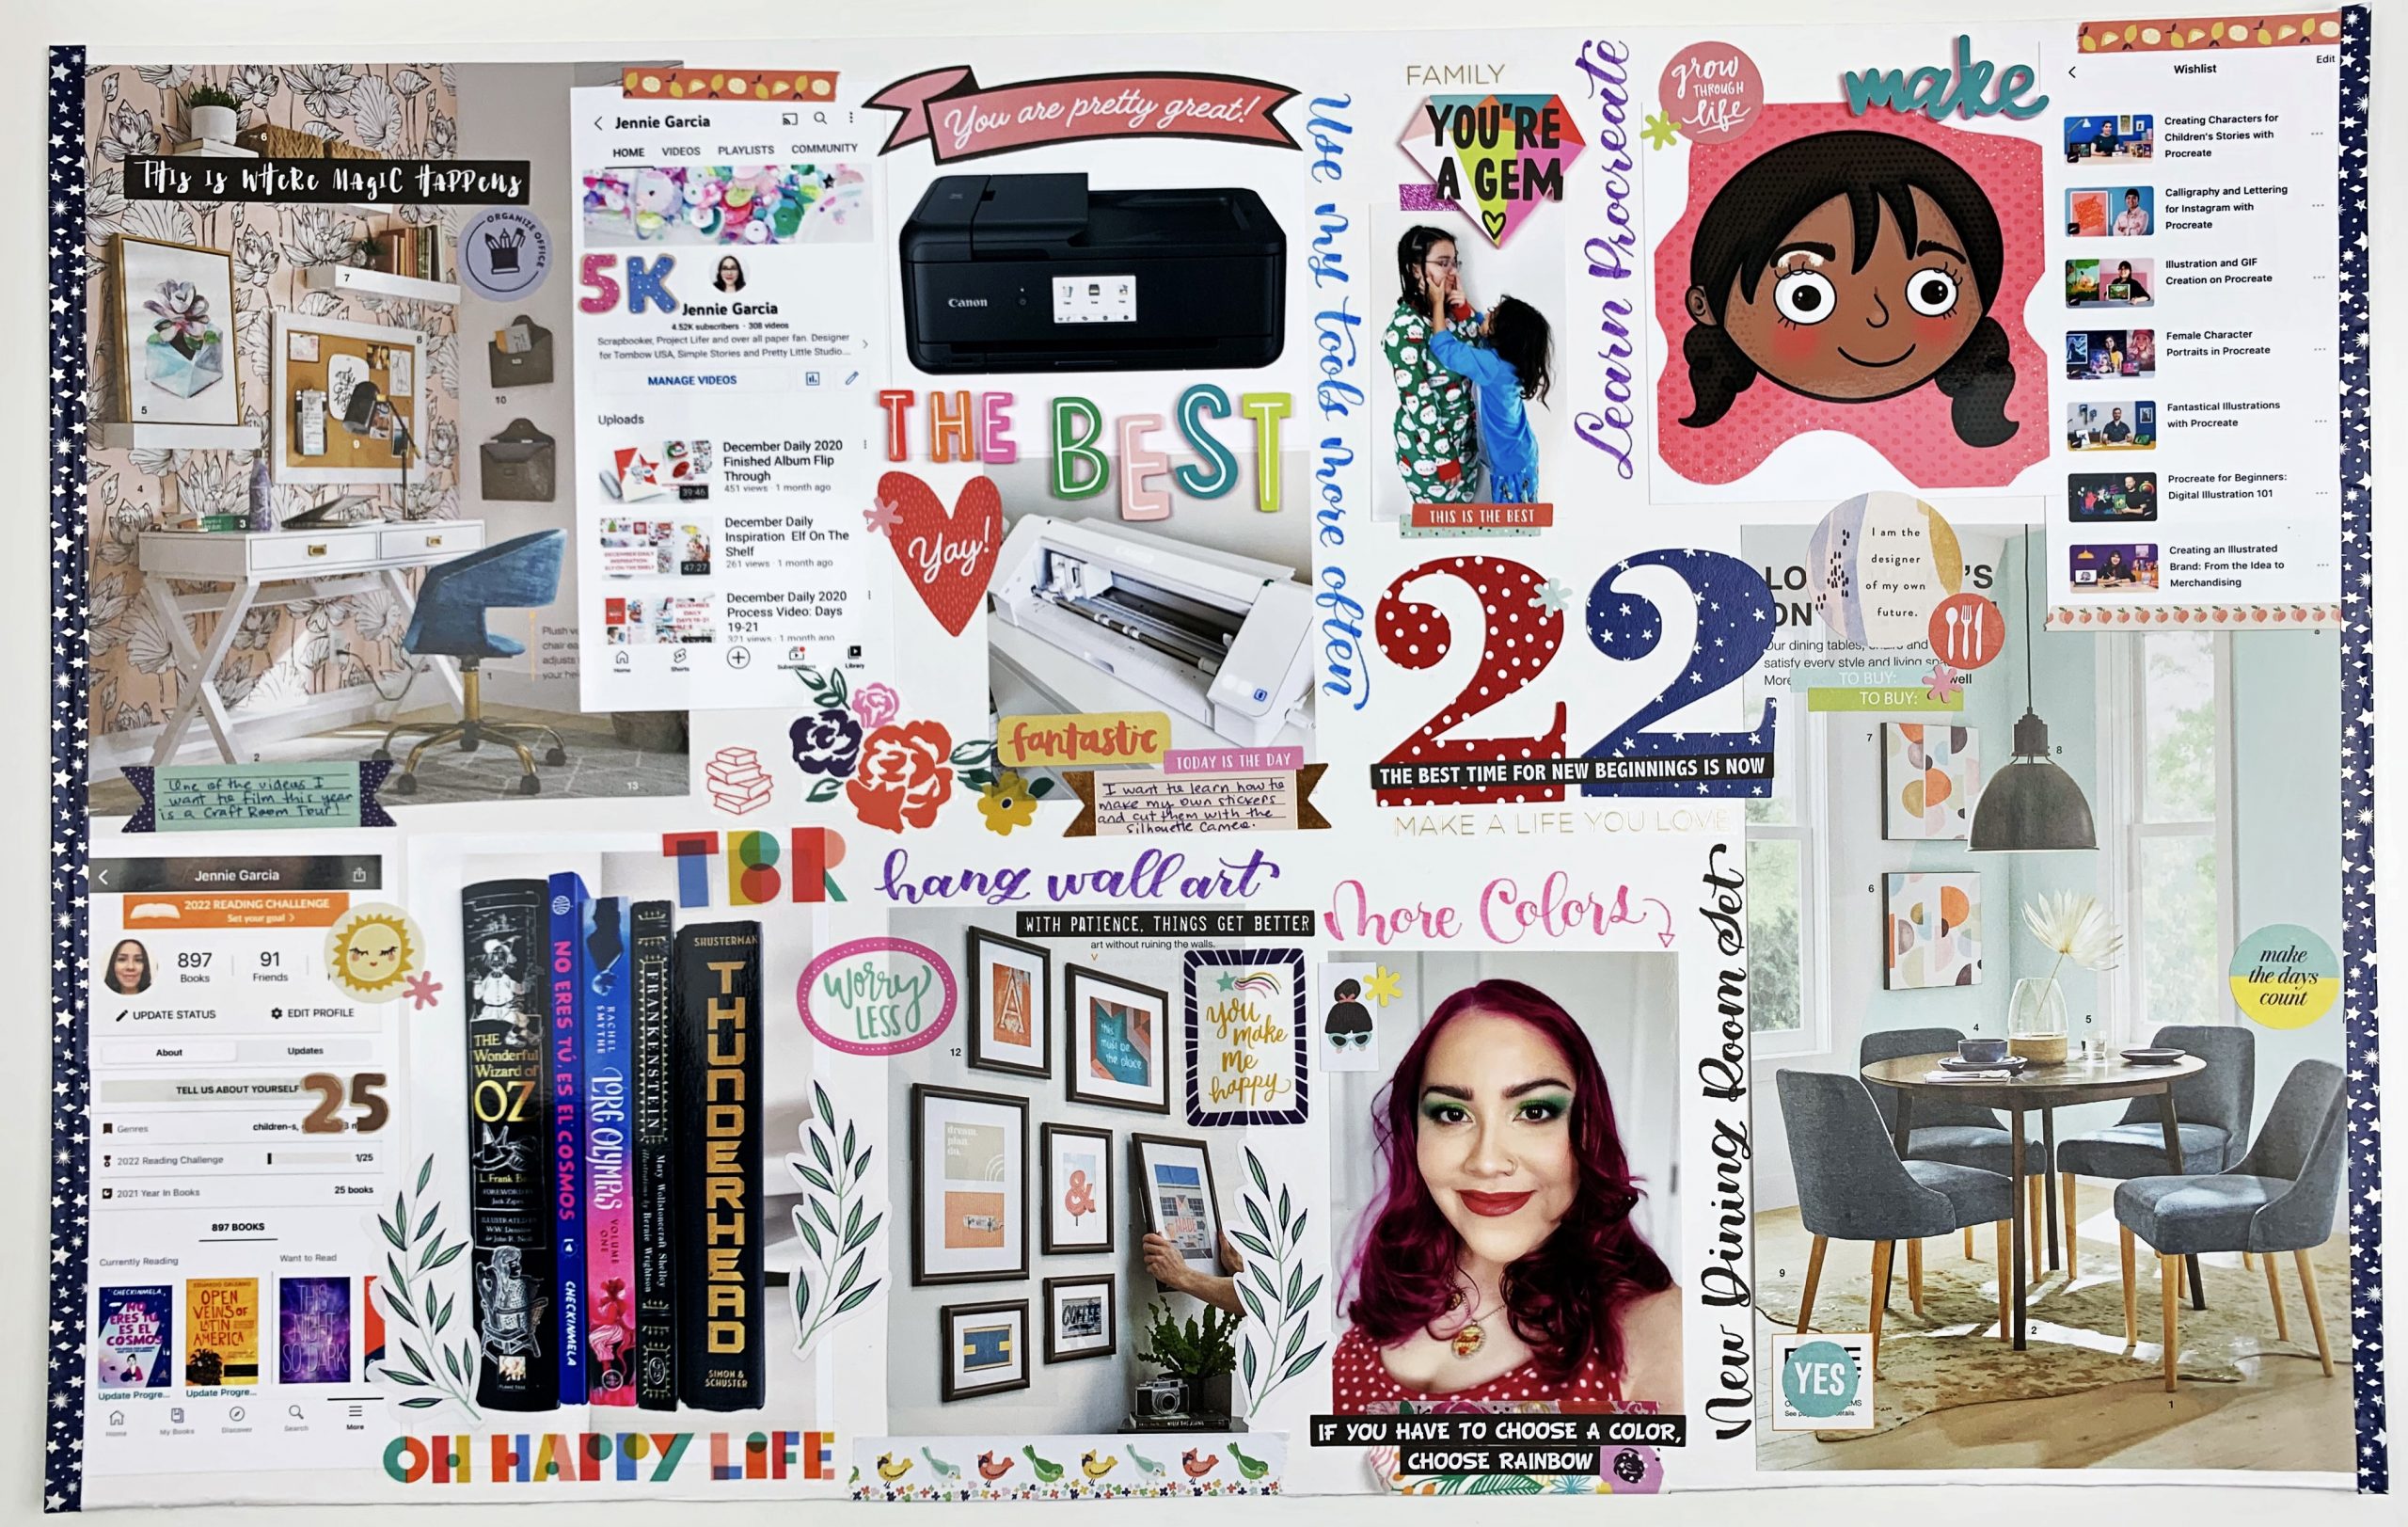
Add stickers, washi tape, and any other kind of embellishment to decorate the vision board.
Step Seven:
Place it where you can see it often. I chose to place it in my work room. Use the Tombow Xtreme Mounting Putty to easily place and remove your vision board from the wall.
Share your vision with us using the hashtag #tombowusa! We hope to be a part of your artistic goals!

This is a very new and interesting topic indeed. Creating a vision board for the new year is a powerful way to visualize and manifest your goals and aspirations.
This is really a very new and interesting topic. Creating a vision board for the new year is an effective way to visualize and express your goals and aspirations.
How long has it been since you took time for yourself, slowed down and felt the music? The game heardle will help you do that.