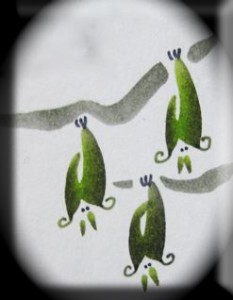
Spooky Bat DoodleDab
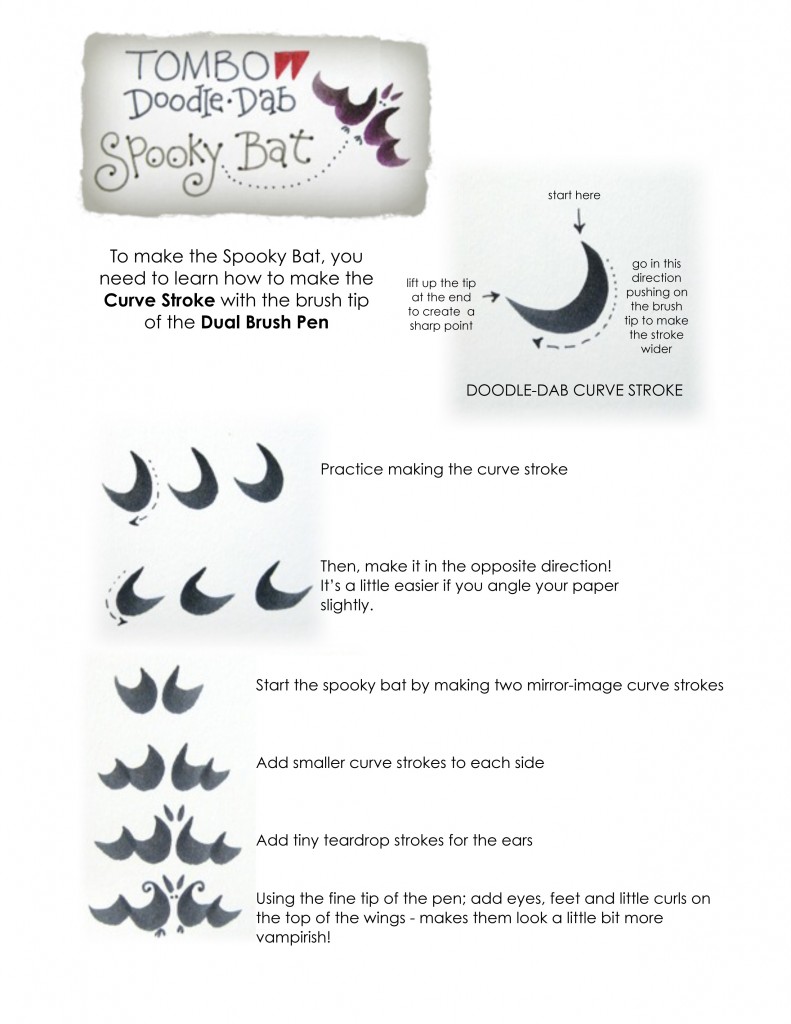
To make the Spooky Bat, you need to learn how to make the Curve Stroke
with the brush tip of the Dual Brush Pen.
Spooky Bat loves to embellish a Halloween card, a frightful scrapbook page or even a ghoulish treat bag.
To make the Spooky Bat, you
need to learn how to make the Curve
Stroke with the brush tip of the Dual Brush Pen. Spooky Bat loves to embellish a Halloween
card, a frightful scrapbook page or even a ghoulish treat bag.
DoodleDab CURVE STROKE
Step 1. Start here with the point
of the brush tip and press down to start forming the stroke.
Step 2. Go in the direction of the
arrow, pushing on the brush tip a little more to make the stroke wider.
Step 3. Start to lift up the tip at
the end and off the paper to create the sharp point.
Step 4. Practice
making the curve stroke. Try making it smaller or larger.
Step 5. After you
are happy with your stroke, make it in the opposite direction! It’s a little
easier to draw the left to right curve stroke if you angle your paper slightly.
DoodleDab
SPOOKY BAT
Step 6. Start the Spooky Bat by making two mirror-image curve strokes
Step 7. Add smaller curve strokes to each side to form the wings.
Step 8. Add tiny teardrop strokes for the ears
Step 9. Using the fine tip of the pen; add eyes, feet and little curls on
the top of the wings – makes them look a little bit more vampir-ish!
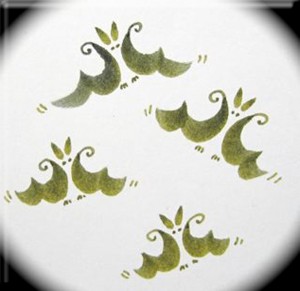
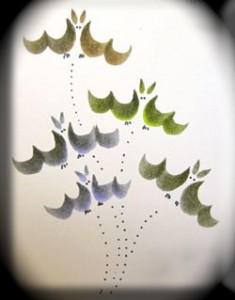
Spooky Bat can have a dotted flight path or little movement marks for their flapping wings. He also comes in
lots of spooky colors. Spooky Bat also likes to hang around the bat cave. Turn the paper upside down when drawing Spooky Bat sleeping in the cave.
and here’s another….
Cute Spider DoodleDab
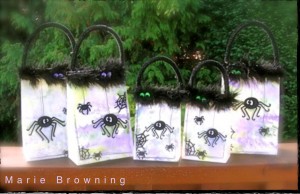
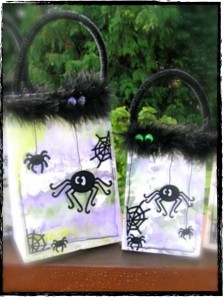
These inexpensive treat sacks are so easy to make the whole family can help. Fill them with your favorite homemade treat to delight any trick or treater!
Materials:
Tombow Dual Brush Markers ~ 606 Violet, 177 Dark Jade, 603 Periwinkle, N60 Cool Gray 6, and 133 Chartreuse. Tombow MONO Multi Liquid Glue, Tombow MONO Adhesive Tape & Power Bond. • White Paper Sacks – Large size: 4 5/8 in x 2 7/8 in x 8 5/8 in, Small size:3 1/2 in x 2 in x 6 3/4 in • Wax paper • Water spritzer bottle • Silly Spiders Velvet Black Stickers ByStampendous! • Black 9 mm Chenille Stems • Black Boa, 6 ft. • Multicolored Wiggle Eyes, 10 mmDirections:
Step 1. On wax paper, scribble the green and purple brush markers using the large brush
point. Spritz a little water onto the colors to make them blend slightly. Lay the
paper sack down into the color and press. Lift and lay face up to dry. Repeat with all the sacks.
Step 2. Place the spider stickers onto the front of the sacks. Use the photo of the samples for placement.
Hint: The stickers are easier to lift off the sheet with a pair of tweezers.Step 3. With the black Brush Marker, add spider silk to hang the spiders and the lined boarder.
Step 4. With the gray Brush Marker, add the shadows to the spiders and webs.
Step 5. Place the treat into the bag and fold over the top. Bend a chenille stem (12 in for
large bag, 9 in for small bag) into a U shape and staple to the top of the bag.
Step 6. Add a piece of the feathery boa ( 3 1/2 in for small bag, 4 1/2 in for large bag) to
the top of the bag using the adhesive tape.
Step 7. Finish the bag by gluing in two wiggle eyes to the boa with the Multi liquid glue.
I hope you enjoyed this “Tip-nique” see you again next Monday with more fun and fabulous “Tip-niques”
Thanks…..
If you enjoyed this post please follow us on
I love the bats!! So cool and cute!! Your treat bags are amazing!! Super cute!! TFS!! Take Care!!
Jennie @ http://earthyscrap.blogspot.com/