October is Breast Cancer Awareness Month so we are making projects to show our support to our friends and family! For my project I made a Good Vibes Card. I paper pieced this dress form from Market Street Stamps using Tombow Mono Multi Liquid Glue. For all the papers and […]
MONO Adhesive Power Bond
 1
1 Today I have a couple of fun projects to share with you that I created for a Nautical Themed Party. The first is the plastic cutlery holder made with an altered envelope. I glued the envelope shut and then cut with a scallop punch. It is decorated with digi stamp images […]
Nautical Themed Goodies by Debbie Fisher
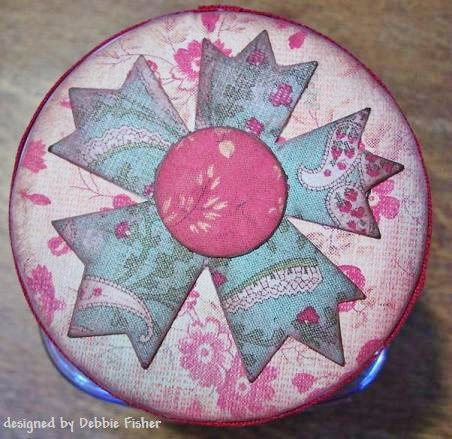
Today I have some fun boxes/bags to share with you. I love having these on hand filled with fun little treats (candies, lotions, lip balm, etc) that I collect throughout the year. There is always someone that I think of at the last minute to give a little blessing to. I […]
Gift Boxes by Debbie Fisher
The holidays are right around the corner — don’t throw the towel in and buy store-bought cards!! There is still time to create and send handmade cards this holiday season. These Christmas Cards are super easy to make. Even if you don’t make the deadline according to the post office, […]
Easy Peasy Christmas Cards with Jennifer Priest
Ruffles are definitely “in”, showing up in clothing, home decor, pillows, lamp shades, and even scrapbook pages!! I acheived a similar look to ruffles by just using paper. I like to call this little technique the “waterfall ruffle” because it looks like falling water if the ruffle is adhered […]
Ruffling with Jennifer Priest
 30
30 Welcome to the 2nd Annual Handmade Holidays Blog Hop!!! Calling all crafters! We’ve gathered designers from some of our favorite manufacturers to show you ways to create something from the heart this holiday season. This 3 day Hop includes over 60 stops with inspiration brimming from every corner. Explore all […]
Handmade Holidays By Marie Browning
No matter the season or year, there is always someone we know having a baby! This year, I have several friends who are having babies and a baby book is something on every new mom’s wishlist. A handmade book is just a bonus! This handmade book features a mix of […]
Wonder – by Jennifer Priest
All week long the Tombow team is bringing you pink themed projects in honor of Breast Cancer Awareness Month. Today, I am sharing an uplifting card that could be sent to a survivor or a friend battling breast cancer right now. To create this card, print out a vintage photograph […]
Hope – by Jennifer Priest
Remember THIS paper/fabric purse I made earlier? I taught how to do these (minus the fabric, paper only) at CHA this summer. They were a hit! I had several designer paper combos, so they could choose the color they wanted to create their own fun designer bags. The purse tutorial […]
Designer Purse by Debbie Fisher
 3
3 For ABC Week, I have some altered jars to share with you. I found these jars at Dollar General. I especially like this type of jar as it is kind of square-ish. I cut the image with my Cricut. It looks like chipboard, but it’s really 4 layers of cardstock and then the […]
ABC Week Altered Jars by Debbie Fisher
 2
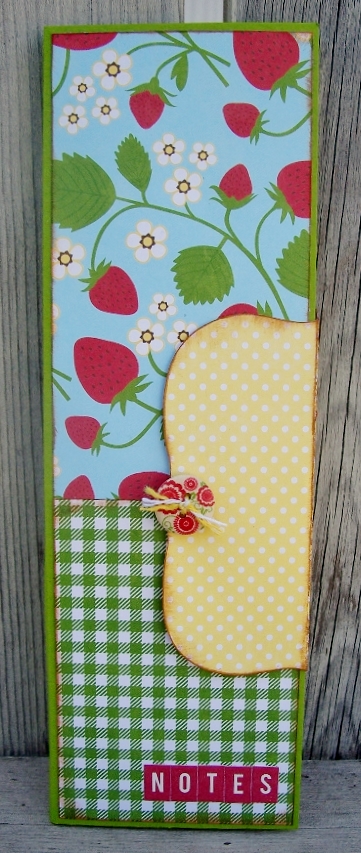
2 This fun sized notepad fit will perfectly in your purse. Cut solid green cardstock 5.5″ x 8.25″. Score at 2 5/8″ from each long side. Fold on score marks. Cut designer paper at 2.5″ and the length whatever size you want to fit the front. Apply patterned paper to green […]
Skinny Strawberry Notepad by Debbie Fisher
What did you all think of the new Pantone color of the year last week? I love the tangerine color. This week we have another color challenge that was Pantone’s color of the year 2011…Honeysuckle. This color matches Tombow’s Dual Brush Pen 743 (hot pink). With Valentine’s Day sneaking up […]