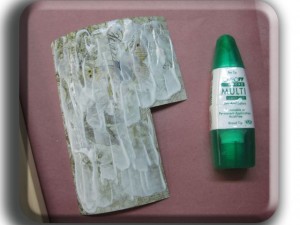
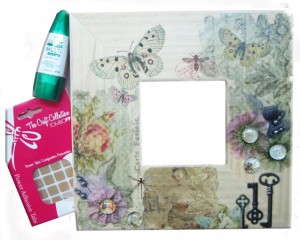
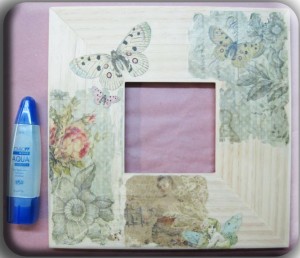
Image transfer is a technique where you can adhere a piece of treated paper to a surface and render the image translucent. The sample shows a frame with the wood grain showing through the translucent image transfers for a romantic, vintage appearance. Light backgrounds usually work best with this technique but you can experiment with medium or dark backgrounds for interesting effects.
Step1: Apply a liberal amount of MONO Multi Liquid Glue to the front of the image using the broad applicator. Problems can occur if you do not apply enough glue. I left a slight unglued edge around the image that will give a distressed edge. If you wish a squared edge, make sure the glue is applied right to the edges. Immediately lay the image down onto the surface of the frame, image side own. Burnish softly with a damp cloth and avoid getting glue on backside of the image. Let the glue dry completely, overnight is best. With this technique, the image will be in reverse, so choose papers without words. If you want to use words with your own images, make a mirror image color photocopy (an ink-jet printer does not work).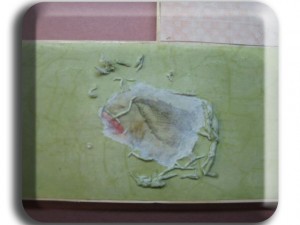 Step 2: Spray the image with water and let it soak into paper. Gently peel off the paper by rubbing in small circles with your fingers. Remove the paper until you can see the image. If you scrub too vigorously, you may scrub away the image. Be gentle with the edges.
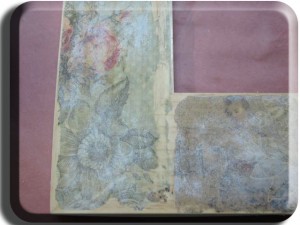
Step 3: Wipe off image and let dry – you can use a hair dryer to speed up the drying. When dry, you will see a white haze on the image, this means you need to repeat the water step and remove more paper. You can repeat this step until your image feels smooth. You will always have a little white haze on the image. It will disappear after you seal the image with two coats of clear matte acrylic varnish. Step 4: Motifs from the decorative paper are cut out and adhered using the MONO Aqua Liquid Glue. These are a nice contrast to the translucent images.
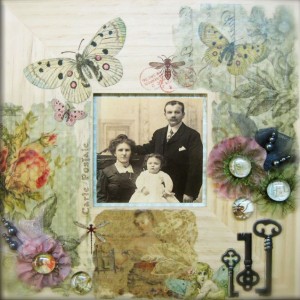
 Step 5: Add your embellishments. The keys were glued on with MONO Multi Liquid Glue and the flowers,
bows and flat marbles with Power Tabs.
If you enjoyed this post pleas follow us on ![]() http://www.facebook.com/tombowusa and
http://www.facebook.com/tombowusa and ![]() http://twitter.com/#tombowusa
http://twitter.com/#tombowusa
