Happy Friday! This is Jennie and I just wanted to share some techniques and tips that I’ve learned these past months while doing Project Life. I know that many of you will be starting Project Life this year and I thought you may need a hand. I think I finally found my groove and rhythm, now I really feel like I know what I’m doing instead of just guessing as I go. So here are my tips and I hope you find them useful! If you want to, leave us your own tip on the comment section! Here are 7 Project Life Tips for you!
Tip #1: Keep it Simple
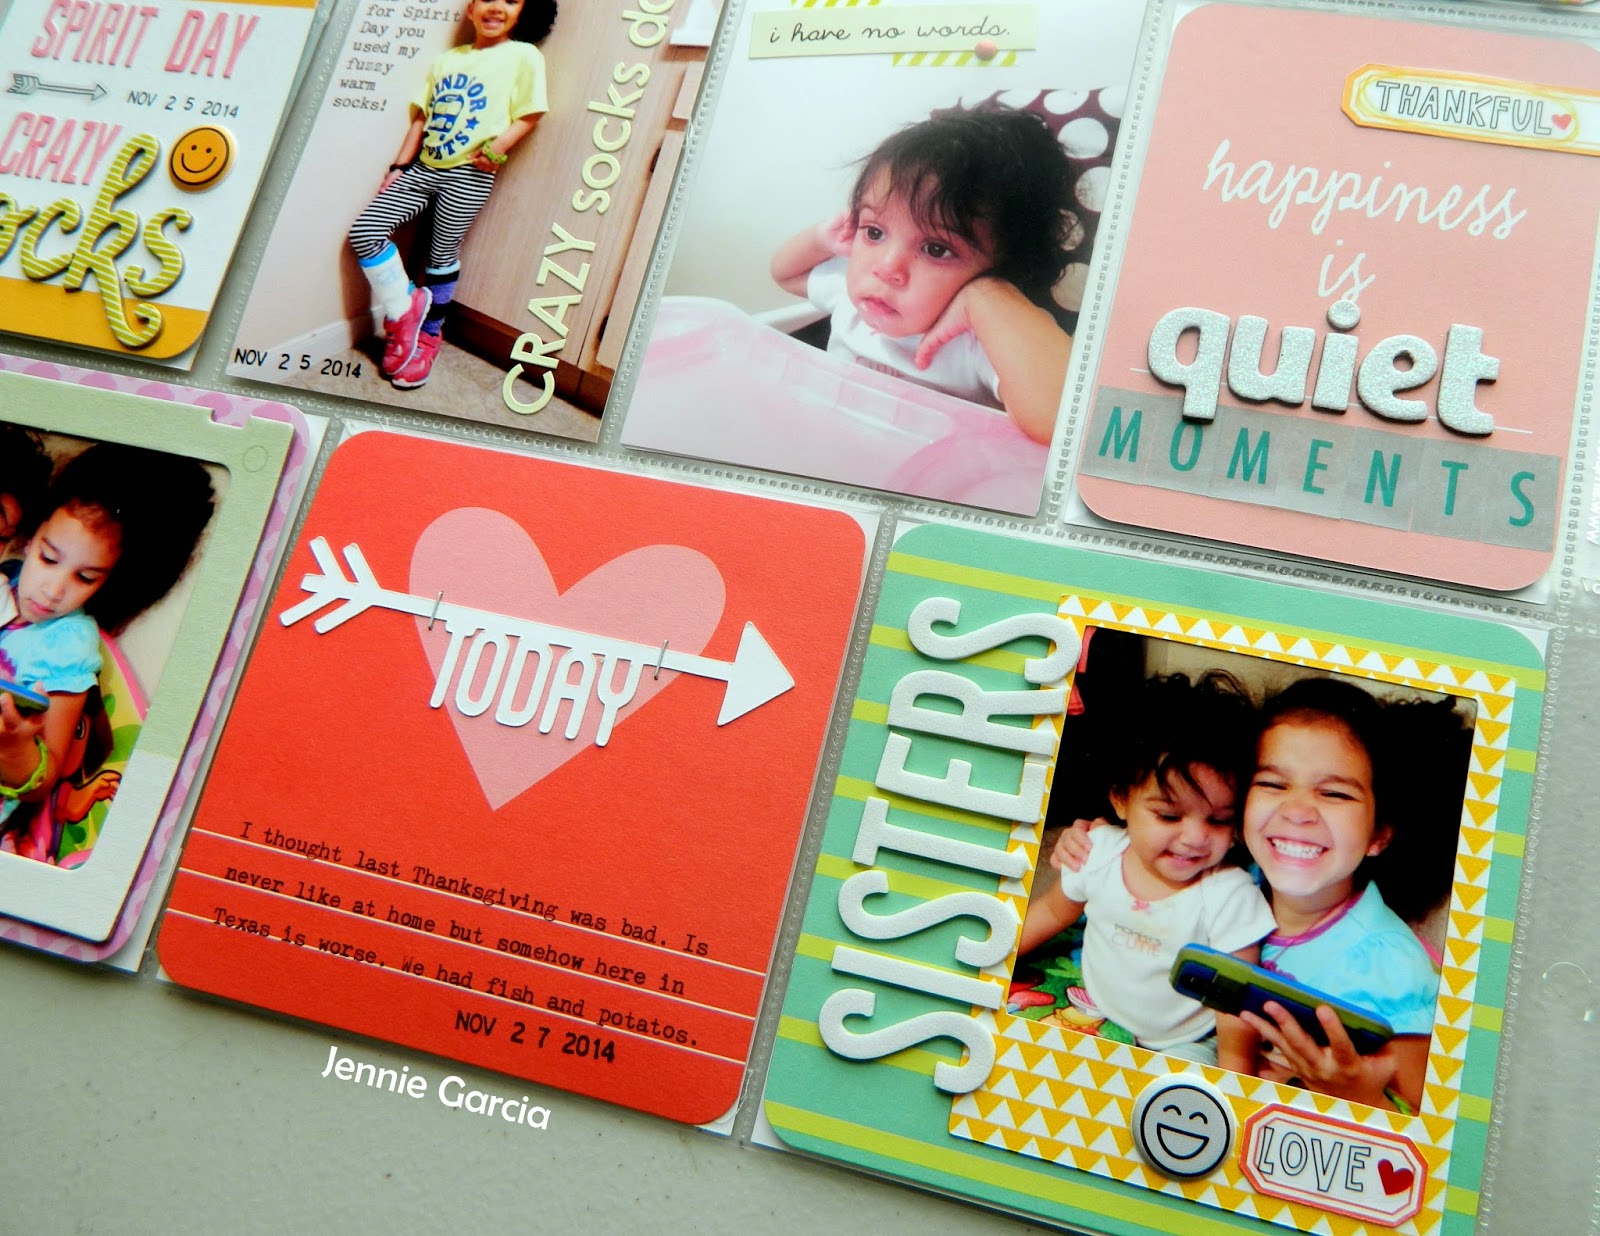
I LOVE embellishing! I know how tempting it is to put 20 embellishments on the same card but easy does it! Once you feel you like the card stop looking for things to add. This will also help you finish those spreads faster.
Tip #2: Know your photos
What I mean by this is that you should find out if you prefer portraits, horizontal or square photos. Most of my photos are portraits (taken with my iPhone), some squares with a few horizontal ones every now and then. This will help you find the perfect page protector. These 2 below are my favorite, I use them all the time! With these kind of page protectors I also feel like I can put lots of photos without looking too busy!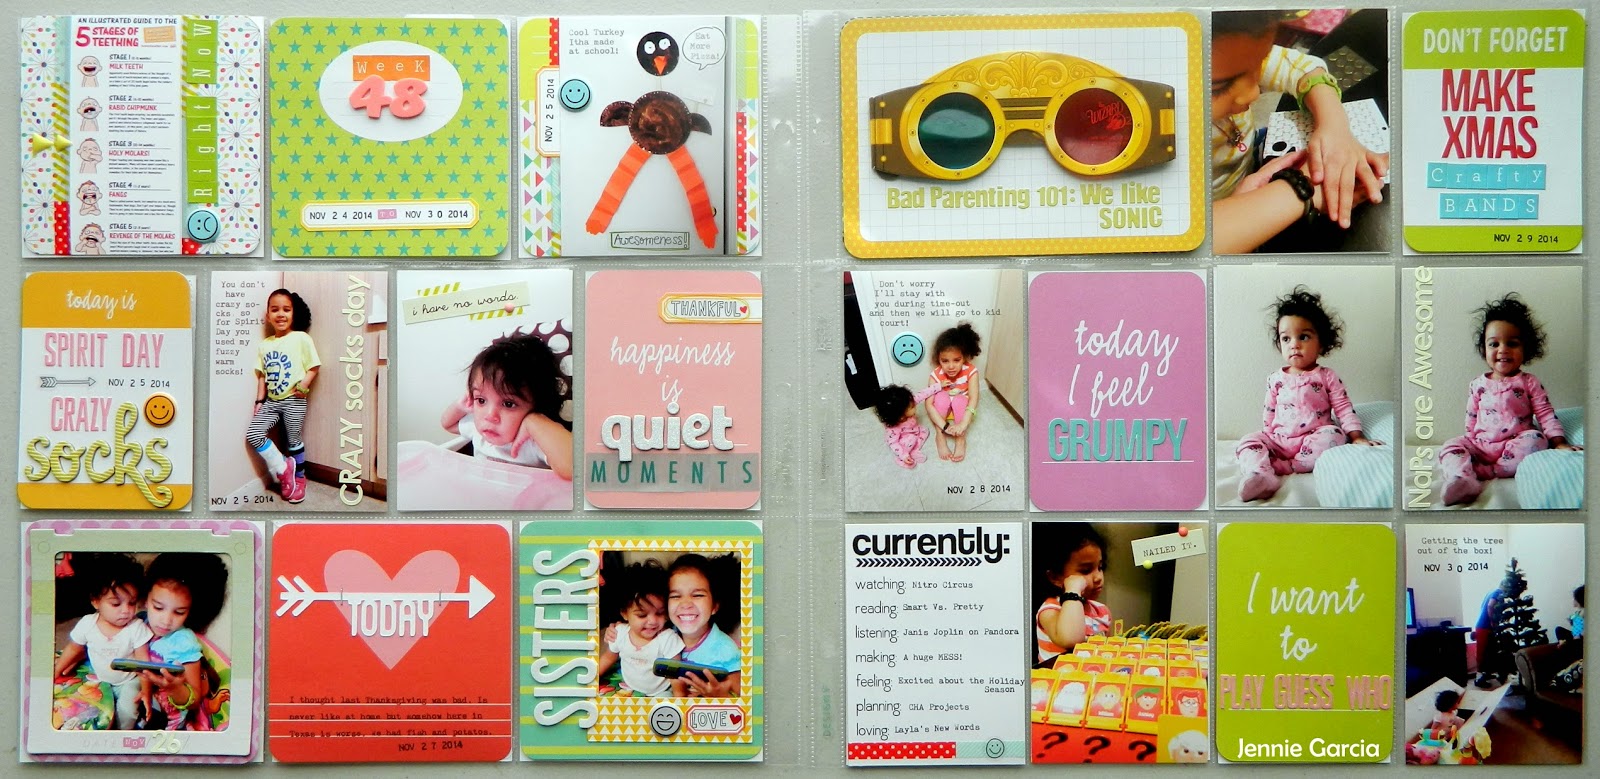
Tip #3: Get a photo printer!
I know it can be pricey but it’s worth the extra cents. No waiting for prints to be done, not driving to the store and you can print as you go! I got a Canon PIXMA MG6320 for around $70 and I’m pretty happy with my purchase. Every week or two I print my photos and I slip them in their page protectors even if I don’t work on them right away.
Tip #4: Include yourself!
Yes, scrapbookers tend to scrap everyone in family from the great grandparents to the goldfish but where are we? Like 5 photos if you count all the albums since 1995. I don’t blame you. I HATE PHOTOS OF MYSELF! Really! I’m the least photogenic person in the Galaxy! I’m not exaggerating! Well maybe a tiny bit. I’m not taking photos each week and that is why I include my Currently List Card by the awesome Kristin aka rukristin! Every Sunday I take a few minutes to fill my card. I actually fill the answers on pencil on the back of the card, when I work on the spread I type it with my typewriter.

Tip #5 Get tech support!
I have really bad memory so I LOVE that my phone tells me what day I took the photos. Also mix it up with apps! a few of my favorites are: Pic Tap Go, RealBokeh, Pic Stitch, A Beautiful Mess, InstaWeather, InstaPlace and Rhonna Designs.
Tip #6: Make your own kits!
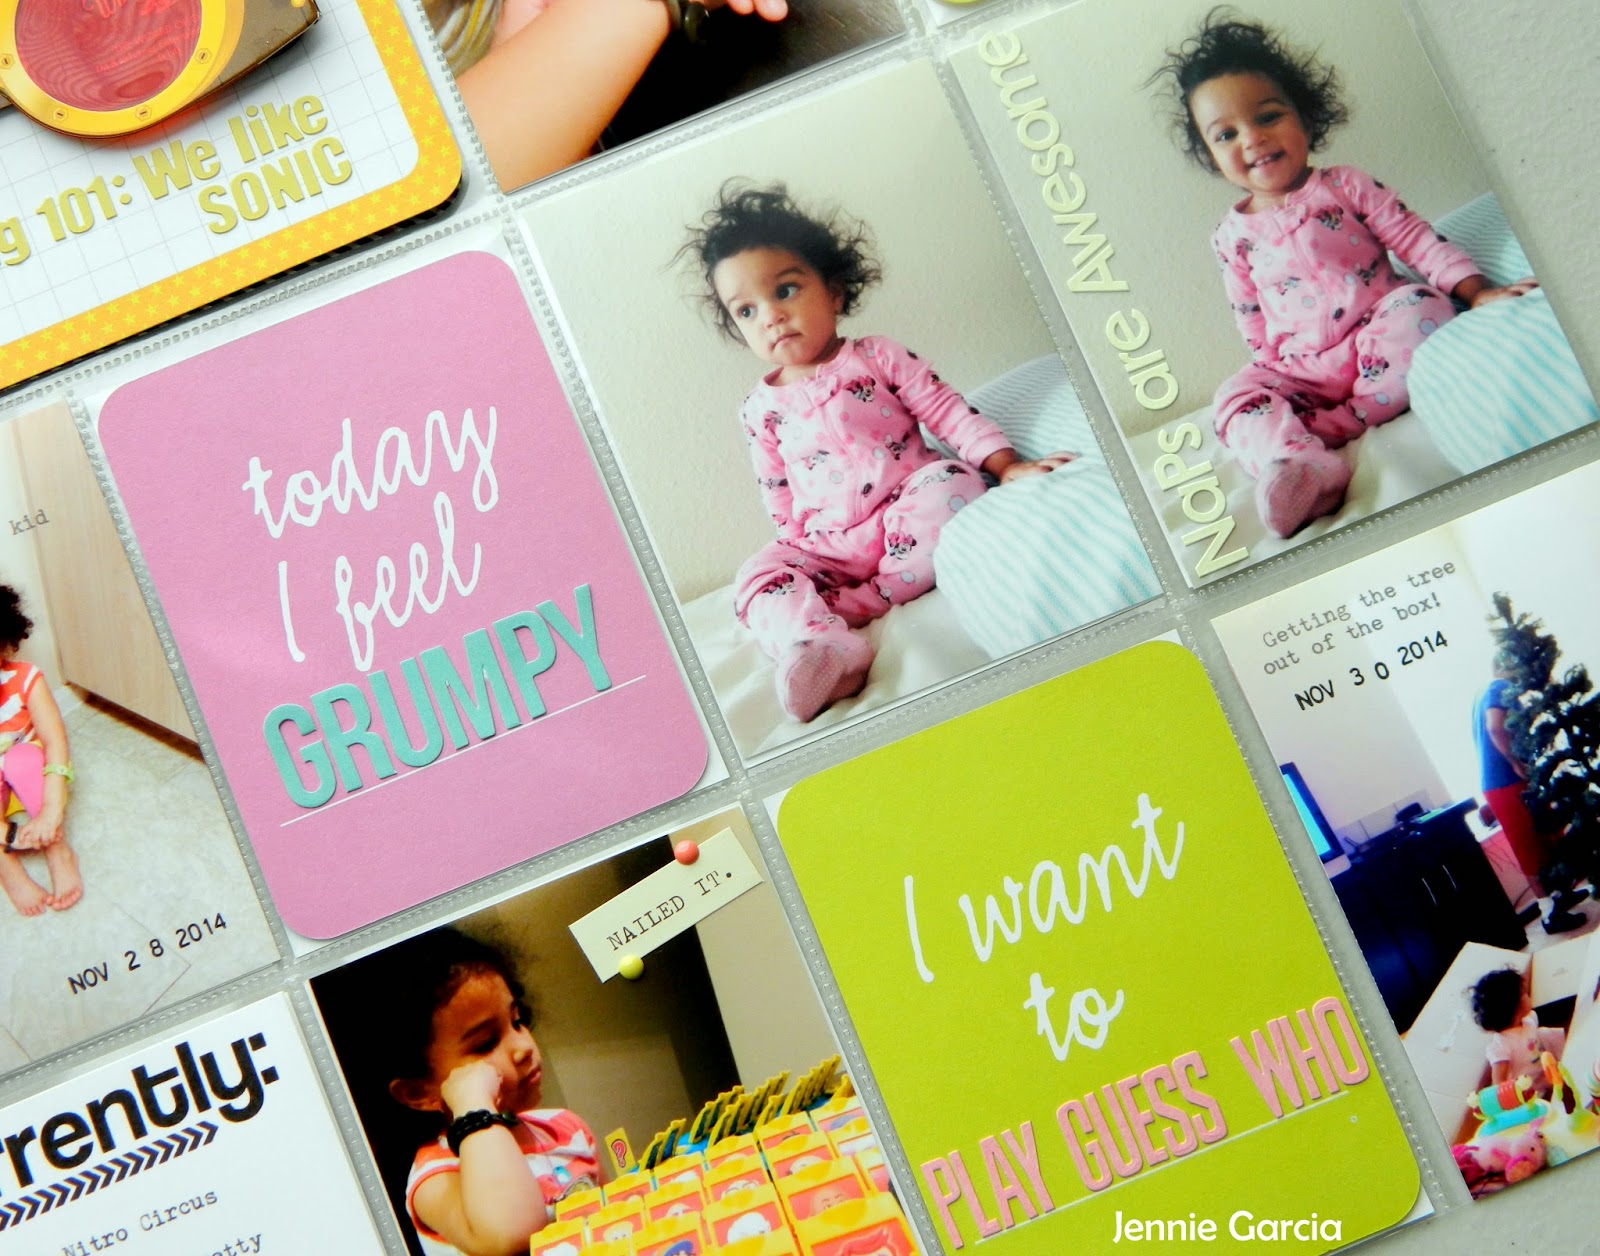
Supplies are cool. NEW Supplies are even cooler but STOP buying! (Unless you buy Tombow which you HAVE TO since you always need awesome adhesives!) I keep my embellishments and cards by color to find them easily and when I make a layout I just pick my little color boxes a go to town with them. My three staple embellishments are: Alpha Stickers, Labels (most print and cut freebies I find online) and Enamel Dots. Of the last ones I have some store bought and some home made with perler beads which I glue using the Tombow Mono Multi Liquid Glue.
Tip #7: Write your story!
I write my journaling on the back of the photos as I print them but maybe you can use your planner or even write notes on your phone. Sometimes all you need are funny memes or even snapshots of your Facebook or Twitter Status.
I’ll have more tips in the future but to avoid making this post a book, I’ll stop here. These are just a few basics I wanted to cover but if you would like me to talk more about one of these tips or you have any questions just leave them in the comments and I will get back at you on that!
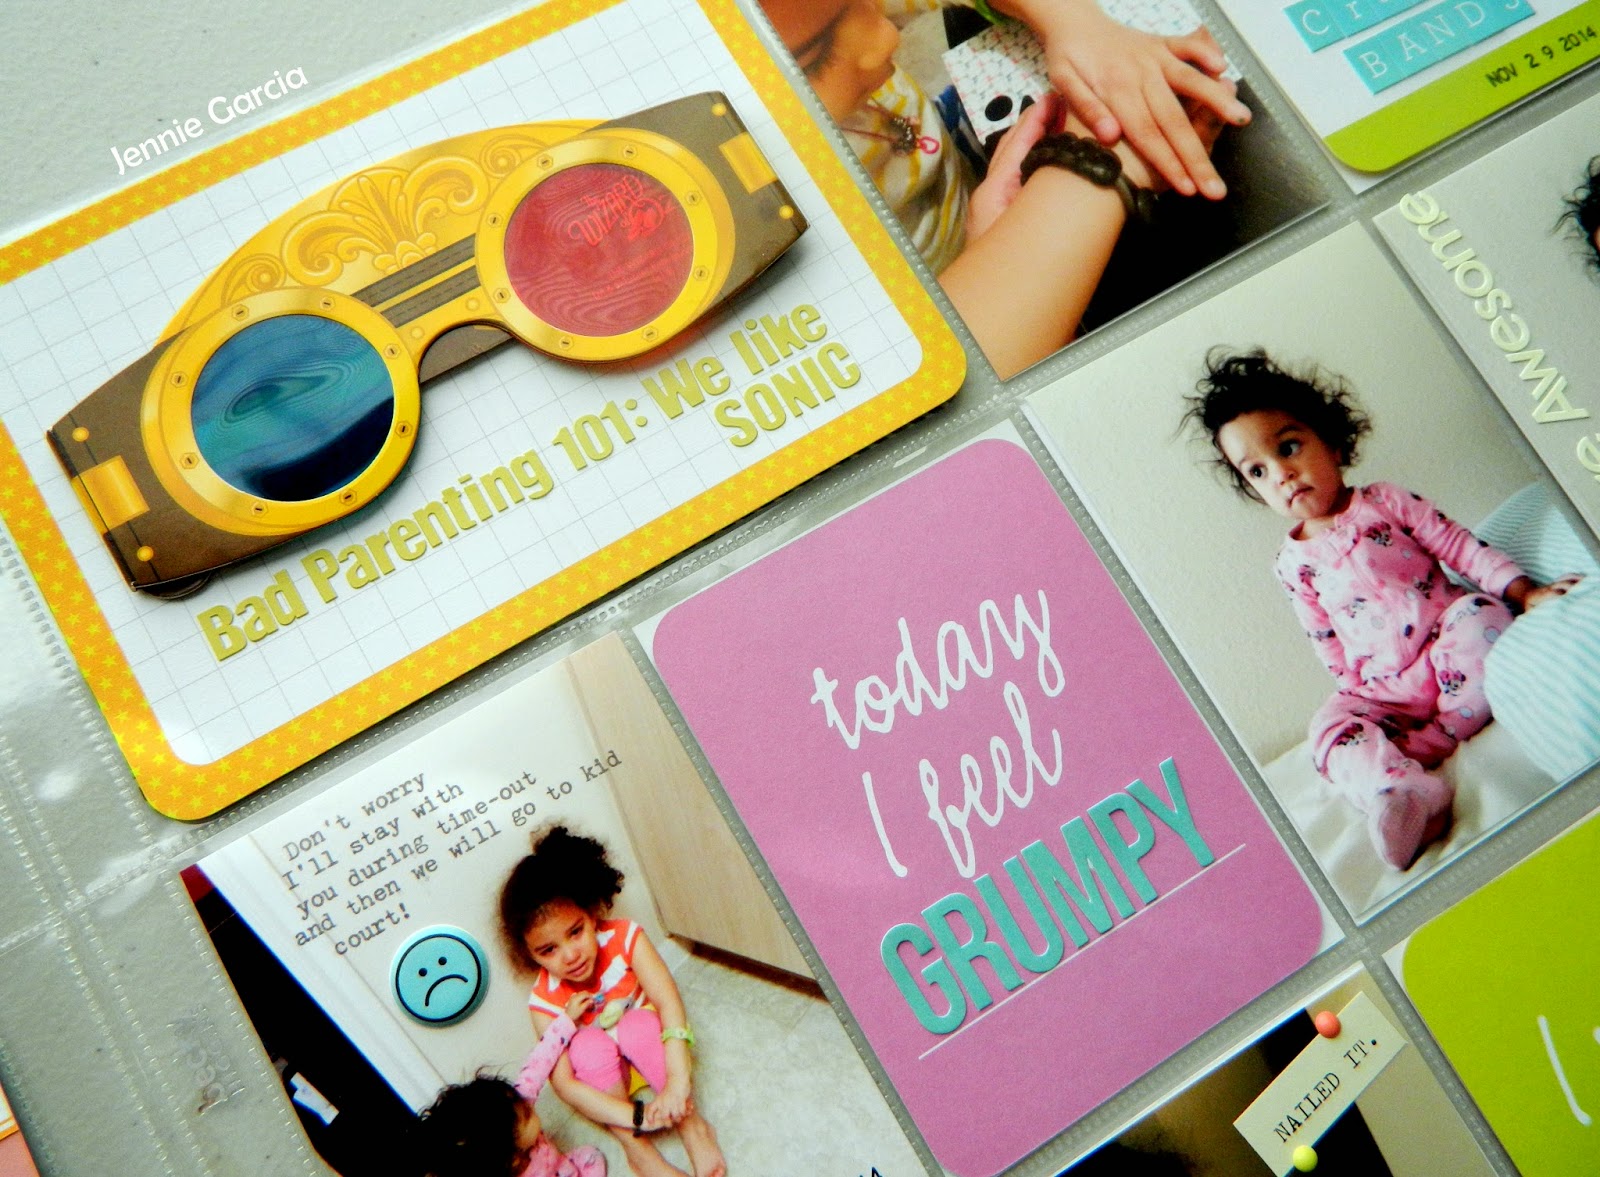
To glue the photos, papers and labels on this spread I used the Tombow Mono Adhesive Permanent. To glue the glasses I used Tombow Power Tabs and some of my alphas were not that sticky so I used the Tombow Mono Multi Liquid Glue.
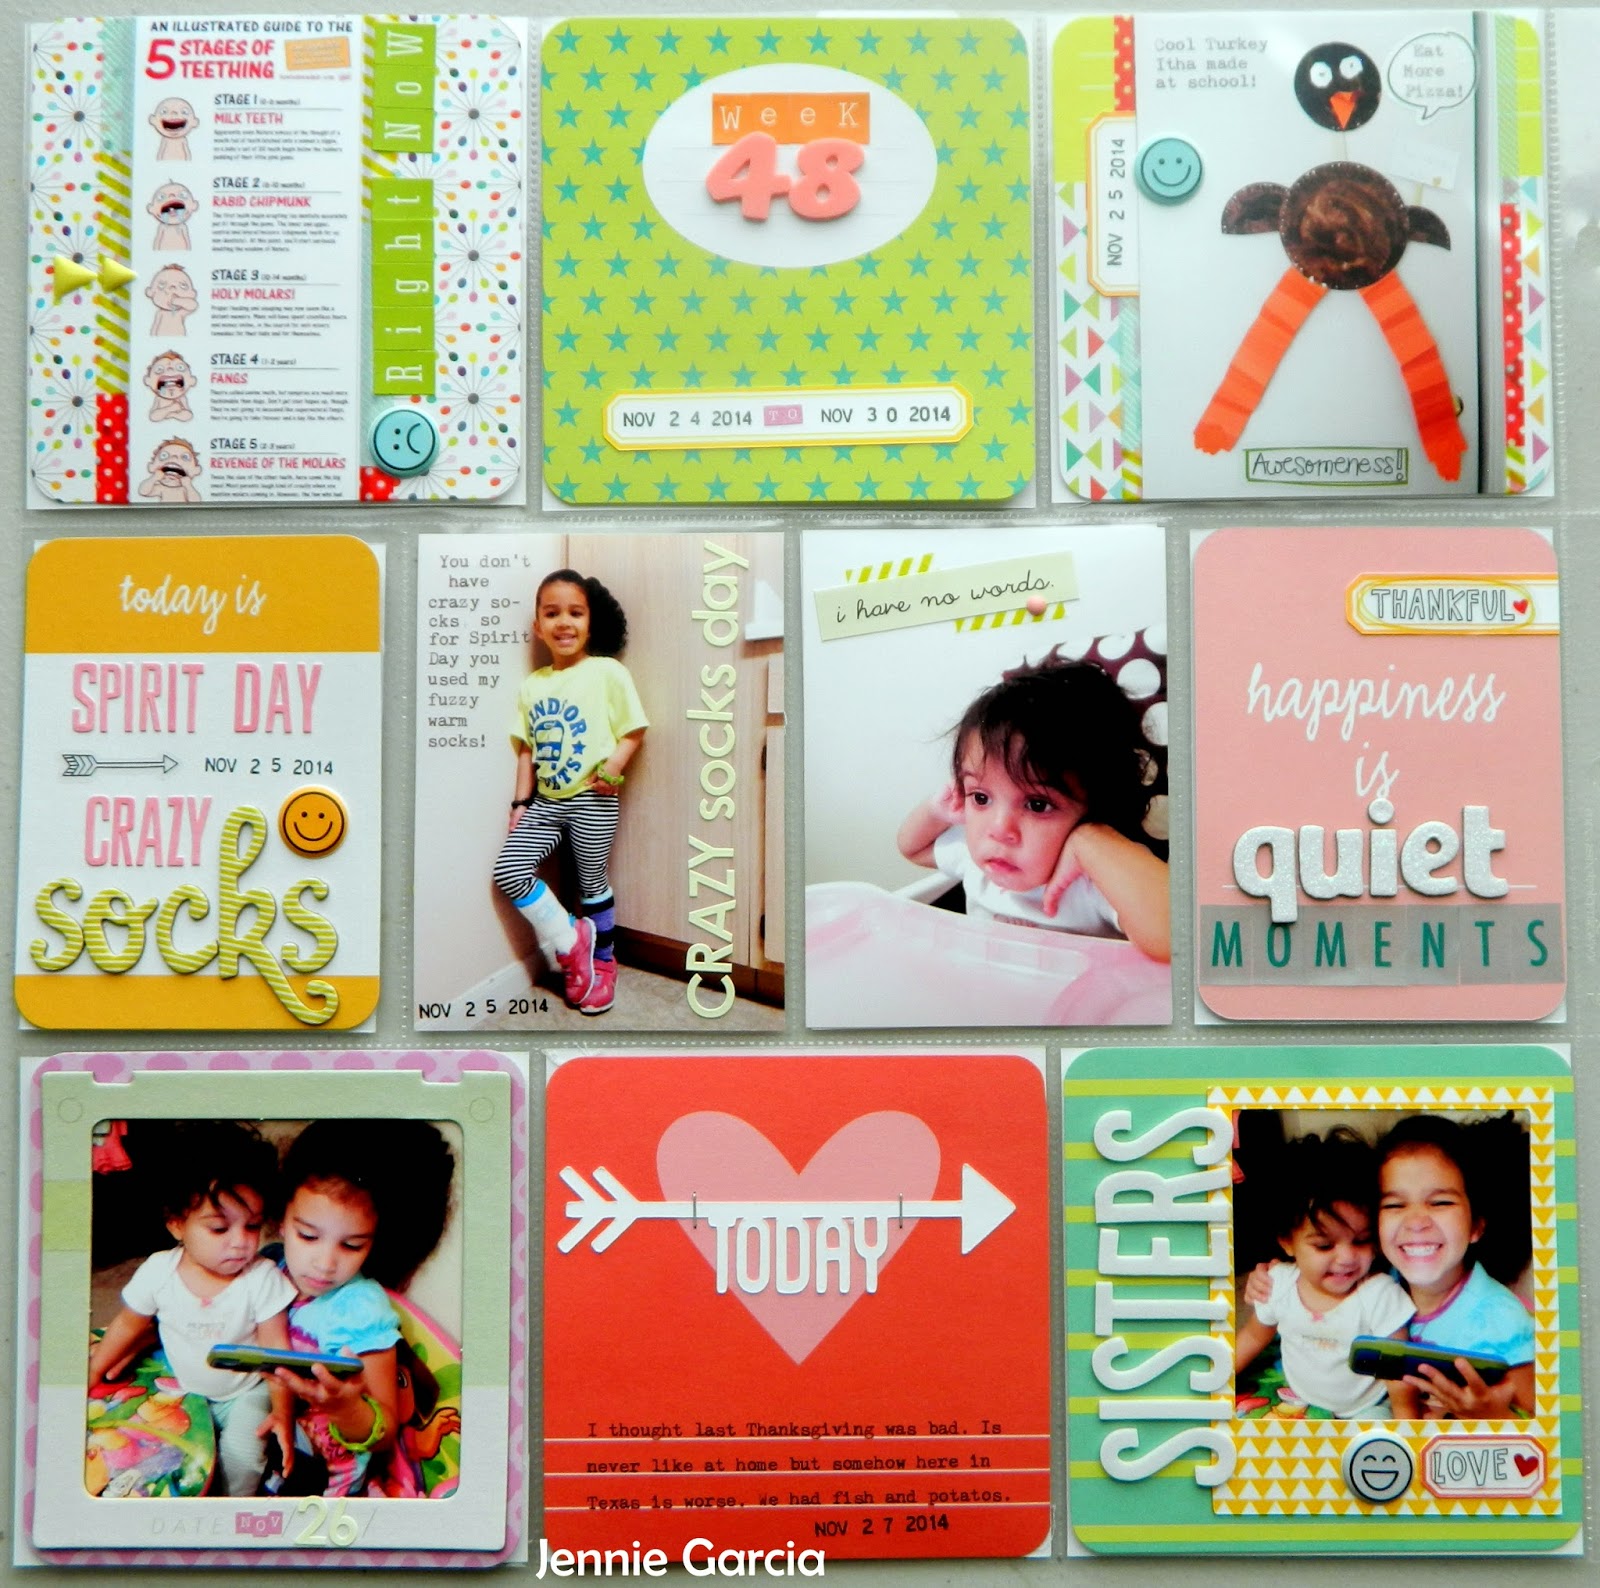
For this spread I used cards from the Happy Core Kit, Embellishments and Alphas from Freckled Fawn and Simple Stories.
I hope you enjoyed this post!
Take Care!