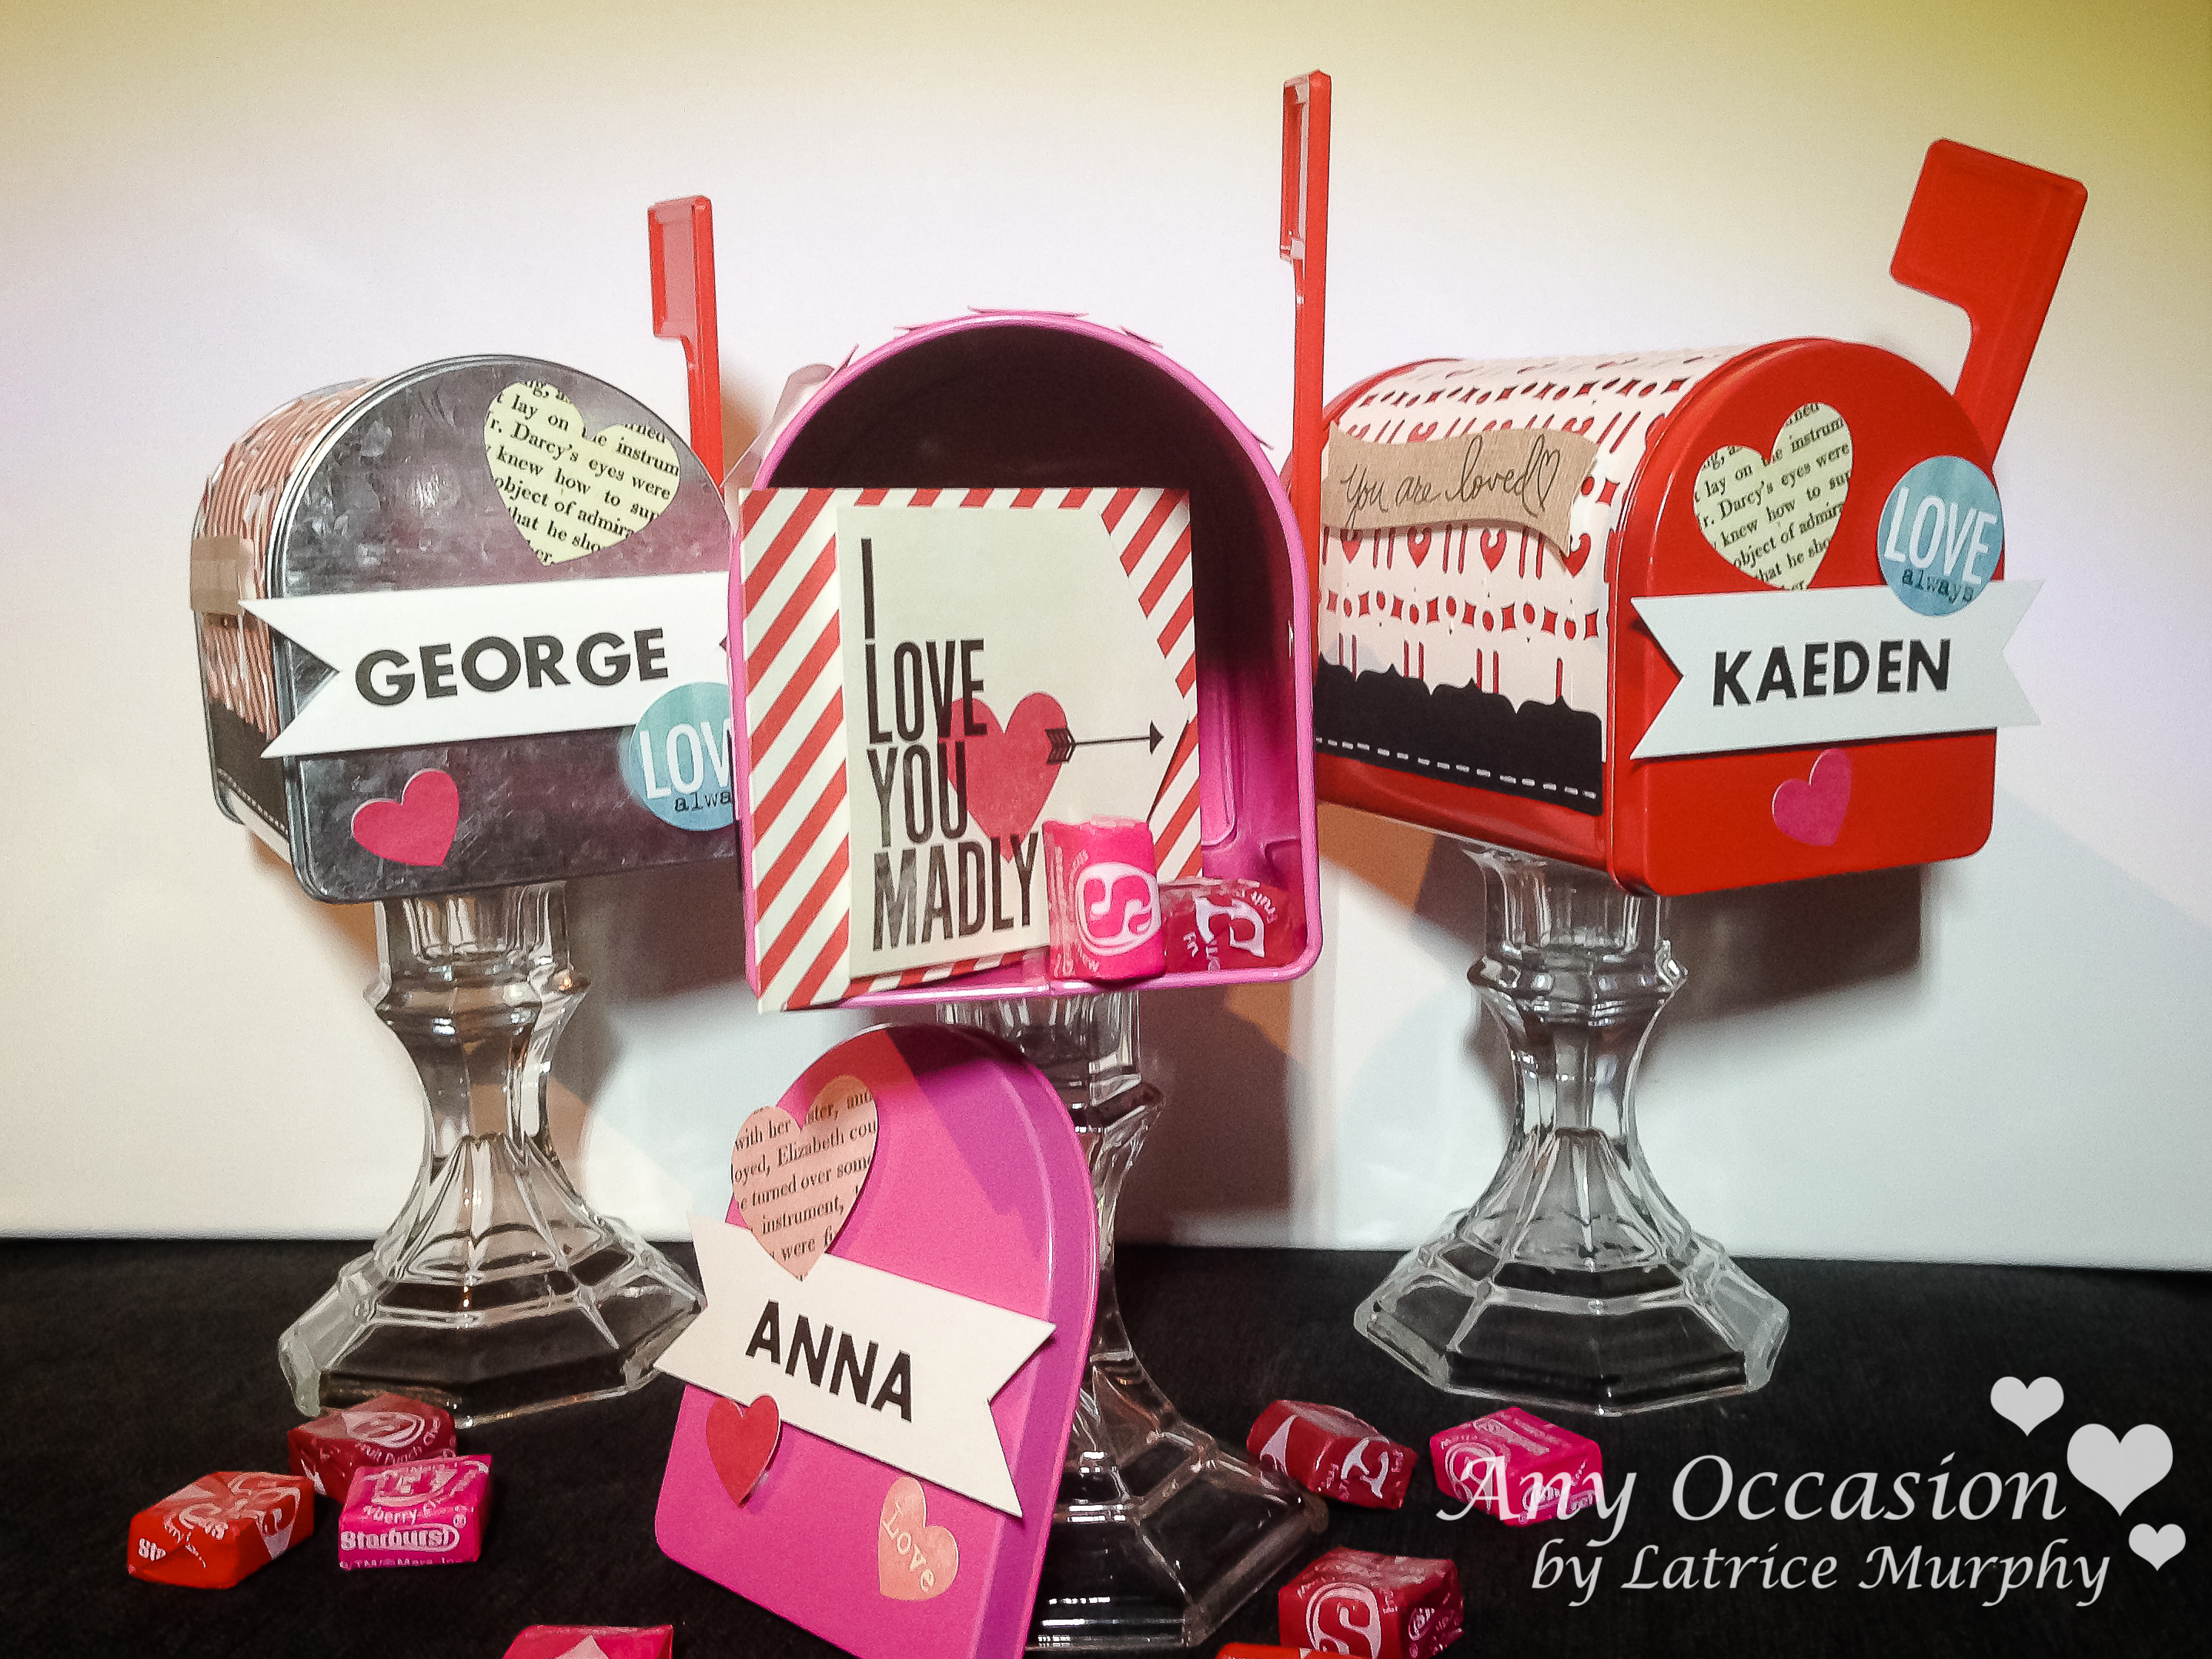
Hey Tombow lovers. It’s Latrice and I can’t begin to tell you how excited I am to be here to share projects with you as a Tombow Design team member. Talk about a dream come true for me. Today I have a budget friendly project that those of you with kids will love. I could see these as a cute teacher gift as well. We’re going to make mini Valentine’s Day mailboxes. Take a look
Here’s what you’ll need to create this adorable project:

Mini mailboxes (Target dollar section)
Candle sticks (Dollar Tree)
Stickers (Me and my BIG ideas)
Cardstock and patterned paper
White pen (Uniball)
Border PUnches (Fiskars & EK Success)
Glue gun
Die Cutting machine (Silhouette or similar)
Tombow product:
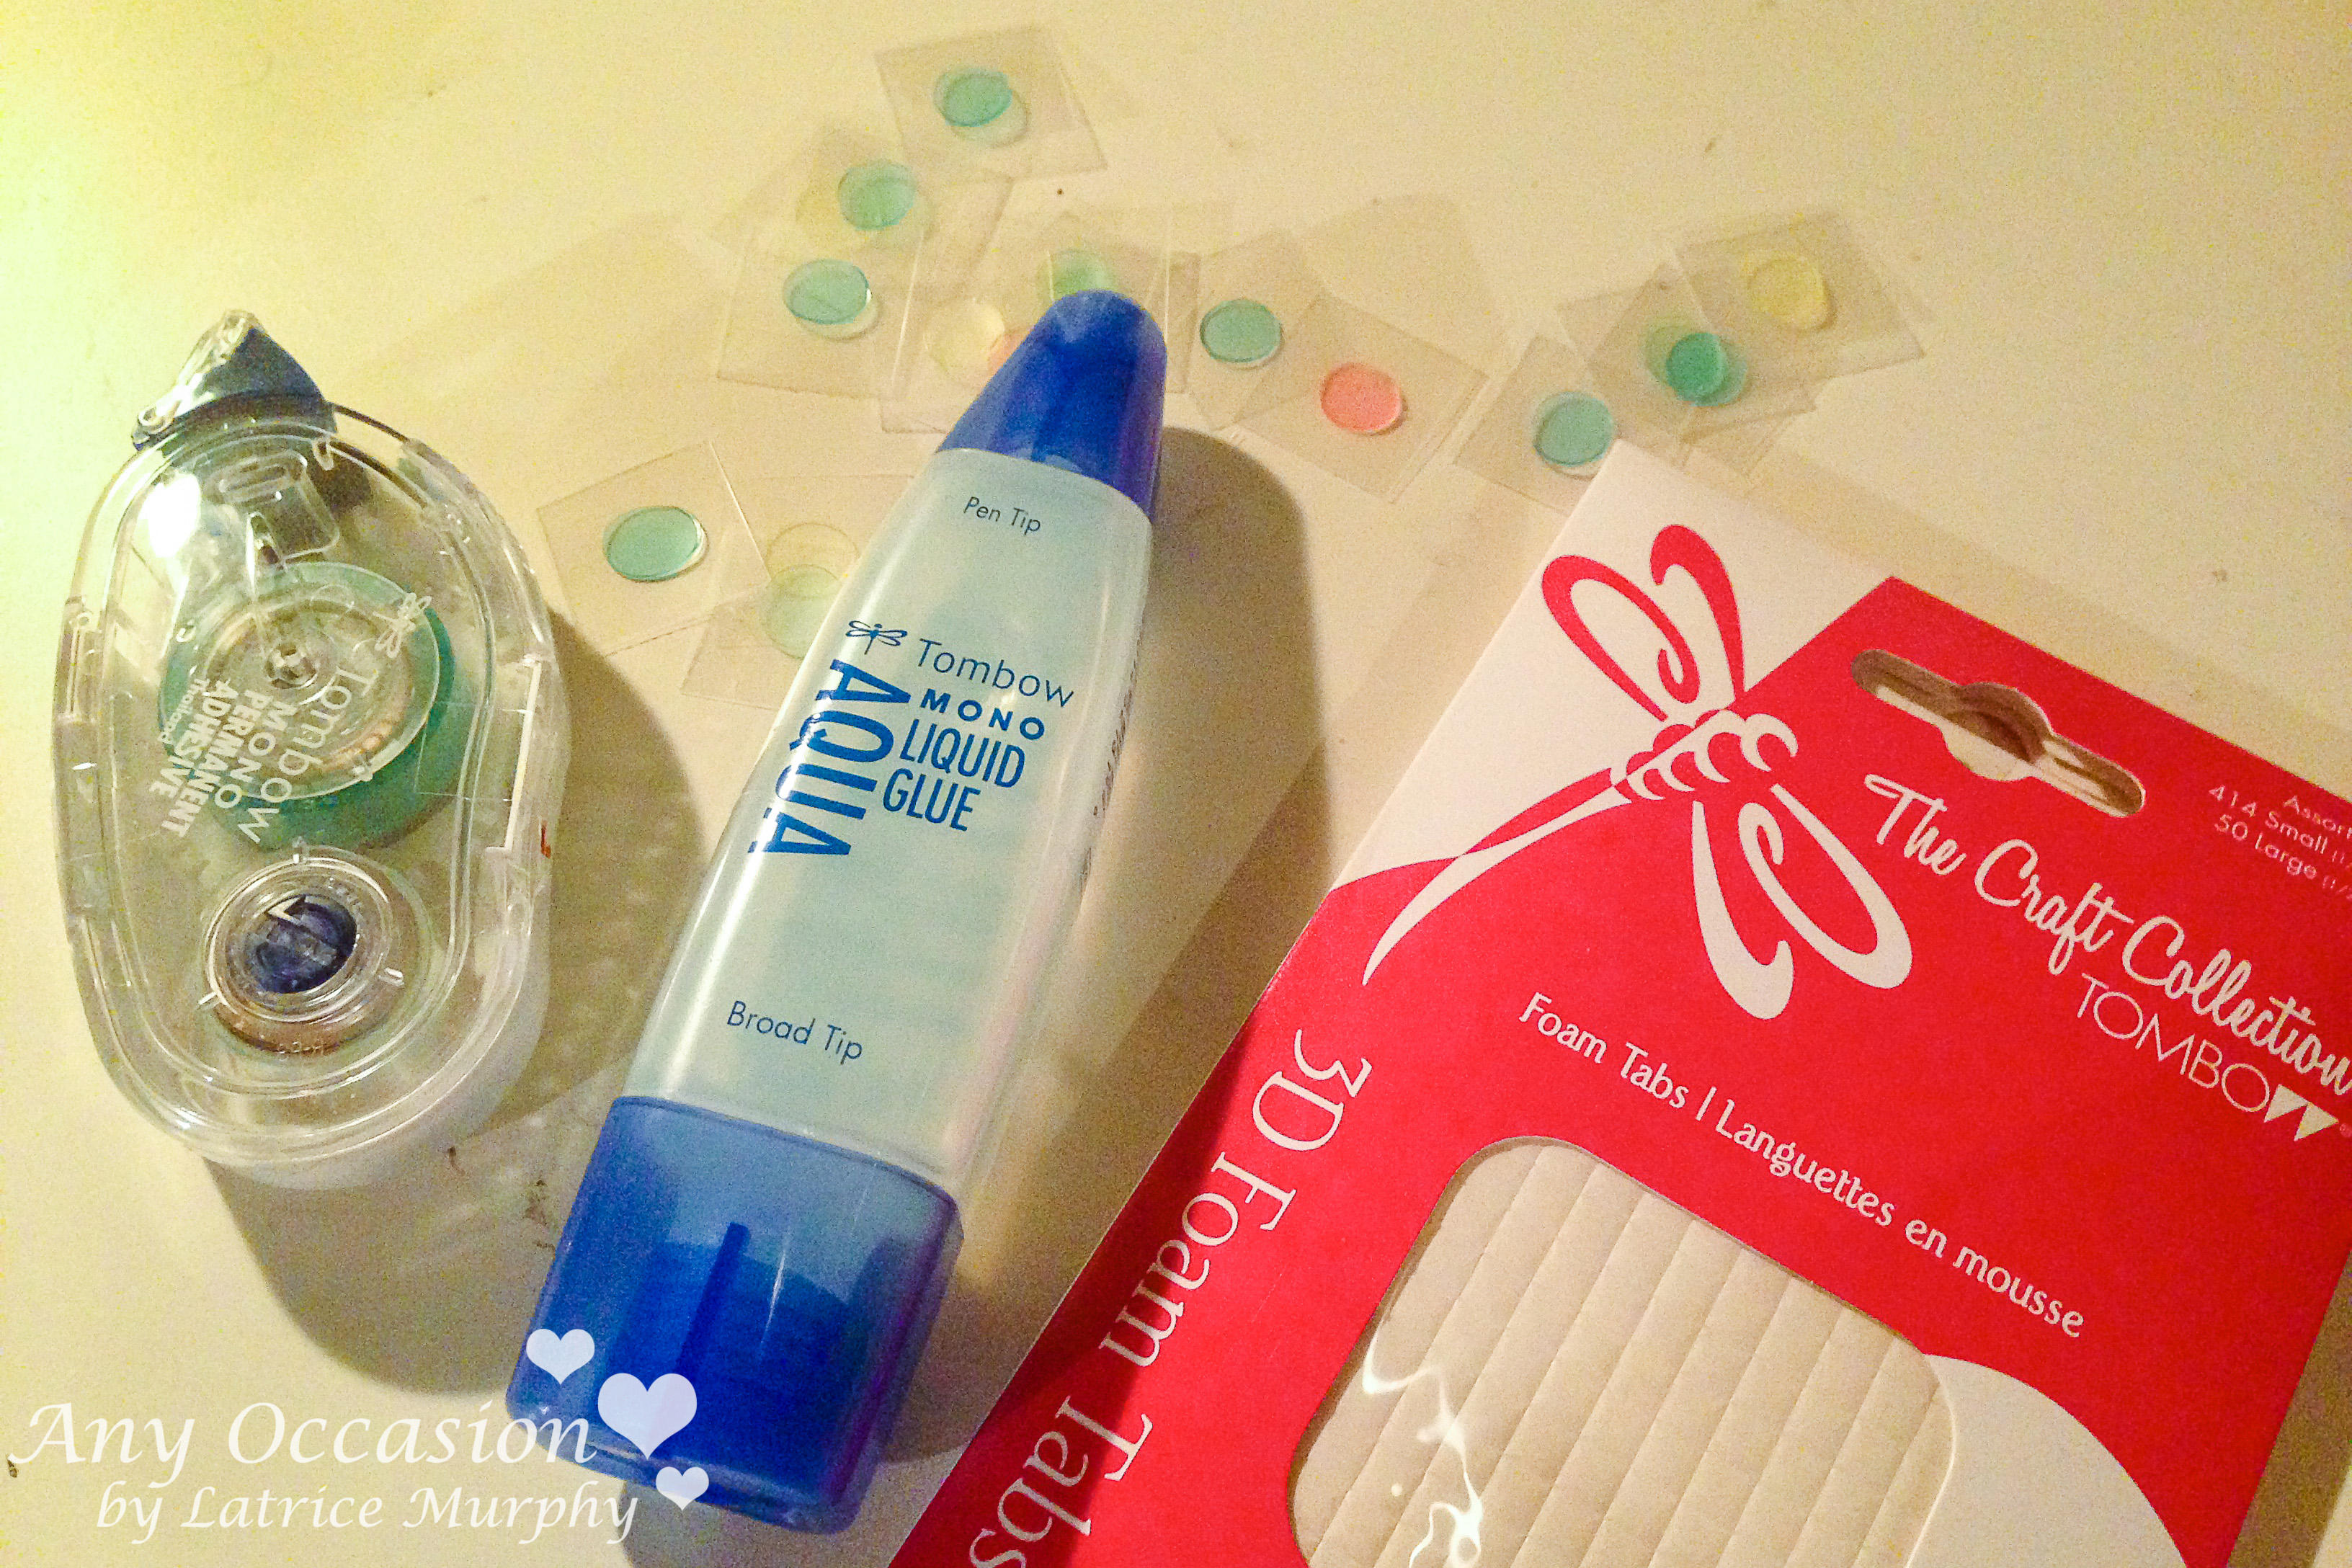
Tombow MONO permanent adhesive runner
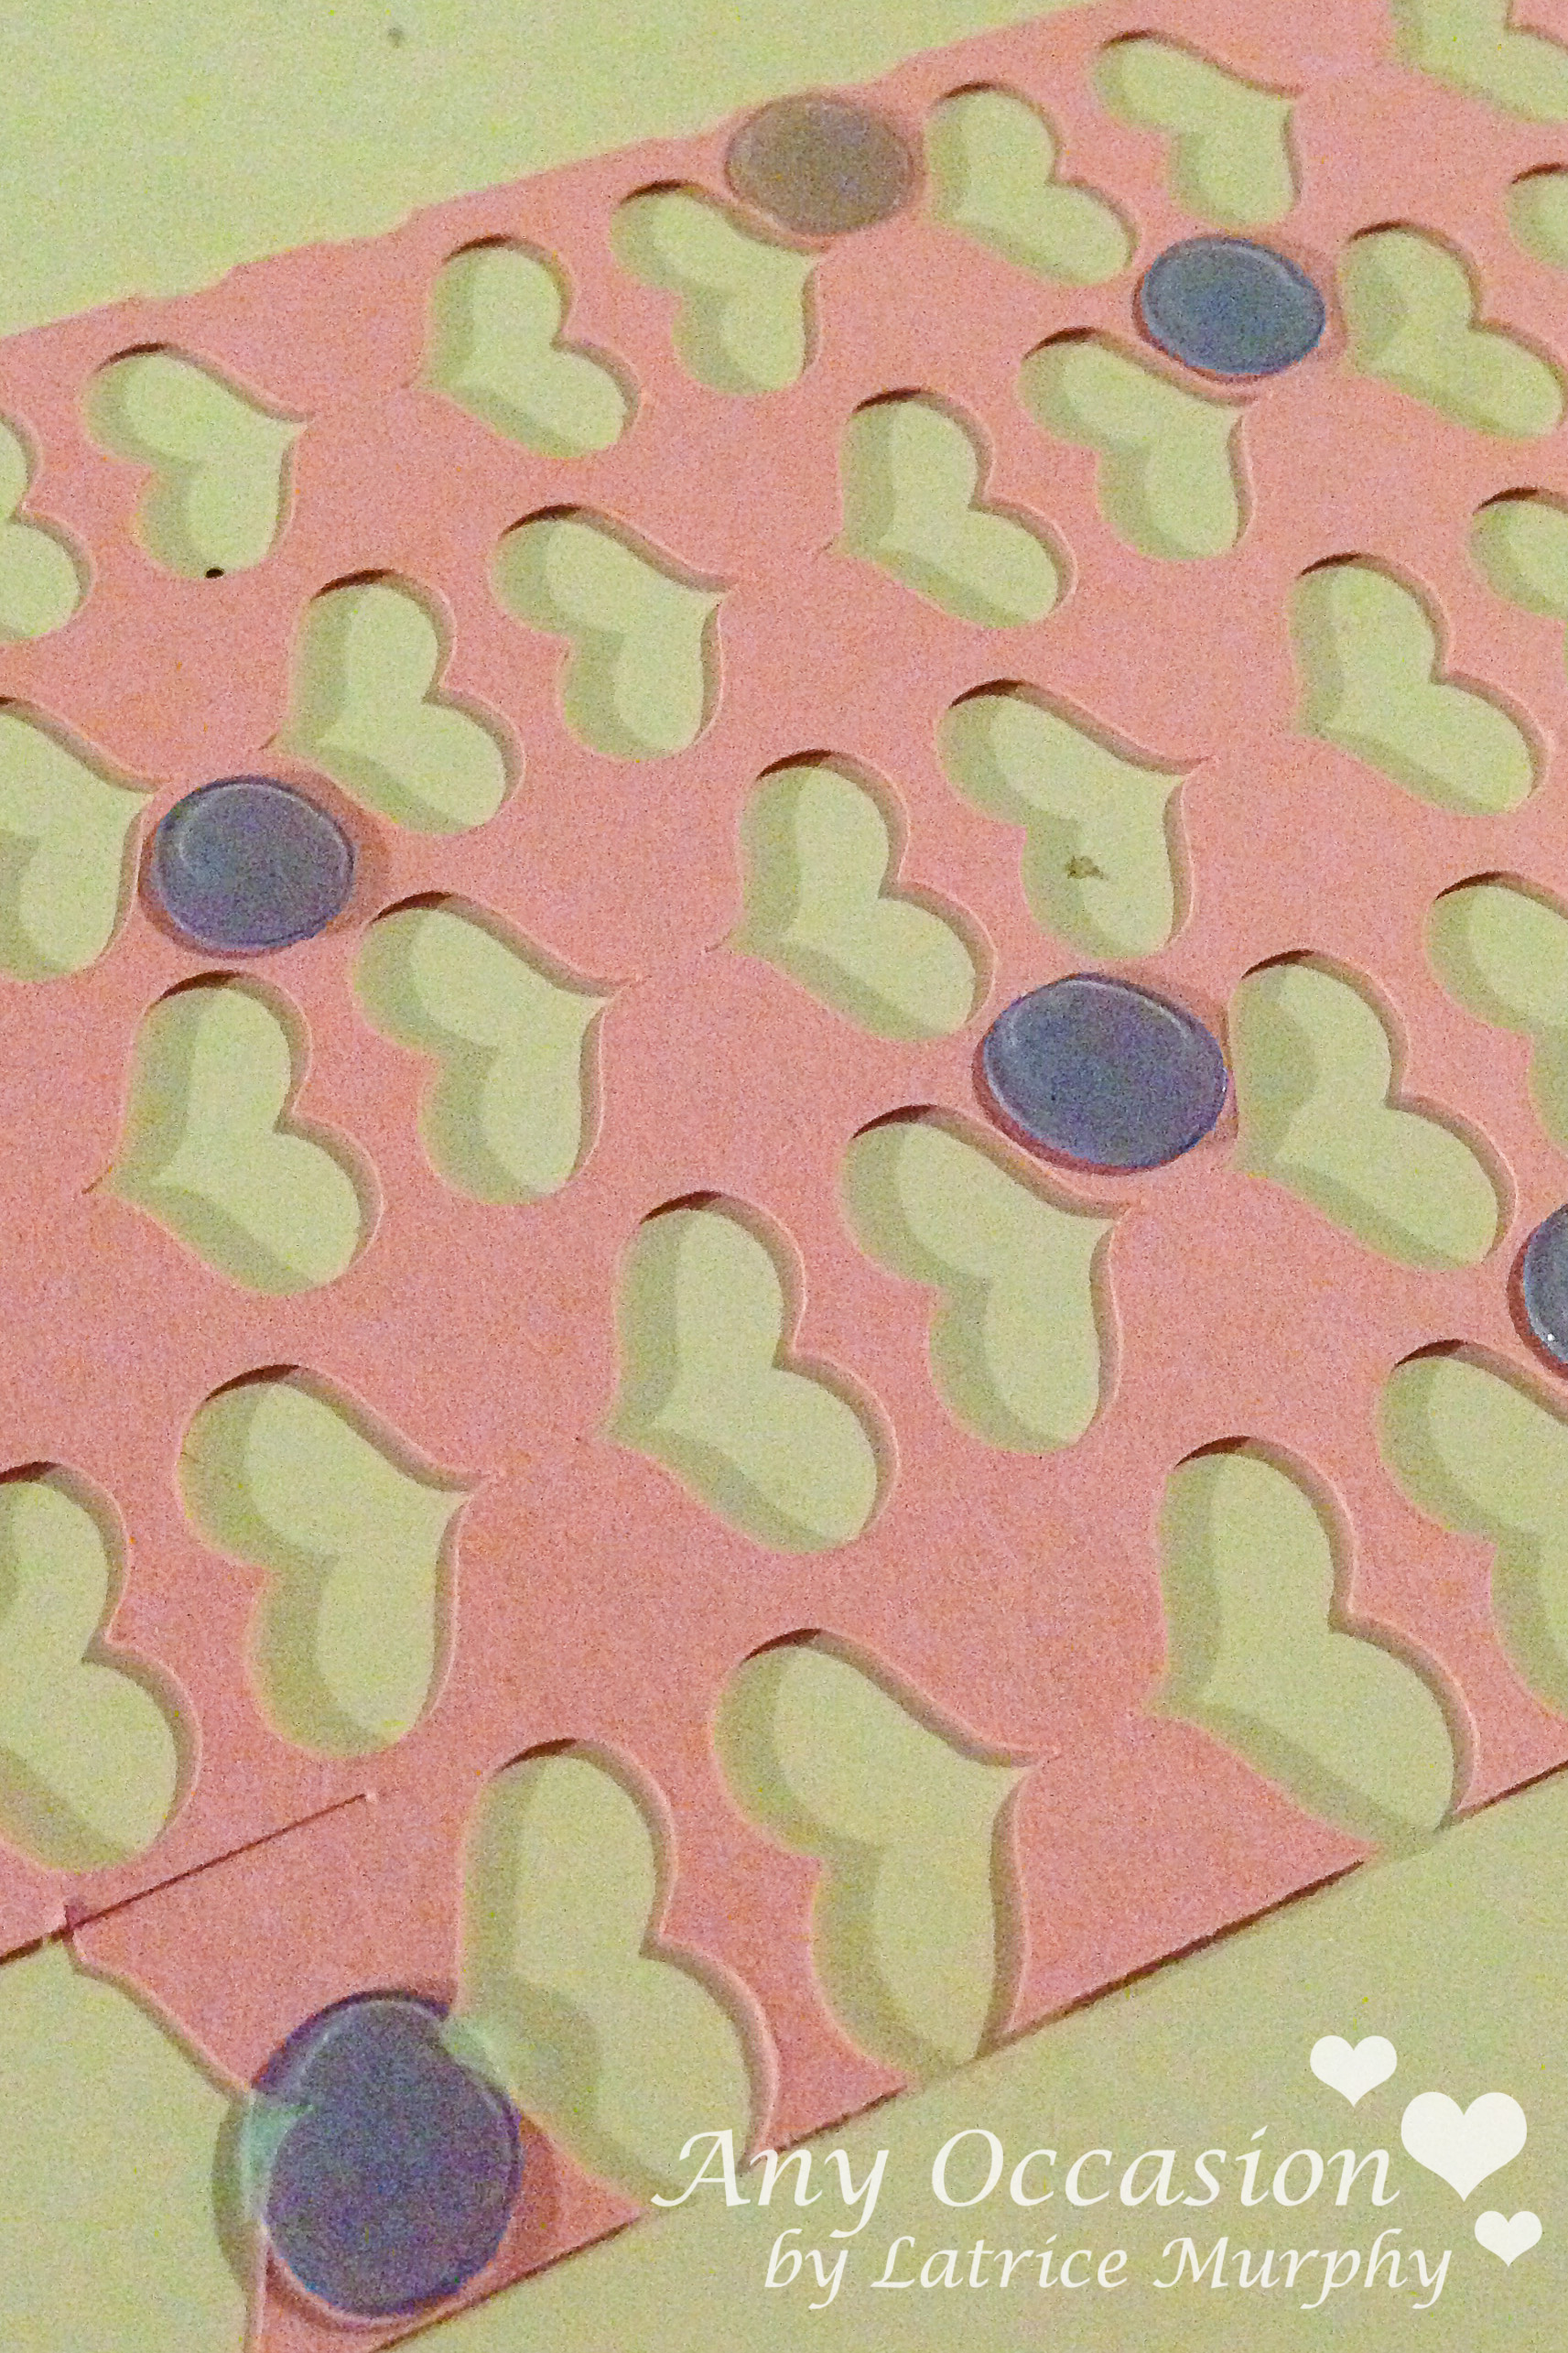
New adhesive dots (available soon!)
These were pretty simple to put together, but did take a little time. Here’s step by step directions for you.
Directions:
1. Choose your die cutting shape or template and start it cutting.
2. While you wait for your pieces to cut out glue the candlesticks to the mailboxes. I added glue around it as well for extra stability.
3. Cut (6) 4″x1″ strips of black cardstock and using border punches give them a fun edge. Give them faux stitching with the white pen.
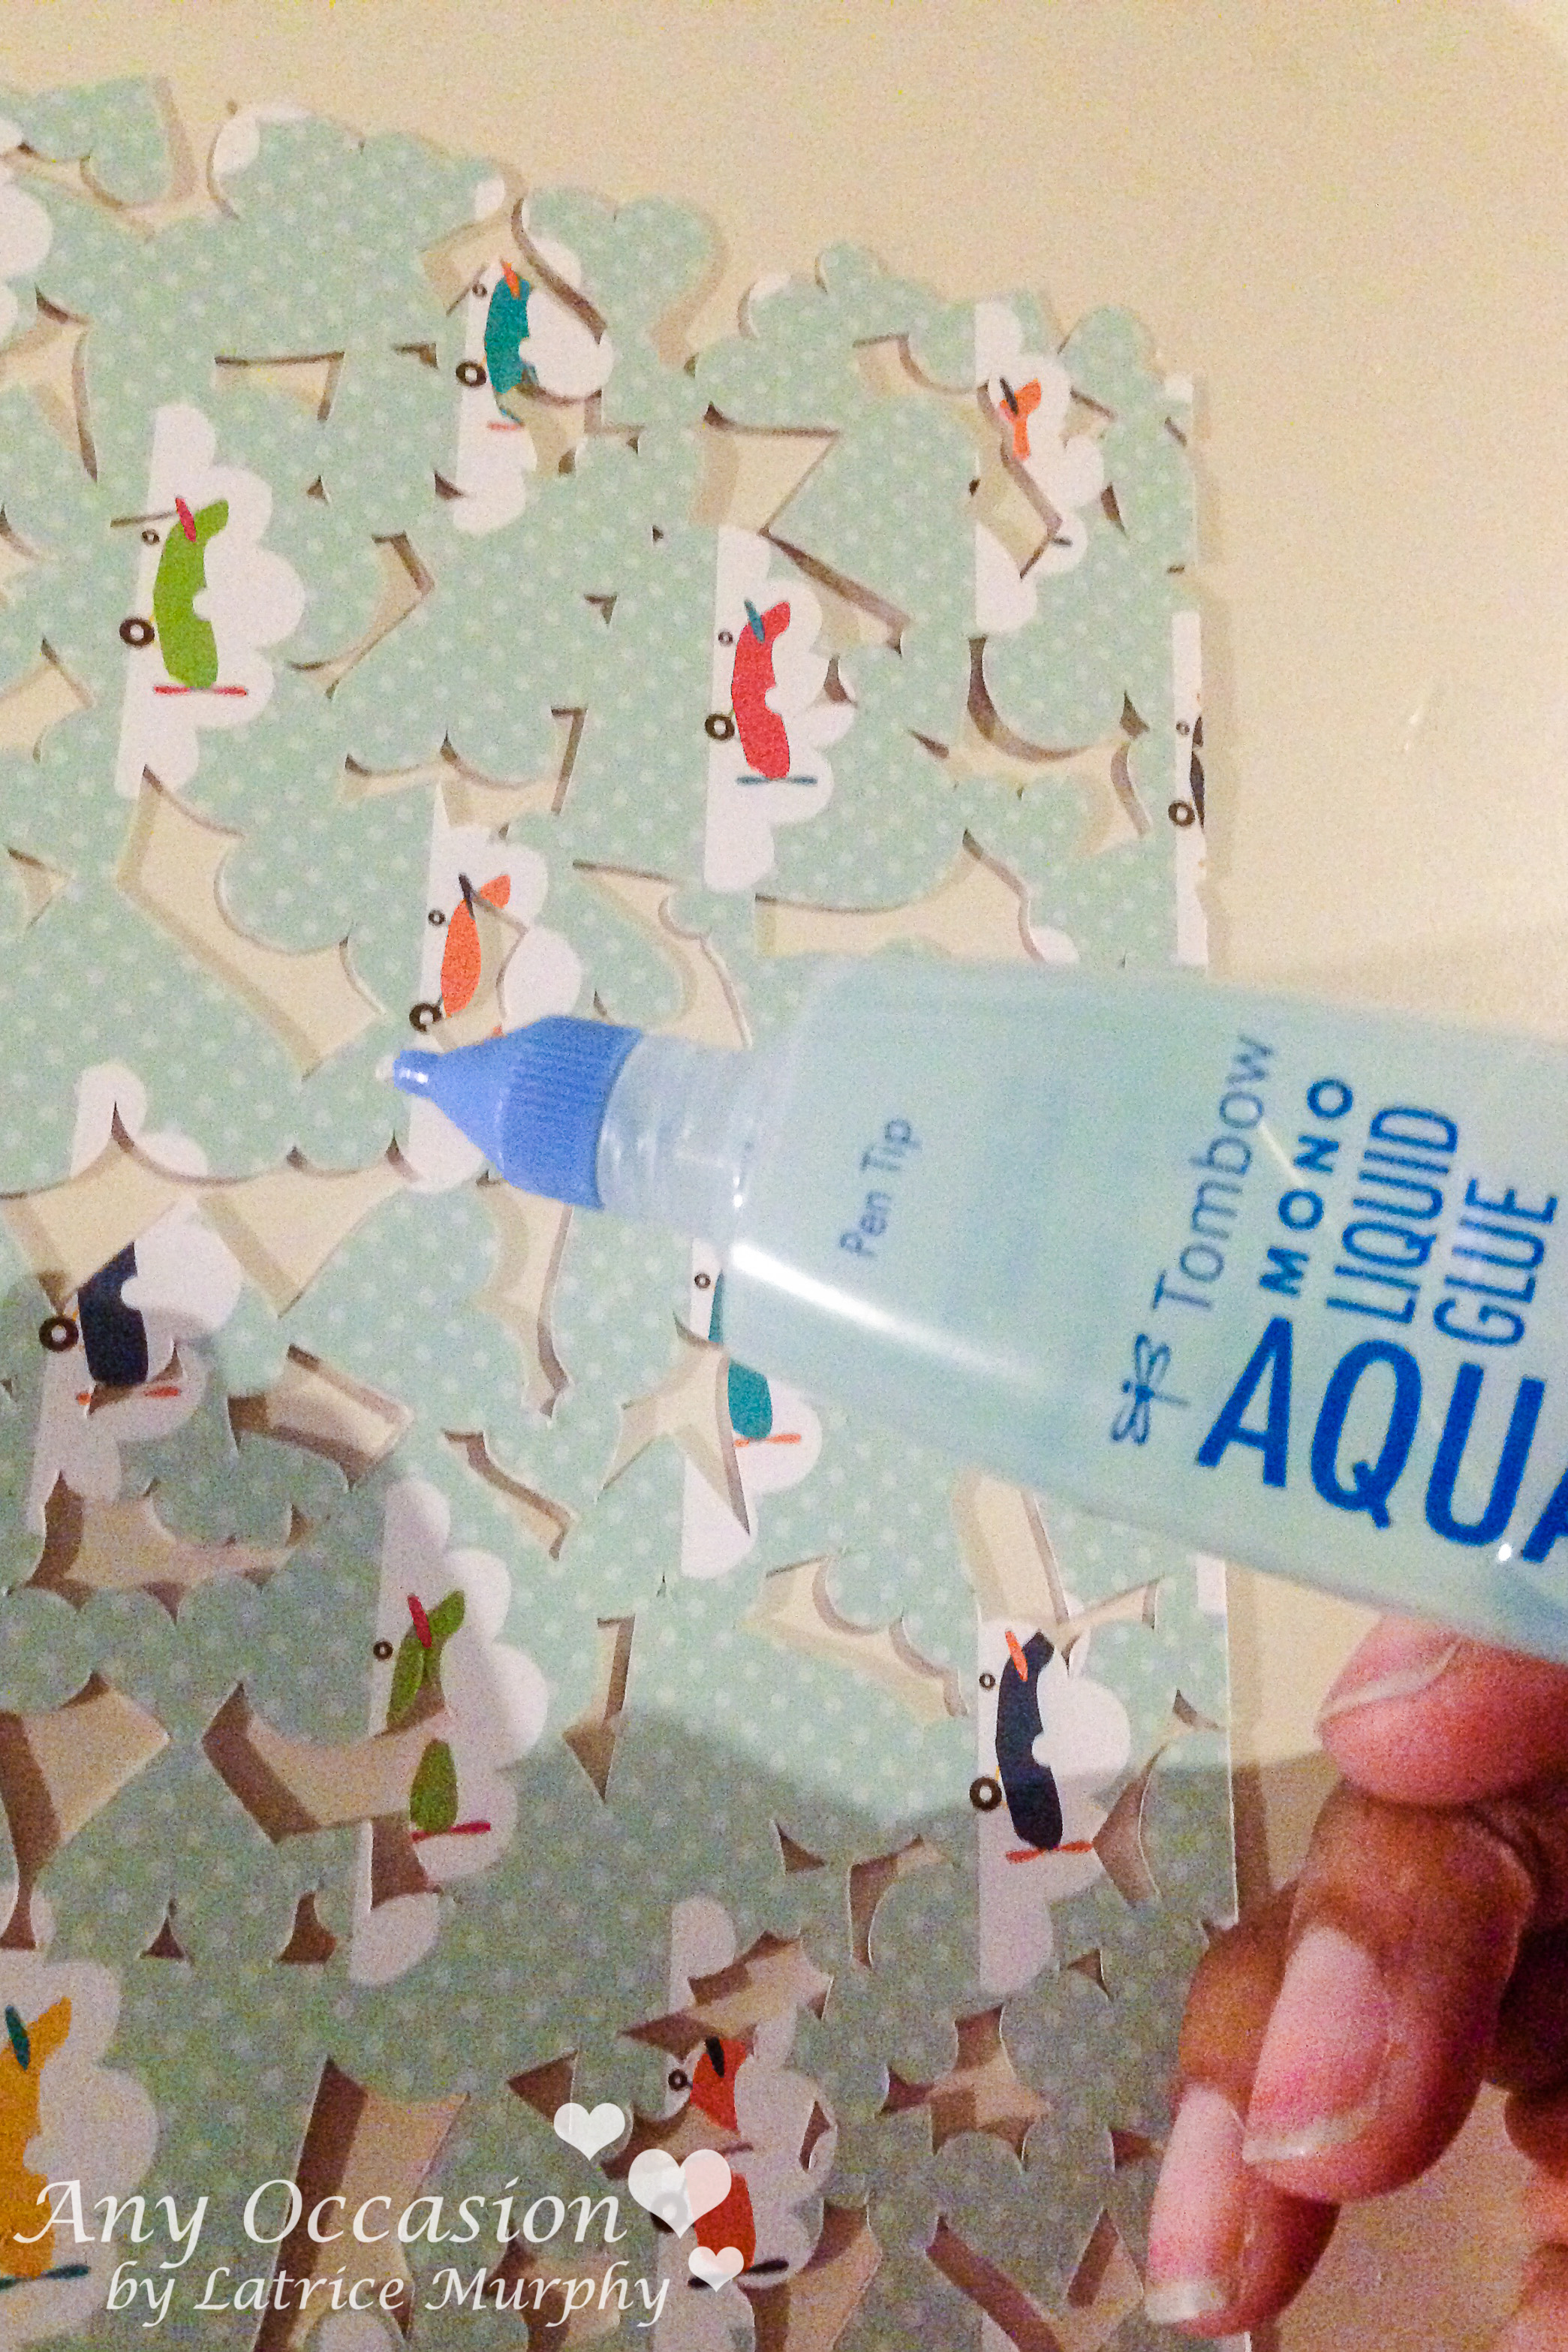
4. Adhere you die cut pieces to the mailboxes using what adhesive is best. The silver and red mail boxes got Liquid Glue while the pink I used the adhesive dots. See pictures below.
5. Next create 3.5″x1″ banners from white cardstock and spell out a name or any word you would like. Adhere this to the mailbox door with 3D foam tabs.
6. Adhere a few more stickers the the front and side of each mailbox.
7. Finish by adhering the black borders with faux stitching to the sides. Add a treat and watch your kids face light up.
Here area few close up of the mailboxes.

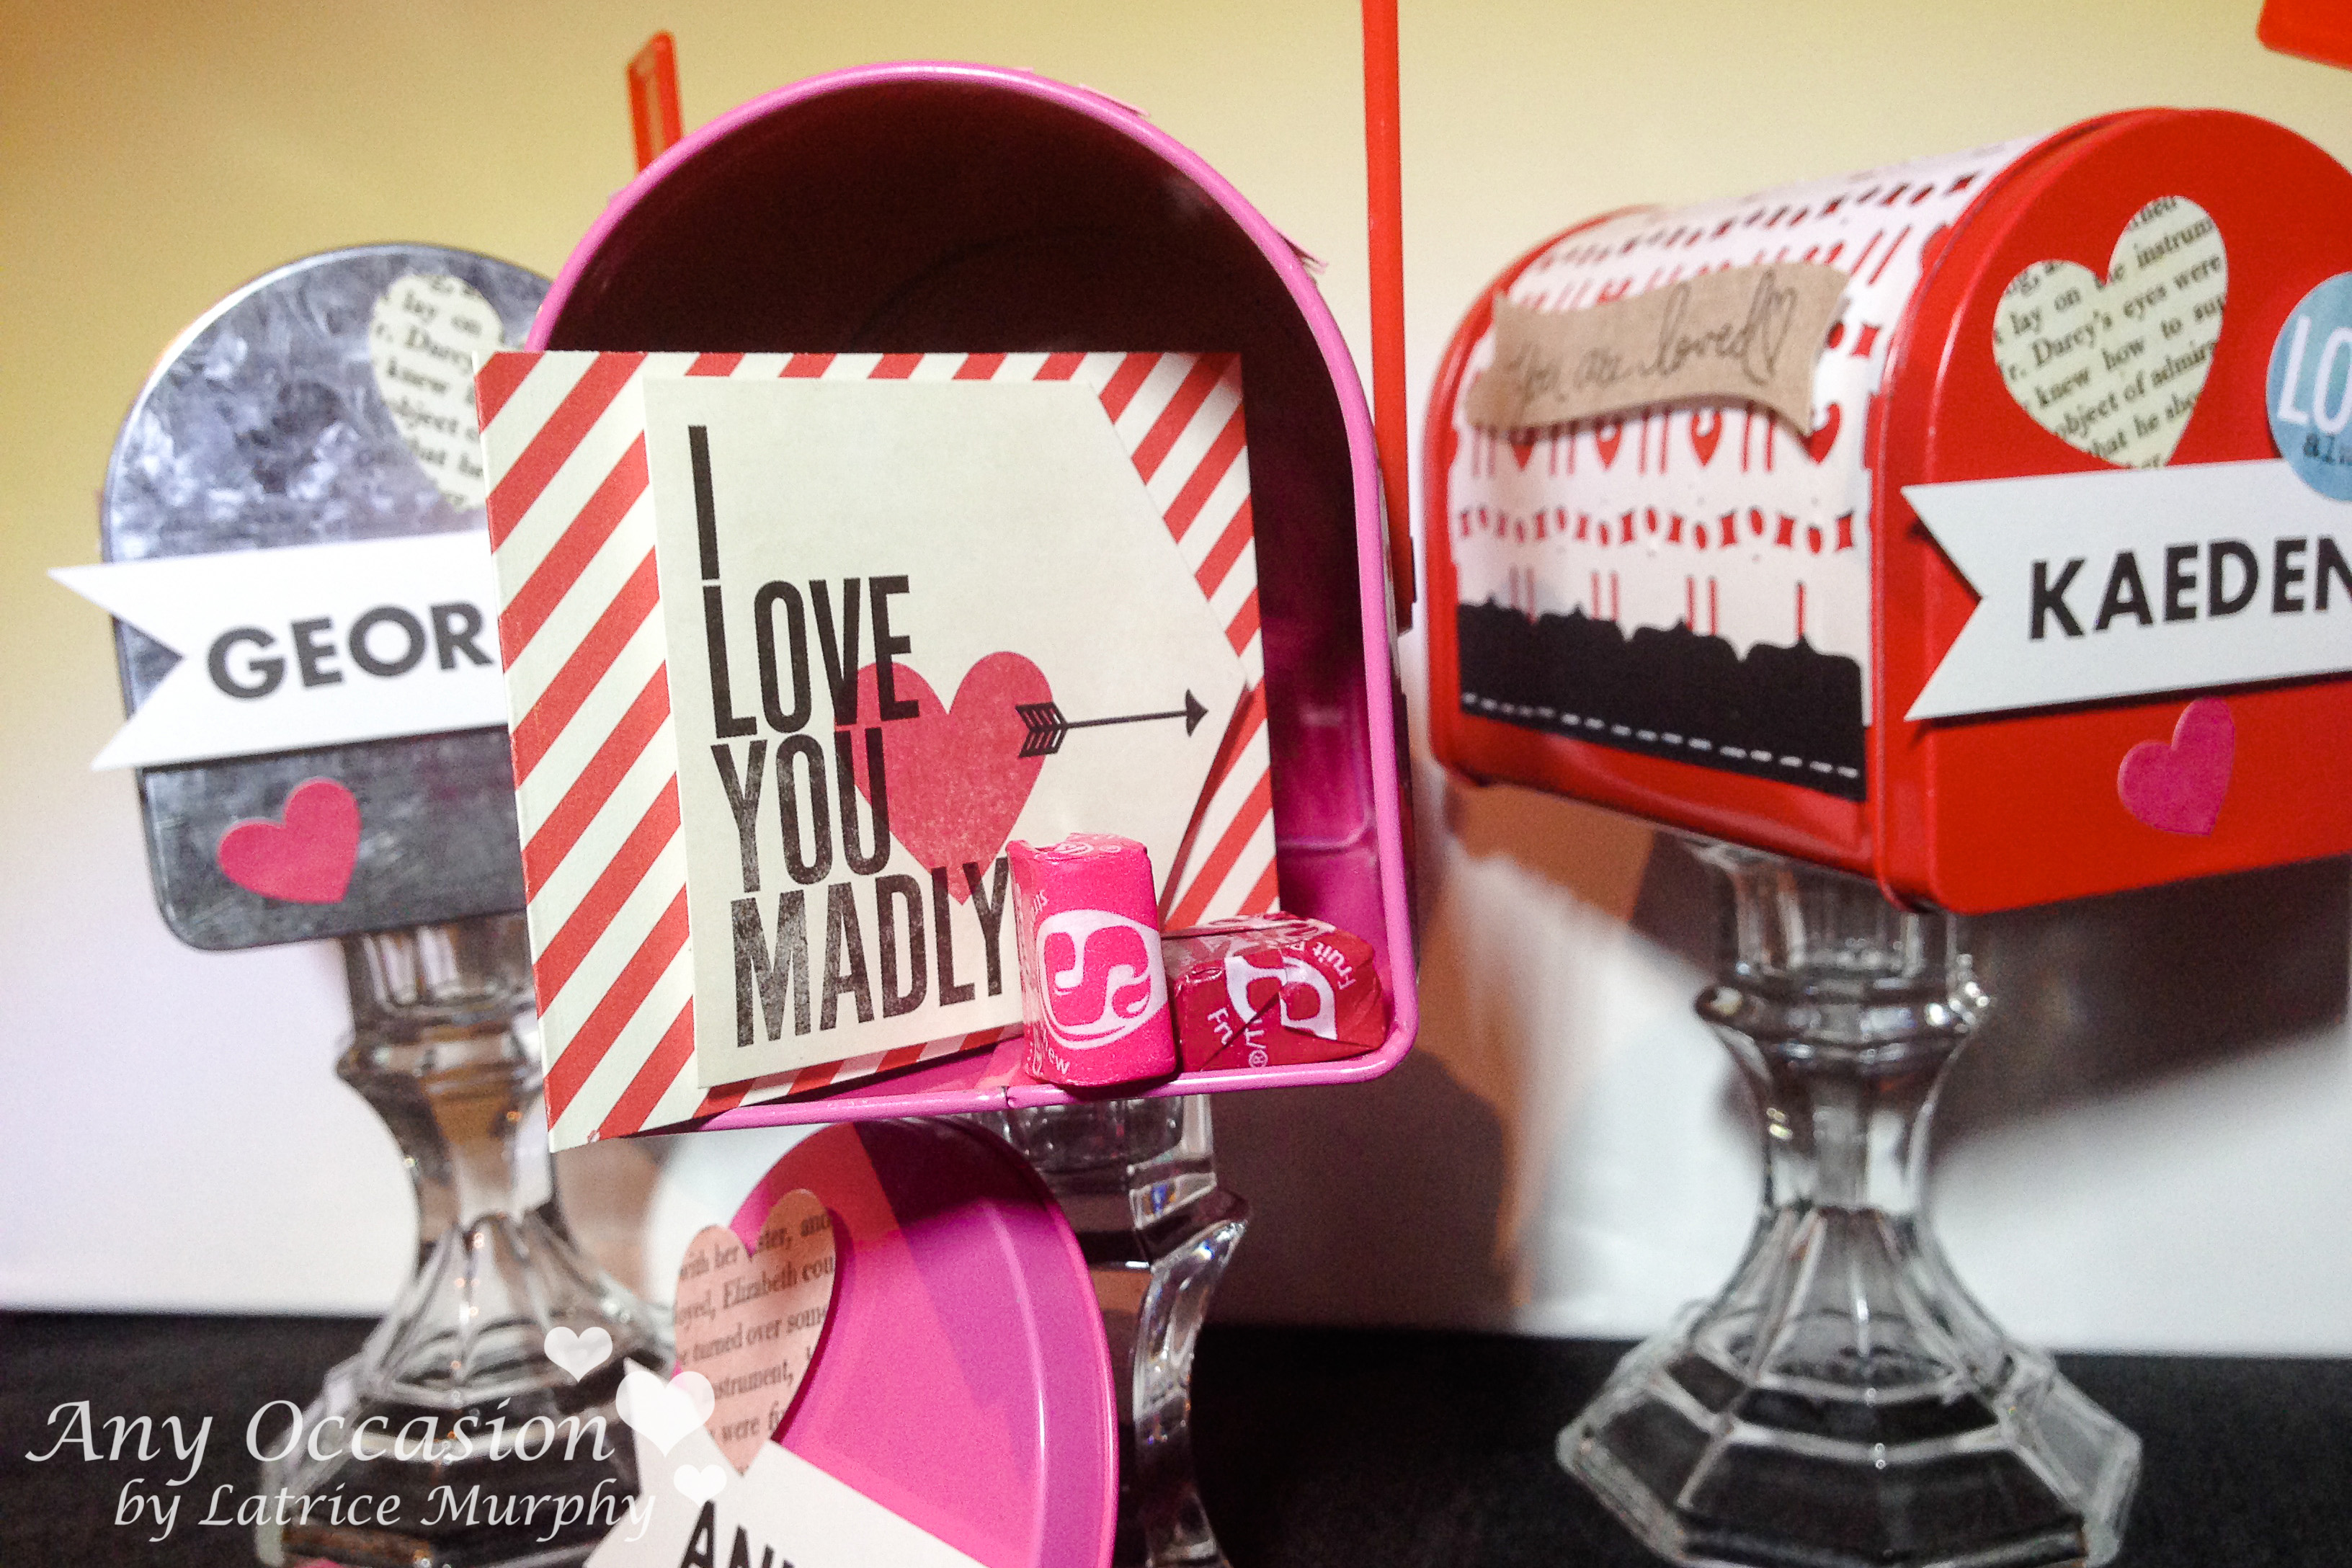
If you follow me you know I have three kids who are my world. They love writing each other notes and leaving little things for one another. This will be so fun.
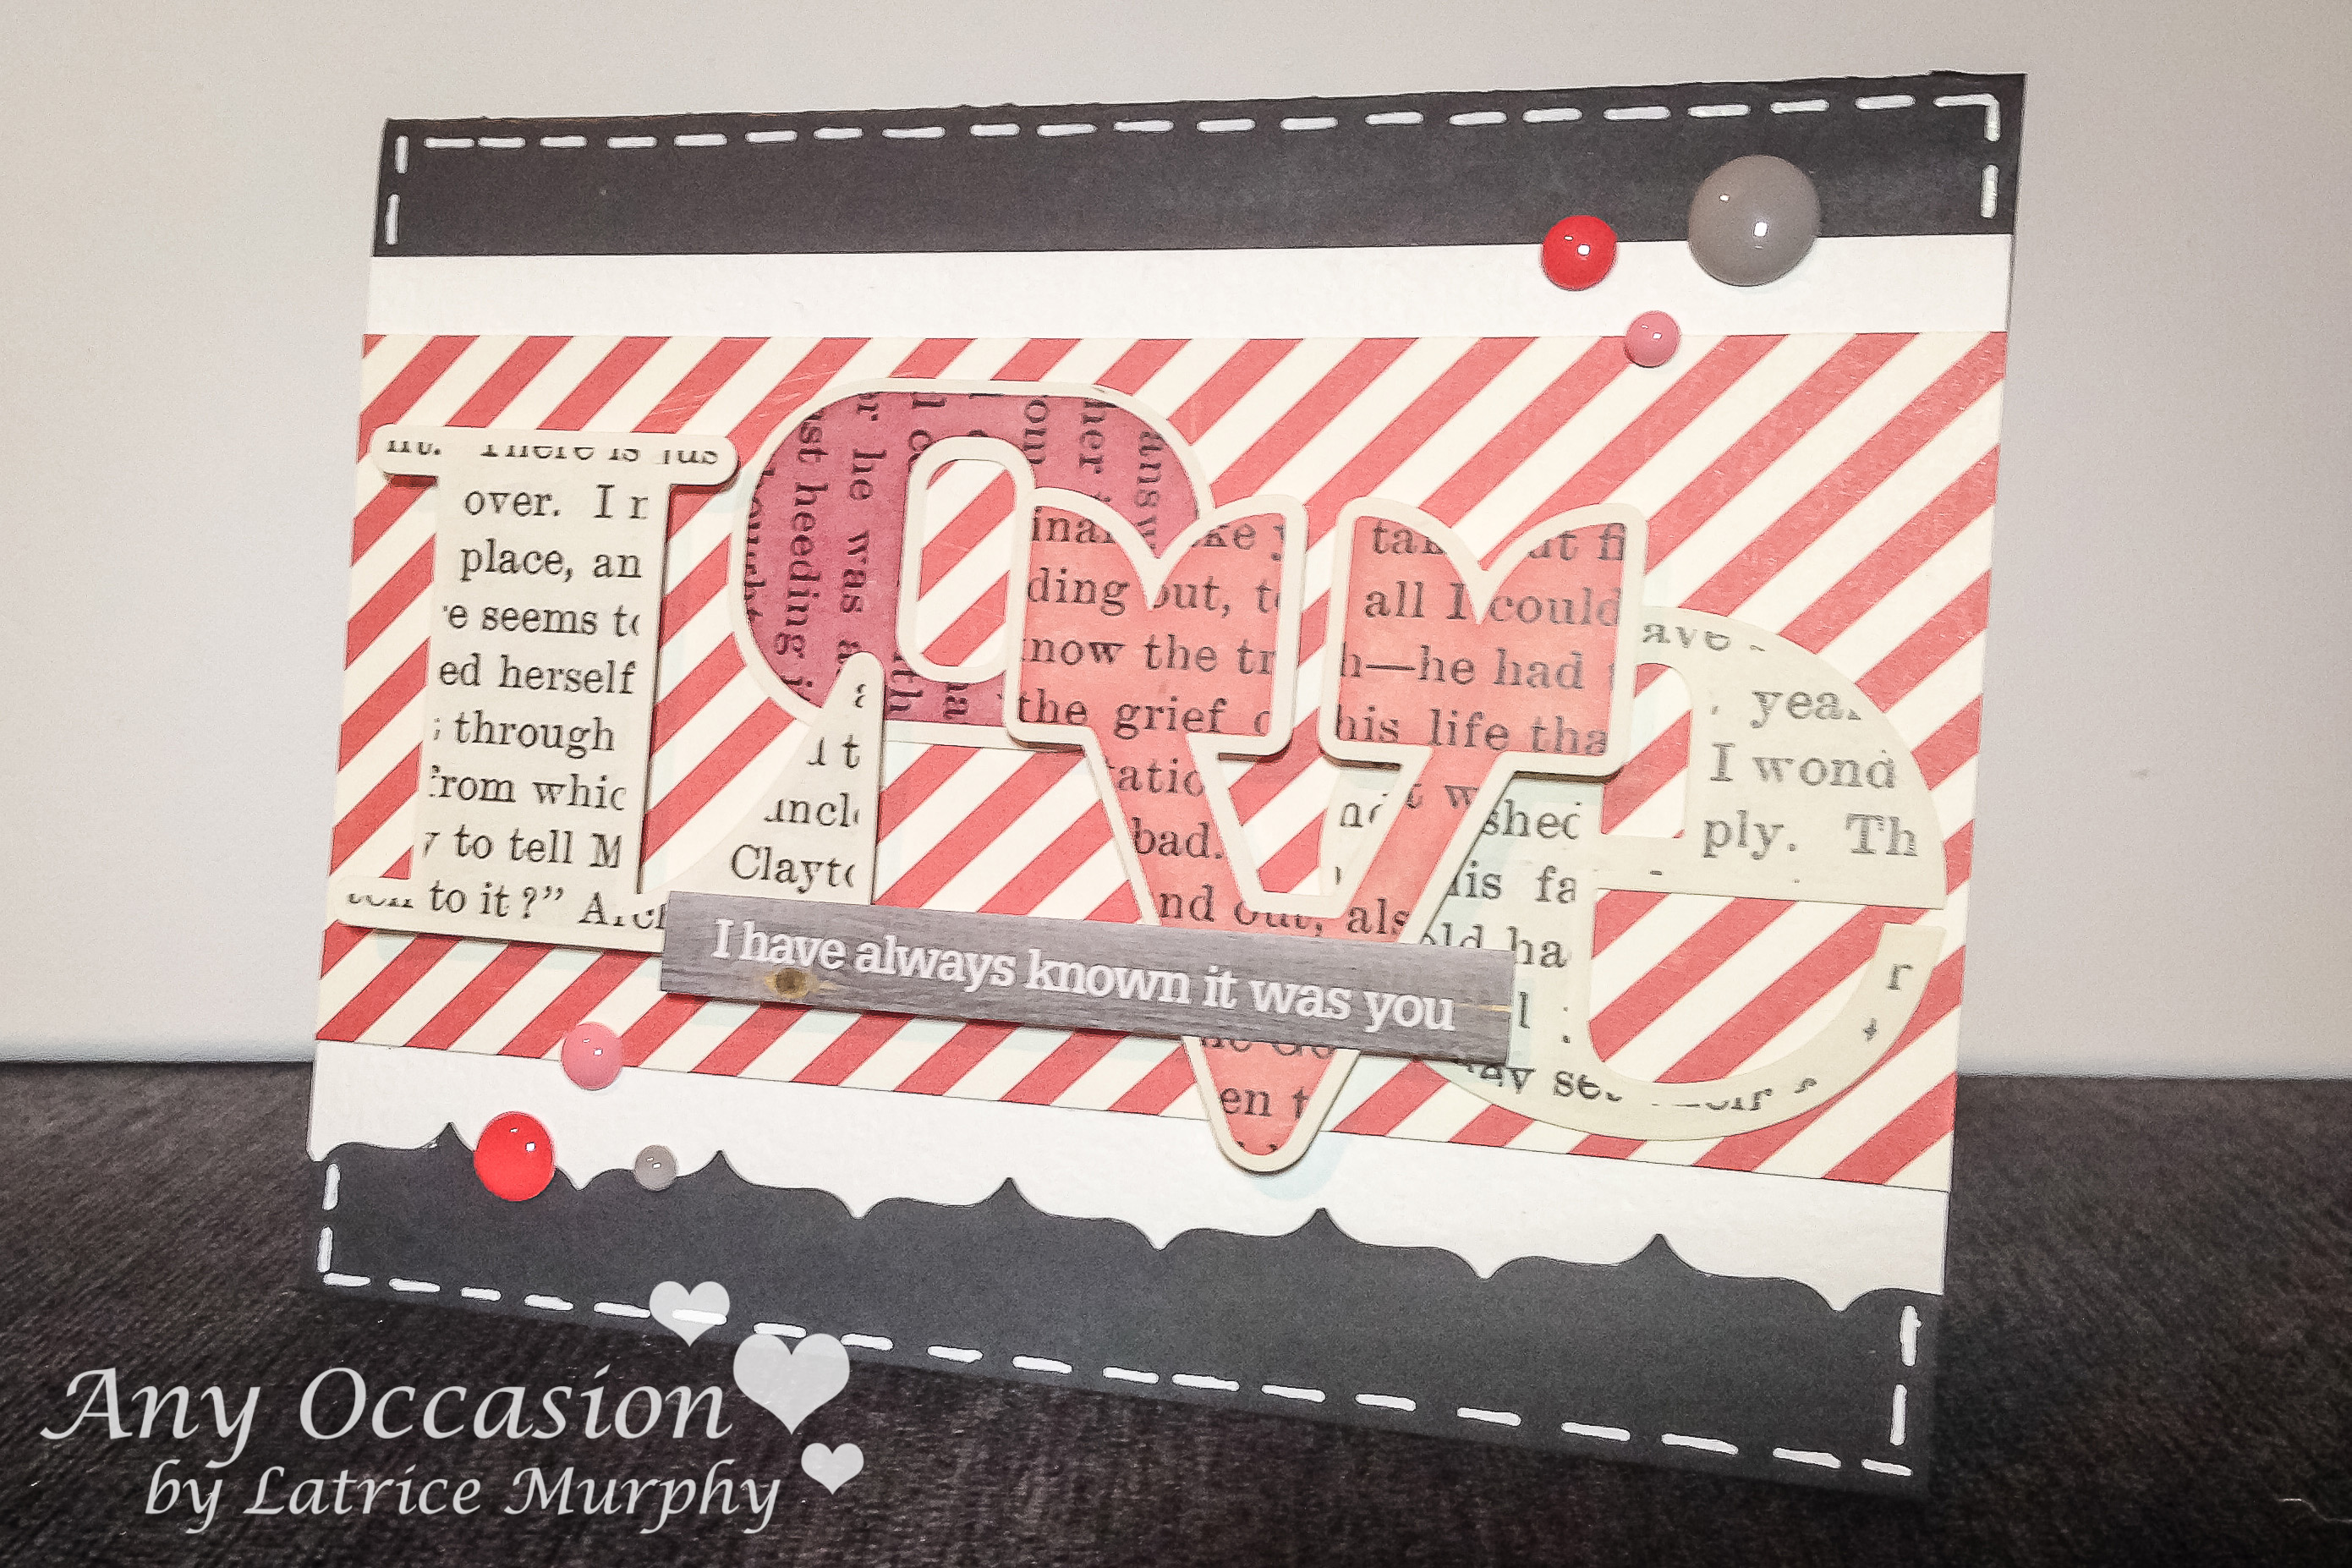
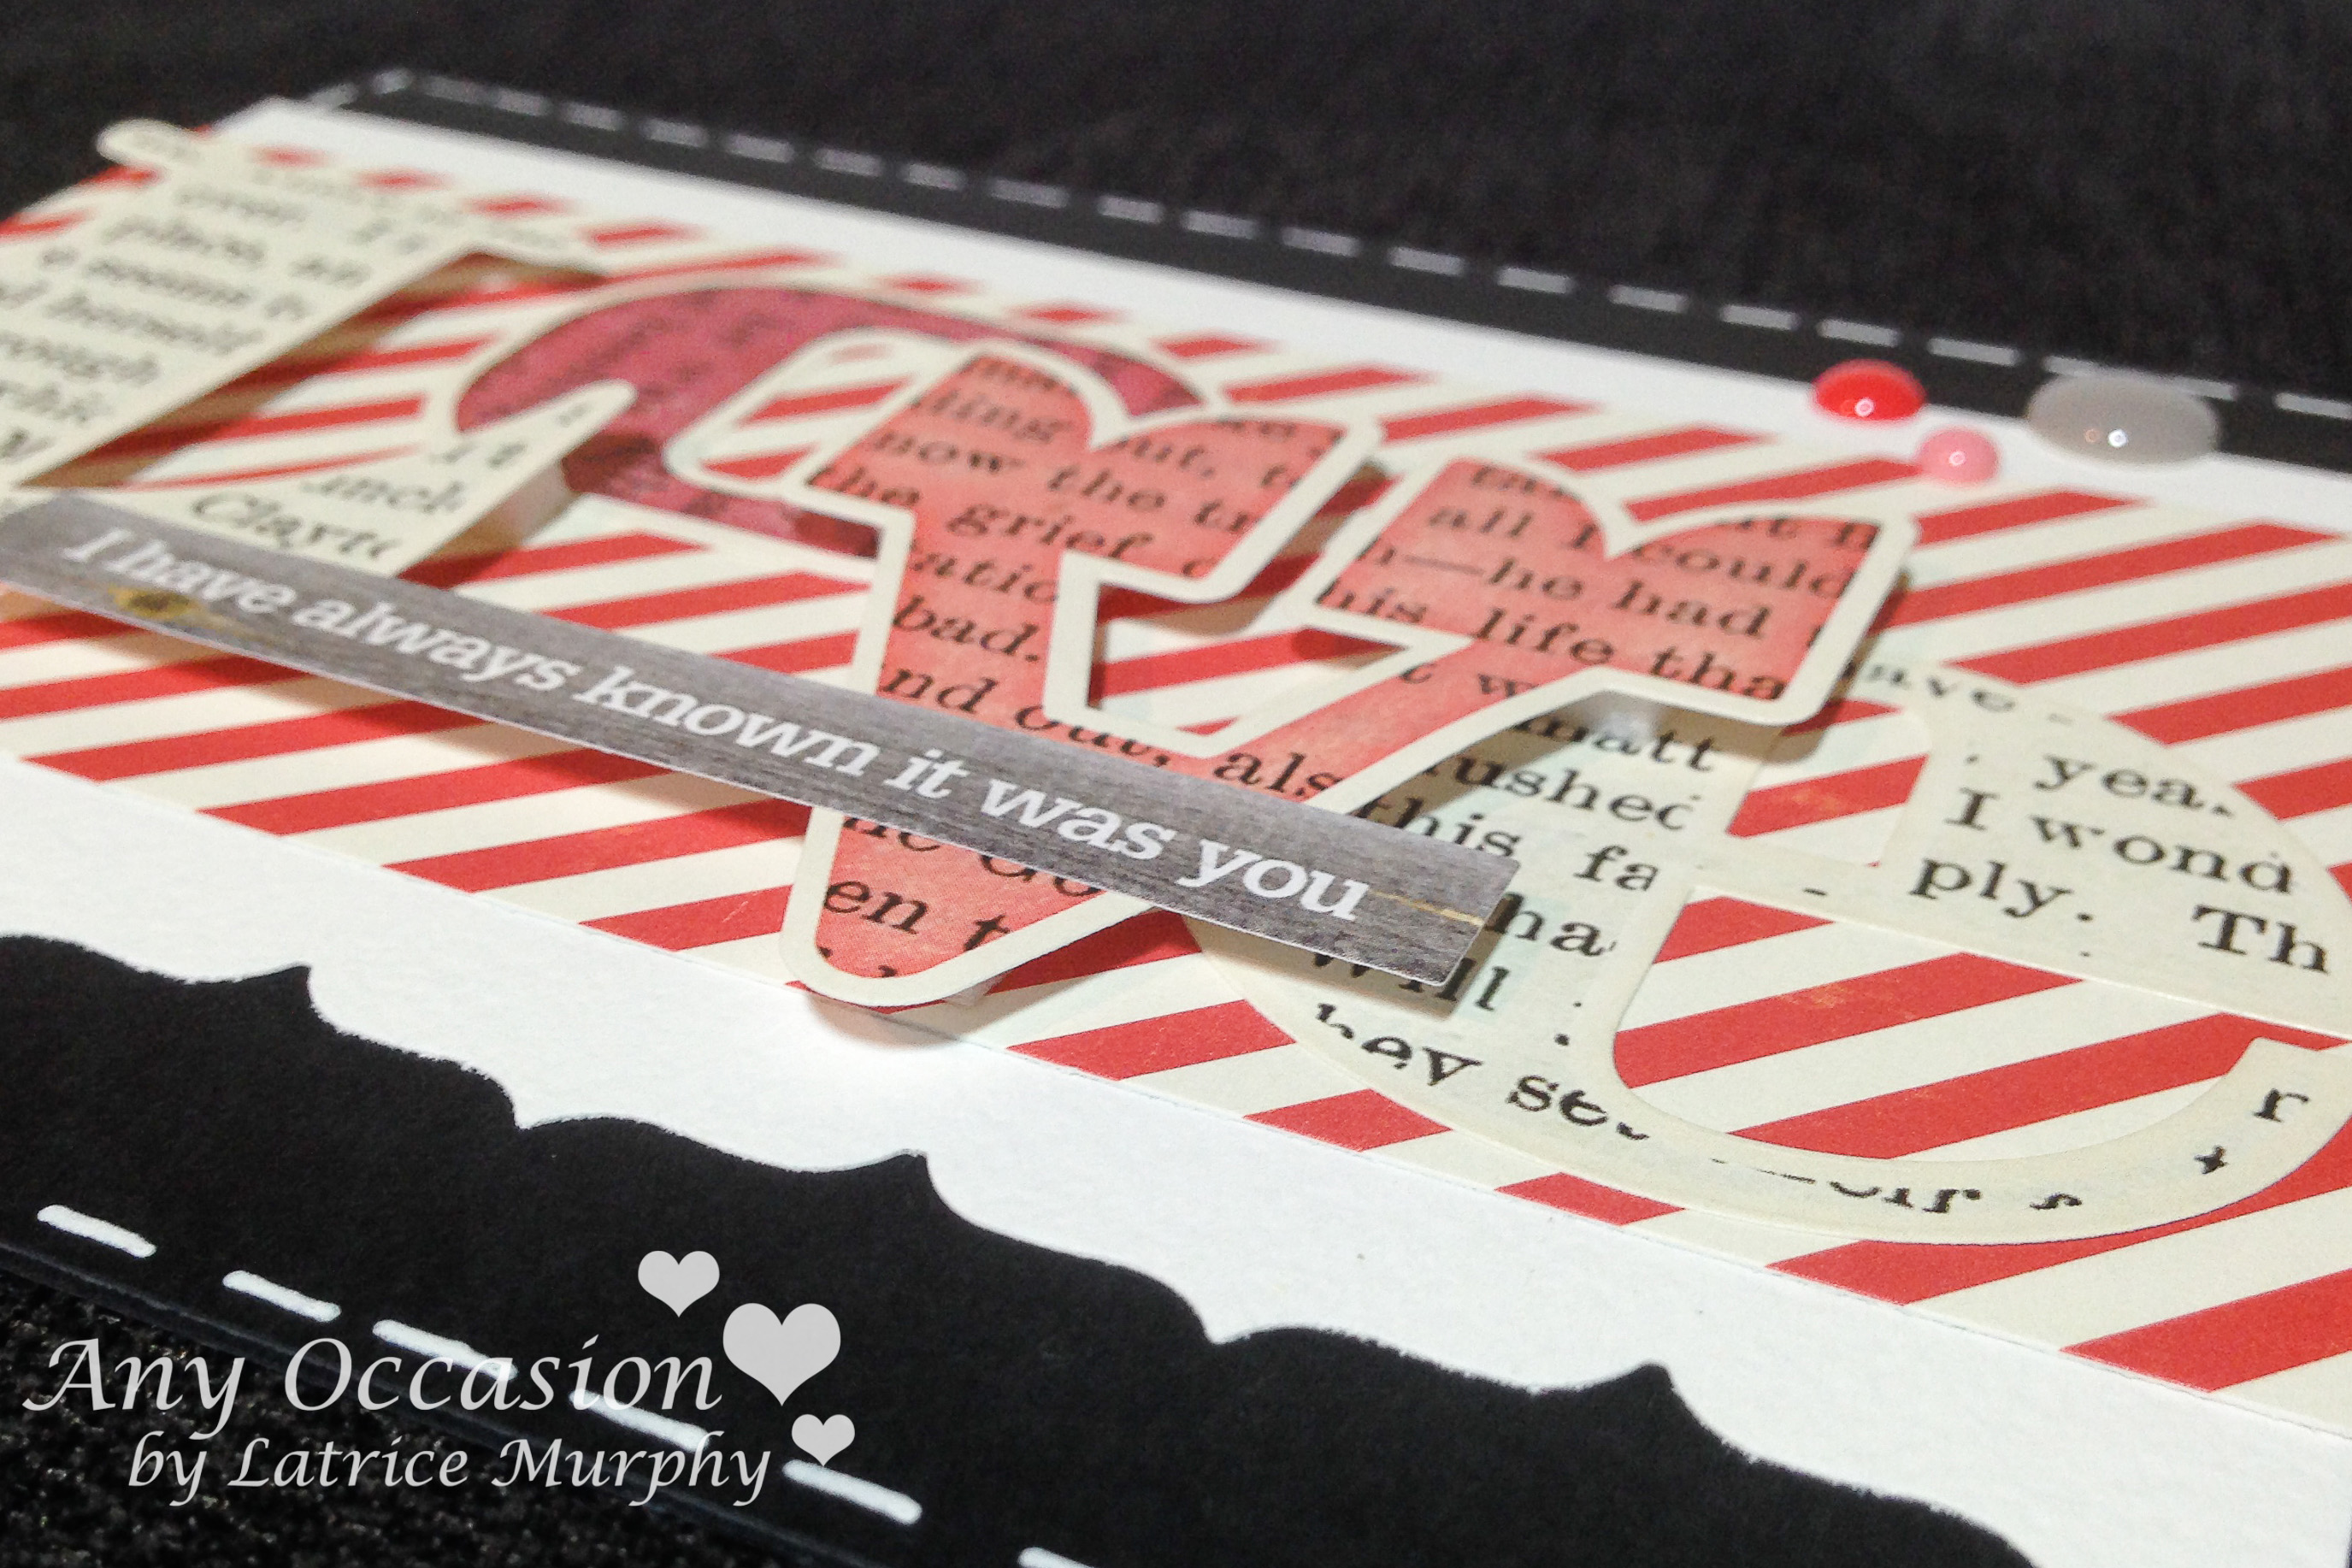
Here’s a BONUS project! A goal I have this year is to lessen the scraps I keep. So I made a card with my left overs. Check it out!
Follow me and Tombow on Instagram to see more crafty projects and to stay up to date with what’s happening around here. You can visit me at my blog HERE.
Thanks so much for stopping by. More to come from me and the rest of the team. Happy crafting everyone!!
Latrice
This is an amazing project Latrice! Absolutely love it, I will need to make for Lucy!
These are super fun! I have altered several and it is a blast! Keep having fun!!
xxDaniella